Every day, you’re probably dealing with vague emails and phone calls that make tracking and prioritizing tech issues for your customers or employees a nightmare.
This is where an online IT service request form can be invaluable. With a form, your customers can easily send you the information you need to provide the requested service while also making it easier for you to track each request.
In this guide, I’ll walk you through the process of building an IT service request form in WordPress, ensuring it’s simple, user-friendly, and highly effective. Let’s get started!
Create Your IT Service Request Form Now 👩💻
How to Create an Online IT Service Request Form
WPForms is the easiest way to create an online IT service request form. WPForms Pro has a massive collection of 2,000+ pre-made templates for every niche and business.
Step 1: Install the WPForms Plugin
If you don’t already have WPForms, go ahead and get started with the WPForms Pro subscription. This will unlock all WPForms advanced features like Repeater fields, Google Sheets integration, and a lot more to make your IT service request form awesome and convenient.

After purchasing WPForms Pro, it’s time to install the plugin on your WordPress site. Never installed a plugin before? No sweat! See our guide on installing WPForms for beginners.
Installing WPForms should take you only a few minutes. Once you’re done, you can start creating your first form.
Step 2: Create an IT Service Request Form
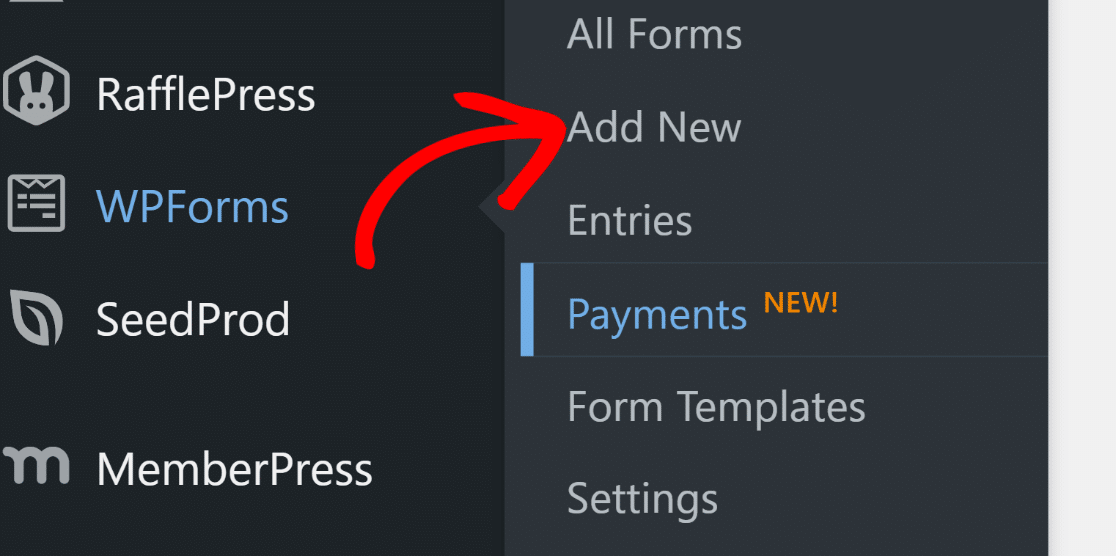
Open your WordPress admin menu and go to WPForms » Add New.
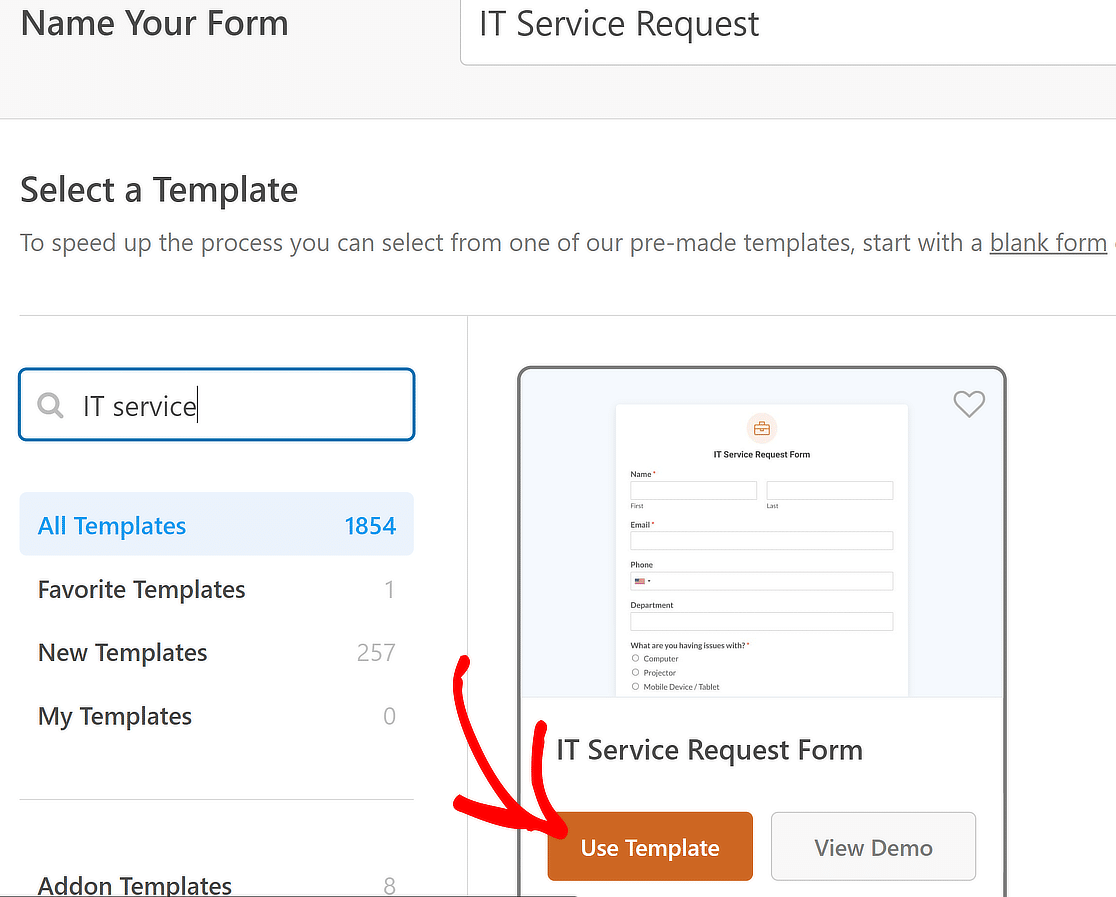
Now, enter a name for your form and scroll down to the templates section. Type “IT service request” in the search bar. Then, select the IT Service Request Form template by clicking on Use Template.
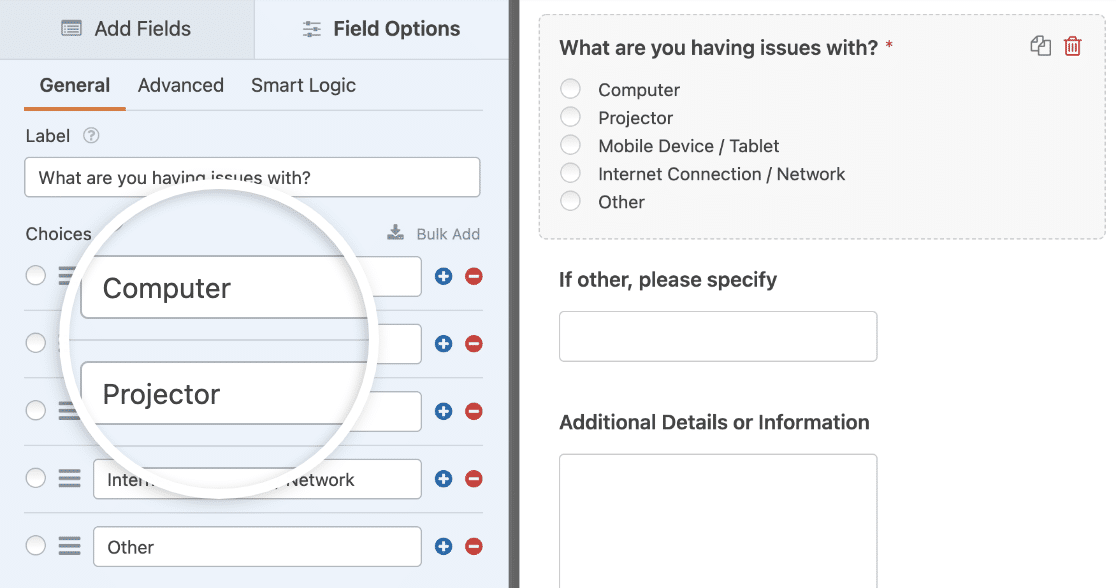
Once your form template loads, you’ll have the form already set up and ready for launch.
But unless you’re in a huge rush, I recommend taking your time to explore WPForms and all its exceptional features.
For one, you’re not limited to using a form template as-is. You’re free to add, delete, arrange, and edit any field as you like.
Next, if you want to edit a field, just click on it and make your changes.
If your IT department charges a fee, you can easily accept payments right on your IT service request form on your WordPress site.
You can take payments using Stripe, Square, Authorize.Net, or PayPal. If you need a little help to get it set up, we have some excellent documentation on how to allow users to choose a payment method.
If you’re unsure about which payment gateway to use, check out our article that’ll help you decide which one is better, Stripe or PayPal.
Once you’ve finished customizing your form, just click Save.
Get the IT Service Request Form Now 👉
Step 3: Configure Your Form Notifications & Confirmations
Notifications are super important for a service request form. Without them, you’d be half-blind to new service requests as they come in.
In WPForms, you can create customized notifications by going to Settings » Notifications from the form builder.
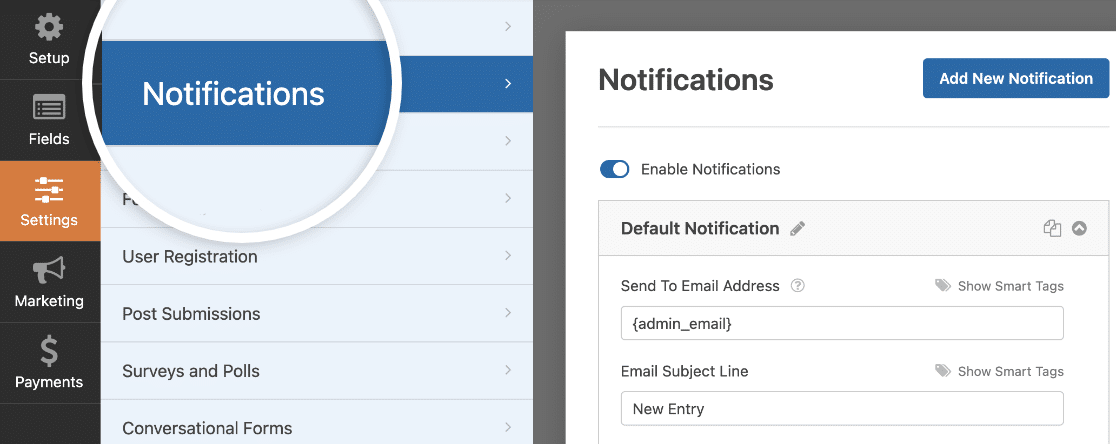
The default notification to the site admin is always enabled by default (unless you turn it off). However, you can customize the default notification by changing the subject line, adding multiple recipients, editing the notification message, and more.
You can also notify more than just one person when an online IT service request form is submitted.
For example, you can send a notification to yourself, the customer who submitted the service request, your IT supervisors, and others.
Lastly, you’ll want to brand your email using your IT company’s logo so all your email correspondence looks consistent. To do this, check out this guide on adding a custom header to your email template.
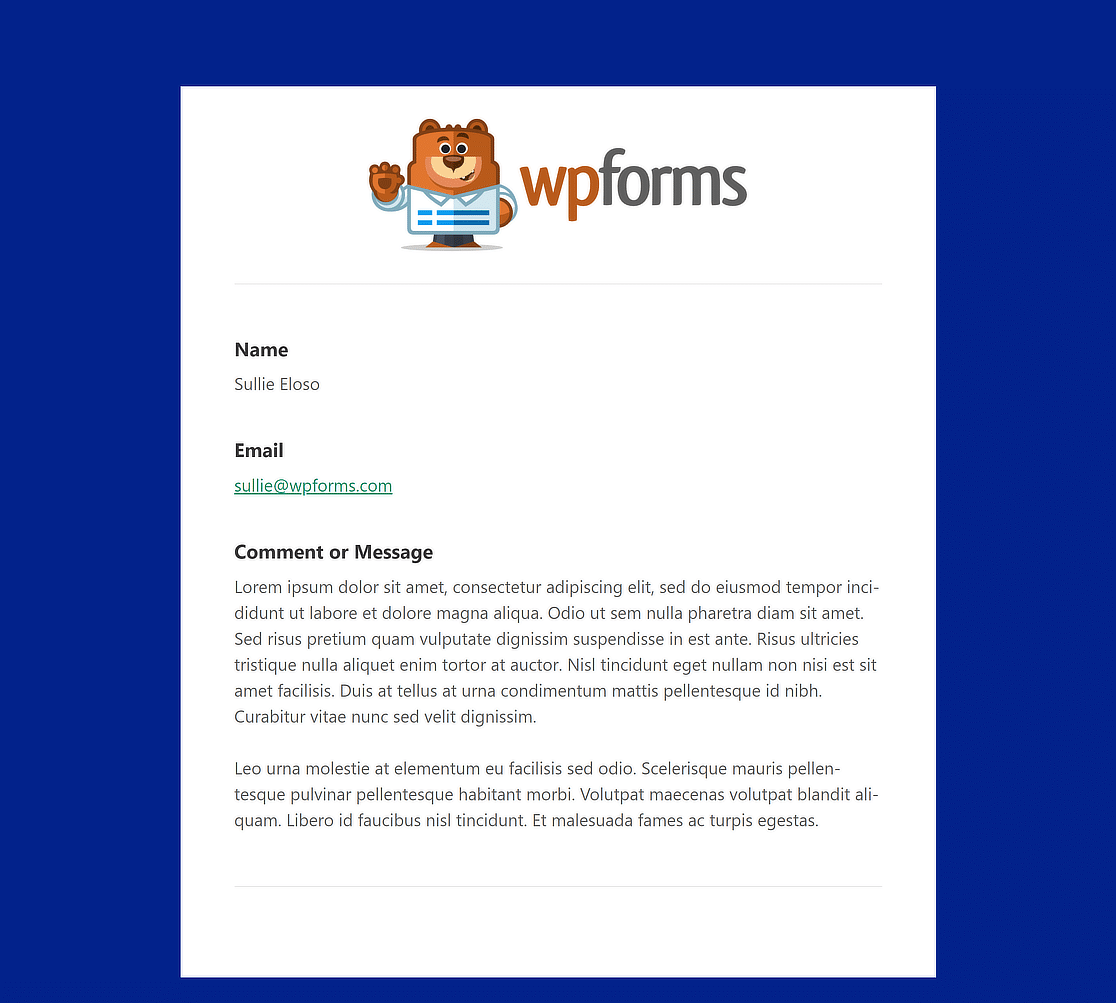
Besides notification emails, WPForms also displays confirmation messages on-site as soon as a form is submitted.
There are 3 confirmation types in WPForms:
1. Message: WPForms comes with a pre-written confirmation message, a simple message letting customers know their request is processing.
2. Show Page: This option will send people who have submitted a request form to a page on your site. For instance:
- Thank You Page: If you decide to do this, check out our tutorial on redirecting your visitor to a thank you page. You’ll also want to read both of our articles on creating effective Thank You pages.
- Quick Fix Page: You could create a list of simple solutions to common problems customers can quickly fix themselves.
3. Go to URL (Redirect): This confirmation option sends those who have submitted an online IT service request form to a page you’ve chosen on a different website.
Okay, now we’ll set up a customized message that your guests will see when they submit an IT request form on your WordPress website.
To begin, click on Settings » Confirmations in the form builder. Select your confirmation type from the dropdown. We’ll use the default Message.
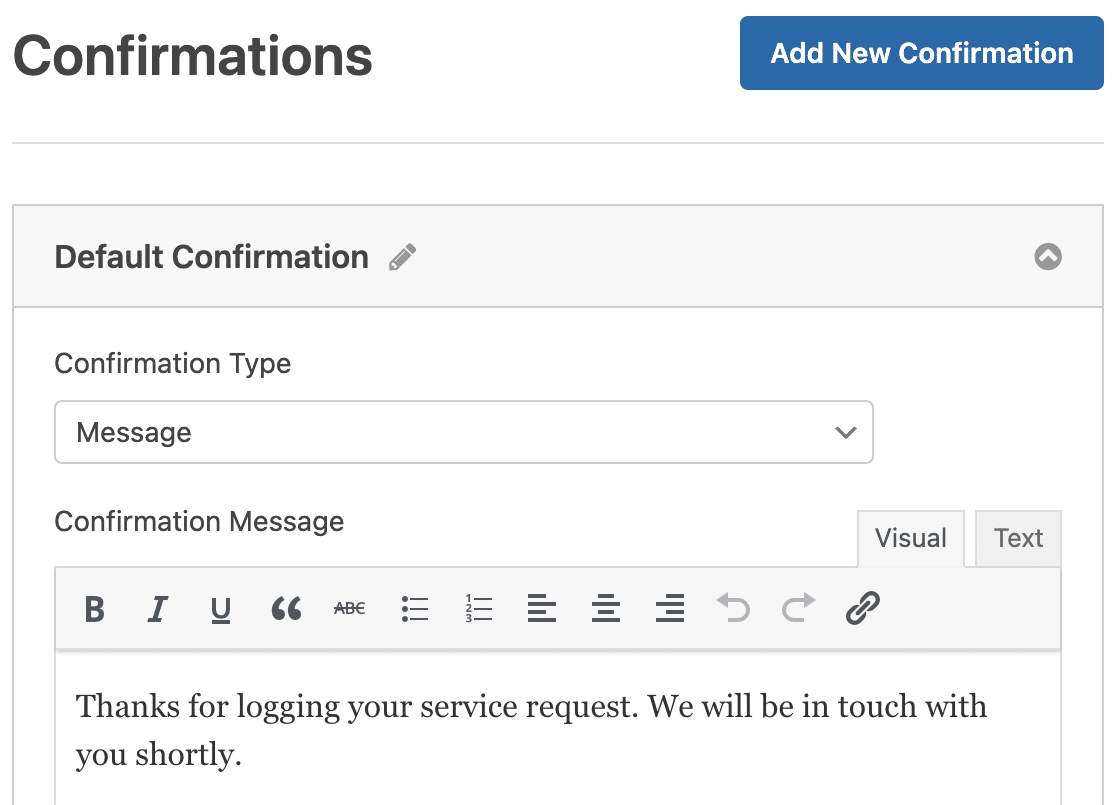
Then, customize your confirmation message. Once you’re done, be sure to click Save. For help with other confirmation types, see our documentation on setting up form confirmations.
Just one more step!
Step 4: Add Your Online IT Service Request Form to Your Site
Now that you’ve finished creating your online IT service request form, you just need to add it to your WordPress website.
To start the easy embed process, click on the Embed button at the top.

You’ll be given two embed methods. Let’s go with the second option, Create New Page, which will automatically create a new page for your form.

After that, you’ll see another modal pop up where you’ll have to name your page. Pick a name for your form and click on Let’s Go.

Then, you’ll see the block editor open where your form will be embedded inside. How about adding some visual flair to your form by styling it?
WPForms features no-code styling options inside the block editor which you can access by clicking on the region around the embedded form. This will open block settings on the right, where you can find a bunch of styling options in addition to ready-made form themes.
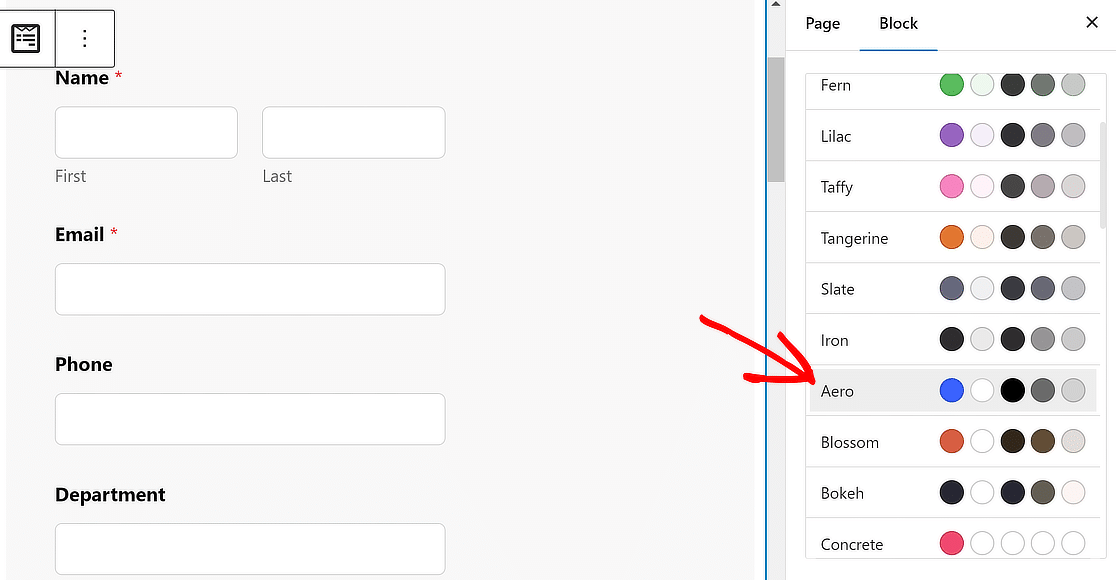
I’m using the Aero theme for this form, which creates a pretty breathable layout with padding. It’s quite easy on the eyes. But feel free to check out all the other themes available and select one that’s a good fit for your site.
Can’t find anything that suits your site from the available themes? No worries! You can style different elements of the form yourself, too, so feel welcome to adjust colors, borders, backgrounds, and more.
Okay, it’s time to publish the form now. Simply click on the Publish button at the top to proceed.

Here’s what this form looks like from the frontend on my website:
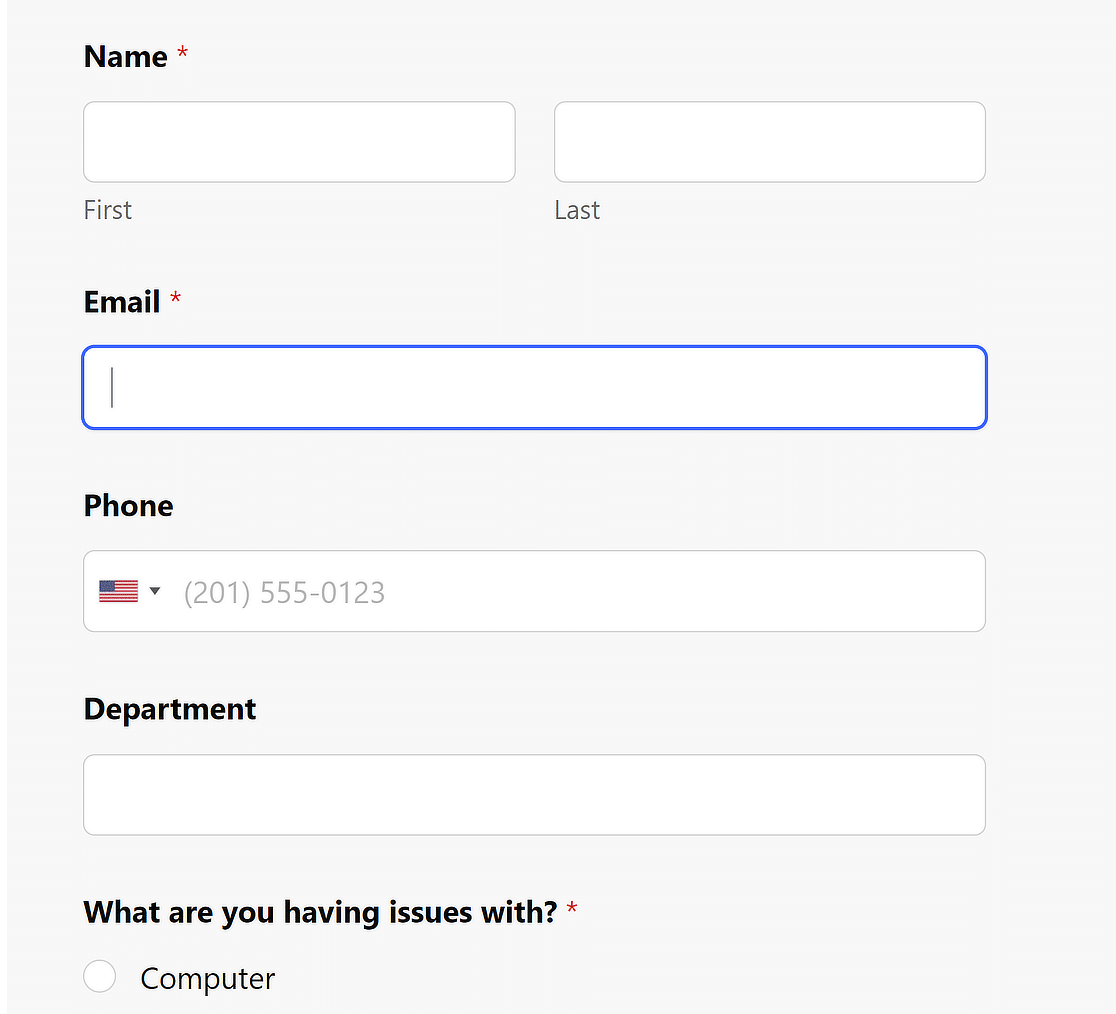
With the online IT service request form, you can now start collecting requests in a more organized manner. You can view your request form submissions, too. Just check out our complete guide to form entries.
Now you’ve created your support form, you’ll benefit from:
- Better Details: Get complete, easy-to-read details, including files and images.
- Streamlined Organization: All requests are simple to access and sort so you can optimize your work.
- Easy Customization: Create tailor-made forms using drag-and-drop tools.
- Powerful Automation: Automatically direct customers to the right IT employee or web page.
- Shareable Information: Notify your IT team the instant new submissions arrive.
- Automation: Send support tickets directly to your helpdesk platform using a FreshDesk WordPress integration.
WPForms makes it easy to see, search for, filter, print, and delete IT requests to make scheduling your service calls so much easier.
Bonus Tip: Connect IT Request Form to Google Sheets
If you want to track service requests, you can create a Google Sheet and connect it with WPForms.
You only need to set up a WPForms + Google Sheets integration once. After that, all new form submissions will automatically be added to your sheet where you can also add other columns to track the status of each request.

See our detailed guide on connecting WordPress forms with Google Sheets for more details.
Get Google Sheets Integration With WPForms Pro 🚀
FAQs on How to Create an IT Service Request Form in WordPress
Why use an online IT service request form?
As an information technology specialist, you’re always getting requests that can range from significant network problems to replacing a computer mouse.
To handle these, you might choose to set up a customer support system like Help Scout or Front customer communication platform. That being said, setting up a dedicated help desk system takes time.
In many businesses, a IT support form is an easier and faster alternative to a help desk system. We’ll show you how easy it is to create your own form.
What is an IT service request?
An IT service request is a formal submission made by an employee or team member seeking help with technology-related issues or services.
This can include requests for troubleshooting, software installation, hardware maintenance, or access to specific IT systems.
What is a software request form?
A software request form allows users to request the installation or access to specific software applications.
The form typically captures details about the requested software, its purpose, and the user’s information, helping IT teams streamline software management.
Next, Let Customers Request a Call Back
To make it even easier for your customers to get in touch, you could add a request a call back form to your knowledge base. Does your IT team rent out equipment? Check out our post on how to create an equipment checkout form in WordPress.
Create Your WordPress Form Now
Ready to build your form? Get started today with the easiest WordPress form builder plugin. WPForms Pro includes lots of free templates and offers a 14-day money-back guarantee.
If this article helped you out, please follow us on Facebook and Twitter for more free WordPress tutorials and guides.


