
AI Summary
Adding Square payments to your WordPress forms takes about 10 minutes if you have the right plugin. You don’t need a developer or any coding skills to set it up.
I’ve built Square payment forms for a few client sites over the past couple of years, and WPForms is the fastest method I’ve come across.
You connect your Square account with a few clicks, drop a Square payment field into your form, and you’re ready to collect credit card payments.
In this guide, I’ll walk you through the exact steps to add Square payments to WordPress. You’ll also learn how to turn on recurring billing and how to test everything in sandbox mode before going live.
Create Your WordPress Square Form Now! 🙂
How to Add Square Payments to WordPress
Ready to start collecting payments via Square on your WordPress site? Just follow the steps in the video below to use the Square Addon by WPForms!
However, if you prefer written instructions, continue reading below and use the handy table of contents to navigate the guide.
- Step 1: Install the WPForms Plugin
- Step 2: Add the Square Pro Addon
- Step 3: Connect Square to Your WordPress Site
- Step 4: Create Your Square Payment Form
- Step 5: Add the Square Payment Field to Your Form
- Step 6: Publish Your Form to Accept Payments
- Step 7: Test Your Square Form in Sandbox Mode
- Ready to Accept Square Payments on Your WordPress Site?
- Related guides
Step 1: Install the WPForms Plugin
To start accepting Square payments on your WordPress site, you’ll need a form builder that can handle it, and WPForms makes this really easy.
With the drag-and-drop interface, you can build a simple order form, a donation form, or anything in between, and just connect Square with a few clicks.
In order to accept Square payments, you first need to get a WPForms Pro license. This will also give you access to a ton of extra features, addons, and integrations.

Once you’ve purchased a premium license, proceed to install and activate the WPForms plugin on your WordPress website.
If you need help with installing the plugin, you can see follow these step-by-step instructions on how to install a WordPress plugin.
Step 2: Add the Square Pro Addon
Once WPForms is installed, you’ll be able to activate the Square Pro addon. Head over to your WordPress dashboard and click WPForms » Addons.
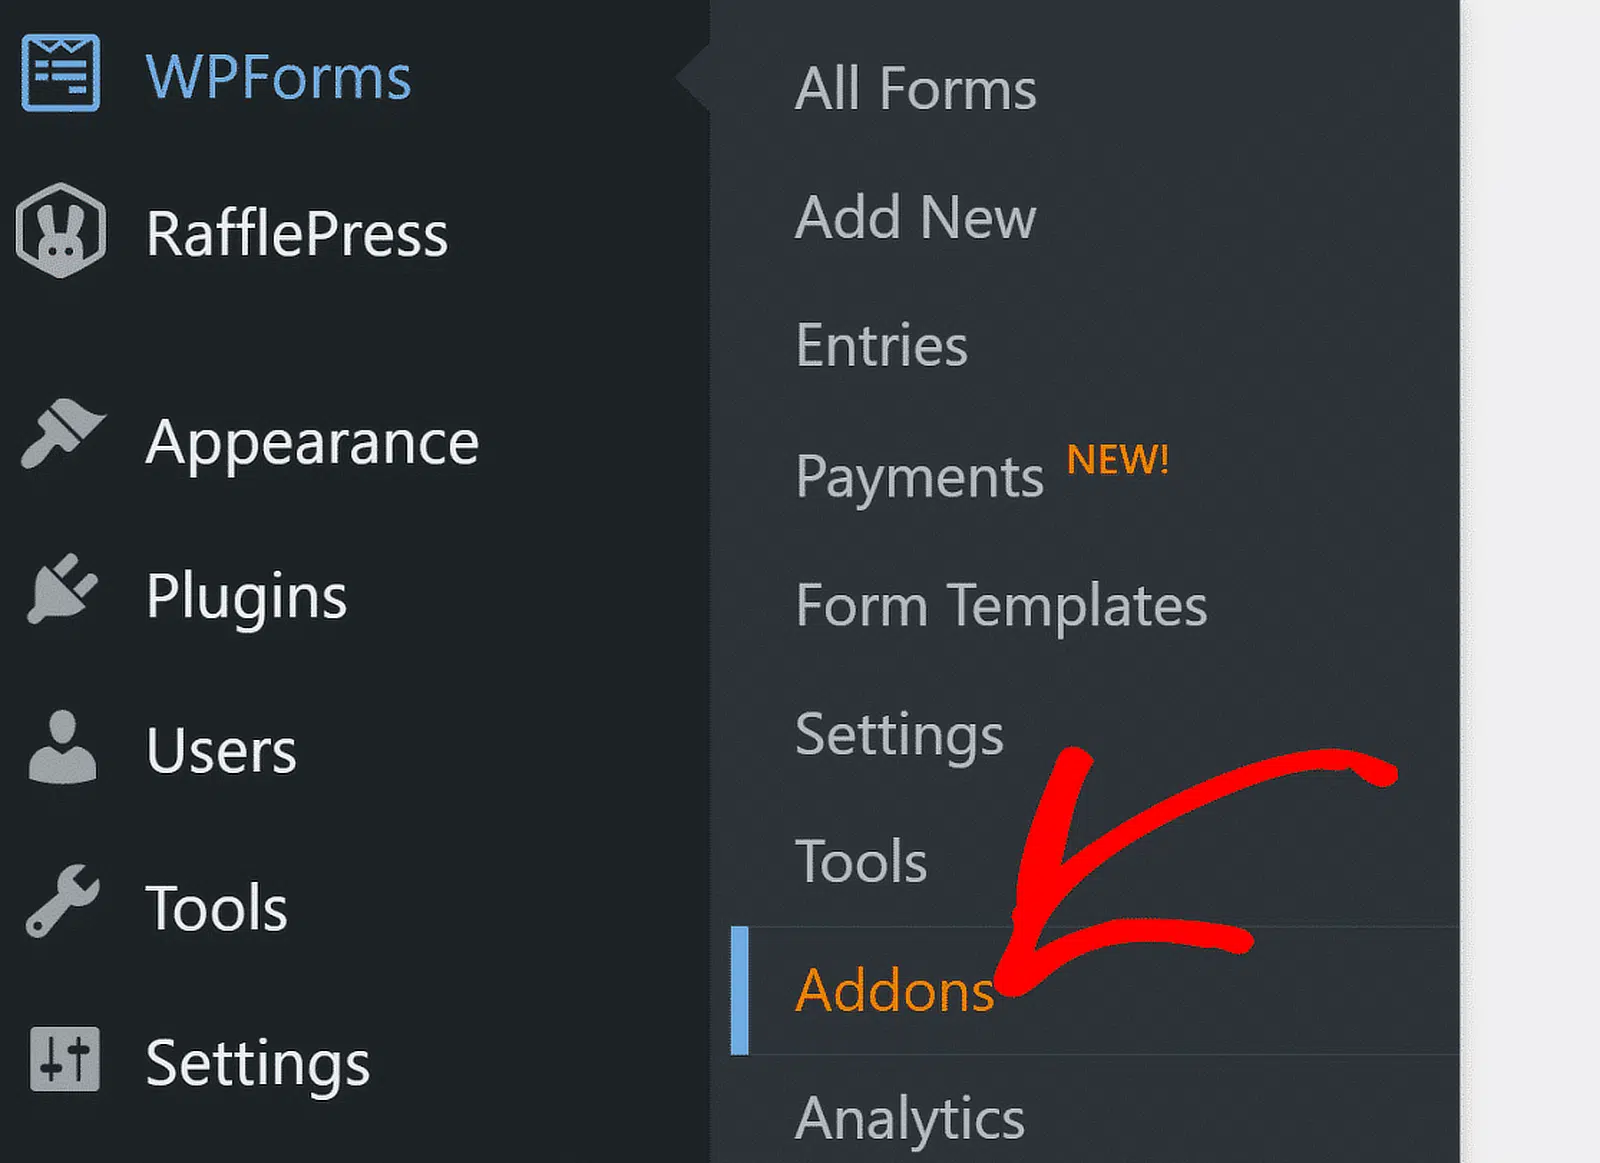
In the search bar, type Square. Once it shows up, click Install Addon and then Activate it. Once you’ve activated the Square Pro addon, you need to set up the payment settings in WPForms.

To configure the payment settings, go to your dashboard, click WPForms » Settings, then click the Payments tab. Now from the Currency drop-down, select the currency you want to use in your payment forms.

Step 3: Connect Square to Your WordPress Site
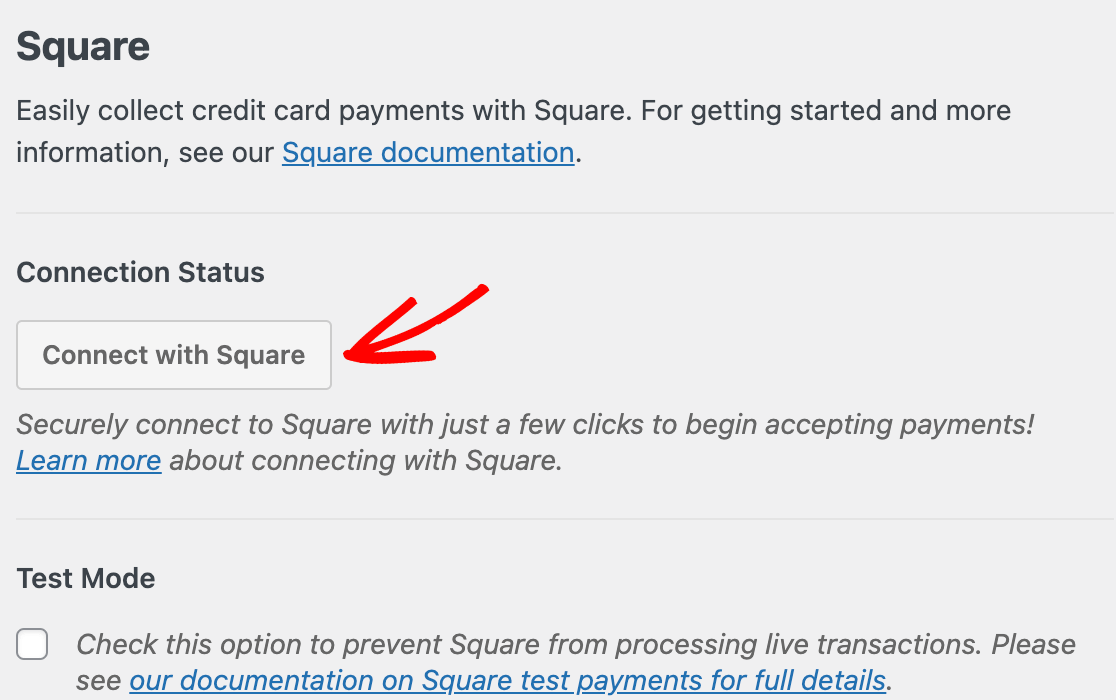
Now it’s time to connect Square to WPForms. Scroll down the payment settings page to the Square section.
You’ll see a tab labeled Connection Status. Click the blue Connect with Square button.
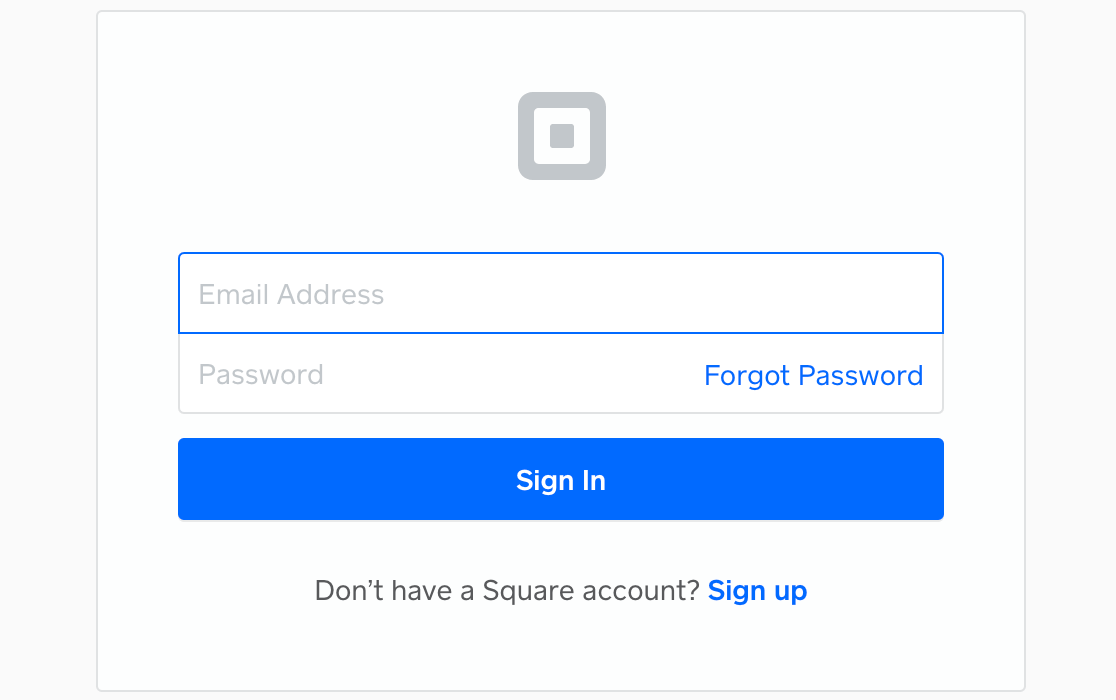
Clicking this will redirect you to the Square login page. Enter your email address and password, then click on Sign in.
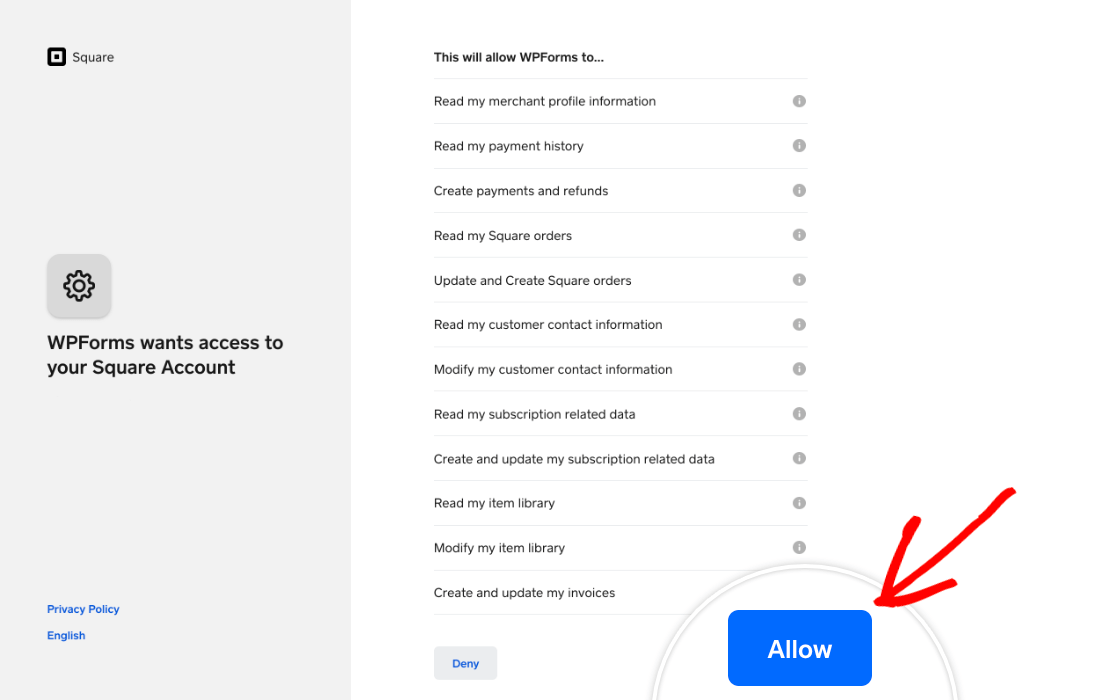
In order to connect Square to WPForms, you need to grant specific permissions to WPForms related to your account. Click on the Allow button to proceed.
This will revert back to your WPForms payments settings. If the connection settings are configured properly, you’d see a green checkmark and success message next to Connection Status.

If you’ve added multiple business locations to your Square account, you’ll need to select one of them as your primary location using the Business Location dropdown.
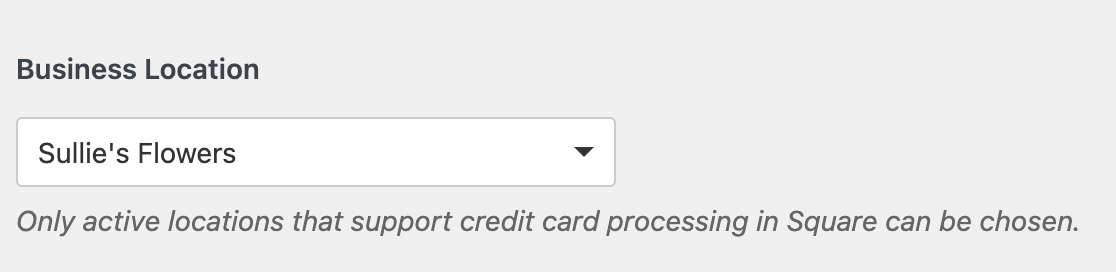
Once your connection settings are set, click Save. For a deeper walkthrough of every Square option, see the full Square addon setup reference.
Step 4: Create Your Square Payment Form
Now that you’ve connected Square to your WordPress site, it’s time to create your payment form. From your WordPress dashboard, navigate to WPForms » Add New.

You can create a simple order form or use a pre-built order/billing form template to speed things.
WPForms comes with a huge form template library of 2,100+ WordPress form templates. I’ll choose the Billing/Order Form template for this tutorial.

The template includes all the essential fields you’ll need to accept payments for general orders. You can add additional form fields to your form by dragging them from the left-hand panel to the right-hand panel.

WPForms is highly customizable, so feel free to experiment and change things up if the template doesn’t fully match your particular use case scenario.
I’ll quickly share one option that you might want to add to this form, depending on your needs. If you’d like people to specify the quantity of the products they want to order, here’s what you can do.
Adding the Quantity Field (Optional)
WPForms supports product quantities for the Dropdown Items and Singe Items fields.
So, I’ll delete the existing radio field (i.e. the “Available Items” field) here, and add three Single Item fields here.
You can simply right-click the current Available Items field and press Delete.

Then, drag and drop the Single Items field from the left-hand pane to the right, just above the Total Amount field.

When you’ve done that, click on the Single Items field that you just added to open its Field Options on the left. You’ll be able to control various settings associated with the field here.
I’d recommend changing the Field label and adding the name of your product. And don’t forget to enter the price of the product in the Item Price box.

To enable quantity selection for the product, use the Enable Quantity toggle button. After it’s been enabled, you’ll see a new Range setting appear underneath.

This will let you set the minimum and maximum quantity that a user can select for the product. You can repeat the same process by adding more Single Item fields with their quantity selections enabled.
Step 5: Add the Square Payment Field to Your Form
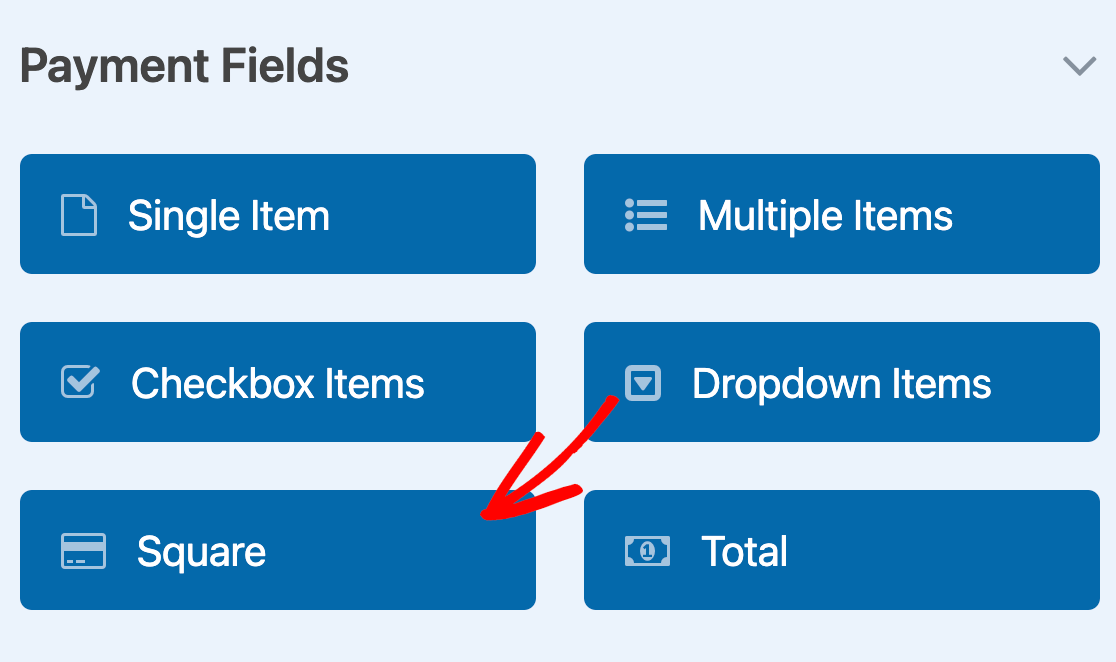
Our form is ready; now, we’re going to add the Square Payment Field. On the left, from the Payments Fields section, drag the Square Field and drop it anywhere on your form.
As soon as you add the Square field, a pop up will be displayed with a message to enable the Square Payments.

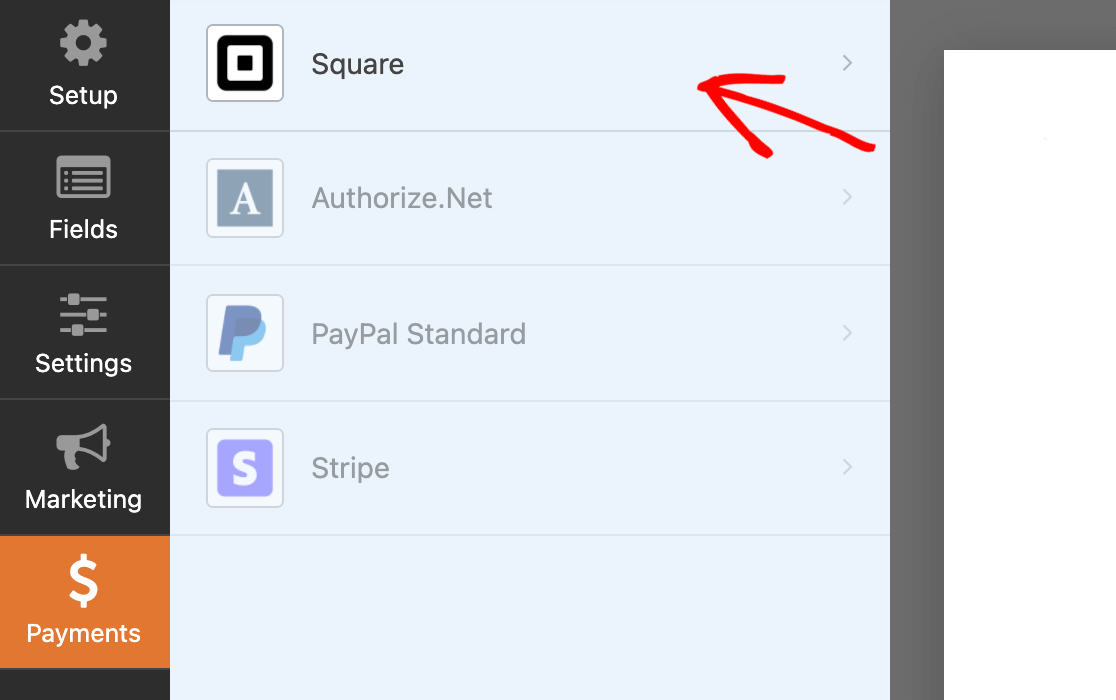
Click on the OK button to close the pop-up. Next, we need to enable Square payments. Go to the icons on the left-hand side, and click Payments. Then click Square.
Next, toggle on the Enable Square Payment. This will open the additional payment setting options.
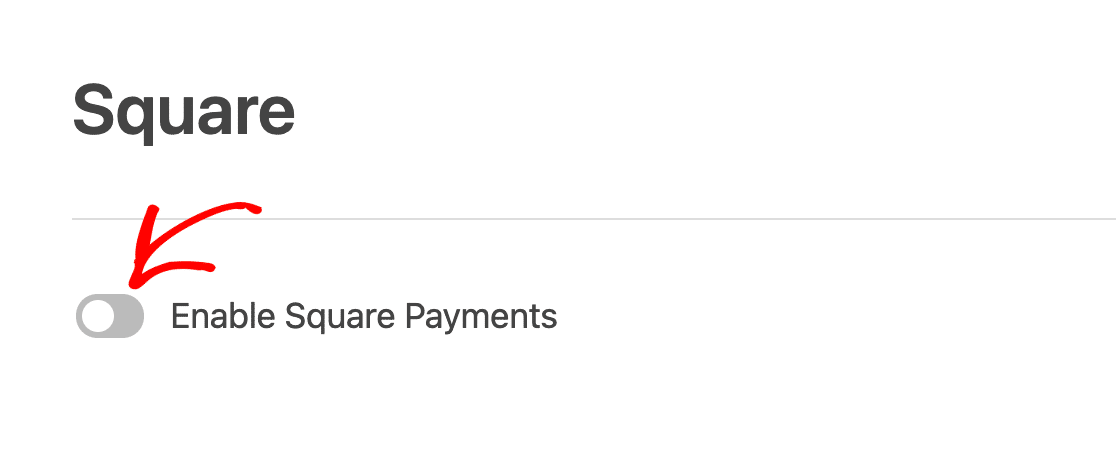
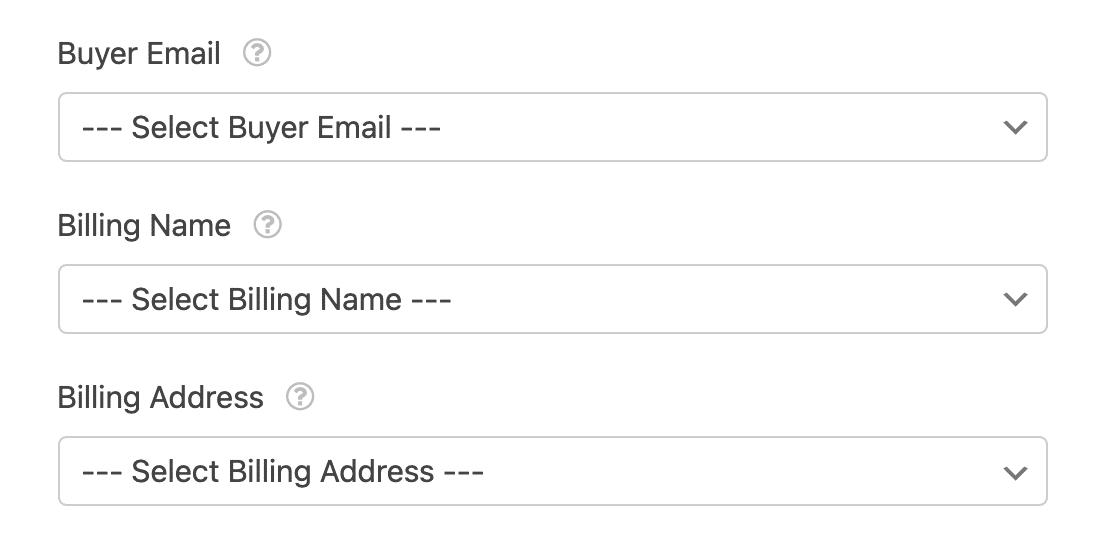
Let’s have a look at them:
- Payment Description: Here, you can enter a short payment description that will appear on your customer’s credit card or bank card statement.
- Buyer Email: From the drop-down, select Email to have Square send an email receipt.
- Buyer Name: From the drop-down, select Name to have the customer’s name associated with the payment.
- Buyer Address: Select Address to have the customer’s address associated with the payment.
Once you complete these options, click on the Save button to save your form.
Enable Recurring Payments
If you’re selling memberships, subscriptions, or donations that bill on a cycle, Square supports recurring payments right inside the WPForms form builder. You don’t need a separate subscription addon or a different gateway.
In the same Payments » Square settings panel, scroll down and toggle on Recurring Payments. New fields will appear so you can configure the plan.

Set a Plan Name, then pick a Phase Cadence from the dropdown (monthly, yearly, or custom). Square needs a way to identify each customer for recurring billing, so make sure you map the Customer Email and Customer Name fields to your form’s email and name fields.

For a broader look at how this works across different gateways, see my guide on how to set up recurring payments on your WordPress forms.
Step 6: Publish Your Form to Accept Payments
Awesome! You’ve successfully created a Square payment form in WordPress. Now it’s time to add your form to your site. With WPForms, you can add your form in multiple locations, including:
- Pages
- Posts and
- Sidebar Widget
Let’s see how you can add your Square form to the WordPress page. WPForms has a built-in Embed button in the form builder dashboard.
Using this button, you can add your form on any website page without switching the tab or closing the form window. To add your form, click on the Embed button at the top of your page

Next, you’ll get options to add your form to an existing page or create a new one. Let’s click Create New Page.

Add your page name and click the Let’s Go button.

Now WPForms will automatically create a new page and add your form to it. To publish your page on the live page, click the Publish or Update button.

And that’s it. Your Square payment form is live.
Step 7: Test Your Square Form in Sandbox Mode
Before you share your form with real customers, I’d strongly recommend running a test transaction in Square’s sandbox. Payments are the one part of a WordPress site where you really don’t want surprises on launch day.
To switch to sandbox, go back to WPForms » Settings » Payments, scroll to the Square section, and toggle on Test Mode.

You’ll need to connect your Square sandbox account the same way you connected your live account (they stay connected separately so you can flip between them at any time).

Once you’re in test mode, visit your published form and run through a submission using Square’s sandbox test card numbers.
No real money moves, but the entire flow runs end-to-end so you can check notifications, receipts, and any conditional logic you’ve set up.
For a step-by-step walkthrough with sandbox card numbers and common gotchas, see our guide on how to test Square payments.
FAQs About Adding Square Payments to WordPress
Here are answers to the most common questions I get about collecting Square payments in WordPress, including pricing, supported countries, and how Square compares to other gateways.
Is it possible to customize the checkout process when using Square on WordPress?
Yes. WPForms is highly customizable, so you can change the appearance of your form, use different layouts, and apply conditional logic to shape the checkout experience around your specific products or service.
If you’re using a Square payment form with WPForms, you have a lot of room to make the checkout feel exactly the way you want.
Are there security measures to protect customer information on Square forms?
Yes. WPForms is a secure plugin and hides sensitive customer details automatically. The payments you collect via WPForms capture the details of the customer’s submission, but the credit card number stays hidden.
That means even you, as the business owner, can’t see card numbers. Your customers get privacy and security on every Square payment form built with WPForms.
Can I track and manage Square transactions from my WordPress dashboard?
Yes. WPForms includes full payment tracking built in. You can view transactions on a clear chart right from your WordPress dashboard, including total payments, total sales, subscriptions, coupon usage, and more.
For the full walkthrough, see our guide on how to manage payments with WPForms.
Can I accept recurring payments with Square in WordPress?
Yes. WPForms lets you accept recurring payments through the Square Pro addon. You can charge customers weekly, monthly, yearly, or on a custom schedule right from the form settings, no extra tools needed. Just make sure to map the customer email and name fields so Square can identify each subscriber correctly.
How much does Square charge for WordPress payments?
Square charges 2.9% + 30¢ per online transaction, with no monthly fees and no setup fees. If you’re on WPForms Pro or Elite, WPForms adds zero additional processing fees, so you only pay Square’s flat rate. That makes the all-in cost simple to calculate against your average order value.
Is Square available in my country for WordPress payments?
Square is currently available in the United States, Canada, the United Kingdom, Australia, Japan, Ireland, France, and Spain. If your business is outside these regions, Stripe or PayPal Commerce may be a better fit. Both are also supported by WPForms.
What’s the difference between Stripe and Square for WordPress?
Stripe and Square both support credit cards and recurring billing on WPForms, and both charge similar per-transaction fees. Stripe has wider country coverage and more developer tooling. Square tends to win for businesses that already use Square for in-person sales or a Square Online store. For a full side-by-side, see our Stripe vs. Square comparison.
What’s the best way to test Square payments in WordPress?
The easiest way is to switch Square to sandbox mode inside WPForms payment settings. This lets you place test orders without using real money, so you can confirm everything works before going live.
Do I need an SSL certificate to use Square on WordPress?
Yes. You’ll need an SSL certificate to use Square on your WordPress site. It protects your customers’ payment details and is required to connect with Square securely.
Ready to Accept Square Payments on Your WordPress Site?
WPForms makes it the fastest path: install Pro, add the Square Pro Addon, connect your Square account, and your first form is live in under 10 minutes. WPForms charges no per-transaction fee on Square — you only pay Square’s standard 2.9% + 30¢ per online card transaction.
Get WPForms Pro → — includes Square Pro Addon, payment tracking, and 14-day money-back guarantee.
Create Your WordPress Square Form Now!
Related guides
Make an Authorize.Net Payment Form in WordPress
How to Accept Payments with Stripe
How to Add Optional Payments to Your WordPress Forms

