With a business card order form, you can display business cards online for your customers and provide them with an easy way to choose the option they want to purchase.
A well-designed Business Card Order Form can even take the guesswork out of the process, allowing you to gather all the necessary details in one place while minimizing errors.
Create Your Business Card Order Form Now! 🙂
In this article, we’ll show you how to create a business card order form using the WPForms image choices feature so you can give people the best buying experience possible.
How To Make The Business Card Ordering Process Easier
You can easily create a business card order form in WordPress with WPForms. Follow the steps below to get started right away!
- Step 1: Install and Activate the WPForms Plugin
- Step 2: Create and Customize Your Business Card Order Form
- Step 3: Add Images of Business Cards Options
- Step 4: Configure Your Form's Payment Settings
- Step 5: Customize Your Form's Notifications and Confirmations
- Step 6: Add Your Business Card Order Form to Your Website
If you want to see a tutorial on a standard order form instead, check out our detailed steps for creating a simple order form in WPForms.
Step 1: Install and Activate the WPForms Plugin
Creating a business card order form is an easy and straightforward process. I recommend getting the WPForms Pro license for this purpose.
Not only will you unlock tons of extra features, addons, and 2,000+ WordPress form templates+ WordPress templates, but you’ll also remove extra fees associated with Stripe payment processing.
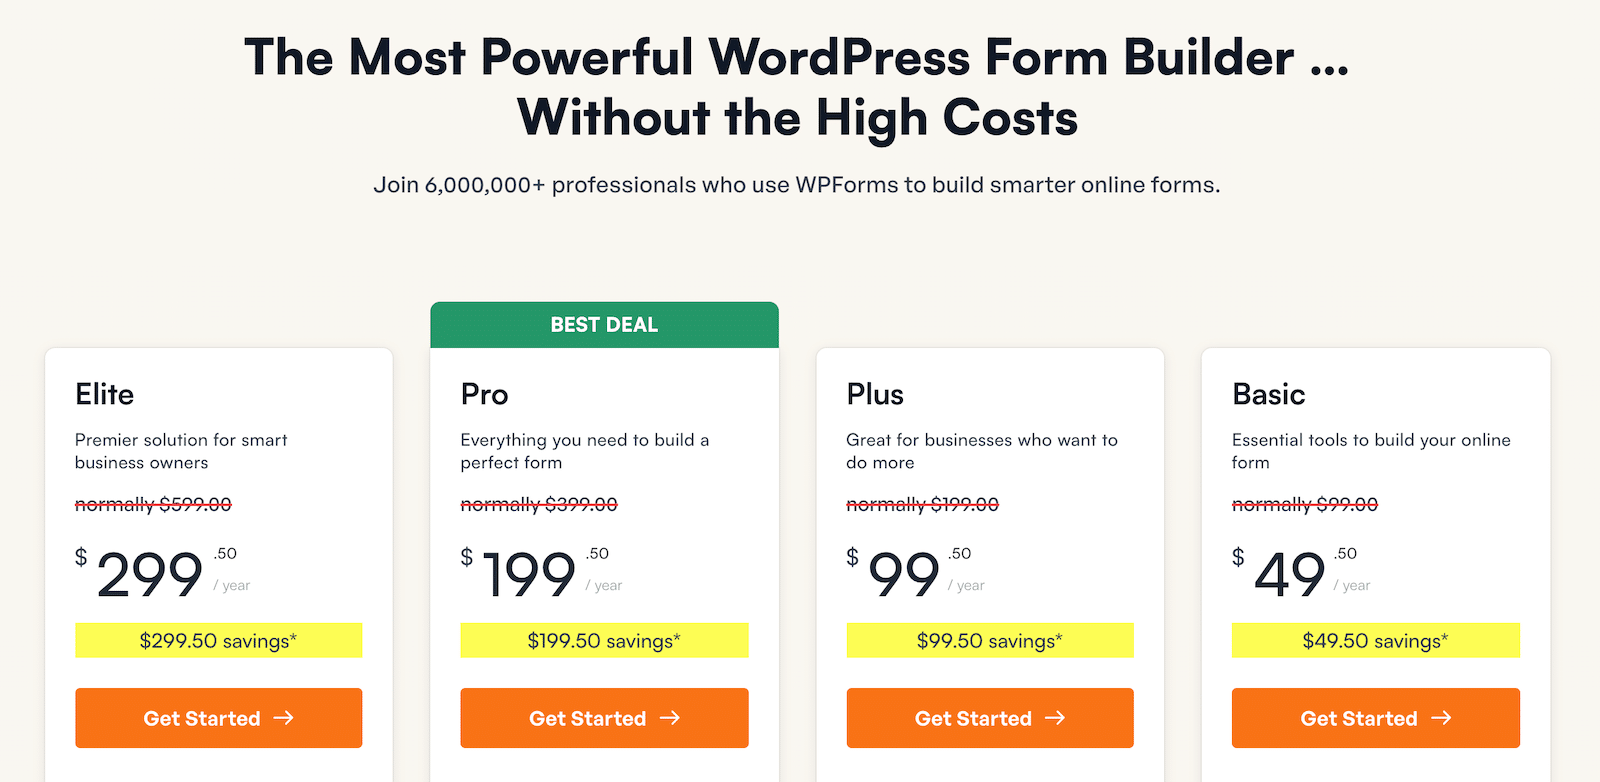
After purchasing WPForms Pro, you can install WPForms on your site. If you need help with the setup, see the steps mentioned here for installing WPForms.
When WPForms is ready on your site, we can go ahead and create a custom business card order form as shown in the next steps.
Step 2: Create and Customize Your Business Card Order Form
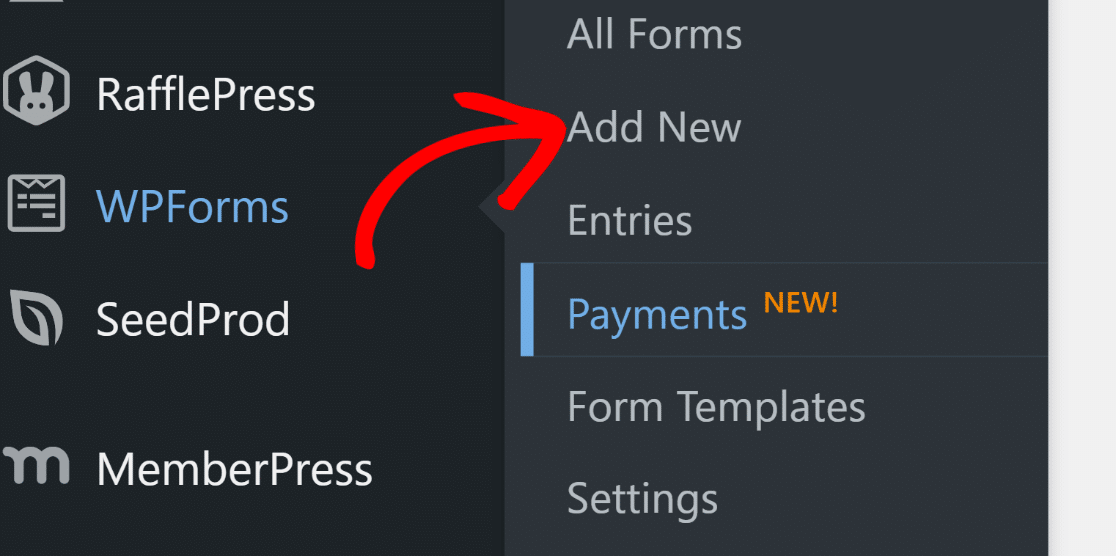
Open your WordPress admin menu and navigate to WPForms » Add New.
Now, you’re ready to give a name to your form (this is for internal reference only) and select a template.
I suggest using the billing/order form template because it includes most of the fields you’ll need for your business card order form. It’s one of the many options from our business operations template category.
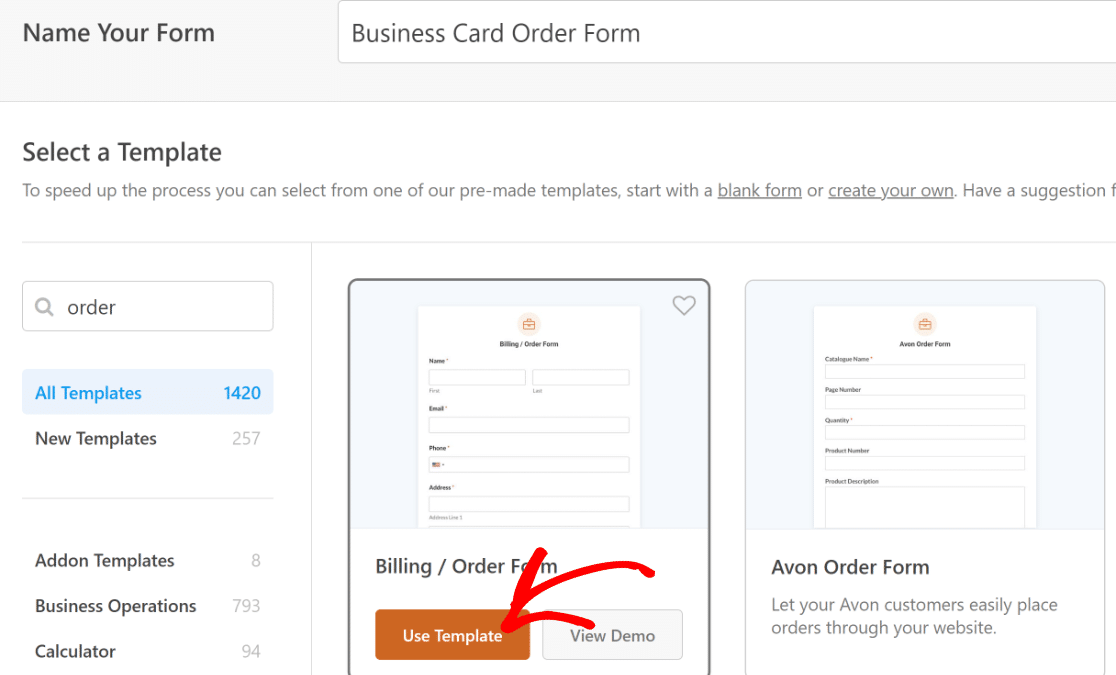
As soon as you select the order form template, you’ll be taken to the WPForms form builder.
You can see your order form on the right and the list of form fields on the left.
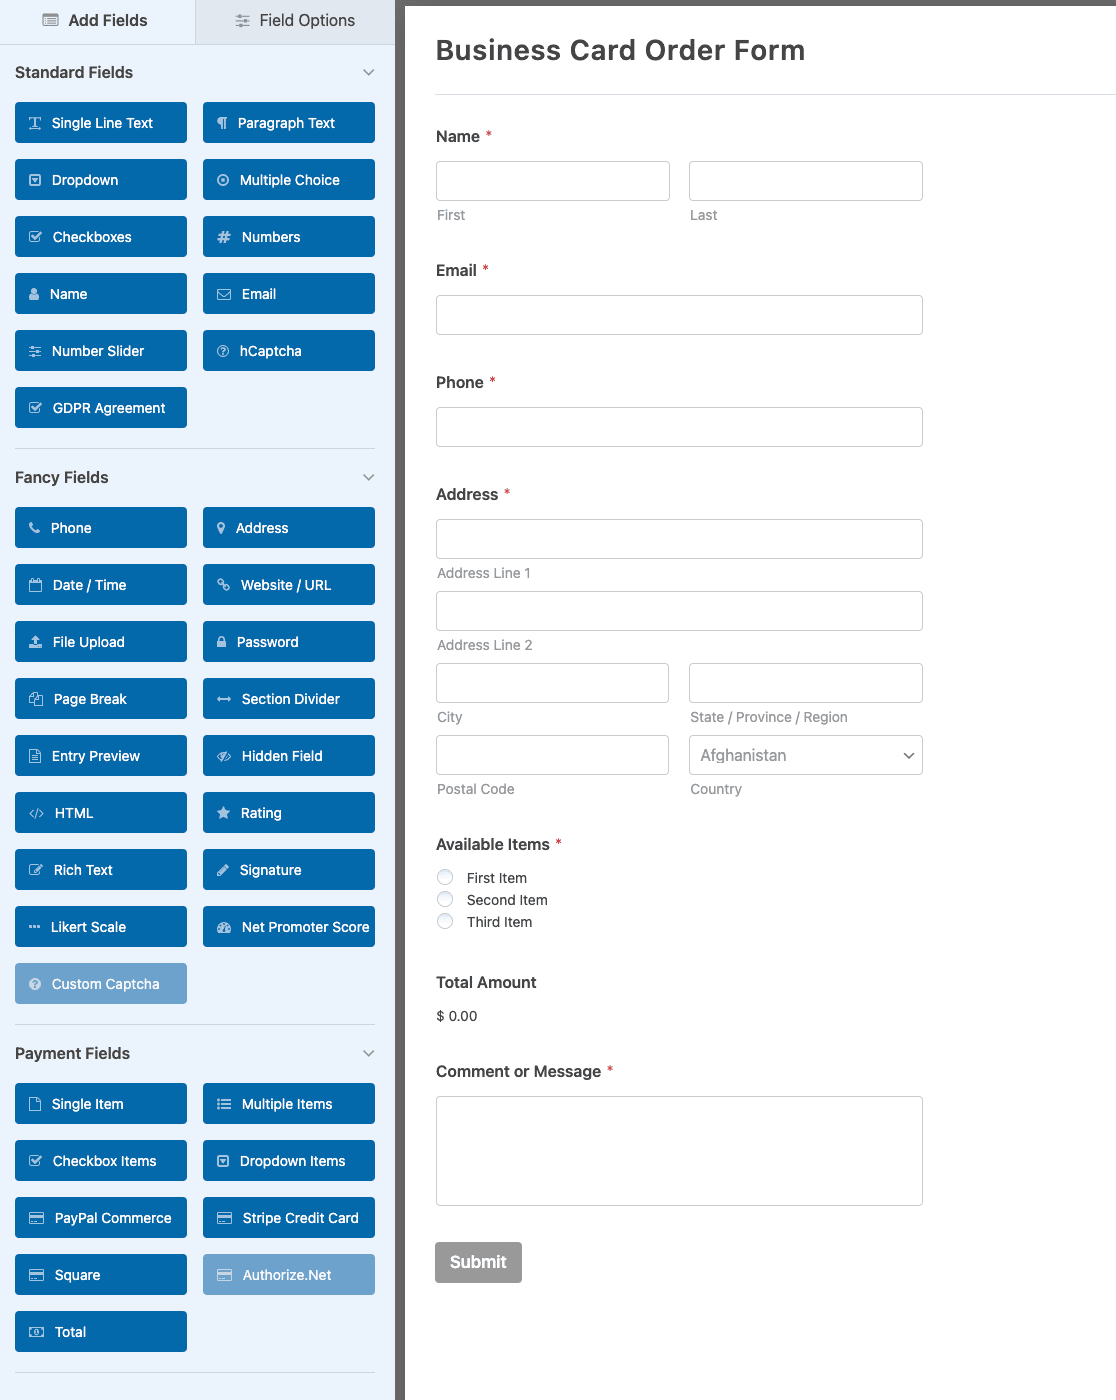
You can add additional fields to the form by dragging them from the left-hand side to the right-hand side of the builder.
For my example, I’m going to use the template as-is. But because our goal here is to sell business cards, I’ll edit the Available Items field to match business card options that customers can choose from.
To access options for any field, simply click on it and the Field Options will open on the left-hand pane.
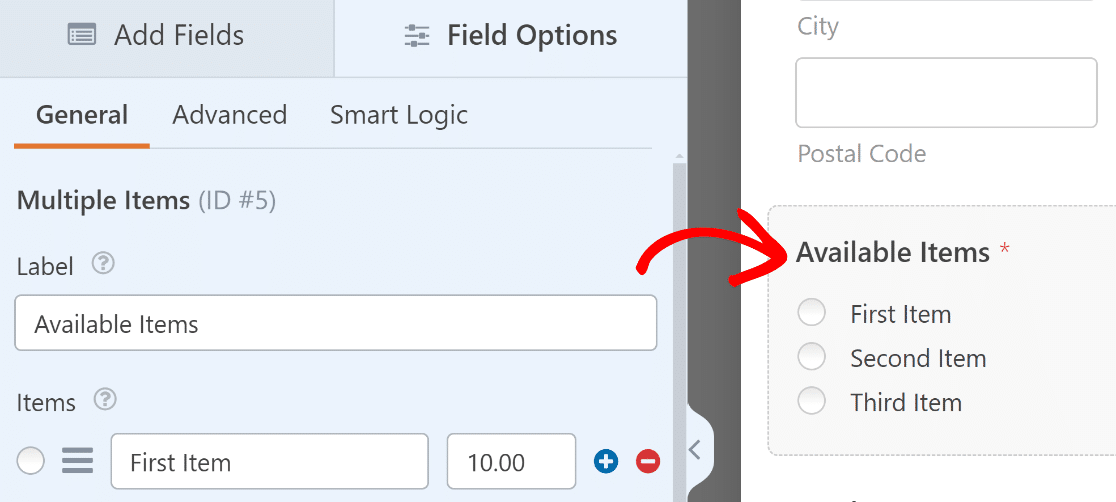
Let’s change the label of the field so that it makes more sense, something like Choose your business card.
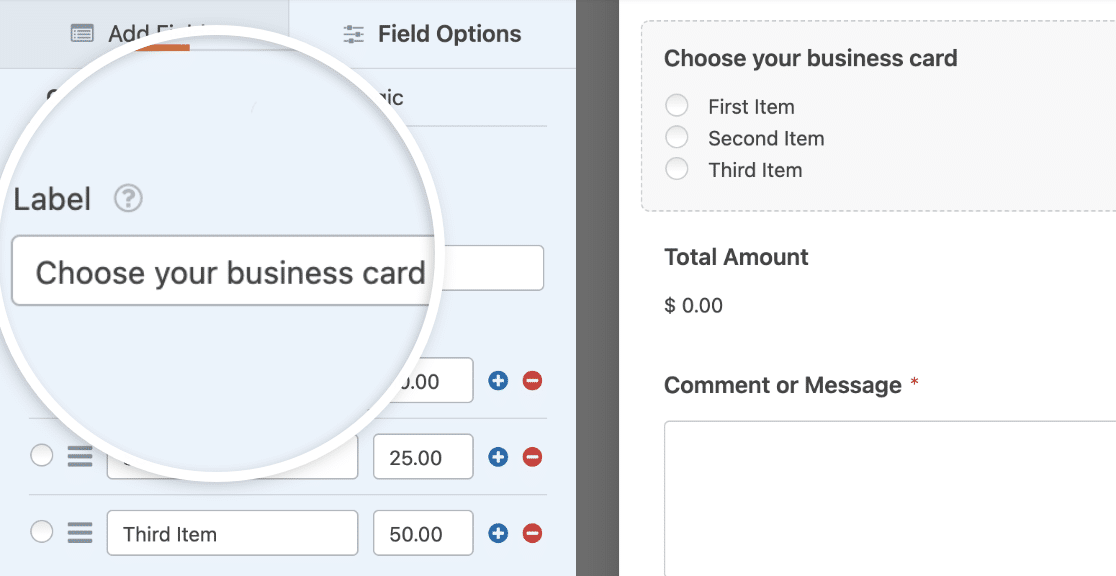
Let’s also add 4 business card options and complete them with image choices, so your customers know exactly what they’re getting when they pick an option.
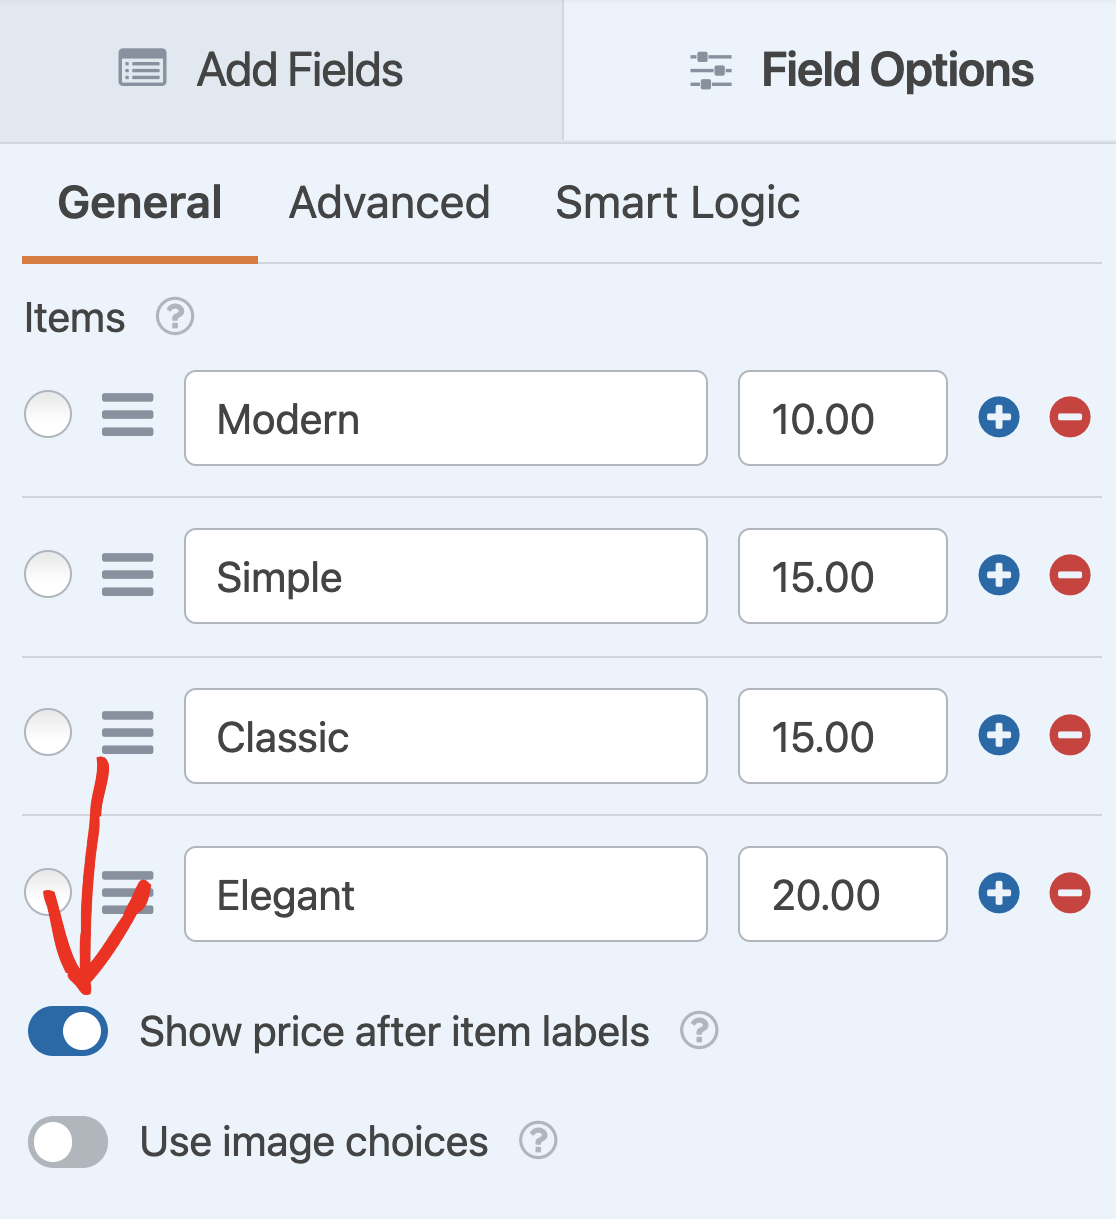
You can change the label of the items you’re selling as well as their price. These options are available in the Items section. The first column is the label and the second column is where you can enter the price for that item as I’ve done here:
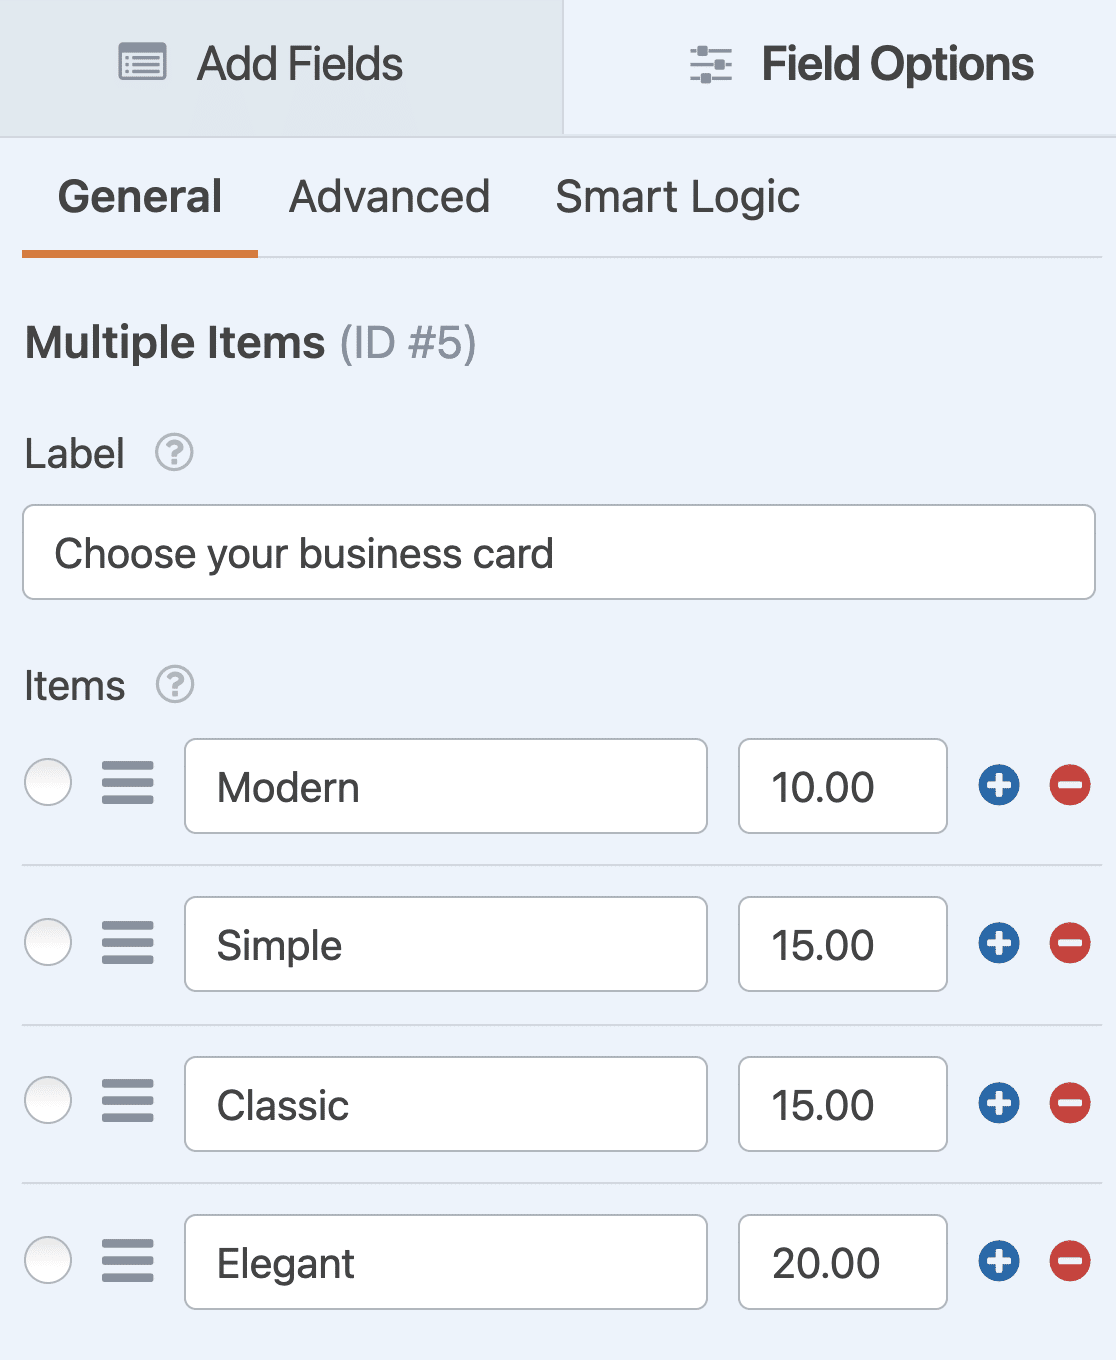
You can add or remove options by clicking on the plus (+) or minus (-) buttons on the right of each row.
If you’d like to display the price of each business card option, enable the Show price after item labels toggle button under the Items fields.
Great! Now, let’s see if we can make this form more visual by adding images of the business cards you’re selling.
Step 3: Add Images of Business Cards Options
Now, it’s time to add images of the business cards you want available for people to choose from. To add images, enable the Use image choices toggle button.
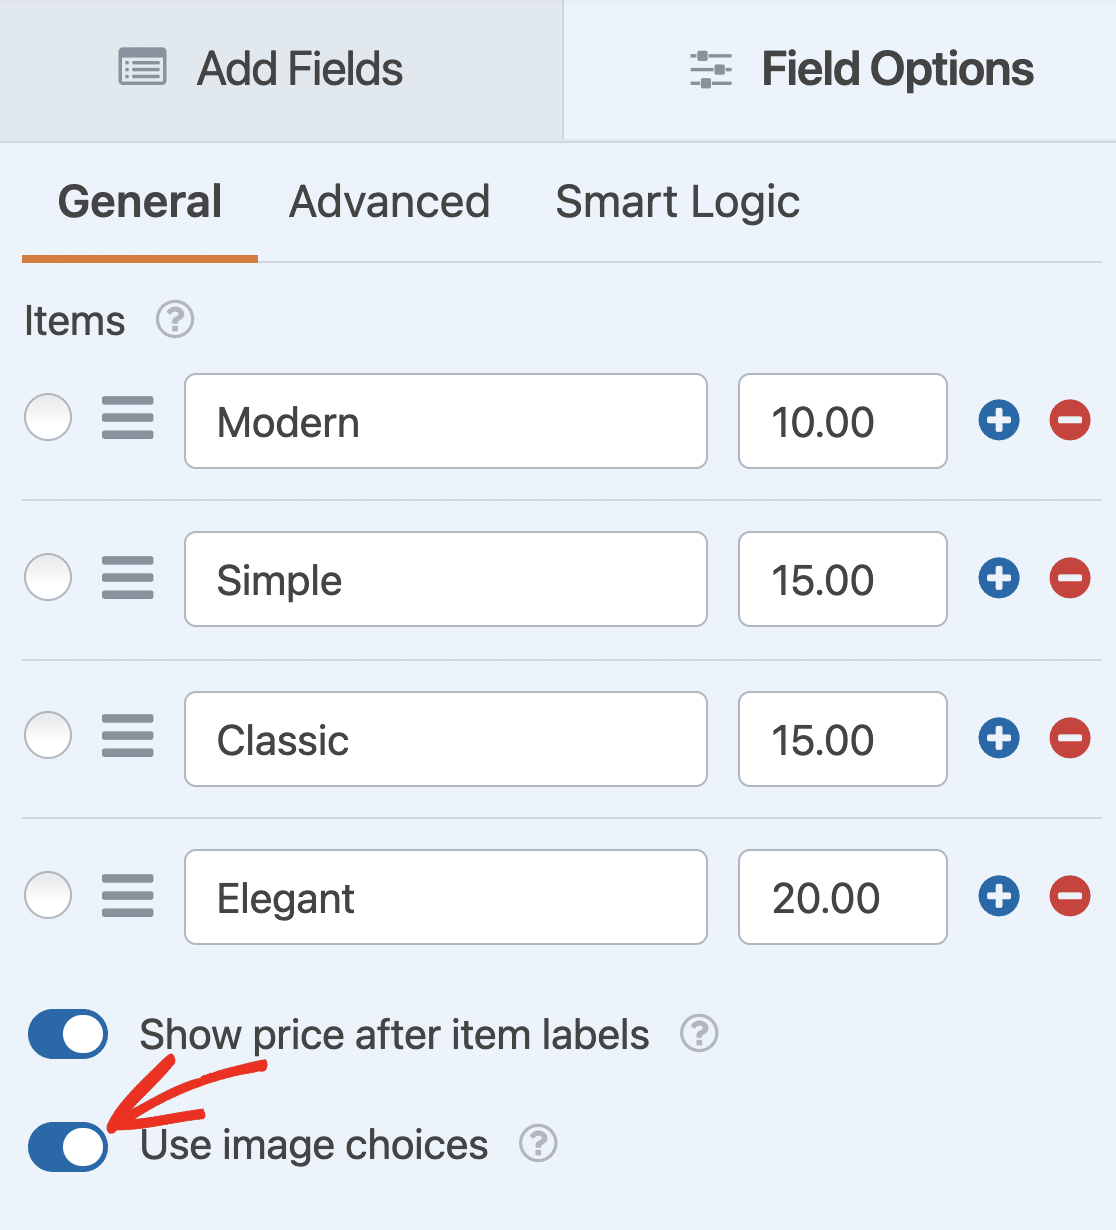
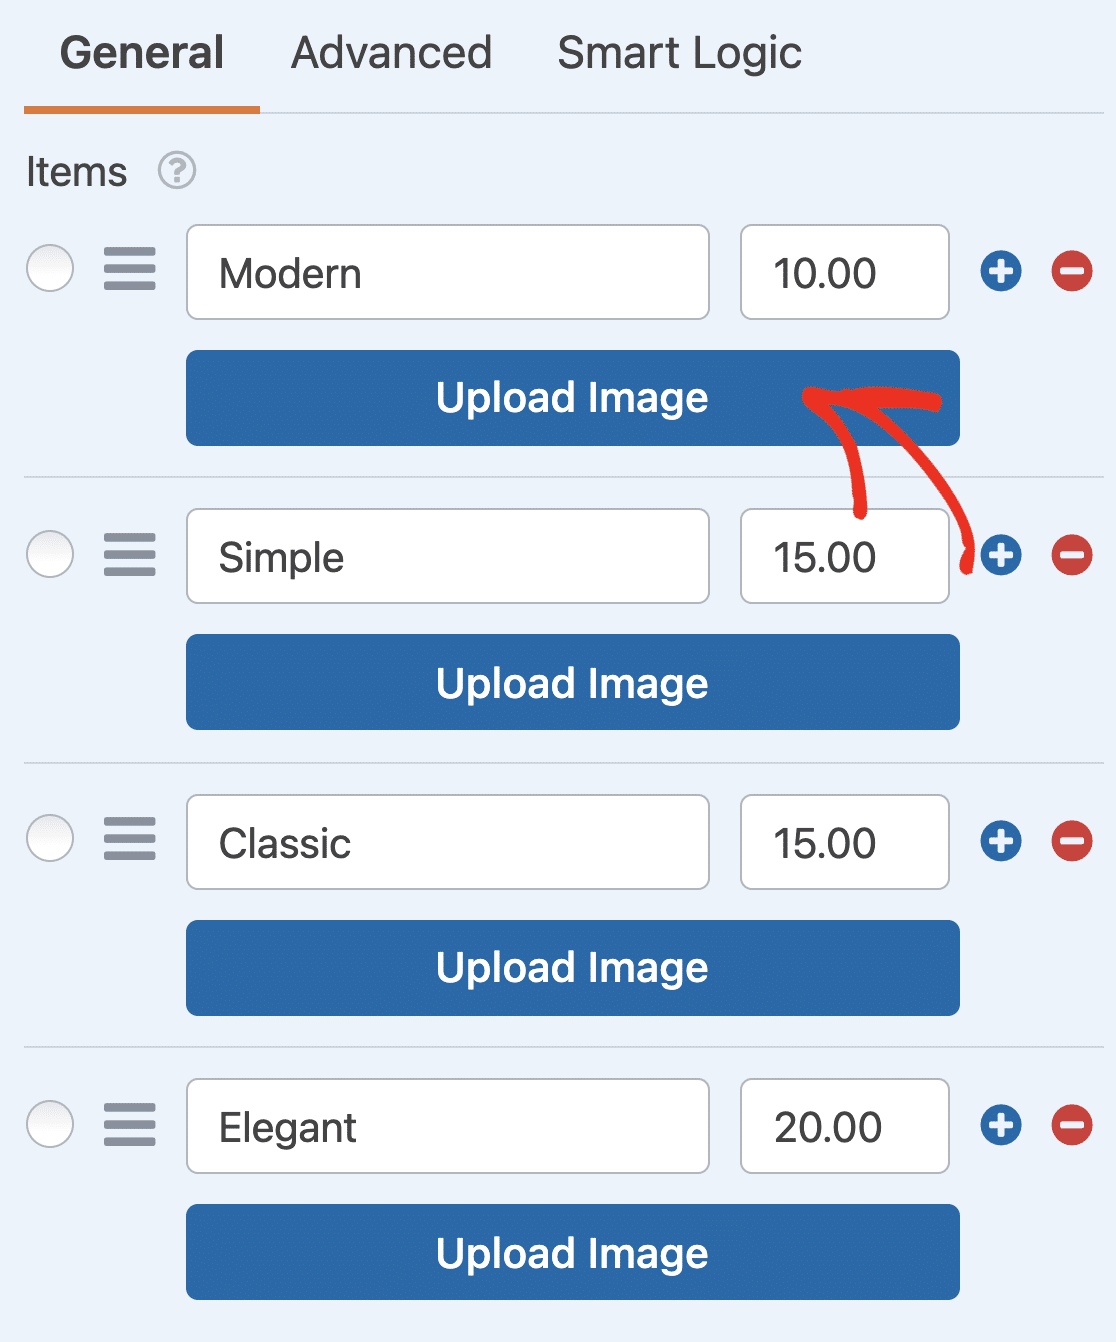
You can now upload your business card images in the Multiple Items form field. Just click on Upload Image under each option and choose the images you want to add for each item available for purchase.
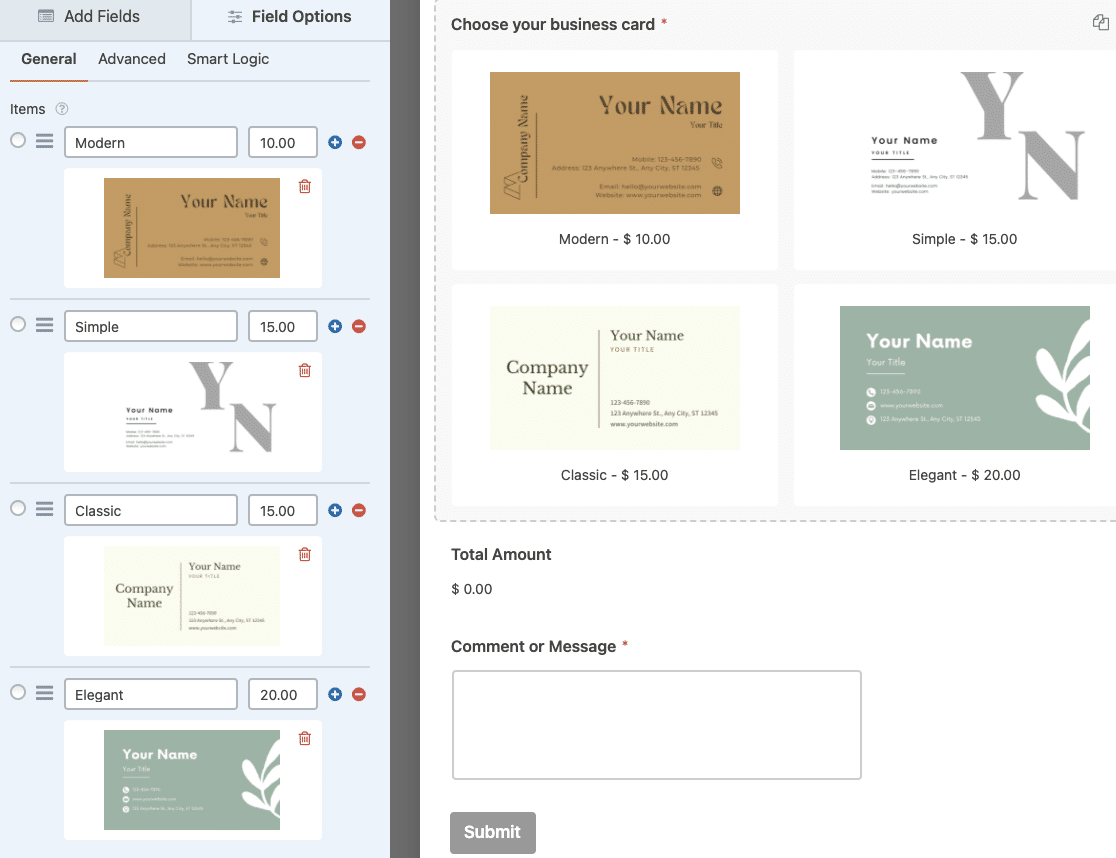
As you upload an image, you can check the live preview ti make sure they look like you want them to.
Moreover, you can also choose the image layout for your business card order form. In the left-hand panel of the form editor, click on Advanced. Then choose one of the options from the Choice Layout dropdown.
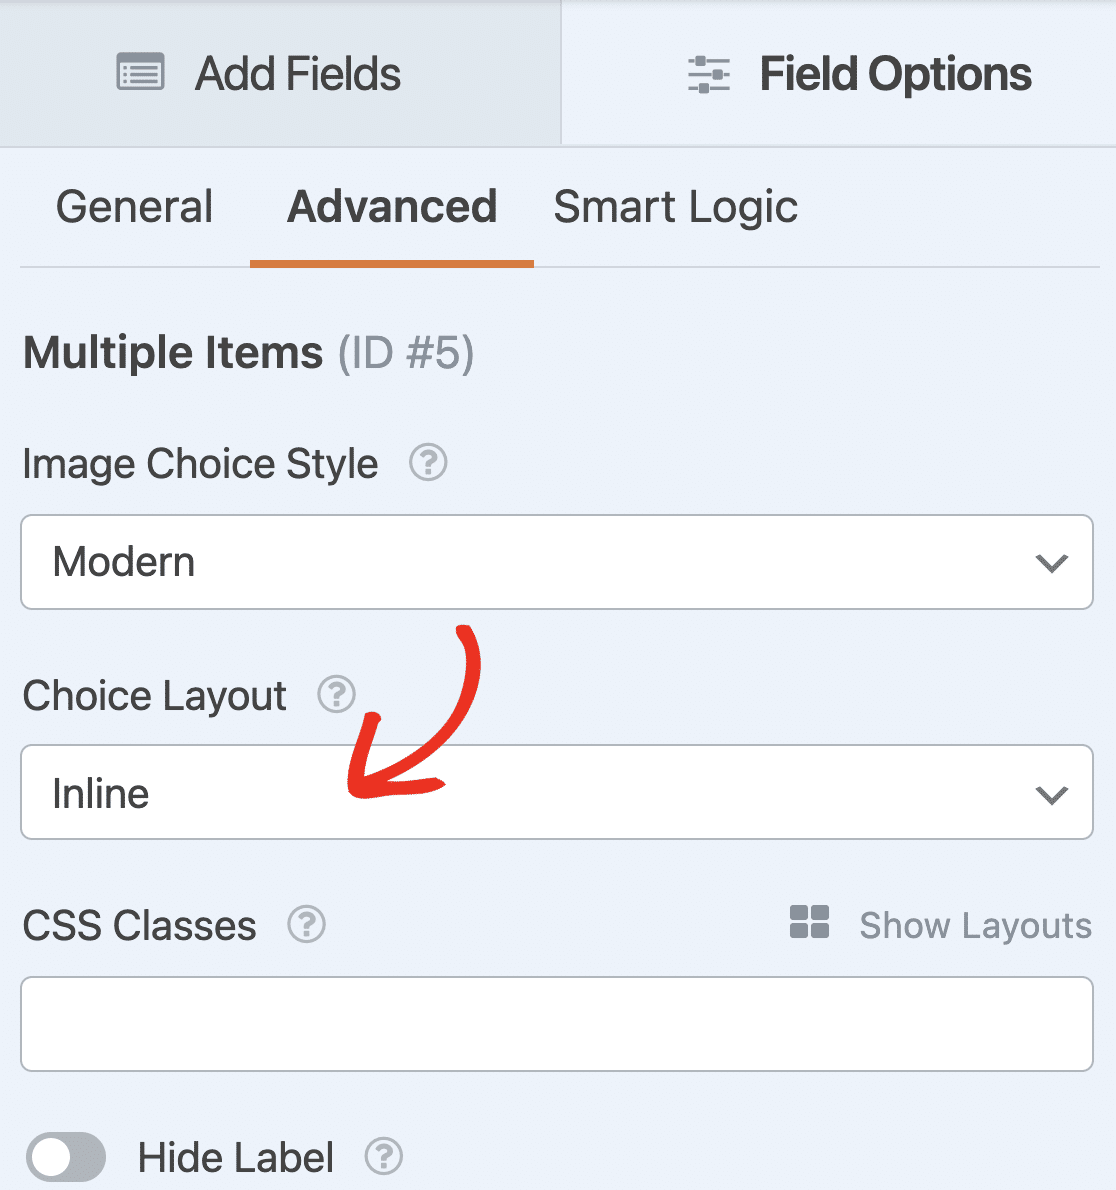
You can display your images in:
- Line
- 1 column
- 2 columns
- 3 columns
Now let’s configure the payment settings for your form.
Step 4: Configure Your Form’s Payment Settings
While creating an online order form, it’s important to set the payment options correctly for your buyers and business.
To configure the payment settings for your business card order form, click on the Payments tab on the very left corner of your page.
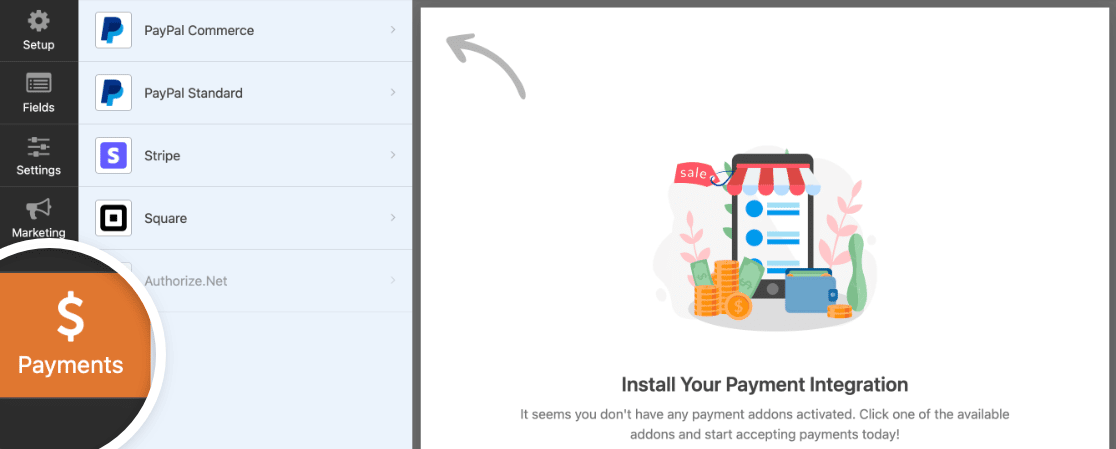
WPForms integrates with PayPal, Square, Authorize.Net, and Stripe for accepting payments. For our order form, we’ll choose Stripe to process payments.
Note: The Authorize.Net payment option is included in the WPForms Elite Plan.
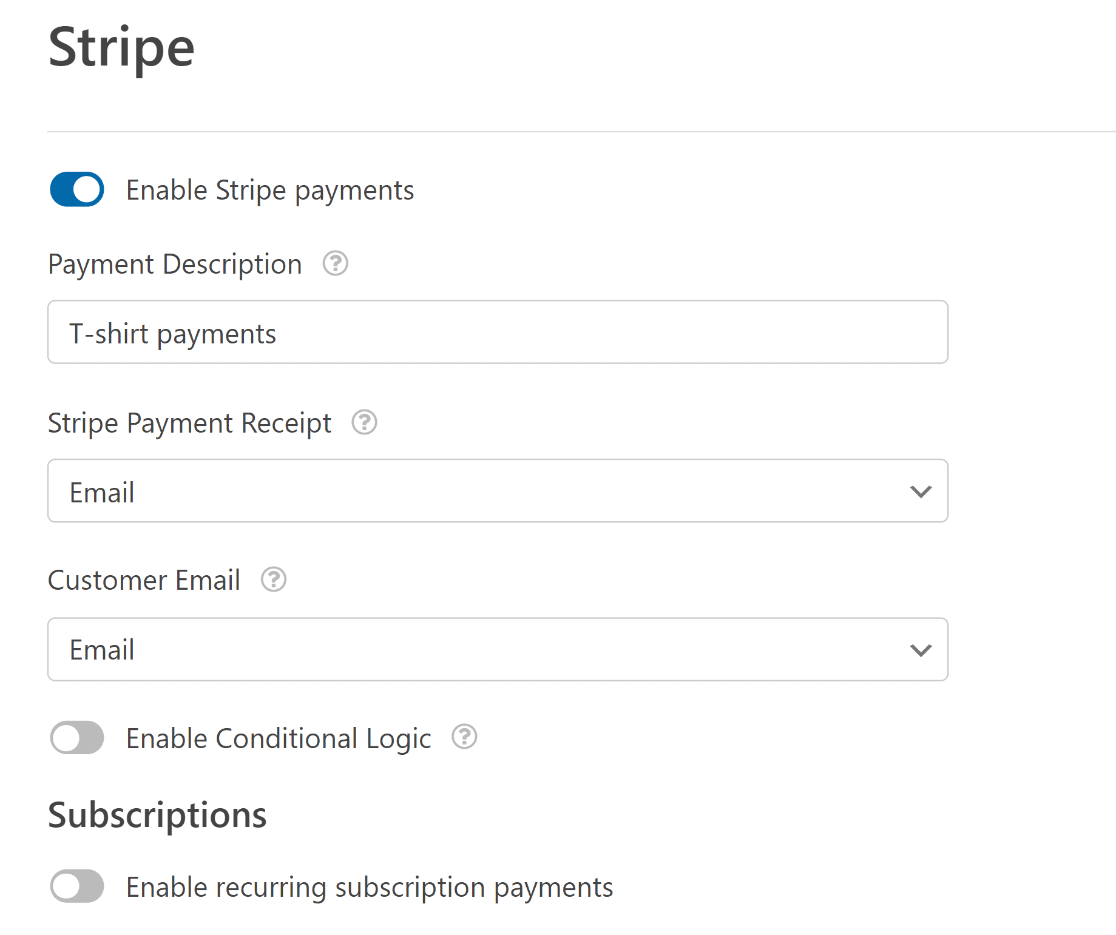
Here you’ll need to configure the following options:
- Toggle on Enable Stripe Payments
- Map the Stripe Payment Receipt field to the Email Address field in the form to send a payment receipt from Stripe directly to your customer’s inbox
- Select the field to pull the email address from for the Customer Email dropdown to track payments from your Stripe dashboard.
Test Stripe Payments
Before you accept actual payments in WPForms, would you like to test Stripe transactions first? Test credit card numbers can be used on your website to make trial purchases, and you can review the transactions by signing into your Stripe account.
Once done, click on the Save button. Superb! You’ve configured the payment settings. Now let’s tweak some additional settings for your online business card order form.
Step 5: Customize Your Form’s Notifications and Confirmations
To edit your form notifications, go to Settings » Notifications inside the form builder.

Here, you can customize which email addresses receive notifications about order form submissions.
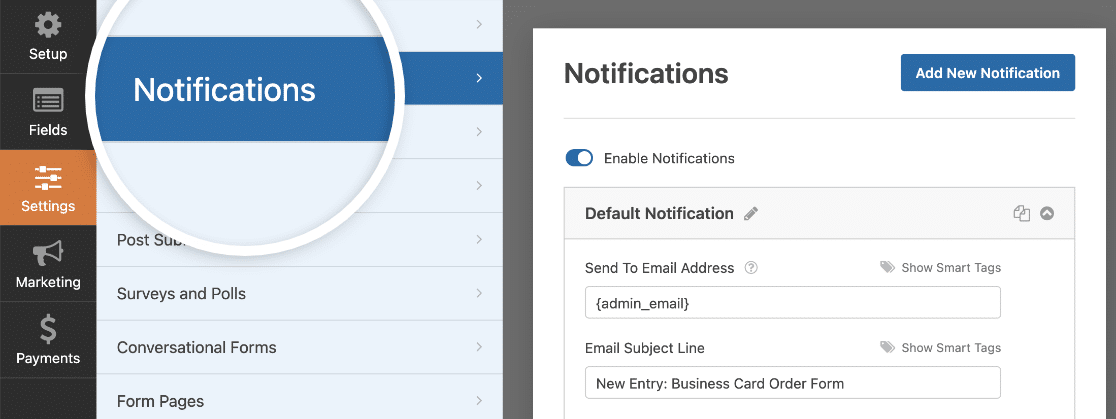
You can also add multiple form notifications. This is helpful if you want to send a separate notification to your customers as well and let them know that you’ve received their order.
Next, click on the Confirmation tab to customize the message people receive from you once they submit their order form.
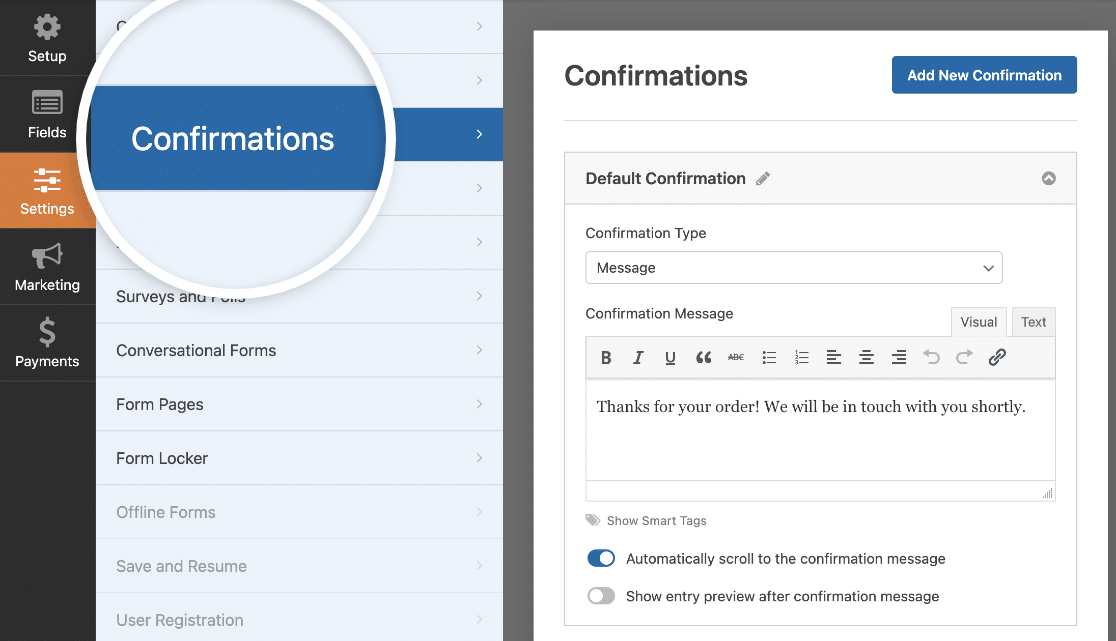
WPForms has three confirmation types, Message, Show Page, and Go to URL (redirect).
- Message: You can display a sweet and simple customized message to your buyers once they complete their purchase.
- Show Page: You can create and display a beautiful Thank You Page to your buyers. Choosing this confirmation type helps you redirect your customers to a thank you page on your website.
- Go to URL (Redirect). This option is used when you want to send site visitors to a different website.
Step 6: Add Your Business Card Order Form to Your Website
And you’ve configured all your form settings successfully. Lastly, you need to embed your business card order form on your website.
With WPForms, you can add online forms in multiple locations, including your blog posts, pages, and even sidebar widgets of your website.
Before embedding your form to a page, you can check how your form will look on your website page. To preview your form, click on the Preview button at the top.

Let’s add your business card order form to your page. Create a new page or open an existing page on the WordPress website. Click on the + icon and add the WPForms block from the block editor.
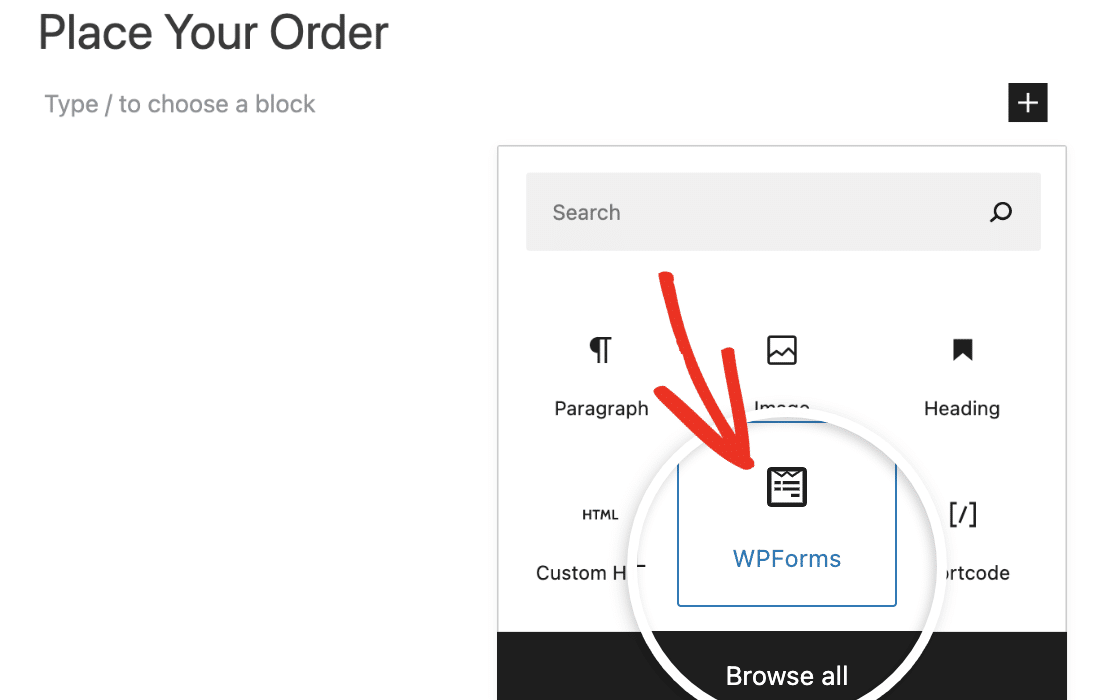
Select your form and publish the page.
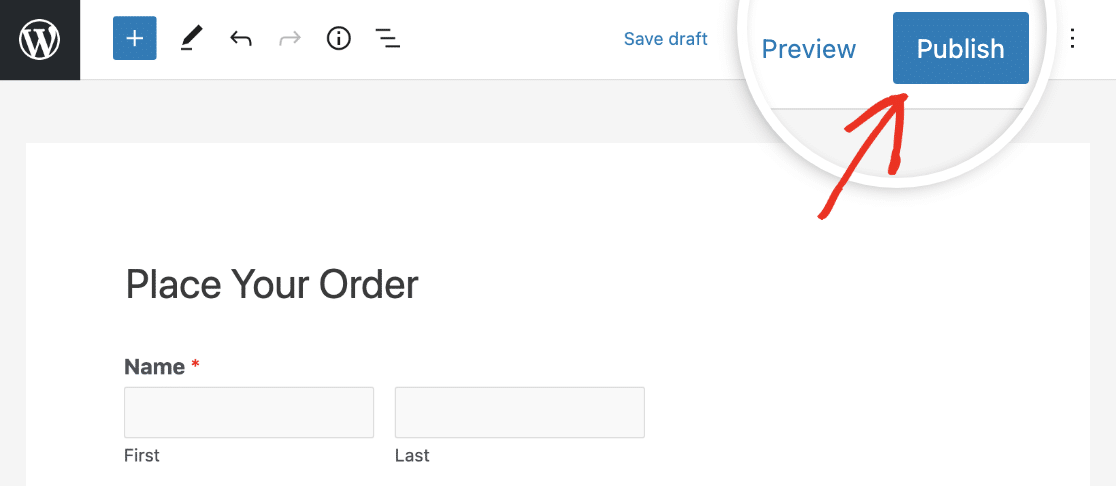
Congrats! You’ve created a business card order form for your website. Now you can start making sales.
If you ever need to find an order from a specific customer, you can go to WPForms » Entries and search for their name, email address, or even their receipt number.
Viewing and Managing Payments
Are you unsure how to locate and handle your payments in WPForms? We’ve made it easier for you with our Payments page, which compiles all user payment data from your website’s forms into one handy spot.
And there you have it! You now know how to create a business card order form using the image choices feature in WPForms.
Business Card Order Form – FAQs
Here are a few commonly asked questions about business card order forms for WordPress.
What is a business card order form?
A business card order form is a form that you can use to display and sell business cards online. With a business card order form, you can collect your customers’ information such as email, name, phone number, or shipping address and allow them to select their business card from the available card options in the form.
Why create a business card form with WPForms?
WPForms is the best form builder plugin for WordPress. On top of business card order forms, you can create many other awesome online forms using this plugin.
Creating business card order forms with the WPForms plugin allows you to add plenty of powerful features to your form. You can:
- Add images to your online business card order form to make it more interactive
- Add a pricing dropdown menu for easy purchase
- Integrate your online form with popular payment tools such as PayPal, Square, or Stripe to collect your payments
- Add a special coupon code field to your form
- … and much more.
How can I reduce abandonment from my business card order forms?
Suppose you want to display a long order form with a ton of information for people to fill out all at once. This can lead to high abandonment rates and form fatigue.
One effective way to combat abandonment is by creating a multi-step form in WordPress using WPForms.
How do I arrange my business card?
When arranging your business card, start with the essential information: your name, title, company logo, and contact details. Ensure the layout is clean and easy to read.
If you’re ordering business cards for a team, use a Business Card Order Form like the one you can create with WPForms to gather and organize all the necessary details.
What is the standard business card order size?
The standard business card size is 3.5 x 2 inches (88.9 x 50.8 mm). This size fits comfortably into most wallets and cardholders, making it the most common choice for business cards.
What is a normal amount of business cards to order?
A typical order for business cards ranges from 100 to 500 cards, depending on individual needs. If one is attending a large event or conference, they might want to order more. Using WPForms, you can easily set up a Business Card Order Form to manage multiple orders efficiently.
Next, Grow Your Online Business
After setting up your online order form, you might want to know the parameters that help you grow your online business. Check out our impressive article on how to get your online business to the next level for more details.
Next, you might be interested in checking out these useful eCommerce statistics. If you want to manage paid leave requests from your employees better, you may want to try making a time off request form.
Create Your WordPress Form Now
Ready to build your form? Get started today with the easiest WordPress form builder plugin. WPForms Pro includes lots of free templates and offers a 14-day money-back guarantee.
If this article helped you out, please follow us on Facebook and Twitter for more free WordPress tutorials and guides.

