AI Summary
Creating a payment form for your WordPress site might seem like a challenge, especially when it involves handling sensitive information like credit card details.
I’ve had plenty of experience creating payment forms, and I’ve found that Authorize.Net is one of the most dependable options out there.
In this guide, I’ll walk you through the exact steps to create an Authorize.Net payment form on your WordPress site quickly and easily. Let’s dive in!
Create Your Authorize.Net Form Now! 🙂
How to Make an Authorize.Net Payment Form in WordPress
Making a payment form in WordPress sounds like hard work. But with WPForms it’s easy and fast. The Authorize.Net addon does all the work for you. Follow the steps below to get started.
Step 1: Install and Activate the WPForms Plugin
WPForms is the best form builder plugin for WordPress that makes it possible to create contact forms, payment forms, order forms, calculation forms, and the list goes on.
In order to use WPForms with Authorize.net, you’ll need access to the WPForms Elite license. This will provide you access to the relevant addon and a ton of amazing features.
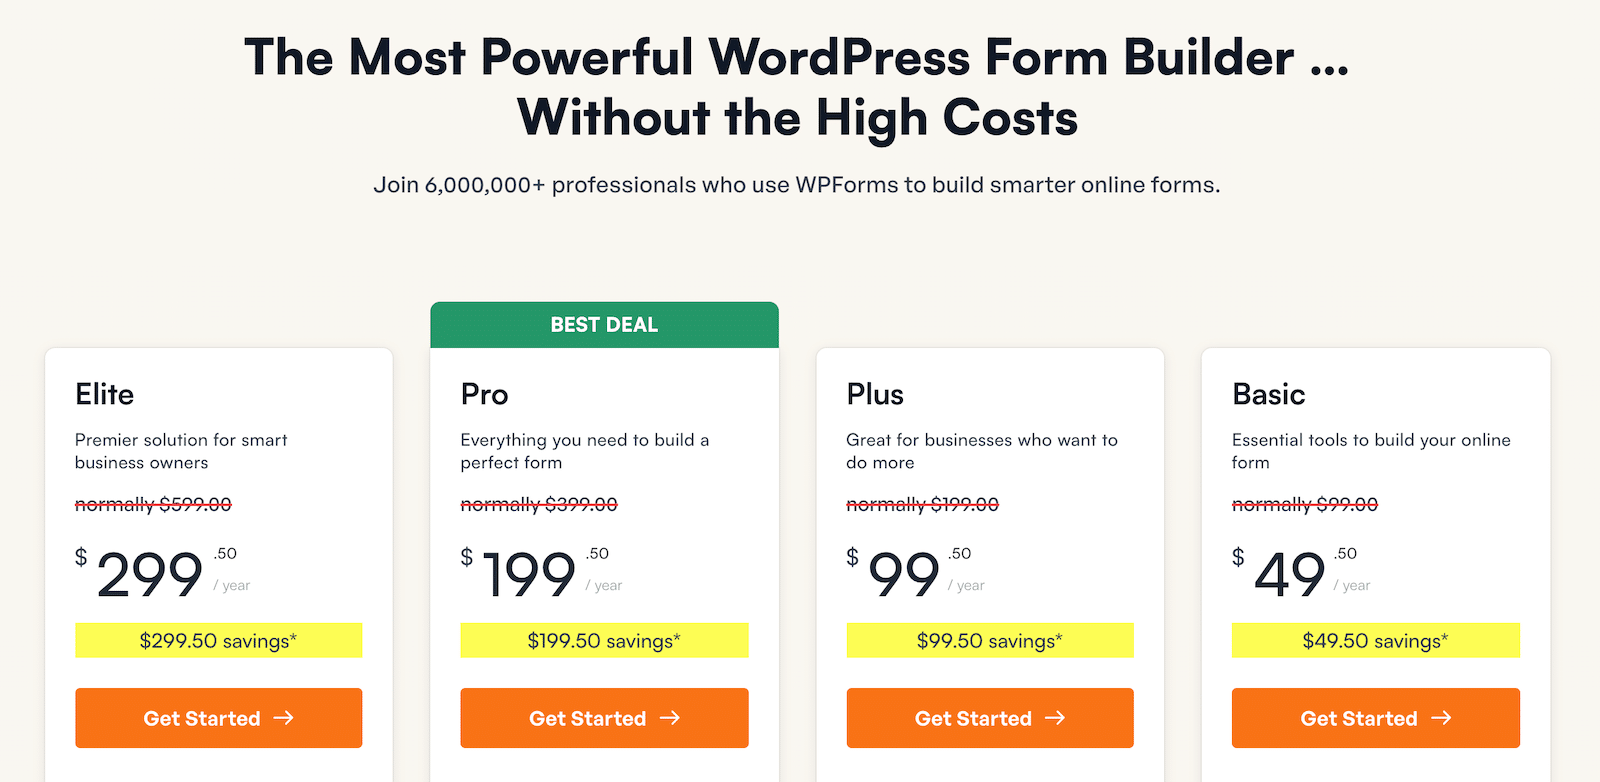
So, without further ado, install and activate the WPForms plugin. If you need a hand with this step, hop over to this beginners’ guide to installing a WordPress plugin.
Upgrade to WPForms Elite Now! 🙂
Step 2: Get the Authorize.Net Addon from WPForms
Now you have WPForms activated, you’ll also want to install and activate the Authorize.Net addon. In the WordPress dashboard, click WPForms on the left. Click Addons.
Find the Authorize.Net addon and and click on the Install button. If the addon shows a deactivated status, go ahead and move the toggle to the Activated position and then click on Settings.
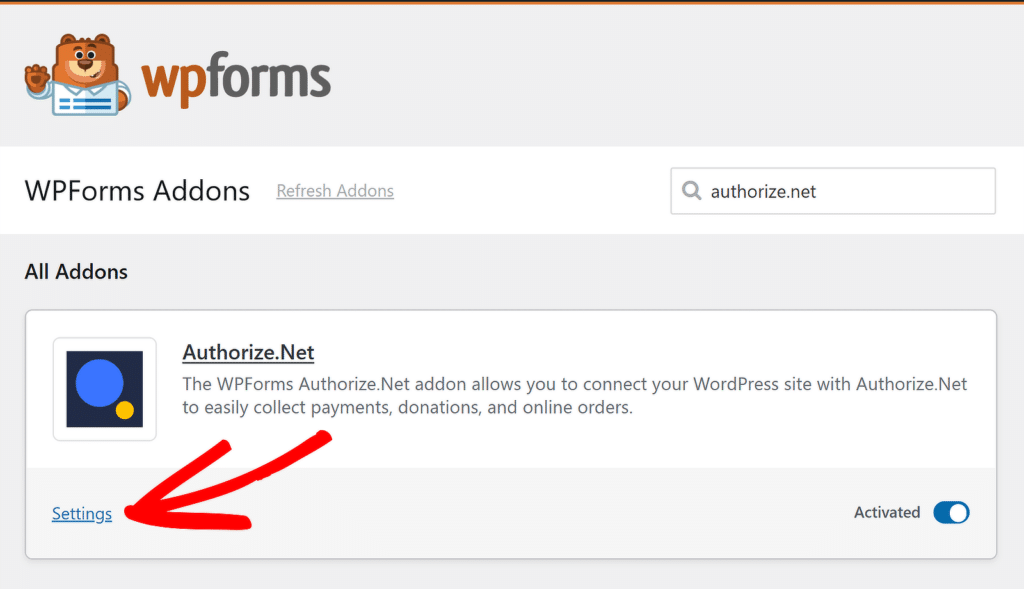
This will redirect you to the Payments tab, where you can quickly check that the payment settings are set up the way you want them. For instance, select the currency you want to use from the Currency dropdown here.
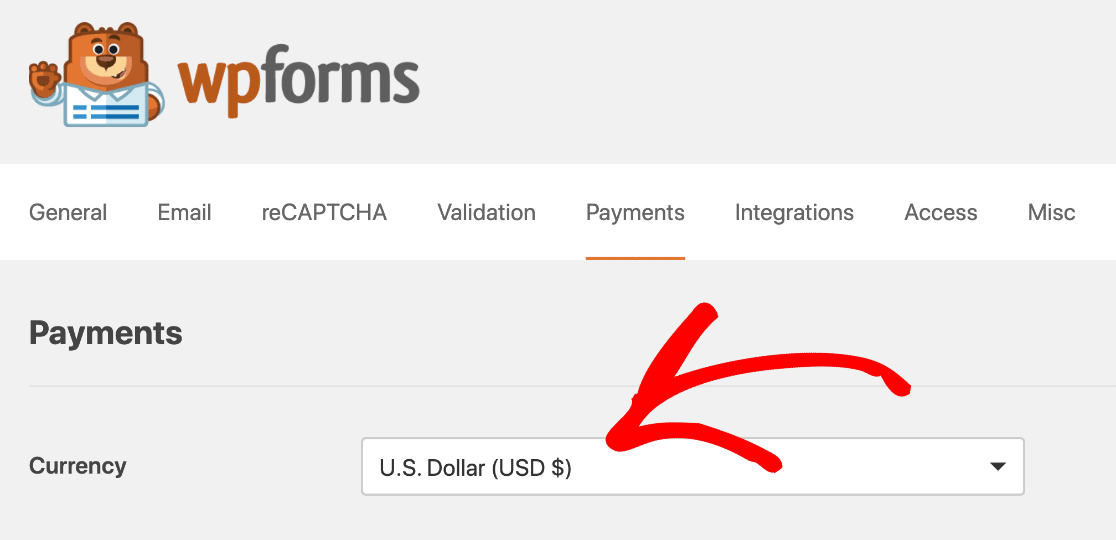
All done! Now it’s time to connect WPForms to Authorize.Net, so that you can easily create your payment form and start accepting orders right away.
Step 3: Customize Your Authorize.Net Settings
You can choose to set up your Authorize.Net payment form with a test connection if you want to. But in this example, we’ll set up a Live connection.
If you don’t want people to use the form yet, we recommend setting it up in Test mode. In a new tab, let’s log in to your Authorize.Net account.
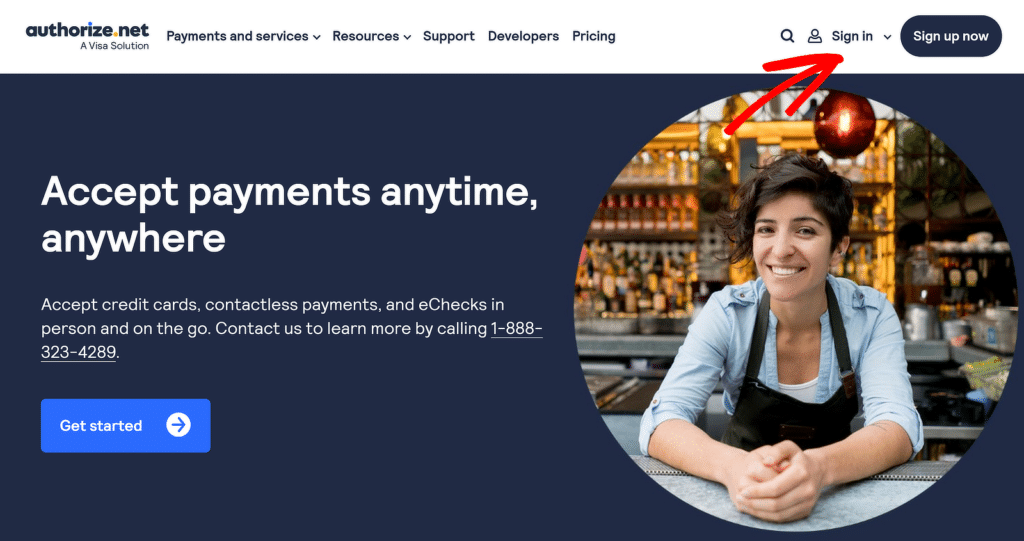
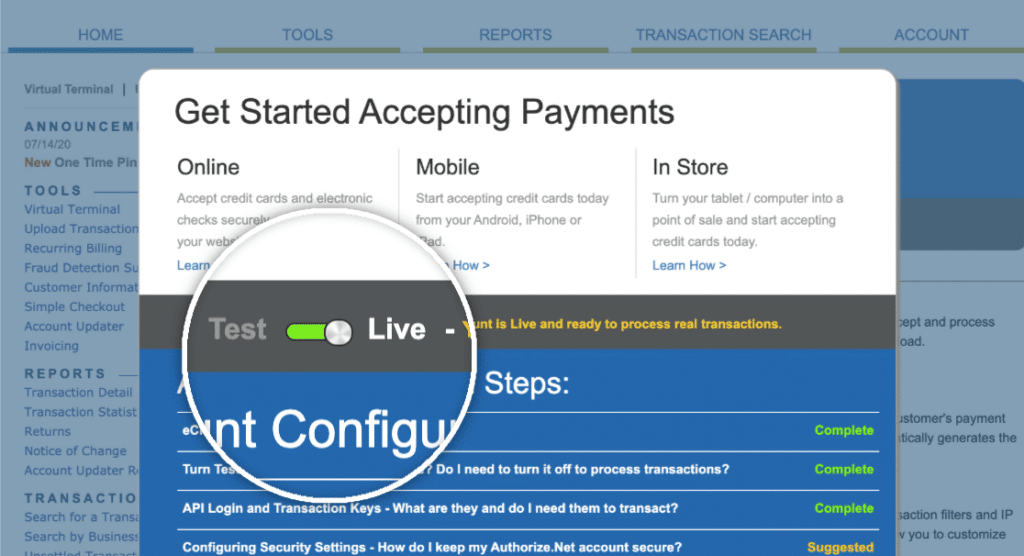
Once you’re logged in, make sure you’re in Live mode. You can click the switch in Authorize.net to change the setting if you need to.
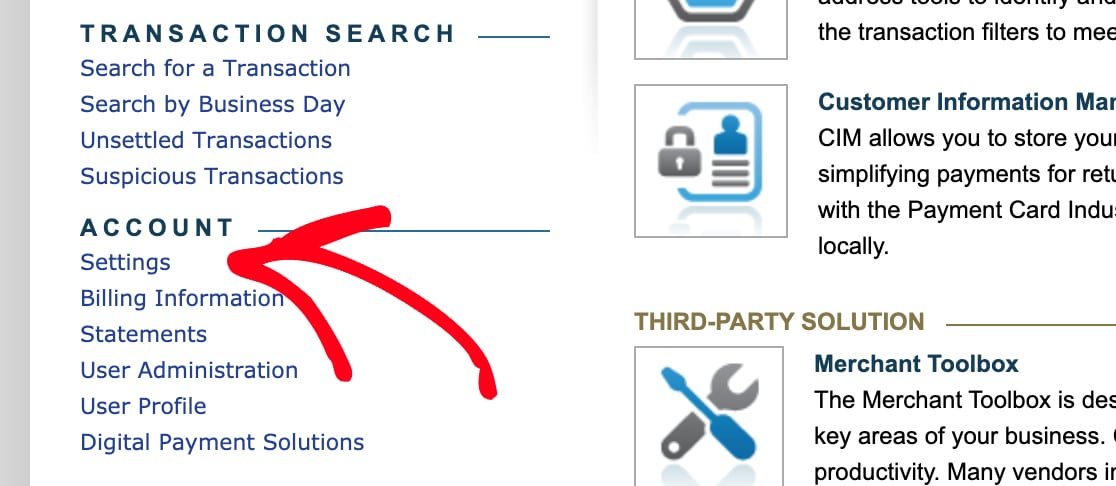
Now it’s time to grab your API key. Here’s where to find it. You’ll want to look at the sidebar for Account. Then click Settings.
Under General Security Settings, click API Credentials and Keys. And then proceed to copy the API key from this screen and switch back to your WPForms tab.

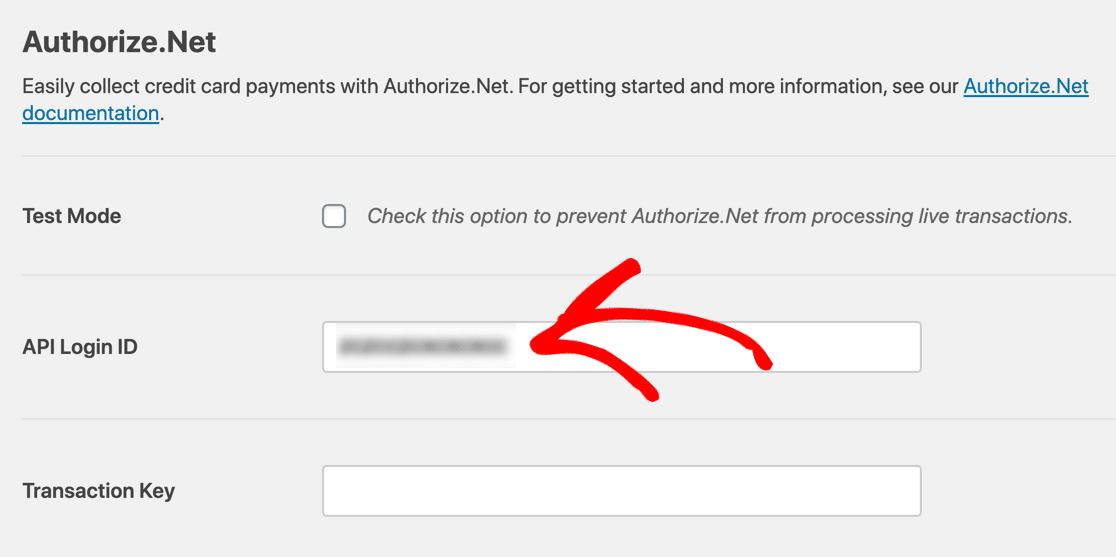
Check you’re still on the Payment tab here. Scroll down a little to see the Authorize.Net section. Go ahead and paste the key into the API Login ID box.
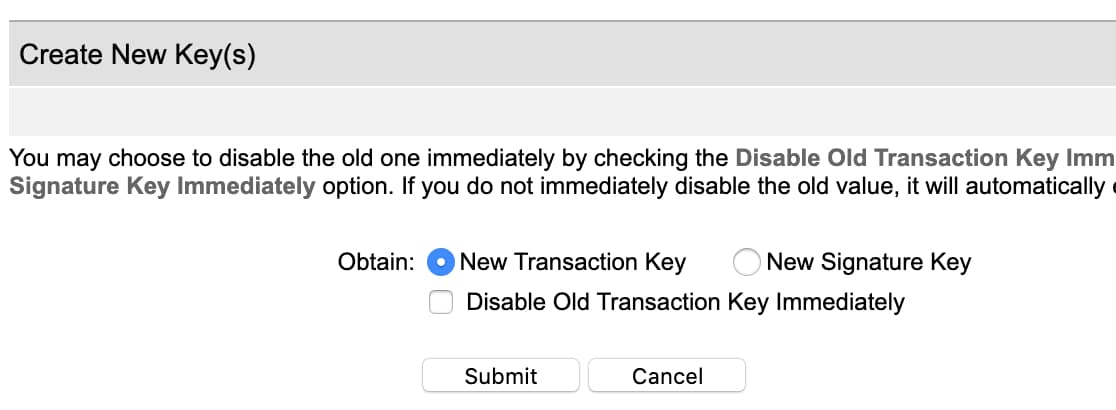
Now switch back to your Authorize.Net account. You should still be on the API Credentials and Keys page. Click Obtain, then New Transaction Key. Then go ahead and click Submit.
Authorize.Net will send a PIN to your email address. Check your email, then paste the PIN in and click Verify PIN. Great! Now you have a working transaction key.
Copy that key now, then switch back to WPForms and paste it into the Transaction Key field. Once the keys are verified, your WPForms and Authorize.net accounts should be connected.
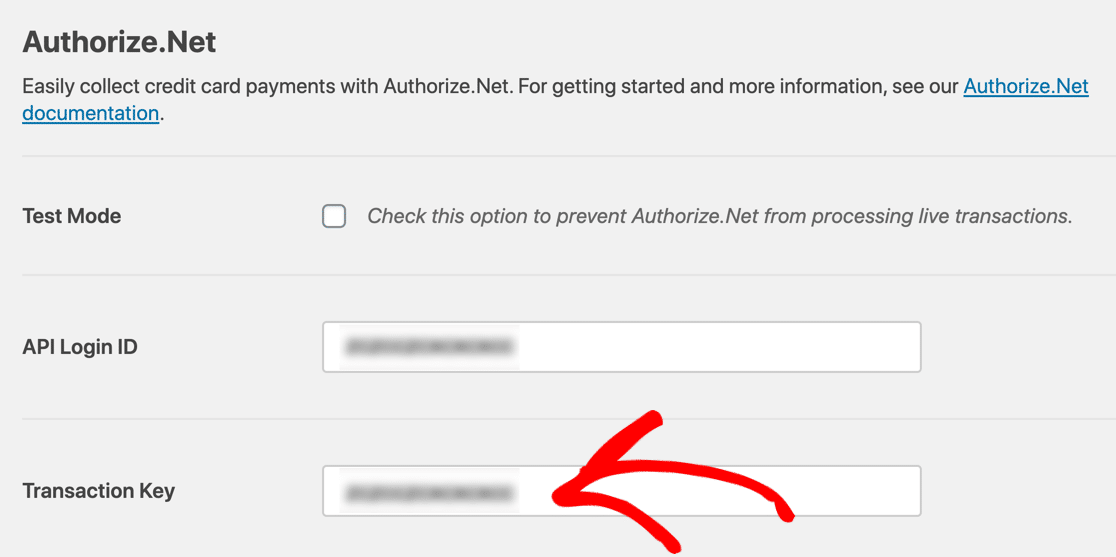
The thought part is now over, just make sure to click Save Settings to ensure you don’t lose any changes. Now, we just need to create your Authorize.net payment form.
Step 4: Create Your Authorize.Net Payment Form
If you already have a form that you want to use, open up that form in the WPForms builder now. If you don’t have a form yet, no problem. You can create a simple order form, or use a template.
WPForms comes with 2,000+ WordPress form templates. To choose one, click WPForms » Add New. Then scroll down to the Additional Templates section.
If you search for ‘order form’ here, you’ll see 5 templates to choose from. We’re going to choose the T-Shirt Order Form for this example.
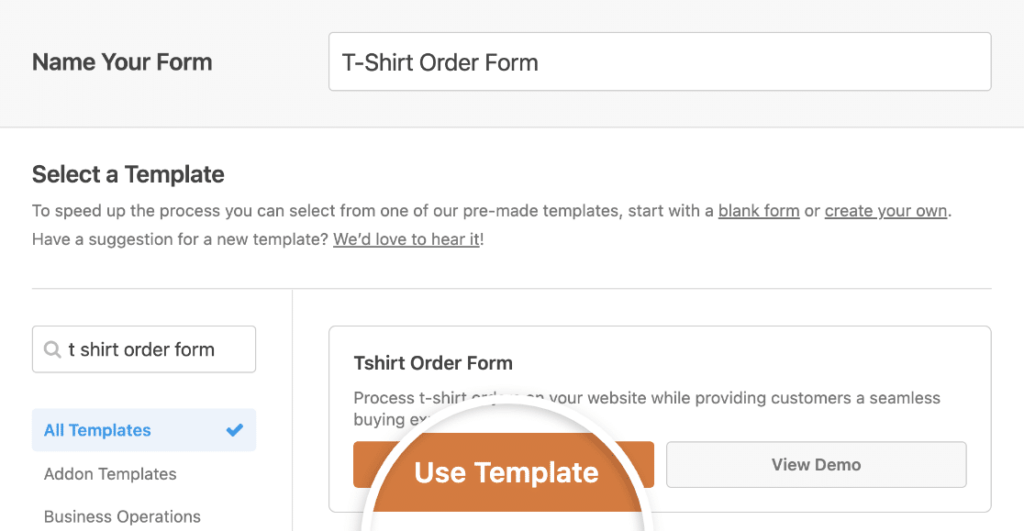
Click the template and WPForms will open the form builder. You can customize the form by dragging new fields from the left-hand pane to the right-hand pane.
For example, let’s add the Authorize.Net field. Go ahead and drag it from the left-hand panel onto your form. You can place it anywhere you like:
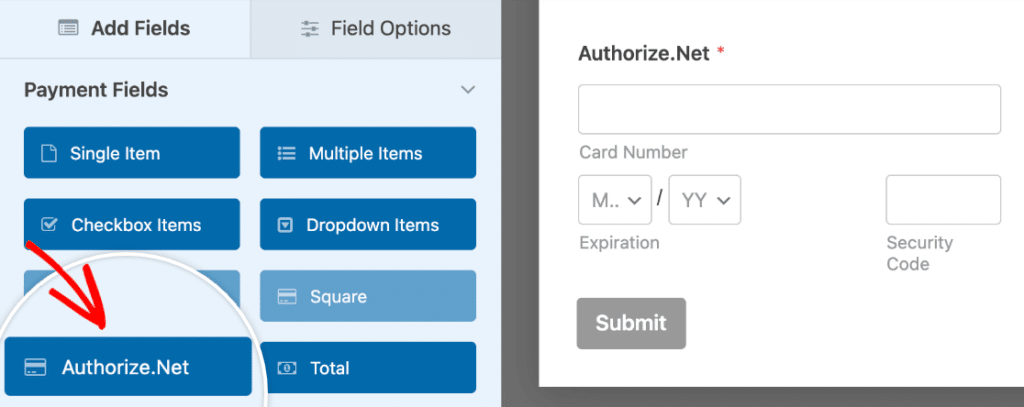
Now you can click each field in the form builder and customize it. If you’re not sure how to do this, check out this guide to creating your first form in WPForms.
You can make your payment form even more dynamic by showing or hiding payment fields based on specific dates – perfect for seasonal pricing, early bird discounts, or time-limited offers.
Are you looking for an Authorize.Net WordPress donation plugin? You’ll just need to tweak the fields a little. Check out this guide on how to create a nonprofit donation form in WordPress.
Step 5: Customize Your Payment Form Settings
Stay in the WPForms builder for this part of the tutorial. You’ll need to look to the icons on the left-hand side, and click Payments. Then click Authorize.Net.
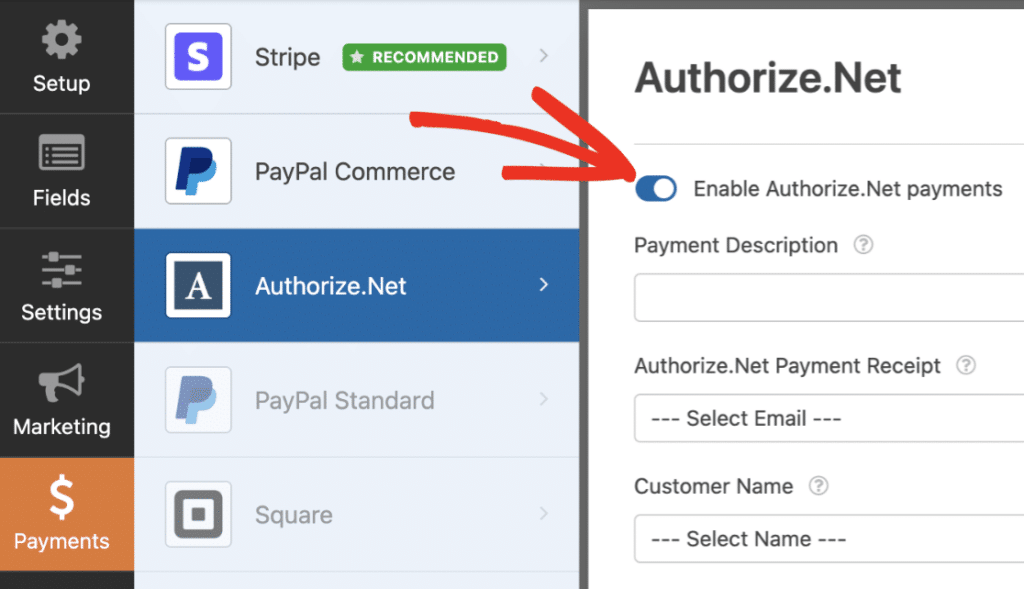
We’re going to switch on credit card payments for this form using the settings on the right-hand side. Here’s what you need to do:
- Click the Enable Authorize.Net payments checkbox to turn on payment processing for the form.
- In the Payment Description box, type the words that will appear on your customer’s credit card statement. You’ll probably want to type the name of your store here.
- In the Authorize.Net Payment Receipt dropdown, you can select Email to have Authorize.Net send an email receipt. If you don’t select anything here, the customer won’t get a receipt.
- In the Customer Name dropdown, select Name to have the customer’s name associated with the payment.
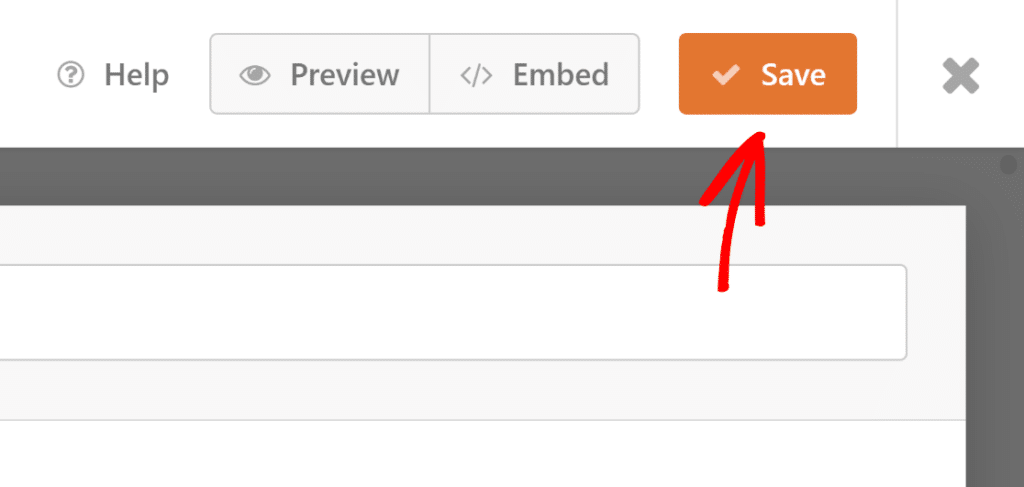
And that’s it! Your Authorize.Net WordPress form is ready to go live. Click on the Save button to make sure all your progress is safe.
Step 6: Publish Your Authorize.Net Payment Form
Now, all we need to do is publish it. And this is the really easy part. You can publish your form anywhere in WordPress without using any code.
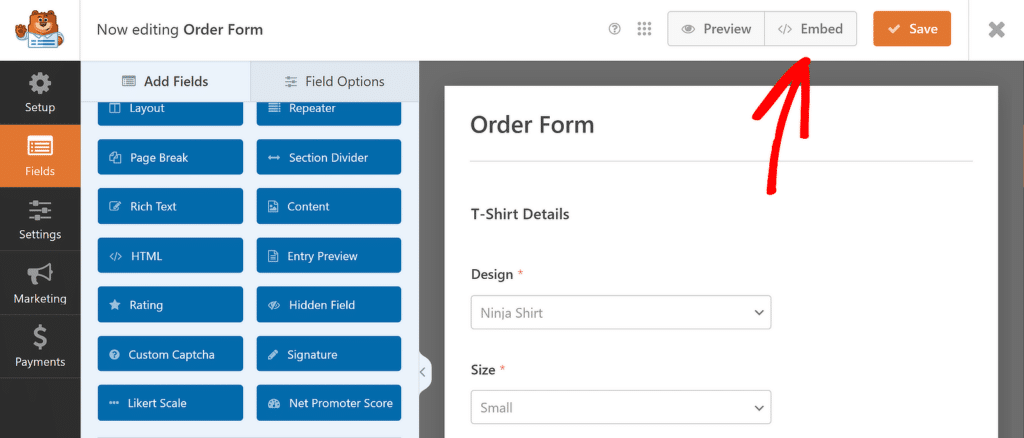
If you want to put your form onto a page, WPForms will automatically create the page for you. Go ahead and click the Embed button at the top of the form builder.
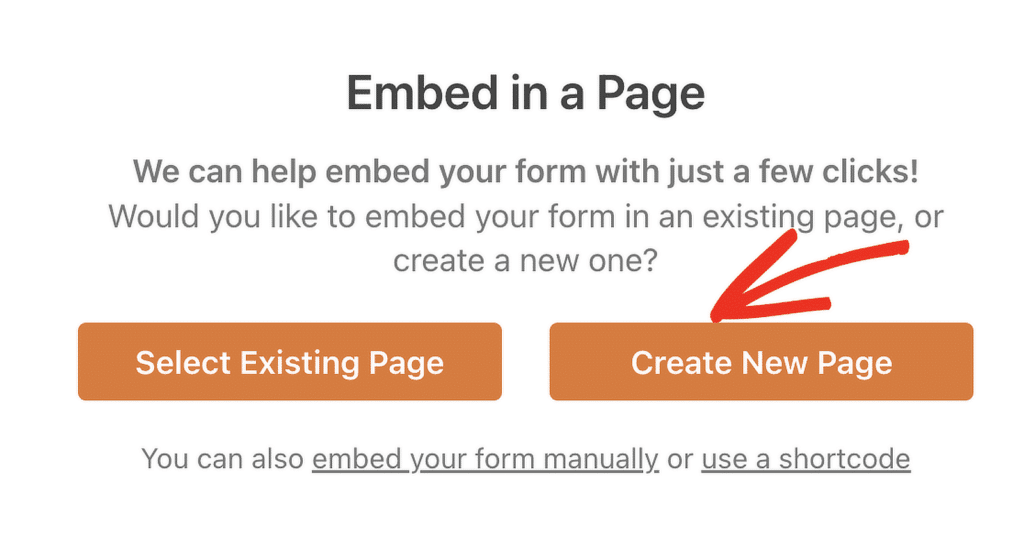
WPForms will ask you if you want to add your form to an existing page or create a new one. Let’s click Create New Page.
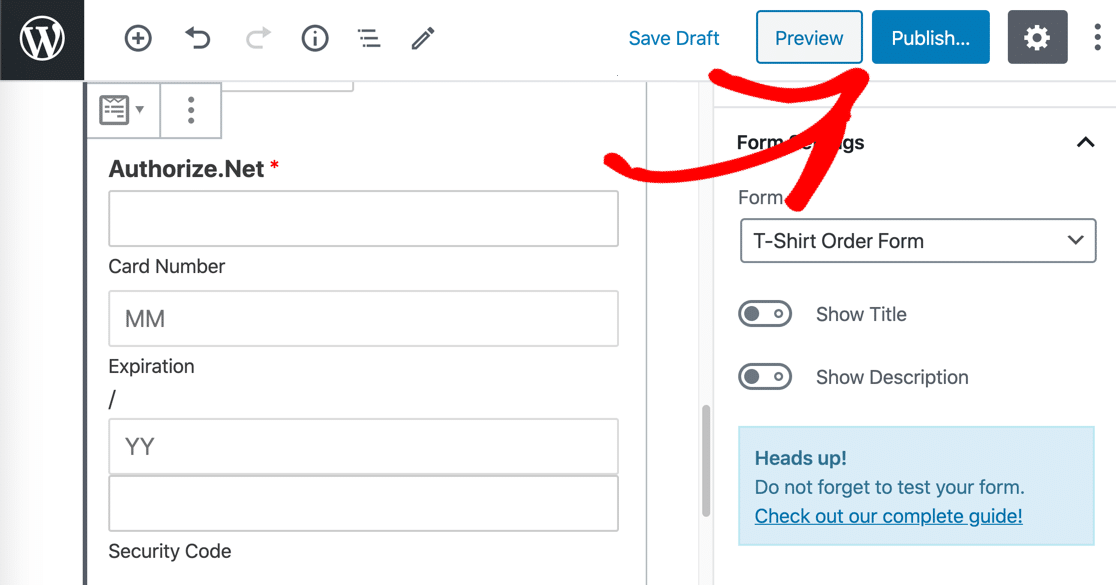
Type in a name for your page, then click the Let’s Go button. Now WPForms will create a page and embed your form into it. All you have to do is click Publish to make the form live on your website.
If you want to embed your form using a shortcode, click WForms » All Forms and you’ll see the shortcode right there in the list.
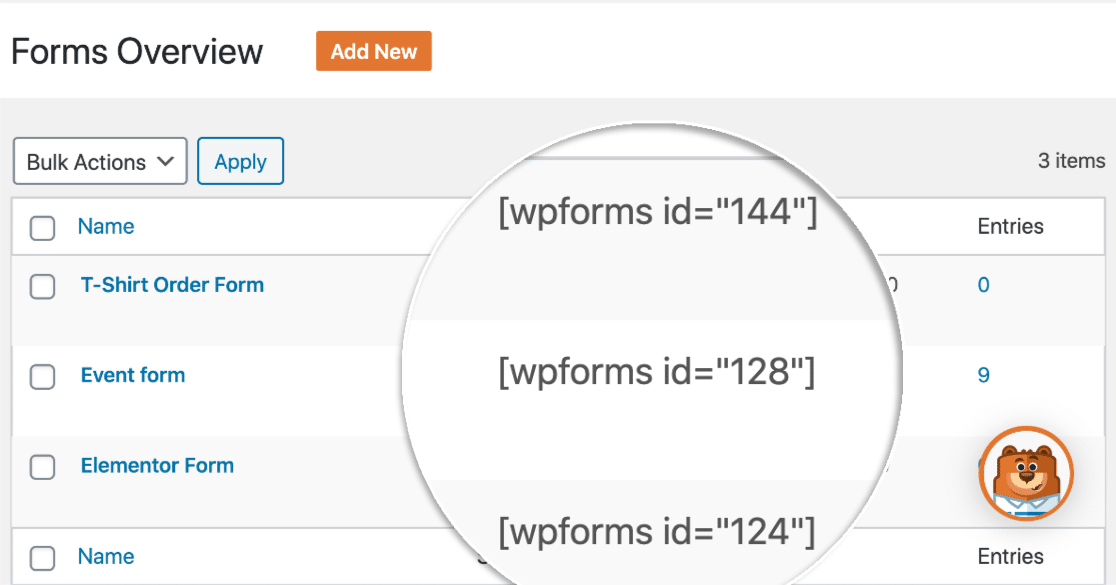
And that’s it! Now you can start taking orders using your new Authorize.Net payment form.
If you’re a nonprofit, you might want to make your donations optional. No problem! Here’s how to add an optional payment to your WordPress forms.
FAQs — How to Make an Authorize.net Payment Form in WordPress
Creating an Authorize.Net payment form is a popular topic among our readers. Here are answers to some common queries about it:
How to set up Authorize.net on WordPress?
To set up Authorize.Net on WordPress, you’ll need a plugin like WPForms. First, install and activate the Authorize.Net addon in WPForms.
Then, connect your Authorize.Net account by entering your API Login ID and Transaction Key in the WPForms settings. Finally, create a payment form and enable Authorize.Net as the payment processor.
Can you accept Payments through WordPress?
How do I create a payment form in WordPress?
To create a payment form in WordPress, use a plugin like WPForms.
After installing the plugin, select a payment form template, customize the fields, and enable a payment gateway like Authorize.Net or Stripe.
Once done, you can embed the form on your site and start accepting payments.
Next, Let’s Improve Your Order Form Conversions
Did you know that the average form abandonment rate is 68%? If lots of people are quitting your form partway through, you’ll lose tons of orders.
Take a look at some simple ways to reduce form abandonment and increase your conversions. You can also check out these common complaints about payment forms to make sure yours is optimized.
Ready to build your form? Get started today with the easiest WordPress form builder plugin. WPForms Pro includes lots of free templates and offers a 14-day money-back guarantee.
If this article helped you out, please follow us on Facebook and Twitter for more free WordPress tutorials and guides.



Anyone else having issues here? I have followed these instructions correctly – over and over and still am getting an error message. Have also been on the phone with Authorize.net and they haven’t been able to help either.
Hey Hallie – I’m sorry for the trouble with that! I see you already have a ticket opened. Our support team is looking into this issue and they will get back to you soon.
Thank you for your patience!
What if the “name” and email” field aren’t available from the drop down menu? How do I fix this?
Hey Sharon– I’m sorry, but I’m not sure that I understand your question – but we’d be happy to help! Could you please get in touch with our support with some extra details about what you’d like to be able to do? Otherwise, we provide limited complimentary support in the WPForms Lite WordPress.org support forum.
Thanks! 🙂
Thanks 🙂
Can we have the custom price field for this ?
For example , user can type in the price then Authorize will charge the said amount that the user typed in .
Hi Pill!
You can allow your users to set the amount they will be paying by utilizing a Single Item field, and setting the Item Type to User Defined.
More details about this can be found here.
I hope this helps to clarify 🙂 If you have any further questions about this, please contact us if you have an active subscription. If you do not, don’t hesitate to drop us some questions in our support forums.