
AI Summary
Are you looking to integrate a WordPress contact form with PayPal?
PayPal is the favorite online payment service for a huge majority of people, thanks to its recognizable brand and simple payment flow. Adding the PayPal payment gateway to your WordPress forms will allow visitors to easily make payments for orders, donations, or any other purpose.
The best part is that it’s really easy to set up PayPal payments with WPForms. In this post, we’ll walk you step-by-step through creating a WordPress PayPal integration.
Let’s jump right in!
Create Your WordPress PayPal Form Now
Does PayPal Integrate With WordPress?
Yes. You can integrate accept payments in WordPress through PayPal by:
- Creating a PayPal order form using WPForms.
- Installing an eCommerce store with the WooCommerce plugin and a PayPal payment gateway.
The downside of using an eCommerce plugin is that you’ll need set up the entire plugin before you can even start taking payments. It’s often complicated and time-consuming, and it can be overkill if all you need is a ‘buy now’ button.
For a faster, simpler PayPal integration, WPForms’ PayPal Commerce addon is ideal. You can let users pay you for purchase orders, send donations, or perform transactions for any other purpose, and it’s fast and easy.
How to Make a Contact Form With PayPal in WordPress
In This Article
1. Install and Activate WPForms

WPForms is the best WordPress PayPal plugin. It’s easy to customize contact forms to add PayPal payments.
You’ll need a WPForms Pro or a higher plan to collect payments with PayPal.

After purchasing WPForms Pro, log in to your WPForms dashboard and head to the Downloads tab to find your WPForms Pro download file.

Once the file is downloaded, install the plugin on your site. If you need assistance, see our doc guide on installing WPForms for detailed instructions.
2. Install WPForms PayPal Commerce Addon
Once WPForms Pro is active on your site, you’ll need to install the PayPal Commerce addon as well.
The addon allows you to add a PayPal checkout field to your forms so you can easily take credit card payments or let customers check out with a PayPal button. It’s ideal if you don’t need to offer a shopping cart.
To install the addon, navigate to WPForms in the WordPress dashboard, then click on Addons.

Scroll down to find the PayPal Commerce addon or search for it using the search bar. Then, click Install Addon under PayPal Commerce Addon.
Note: PayPal Commerce is not to be confused with PayPal Standard. While both addons allow you to add PayPal checkout to your forms, PayPal Commerce offers more powerful features. We’ll be using PayPal Commerce in this tutorial.

Once the addon is installed, the next thing to do is connect your website with your PayPal account. From the WordPress dashboard, navigate to WPForms » Settings.

Once in, click on Payments.
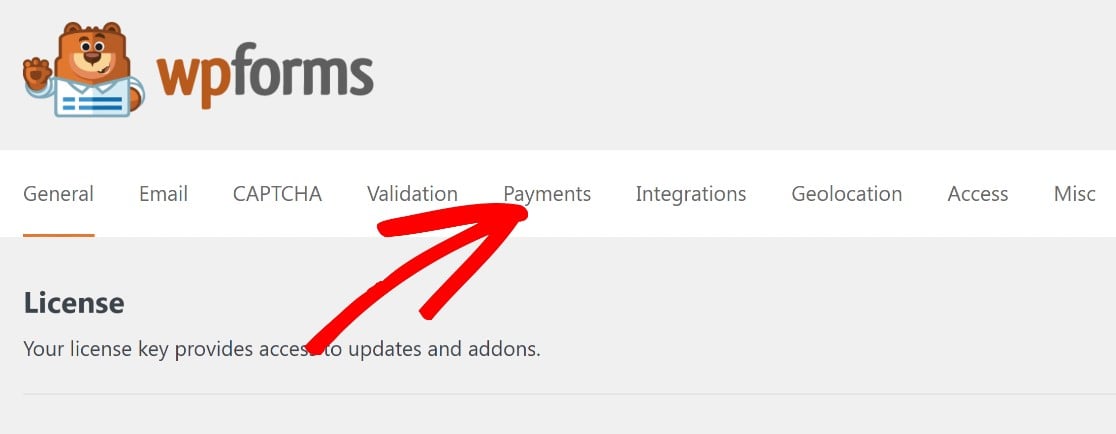
Scroll down to the section labeled PayPal Commerce to find the WPForms PayPal settings. Then click Connect with PayPal Commerce.
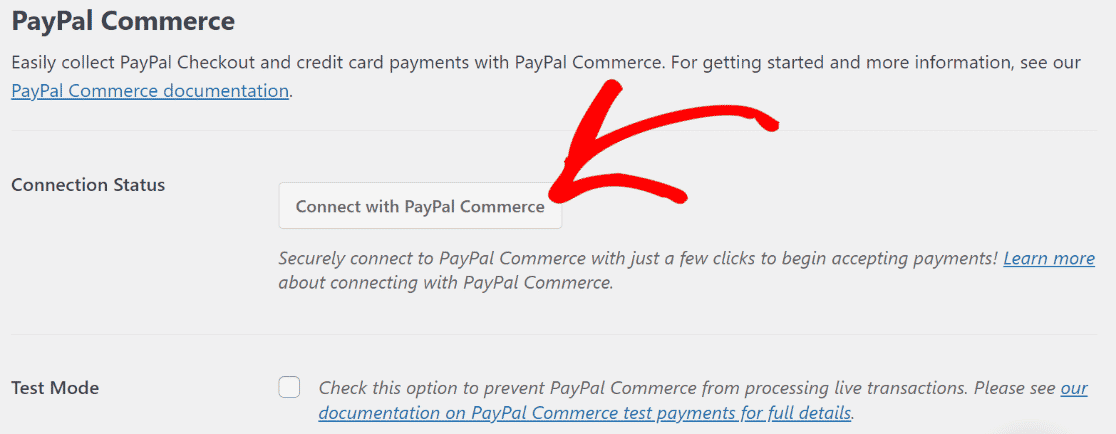
This will redirect you to PayPal’s website, where you’ll be prompted to enter the PayPal email address associated with your Business account and select your country from the dropdown. Then press Next.
Note: You’ll need a PayPal Business account to connect with PayPal Commerce.

If the PayPal integration was successful, the Connection Status will show that you’re connected to PayPal in Production mode.
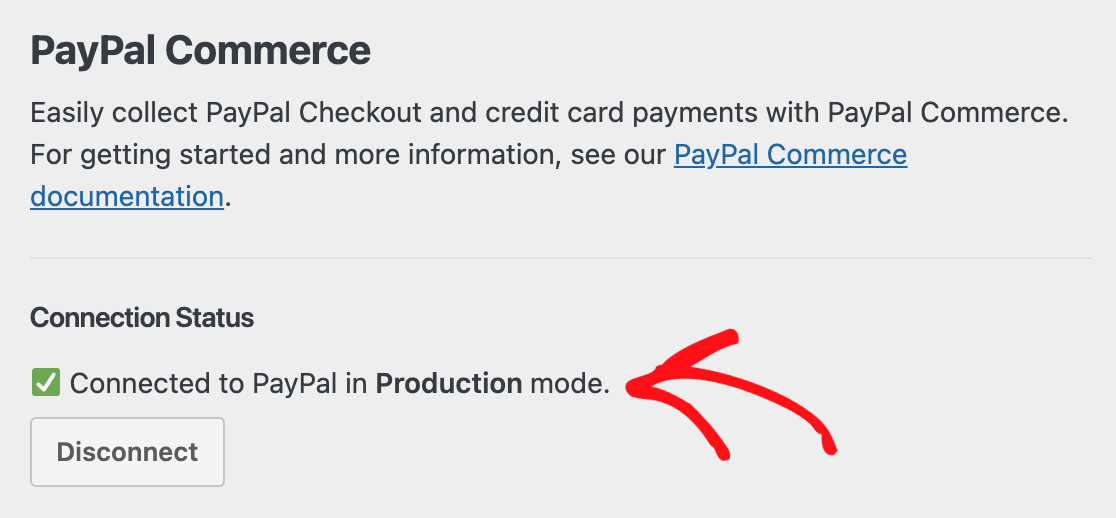
If you’d like to test PayPal Commerce first, see our doc on using PayPal Commerce in Sandbox mode.
Scroll down and click Save Settings.

Great! Now PayPal is connected to your WordPress site. Setting up PayPal in WPForms takes much less time than integrating an entire eCommerce platform!
The next step will be creating a new form in the WPForms form builder, where you’ll integrate a PayPal Commerce field.
3. Create a Simple Contact Form
It’s really easy to create a simple contact form using WPForms. You can use one of the 2,100+ form templates to get started.
There are tons of useful business operations forms and donation forms in our template library. It’s easy to add a PayPal field to any form you need to publish.
To make the next part easy to follow, we’re going to use a contact form.
To start, open your WordPress dashboard and go to WPForms » Add New.
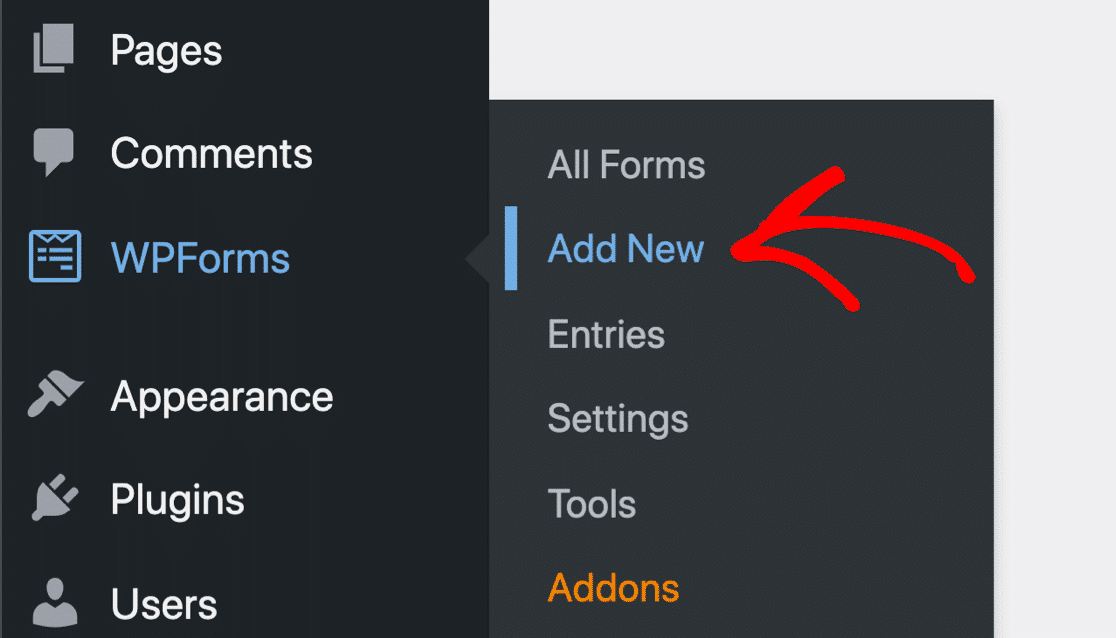
This will open up the template library.
Hover over Simple Contact Form and click Use Template to open it in the form builder.
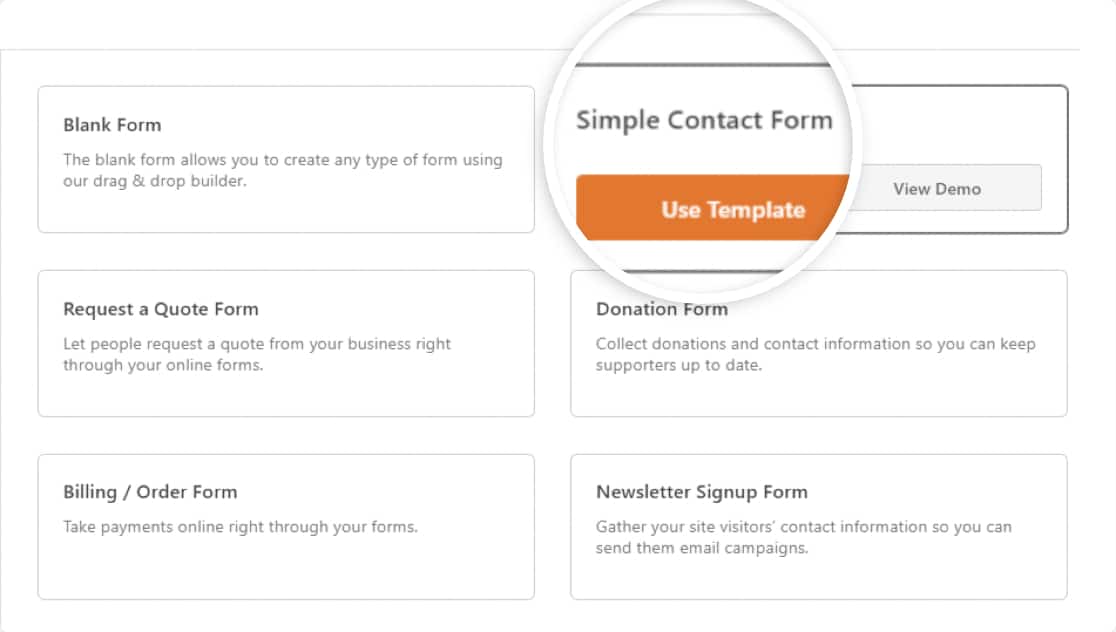
As you can see below, you’ll have a contact form with basic functionality.

You can customize this template by adding or removing any fields you’d like. By default, the simple contact form template doesn’t include any payment fields.
We’ll be adding payment fields and a payment button in the next step.
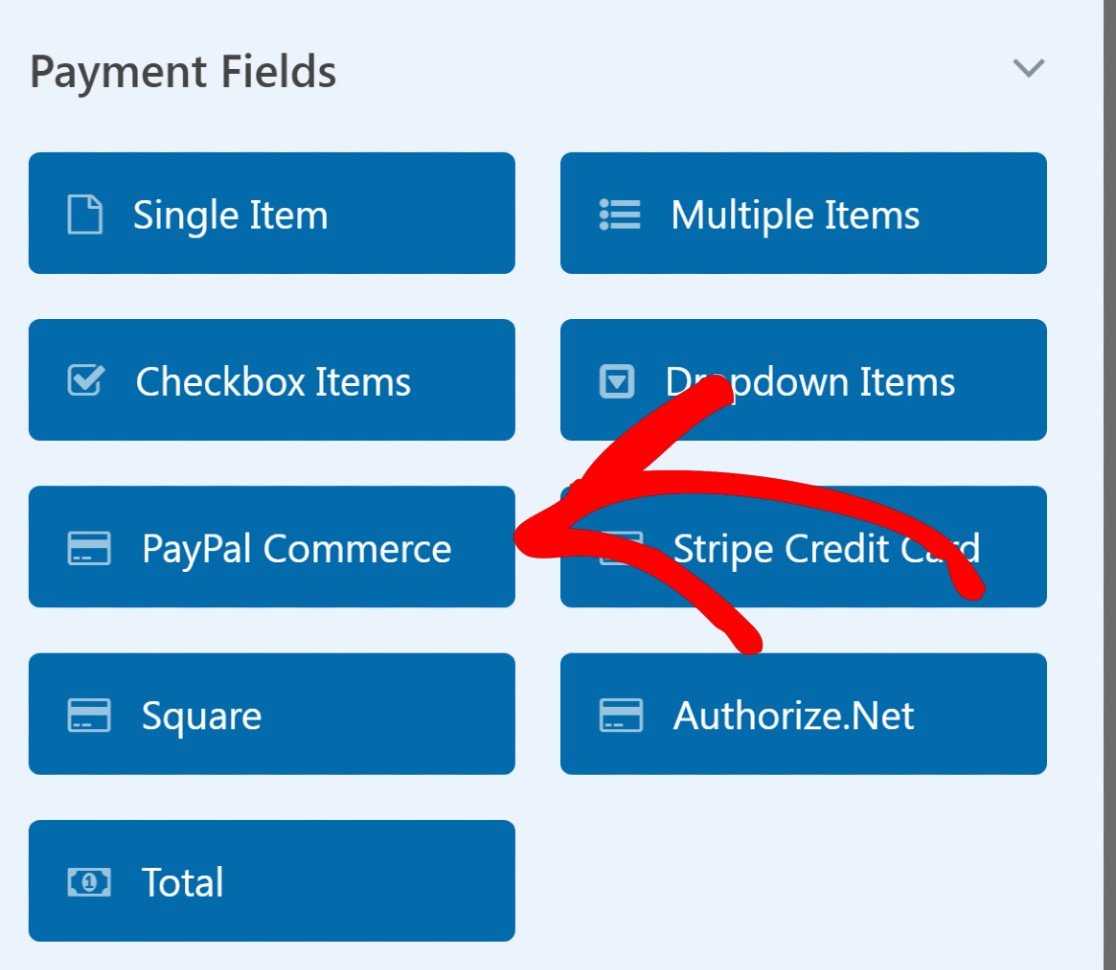
4. Set Up Payment Fields
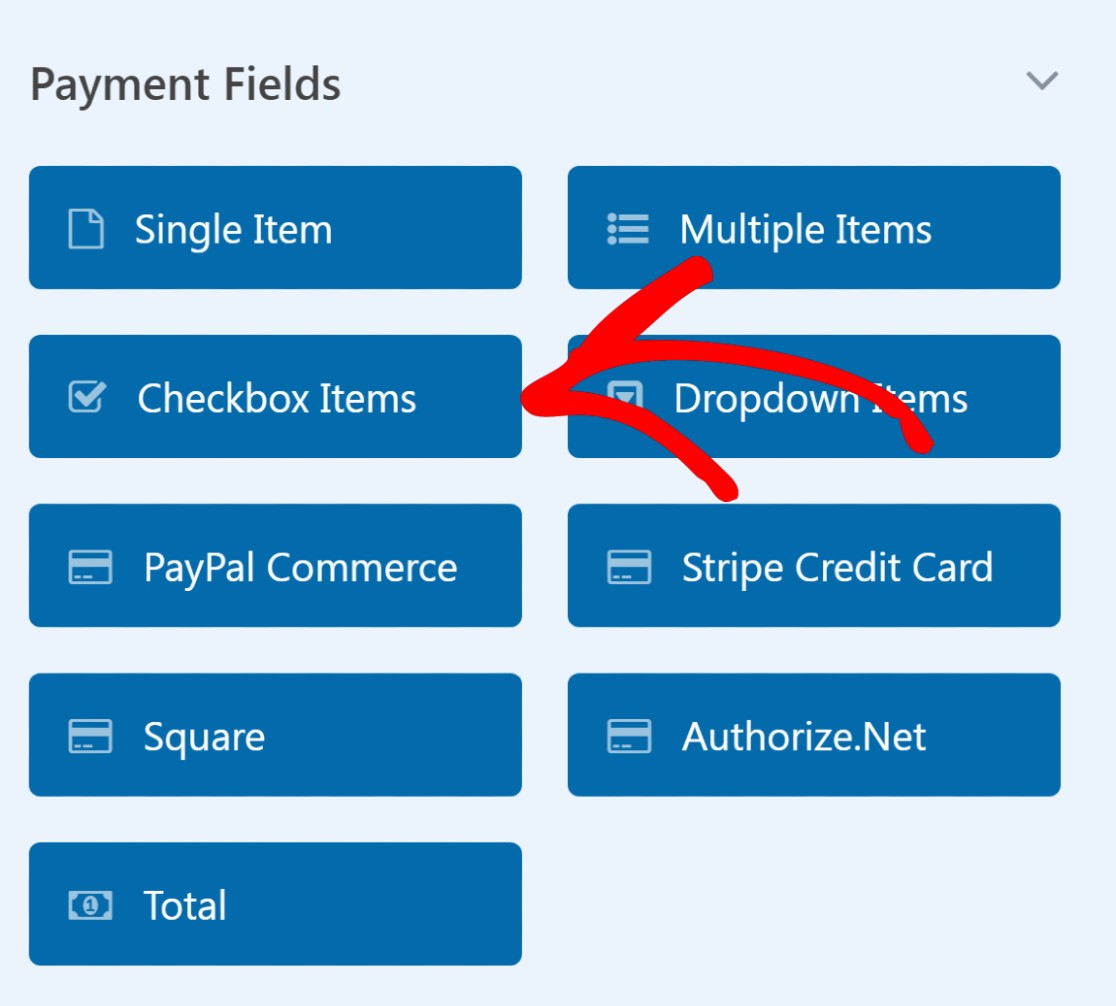
You’ll need at least one payment field for the products or services you sell. There are 4 options to choose from, which are:
- Single Item – When you’re selling only one item.
- Multiple Items – When you have multiple items only but only one of which can be selected (like different subscription plans).
- Checkbox Items – When you have multiple items with the option to select one or more of these (like different merchandise).
- Dropdown items – When you want users to be able to select only one of the available items in a dropdown menu.
For example, if you sell items of clothing, you could add a Checkbox Items field that allows users to order multiple items of clothing from the same payment form.
Here’s how to do this:
First, add a Checkbox Items field to your form by clicking on it or dragging it into position on your form template.
Click on the Checkbox Items field in your form to open up Field Options on the left-hand pane.

You can Field Options to add the name and value of the items you’re selling.
You may want to change the label “Checkbox Items” to something that better reflects the items you’re selling. We’ll label our Checkbox “Sullie Merch” for this example.

You can also edit the default labels for each item on the checklist. We’ll replace “First Item” with “Sullie Shirt”, “Second Item” with “Sullie Socks”, and “Third Item” with “Sullie Hat”.

Don’t forget to set a price for your items in the price field right next to the item label.

If you want the price to appear after each item label on the frontend, enable the Show price after item labels option.

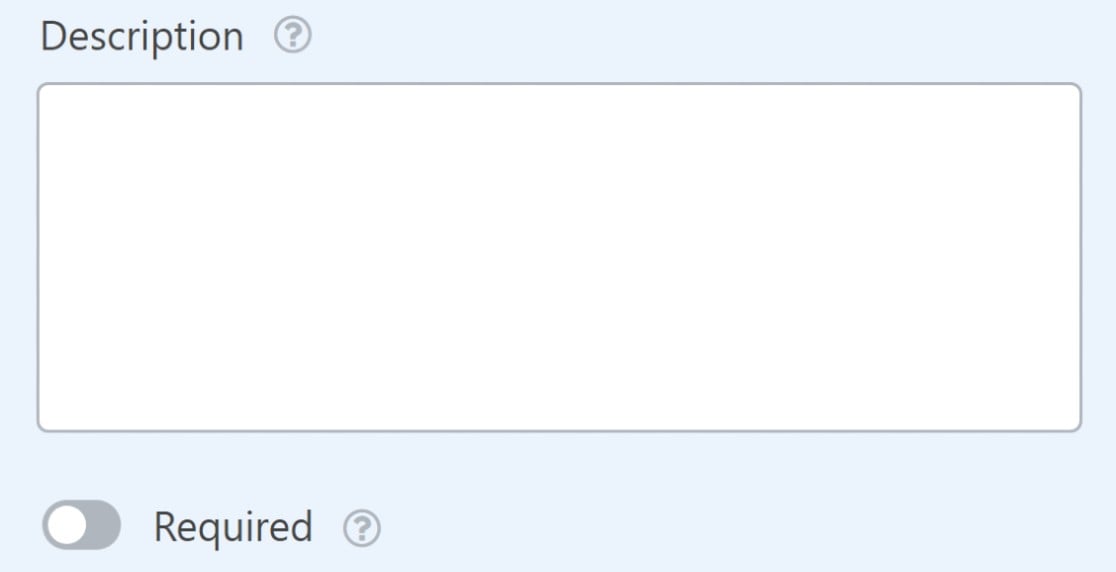
Finally, you can add a description for your items if you’d like.
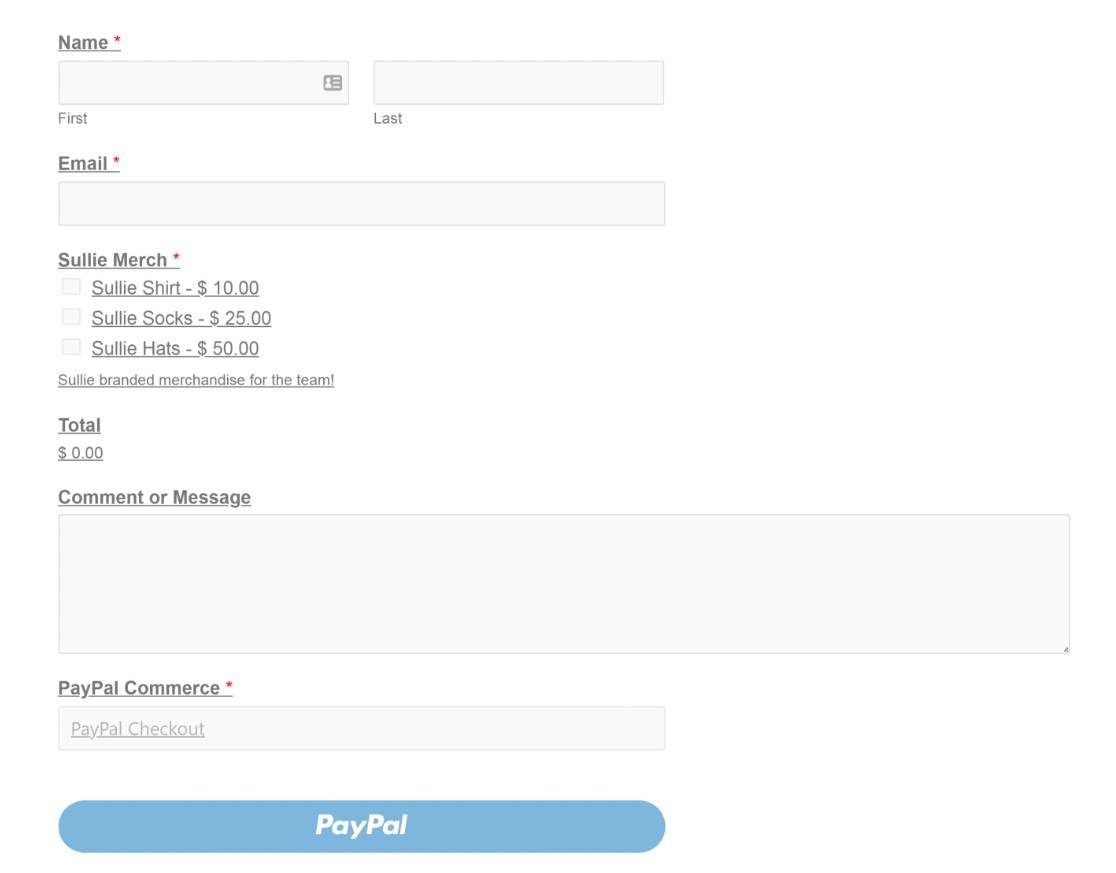
Here’s what our form looks like now:
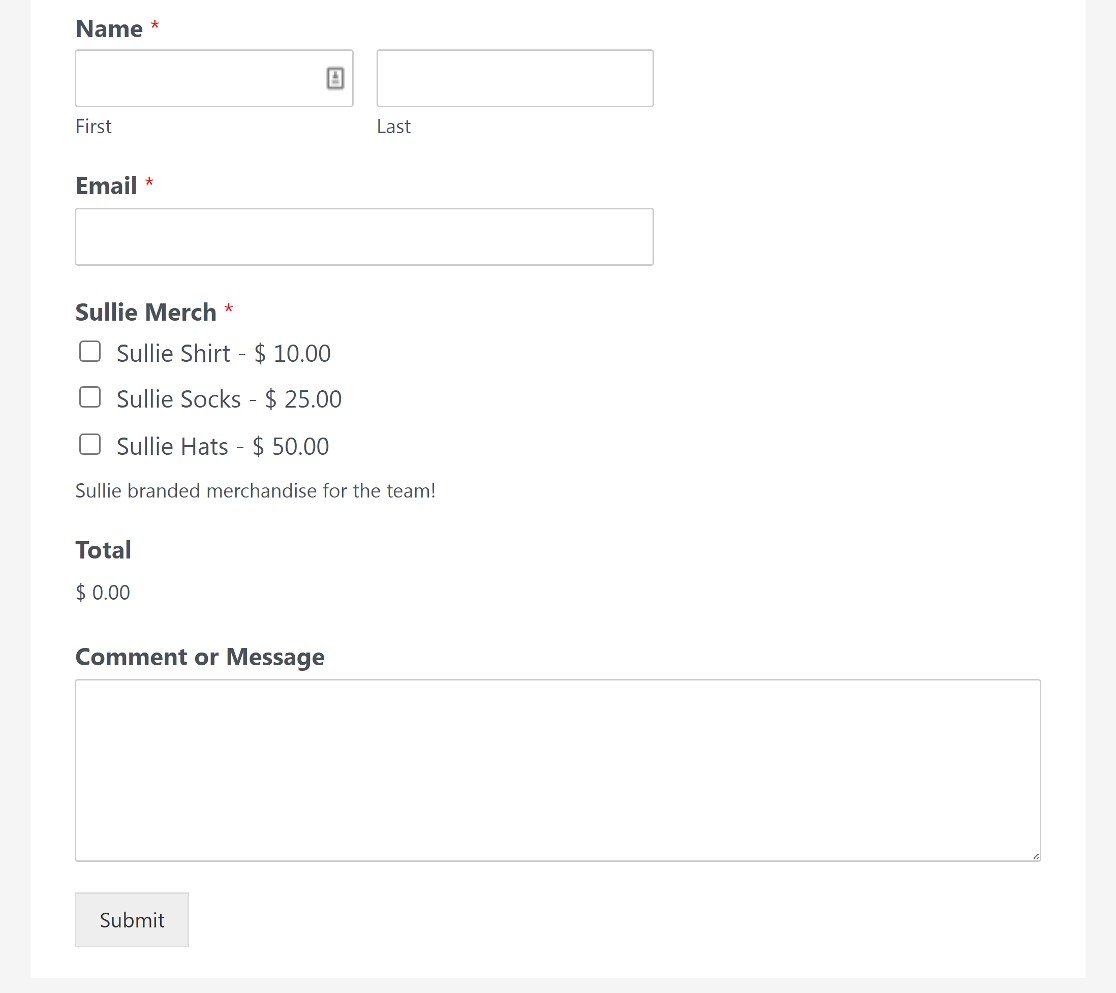
Users can order any product from this form by checking the boxes next to each item.
There’s one more important step we have yet to go over: adding a PayPal checkout field to this form to enable transactions.
5. Add and Customize the PayPal Commerce Field
You’ll find the PayPal Commerce checkout field under the Payments Fields section on the left-hand pane of the form builder. Simply drag and drop it onto your form to add the field.
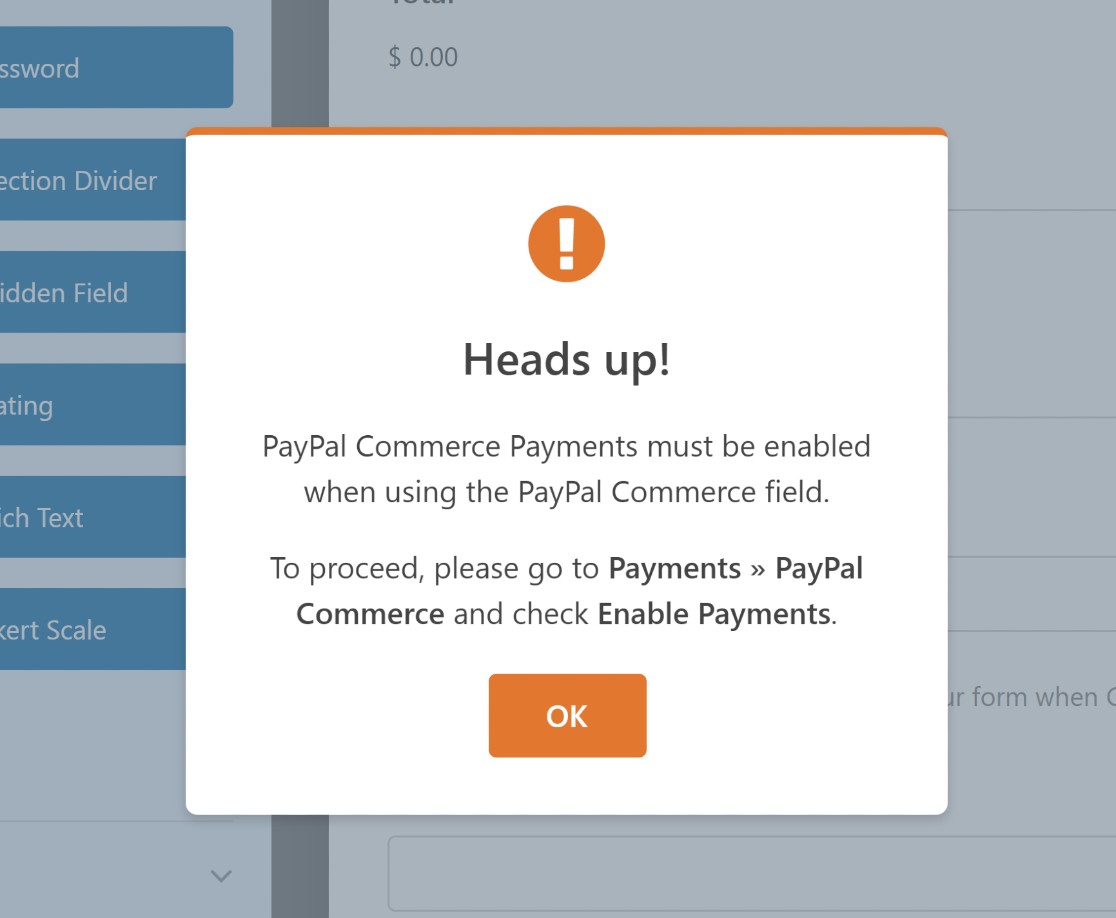
When you include the PayPal Commerce field in your form, you’ll see a modal prompting you to enable PayPal Commerce payments. Press OK.
Before enabling payments, let’s first customize the PayPal Commerce field.

The PayPal Commerce field is super flexible, so you can easily build a WordPress PayPal integration that works for the type of payments you want to take.
For example, PayPal Commerce supports both PayPal and credit card payments. If you choose PayPal payment processing, you can also set up a recurring payment.
To customize the Field Options, click anywhere on the PayPal Commerce field.

You can then select which payment options between PayPal checkout and credit card should be available for visitors (you can include either one or both).
If you choose to take card payments, select which credit and debit cards you want to support.
![]()
If you’d like to change the appearance of the PayPal Commerce field, you can find more options in the Advanced tab under Field Options.
Here, you can change the field size, and adjust the size, shape, and color of the PayPal checkout button.

When you’re done customizing the field, it’s time to enable PayPal Commerce and configure payment processing settings.
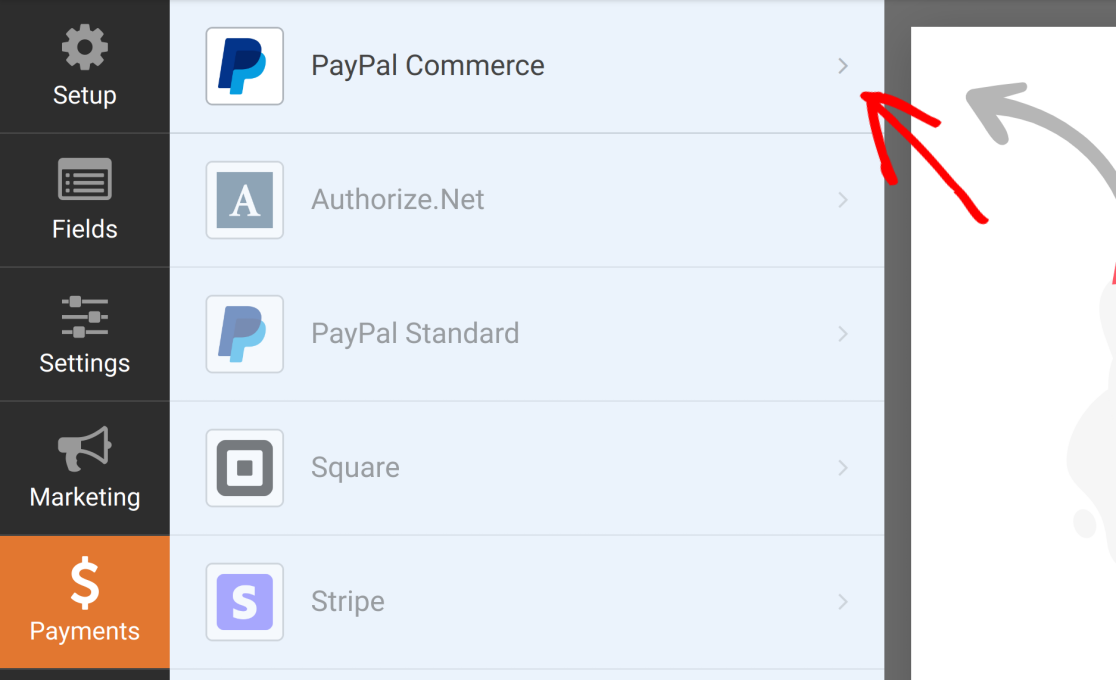
From the sidebar, click on Payments » PayPal Commerce.
You’ll have two options here: enable one-time payments or recurring payments.
One-time Payments
Selecting one-time payments will expand a menu where you can map some fields (name, email, and address) from your form to your PayPal billing.

If you’d like instead like to include recurring payments, PayPal Commerce makes that very easy to configure.
Recurring Payments
Recurring payments are great for businesses offering subscription plans or payments in installments. There are no limits on how many plans you can create, but only one plan can be processed at a time.
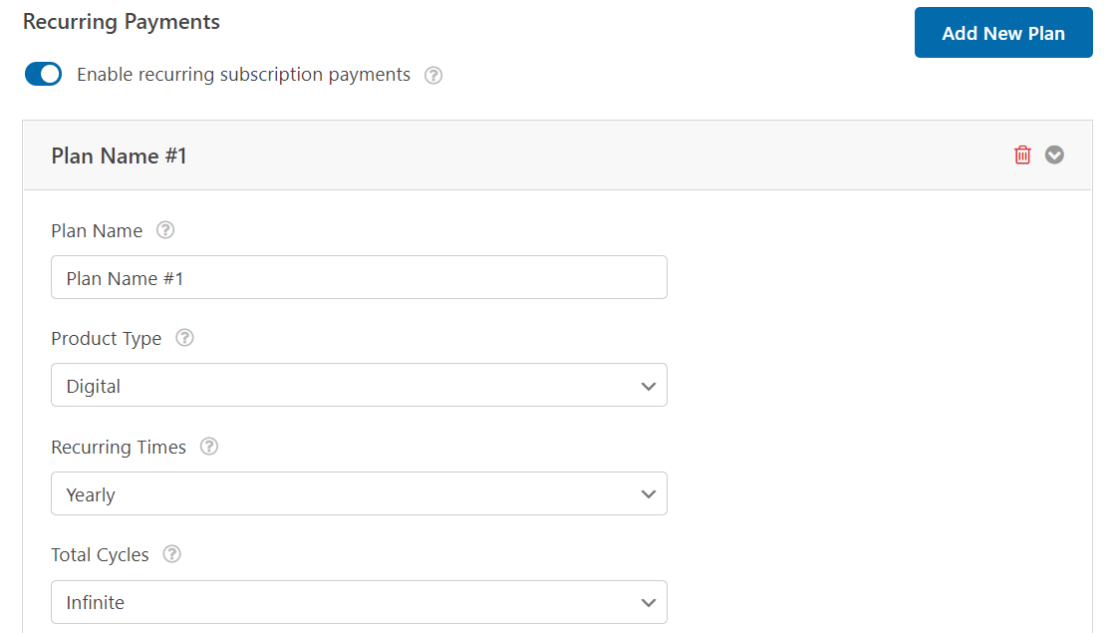
The PayPal Commerce addon lets you select recurring times and cycles for your subscription plan. Use these settings to configure the frequency of payments that works for you and your users.
Note: Credit cards aren’t supported for recurring payments.
It’s possible to add multiple types of pricing options on the same form using conditional logic. Let’s take a look at how you can achieve that next.
6. Adding Conditional Logic to PayPal Commerce (Optional)
Conditional logic gives you a lot of freedom to change the behavior of the PayPal payment form.
One possible scenario is that checkout field only appears if a user meets certain criteria. Or you may want to add multiple pricing plans with different recurring periods and other payment details.
In these scenarios, WPForms’ conditional logic can be incredibly handy.
Let’s say that you want customers to be able to choose a recurring period between monthly and annual payments.
We’ll first add a Multiple Items payment field and label it “Choose your plan“, with two options.

Now we’d want PayPal to process a charge depending on the customer’s selection between these two options.
For this, go back to Payments » PayPal Commerce and click on Enable Conditional Logic under one-time payments or recurring payments (depending on which scenario applies in your case).

In our scenario, we’ll use conditional logic for recurring payments. After enabling conditional logic, you should see a new set of options for setting up your rules.
We’ll set up two separate rules for the payment methods we’re offering: one for charging payments monthly and the other for charging payments annually.
For monthly, we selected the Recurring Times setting to Monthly. Then, we defined the logic which says: Process this charge if the Choose your plan field is Monthly.

After that, we’ll create another plan for users who prefer an annual subscription. Click on the Add New Plan button to start.

Enter a plan name and press OK.

This time, we’ll select Yearly in the Recurring Times dropdown. The conditional logic here is defined as: Process this charge if the Choose your plan field is Annual.

Make sure to press Save after configuring these settings.
To summarize, we just added an option for customers to choose between monthly and annual subscription periods using conditional logic.
Now, when a user selects their preferred subscription period, they’ll be charged for the price you set for it and only on the defined recurring time.
Before moving on, we recommend taking a look at your form notifications to make sure they’re set up the way you want.
7. Publish Your Form
Now it’s time to start payments.
You can add your form to a page using a shortcode, but it’s sometimes easier to add it right from the form builder. At the top right corner of your screen, you’ll see the options to Embed or Save your form.
Since we’re trying to add our form to a page right away, go ahead and click Embed.

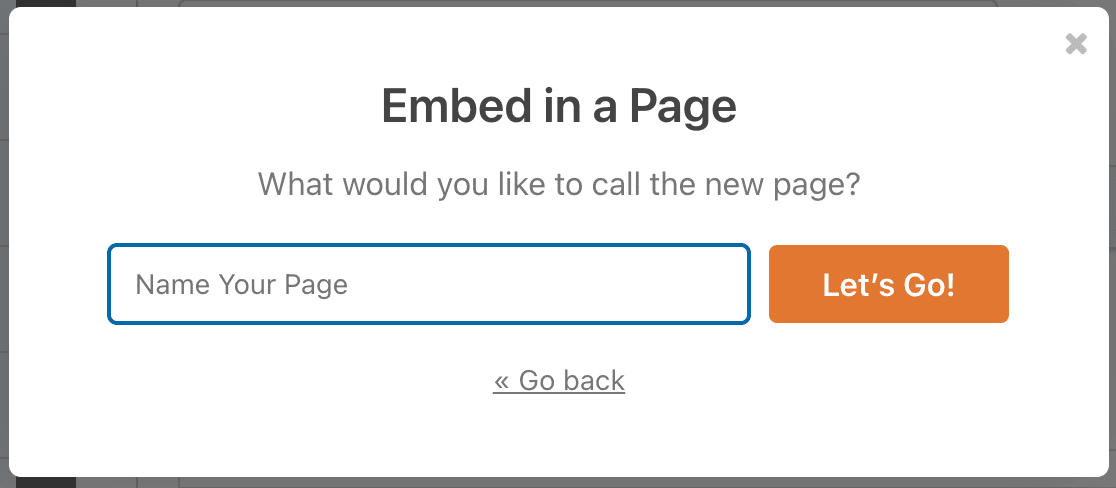
This will redirect to a modal with the option to embed the form in an existing page or create a new page.
We’ll assume you’d like to create a new page, but the process is similar for both steps. For this guide, we’ll click on Create New Page.

Give your new page a name and click Let’s Go!
Your new PayPal Commerce-enabled form will now be visible on the new page. Publish the page and check it out on the frontend.
And that would be all for integrating a contact form with PayPal in WordPress. Now, you can start collecting payments using forms on your website!
Next, Protect Against Downtime
Now you’ve got your business website up and running, you’ll want to ensure it stays that way. Check out this article on how to protect against website downtime for some tips.
And if you want to make sure that your payments are processed successfully, you’ll want to keep an eye on your site speed. That may mean avoiding plugins that can affect site performance. See this article on how many WordPress plugins are too many for advice.
Don’t wait to start building your online order form. Get started with the most powerful WordPress form plugin today. Looking for a free order form? WPForms Pro comes with support for Stripe and PayPal payments.
Create Your WordPress PayPal Form Now
And don’t forget, if you like this article, please follow us on social media on Facebook and Twitter.

