AI Summary
Do you want to create a webinar landing page in WordPress? A landing page can help to boost attendance and clearly communicate the benefits of attending your event.
In this article, we’ll look at 2 easy ways to create a webinar landing page in WordPress. You can use either of these methods on your existing website without changing your theme.
Can I Create a Landing Page in WordPress?
Yes! You can absolutely create a landing page in WordPress. And you don’t need to create a one-page website or use a static home page as your landing page.
Most webinar services let you generate signup forms for your website. But they’re usually super basic. And often, you’ll need to write or copy code to put them on your site, which can be a hassle.
There is a much better way to do this. We’ll show you how to use a plugin to easily create distraction-free landing pages alongside your main site.
That way, you can still manage them from the WordPress dashboard, but they won’t have any distracting links in the header and footer.
How to Create a Webinar Landing Page in WordPress
A compelling landing page will let you easily collect sign-ups for your webinar. Let’s look at 2 plugins that make it easy to create and customize your page.
In This Article
We’ll start by creating a webinar landing page in WPForms.
Make Your Webinar Landing Page With WPForms
WPForms lets you easily create bespoke webinar forms without writing or copying code. The plugin also comes with a webinar form template.
You can use the webinar form template out of the box. Or you can easily customize it with extra fields and questions if you want to.
In this section, we’re going to walk through the process of creating a webinar form on a landing page using WPForms.
Step 1: Create Your Webinar Form
To start, you’ll want to install and activate the WPForms plugin on your website. If you need help you can check out this guide on installing a WordPress plugin.
Once you have WPForms set up on your site, create a new form by going to WPForms » Add New. This will open the form builder and let you add a name for your form.
Then search for the webinar registration form template and click Use Template to open it.
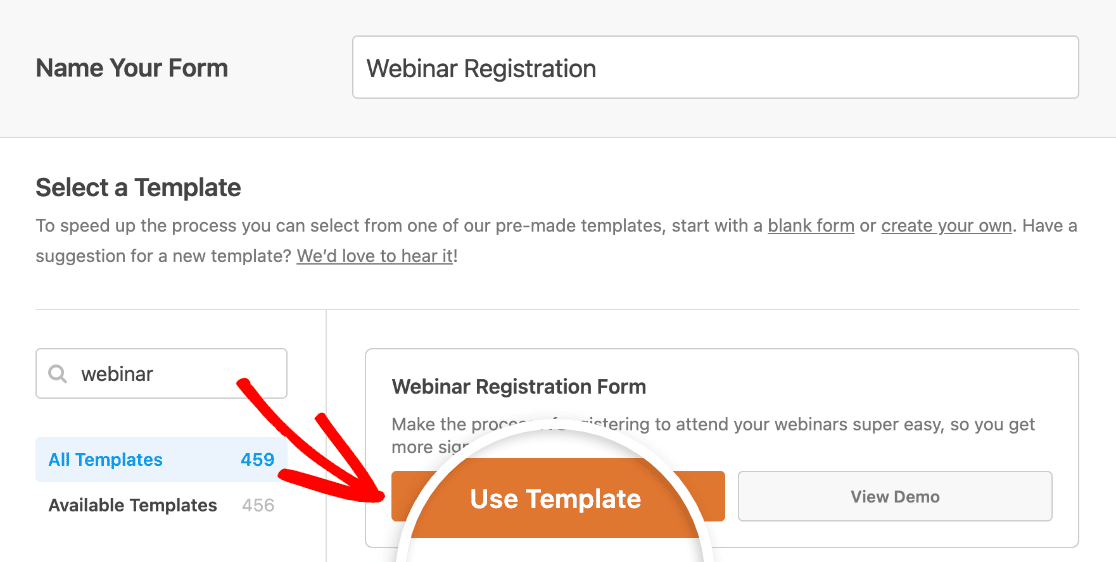
You’ll see the template in the form builder.
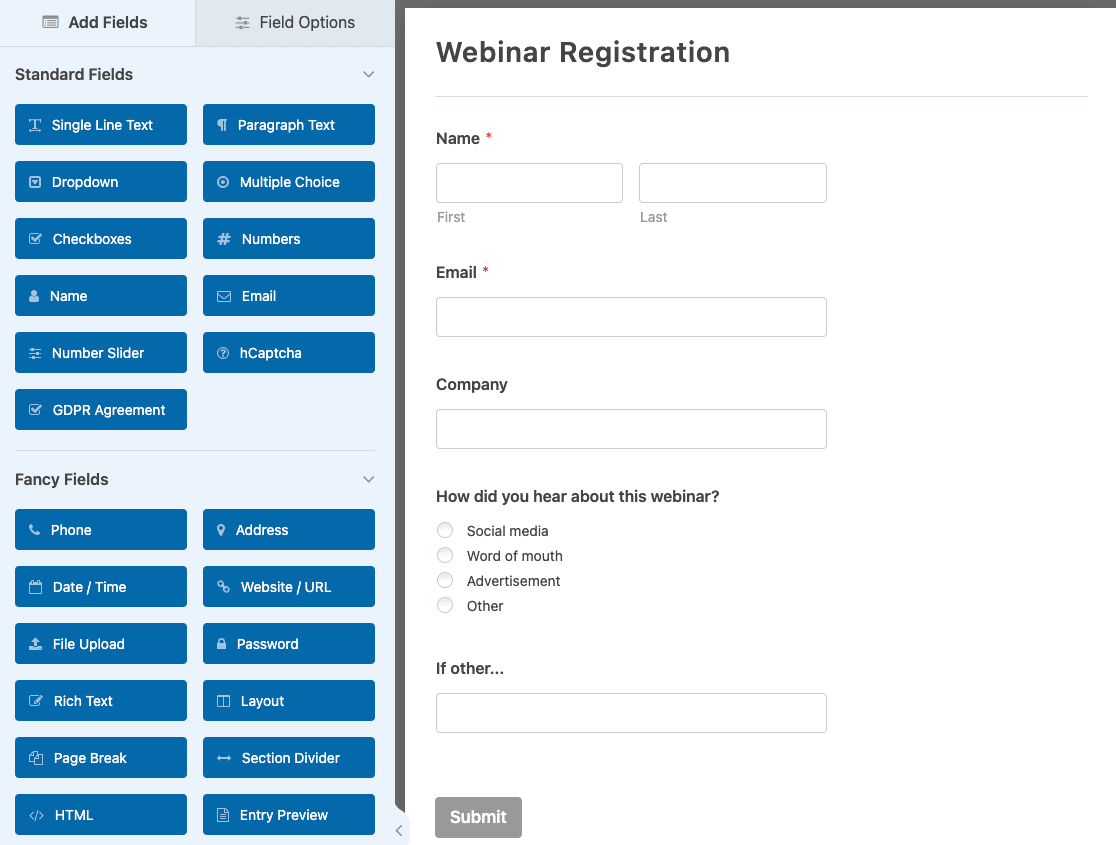
Now let’s customize the form using the drag and drop tools.
Step 2: Customize Your Webinar Form
WPForms lets you easily customize any form template. Just drag the fields you want to use from the left hand panel to the form preview on the right.
You can click on any field in the preview area to open up its field options.
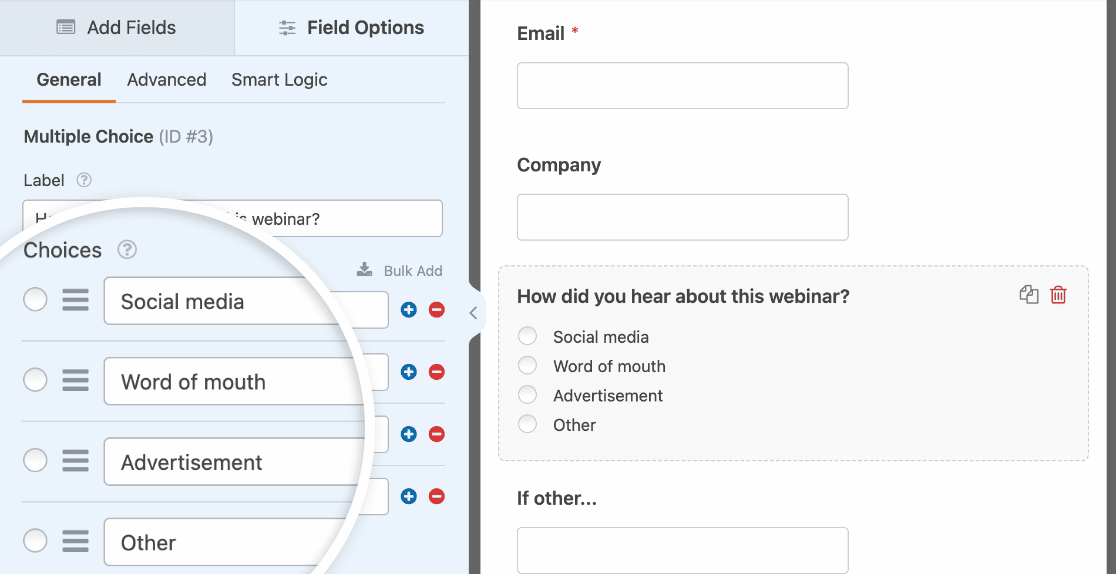
Once you’re happy with your form, you can customize its settings. On the General settings page you can customize the form name, description, submit button text, and more.

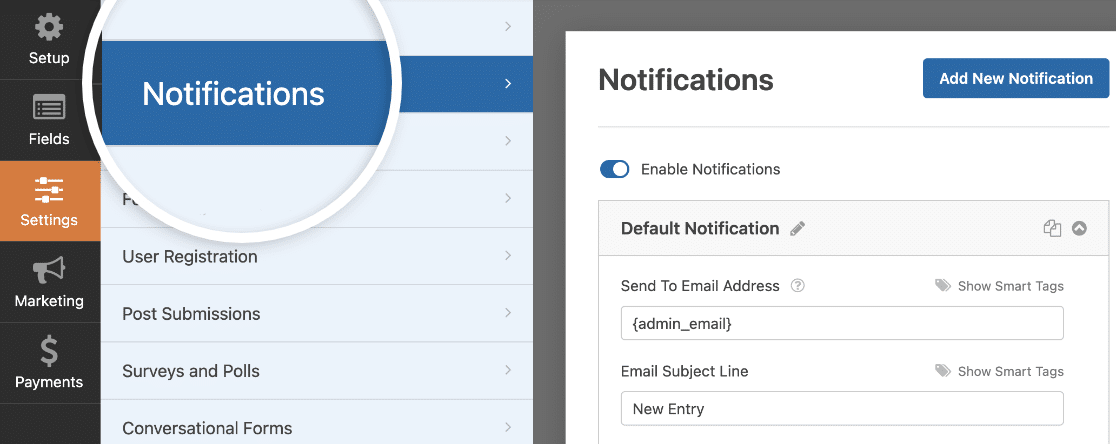
Your form’s Notifications settings let you customize the email notification you’ll receive every time someone submits your form.
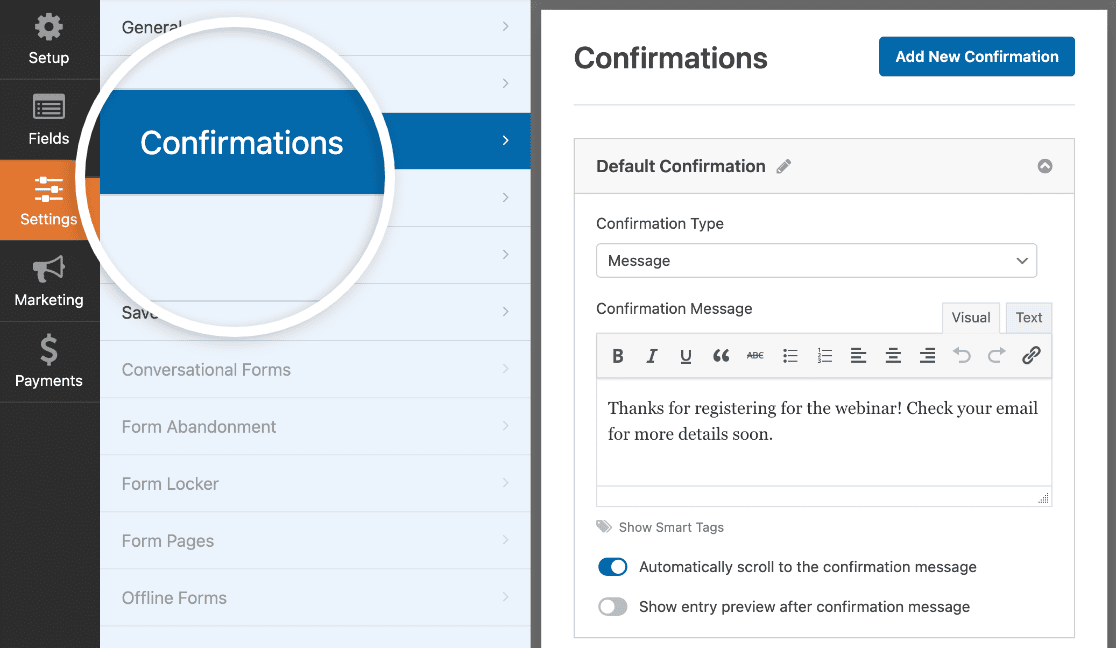
And on the Confirmations screen you can customize the message that will display to users to let them know they successfully submitted your webinar registration form.
WPForms also makes it easy to market your webinar. For example, you can integrate your forms with marketing services like:
- Mailchimp
- GetResponse
- Drip
- Salesforce
- And more
You can also use the Zapier addon to automatically send your registrants to your webinar platform when they fill out your form. Read this tutorial on how to create a custom GoToWebinar form to learn how to connect WPForms to GoToWebinar.
But that’s not all. Did you know that WPForms lets you easily create a landing page for your form?
Let’s walk through that next.
Step 3: Create Your Webinar Landing Page
The Form Pages addon in WPForms lets you make a distraction-free page without writing any code. This is a really fast way to make a landing page in WordPress.
Let’s walk through it. Before you start, go ahead and save your form by clicking the orange button in the top right corner of the screen. You can then safely close the form builder window.
Next, you’ll want to click WPForms » Addons. Scroll down to the Form Pages addon and click to activate it.
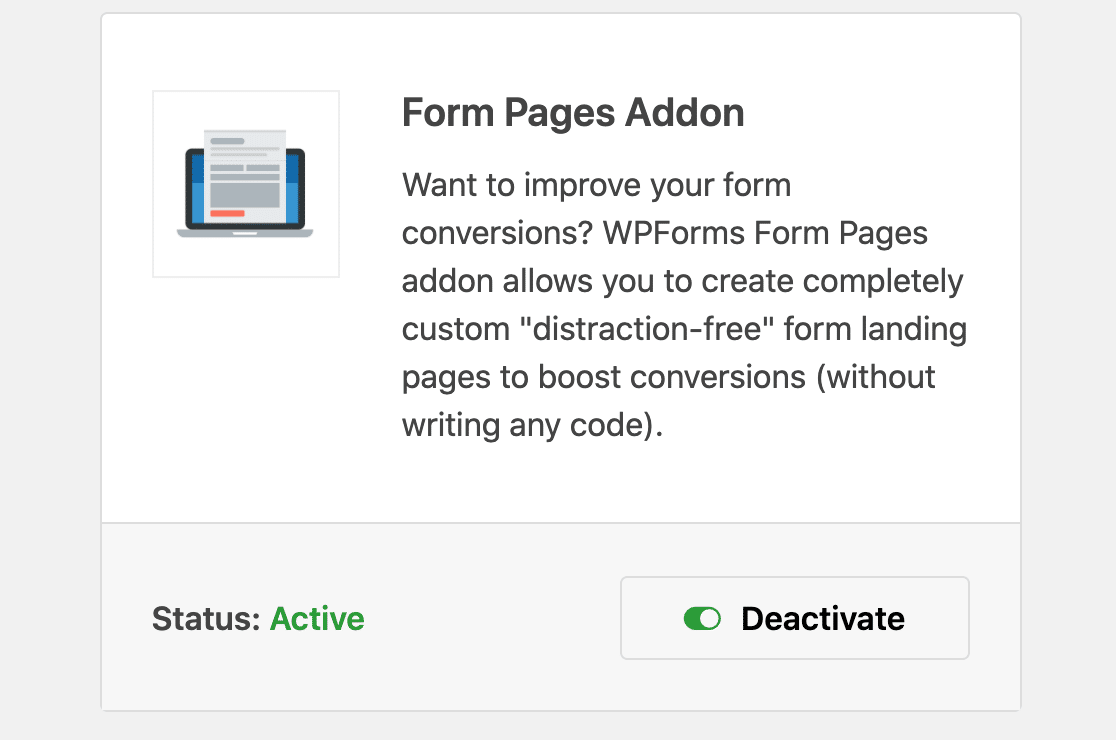
When the addon is active, go to WPForms » All Forms and open up your webinar registration form again.
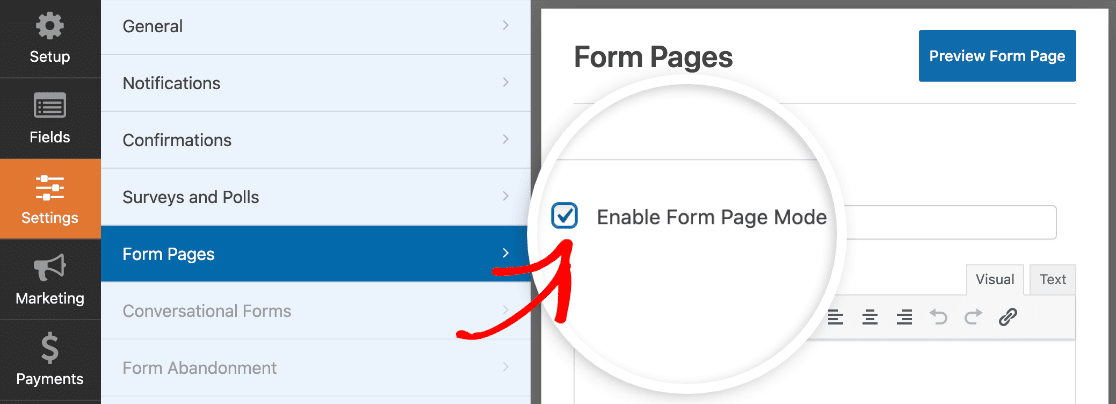
Now you’ll see a new Form Pages menu in the form builder under the Settings tab.
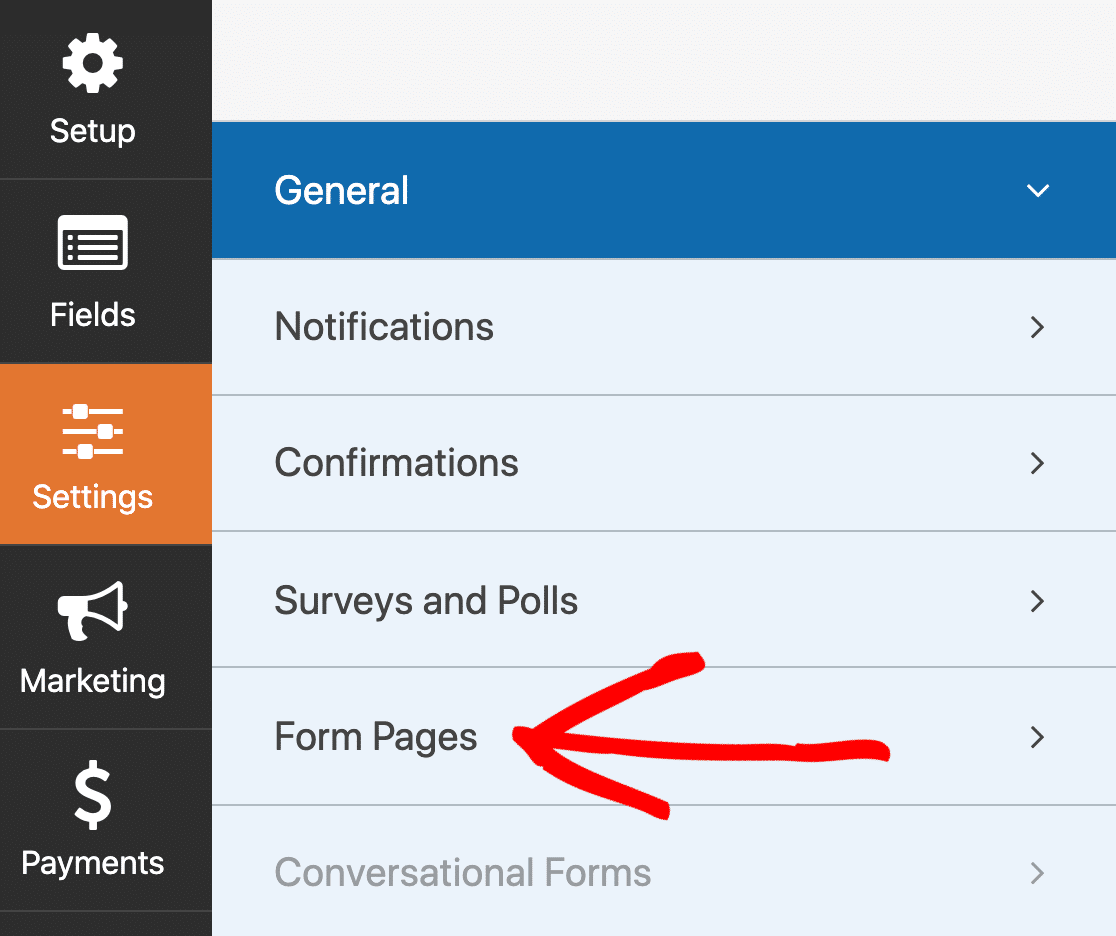
Now let’s turn on landing page mode for the form.
Click Form Pages, then go ahead and click the checkbox on the right to enable your webinar form landing page.
WPForms will then open the settings for your webinar landing page in the right hand pane.
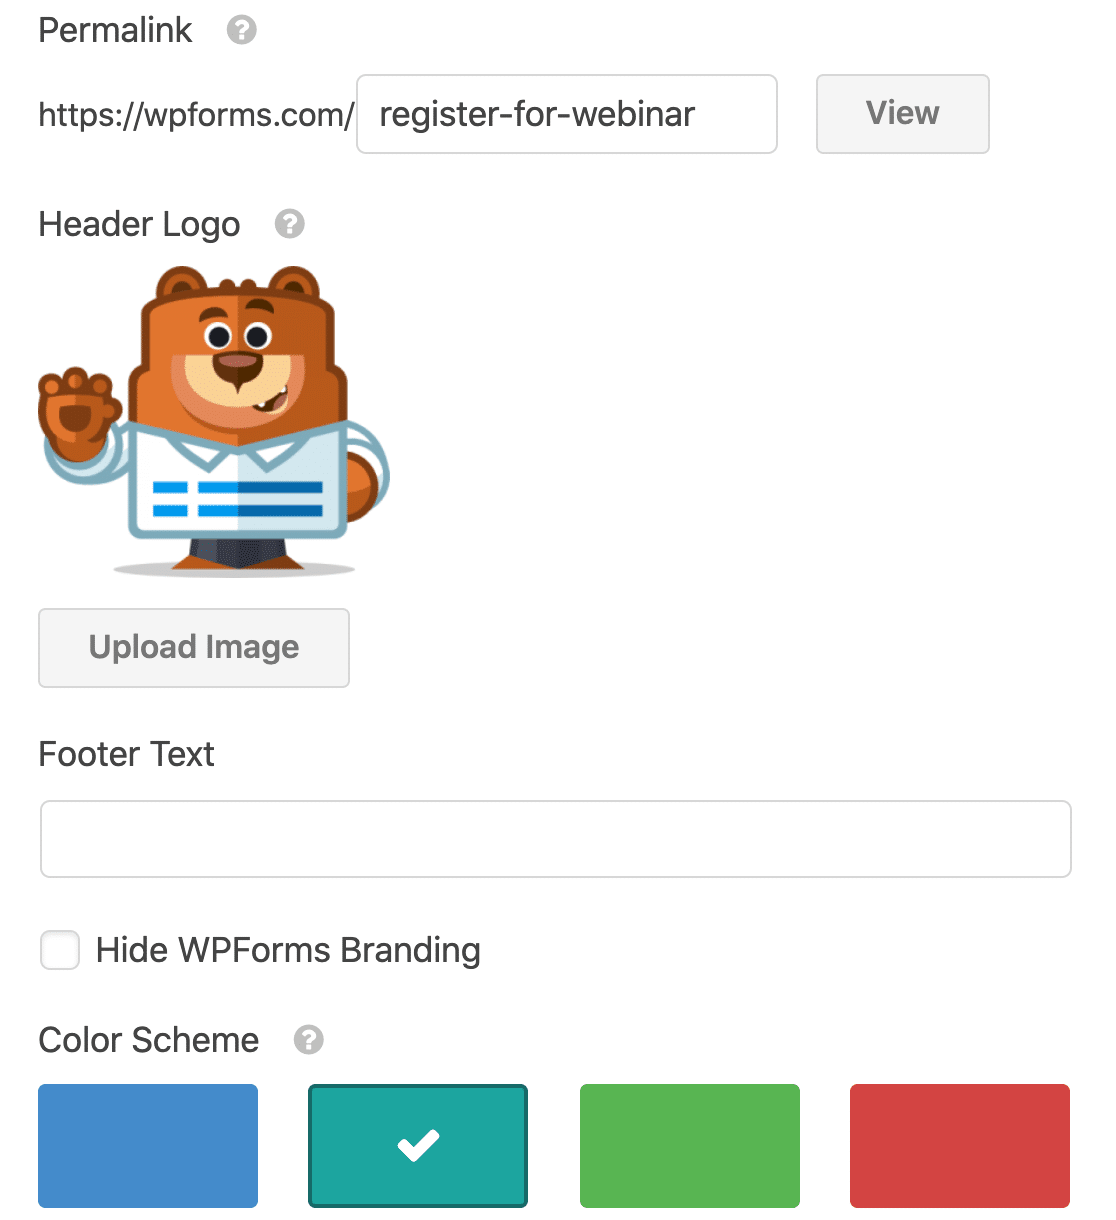
On this screen, you can quickly customize your webinar landing page, including:
- Header image
- Intro text
- Color scheme
- Landing page title
- Landing page URL
- Page layout style
When everything’s set up the way you want it, click View to see your finished WordPress webinar landing page.
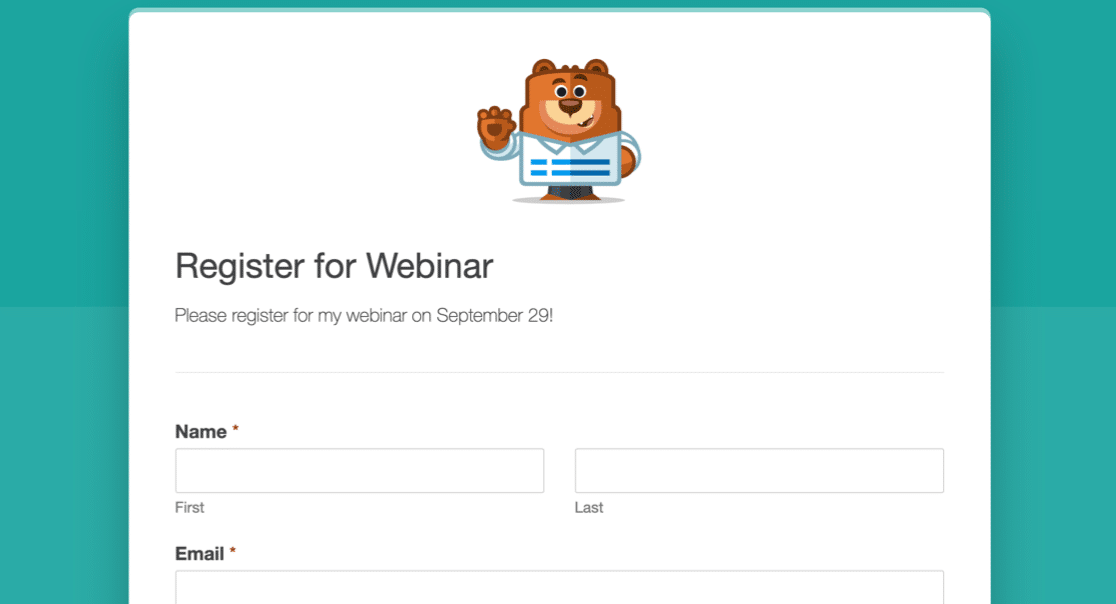
Don’t forget to save your form again, too.
And that’s it! We’re done working in WPForms. You can now link directly to this page so people can sign up for your webinars.
Do you want to see another landing page plugin in action? Let’s look at the SeedProd landing page builder next.
Make Your Webinar Landing Page With SeedProd
SeedProd is the #1 landing page builder for WordPress. It’s also the best coming soon plugin.
It lets you quickly create any kind of landing page using an easy drag and drop builder.
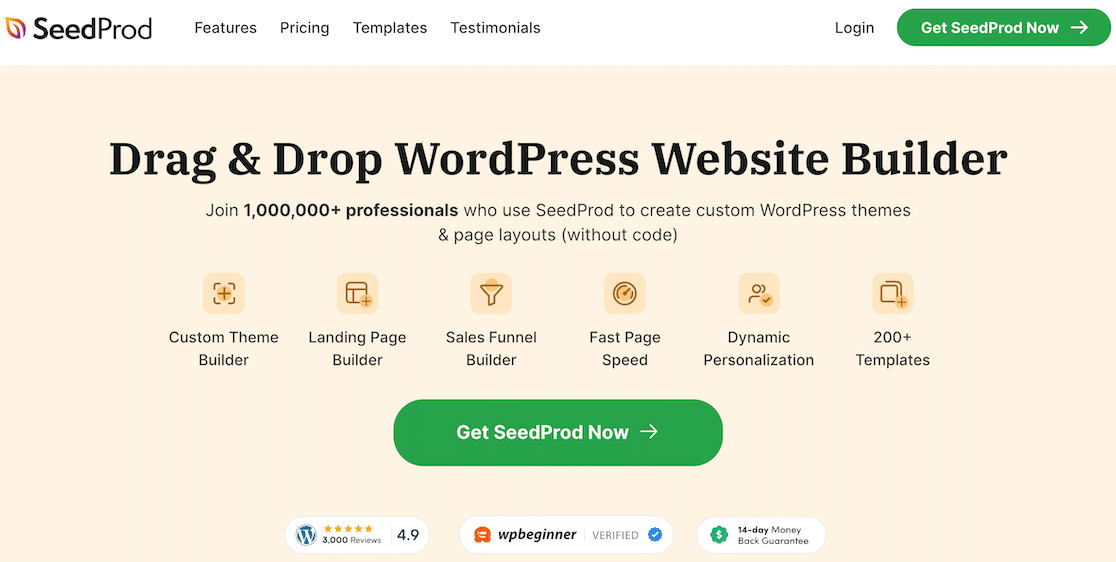
SeedProd also comes with 200+ landing page templates that you can customize. You can easily create:
- Coming soon pages
- Optin pages for email newsletters and email automation campaigns
- Custom 404 pages
- And more
Need some inspiration? We put together some landing page form examples that you can copy. You can also check out our SeedProd review if you want to know more about the features and integrations.
Ready to start? Let’s make a custom landing page for your webinar in SeedProd.
Step 1: Create Your Webinar Landing Page
To start, you’ll want to install and activate the SeedProd Landing Page Pro plugin.
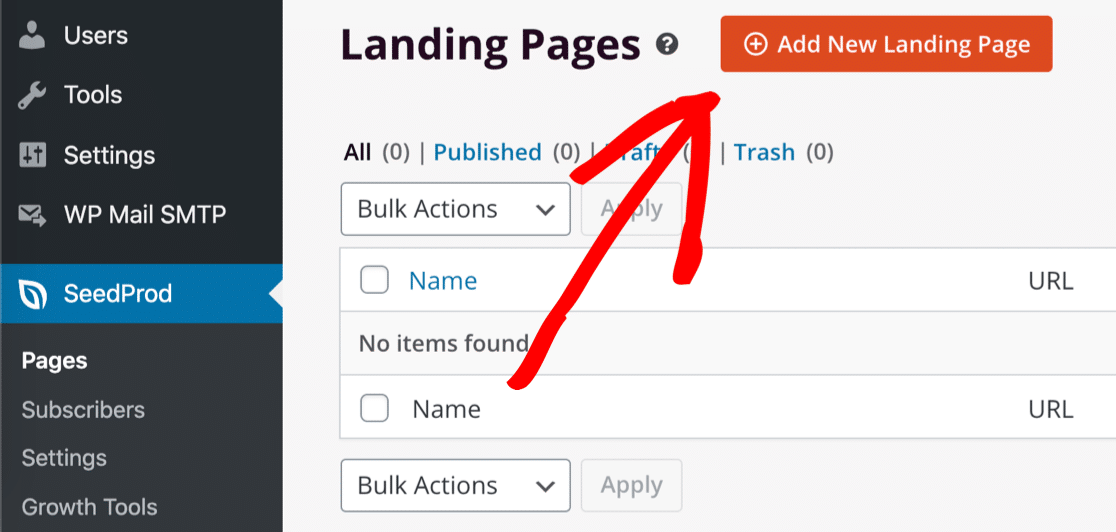
Once the plugin is activated, click SeedProd » Pages to get started.
Then scroll down and click Add New Landing Page.
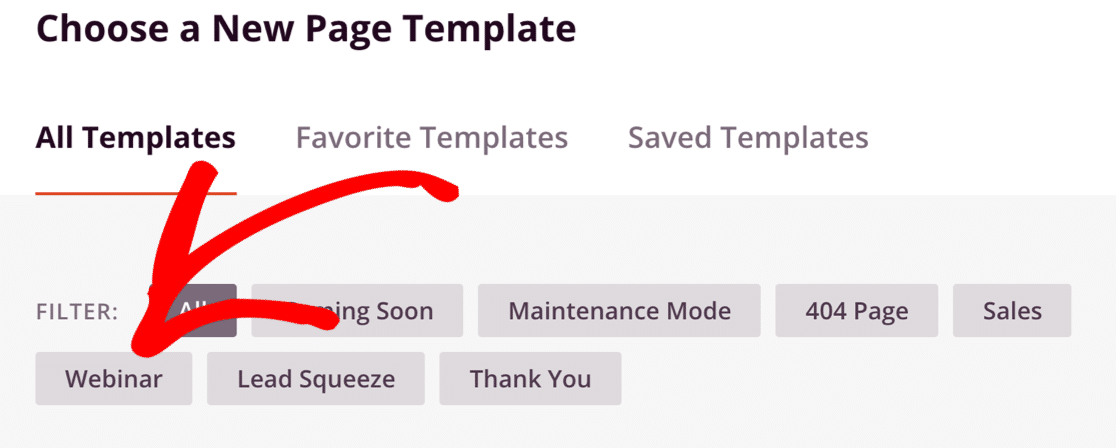
When the templates page opens, you can click Webinar to filter the list.
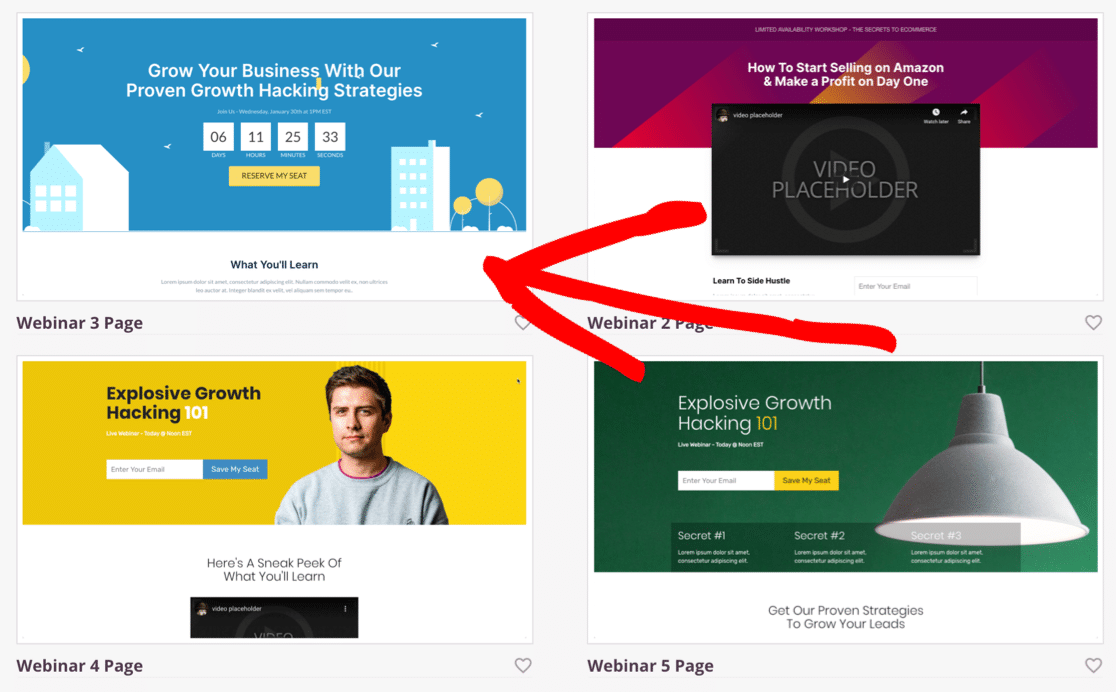
Now you’ll see all of the webinar template designs.
In this example, we’re going to customize the Webinar 3 Page template. Go ahead and click on it now.
Next, you’ll want to give your landing page a name. You can also customize the URL to the page here.
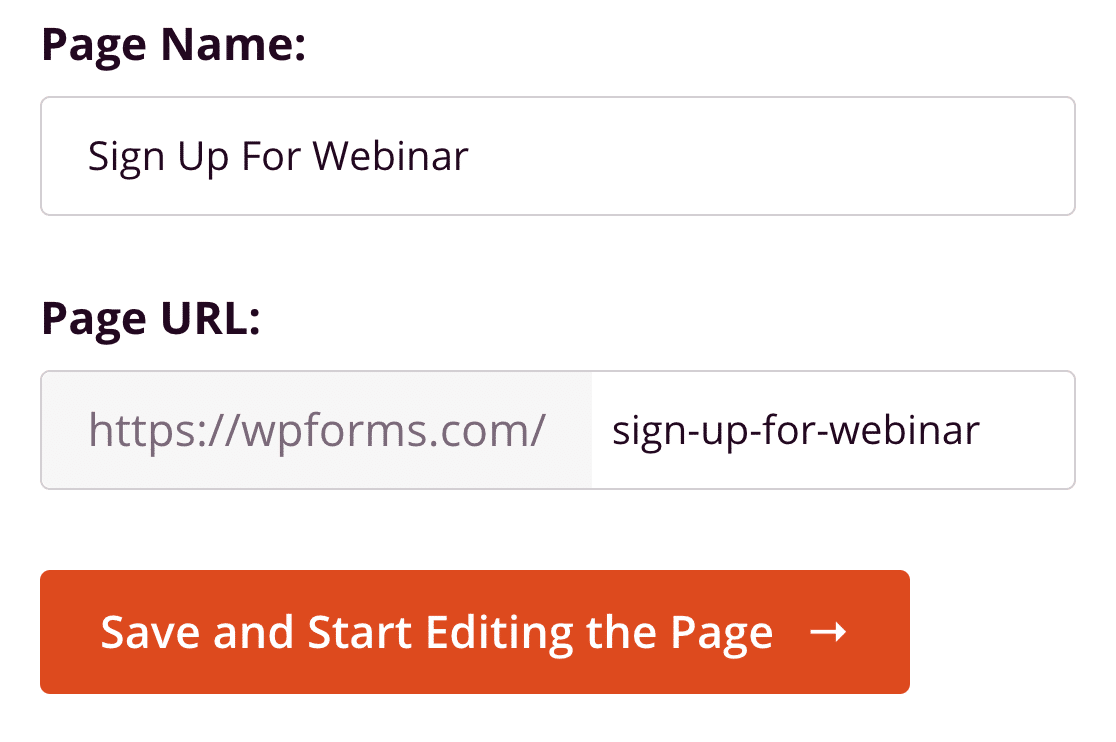
When everything’s set up the way you want it, go ahead and click Save and Start Editing the Page. Now let’s start building!
Step 2: Customize Your Webinar Landing Page
As soon as the SeedProd page builder opens, you’ll see different icons on the left hand side. These are the building blocks you can use to create your landing page.
SeedProd lets you easily add:
- Text
- Images
- Buttons
- Videos
- Optin forms
- Giveaways
- Star ratings
- And more
Click any block on the left and drag it to place it onto the page. Then click on it to edit the settings.
The countdown timers in SeedProd are really neat. They help to add a sense of urgency to your landing page, and you can choose from different styles.
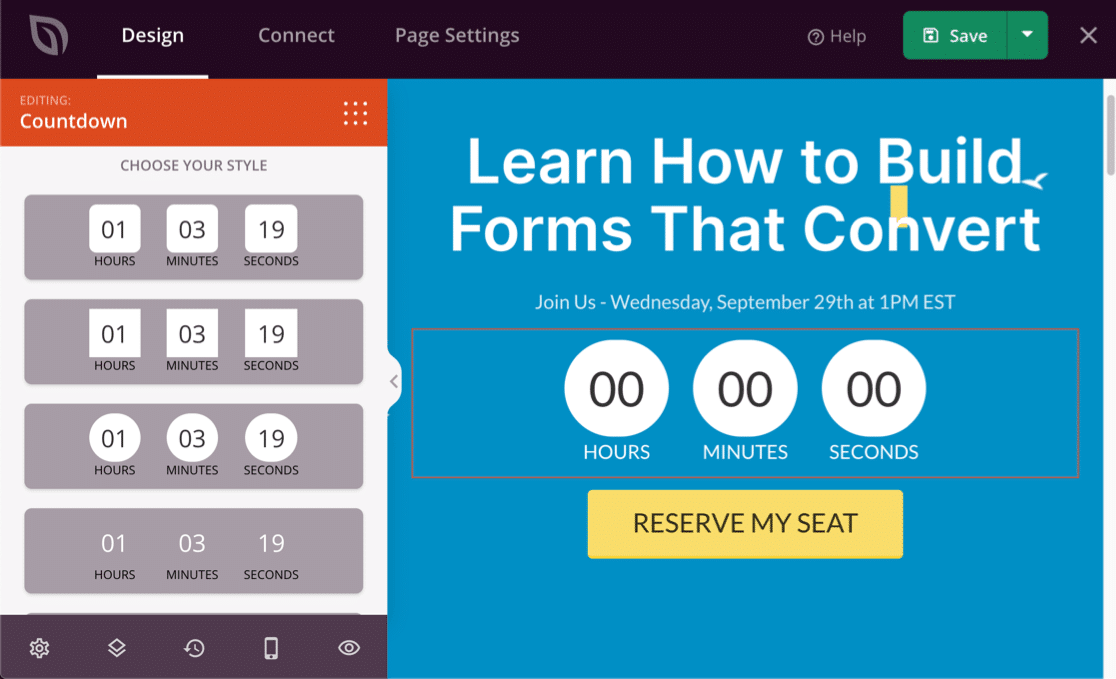
You can also click the gear icon in any block to change the settings. For example, it’s really easy to add a YouTube video just by clicking the gear and changing the URL.
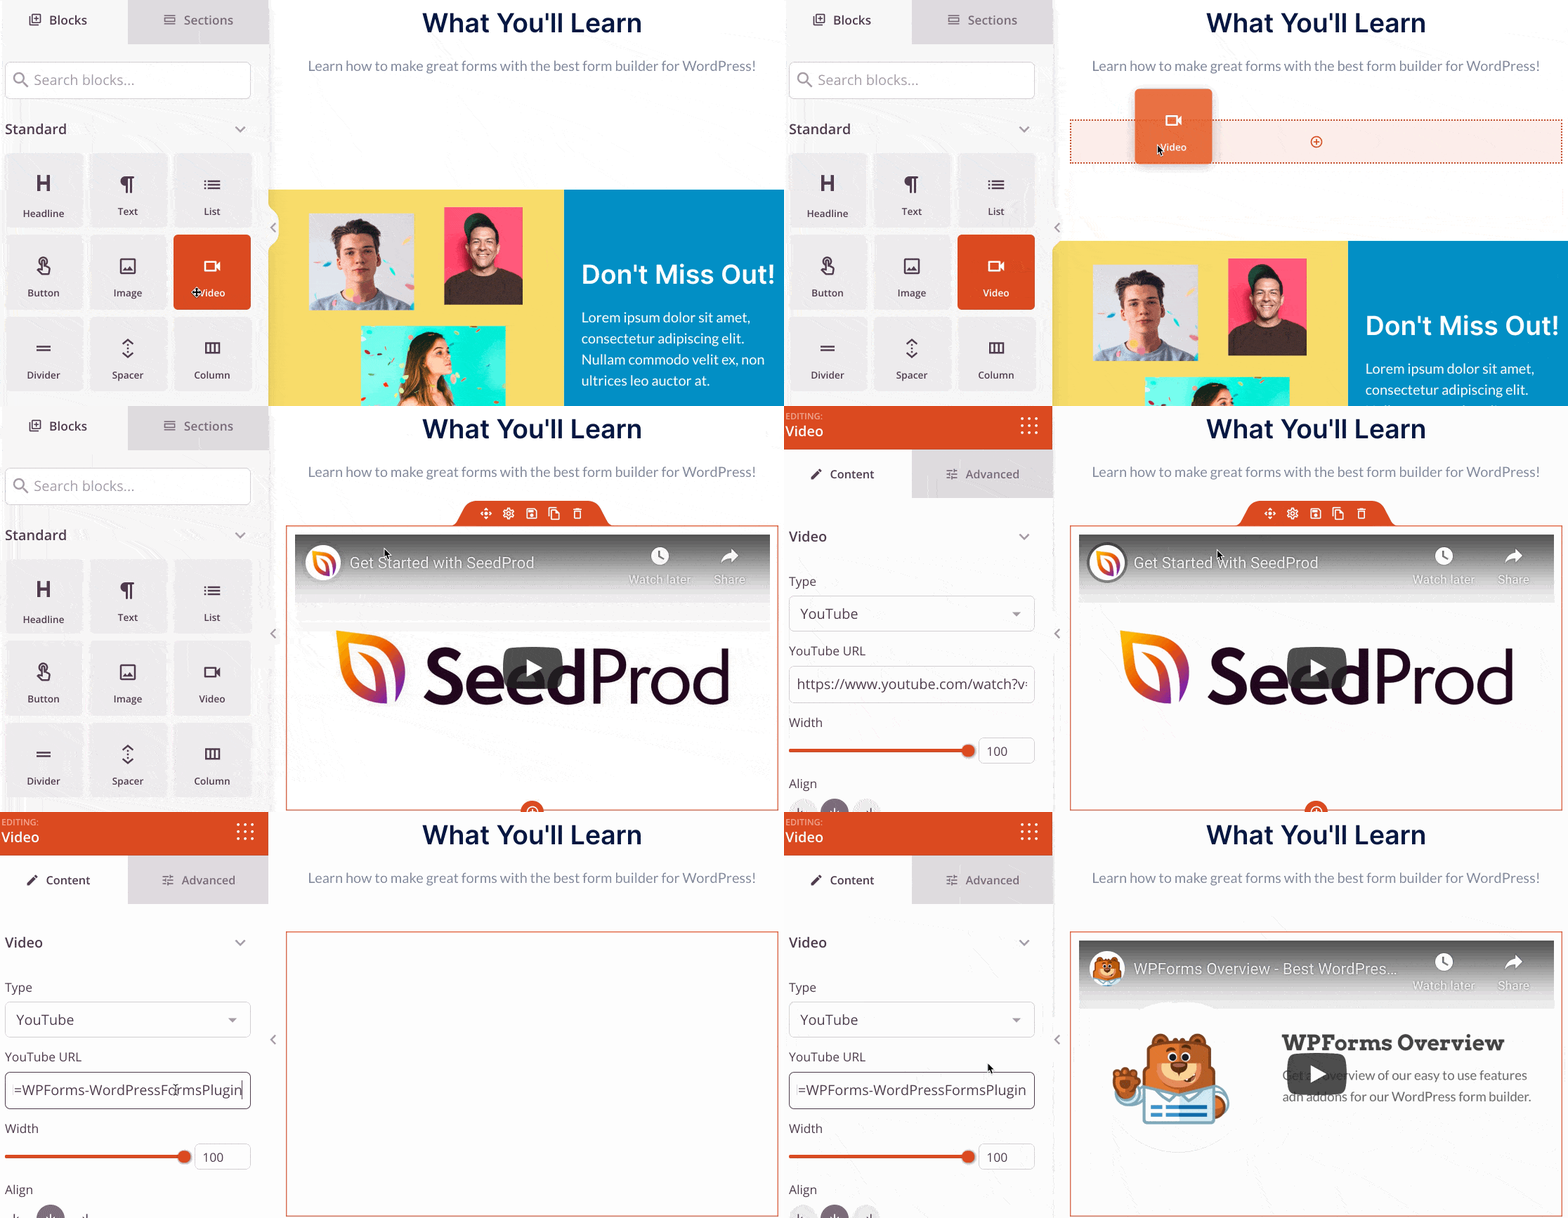
Go ahead and add all of the elements you want until your page is finished.
Now we’re ready to publish the webinar landing page in WordPress.
Step 3: Publish Your Webinar Landing Page
Great! The layout is done and we’re ready to go live.
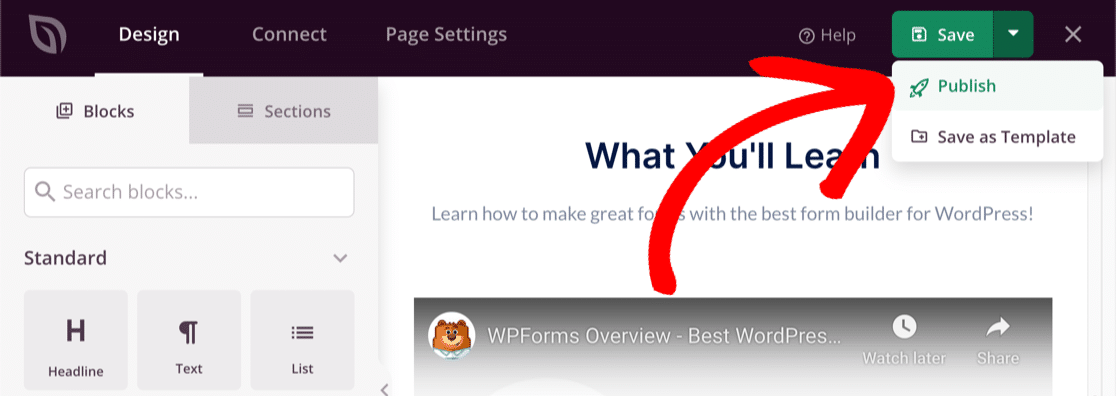
To do that, click Save » Publish at the top of the SeedProd builder. This will publish the landing page on your site.
And that’s it! Your landing page is live and ready to share.
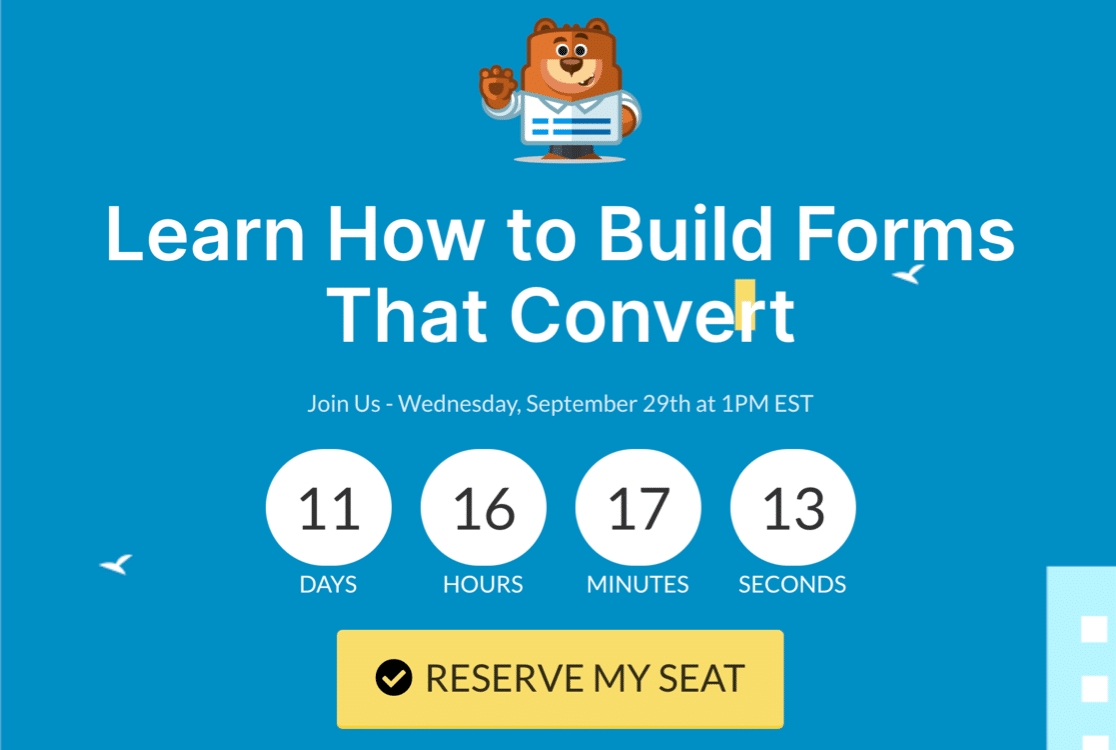
Now you know the easy way to create a WordPress webinar landing page with WPForms or SeedProd. Go ahead and give it a try!
Next, Make a Form Submission Thank You Page
Do you want to redirect your webinar attendees to a custom thank you page?
It’s really easy to set this up in WordPress. Check out this tutorial on how to redirect users after a WordPress form submission.
Also, if you’re using HubSpot to manage your contacts, you can create HubSpot webinar landing page to send contacts from your form directly to your CRM.
Ready to build your form? Get started today with the easiest WordPress form builder plugin. WPForms Pro includes a free webinar landing page template and offers a 14-day money-back guarantee.
If this article helped you out, please follow us on Facebook and Twitter for more free WordPress tutorials and guides.

