AI Summary
WPForms Lite offers a great way to collect and access form entries without any cost, making it ideal for small sites and personal projects.
Setting up email notifications allows you to receive every response in your inbox. Additionally, Lite Connect provides a helpful option for secure backup when you’re ready to upgrade.
In this guide, we’ll cover practical solutions for viewing and managing entries with the free version of WPForms, so you never miss a single response.
How to View Form Entries for Free in WPForms
The free version of WPForms is designed to be a lightweight, user-friendly solution for creating forms without overwhelming resources or features.
WPForms Lite offers alternative ways to stay informed about each submission, such as through email notifications and Lite Connect. Let’s walk through these options below:
Using Email Notifications to Access Form Entries
Once you’ve created your form and are ready to access the notification settings, start by navigating to Settings » Notifications within the form builder.
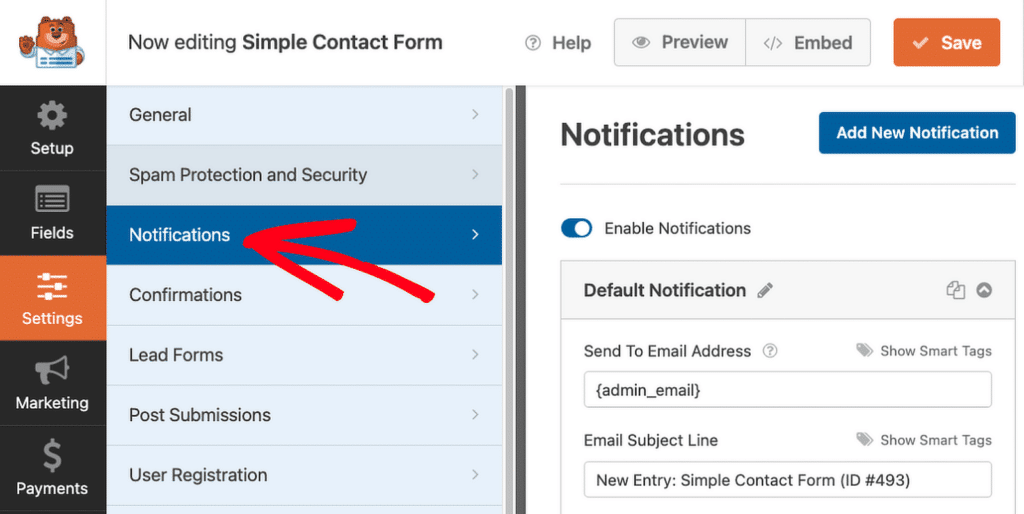
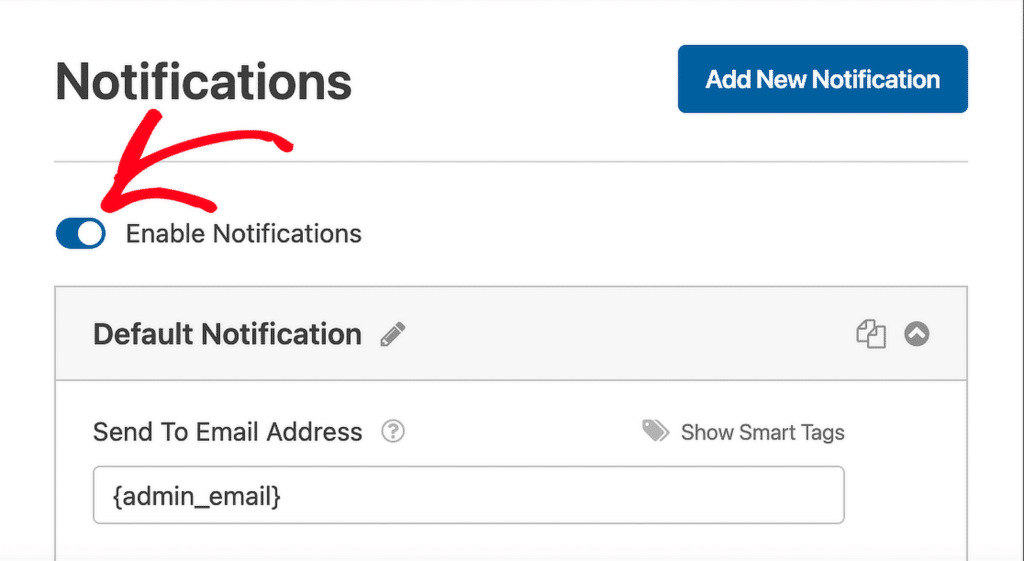
Notifications are turned on by default, but it’s always a good idea to double-check. Ensure the Enable Notifications option is toggled to the “on” position.
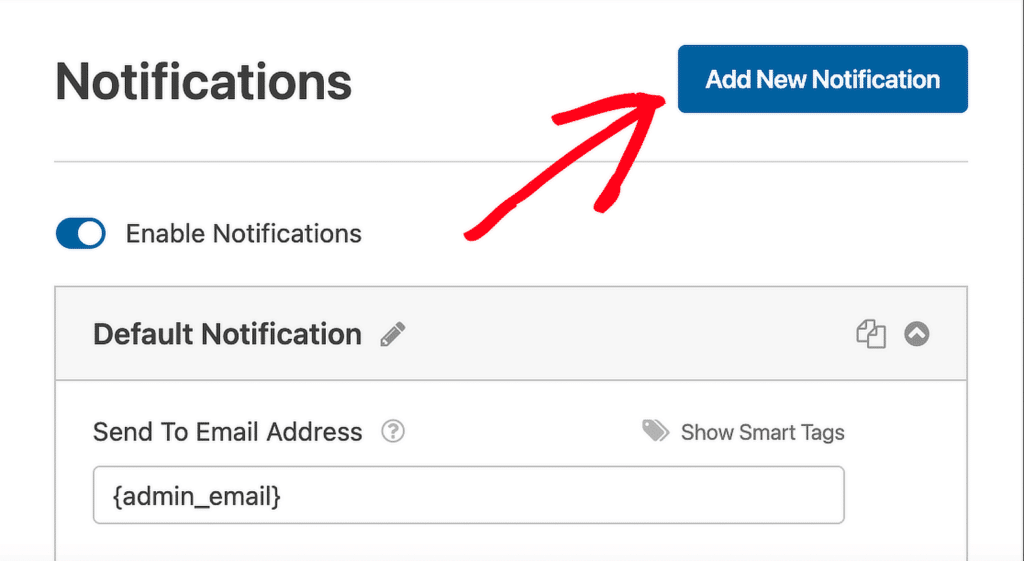
While WPForms provides a default notification, you can add additional notifications as needed. To do this, simply click the Add New Notification button.
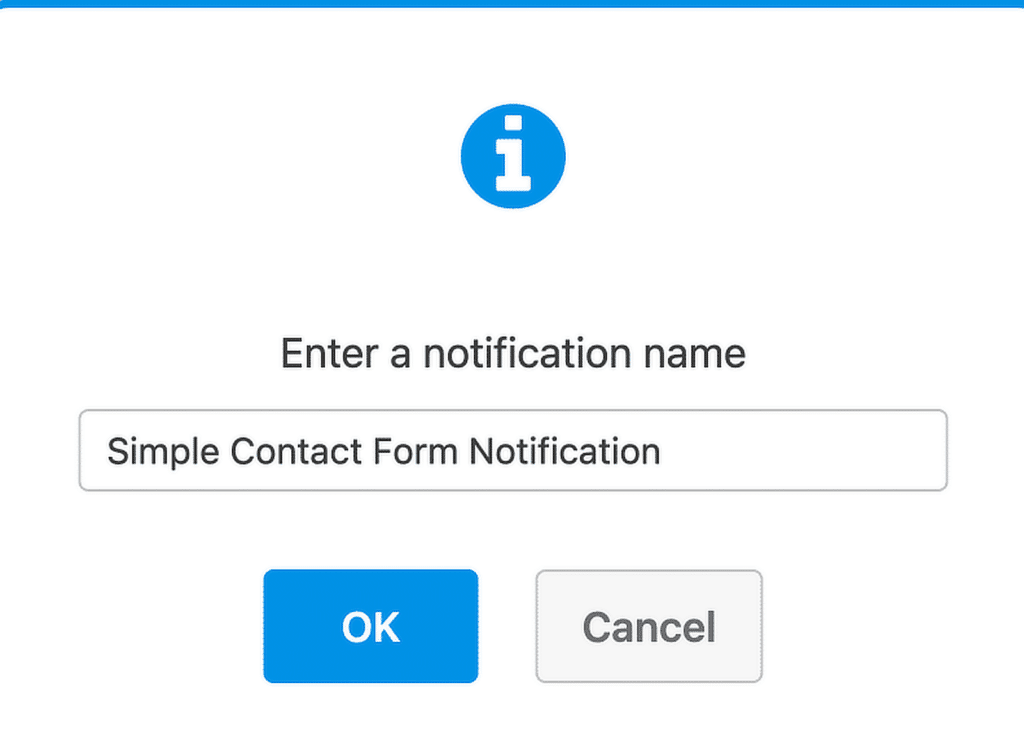
A prompt will appear for naming the notification. This is for internal use and won’t be visible to users. Once you’ve entered a name, select OK.
To complete the setup, fill out the required fields for your form’s email notification. We’ll cover how to set up each option in the following sections.
Also Read: How to View Your Form History in WordPress
Send To Email Address
Enter the recipient’s email address here. By default, this field uses the {admin_email} Smart Tag, which sends notifications to the site administrator’s email.

You can replace this with any other email address, or add multiple addresses where you want to receive your form entries, separated by commas.

Email Subject Line
This will appear as the subject of the notification email. The default format is “New Entry” followed by the form’s name.
Feel free to change this text to make it more descriptive or include any specific phrase that you want to later set up a filter for in your inbox to access your entire list of form entries.

From Name
This is the name that will appear as the sender of the email. By default, it’s set to your website’s domain, like example.com.
You can change it to any name you prefer, but make sure it’s something recognizable to help filter your form entries in your inbox.

From Email
This field is crucial for deliverability. By default, it’s set to {admin_email}, which uses the WordPress administrator’s email as the sender.

Here are a few important guidelines for choosing an email address:
- Use a valid email that exists and can receive messages to avoid spam issues.
- The email should match your domain to help with deliverability. For instance, if your site is example.com, using [email protected] is a good choice.
- Only enter a single email address here, as notifications can only be sent from one sender.
- Avoid using free email providers like Gmail or Yahoo, as they can lead to emails being flagged as spam.
- Don’t use the email address of the person who filled out the form as the sender, as this may trigger phishing warnings and harm deliverability.
- If you’re using an SMTP plugin, like WP Mail SMTP, ensure the email aligns with your SMTP settings.
Reply-To Email Address
The Reply-To Email Address is the designated email address to which any responses to your notification will be directed. This field is useful if you want replies to go to a specific address.
For instance, if you’ve set the From Email to your own email address, you can set the Reply-To Email Address to pull the user’s email through a Smart Tag.

This way, if you need to ask follow-up questions about a user’s submission, replying to the notification email will go directly to them.
Email Message
The Email Message field is where you define the content that appears in the notification email’s body.
By default, this field uses the {all_fields} Smart Tag, which displays all the form fields the user filled out, along with their labels. In other words, this Smart Tag displays the entire form entry in the body of the email.
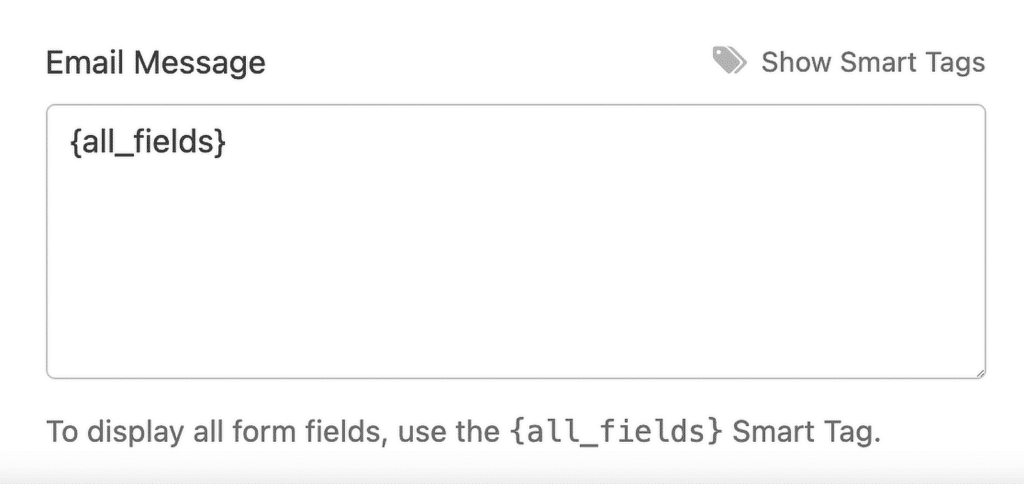
If you prefer a more customized notification, you can add additional text, use other Smart Tags to only include certain fields, or even style the content with HTML or inline CSS to suit your needs.
Test Notification Email
After configuring your notification settings, it’s a good idea to test them. Testing allows you to experience the form as a user would and ensure that notifications are landing in your specific inbox.
For detailed instructions on testing notification emails and additional pre-launch checks, refer to our pre-launch checklist and form testing guide.
Form Notifications Not Arriving? Check Your Settings
In WPForms Lite, entries are sent to you by email. And this feature is completely free! However, it can be frustrating when those emails don’t appear in your inbox.
It might seem like the entries are lost, but rest assured, your form submissions aren’t discarded. They’re simply delivered via email, and often, the issue lies in those emails landing in your spam folder.
Using a reliable SMTP solution like WP Mail SMTP is highly recommended to prevent form notification emails from getting lost or marked as spam.
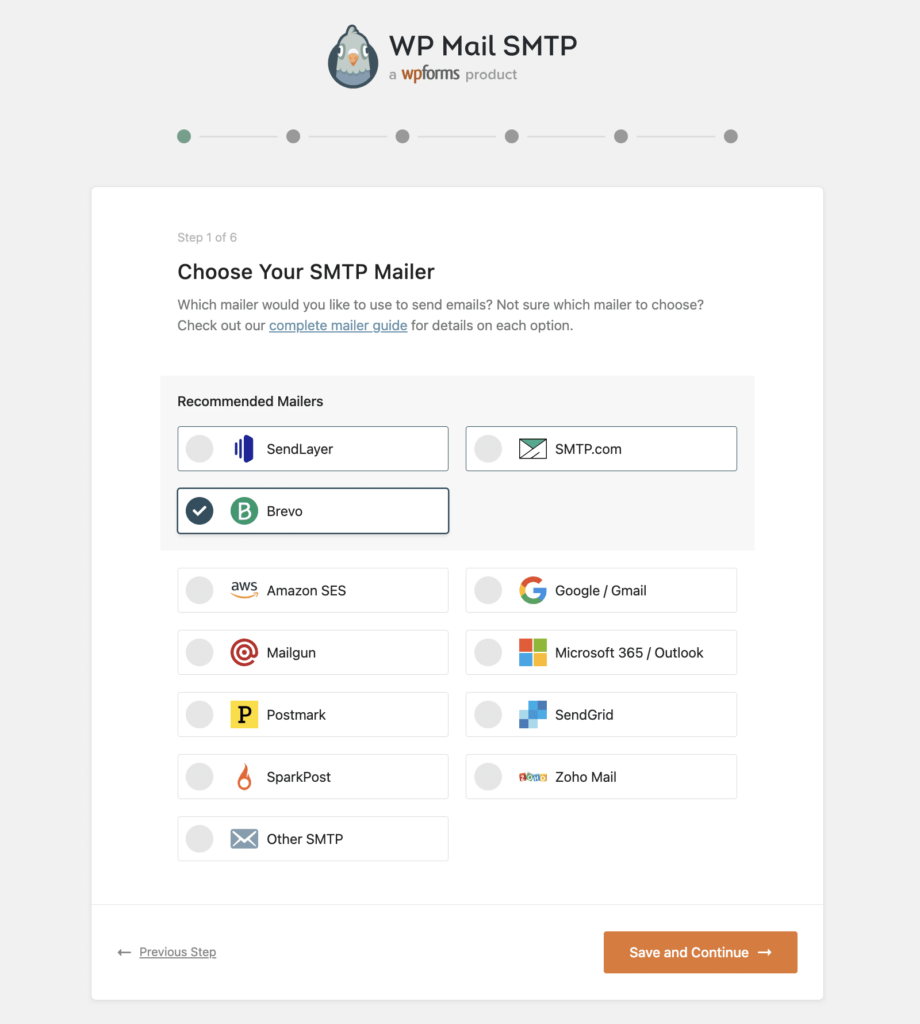
For many sites, the free version of WP Mail SMTP works well with WPForms Lite and effectively resolves deliverability problems.
So, if your form notifications aren’t appearing in your inbox, the issue isn’t with WPForms Lite or WPForms Pro. This is likely due to strict spam filtering by email providers.
By using WP Mail SMTP with proper setup, you can navigate around these filters and make sure notifications end up in your inbox, not your spam folder.
When you set up WP Mail SMTP, you can choose between various email providers. We recommend using WP Mail SMTP with a service like SendLayer to deliver your WPForms entries reliably.
Enabling Lite Connect for Secure Backup of Entries
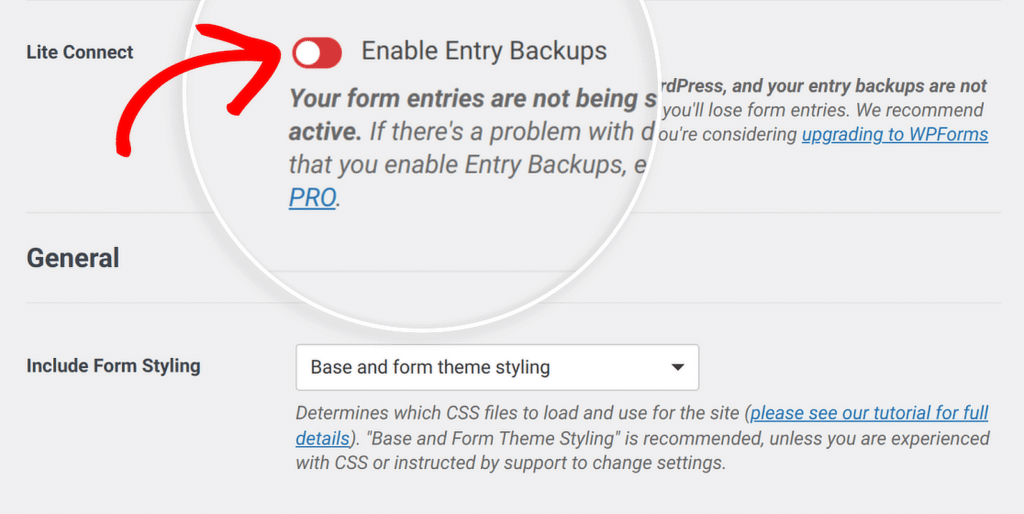
Enabling Lite Connect is a good option for free users of WPForms who want to create a backup of all entries in their WordPress dashboard. To set this up, first go to WPForms » Settings » General.
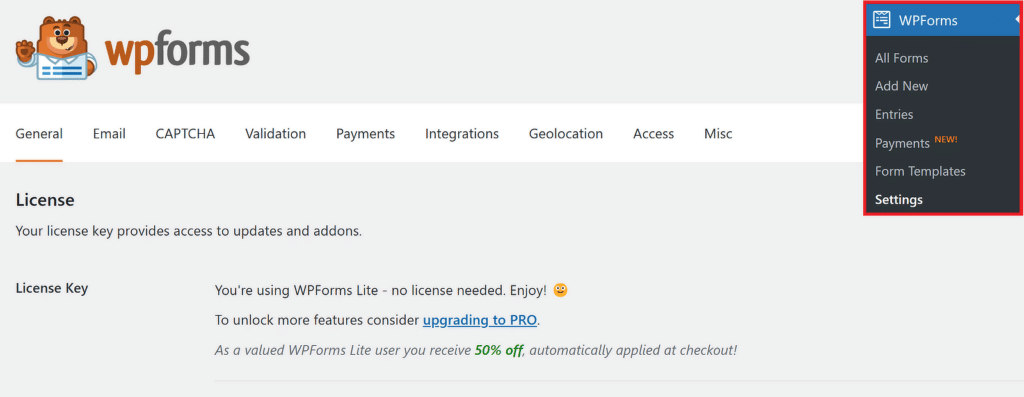
Under Lite Connect, you’ll see the option Enable Entry Backups. Simply toggle this setting to the “on” position to enable remote backups for your entries.
With Lite Connect active, you can monitor how many entries are backed up directly from your WordPress dashboard.
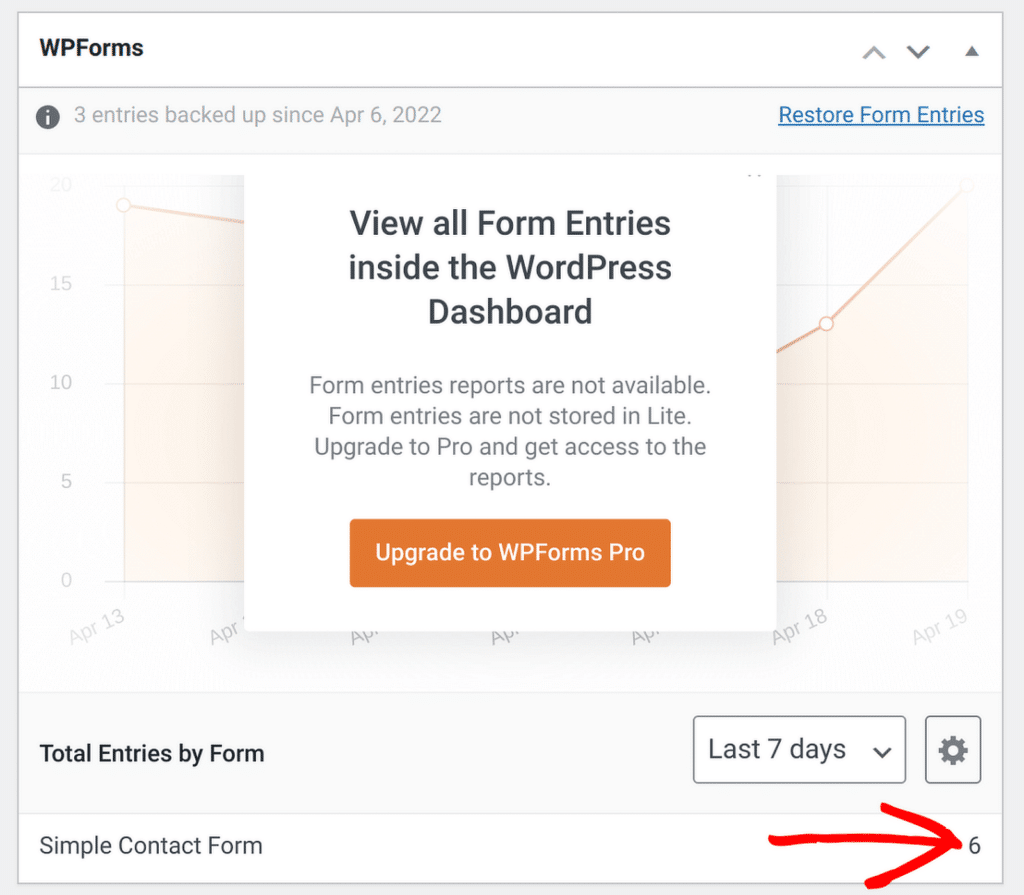
The saved entries will be visible there, or you can go to WPForms » All Forms to see the total count of entries that have been backed up.
This setup allows you to keep track of your form entries, ensuring they are saved securely, even without storing them in your WordPress dashboard.
Upgrading to WPForms Pro to View All Entries
By upgrading, users gain immediate access to entries in the WordPress dashboard, making it much simpler to review and organize submissions in one place.
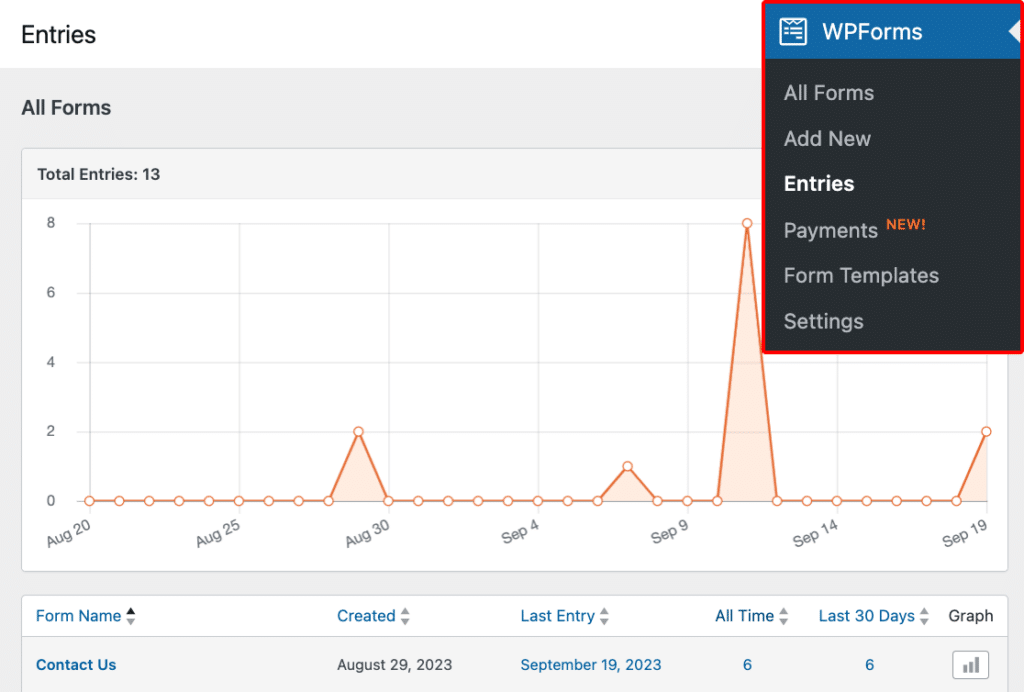
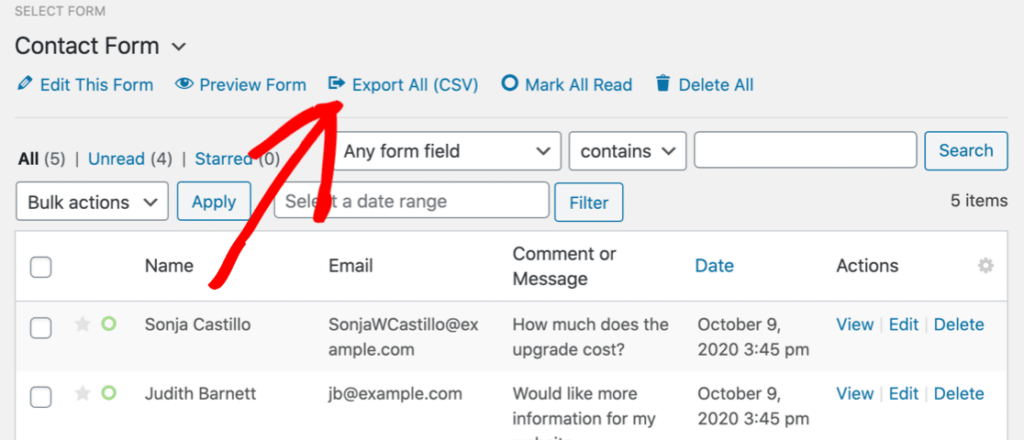
Additionally, WPForms Pro includes advanced entry management tools that streamline the process of monitoring spam along with sorting, searching, and exporting entries.
For instance, users can conveniently export entries in CSV format, which is useful for creating backups or conducting further analysis with external tools. You can even import these entries to another WordPress site if needed.
Another standout feature is the ability to automatically save form entries to Google Sheets. This integration eliminates the need for manual data entry, keeping all entries up-to-date in Google Drive.
Beyond entry management, WPForms Pro offers an impressive range of advanced features to help users get the most out of their forms.
With conditional logic on the layout field, users can tailor forms based on responses, creating a more personalized experience for visitors.
The Pro version also supports payment integrations, allowing seamless transactions directly through forms, which is ideal for businesses looking to collect payments, donations, or orders.
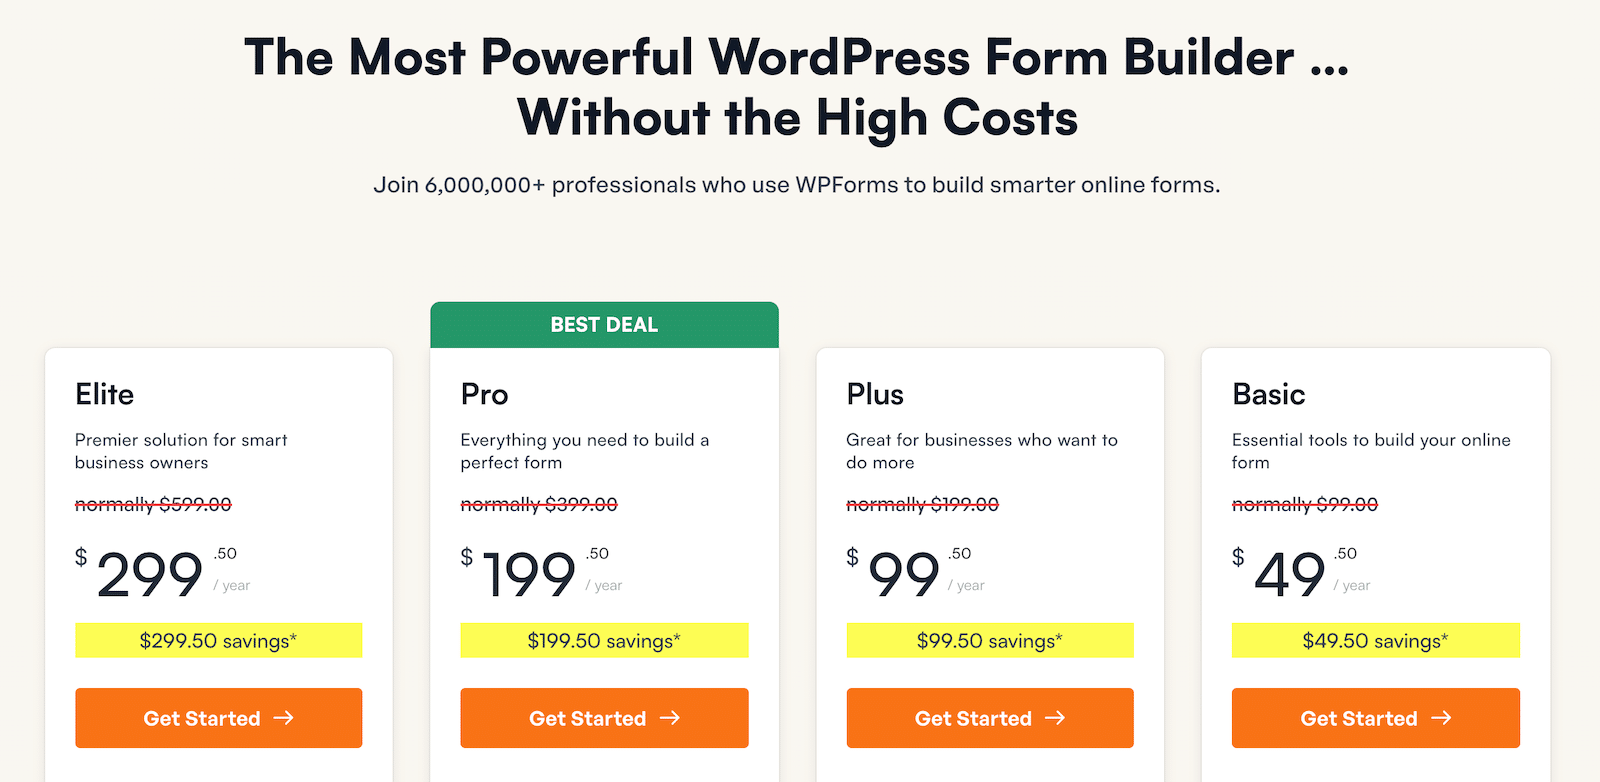
These features make the Pro version a versatile tool, perfect for anyone looking to enhance their website’s form capabilities.
FAQs — How Do I See Entries for Free in WPForms
Viewing form entries in WPForms is a popular topic of interest among our readers. Here are answers to some common queries about it:
How to view WPForms submissions?
To view submissions in WPForms, users with WPForms Pro can access entries directly from their WordPress dashboard under WPForms » Entries.
If you’re using WPForms Lite, setting up email notifications allows you to receive form entries by email. If you enable Lite Connect, you’ll also be able to see previous entries in your dashboard after upgrading to WPForms Pro.
Where do WPForms entries go?
With WPForms Pro, entries are stored within the WordPress dashboard, giving you easy access to manage submissions.
For WPForms Lite, entries are sent to the email specified in the form’s notification settings, ensuring you still receive each submission.
Can I use WPForms for free?
Yes, WPForms offers a free version called WPForms Lite.
This version includes essential features like creating forms and sending entries to your email, allowing small websites to gather form responses without cost.
How to view WPForms entries for free?
In WPForms Lite, you can view entries by setting up email notifications.
Each time a form is submitted, the entry details are sent to the email you choose, letting you access responses at no cost.
How do I export all entries from WPForms?
WPForms Pro users can export form entries to a CSV file for easy backup and analysis.
This can be done directly from the dashboard under WPForms » Entries.
Next, Tips and Tricks For Your Online Forms
When managing your online forms, it is important to consider not just how you manage data, but also how you safeguard it. Here are some crucial tips and tactics for increasing the security of your online forms and optimizing your WPForms experience.
Ready to build your form? Get started today with the easiest WordPress form builder plugin. WPForms Pro includes lots of free templates and offers a 14-day money-back guarantee.
If this article helped you out, please follow us on Facebook and Twitter for more free WordPress tutorials and guides.

