AI Summary
Are you frustrated with email delivery failures? Unreliable email deliverability can mean a loss of business and sales.
In this post, we’ll look at what causes email delivery failure and how you can fix it in WordPress.
Why Does Email Delivery Fail?
Email delivery can fail for several reasons. You might have a high spam score from being on a server that’s on a blacklist, or maybe you include too many images or attachments. It could be due to an unusual TLD that points to spammers and scam emails. Perhaps it’s related to your DNS settings.
Mail delivery failures are also a common result of sending emails that lack authentication.
Even if you have everything set up properly, the service you use to send emails can experience outages. If you don’t have a backup service connected to your site, any emails sent during an outage won’t be delivered.
How To Fix Email Delivery Failures in WordPress
Today we’re going to look specifically at primary and backup mailer connections to ensure your email messages are never lost because of outages.
In This Article
1. Download and Install WP Mail SMTP
We’re going to use WP Mail SMTP to fix your email deliverability issues. WP Mail SMTP is the best SMTP plugin for WordPress.
As well as improving email deliverability, WP Mail SMTP includes an email log feature that will alert you of any failed emails. You can see how it works in our roundup of the best email logging plugins for WordPress.
If you’d like to check out the features before we start, you’ll find everything you need to know in this WP Mail SMTP review.
The first thing you need to do is download and install WP Mail SMTP. Check out this guide to installing WordPress plugins if you need some help.
Start by selecting a license and setting up your account.
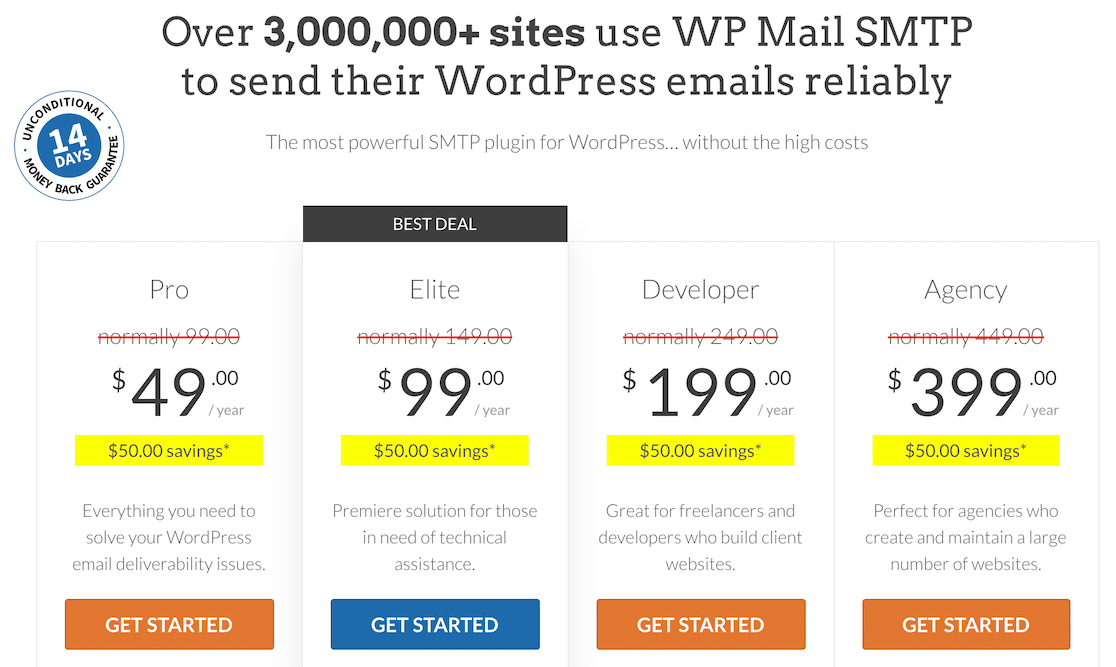
Once you’ve done that, you’ll get a .zip file. From here, log in to your WordPress dashboard, locate the Plugins option in the left sidebar, and click the option to add a new plugin. Then upload the plugin’s .zip file.

After you’ve uploaded the plugin, don’t forget to activate it!
2. Select a Primary Mailer Connection
If you send emails from your website and you don’t use a mailer connection, your emails aren’t authenticated. Unauthenticated emails can get hung up in spam filters and fail to deliver properly, so the first thing we’ll do here is set up a primary mailer.
Fortunately, WP Mail SMTP has a Setup Wizard that helps guide you through this process, so if you didn’t run that after installing the plugin, now’s the time!
You can access it by locating WP Mail SMTP in the left sidebar menu in WordPress and clicking on Settings.

Next up, you’ll choose your SMTP mailer. This email service provider is what will send emails from your website. You can choose any that you like, but note that it’s worth researching to see which meet your needs and are easiest to set up. Gmail, for example, is more difficult than some of the others.
We highly recommend SendLayer, SMTP.com, and Brevo (formerly Sendinblue).
In this example, we’ve selected SendLayer as the primary mailer.
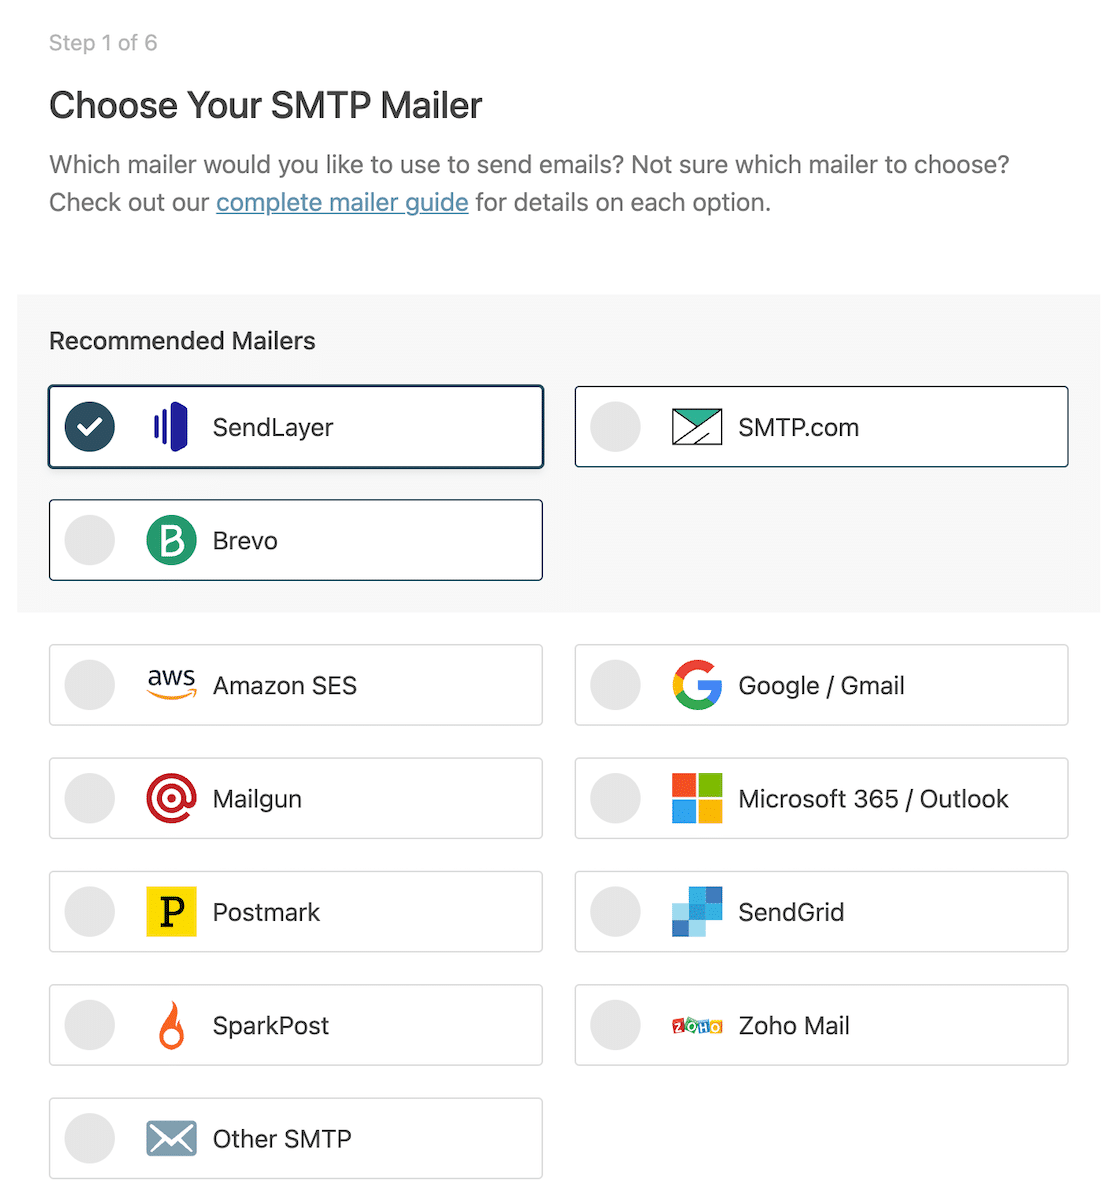
You’ll want to have already set up a primary mailer account before you select it here. Check the documentation for your chosen mailer by clicking the links below for step-by-step instructions on properly configuring your account.
- SendLayer
- SMTP.com
- Brevo
- Amazon SES
- Google Workspace / Gmail
- Mailgun
- Microsoft 365 / Outlook.com
- Postmark
- SendGrid
- SparkPost
- Zoho Mail
- Other SMTP
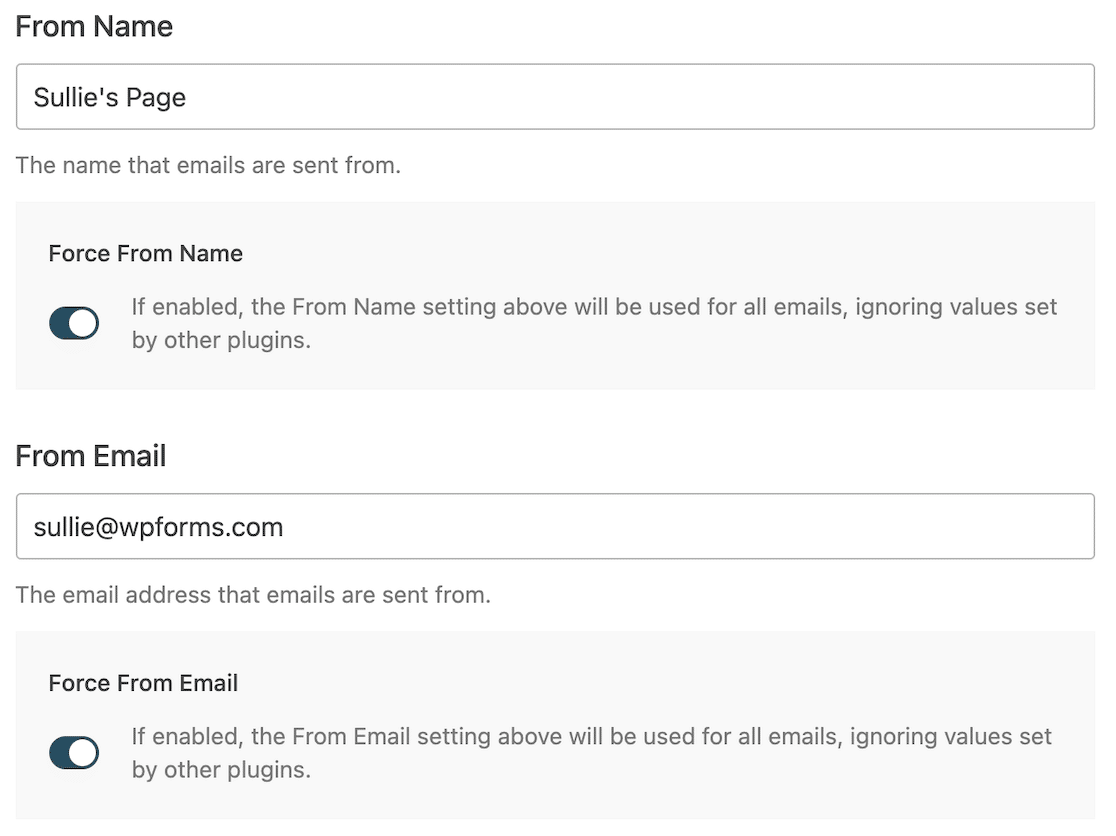
On the next page, you’ll enter information for the From Name and From Email fields.
It’s a good idea to enable the Force From Name and Force From Email settings. The email account you list here will be authenticated, and you won’t have to worry about lost messages due to a lack of authentication.
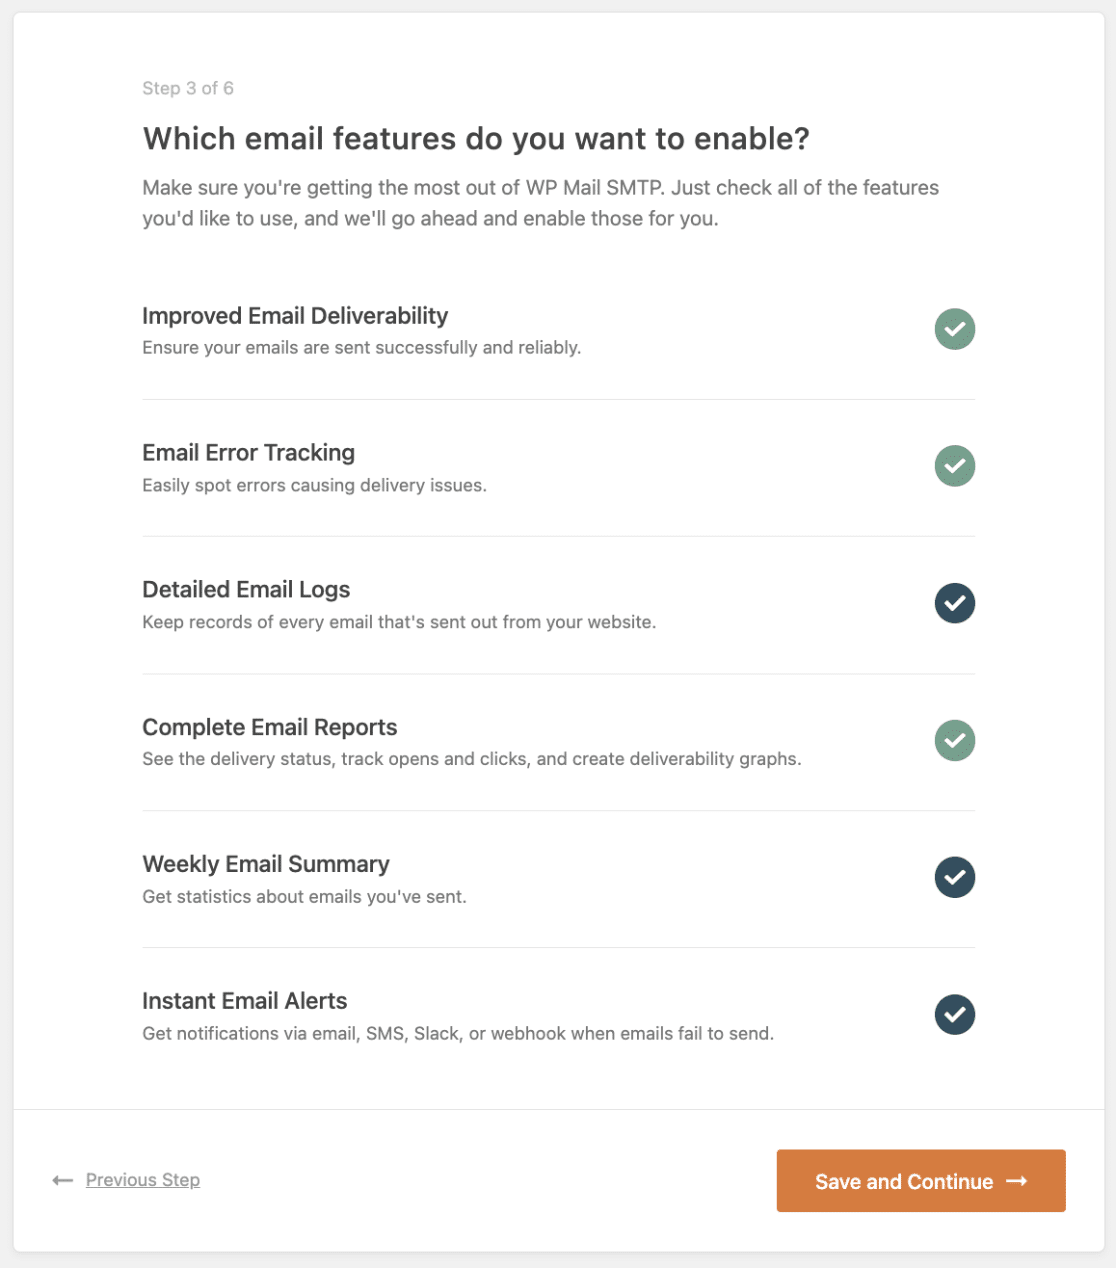
After that, you can follow through the rest of the Setup Wizard and determine which settings you want to configure, including the email features you want to enable.
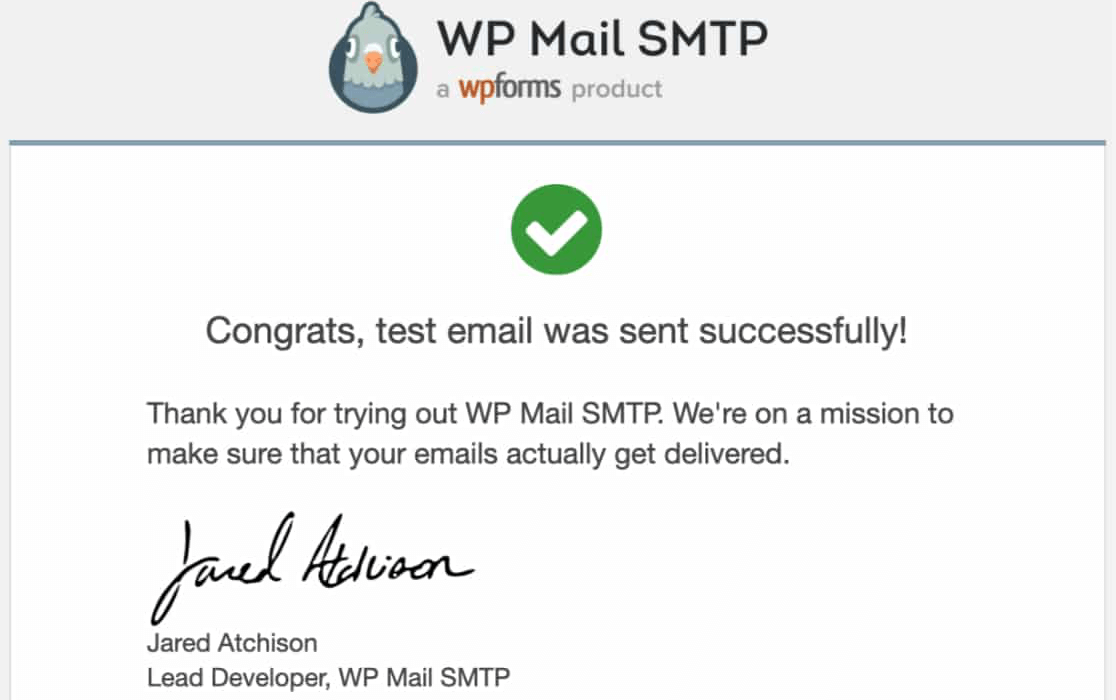
When you’re finished, the Setup Wizard will send a test email to make sure everything is working properly, and then you’re ready to configure your backup mailer.
3. Select a Backup Mailer Connection
Let’s say your primary mailer connection experiences outages. During that time, any emails sent from your website, including those triggered by form submissions, won’t deliver. They’ll be lost.
As we established earlier, that’s bad for business and can result in lost sales or missed connections.
To ensure your messages make it to their intended recipients, you can set up a backup mailer in WP Mail SMTP.
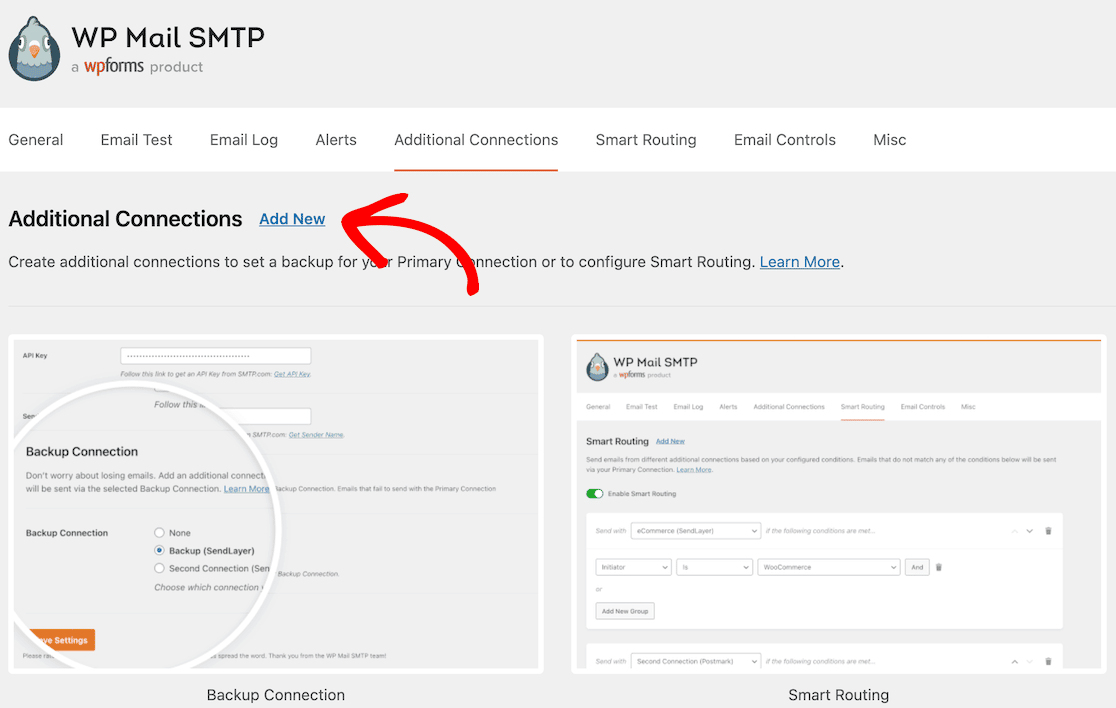
To set that up, go back into your WP Mail SMTP settings. If you scroll down to the Backup Connection section, you’ll see that no connection is set up.

To add one, scroll to the top and click on Additional Connections in the menu.

From there, click on Add New.
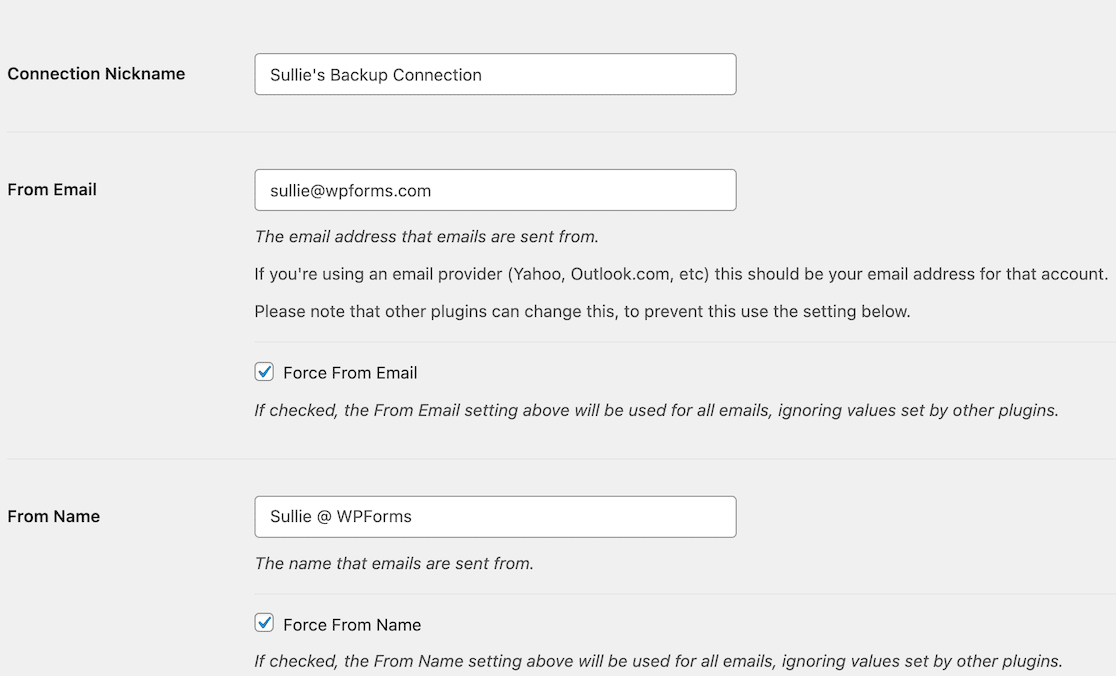
From here, it’ll be similar to setting up your original connection. The next thing you’ll do is give the backup connection a nickname and then enter your From Email and From Name information.
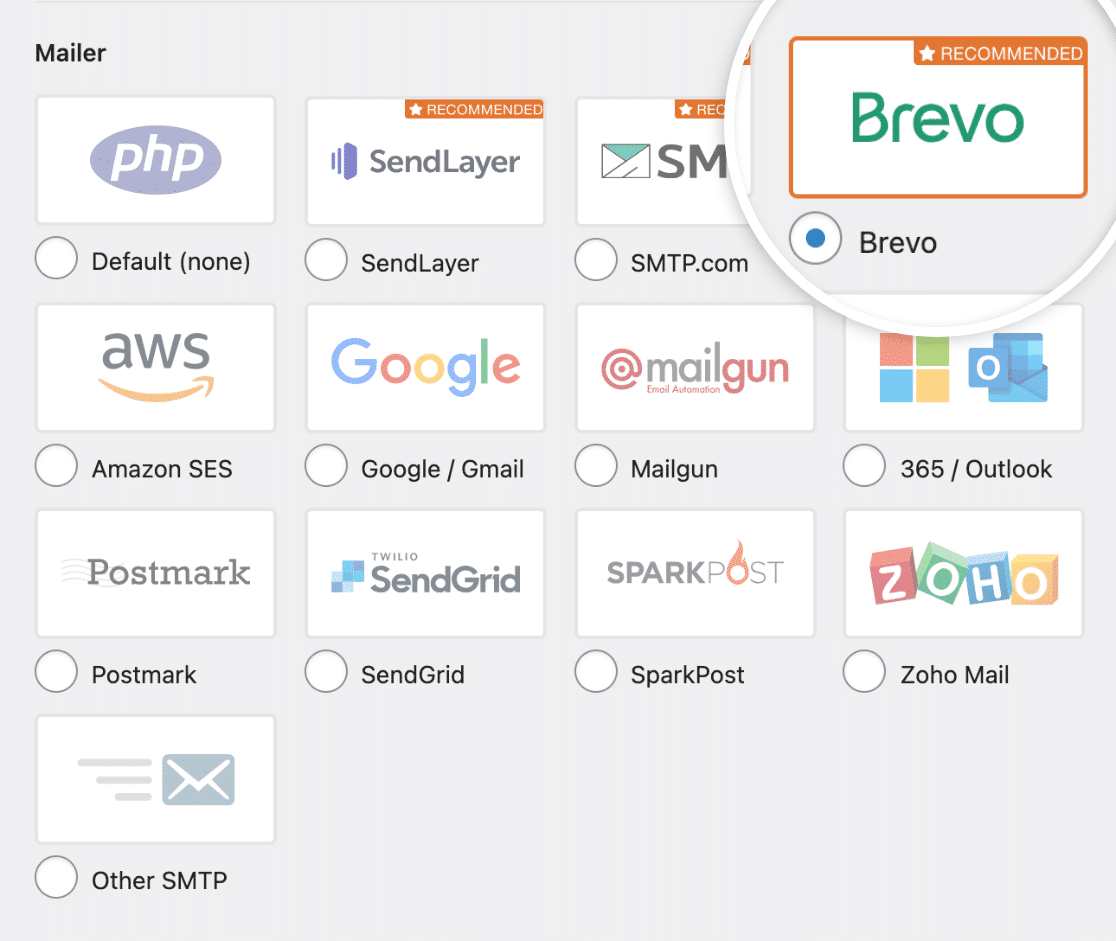
Now you’ll choose a backup mailer. We selected SendLayer for our primary, so we’ll select Brevo for our backup.
Note that you will have to set up an account with whatever mailer you choose. You’ll configure your email address in your account settings to get an API key and will need to do that before filling out the rest of the information.

When that’s complete, go ahead and save your settings. Then scroll up and click back on the General tab in the top menu to access the general settings for WP Mail SMTP.

Now you can scroll back down to the Backup Connection section that we looked at earlier in this step. This time, you should see the backup connection you just set up as an option.

Save those settings, and now you’re done! If your primary mailer experiences an outage, you’ll have a backup to eliminate delivery failure.
Next, Connect Brevo to Your Forms
Now that you can rest assured that your authenticated messages are reaching their recipients, connect your mailer to your WordPress forms. Check out our full tutorial to learn how to do it with Brevo.
And if you’re ready to start earning some extra income with this awesome site you’ve built, we’ve got some ideas for how to start a side hustle using WPForms, as well.
Create Your WordPress Form Now
Ready to build your form? Get started today with the easiest WordPress form builder plugin. WPForms Pro includes lots of free templates and offers a 14-day money-back guarantee.
If this article helped you out, please follow us on Facebook and Twitter for more free WordPress tutorials and guides.

