
AI Summary
Moving your WordPress site to a new domain, or merging two sites into one? Forms are easy to bring along, but the entries people already submitted are easy to leave behind.
Those entries are usually what you care about keeping, the leads and orders you’ve already collected. The good news is that you don’t need to open your database or run a single line of SQL to move them.
WPForms has a built-in Entry Importer that pulls your entries in from a CSV file, maps them to the right form, and adds them to your new site.
I’ll walk you through how to import your form entries from start to finish, from exporting them on the old site to seeing them live on the new one.
How to Import Form Entries to Another Site
The process is short and doesn’t involve any database work. You’ll export your entries from your old site as a CSV file, then use the WPForms Entry Importer on your new site to bring them in and match them to the right form.
- Step 1: Install WPForms Pro on Your New Site
- Step 2: Export Your Entries From the Old Site
- Step 3: Open the Entry Importer Tool in WPForms
- Step 4: Upload Your CSV and Choose a Destination Form
- Step 5: Map Your Fields in the Entry Importer Tool
- Step 6: Run the Import and View Your Entries
- How to Import Entries From Gravity Forms, Ninja Forms, or Contact Form 7
Step 1: Install WPForms Pro on Your New Site
The Entry Importer lives inside WPForms, so the first thing to do is get the plugin set up on the site you’re importing into.
WPForms is the most beginner-friendly form builder for WordPress, with 2,100+ templates and a drag-and-drop builder that never asks you to write code.
What I like about WPForms for a job like this is that the import tools come built in. You’re not exporting database tables or bringing in a developer to move your data, since everything happens from the WPForms » Tools screen.

To get started, go ahead and install WPForms Pro on your new site. If you’ve never added a plugin before, here’s how to install WPForms in a few steps. Once it’s active, verify your license key so the Pro tools, including the importer, are unlocked and ready.
Get WPForms Pro to Import Your Entries
Step 2: Export Your Entries From the Old Site
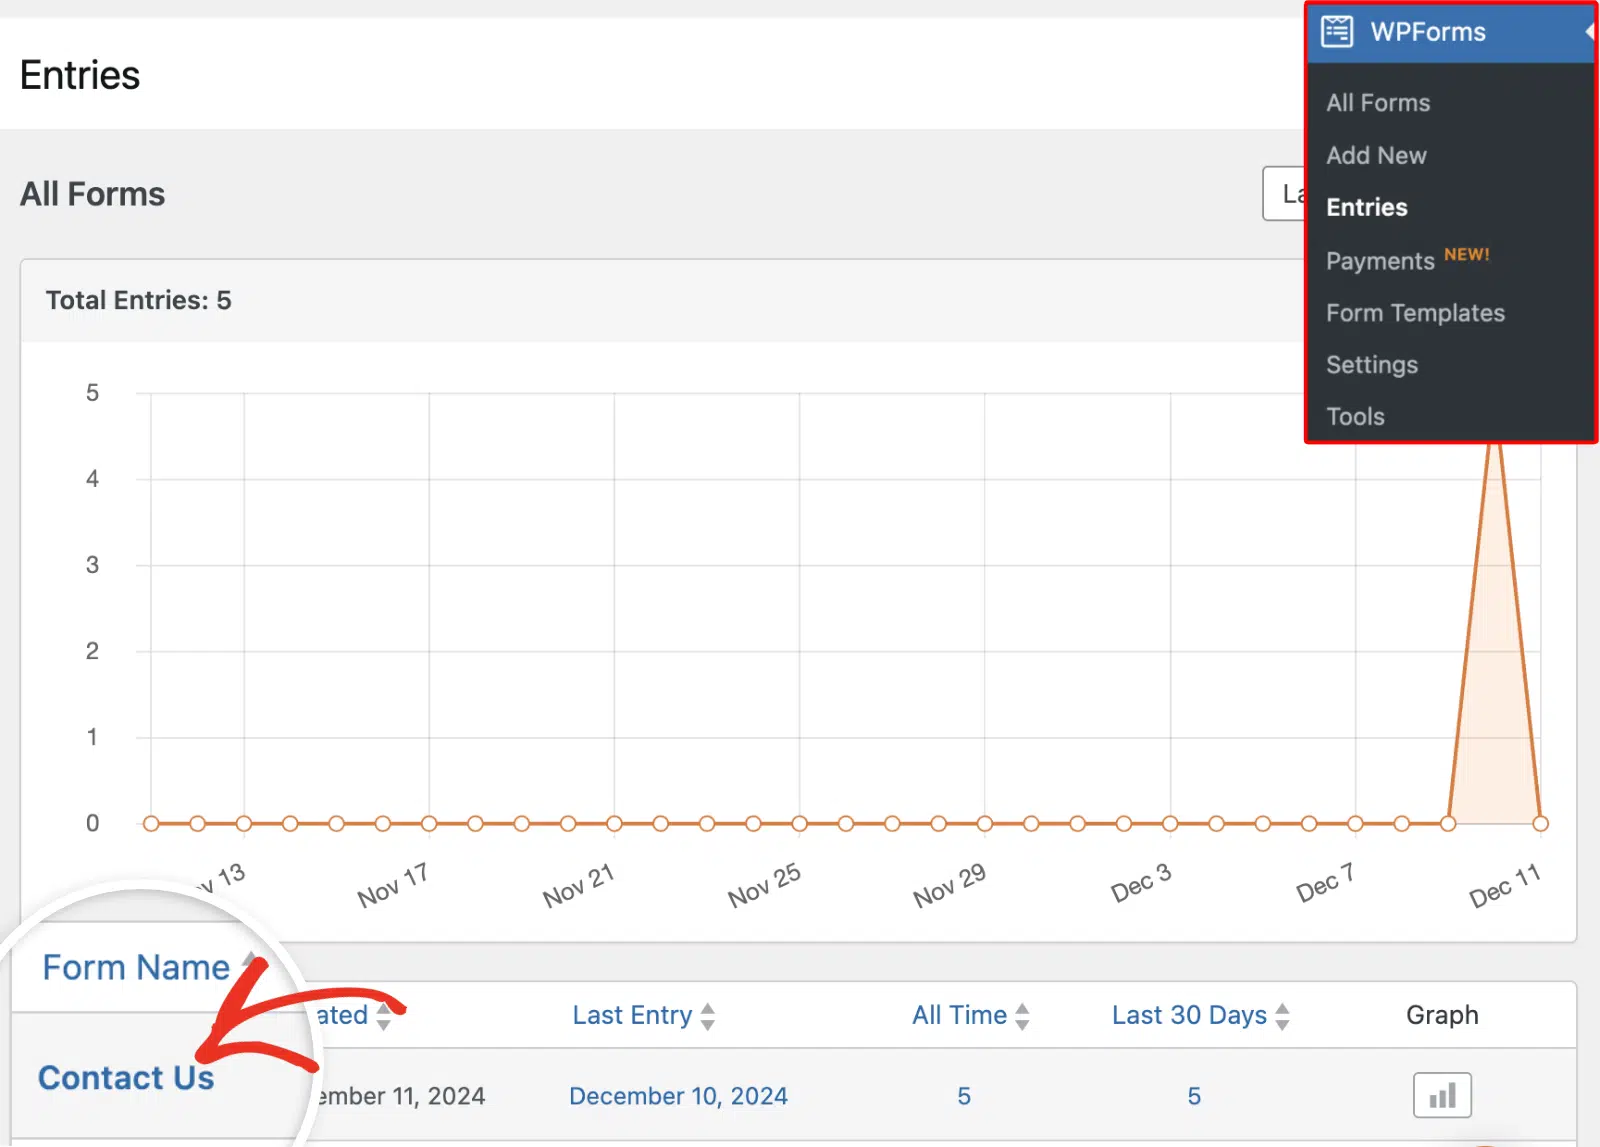
Your entries start out on your old site, so you’ll grab them as a CSV file first. On that site, go to WPForms » Entries, pick the form whose entries you want to move, and use the export option to download them as a CSV.

This part takes about a minute, and it’s the only step that touches your old site. If you’d like the full walkthrough with screenshots, see our guide on how to export WordPress form entries to CSV.
You’ll also want the destination form waiting on your new site so the entries have somewhere to land. If you haven’t moved the form over yet, you can import and export your forms between sites in a couple of clicks.
Step 3: Open the Entry Importer Tool in WPForms
Now switch over to your new site, where the imported entries will live. Go to WPForms » Tools and click the Import Entries subtab to open the Entry Importer.

The importer gives you two ways to bring entries in, and the right one depends on where your entries live now. From a File uploads a CSV, which is what you’ll use when you’re moving between sites.

From an Installed Plugin pulls entries straight from another form plugin on the same site, and I’ll come back to that option at the end. Since we’re moving between sites, go ahead and select From a File.

Step 4: Upload Your CSV and Choose a Destination Form
With From a File selected, click the Choose a File button and pick the CSV you exported from your old site. The importer accepts files up to 300 MB, so even a form with thousands of entries won’t be a problem.
Just make sure the first row of your CSV has column headers, since that’s how the importer knows what each column holds.
Next, open the Destination Form dropdown and choose the form that should receive the entries. Once your file is uploaded and the destination form is set, click Continue.

Step 5: Map Your Fields in the Entry Importer Tool
After you click Continue, the Field Mapping section opens further down the page. This is where you match each column from your CSV to a field on your destination form.
WPForms handles most of this for you, matching columns to fields by their labels, so a column called Email lands in your Email field on its own.

Mapped rows appear in white, and unmapped rows are highlighted in yellow, so it’s easy to spot what still needs attention. To change a match, click the Source Field dropdown on that row and choose a different column.
If there’s a field you’d rather leave empty, leave its dropdown on the default Select a Field option and it’ll stay blank on every imported entry.
One thing I appreciate is that the importer checks values as it goes. Emails, URLs, phone numbers, dates, and addresses are all validated against the matching field type, and anything that doesn’t fit is skipped instead of importing as bad data.
Step 6: Run the Import and View Your Entries
Once your fields are mapped, a confirmation message appears above the Import Entries button, telling you how many entries you’re about to import and which form they’re headed to.
Give it a quick read, then click Import Entries to start. Large files import in chunks, so timeouts aren’t a concern even with thousands of entries, and you can leave the page open while it runs.

When it’s done, an Import Complete message shows your totals, including how many entries imported, how many had issues, and the destination form name.
From there, you can click View Imported Entries, or go to WPForms » Entries and select your form to see everything that came across.
Your migrated entries now sit alongside any submissions the form already had, ready to search, filter, and work with like any other entry.

How to Import Entries From Gravity Forms, Ninja Forms, or Contact Form 7
On the Import Entries screen, choose From an Installed Plugin instead of From a File.
WPForms automatically detects the supported plugins on your site, which include WPForms itself, Gravity Forms, Ninja Forms, and Contact Form 7 (through the Flamingo plugin).
Pick your source plugin from the dropdown, then choose the Source Form you’re importing from and the Destination Form that should receive the entries.
Click Continue, and you’ll land on the same field-mapping screen from Step 5. From there, map your fields and run the import exactly like before.
Your original entries stay where they are, since the importer copies them rather than moving them. That gives you a safe way to try the switch before retiring your old form.

If you’re coming from one of these plugins, we also have step-by-step guides for switching from Ninja Forms and moving from Contact Form 7.
FAQs on Importing Form Entries
Here are answers to some of the most common questions about importing form entries into WordPress.
Can I import form entries on the free version of WPForms?
No. The Entry Importer is a Pro feature, so you’ll need a Pro license or higher to use it. On WPForms Lite, the Import Entries tab shows an upgrade page instead. Lite users can still import and export the form itself and export templates from the Tools page.
Which form plugins can I import entries from?
The Entry Importer pulls entries directly from WPForms, Gravity Forms, Ninja Forms, and Contact Form 7 (via Flamingo). For anything else, like a CRM or spreadsheet, export your data to a CSV file and use the From a File option instead.
Will my original entries be deleted after I import them?
No. The importer copies your entries into WPForms and leaves the originals untouched, whether they came from a CSV file or another plugin. You can remove the originals yourself once you’ve confirmed everything came over correctly.
What if my CSV columns don’t match my form fields?
Mapping works field by field against your destination form. Any form field without a matching column stays empty on the imported entries, and any extra columns in your CSV that don’t match a field are simply left out. If you want to keep that extra data, add the matching fields to your form first, then come back and map them.
Where do form submissions go in WordPress?
WPForms stores submissions in your site’s database and lists them under WPForms » Entries, where you can view, search, and export them. You can also have submissions emailed to you as notifications.
Next, Get More From Your WordPress Form Entries
With your entries safely on the new site, it’s a good time to get familiar with everything WPForms can do with them.
From your entries dashboard, you can search and filter submissions, mark them read or starred, and export them again whenever you need a copy for your records.
Keeping your forms and their data in one place makes everything else easier, from following up with leads to pulling reports at the end of the month.
Bring Your Form Entries Into WPForms Pro
Ready to build your form? Get started today with the easiest WordPress form builder plugin. WPForms Pro includes lots of free templates and offers a 14-day money-back guarantee.
If this article helped you out, please follow us on Facebook and Twitter for more free WordPress tutorials and guides.

