
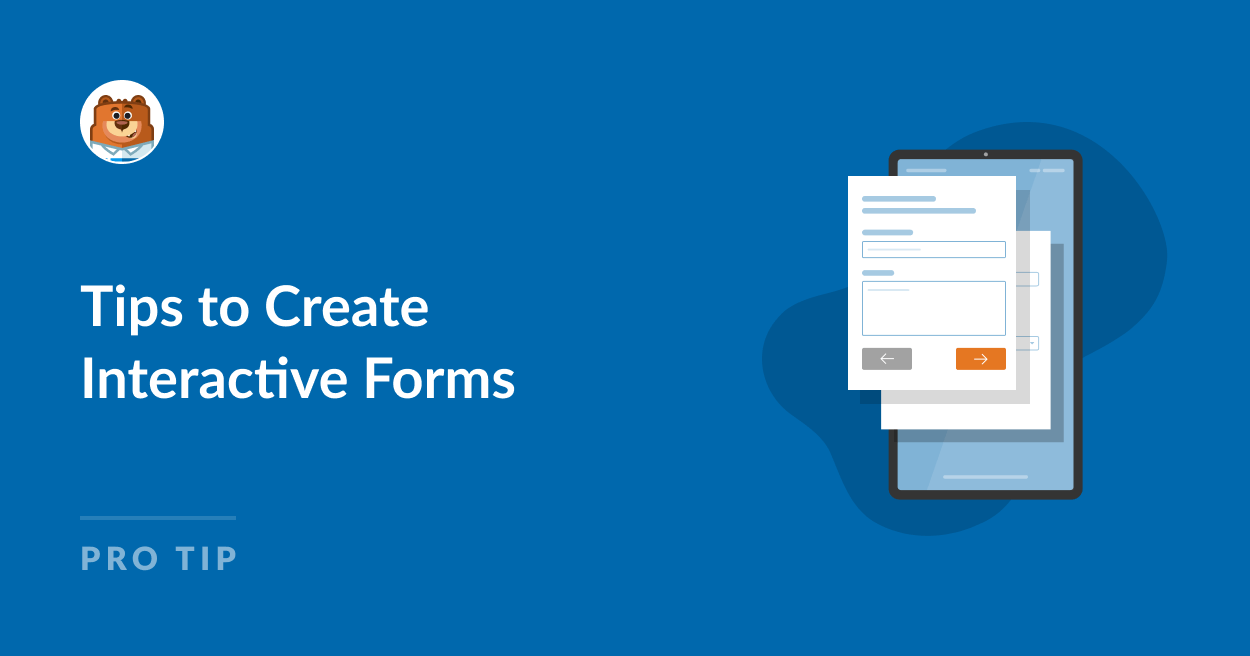
Do you want to make your WordPress forms interactive for website visitors?
Interactive forms respond to and engage with your users, and often lead to more growth and higher conversion rates for your website. And with WPForms, you’re able to make both your new forms or existing forms interactive.
In this post, we’ll show you a handful of easy ways to create interactive forms on your WordPress website.
Create Your Interactive WordPress Form Now 🚀
7 Tips to Create Interactive Forms
In This Article
1. Conversational Layout
Using Conversational Forms on your WordPress site is a great way to make your forms interactive. Plus, these forms are incredibly useful when it comes to beneficial conversational marketing.
This type of form operates on a single page by itself, without any other distracting elements included on the page. The Conversational Form guides the user through the given form fields one at a time, making for a relaxed, conversational, and interactive process.
To use Conversational Forms on your WordPress site, first Install and Activate the Conversational Forms Addon.

Then, from the form-building page, head over to your WPForms Settings to Enable Conversational Form Mode on the form you want to make interactive.

Once enabled, you’re able to edit and customize each step of your form that your user will work through.

You’ll create a message to display to your form user, customize text boxes, and can even upload a logo and select specific colors and other branding elements to include throughout each step of the form, too.

When you’ve completed each page that your form user will encounter, you’re left with a fully interactive process that feels less like a form, and more like a conversation.
2. Multi-Step Lead Forms
When it comes to lead generation, you absolutely can’t afford any distractions affecting your visitors. The WPForms Lead Generation addon takes care of that by turning your forms into bite-sized steps, conveniently leading the visitor to the end of the form.

Lead forms progress for the user with just one or a few fields onscreen at a time, rather than displaying all of the form fields on a single page.
Your form user will move on to the next field after entering their information for the given field, making the whole process an interactive experience. And, as its name suggests, this form can help you generate leads for your site.
To utilize Lead Forms on your website, you’ll need to first Install and Activate the Lead Forms Addon.

Then, you’ll operate this addon much like the Conversational Forms Addon.
Open the form you’d like to make a Lead Form in your WPForms form builder. Then, navigate to Settings, and click on Lead Forms.

Be sure to first Enable Lead Form Mode.
From here, you once again have multiple customization options at your fingertips, including color details, specific messaging, and more.

Your website users now have a form that offers an interactive experience for them, and generates leads for you.

Check out these additional tips to find out more about how Lead Forms can help grow your website or business.
3. Icons and Visual Elements
Using icon choices on your form’s Multiple Choice and Checkboxes fields adds a fun, visually interactive element to the process, and makes it even easier for your form users to provide important information for you.
With icon choices, your form user will select an icon as their answer to a given prompt.
![]()
For example, you may ask contact form users how they prefer to be contacted by you in return. The form user will then click on an icon to indicate how you should correspond with them.
This is a fun and interactive way to gather your user’s preferences, rather than having them make a selection from typed choices in a dropdown list or by simply typing into text boxes.
Icon choices can be used for Checkboxes, Checkbox Items, Multiple Choice, and Multiple Items fields, located in the WPForms form building page.
First, select one of these fields to add to your form.

You’ll then edit and customize the label and choices represented on your form.
For our example above, we’ve included choices for correspondence by text, phone, and email.
Now, to add visual icons to your given choices, toggle Use icon choices to the on position.
![]()
If you haven’t used icon choices on a form before, you’ll be prompted to download the icon library provided by WPForms.
This library offers more than 2,000 icon styles to choose from, so you can pick the perfect icon to make your form visually interactive.
![]()
From the library, find and select the icon you want to use for each choice presented on your form.
![]()
Once you have the icons applied to each option in this field, you have the ability to customize the styling even further. You can customize the color, size, and font styling of your icons, all from the given field’s settings.
And, what’s great about all of the customization options offered by WPForms, is that you can even manipulate these styles to coordinate with the interactive elements of your Conversational or Lead Forms, like our example above.
Take a look at our extensive and helpful documentation on using icon choices for more tips on customizing your choices.
4. Conditional Logic
Conditional Logic is a feature included on your form that allows you to change how your form behaves for certain users, which makes it incredibly interactive for your website visitors.
You’ll find this feature available in the settings of nearly every field in the form builder. To use the conditional logic settings, be sure to Enable it in the Smart Logic tab on the field where you wish to use it.

The types of conditional logic you can apply to your form range from basic to complex, and affect all kinds of elements on your form with no-code functionality.
Conditional logic will show or hide form fields based on your user’s selection, can determine which types of notifications and emails your user will receive, and does so much more for you and your form users.
This is great for follow-up questions that you only want to ask when the user has given a specific response to a previous question.
Another popular use case for conditional logic is for payment forms where you want to offer multiple types of pricing plans to the customer.
Given the virtually endless options provided by these settings, we suggest following our full tutorial on how to use conditional logic.
5. Instructional Text and Multimedia
Adding text and multimedia to your form, outside of your main fields, is another great way to make an interactive form for your website visitors and users.
In WPForms, you can add text, images, and even videos to your forms at any point without any code. For this, you just need the Content field.

For instance, you could include instructions for your form by adding text and even spruce up your design by including your brand logo at the top.
Another great way of directly interacting with your customers is by adding a short video introducing yourself or giving a short message to assist the visitor or set expectations as they fill out the form.
Pretty neat, right?
You’ll find this addition among the Fancy Fields on the form you’re editing. Simply drag it over and drop it where you want to include media on your form.

“💬 Word of Advice: While multimedia elements like videos and images can make forms more engaging, they can also impact load times and user experience if not optimized properly. Use compressed image files and host videos externally to maintain fast form loading times. You want your interactive elements to enhance rather than hinder the user experience!”

You’ll then open the settings of the Content field to upload the type of media you want to add to this section of your form.
Click Add Media to upload an image, audio, or video file, and use the text editor box below the upload button to edit an accompanying message.

You’ll also use the additional settings in this field to stylize the size, orientation, and other elements of your uploaded media.
With the Content field added to your form, you’re including a personal, branded, and interactive touch for your website users.

It’s a great way to ramp up your data collection. After all, people take more of an interest in filling out a form that looks great, works flawlessly, and provides a solid experience throughout.
6. File Upload Field
Speaking of uploading media, wouldn’t it be nice to allow your form users to include their own media on your forms, too?
With the File Upload field of the form builder, you can allow space on your forms to do just that.

And what better way is there to make your form truly interactive than by accommodating audio or video messages between yourself and your form users?
Like the Content field, where you include your side of the “uploaded” interaction, you’ll find the File Upload field among the Fancy Fields on your form builder.

Once you’ve dragged and dropped this field where you want it on your form, use the field settings to further customize how it will operate.

With the File Upload field, your form is now more user-interactive than ever and all with simple drag-and-drop changes.
For more ideas on how to use the upload field on your WordPress forms, check out this full guide we’ve created on how to create a file upload form.
7. Custom Captcha
While enabling Captcha is technically used for spam protection and site security, utilizing Custom Captcha on your form is just one more way to make the form interactive.
Rather than having your Captcha security settings run in the background, you can customize this feature to have form users interact with it by solving a math equation or answering a question of your making.

To add this interactive security feature to your forms, first Install and Activate the Custom Captcha Addon.

Next, open the form building page for the form that you’ll add the Custom Captcha interaction to.
Then, navigate to Settings » Spam Protection and Security. In the Also Available tab, you’ll find the Custom Captcha option. Click Add to Form to now apply the Custom Captcha to your form.

Or, you can add Custom Captcha to your form by dragging it over from the fields provided on your form builder.

Like most of the features and addons available in the form builder, you’ll need to customize the settings of your Custom Captcha.
In the field settings, you’ll find a dropdown menu of Math or Question and Answer options to use as the Custom Captcha on your form.

You can customize these options however you like, therefore choosing the style of interaction your form users will utilize when submitting this form.
And since there are lots of fun ways to use the Custom Captcha settings on your WordPress forms, we suggest you take a look at our fully informative documentation covering this addon.
Bonus: Stand Out with Visually Impactful Forms
The visual appeal of your form is a powerful component influencing user engagement. A form with a good design serves as a visual guide that leads the user through its different parts and sections in an intuitive manner.
This is why I strongly recommend ditching your default plain-looking forms by adding more appealing designs that enhance your form’s interactive nature.

This particular template is one of the special but lesser-known WPForms templates.
WPForms Pro includes ready-made form themes that you can add with a single click. It’s the easiest way to accentuate interactivity and boost engagement.
And for good measure, sprinkle in some of the other tips I mentioned above, and you’ll have an ideally interactive form all ready to wow your visitors.
Create Your Interactive WordPress Form Now
FAQs on Interactive Forms
Here are some of the frequently asked questions sent our way by our customers interested in making their forms more interactive:
Can interactive forms help increase conversion rates? How?
Yes, interactive forms can help improve your conversion rates because they’re more engaging, and responsive, and provide a strong user experience throughout their journey.
What are some examples of interactive elements I can add to my forms?
Some examples of interactive elements you’ll commonly find in a form:
- Conversational layout
- Multiple steps with progress bar
- Slider fields
- Conditional logic
- Icons, logos, and visual elements
These elements commonly appear in powerful forms that effectively boost conversions.
Can interactivity affect form performance?
Interactive elements like conditional logic or multi-step form layouts don’t affect form performance at all. However, if you use resource-intensive elements like animations or large images without any compression, it can make your form slower to load.
I recommend aiming for a balance when going for interactivity, focusing on the smaller details that make a big impact such as slider fields, icons of appropriate dimensions for any visual fields, and so on.
Next, Create a Lead Capture Form That Converts
In this post, we covered multiple ways to create and embed interactive forms that convert your website visitors, including Lead Forms.
But, despite your best efforts to make these forms engaging and interactive, they’ll do you no good if they’re abandoned by your users.
To avoid that:
- Check out our tips for creating a lead capture form that converts to help you turn all those website visitors into leads and customers.
- Learn how to style your forms using the block editor so they stand out and look appealing.
Ready to build your form? Get started today with the easiest WordPress form builder plugin. WPForms Pro includes lots of free templates and offers a 14-day money-back guarantee.
If this article helped you out, please follow us on Facebook and Twitter for more free WordPress tutorials and guides.


Your form to get WPForms Lite for free does not work
Hi Byron,
I am sorry to hear that! Would you mind reach out to our support with the issue you are facing with additional details? and they’ll be happy to assist 🙂