Would you like to create forms that feel like a face-to-face conversation with your visitors? The Conversational Forms addon for WPForms lets you not only create standalone pages for any new or existing forms but also provides a unique experience that feels more personal and can improve completion rates.
This tutorial will show you how to use the Conversational Forms addon with WPForms.
Requirements:
- You will need the Pro license level or higher to access the Conversational Forms addon
- Ensure that you’ve installed the latest version of WPForms to meet the minimum required version for the Conversational Forms addon
What Are Conversational Forms?
Conversational forms provide a unique experience for users that feels more personal, much like chatting in a face-to-face conversation. Some of the main qualities that make conversational forms different from your average form are:
- Guided Experience: From when a user first lands on the page to when they submit the form, only the current step will be in focus. This helps guide users through the form and provides a conversation-like experience.
- Standalone Page: The form is displayed on its own page, with no distractions.
- Navigation Options: In most forms, users will click through fields with a mouse. But in conversational forms, they can fill out the entire form just with their keyboards if they’d like (or can still use a mouse as well).
The result is a friendly and engaging way for users to experience your forms. In many cases, it results in higher form completion rates as well.
Note: Want to see a conversational form in action? Check out our live demo to see an example.
Installing the Conversational Forms Addon
Before you get started, you’ll first need to install and activate WPForms on your WordPress site.
Next, you’ll need to verify your license key. Then you’ll be able to quickly install and activate the Conversational Forms addon.
Creating and Customizing Your Conversational Forms
Once you’ve installed the Conversational Forms addon, you’ll need to create a new form or edit an existing one.
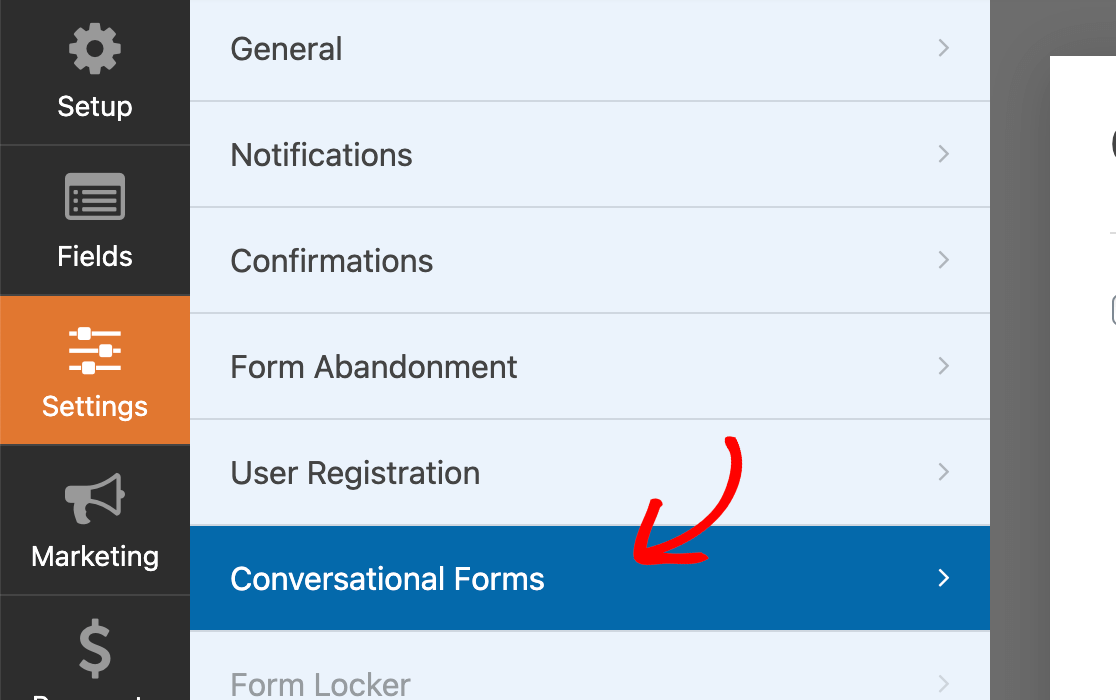
After you open the form builder, add and customize any fields you’d like to include in your conversational form. Then go to Settings » Conversational Forms.
Here, check the box labeled Enable Conversational Form Mode.
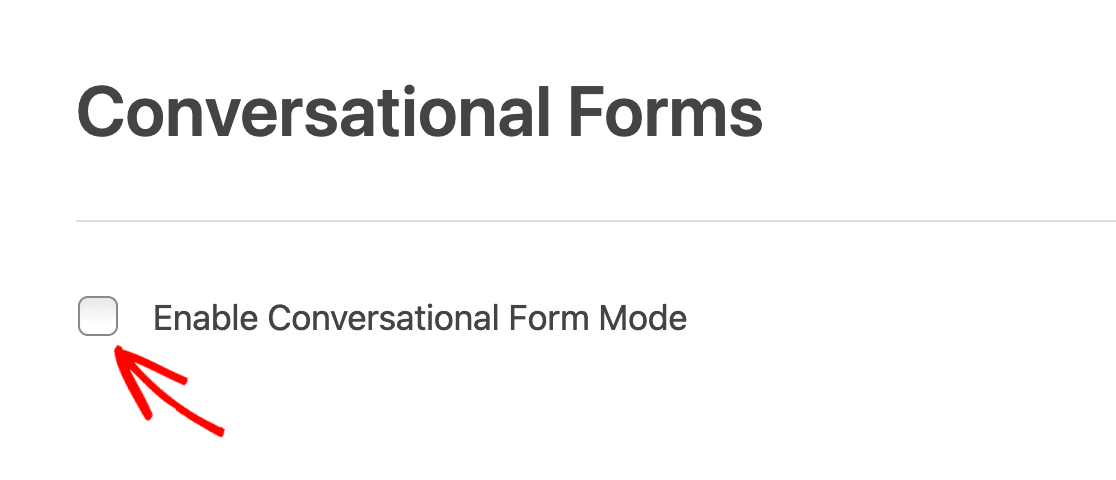
Once this box is checked, additional options will appear. We’ll cover each of these settings in detail below.
Preview Conversational Form
If you’d like to see what your form’s page looks like at any point as you edit, Save the form and click the blue Preview Conversational Form button.

Conversational Form Title and Message
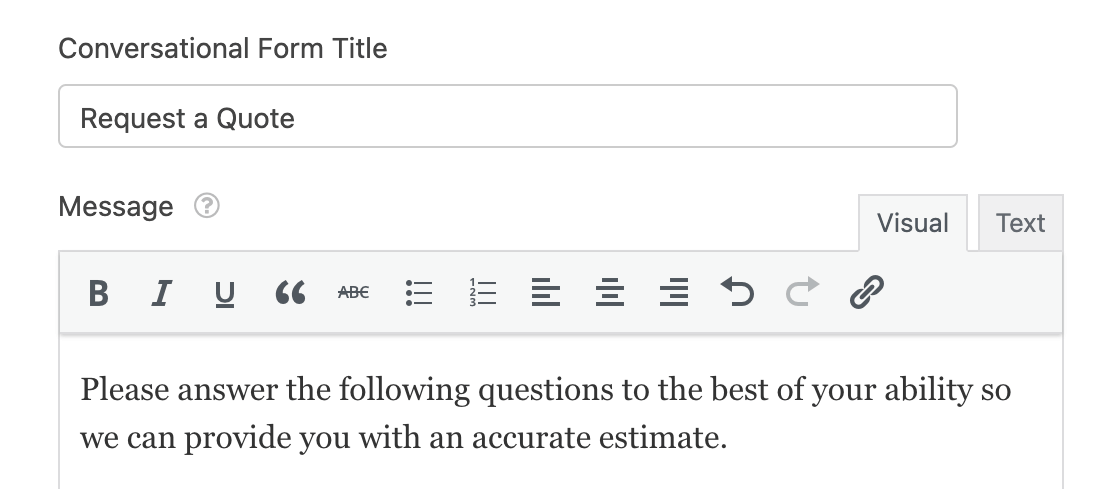
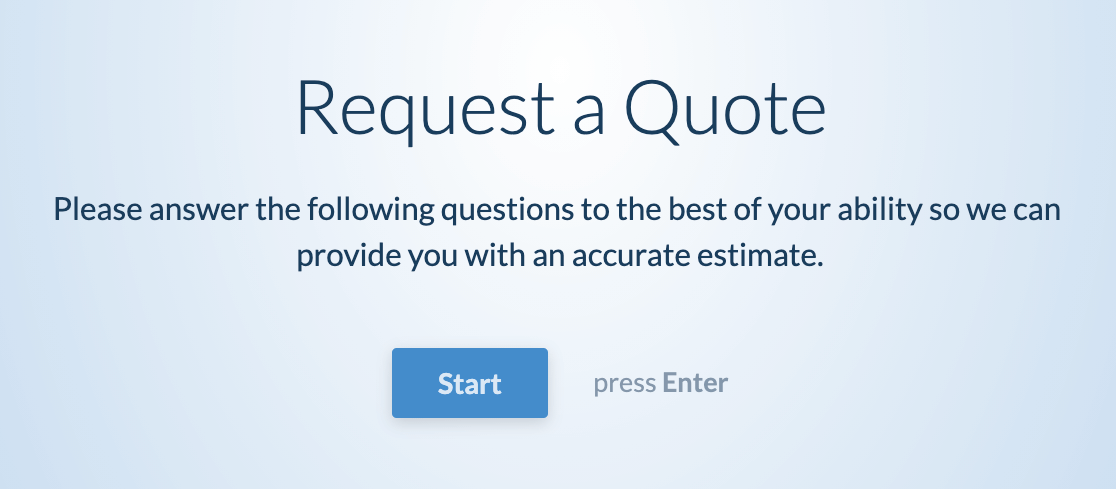
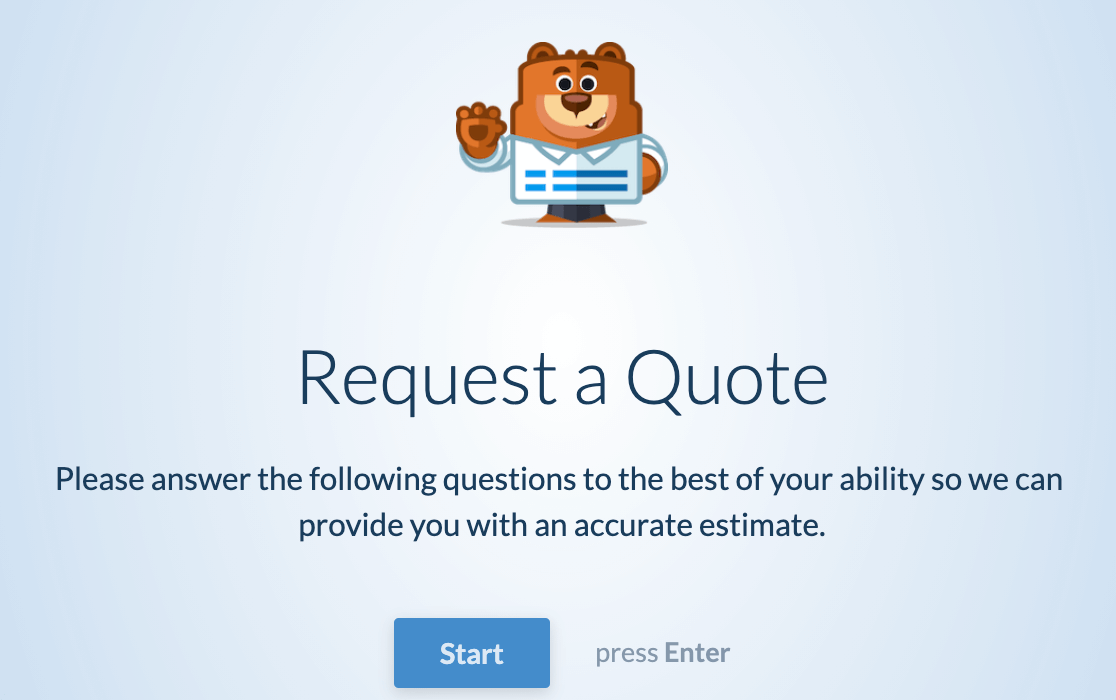
First, you can add a title to your conversational form. This will appear in large text near the top of your conversational form’s page.
Next, you can optionally add a Message as well. It will appear just below the title and is a good place to share instructions or extra details with users who are filling out your form.
Here’s an example of what the form title and message look like on the frontend.
Permalink
The permalink is the URL where visitors can view your conversational form. You’ll be sharing this link with your users, so it’s generally best to keep this URL short and easy to remember.

Note: Your form page’s permalink should be unique and not used elsewhere on your site.
Additionally, avoid using only numbers in the permalink (e.g., /2024), as WordPress may treat numeric slugs as archive pages, which can prevent the form from displaying correctly.
Header Logo
You can optionally add an image or logo to the header of your form. This image will display above the form page title.
After you click the Upload Image button and choose an image file from your Media Library or computer, a preview of the header logo will be displayed.

If you’d like to use a large image, please consider the size recommendations below. This will help ensure your image looks its best on the frontend of your site.
- Recommended Maximum Logo Height: 125 pixels
- Recommended Maximum Logo Width: 800 pixels
Here’s an example of what a header logo looks like on the frontend.
Hide WPForms Branding
By default, visitors will see a small WPForms logo in the footer of your conversational forms that reads, “powered by WPForms.”
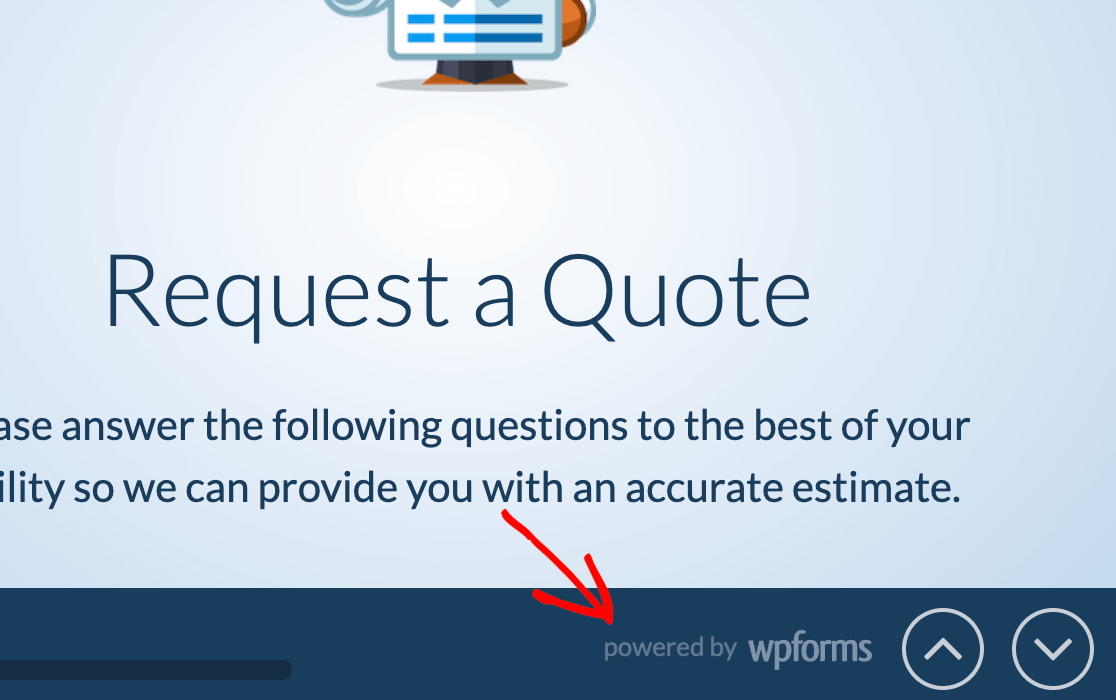
If you’d prefer to not display this, just check the box labeled Hide WPForms Branding.

Color Scheme
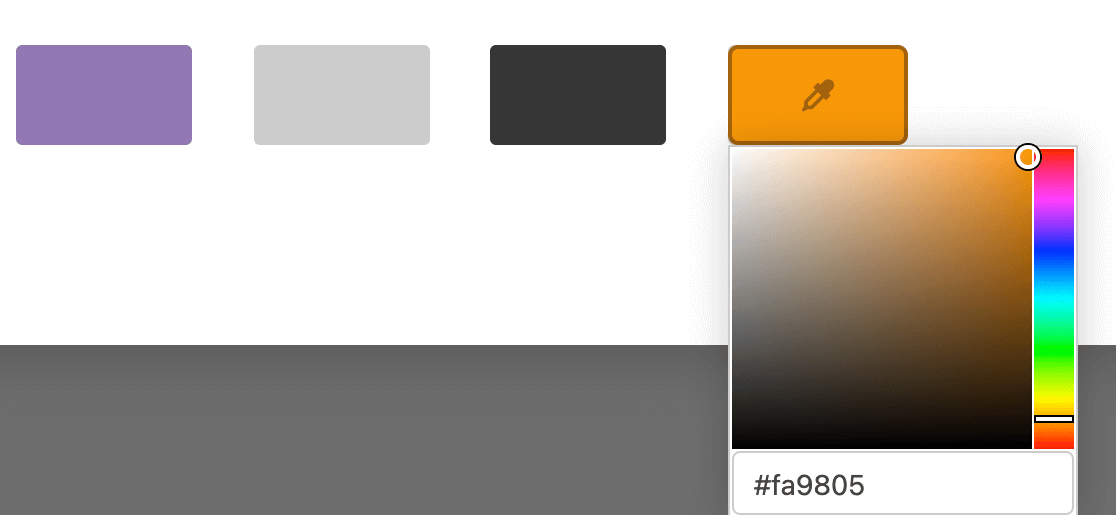
The color scheme you choose will determine the color of your conversational form’s page background, text, and buttons.
There are several default color options you can choose from.

Or you can click the eyedropper icon to choose any custom color.
Progress Bar
In your conversational form’s footer, users will be able to see their progress within the form. You can choose to display this progress in Percentage or Proportion format.

The Percentage format will display as a percent completed, such as “42% completed.”

The Proportion format will display the number of fields completed as well as the total number of fields in the form, as in “2 of 7 completed.”

Once you’ve finished configuring your conversational form’s settings, be sure to save your form before exiting the builder.
Frequently Asked Questions
In this section, we’ll share details regarding some of the top questions we receive about conversational forms.
Are WPForms conversational forms like Typeform?
Yes, Typeform is the most similar form experience to conversational forms. However, conversational forms for WPForms are specifically designed for use on your WordPress site and can be combined with other powerful features in WPForms.
Note: Want to learn more about the differences between Typeform and WPForms? Check out our comparison post on the WPForms blog.
How do I navigate through conversational forms with a keyboard?
You can navigate conversational forms with a mouse or keyboard, but one of their unique features is the option to fill out forms entirely with a keyboard if you’d like. Here are the keys you can use for various actions:
General Form Keys
- Move to Next Field: Enter key
- Return to Previous Field: Up arrow
- Move to Next Sub-Field: (for example, when moving from the First Name to Last Name sub-fields) Down arrow or Tab key
- Return to Previous Sub-Field: Up arrow or Shift + Tab
Field-Specific Keys
- Checkboxes, Multiple Choice, Rating, and Net Promoter Score Fields
- Move between options: Right and left arrows
- Select option: Press the letter or number keys indicated in the field options or move to desired option and press the Enter or Space key
- Likert Scale Field
- Select option: Press the letter keys indicated in the field options
- Dropdown Field
- Select option: Start typing to search and display matching options, or press the down arrow to move through the available options
- Close dropdown: Escape key
- Paragraph Text Field
- Create New Line: Shift + Enter
Why does my conversational form look different from a standard embedded form?
Conversational Forms are given their own special set of styles to ensure a seamless experience for users across all WordPress themes.
Why isn’t the date picker appearing in my conversational form?
Conversational forms are designed to be easy to fill out using a keyboard, so your visitor will not see a date picker in the date field. Instead, users can enter a date by typing it into the field like this:

However, if you prefer to enable the date picker for a more visual and interactive experience, refer to our developer documentation on how to set it up.
Can I personalize the shortcut keys text displayed for Multiple Choice and Checkbox fields?
Yes, in Conversational Forms, you have the option to customize the shortcut key text that appears for options in Multiple Choice and Checkbox fields using a custom CSS snippet. The code snippet is available in the WPForms code snippets library.
For detailed instructions on how to implement this change, please see our developer documentation.
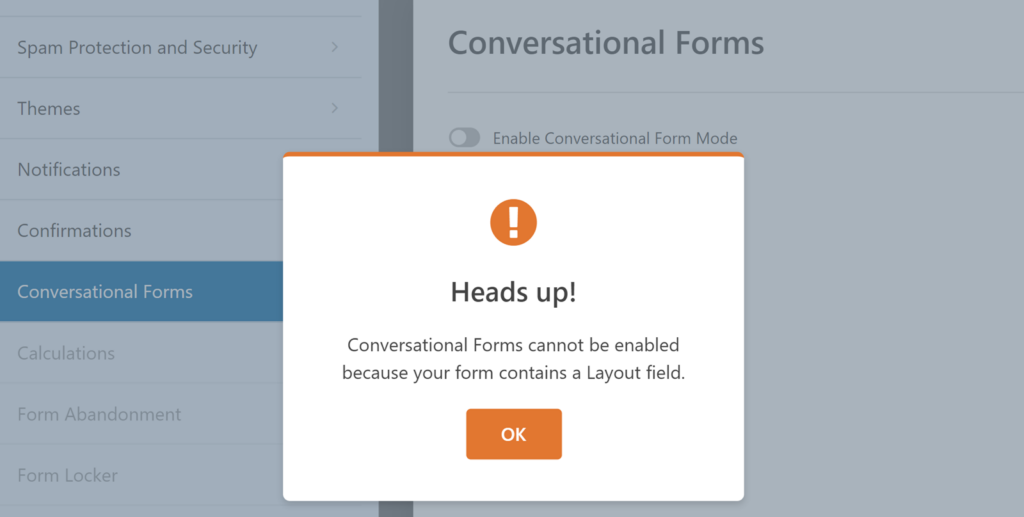
Can I use Layout fields in Conversational Forms?
No, Conversational Forms cannot be enabled if your form contains Layout fields. You’ll see this message when trying to enable Conversational Form mode:
That’s it! You can now create custom conversational forms for your site.
Next, would you like to connect your form to a marketing service so that you can more easily collect and follow up with leads? Be sure to check out the tutorials for our marketing integrations, including Mailchimp, Constant Contact, AWeber, Drip, Campaign Monitor, and GetResponse.
