AI Summary
Would you like to add email addresses from your form submissions to your GetResponse lists? With the GetResponse addon for WPForms, you can easily create new mailing list subscribers from your form entries.
This tutorial will show you how to install and use the GetResponse addon for WPForms.
In This Article
Requirements:
- You will need a Plus license level or higher to access the GetResponse addon
- Ensure that you’ve installed the latest version of WPForms to meet the minimum required version for the GetResponse addon
Connecting Your GetResponse Account to WPForms
Before getting started, be sure to install and activate WPForms on your WordPress site. You should also verify your license. Then you can install and activate the GetResponse addon.
Once the GetResponse addon is installed, go to WPForms » Settings and click on the Integrations tab.

Here, click on the GetResponse option to expand it. Then, go ahead and click the + Add New Account button.

Note: If you see both a Legacy option and non-Legacy option available for your GetResponse integration, make sure you choose the non-Legacy option for your connection. For more details, please see the FAQ section below.
This will reveal two fields where you’ll add your GetResponse account API key, as well as a nickname for the account.

Locating Your GetResponse API Key
To find your API key, log in to your GetResponse account. Then click on Menu, which is located in the top left corner of the page, and select Integrations & API.

Next, click the API option to open up your API key settings. From here, click the Copy button to easily copy your API key.

Note: If you do not see an API key listed, click on the Generate API key button to create one.
Once you’ve copied your API key, head back to your WPForms settings and paste it into the field labeled GetResponse API Key.
Then enter anything you’d like in the GetResponse Account Nickname field. This is for your internal reference only and can be helpful if you later decide to connect additional GetResponse accounts to your site.

When you’re ready, go ahead and click the Connect to GetResponse button.
WPForms will then connect your site to your GetResponse account. When it’s done, it will show a green Connected status next to your GetResponse integration.

Adding GetResponse Integration to Your Forms
Once you’ve connected GetResponse with your site, you can integrate it with a specific form to collect email addresses. To get started, create a new form or edit an existing one to open the form builder.
After you customize your form’s fields however you’d like, go to Marketing » GetResponse. Then click on the Add New Connection button.

Note: If you see both a Legacy option and non-Legacy option available for your GetResponse integration, make sure you choose the non-Legacy option for your connection. For more details on this, please see the FAQ section below.
This will open an overlay where you can provide a nickname for this connection. You can enter any nickname you like, as this is for your internal reference only.

If you have more than one GetResponse account, you can select the account you’d like to use from the Select Account dropdown.

Next, under Action to Perform, select the action you’d like to happen when users submit your form. We’ve covered each option in detail below.
Subscriber: Create or Update
The Subscriber: Create or Update action will add new users to your GetResponse list.
When you select this action, the following additional settings will appear. Required fields are marked with an asterisk (*):

- Select List*: Select the GetResponse list that you’d like to add the subscriber to.
- Subscriber Email*: Select the WPForms field where your users will enter their email addresses.
- Subscriber Name: Select the WPForms field where your users will enter their names.
- Tags To Add: Select any existing GetResponse tags that you’d like to add to the subscribers created through your forms. Tags must be created and managed in GetRespsonse.
- New Tags To Add: Create a new tag in GetResponse and add it to all subscribers created through this form.
- Day of Cycle: The day on which the contact is in the Autoresponder cycle.
Note: Be sure to map the Email field, as it’s required to create a subscriber in GetResponse.
If you’d like, you can also map any custom fields you’ve added to your GetResponse account under the Custom Field Name section.

Just select your custom field from the Custom Field Name dropdown, then choose the corresponding field from your form from the Form Field Value dropdown.
Note: Custom fields must be created in GetResponse. For more details, be sure to check out GetResponse’s tutorial on creating and using custom fields.
Subscriber: Unsubscribe
The Subscriber: Unsubscribe action will remove users from your GetResponse list.
This action only has two additional settings, both of which are required. You’ll need to select the GetResponse list from which you want to allow users to unsubscribe, and select the email field from your form.

Enabling Conditional Logic (Optional)
Conditional logic allows you to set rules to automatically make changes to your form based on users’ input or selections.
For example, you could use conditional logic to allow users to choose if they’d like to be added to your GetResponse mailing list.
To turn on conditional logic for your GetResponse connection, toggle on the Enable Conditional Logic setting at the bottom of the screen. Then use the dropdowns to create your rule.

Note: Need help setting up your conditional logic rule? Our beginner’s tutorial on using conditional logic in WPForms has all the details.
Frequently Asked Questions
These are some of the most common questions we receive about the GetResponse addon.
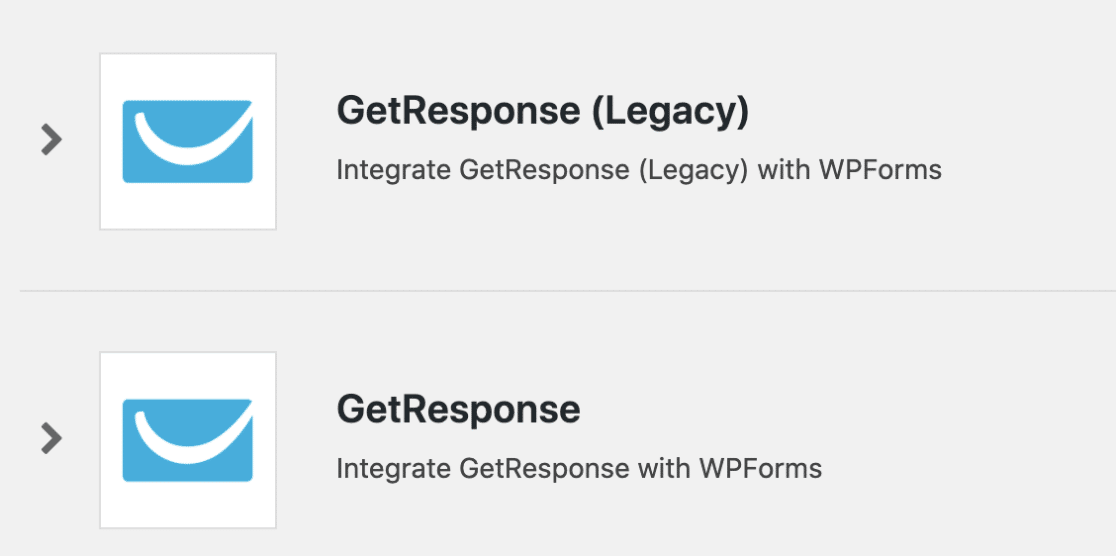
Why do I have a GetResponse (Legacy) option in my forms?
Beginning in the GetResponse addon version 1.3.0, WPForms updated to GetResponse’s v3 API from its older v2 option.
If you are still using the v2 version of GetResponse, you’ll see a notice reading Your forms are currently using an outdated GetResponse integration that is no longer supported. Please update your forms to use the new integration to avoid losing subscribers.

To fix this, be sure you’re using the most recent version of GetResponse under WPForms » Integrations. The older, v2 API will have a (Legacy) distinction next to it.
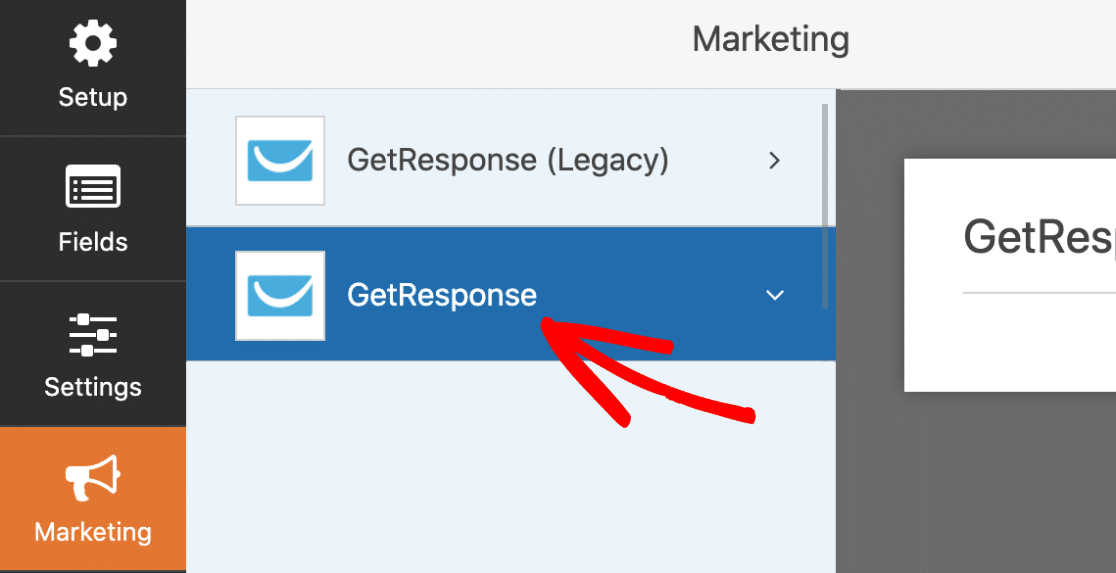
You’ll also need to be sure you’re using the most recent version of GetResponse within your form builder. To check this, navigate to the Marketing tab. Similar to the Integrations tab, the older, v2 API will have a (Legacy) distinction next to it.
Once you’ve selected the newest version of GetResponse, you will need to connect your GetResponse account if you haven’t already.
Some of my test submissions aren’t being added to my GetResponse account. Why might that be?
As an anti-spam measure, GetResponse automatically blocks certain email domains from being submitted (including @test.com).
If your test submission is showing in your entries, but not in your email list, you may want to consider enabling error logs for WPForms. To enable logs, navigate to WPForms » Tools and open the Logs tab.

Then, toggle on the Enable Logs option and click the Save Settings button to enable logging on your site.

This will refresh the page and populate additional settings you can configure.

You can leave the default settings to record all log types and then submit another test entry through your forms.
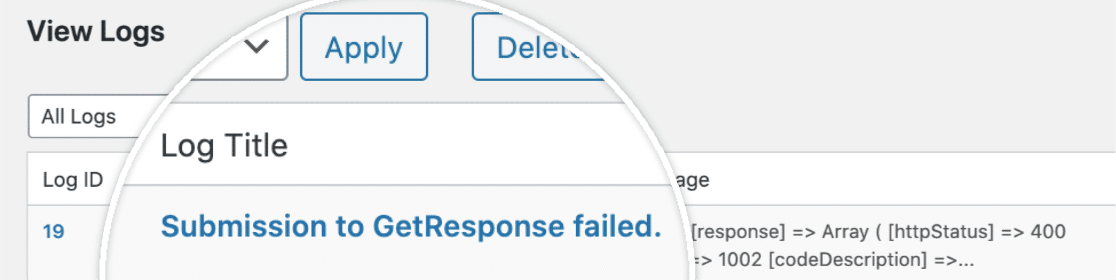
Then, in the logs, look for a message titled Submission to GetResponse failed.
Go ahead and click on the log’s title to open up more details. If the email domain has been blocked by GetResponse, you’ll see an error message like the one below.
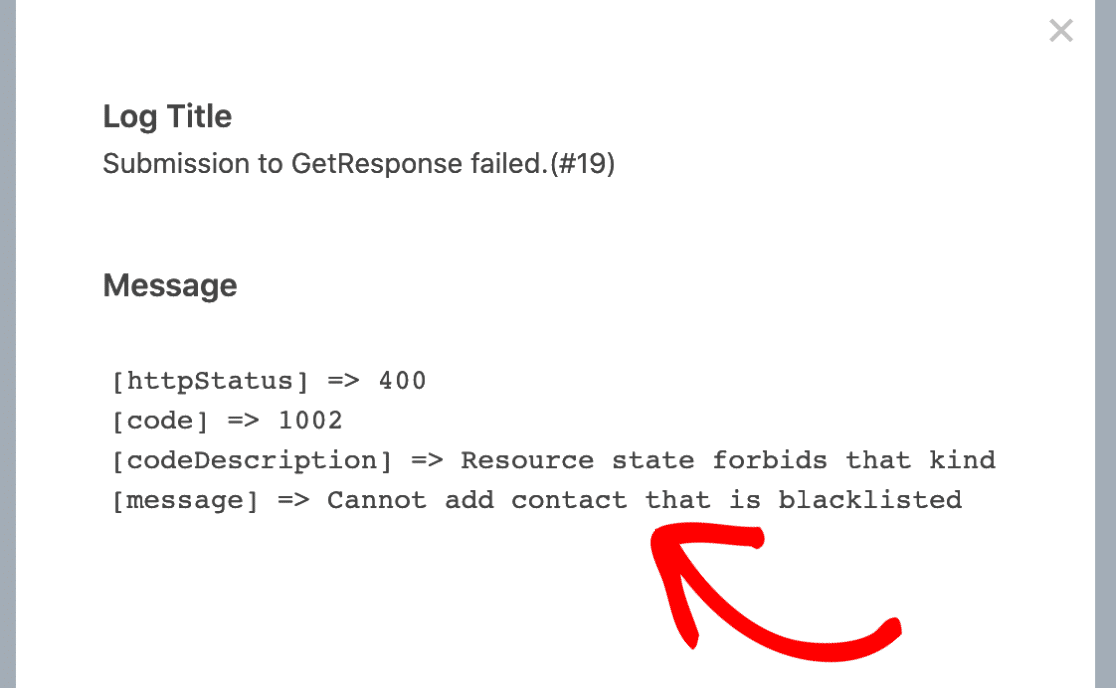
This will confirm that the email address you’ve used is being blocked by GetResponse. To fix this, please try submitting your test submissions with another email address.
That’s it! You can now automatically add new subscribers to your GetResponse lists when users submit your forms.
Next, would you like to add extra spam protection to your forms? Check out our tutorial on setting up Google’s reCAPTCHA for details on how to use this built-in option.