Would you like to add emails from form submissions to your AWeber lists? By connecting AWeber with WPForms, you can automatically collect new mailing list contacts from your form entries.
This tutorial will show you how to install and set up the AWeber addon for WPForms.
In This Article
Requirements:
- You will need a Plus license level or higher to access the AWeber addon
- Ensure that you’ve installed the latest version of WPForms to meet the minimum required version for the AWeber addon
Before you get started, be sure to install WPForms on your WordPress site. You also need to create an AWeber account if you don’t have one already.
Then you’ll need to install and activate the AWeber addon. For more details, please see our tutorial on installing WPForms addons.
Connecting Your AWeber Account to WPForms
Once you’ve installed the AWeber addon, you can connect your account to WPForms. To do so, go to WPForms » Settings in your WordPress admin area and click on the Integrations tab.
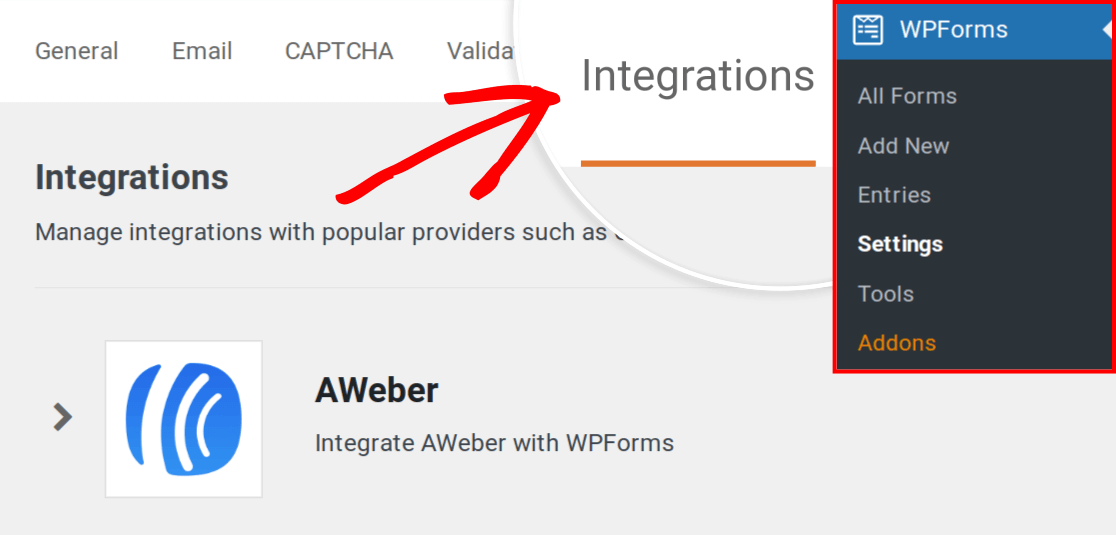
From here, click on the AWeber section to expand it. Then click the + Add New Account button.

Note: As part of AWeber’s upgrade from OAuth1 to OAuth2, the + Add New Account button for AWeber (Legacy) has been removed. You’ll only be able to connect new accounts through AWeber’s OAuth2 integration.
Next, you’ll see some instructions with a link labeled Click here to authorize.
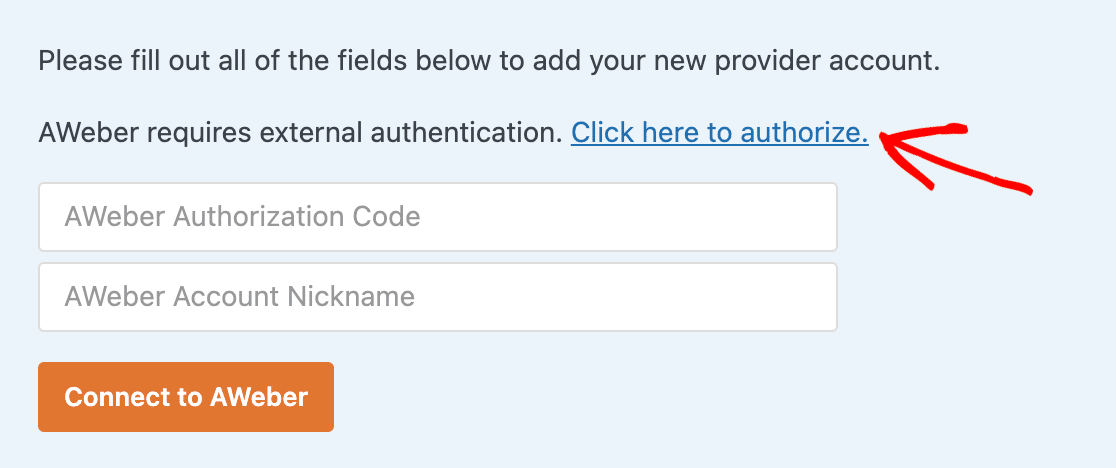
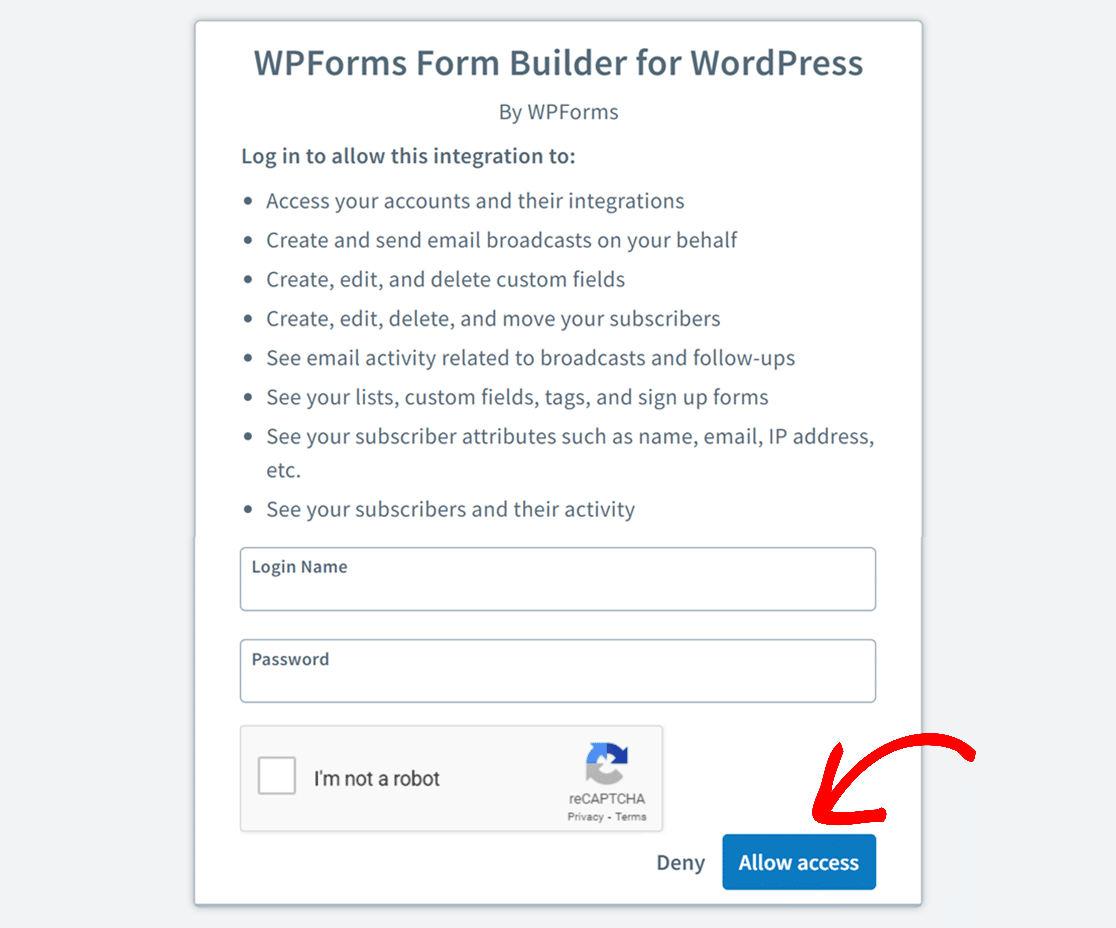
Click the link to open a new page and sign in to your AWeber account. Then click on the Allow Access button.
AWeber will then show you an authorization code.
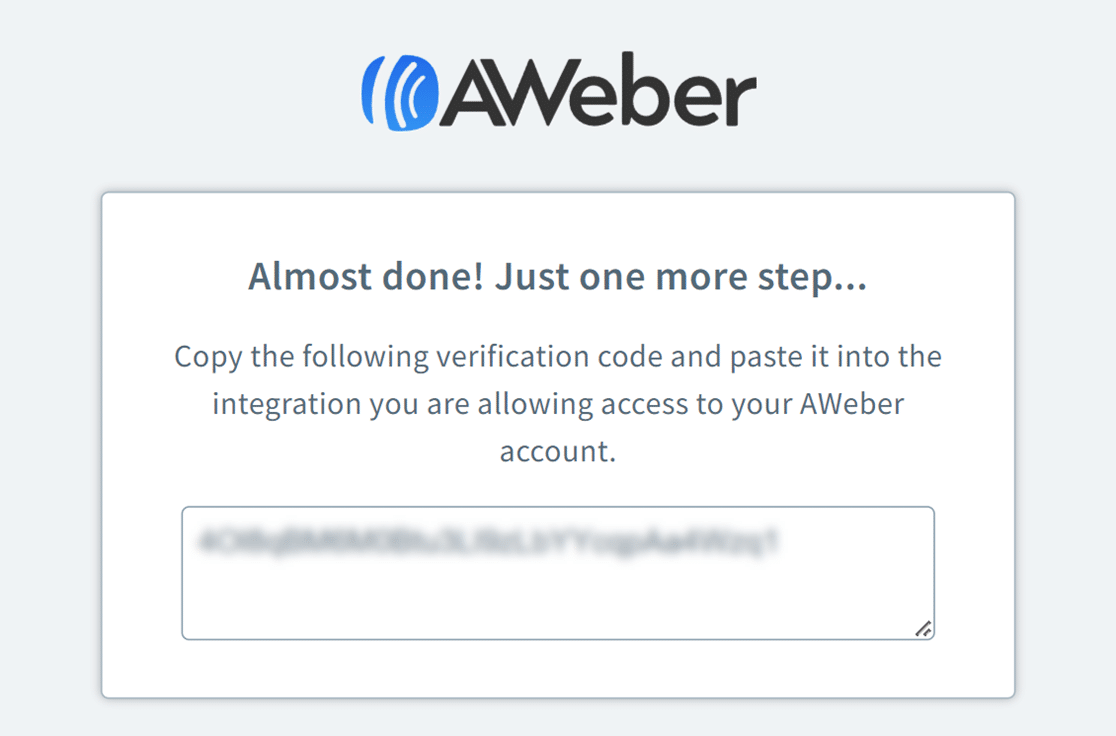
You’ll need to copy this code and paste it into the field in your WPForms integrations settings labeled AWeber Authorization Code.
Then, enter anything you’d like into the AWeber Account Nickname field. This is for your internal reference only and can be helpful if you later decide to connect additional AWeber accounts.
When you’re ready, click the Connect to AWeber button to continue.
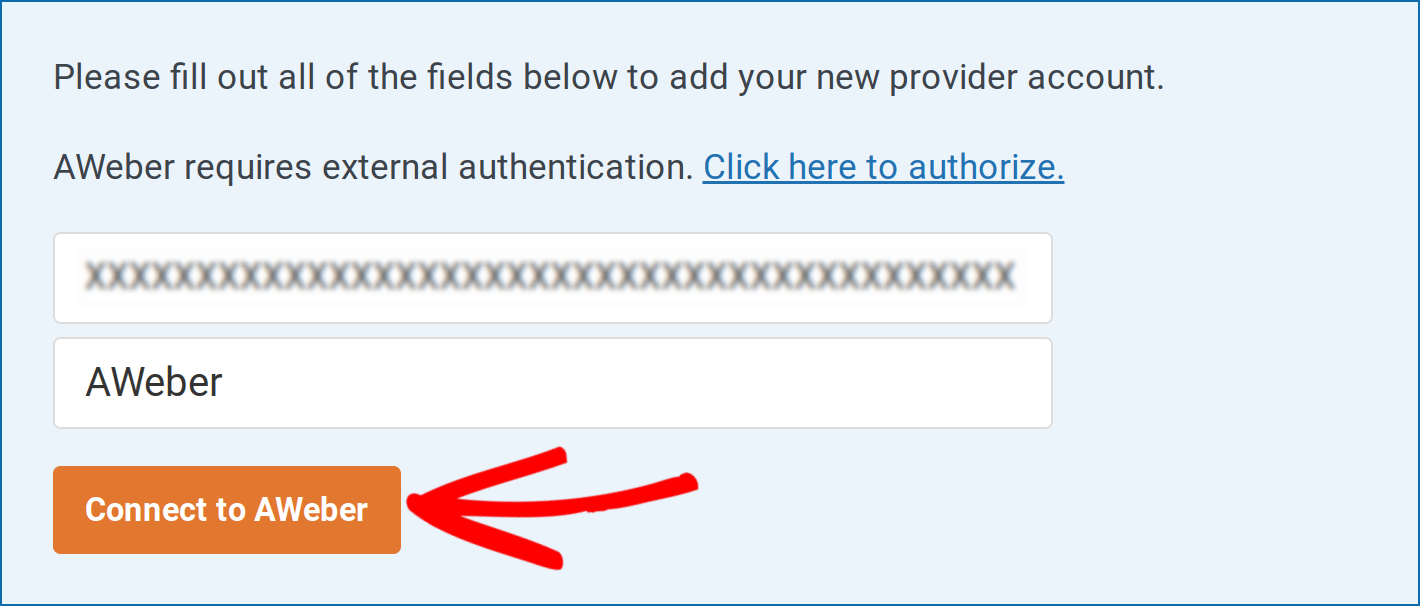
WPForms will then connect your site to your AWeber account. When it’s done, it will show a green Connected status next to your AWeber integration.

Adding AWeber Integration to Your Forms
Next, you’ll need to connect Aweber to a specific form(s) on your site. First, create a new form or edit an existing one.
Note: Forms configured prior to version 2.0.0 of the AWeber addon should be reconnected to take advantage of newer functionalities.
In the form builder, go to Marketing » AWeber and click the Add New Connection button.
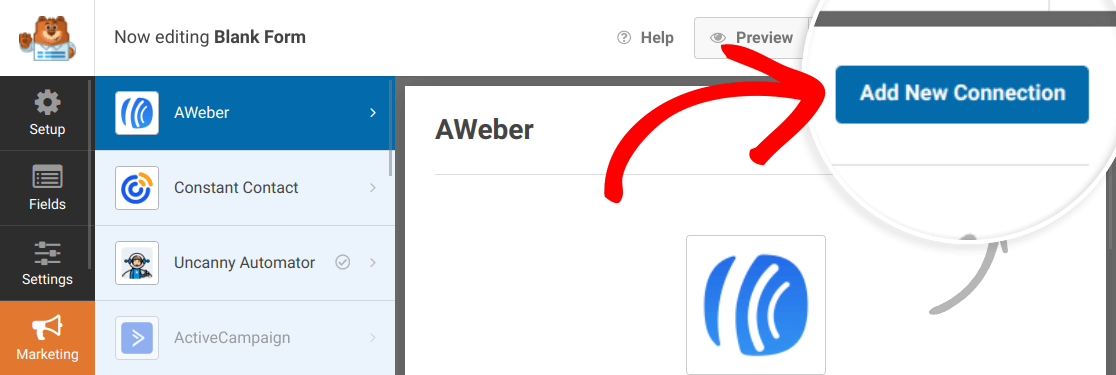
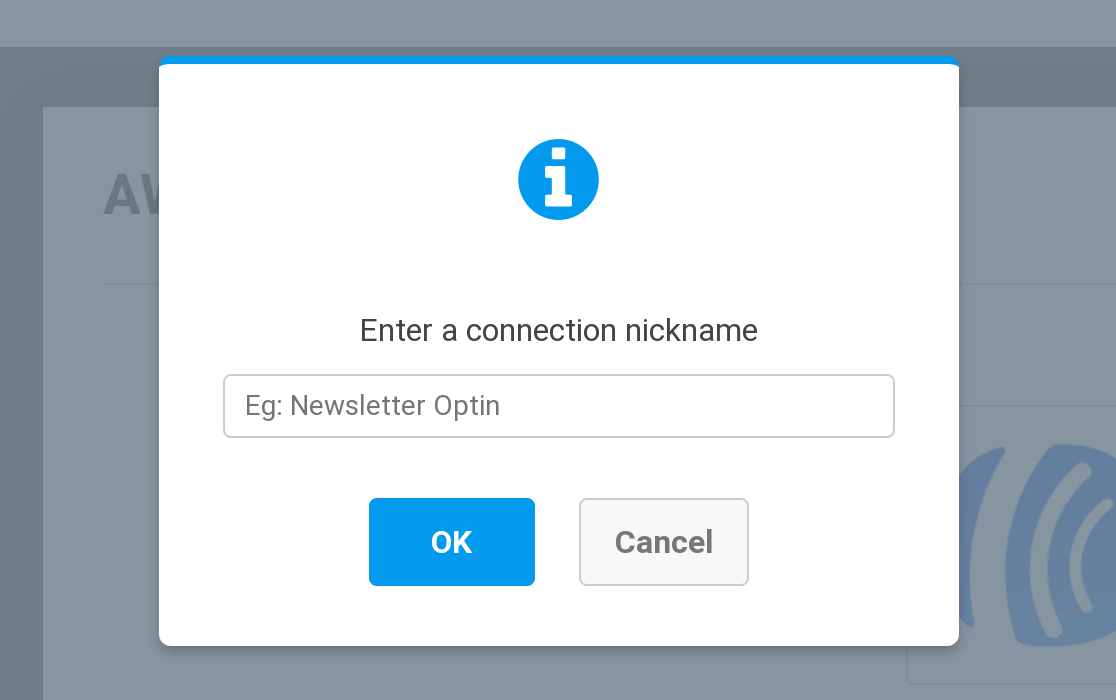
This will open an overlay where you can provide a nickname for this connection. You can use any nickname you like, as this is for your internal reference only and won’t be visible to users.
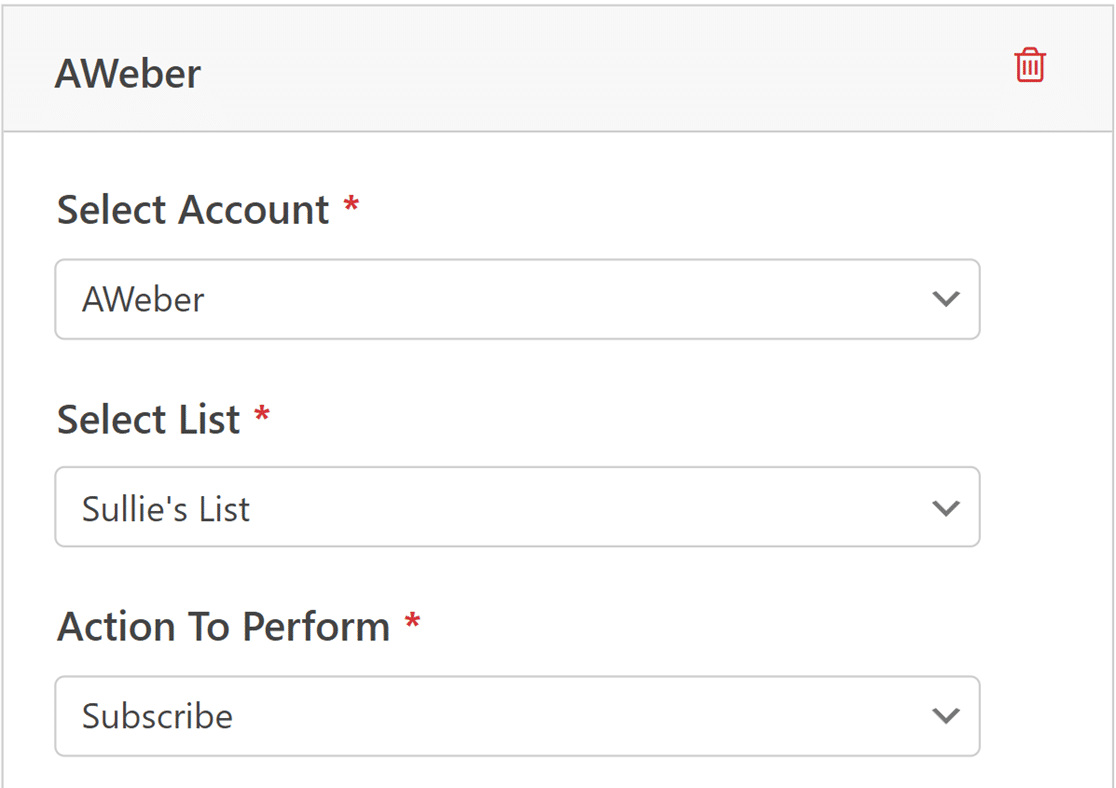
Once you’ve created the connection, choose an account you connected in the previous step from the Select Account dropdown and select the AWeber mailing list you’d like to use from the Select List dropdown.
Then decide how you want the form to interact with your AWeber mailing list upon submission from the Action To Perform dropdown.
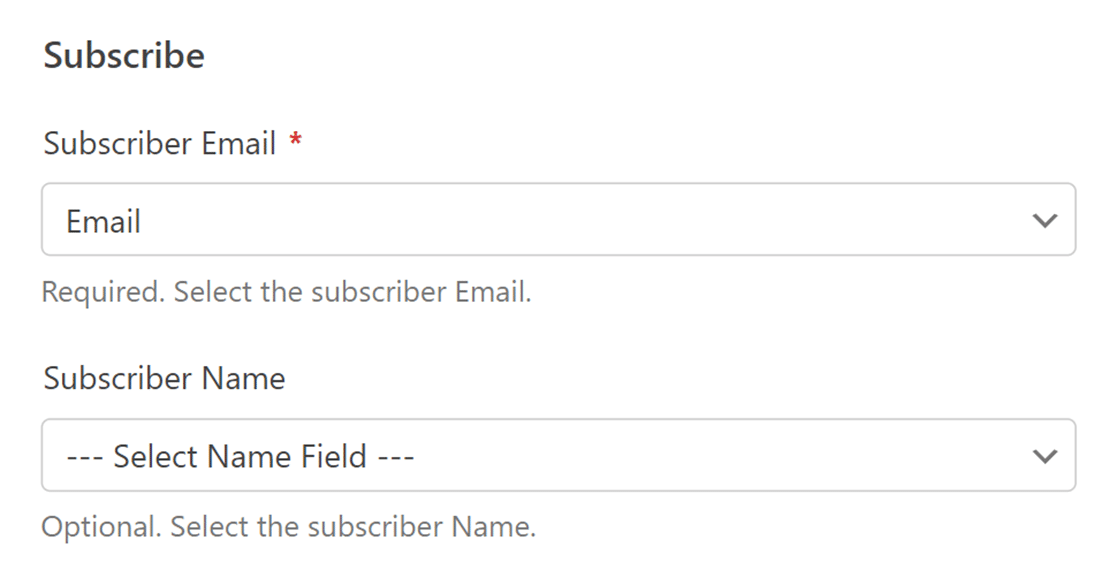
Next, you’ll be able to match your form fields to your AWeber mailing list fields. This ensures that subscribers are correctly imported into your mailing list. The only field you’re required to map is Subscriber Email.
Click the dropdown next to Subscriber Email, then select the Email field from your form.
Adding Tags
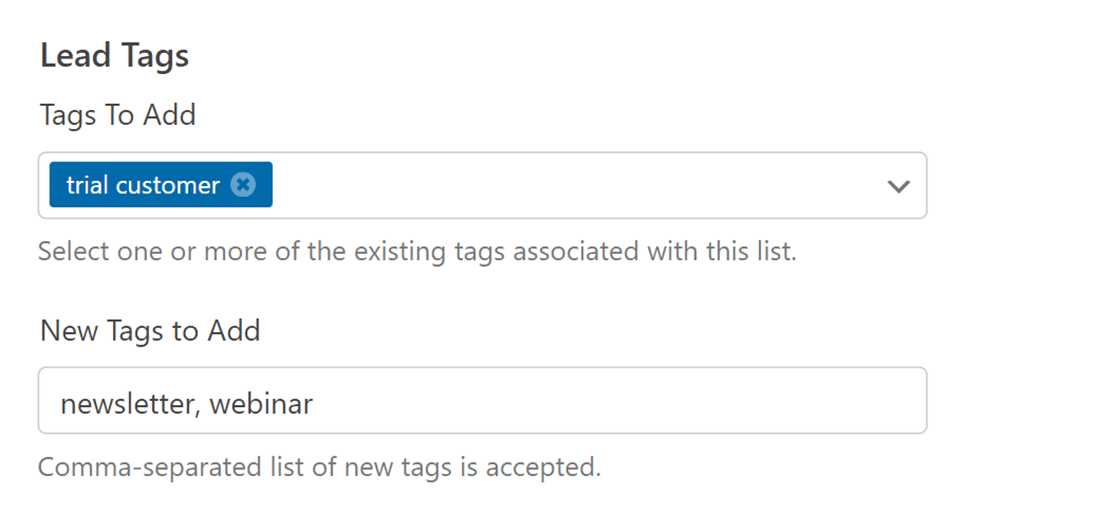
Next, select the tags you want to apply to new subscribers in AWeber from the Tags to Add dropdown. These tags are the ones that you’ve already added in your AWeber account.
If you’d like, you can also enter any new tags in the New Tags to Add field. To add multiple tags, just be sure to put a comma between each.
For more details, please check out AWeber’s article on using subscriber tags.
Connecting Additional Fields
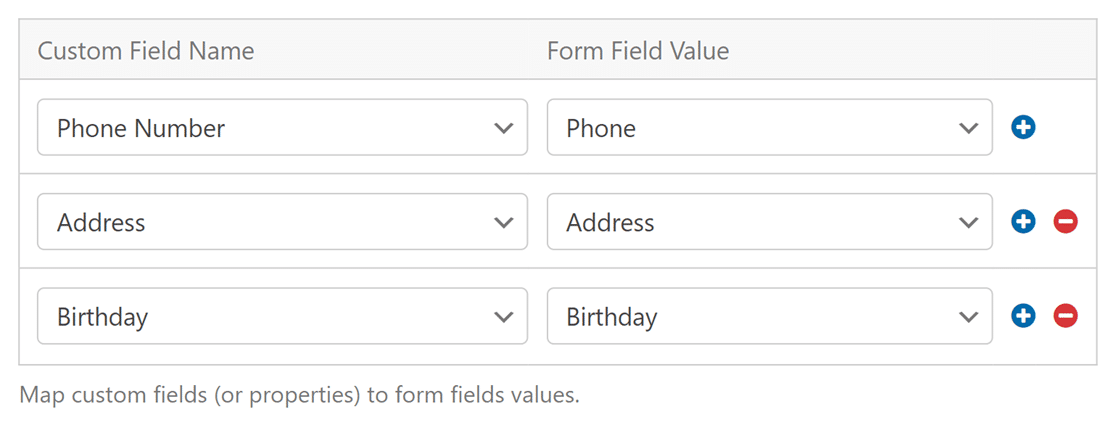
To send additional subscriber information to AWeber, you’ll need to map your form fields to available custom fields in your AWeber account.
For more details, please see AWeber’s tutorial on how to add custom fields. Once you’ve added custom fields in AWeber, they will appear in the connection settings in the form builder.
Enabling Conditional Logic
Conditional logic allows you to set rules for events based on users’ selections or input in your form. For example, you could use conditional logic to allow users to choose if they’d like to be added to your AWeber mailing list.
To use conditional logic with your Aweber connection, go to Marketing » AWeber in the form builder and toggle on the Enable Conditional Logic option.
Then create your conditional logic rule.

Note: Need help configuring your conditional logic rule? See our complete guide to conditional logic in WPForms for more details.
Frequently Asked Questions
These are some of the most common questions we receive about using the AWeber addon.
Why do I see a message that says “Your forms are currently using an outdated AWeber integration that is no longer supported.”?

This message appears because AWeber has upgraded from OAuth1 to OAuth2. As a result, you’ll need to reconnect your AWeber account with WPForms after disconnecting the AWeber (Legacy) account.
To do so, go to WPForms » Settings in your WordPress admin area and click on the Integrations tab. Then, click the Disconnect link next to your AWeber (Legacy) connection.
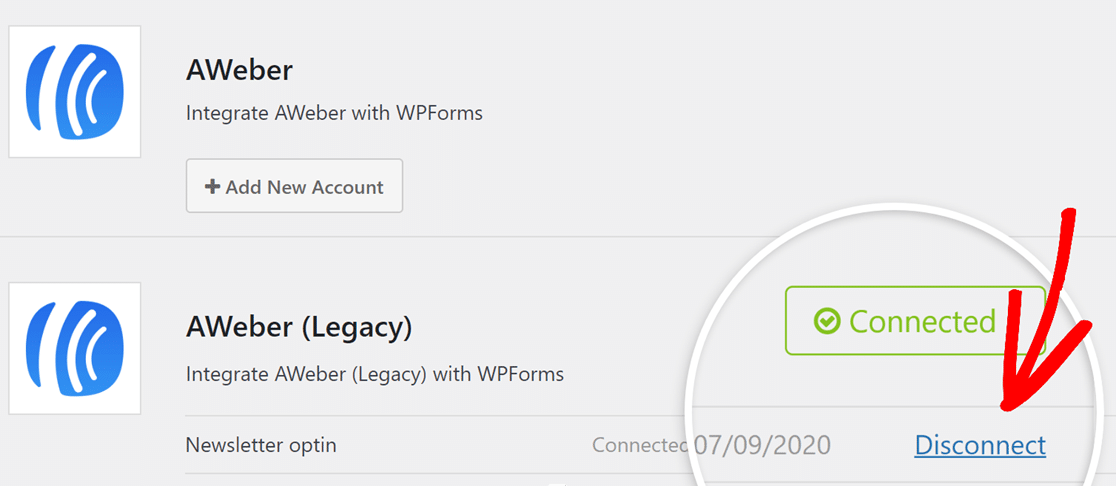
Once disconnected, reconnect your AWeber account with WPForms by following the steps in the connecting your AWeber account to WPForms section of this guide.
Note: The previous AWeber integration and connection in the form builder will now appear as ‘AWeber (Legacy)’.
That’s it! You can now grow your AWeber mailing list through your WPForms submissions.
Next, would you like to offer incentives to gain more subscribers? Be sure to check out our article on lead magnets to find out how to offer downloadable content in exchange for subscriptions to your mailing list.
