AI Summary
When managing customer support, the last thing you want is a complicated process for your users to get the help they need to resolve issues conveniently.
The good news is that with the right tools, you can create a seamless support ticket form that integrates directly with Zendesk, making the process smooth for both you and your customers.
In this guide, I’ll walk you through the steps to integrate Zendesk with WPForms, ensuring that your support system is both efficient and easy to manage.
Create Your Zendesk WordPress Form Now! 🙂
How to Create a Zendesk Support Ticket Form in WordPress
Zendesk is the most popular support ticket system that allows you to track, prioritize, and solve customer support tickets.
You can manage all your customer information in one place, which makes communication with your customers easy and efficient.
If you want to allow your customers to submit a Zendesk ticket on your site, you can embed a simple contact form using WPForms.
But what if you want to customize the form to request more information, add images to your form or other custom HTML, or send additional form notifications when it’s submitted?
With WPForms, you can easily create a custom support ticket form in WordPress and connect it with Zendesk. No need to learn any code!
Step 1: Install and Activate WPForms
The first thing you’ll need to do is install and activate the WPForms plugin. For more details, see this step by step guide on how to install a plugin in WordPress.
Next, you’ll need to install and activate the Zapier addon. It lets you connect your WordPress forms to over 7,000+ web apps, including Zendesk. It’s quick and easy, and the best way to manage support tickets submitted on your WordPress website.
To do this, go to WPForms » Addon and find the one labeled Zapier. Click Install Addon and then Activate.
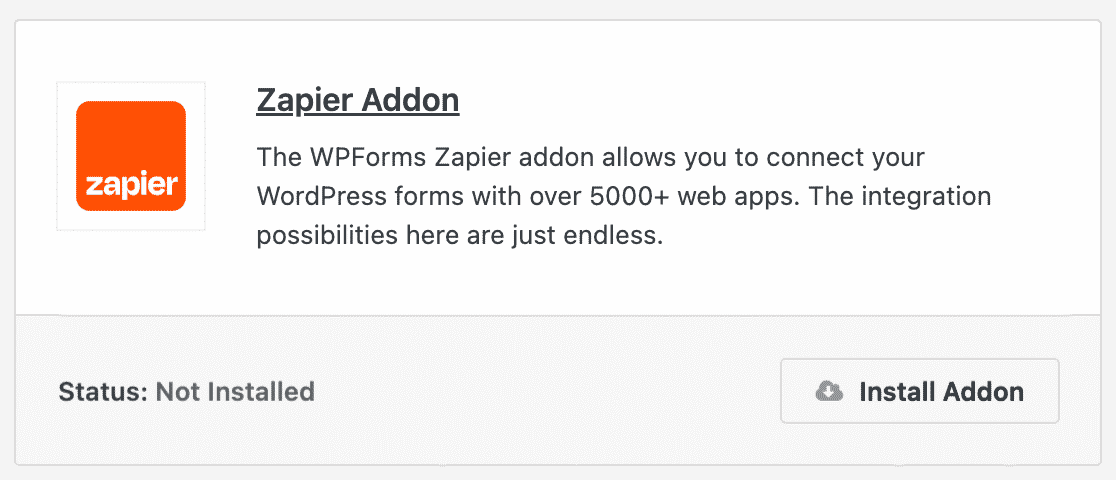
For more help with this step, take a look at how to install and use the Zapier addon.
Step 2: Create Your Zendesk Support Ticket Form
Now you’ll need to create a new form.
To do this, go to WPForms » Add New and enter a name for your form. Then move down to the Select a Template section.
Search for “support ticket” and choose the Support Ticket Form template by clicking on the Use Template button.
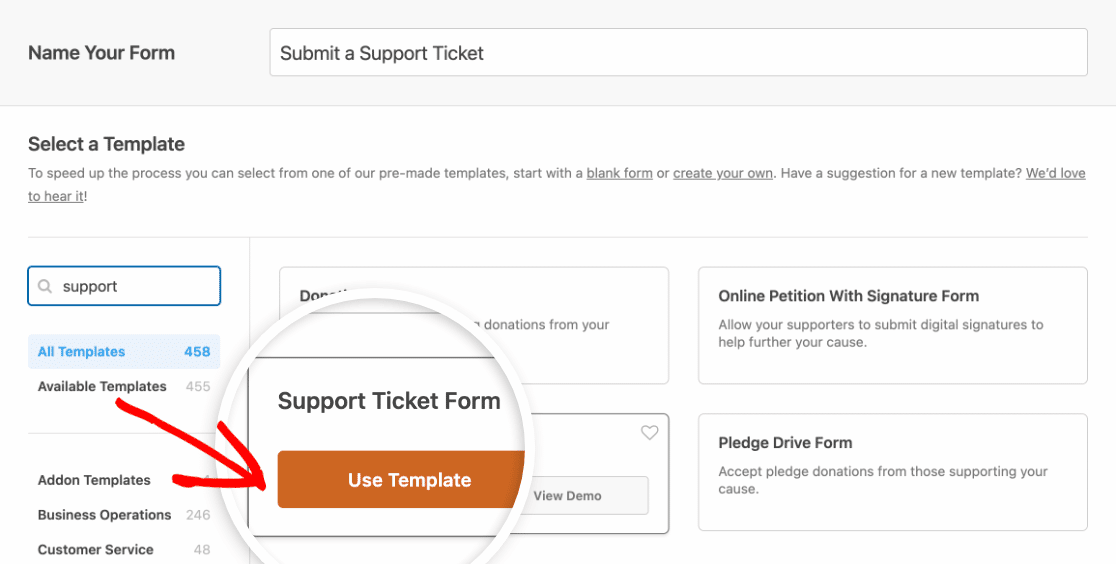
WPForms will create a form for you and load it in the form builder.
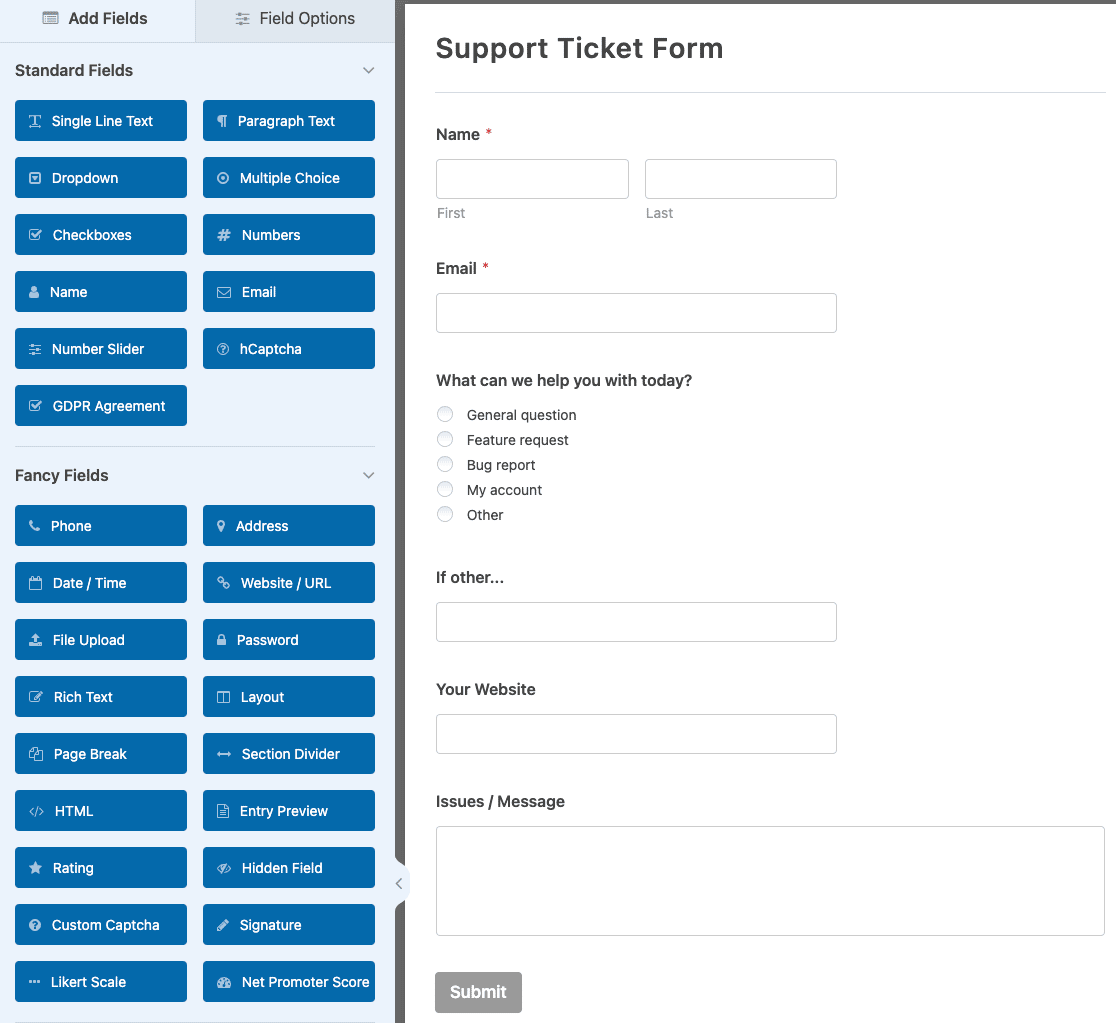
You’ll see your support ticket form has the following form fields:
- Name
- What can we help you with today? (Multiple Choice)
- If other… (Single Line Text)
- Your website (Website / URL)
- Issues / Message (Paragraph Text)
Of course, this is just to get you started and is geared towards those who provide computer support to customers. You can easily add or remove any form fields you want to customize the support form to meet your needs.
To add additional fields to your form, drag them from the left hand panel to the right hand panel.
Then, click on the field to make any changes. For instance, you can select the Multiple Choice field to change the support topics.
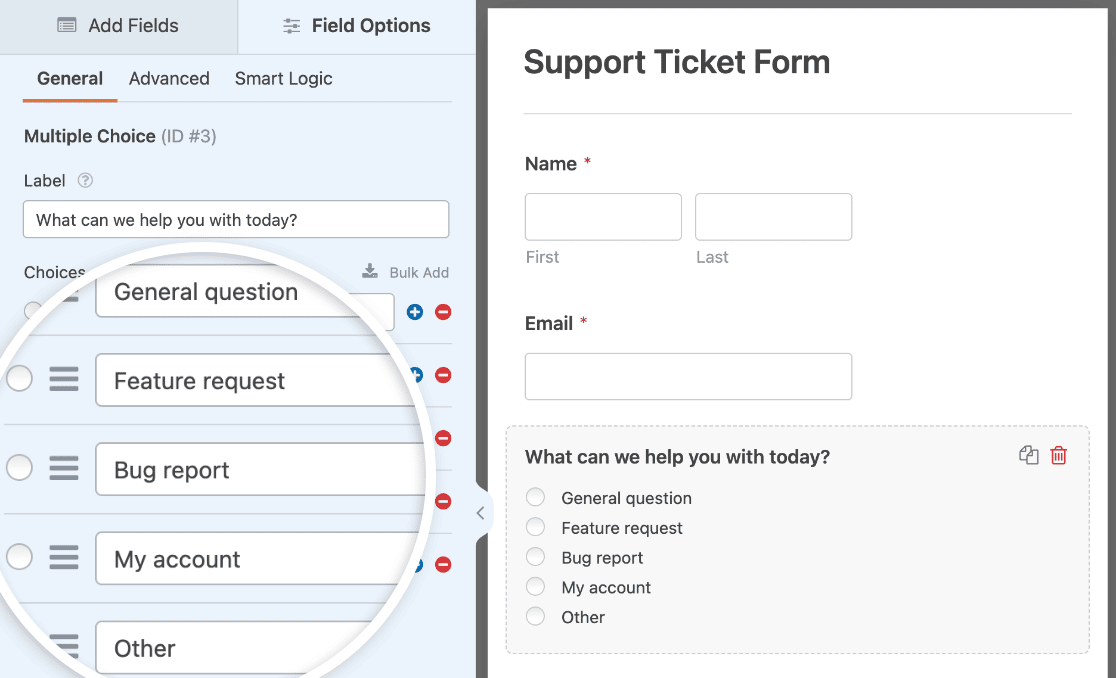
You can also click on a form field and drag it up or down to rearrange the order of your form.
Here are a few tips to help more your support form more efficient:
- Ask detailed questions in your support ticket form. This can help you better understand the issues of your customers and resolve them quickly.
- If you have extensive documentation published on your site, you might want to encourage your users to read it before submitting a support ticket. You can add a link to your documentation in your form using the Content field.
- Tell your customers how long it usually takes to get a response from an agent in the form confirmation or email notification. This can help your customers to set an expectation on turnaround time.
The Support Ticket Form template also uses smart conditional logic to show or hide the If other… field based on which choice users select from the What can we help you with today? field.
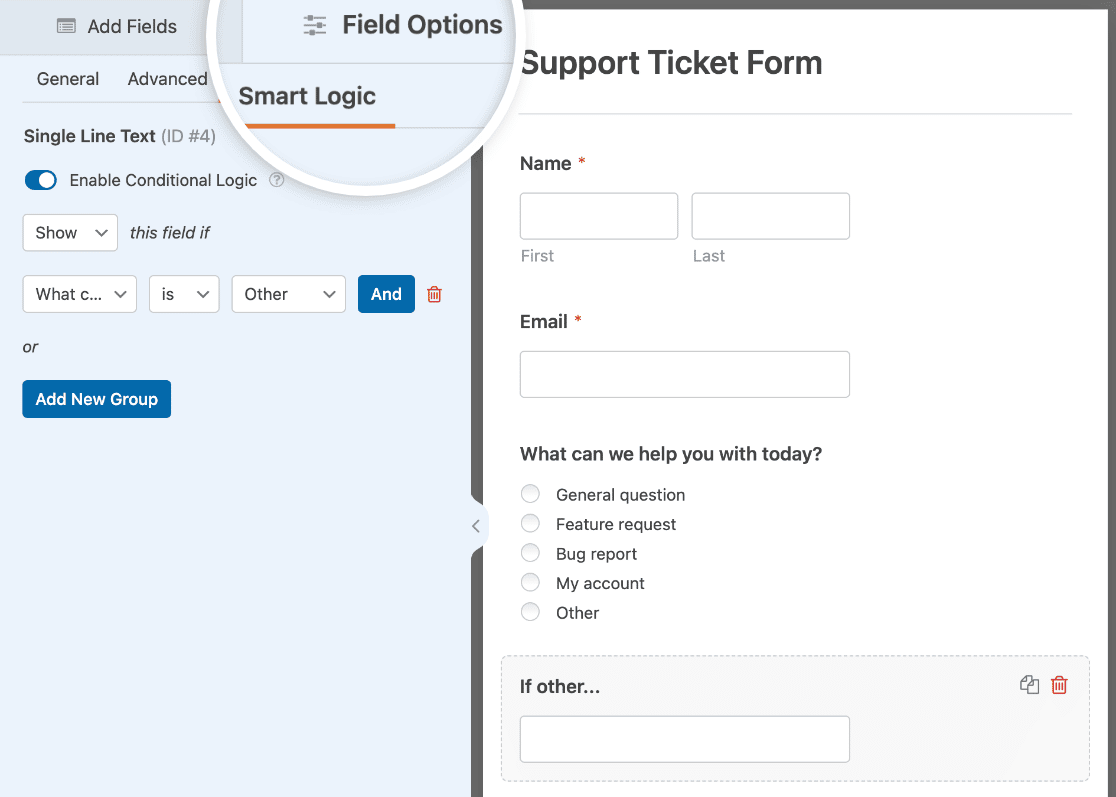
To learn more about how this works, check out our conditional logic tutorial.
And for more help creating your form, check out this tutorial on how to create a support ticket form in WordPress.
Finally, make sure to submit a test entry for your support ticket form. You’ll need this later when connecting WPForms to Zapier.
You can submit a test entry by clicking on the Preview button at the top of the form builder.

Then fill out the form and click the Submit button.
Now, let’s take a look at how to connect your WordPress support form to Zendesk.
Step 3: Create a New Zap with Zapier
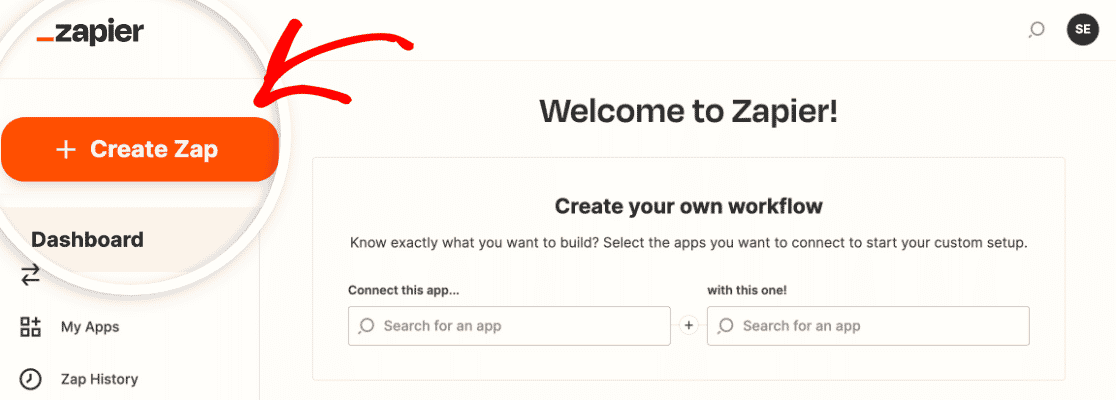
The first thing you’ll need to do is log into your Zapier account and click on the Create Zap button near the top of the screen. If you don’t have a Zapier account, you can create one here.
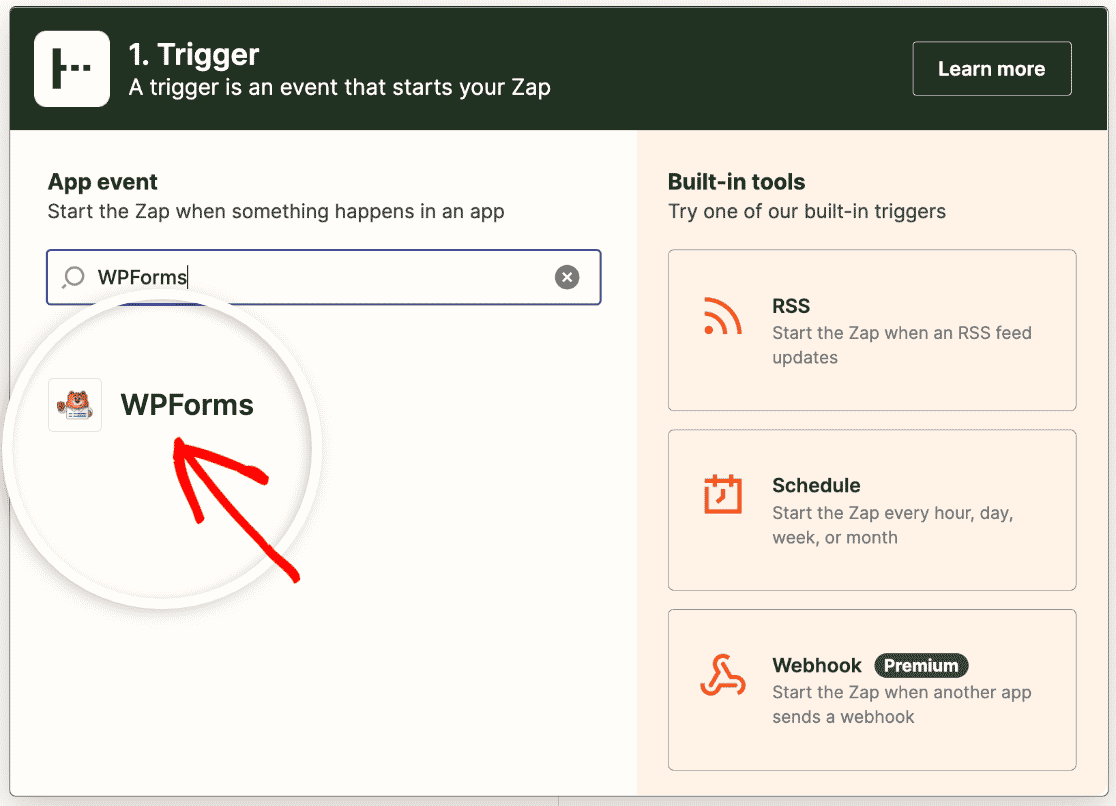
Next, you’ll need to choose a trigger app, which in our case is WPForms. Search for WPForms in the search bar and click on it.
Then you’ll have to select what event will trigger the Zap. The only option available for WPForms will be New Form Entry.
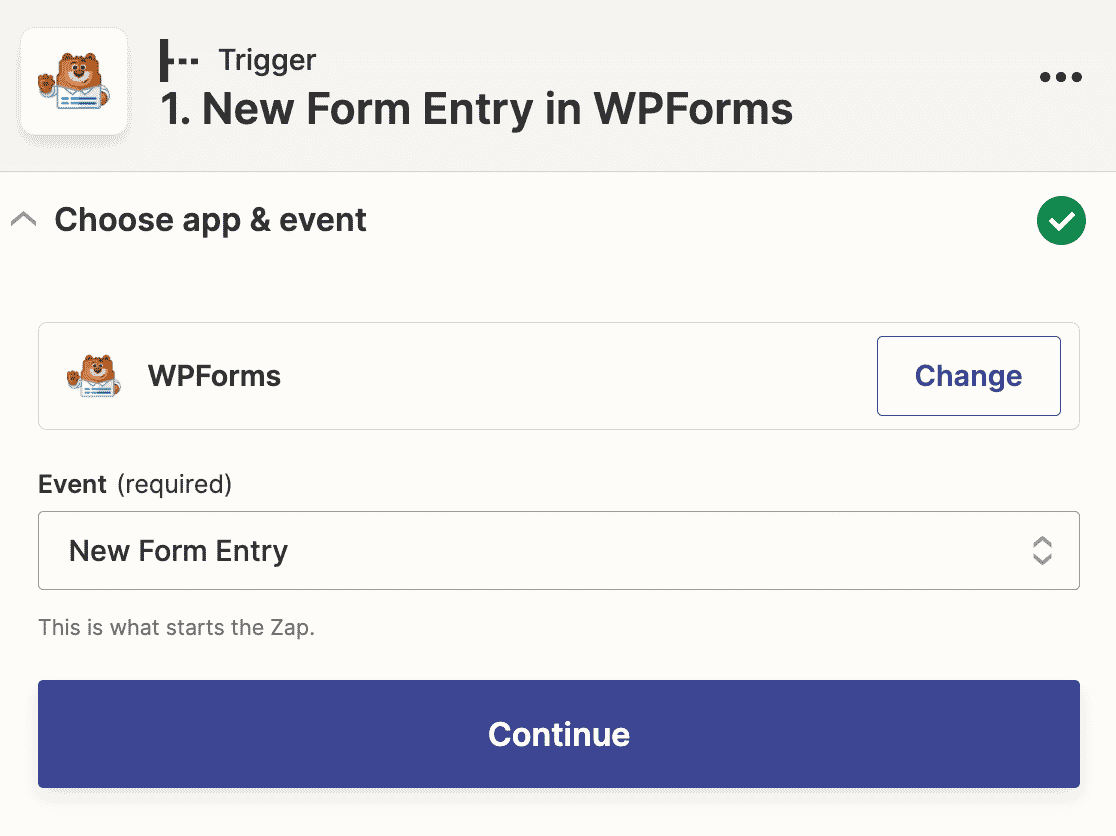
Click Continue to make WPForms the trigger when a form entry is submitted on your website.
Now you’ll need to connect Zapier to your WPForms account. Click Sign in in the Zap wizard.
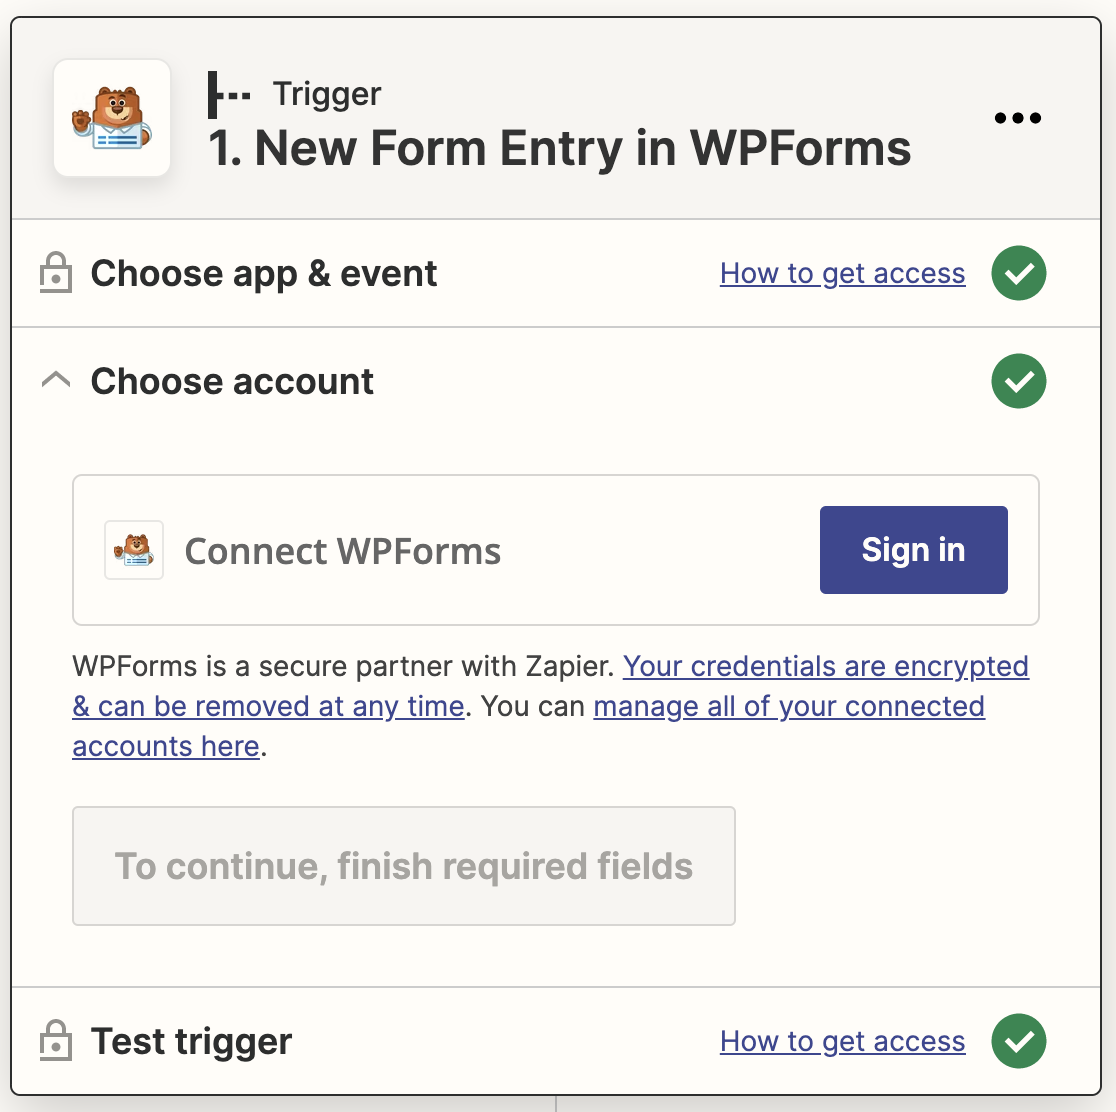
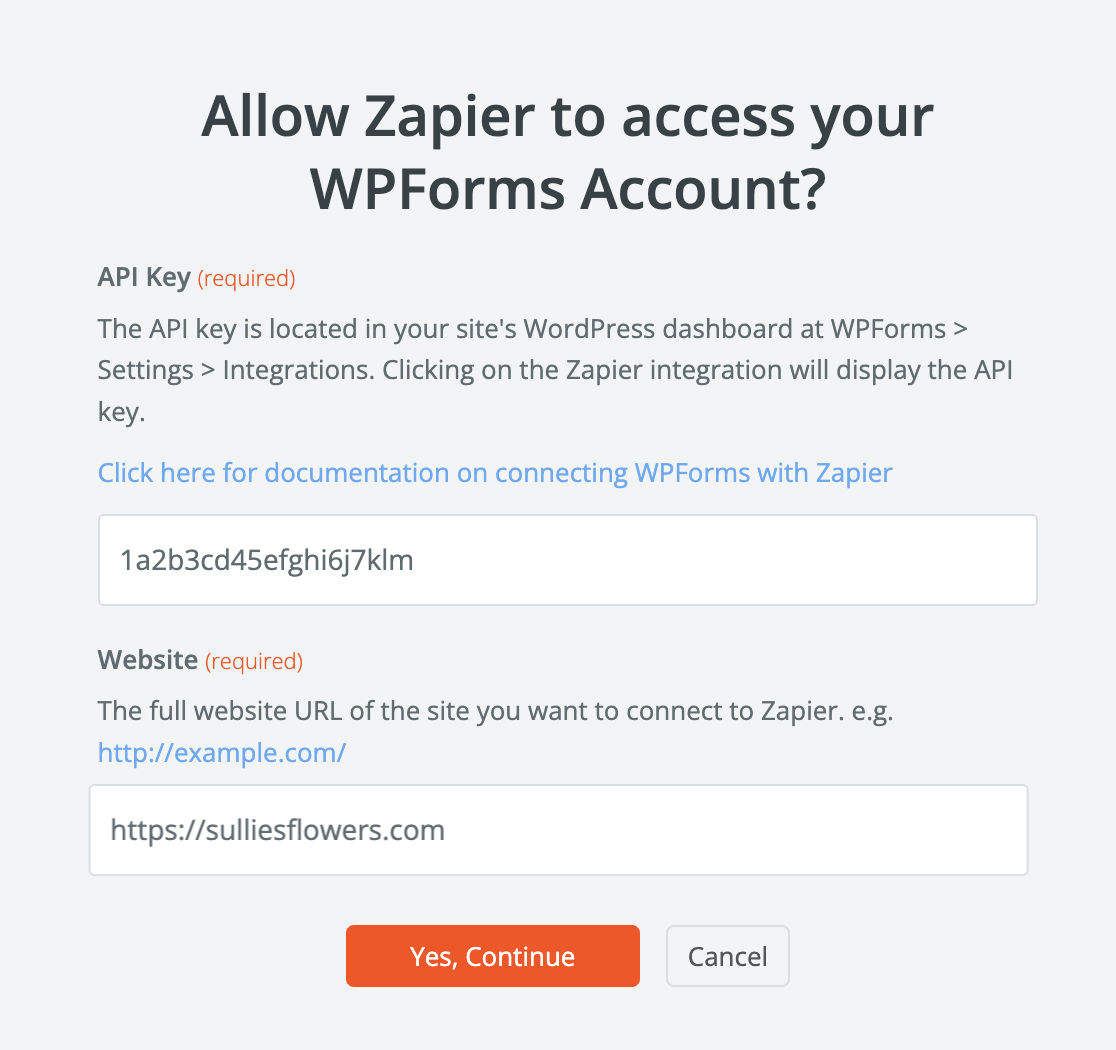
This will open a popup where you need to enter your site’s URL and Zapier API key.
To find your API key, open your WordPress admin dashboard in a new tab and go to WPForms » Settings » Integrations. Then expand the Zapier section.
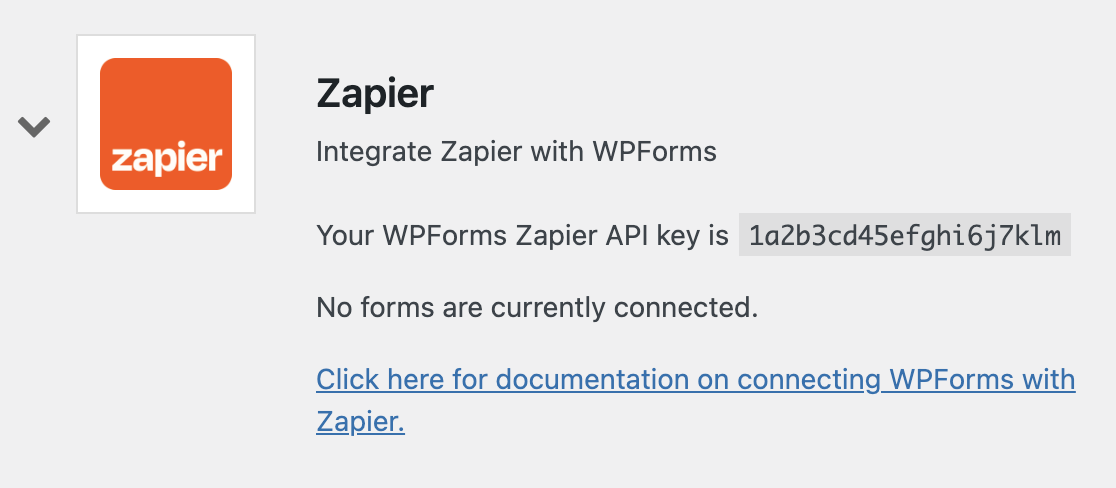
Here you can copy your API key and paste it into the popup window.
Once your WPForms account is connected to Zapier, you’ll have to choose which form to connect to this Zap. Select your support ticket form from the dropdown.
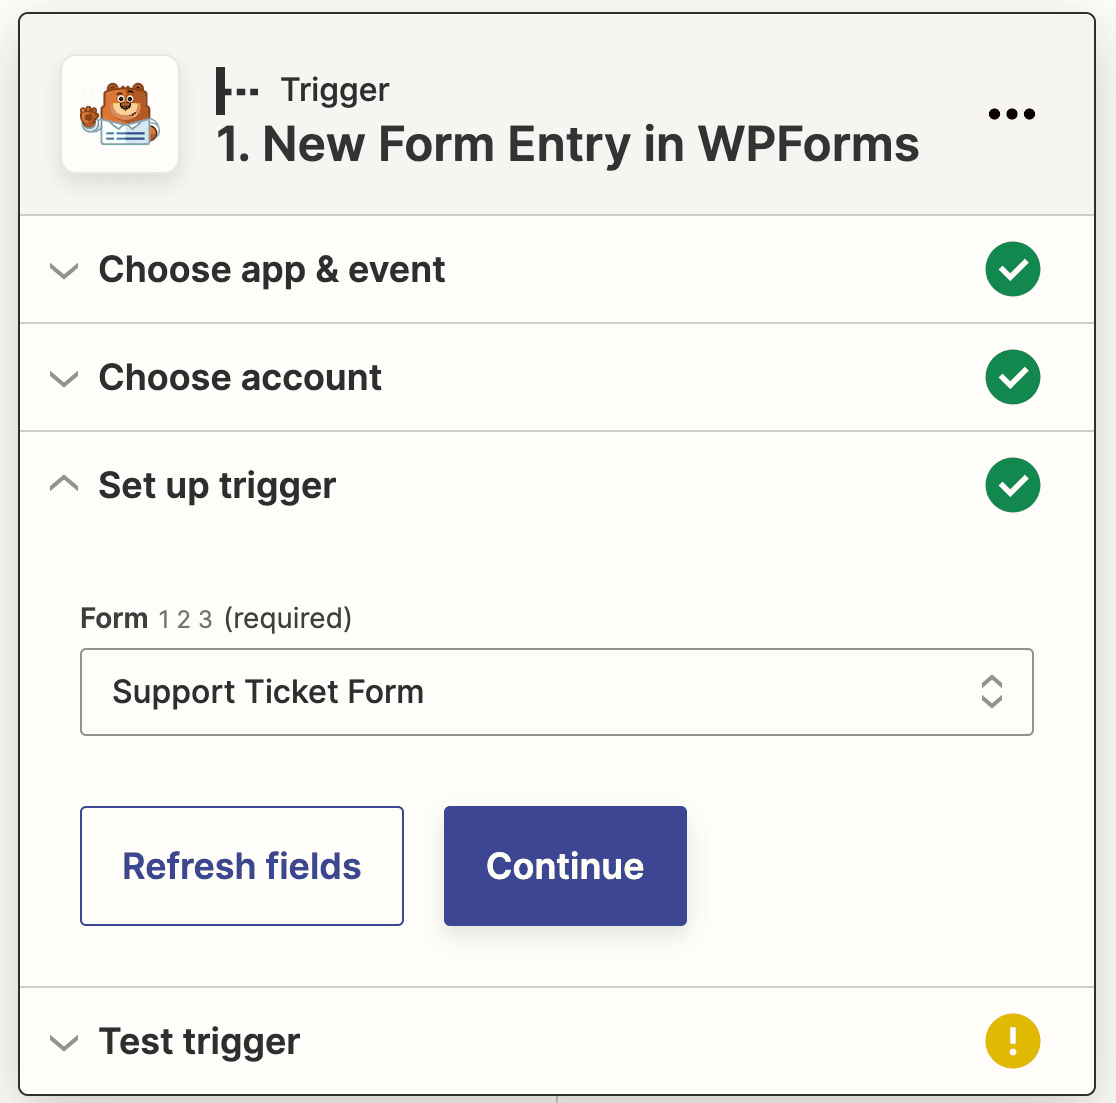
Click Continue. Zapier will now test your WPForms connection to make sure everything is working right. Click Test trigger.
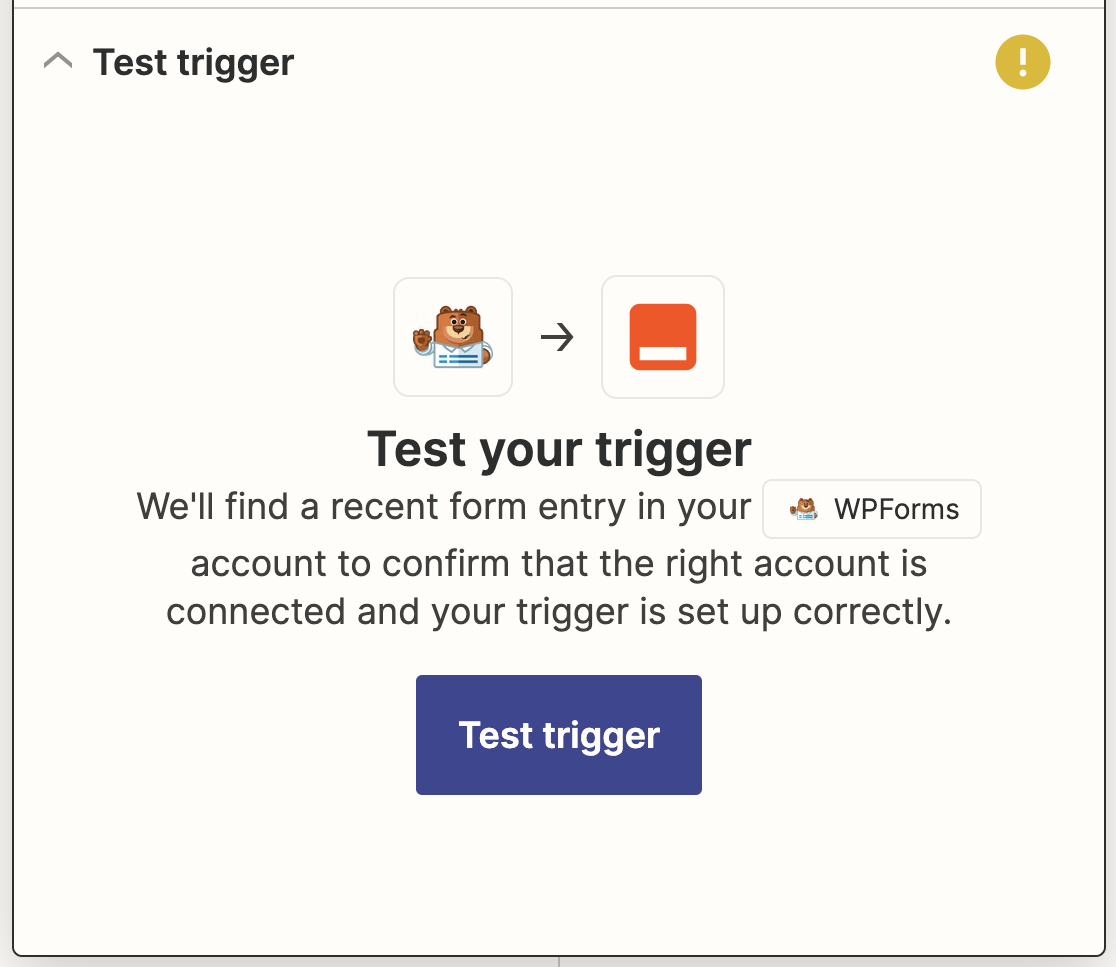
If you’ve set your Zap up right so far, you’ll see the test entry that you submitted to your support ticket form.
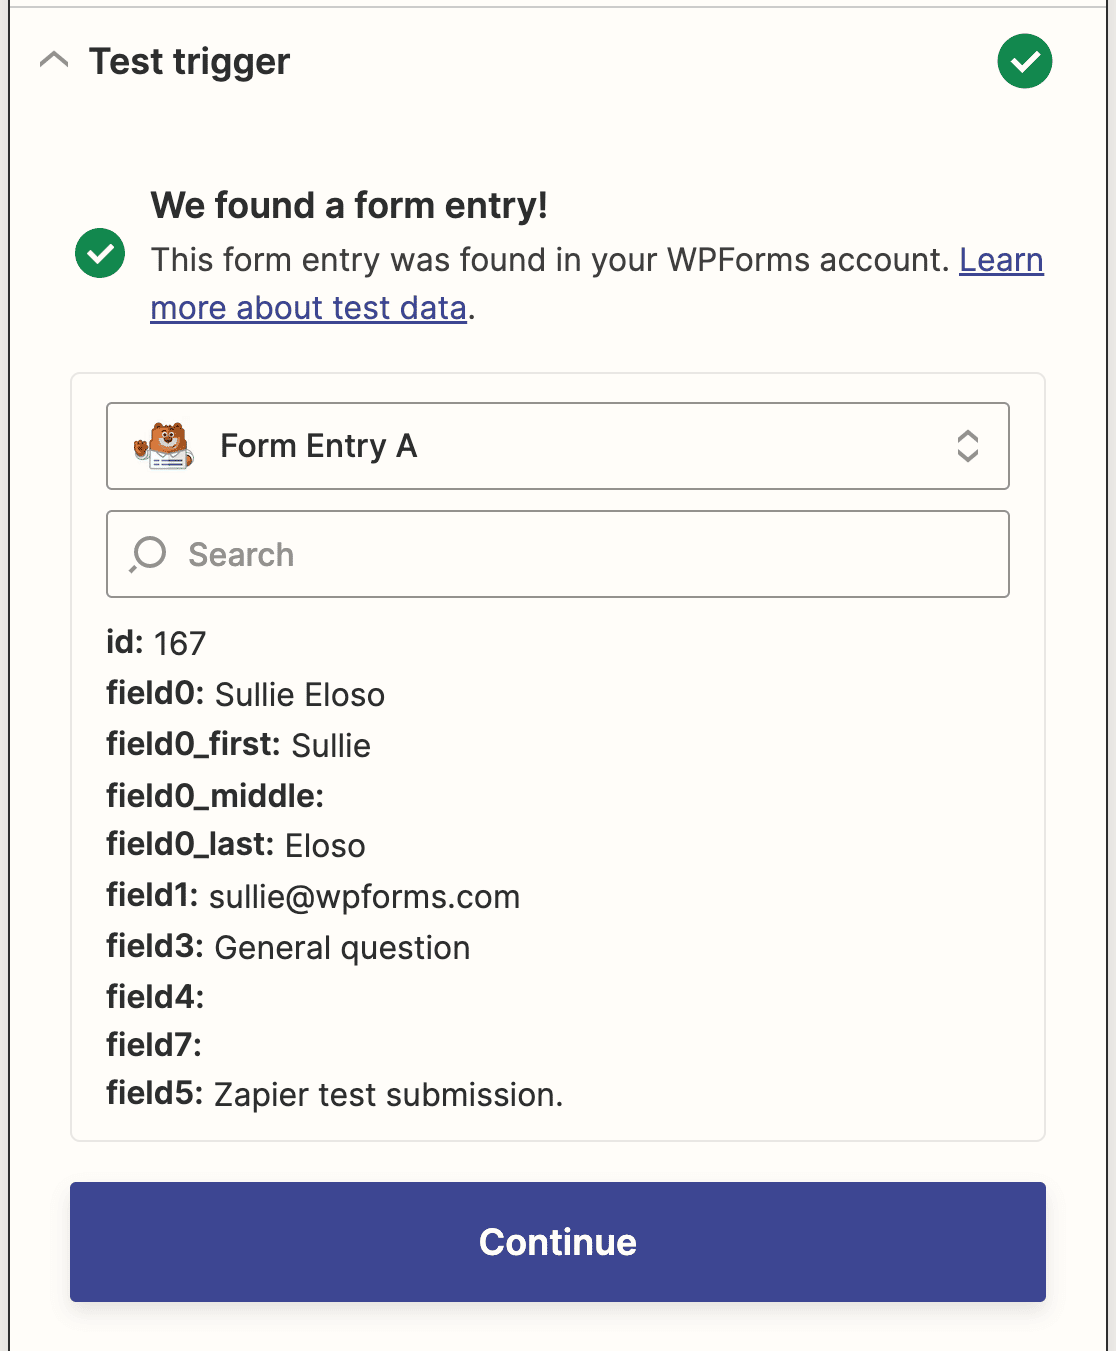
Click Continue one more time to set up the action half of your Zap.
Step 4: Connect Your WordPress Forms to Zendesk
Now that Zapier is connected to the WPForms plugin, you need to connect WPForms to Zendesk.
To start, search for the Zendesk app in the search bar and select it as the action app.
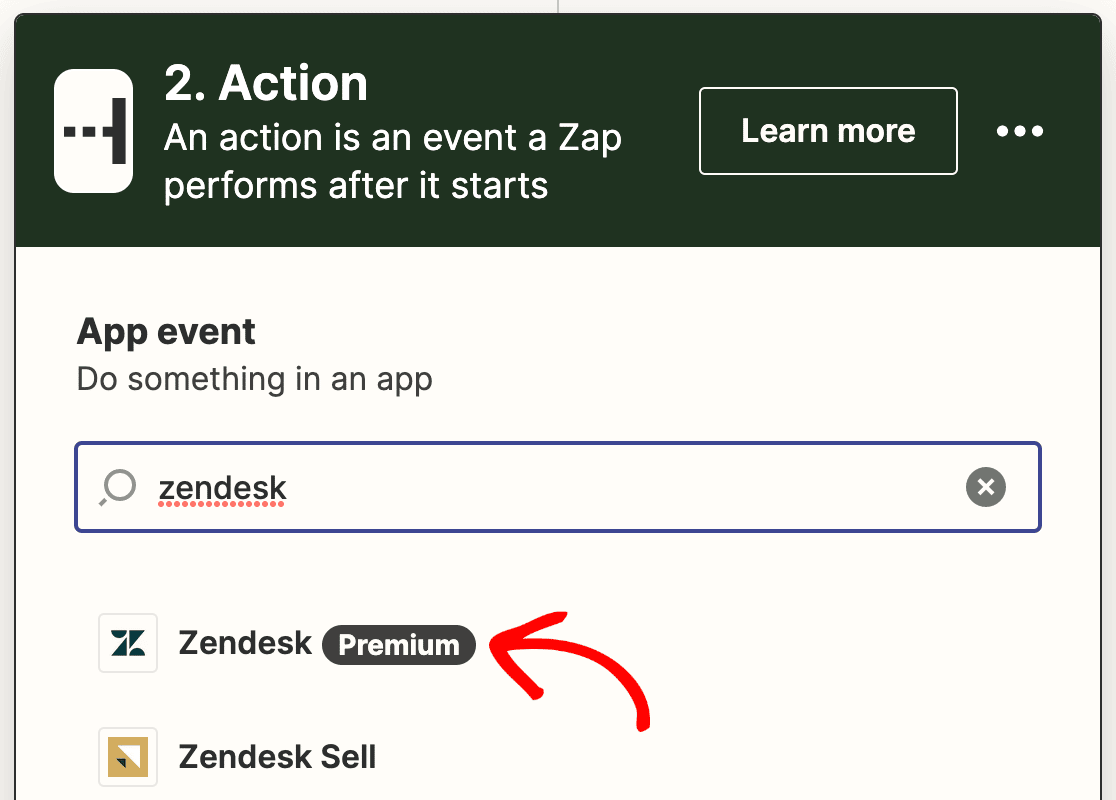
Next, you’ll choose the Zendesk action. Since we are creating a support ticket form to collect site visitor support requests, we’ll select Create Ticket.
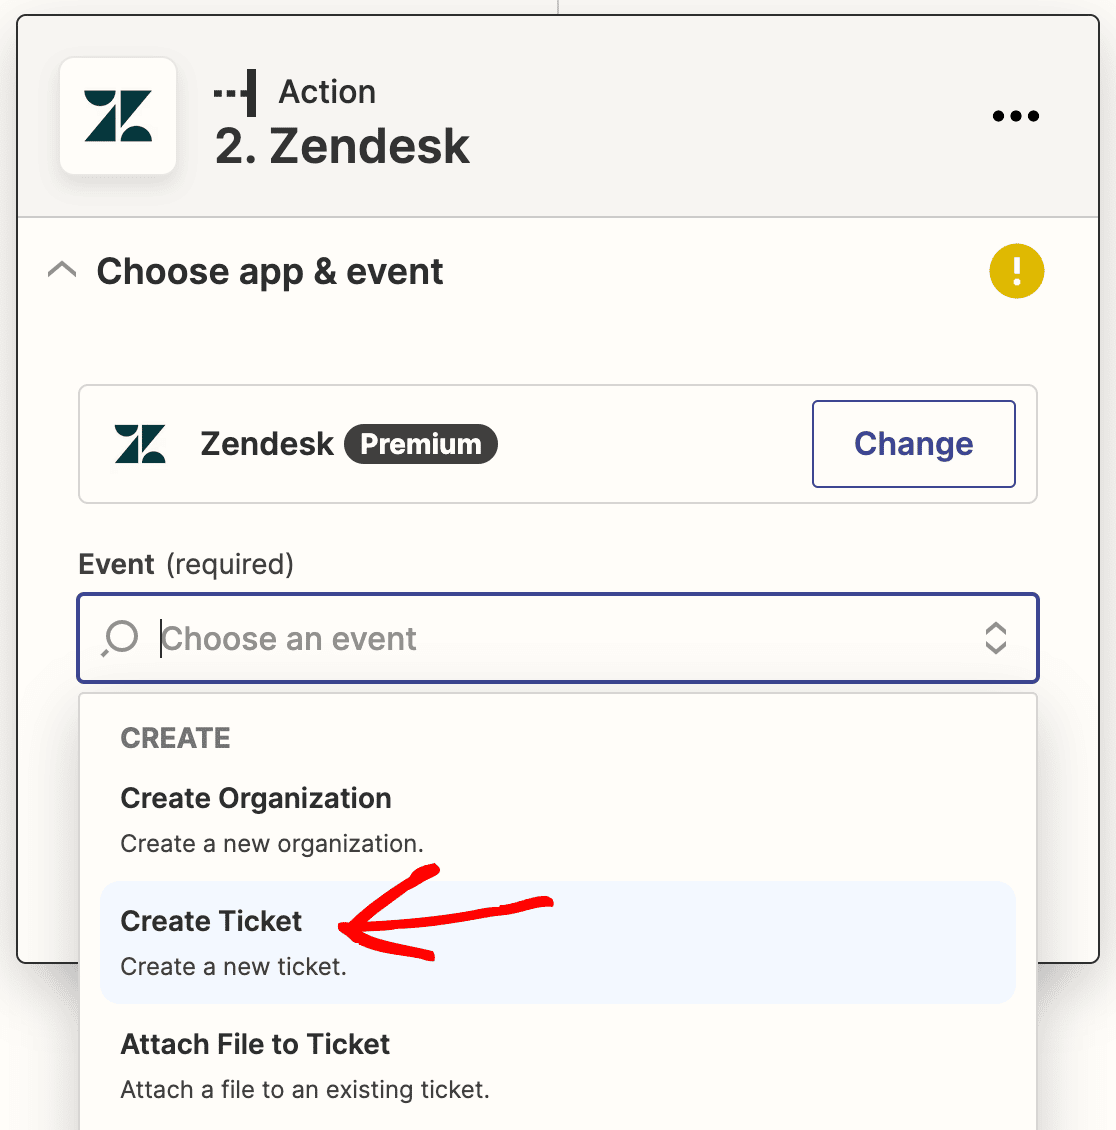
Click Continue.
Now you need to connect your Zendesk account to Zapier. Click Sign in.
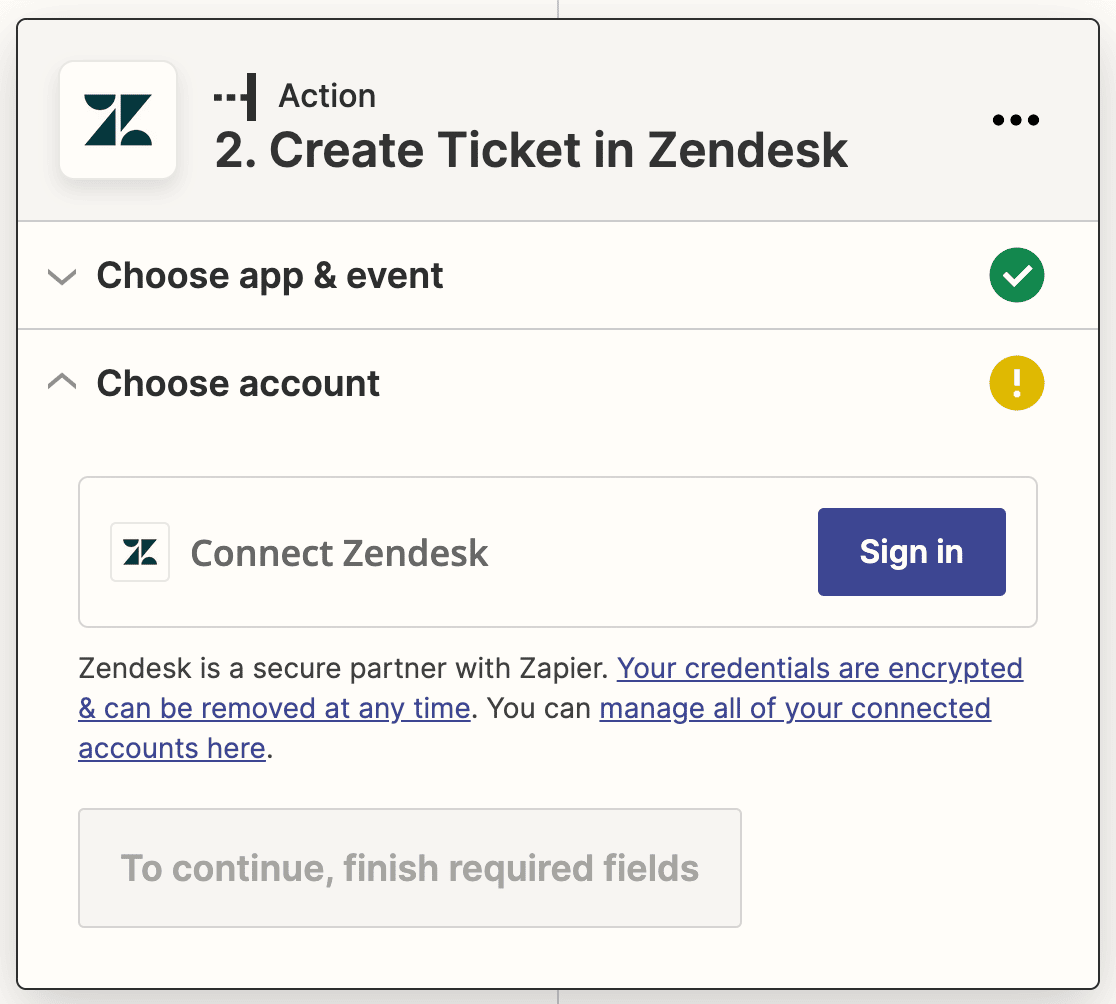
This will open a popup window where you’ll need to enter your Zendesk URL, email address, and API key.

If you need help finding your API key, see Zendesk’s documentation on how to enable and generate API tokens.
Click Yes, Continue to close the popup window. Then click Continue in the Zap setup wizard to proceed to the next step.
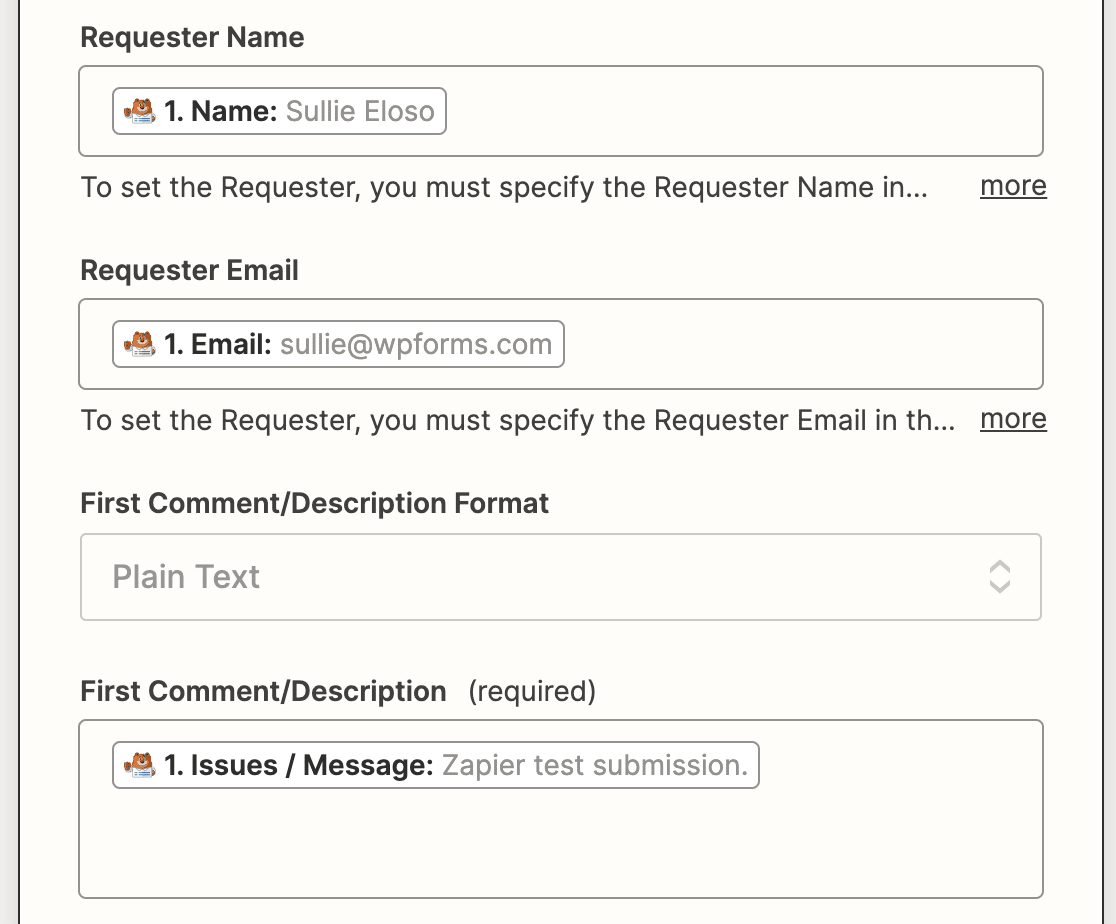
Now you need to set up a Zendesk ticket template. In this step, you’ll have to configure the correct WPForms fields in its corresponding Zendesk ticket fields. Use the dropdowns to select the corresponding fields from your WordPress form.
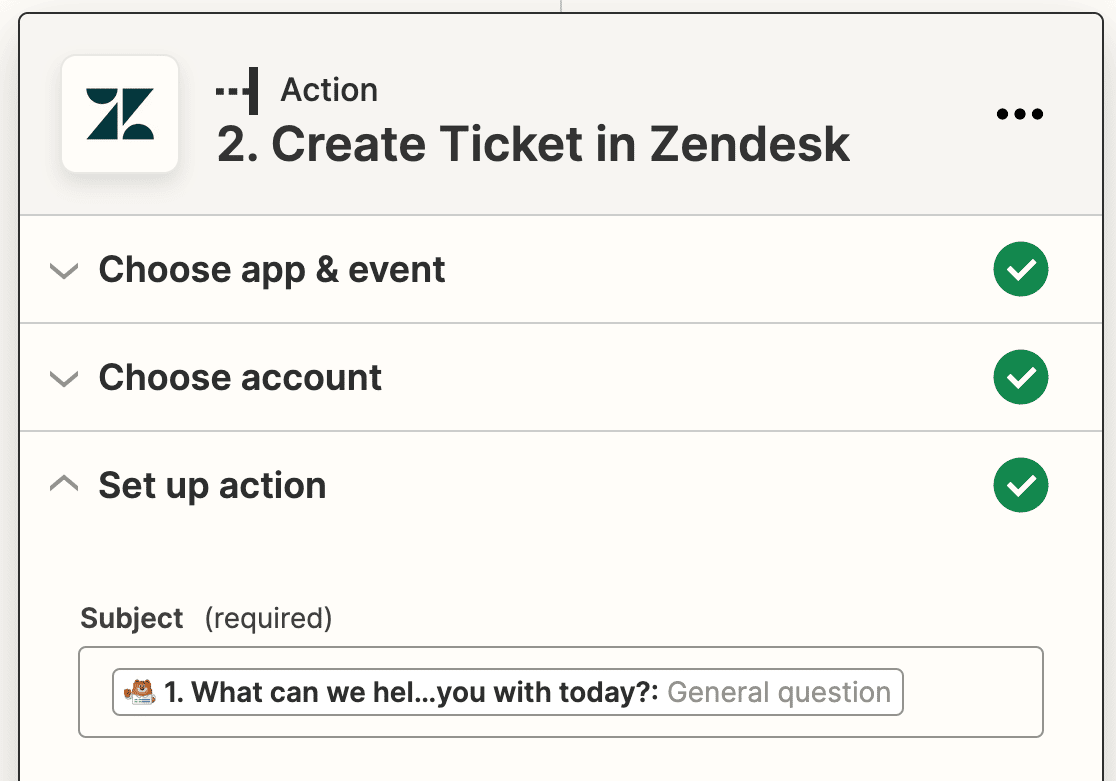
The 2 required fields are Subject and First Comment/Description. We’ll connect them to the What can we help you with today? and Issues/Message fields.
Fill out any other fields you want to connect such as the Requester Name and Requester Email, then click Continue.
Now Zapier will test your connection to Zendesk just like it did for WPForms. Click Test action to continue.
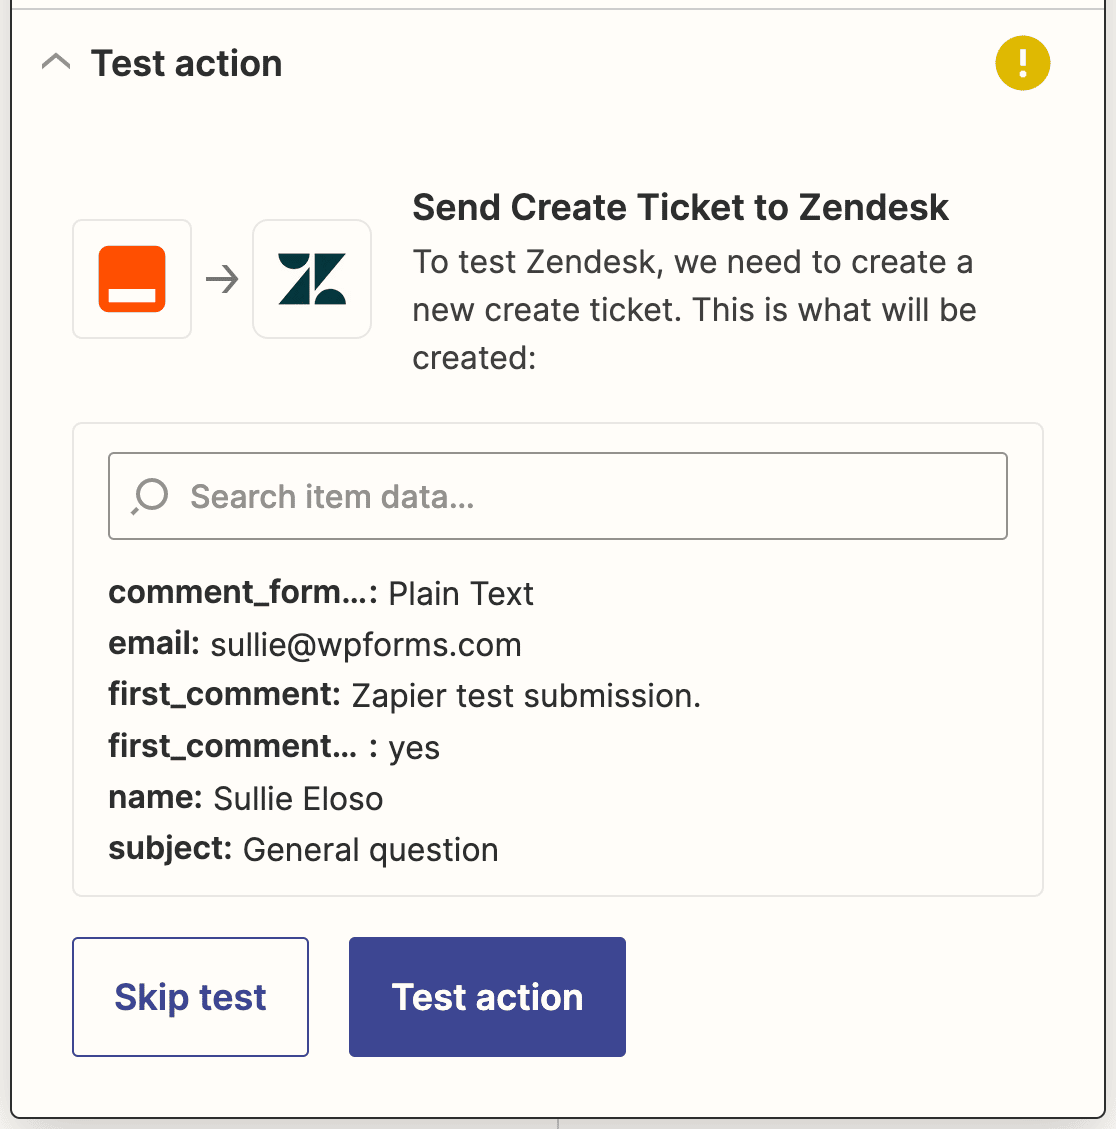
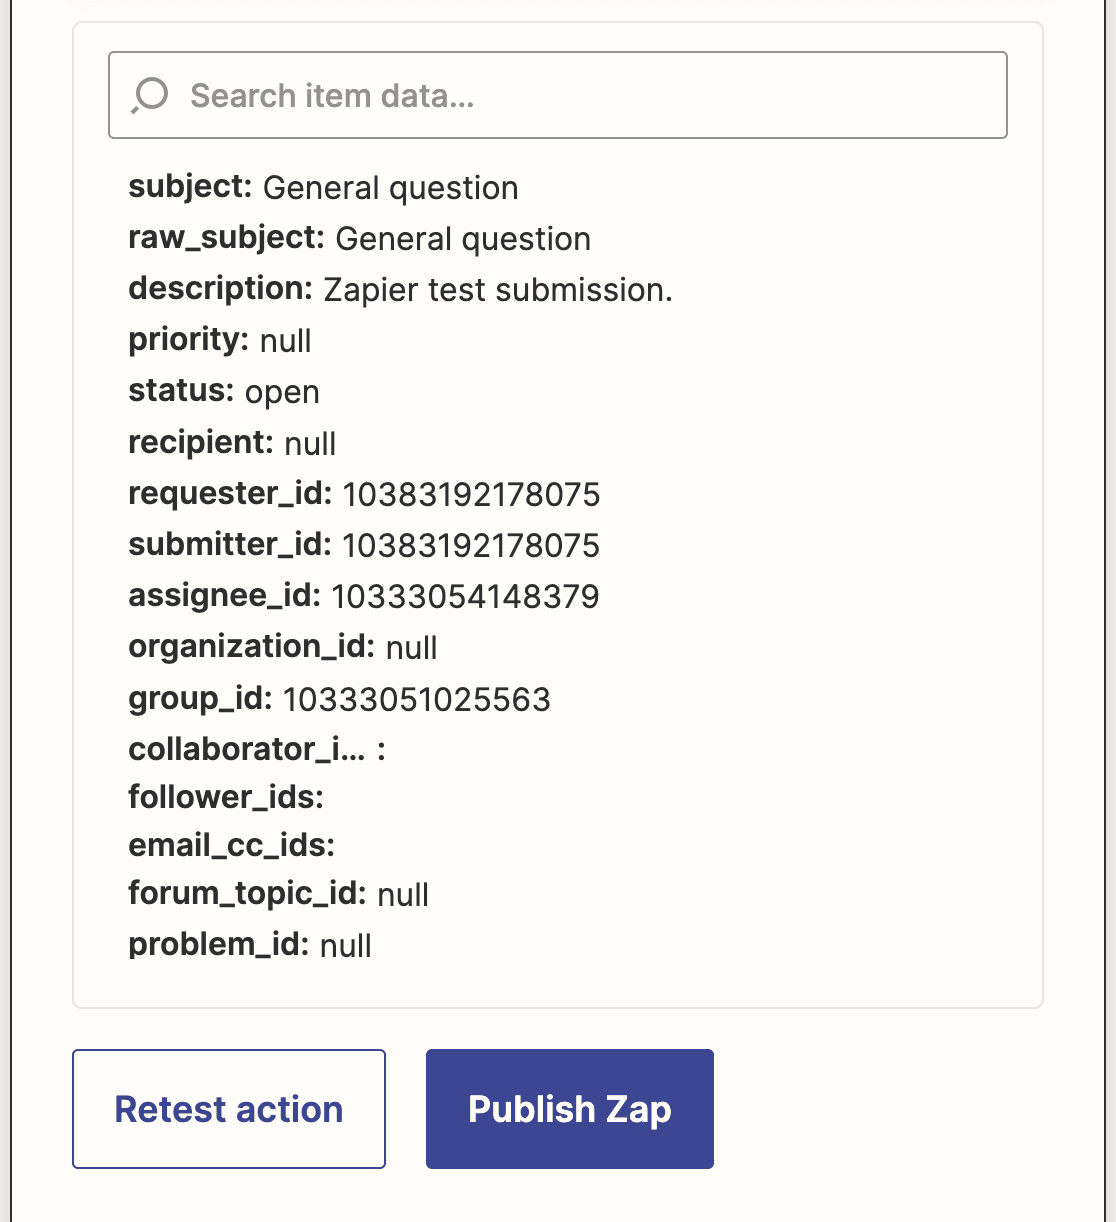
If everything is set up properly, you’ll see a success message.
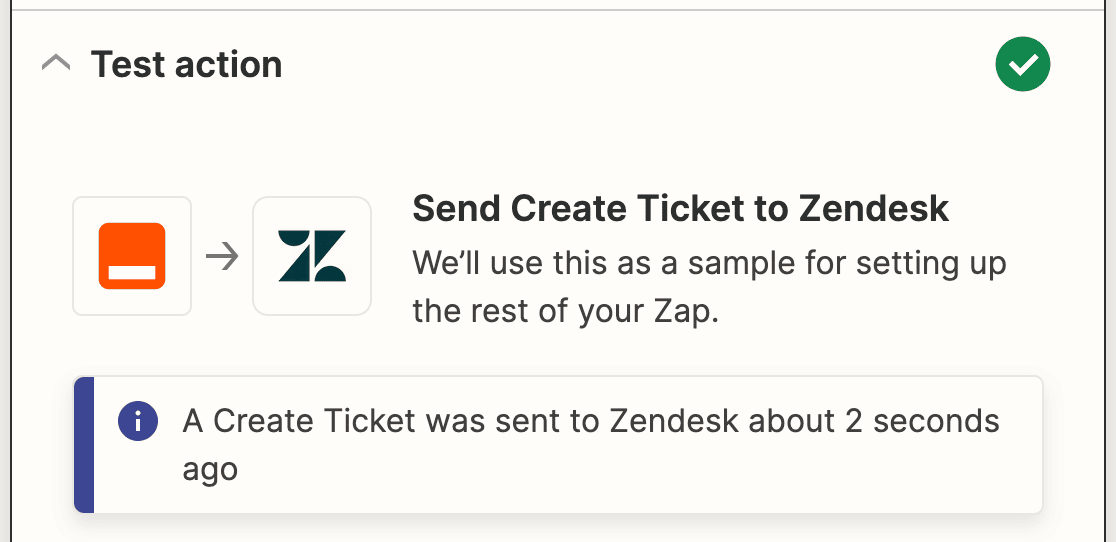
You can also check Zendesk to see if your test submission has now added as a ticket in your account.
Lastly, don’t forget to publish your Zap so that when someone submits a support ticket form on your WordPress website, the form entry goes directly to your Zendesk account.
FAQs – How to Create a Zendesk Support Ticket Form in WordPress
Does Zendesk work with WordPress?
Yes, Zendesk integrates smoothly with WordPress, allowing you to create and manage support tickets directly from your WordPress site. By using plugins like WPForms, you can easily connect your WordPress site to Zendesk, enabling seamless customer support.
How do I create a ticket form in Zendesk?
To create a ticket form in Zendesk, navigate to the “Admin Center” and select “Ticket Forms” under the “Manage” section. Here, you can customize the form fields according to your needs.
How to integrate Zendesk with WordPress?
Integrating Zendesk with WordPress is simple with WPForms. First, create a support ticket form using WPForms. Then, connect it to your Zendesk account using the Zapier Addon for WPForms.
This integration ensures that all support requests submitted through your WordPress site are sent directly to Zendesk.
How do you format a support ticket?
To format a support ticket effectively, keep it clear and concise. Start with a brief subject line that summarizes the issue. In the description, provide a detailed account of the problem, including any relevant details like screenshots or steps to reproduce the issue. WPForms can help you structure your support ticket form to ensure all necessary information is captured.
Next, Connect Your WordPress Site to Discord
And there you have it! You now know how to create a custom support ticket form in WordPress with Zendesk. If you like using Zapier for automation, you might want to check out how to connect your WordPress contact form to Discord.
Create Your WordPress Form Now
Ready to build your form? Get started today with the easiest WordPress form builder plugin. WPForms Pro includes lots of free templates and offers a 14-day money-back guarantee.
If this article helped you out, please follow us on Facebook and Twitter for more free WordPress tutorials and guides.


