how to connect wordpress contact form to discord

How to Connect Your WordPress Contact Form to Discord

Editorial Note: We may earn a commission when you visit links on our website.

Are you wondering how to integrate Discord with your contact form? Discord allows you to text and voice chat with other gamers while you’re playing your favorite game.

In this article, we’ll show you how to connect your WordPress contact form to Discord.

Why Connect a WordPress Form to Discord?

Discord is a free text and voice chat app for gamers. It works on every device including your phone and desktop. You can use it to:

  • Allow people to join your Discord channel.
  • Host gaming tournaments and invite gamers to participate in them.
  • Connect with like-minded people.

To allow people to join your Discord server, you can start a WordPress website and add a contact form to your site. And then, you’ve to connect your form to your Discord server.

Thus, whenever someone submits the form, an automatic message will be sent to your Discord channel. And later you can invite them to your server.

So let’s show you the step by step process of connecting your WordPress contact form to Discord.

How to Connect a WordPress Form to Discord

Step 1: Create a Discord Tournament Signup Form

The first thing you need to do is install and activate WPForms plugin. It’s the best drag-and-drop form builder plugin that allows you to create different types of forms without any hassle.

The WPForms homepage

You can follow the guide on how to install a WordPress plugin if you need any help.

After you’ve installed the WPForms plugin, you’ll also want to install the Zapier addon. We’ll use it later in the tutorial to connect your WordPress form to Discord.

Go to WPForms » Addons and click the Install Addon button for the Zapier addon.

Installing the Zapier addon

Now you’re ready to build your form. For our example, we’ll create a gaming tournament registration form so people can sign up to participate.

Go to WPForms » Add New. Enter a title for your form in the Name Your Form field, then choose a template.

WPForms comes with 1,700+ WordPress form templates to help you create forms quickly. You can customize any form and connect it to Discord, but we’ll use the Gaming Tournament Registration Form template.

Selecting the Gaming Tournament Registration Form template

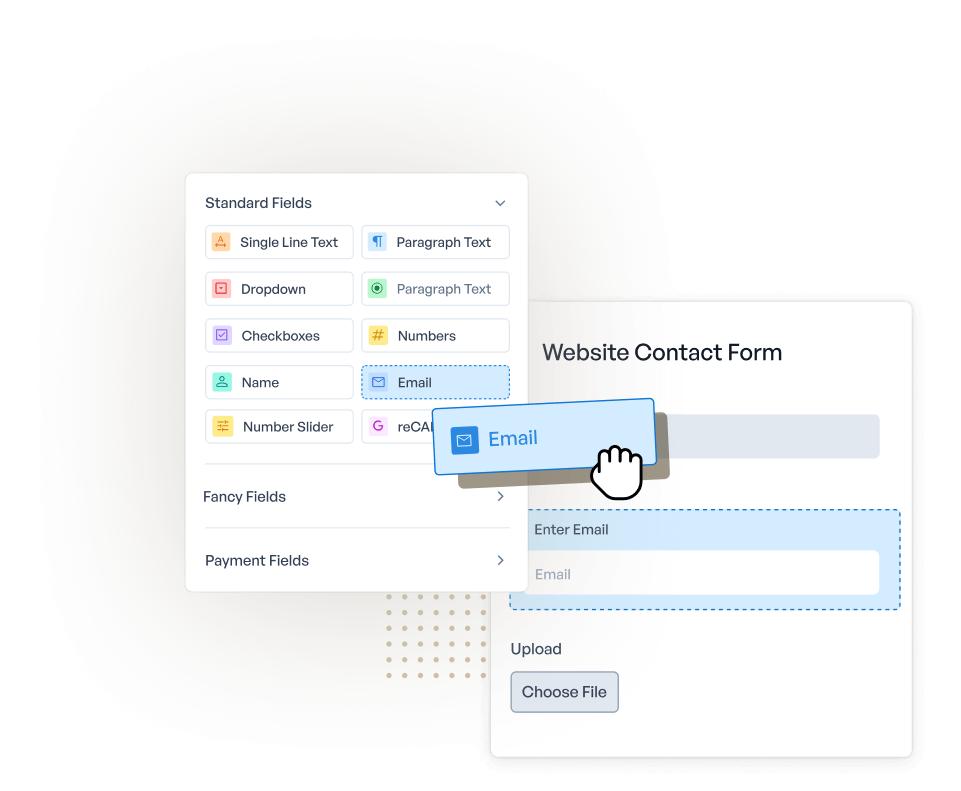
With WPForms, you can customize your form easily without any coding skills. You can add or remove fields and even reorder them by merely dragging and dropping the fields in the form preview area.

Editing the Gaming Tournament Registration Form template

Once you’re done designing your form, you can change its email notifications and other settings. Finally, save the form using the Save button in the top right corner.

Step 2: Add a Test Entry to Your Form

You’ll have to add at least one entry to your form to test the connection between Discord and WPForms. This will be required in the later stage of this tutorial.

To create a new entry, you can embed your form to any post, page, or even the sidebar of your website.

Or, if you want to wait to publish your form, you can click on the Preview button in the form builder.

Previewing your form

This will open your form in a new tab so you can fill it out and click the Submit button to create a new entry for testing purposes.

Submitting a test entry to a Gaming Tournament Registration Form

Step 3: Create a New Zap

Zapier allows you to connect 2 or more apps to do automated tasks. This process is called a zap. It requires a trigger to do a particular action.

In our case, the trigger is when someone submits the form and the action is that a message will be posted in the Discord channel of your choice.

To create a new zap, go to the Zapier website and log in to your account. We recommend opening Zapier in a new tab, as you’ll need to refer back to your WordPress site during the setup process.

If you don’t have a Zapier account, you can create a new account for free.

Now click on the Create Zap button present on the left side of your screen.

Creating a zap in Zapier

This will open up a new page where we’ll be selecting WPForms as our trigger app. If you don’t see WPForms listed, you can use the search bar to find it.

Choosing the WPForms app event in Zapier

Next, you’ll need to choose your trigger app event. WPForms offers just one option, so select New Form Entry and click Continue.

Choosing New Form Entry as the trigger event in Zapier

In the next step, you’ll have to connect your WPForms account to Zapier. To do that, click on the Sign in button.

Choose your WPForms account to connect to Zapier

This will open up a popup window. Here you’ve to enter your full website URL and Zapier API key.

To find your API key, go back to the tab where your WordPress site is open and head to WPForms » Settings » Integrations and click on the Zapier section to expand it.

Here you can copy your API key.

Copying the Zapier API key in the WPForms settings

Then just enter your website’s URL and click on Yes, Continue.

Allowing Zapier to access WPForms

Now you’ll need to pick which form you want to connect to Zapier. We’ll select the Gaming Tournament Registration form we made in the previous step.

Selecting your Gaming Tournament Registration form to connect to Zapier

After that, Zapier will test your WPForms connection to make sure everything is set up right. Click Test trigger.

Testing your Zapier WPForms connection

If everything’s working, Zapier will pull the data from your test entry and show you a success message.

A success message for a trigger test in Zapier

Once your connection is confirmed, click Continue to set up the zap action app.

Step 4: Choose Discord as an Action App

In the last step, you’ve successfully created your trigger app. It’s time to choose Discord as the action app.

So search for Discord and click on it to continue.

Choosing Discord as your action app in Zapier

In the next step, you’ll be asked to select a Discord action that you want to happen when your form is submitted.

Since you want a message to be posted to your Discord channel whenever someone registers, select Send Channel Message and then click the Continue button.

Selecting Send Channel Message as the action event in Zapier

You need to connect your Discord server to Zapier now. To do this, click on Sign in.

Connecting Zapier to Discord

A popup window will open up asking you to enter your Discord email and password. Fill them out and click Login.

Logging in to Discord via Zapier

Then you’ll be asked to select a Discord server from the dropdown menu.

Choosing which Discord server to connect to Zapier

And then, you’ve to click on the Authorize button to give Zapier permission to use your Discord account.

Allowing Zapier to access your Discord account

After this, you need to click on the Google reCaptcha box to prove that you’re not a robot. Once done, your Discord account will be added to Zapier. Click Continue.

A Discord server connected to Zapier

Now you’ll set up the message that will be sent to Discord when someone fills out your registration form. First, select which channel you want to post your message to. Then you can create the message using custom text, entry information, or a combination.

Setting up the Discord message that will send when someone fills out your form

These are the only required fields for this part of the zap setup process. If you want to, you can also alert certain users when messages are posted, enable text to speech, add a bot name, and more.

Once your message is set up, click Continue. You’ll have the chance to test your connection to Discord just like you did for WPForms. Click  Test & continue to start the test.

Testing your Zapier connection to Discord

If everything is working properly, you’ll see a success message in Zapier.

Zapier test success message for Discord

You’ll also be able to see the message for your form’s test entry in Discord.

A Discord message sent from WPForms using Zapier

All that’s left is to click the Publish Zap button to make this connection live.

Publishing a new zap

That’s it! You’ve successfully connected your WPForms contact form to Discord. So whenever someone submits the form, a message will be sent to your Discord channel automatically.

Next, Connect WPForms to Google Calendar

We hope this article helped you to understand how to connect your WordPress form to Discord.

For more awesome ways to use WPForms and Zapier together, check out these guides on how to:

Not using WPForms so far? Get started with the best WordPress form plugin today!

If you liked this article, please follow us on Twitter and Facebook to get updates from our blog.

Using WordPress and want to get WPForms for free?

Enter the URL to your WordPress website to install.

Add a Comment

We're glad you have chosen to leave a comment. Please keep in mind that all comments are moderated according to our privacy policy, and all links are nofollow. Do NOT use keywords in the name field. Let's have a personal and meaningful conversation.

This form is protected by reCAPTCHA and the Google Privacy Policy and Terms of Service apply.