



AI Summary
Most WordPress forms are plain text, which works fine for a basic contact form. But a little visual polish can make a big difference, whether that’s your logo at the top, a product photo, or image-based answer choices that are easier to scan than plain options.
Adding an image to a WordPress form is easier than you might expect, and you won’t need to write any code. I’ll walk you through the whole process step by step, from installing the plugin to inserting your image and publishing the finished form.
Create Your WordPress Image Form Now! 🙂
How to Add an Image to WordPress
The process for adding images to WordPress varies depending on where exactly you’re inserting an image. In this tutorial, we’ll show you some of the most common scenarios for uploading images in WordPress.
Step 1: Install the WPForms Pro Plugin
WPForms is the most beginner-friendly form plugin for WordPress, with 2,100+ form templates and a drag-and-drop builder, so you can start from a ready-made template instead of a blank page.
What I like most about WPForms for this is the Content field. It gives you a small visual editor right inside the form builder, so you can upload an image, add a heading, or drop in a logo without leaving the page or touching any HTML.
The Content field is a paid feature, so you’ll need a WPForms Pro license to use it, which also unlocks the full template library along with payments, surveys, and the other addons you’ll likely want as your forms grow.

To get started, go ahead and grab the WPForms Pro license. Once you’ve purchased it, install and activate the plugin on your site. If you’ve never added a plugin before, our guide on installing WPForms walks you through it.
Step 2: Create Your Form
With WPForms active, it’s time to build the form that will hold your image. From your WordPress dashboard, go to WPForms » Add New to open the form builder.
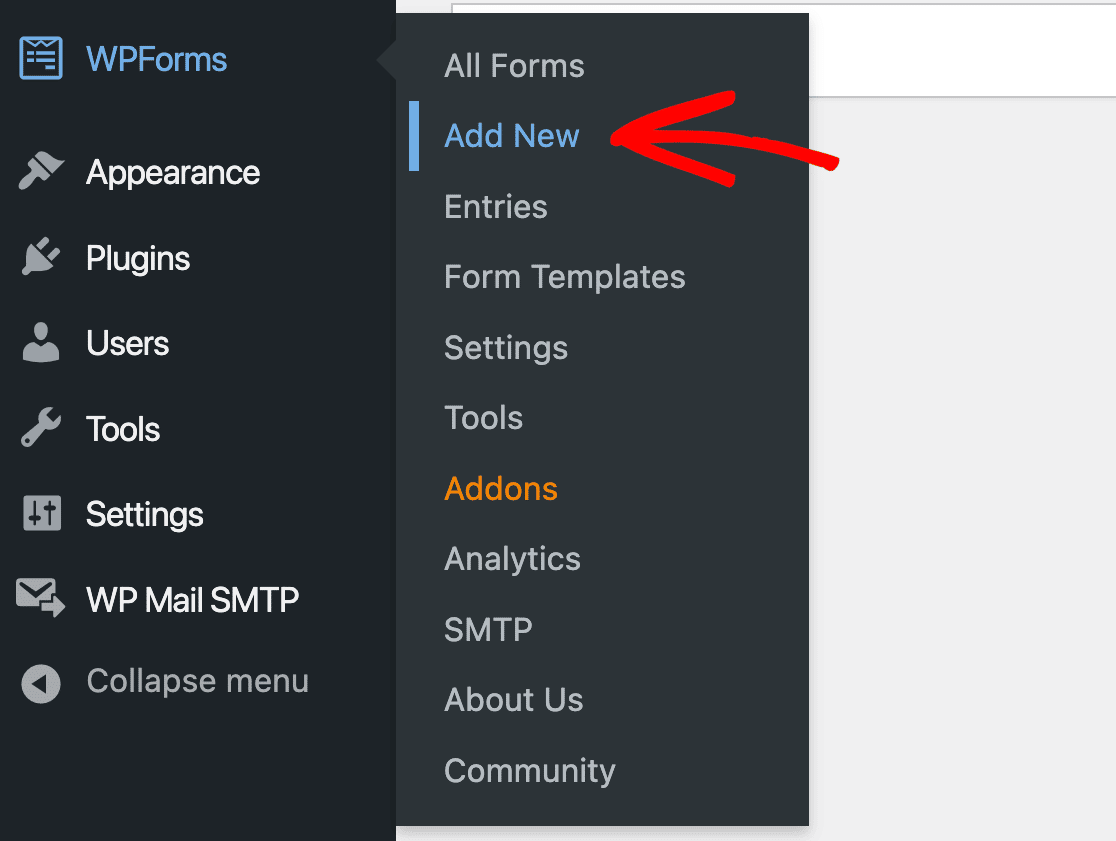
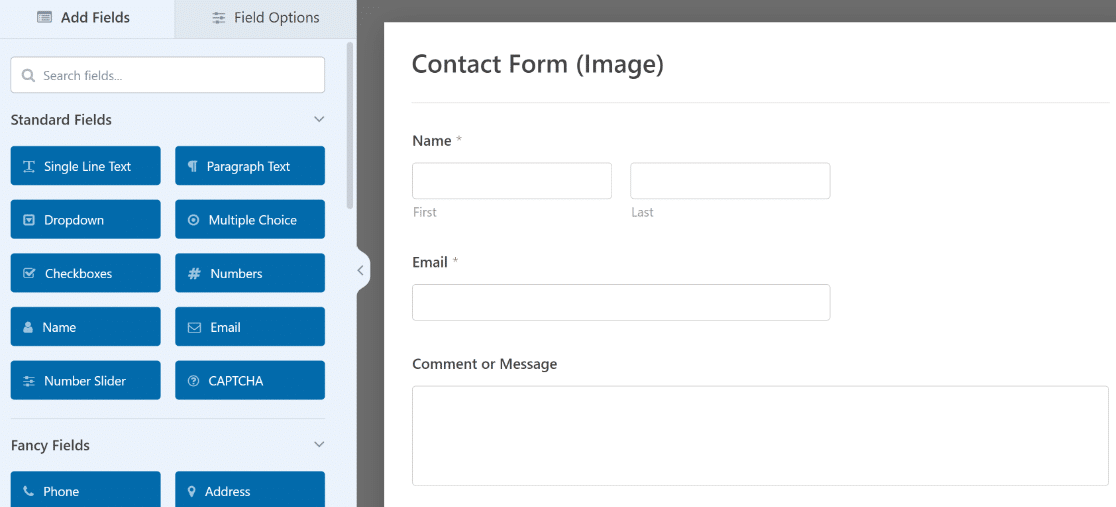
On the setup screen, give your form a name and pick a template to start from. I’ll use the Simple Contact Form template, so go ahead and hover over it and click Use Template.

The template loads in the builder with all the standard fields already in place, ready for you to customize.
Step 3: Insert an Image Into Your Form
To add your image, you’ll use the Content field, which lets you place images, headings, and formatted text anywhere in your form. If you want the full rundown of what it can do, the Content field documentation covers it.
Find the Content field in the left-hand panel and drag it onto your form. I’m adding a logo to the top, so I’ll drop the field above the other fields.
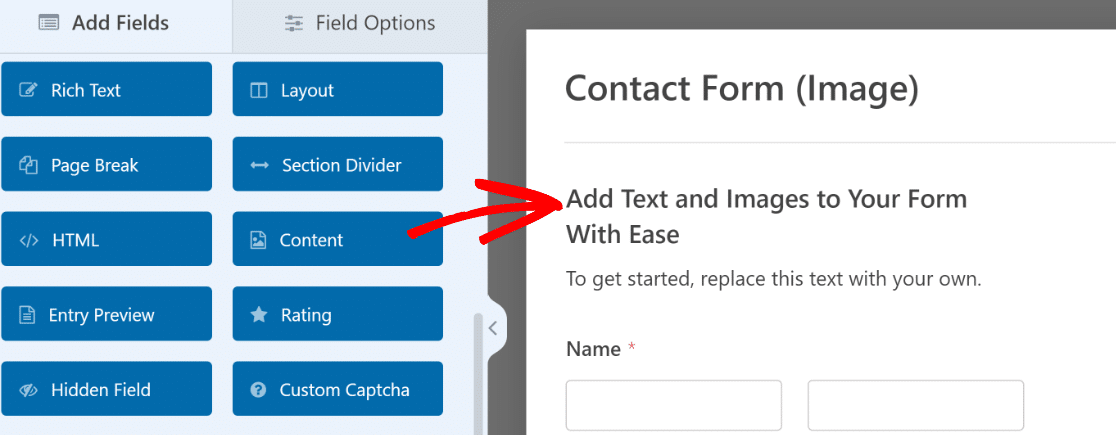
Click the field you just added to open its Field Options on the left, where you’ll find a small visual editor for adding content.
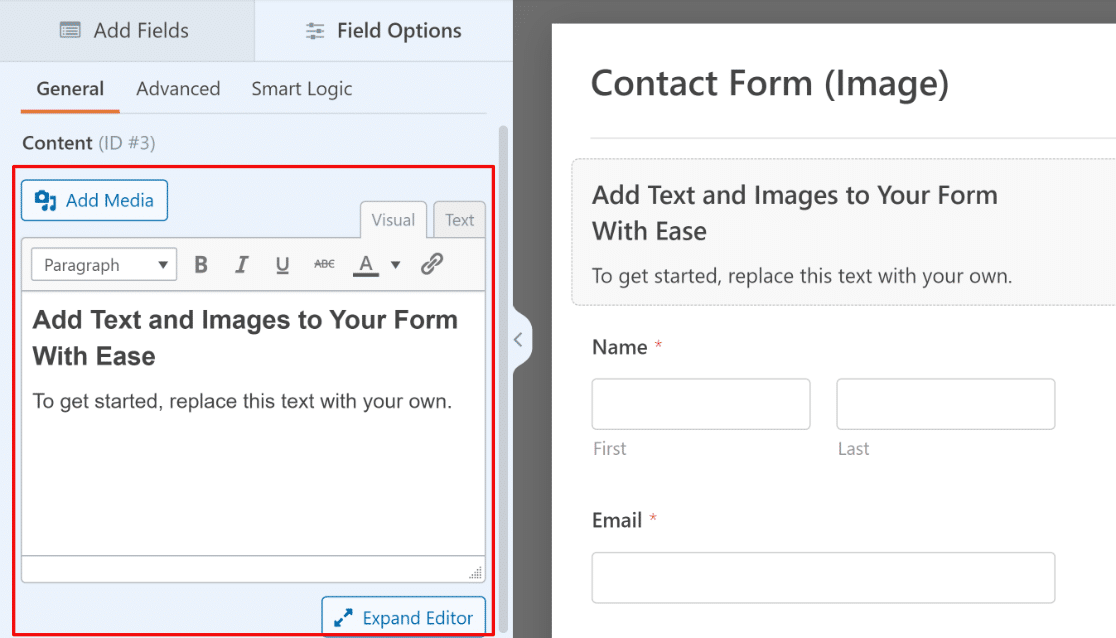
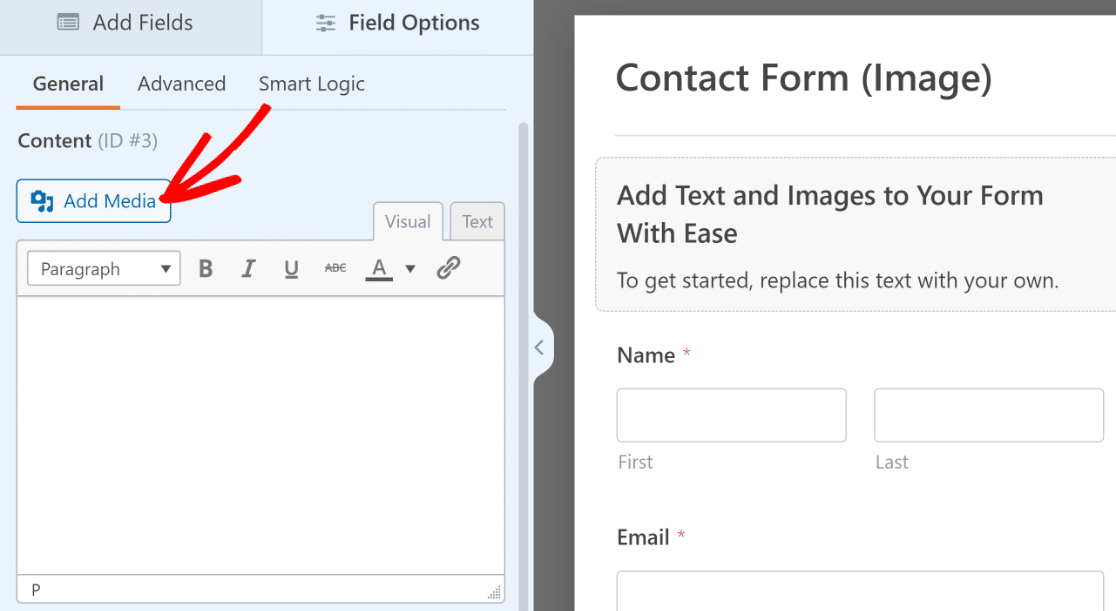
Just above the editor, click the Add Media button.
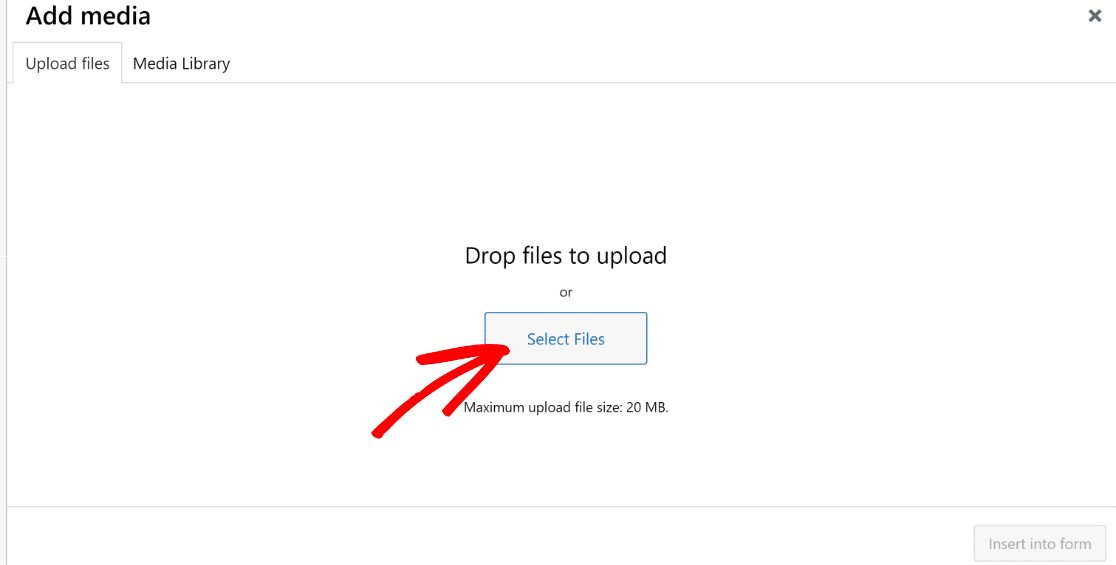
Then click Select Files to upload an image from your computer, or pick one that’s already in your Media Library.
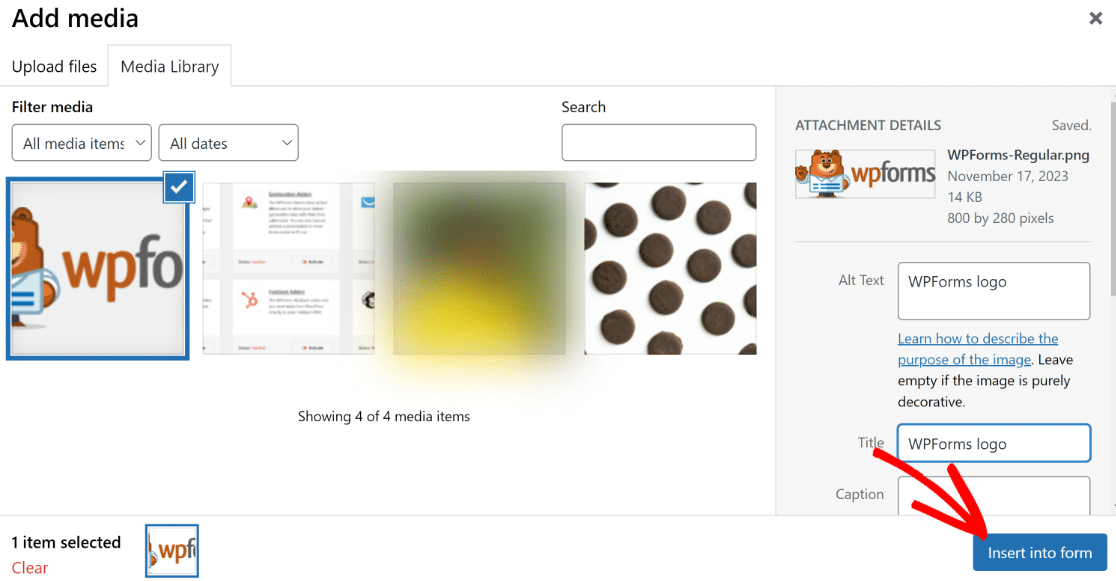
Once your image is uploaded, you can fill in details like the alt text and title. When you’re ready, click Insert into Form at the bottom.
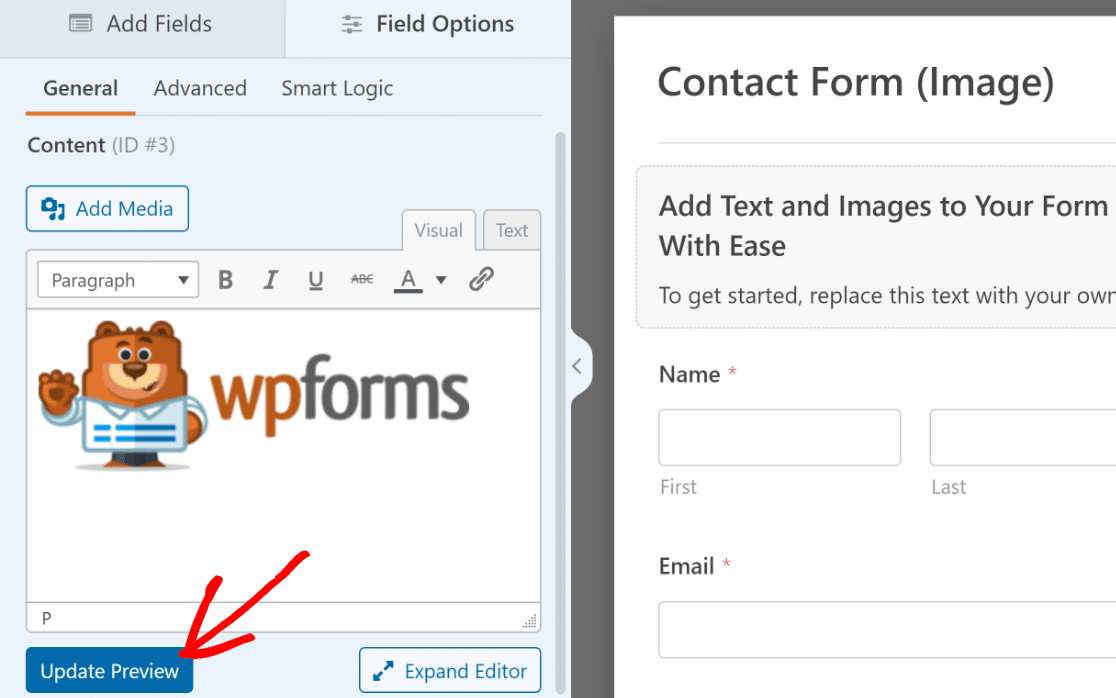
The image gets added to the field, though it won’t show in the form preview right away. Click the Update Preview button under the editor to make it appear.
Here’s how the form looks once the image is in place and the preview is refreshed.
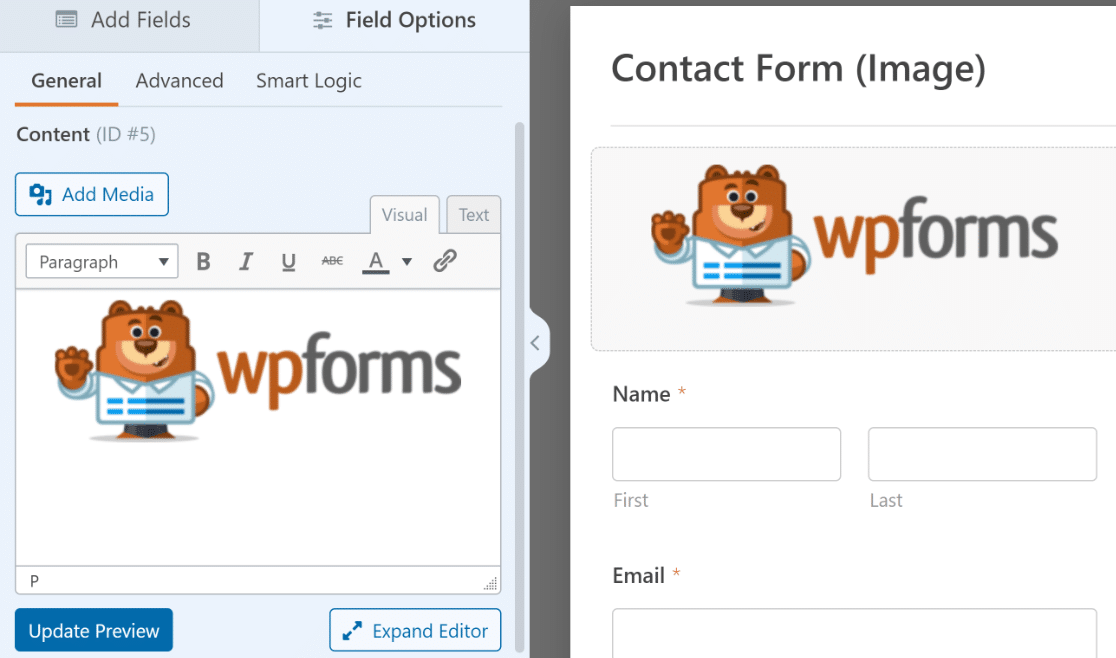
If you want more control over how your content looks, click the Expand Editor button at the bottom right.
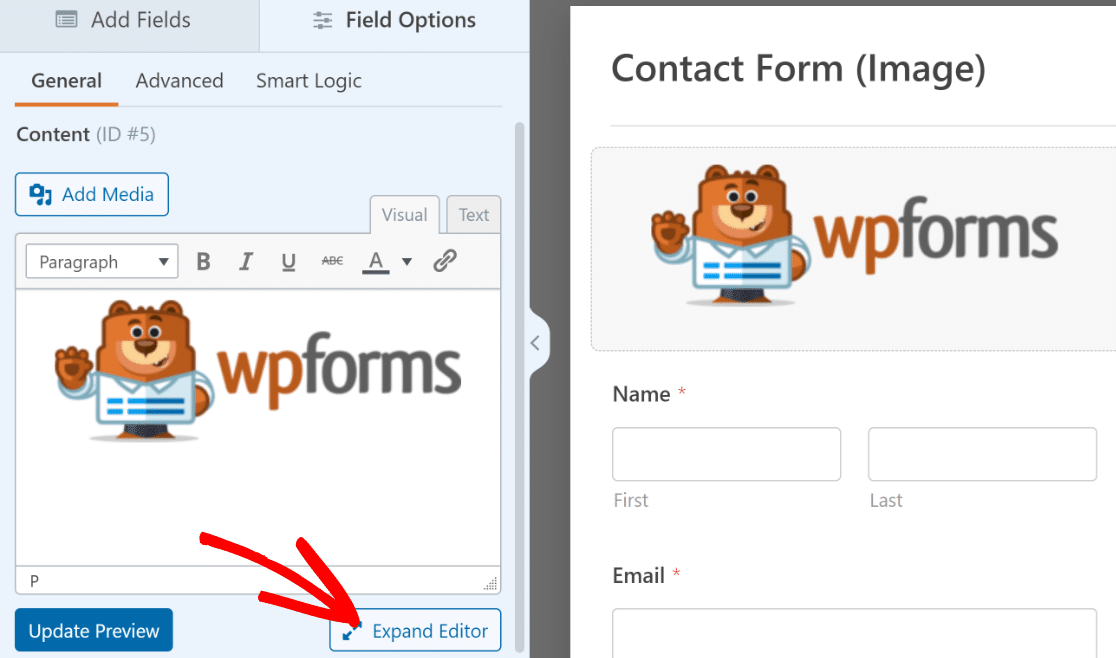
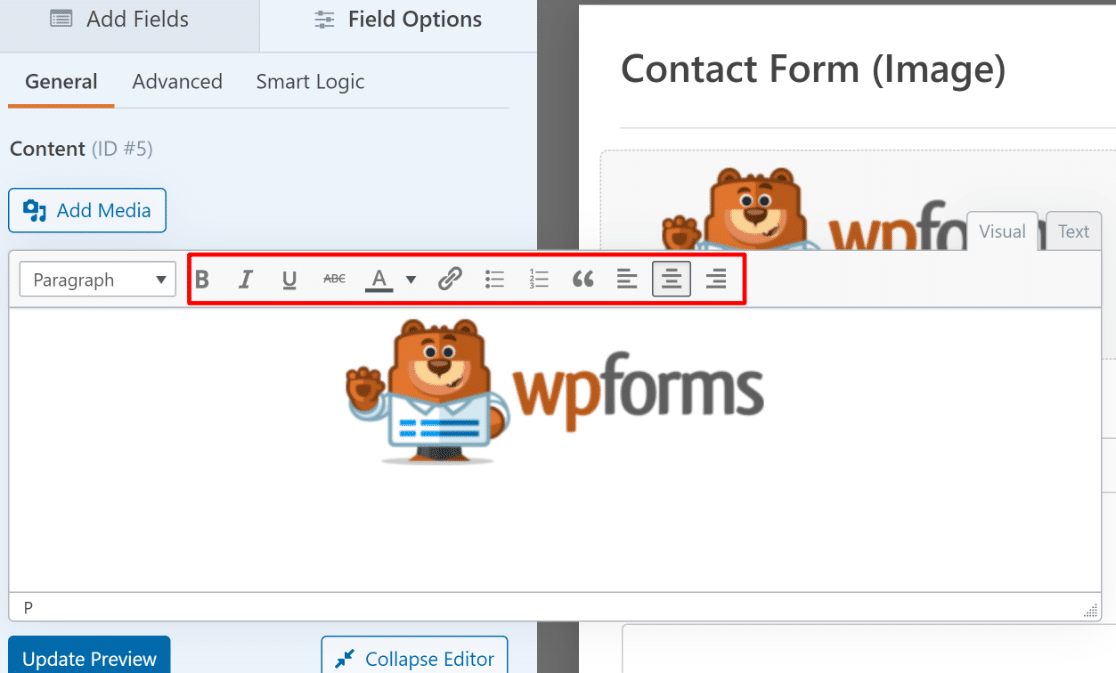
From there you can change the alignment, add a bulleted list, and format text the same way you would in a post.
When everything looks right, click Save in the top right of the builder. This same Content field is what you’d use to add a header image or logo, so it covers most of the visual touches a form needs.

Step 4: Publish Your Form
With your image in place, the last step is getting the form onto your site. WPForms has a built-in embed wizard that handles this in a few clicks.
Start by clicking the Embed button at the top of the form builder.

A window pops up asking where you’d like the form to go. I’ll click Create New Page to put it on a fresh page.

Give the new page a name, then click Let’s Go.

WPForms drops you into the WordPress editor with your form already embedded. When you’re happy with it, click Publish to take it live.
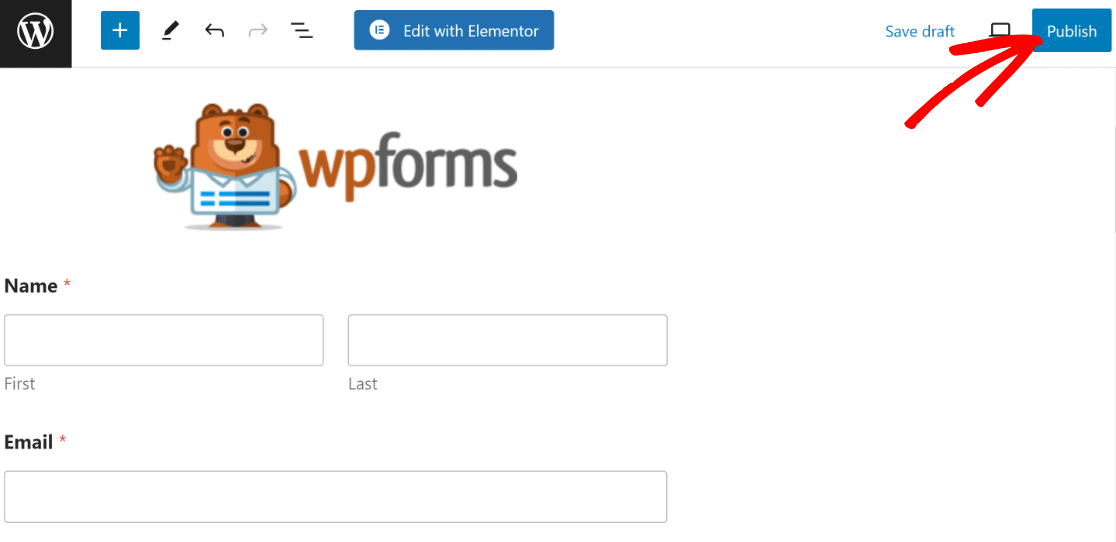
Your form is now live, with your image showing right where you placed it.
More Ways to Add Images to Your Forms
The Content field covers most situations, but WPForms gives you a couple of other ways to work with images. These are optional, so use whichever fits what you’re building.
Add Image Choices to Form Fields
This works with fields like Multiple Choice, Checkboxes, and Multiple Items, and it’s a free feature, so you can try it even on WPForms Lite.
You can see the full list of supported fields in the guide to image choices. To turn it on, open the field’s Field Options and switch on the Use Image Choices toggle.

You’ll then get an Upload Image button for each choice. Click it to add an image to that option.
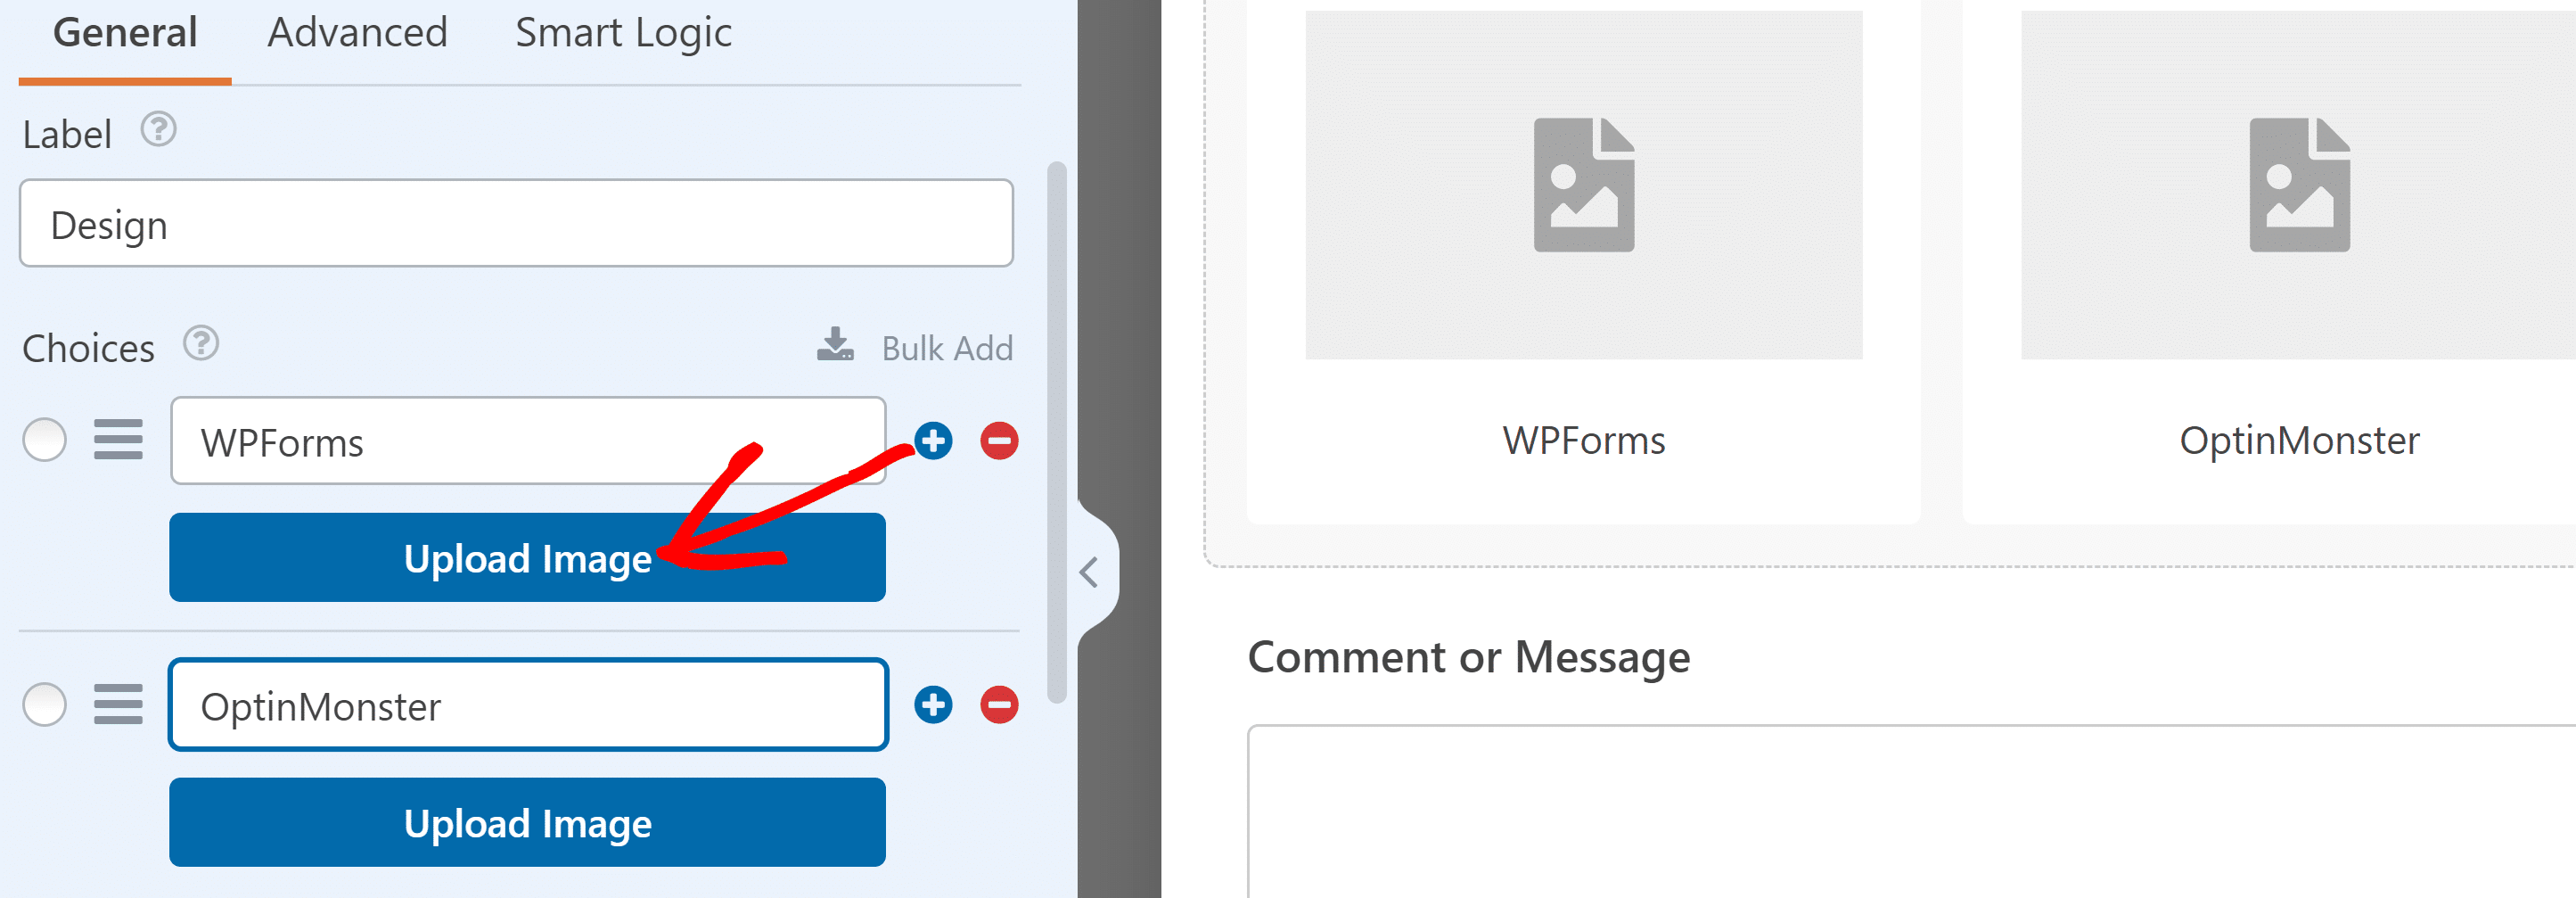
Repeat that for the rest of your choices, and a plain list turns into a set of visual options your visitors can tap.
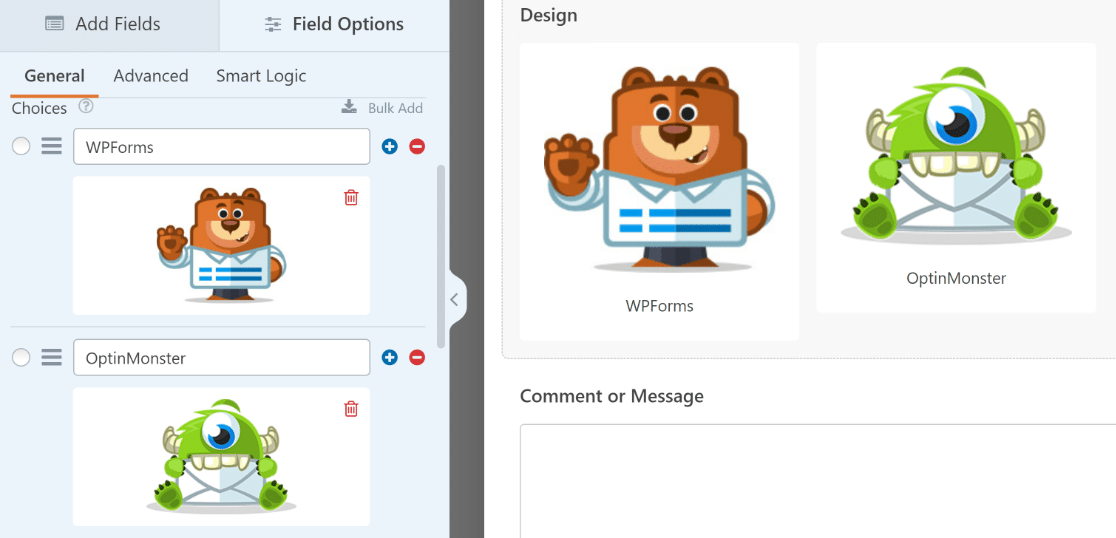
If you’d rather use icons than your own images, flip the Use Icon Choices toggle instead and pick from the built-in icon library.
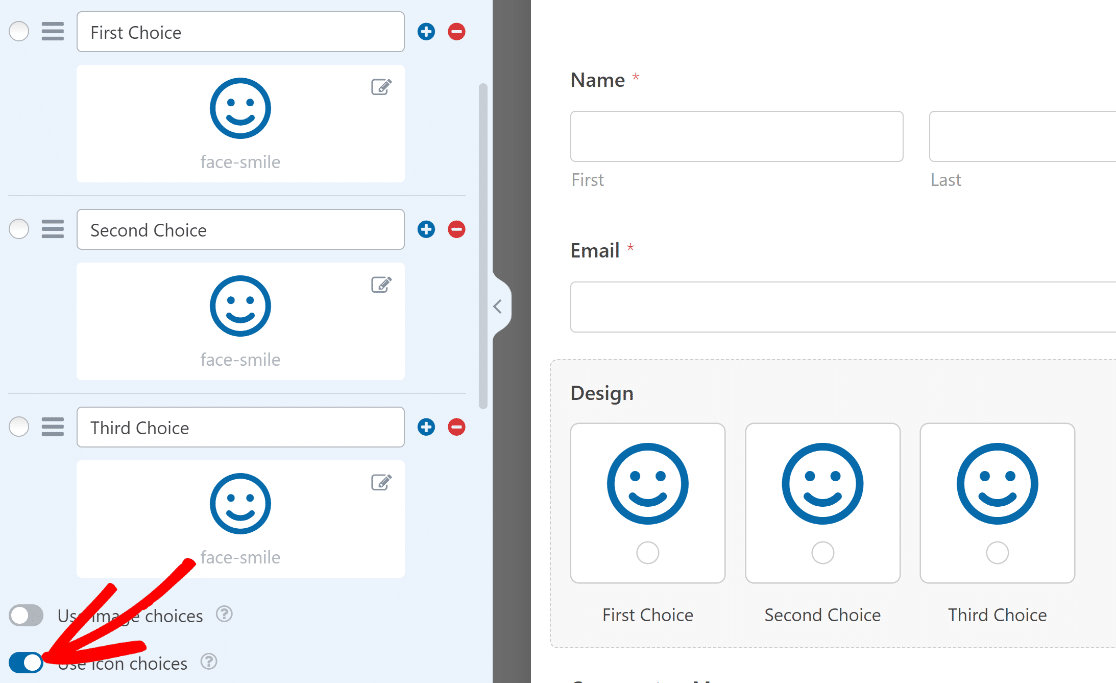
For a specific example, here’s how to add an image next to radio buttons in your forms.
Add Images With HTML Code
If you’d prefer to work with code, or you want to drop in an image that’s already hosted online, the HTML field is another option. You’ll need the image’s URL for this one.
If your image isn’t online yet, upload it first. Go to Media » Add New Media File in your dashboard.

Click Select Files and choose the image from your computer.

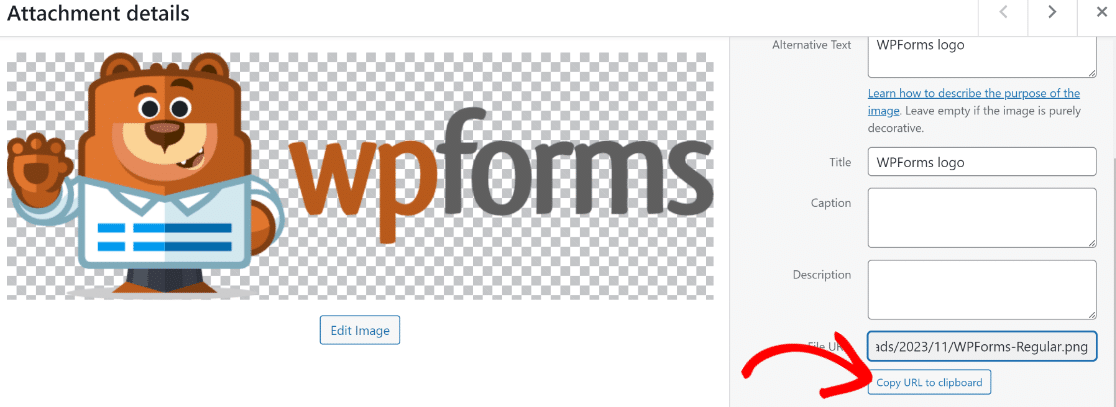
Once it finishes uploading, click Copy URL to Clipboard to grab the link.
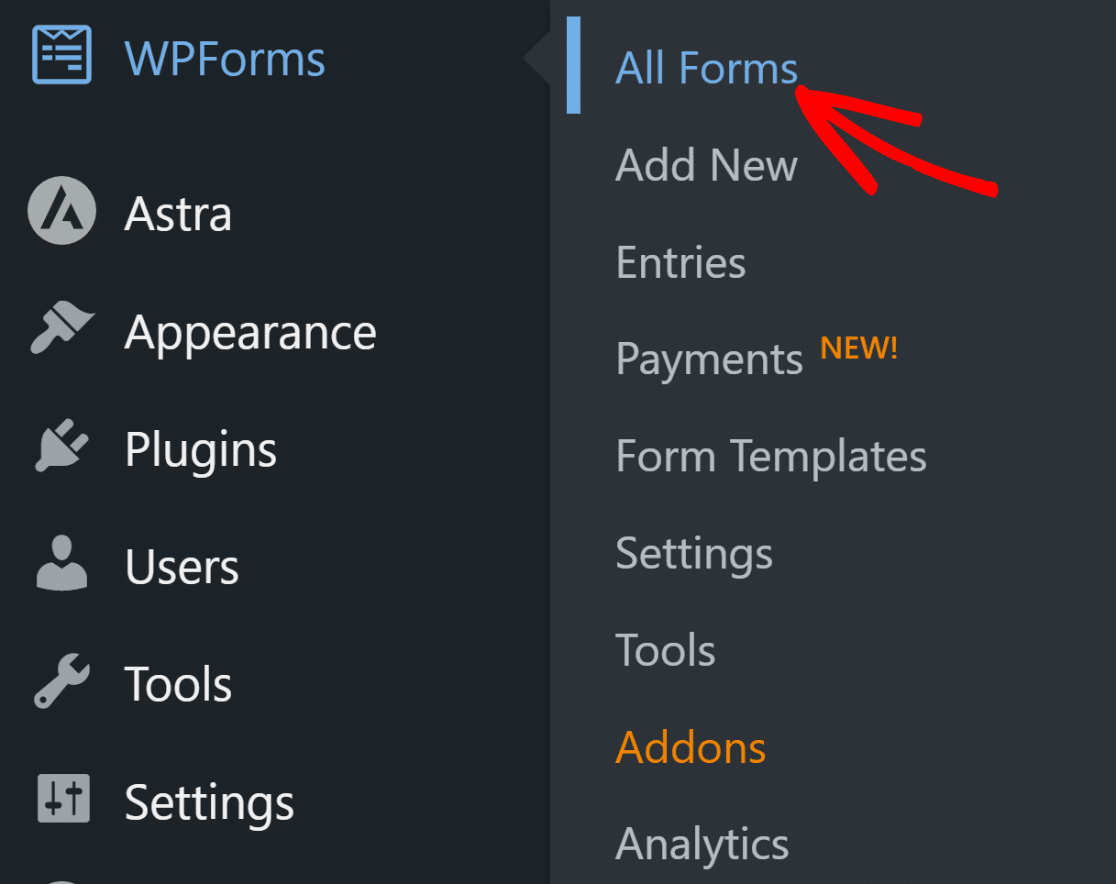
Now open the form you want to edit, or create a new one. To edit an existing form, go to WPForms » All Forms.
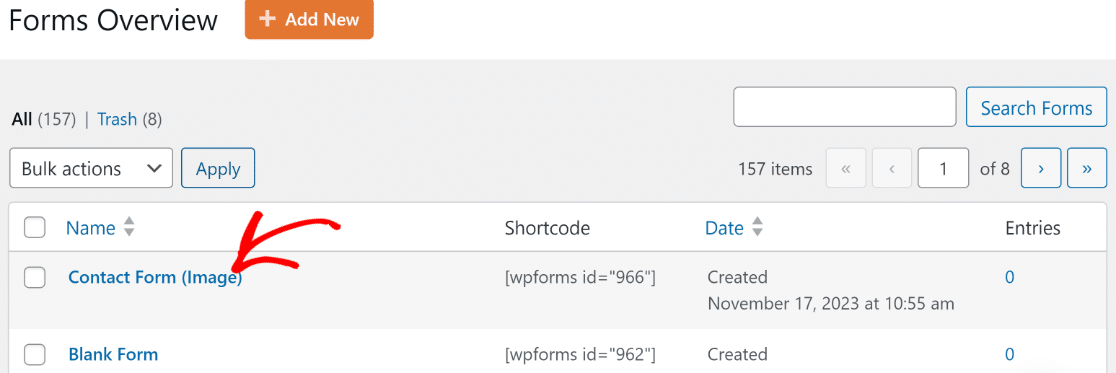
Select the form you want from the Forms Overview page.
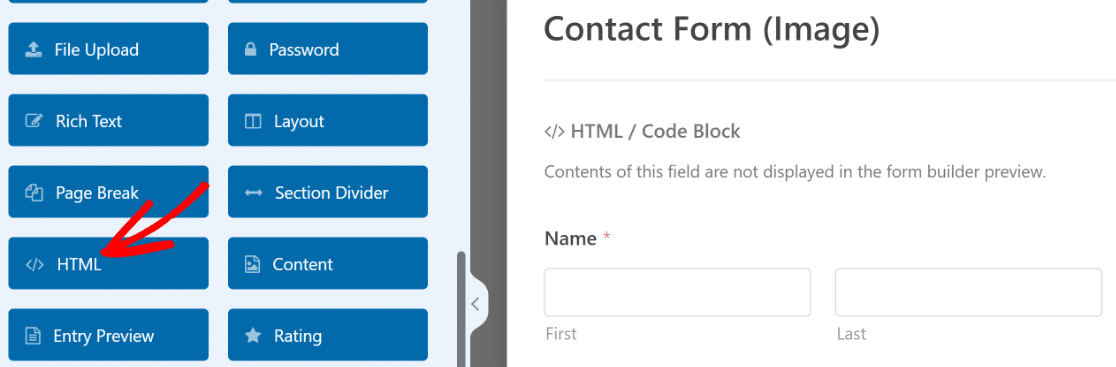
In the builder, drag the HTML field onto your form.
Click the field to open its Field Options on the left.
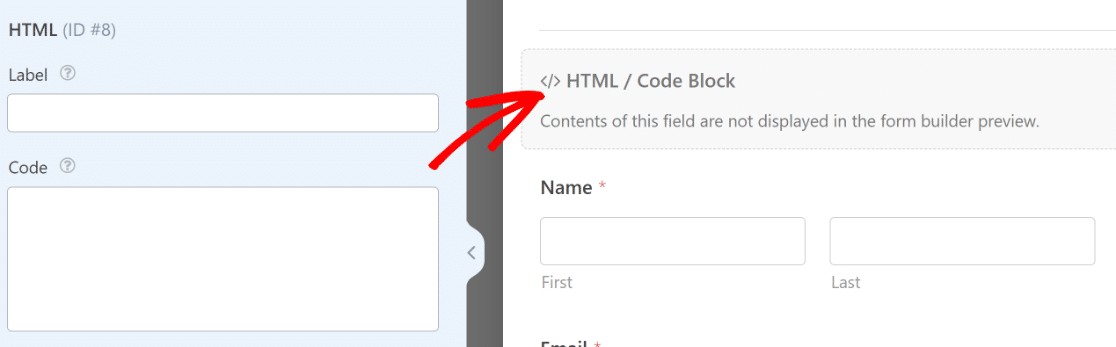
You can add a Label to help you identify the field later, though it won’t show on the front end. To display your image, drop it into an image tag in the Code box. The format looks like <img src="[your image's file URL]">, with your own URL in place of the placeholder.
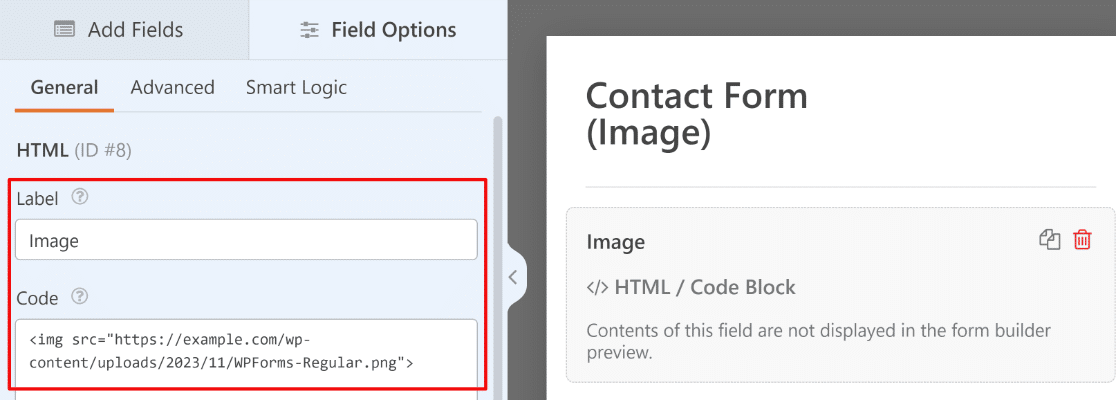
Unlike the Content field, the HTML field won’t preview inside the builder. To check your work, click the Preview button at the top to see the whole form.

From there, publish the form the same way I showed you earlier.
FAQs About Adding Images to WordPress Forms
Adding images to your forms brings up a few common questions. Here are quick answers to the ones I hear most often.
Can you add an image to a WordPress form for free?
Yes, partly. Image choices for selectable fields work in the free WPForms Lite plugin. The Content field, which is the easiest way to add a logo or a standalone image, is a paid feature that starts on the Basic plan.
How do I let visitors upload their own images to my form?
That’s a different field called File Upload, which lets people attach images or documents when they submit. You can see how it works on the file uploads feature page.
How do I add a logo to my form?
Use the Content field at the top of your form and upload your logo as the image. For a walkthrough focused just on this, follow our guide on how to add a header image or logo to a WordPress form.
Next, Let Visitors Submit Their Own Images
Now that you can add images to your forms, you might want to flip it around and let your visitors upload their own images to WordPress through a form. It’s just as straightforward to set up.
Want to keep refining how your forms look? Take a look at our guide on styling WPForms using the block editor, which shows you how to design your forms without any code.
Create Your WordPress Image Form Now! 🙂
Ready to build your form? Get started today with the easiest WordPress form builder plugin. WPForms Pro includes lots of free templates and offers a 14-day money-back guarantee.
If this article helped you out, please follow us on Facebook and X (Twitter) for more free WordPress tutorials and guides.





Hello.
When i want to put an image in my form, it does not adapt to the size of the form, its always too big.
How can I make it more “responsive”?
Thanks!
Hey Guillaume- I apologize for the trouble with that! To make images responsive you could add image sizes in % and adjust the size, like
However, in order to make sure we answer your question as thoroughly as possible, could you please contact our support team with some additional details about what you’re looking to do?
Thanks! 🙂
How users can upload their image in form ? from their computer or by using webcam
Hey Sohaib– Good question! You can first store the image on your computer storage (includes the ones that were captured using a webcam) and then follow the instructions from Step 2 by referring to this same article.
Hope this helps! 🙂
How can my CUSTOMERS post their pictures to my website through a form I created, say to sell a car or equipment?
Hi Carl! The easiest way to let your customers create their own ads would be through our Post Submissions addon, especially with our recently released Rich Text Field editor 🙂
With those two combined, your users will pretty much be able to design their ad as they’d like, submit the form, and it would be added to your site directly (or pending your approval).
I hope this helps to clarify 🙂 If you have any further questions about this, please contact us if you have an active subscription. If you do not, don’t hesitate to drop us some questions in our support forums.
How can I change the widget form search logo?
Hi Cory! I apologize but I’m not sure I understood what you’re referring to.
When you have a chance, could you please reach out to our team here if you have an active subscription.
If you do not, don’t hesitate to reach out at our support forums.
Thanks!
I have added the image in my form using the HTML, but it doesn’t fetch the image in email.
I added a couple of images in header so that I can print the form entry along with the logos on top but had no success.
Hi Aman!
Thank you for contacting us!
The reason that we don’t pass HTML fields, Section Divider fields, or descriptions (the second two of which are essentially HTML fields) is that these areas allow full HTML, which means it will be common for them to contain things that will break email notifications or cause delivery problems.
However, we do have a filter that will allow you to include non-input fields in your emails. Here’s our tutorial with all of the details, plus the code you’d need: https://wpforms.com/developers/include-page-break-section-divider-and-html-fields-in-notifications/.
We also have a helpful tutorial with details on how to add custom code like this to your site: https://wpforms.com/developers/how-to-add-custom-php-or-javascript-for-wpforms/ (for an especially easy option, I recommend the Code Snippets plugin option).
Or if you’d prefer to avoid PHP, you could consider modifying the body of your notifications to include the text you need. You could do this by building out the notification content in a more customized way using regular text, HTML, and Smart Tags.
This option probably provides the most control, since you can pick and choose exactly which details you’d like included in your notification.
I apologize if this isn’t quite what you were looking for, but hopefully one of these ideas could work for you. Could you please let me know if you have any other questions?
Thanks!
Can I have a user use the camera on their device to take a picture and load it in one step as opposed to first take a picture, store it on their desktop and then load the picture. Ideally I would like the user to load a picture from a library if they have an existing picture but if the y prefer, they can just take a picture from the camera and load it in. Is there a way to do this in WPForms?
Hi Anil! The File Upload field when accessed by a mobile device can provide the option for users to upload an image directly from their camera. However, it depends on whether or not that user’s mobile has been configured to allow the browser to access their camera. If it doesn’t, then the option will not be available.
I hope this helps to clarify 🙂 If you have any further questions about this, please contact us if you have an active subscription. If you do not, don’t hesitate to drop us some questions in our support forums.
Hi,
Does WP-Forms handle user’s registration data the same way as woocommerce? If a user checks out of my ecommerce store and registers an account, does her data get duplicated, once in woocommerce, once in wp forms registration?
Hey Ann, our User Registration addon does not provide an interface to manage or edit existing users and focuses solely on the account creation process. However, we don’t we don’t support any integration with WooCommerce.
Having said that, in order to make sure we answer your question as thoroughly as possible and avoid any confusion, could you please contact our team?
If you have a WPForms license, you have access to our email support, so please submit a support ticket. Otherwise, we provide limited complimentary support in the WPForms Lite WordPress.org support forum.
Thanks.
Does WPForms support gib media? Or embedding a short code from 3D viewer plugin?
Hey Melissa – We’d be happy to help! When you get a chance, please drop us a line in support so we can assist.
If you have a WPForms license, you have access to our email support, so please submit a support ticket.
Otherwise, we provide limited complimentary support in the WPForms Lite WordPress.org support forum.
Thanks 🙂
How do I add an image on submit button wpforms in WordPress?
So far yu only show how to add icons. But I have a custom image I’d like to add.
Hey Aser – To add image to the submit button, you can consider using following CSS:
.wpforms-submit-container .wpforms-submit {background-image: url('image_url');
background-size: cover;
padding-left: 40px;
}
And in case it helps, here’s a detailed tutorial on how to add custom CSS like this to your site.
My code looks something like this:
.wpforms-submit-container .wpforms-submit {
background-image: url(‘https://lhamosplane.world/wp-content/uploads/2023/07/th-1787430678.B.png’);
background-size: cover;
padding-left: 40px;
}
However, the URL is not picked up, meaning the image is not displaying. I’m unsure if you understand what I’m after, but I want a .png image to be visible next to the “Submit” text within the submit button to the left.
I found this code from your tutorial that displays Fantastique icons and it almost does what I want, but I can’t add a URL to my image of choice.
.wpforms-form button[type=submit]:hover {
background-color: #ac2428 !important;
}
.wpforms-form button[type=submit]:before {
content: ‘\f1d8’; /* Unicode for icon, be sure to keep the quotes and forward slash */
margin-right: 10px !important; /* Distance between icon and button text */
}
Hey Aser – We’d be happy to help! When you get a chance, please drop us a line in support so we can assist.
If you have a WPForms license, you have access to our email support, so please submit a support ticket.
Otherwise, we provide limited complimentary support in the WPForms Lite WordPress.org support forum.
Thanks 🙂
How to align an image to the left of a form?
Hey JM – If you’re looking to display image on left, and fields on right – you can consider using the layout field.
Hello, I have a question to know if I can buy your module to make the form I need. The first line contains 6 radio buttons above which is an image (therefore 6 images) but which are not “labels”. When you click on an image, a popup opens displaying the larger image and explanatory text. Is it possible to do this with WP-Forms? Thank you in advance
Hey Françoise – We’d be happy to help! When you get a chance, please submit a support ticket so we can assist.