Do you want to add a WordPress contact form to your website?
Using a contact form on your site is the easiest way for your customers can reach out to you. Plus, it lets you collect email addresses and leads so that you can grow your email list.
In this tutorial, we’ll show you how to create a WordPress contact form easily.
Create Your WordPress Form Now
In This Article
How to Create a WordPress Contact Form
To prove just how easy it is to use WPForms to make a contact form in WordPress, we’ve made the WPForms Challenge.
This fun and user-friendly Setup Wizard walks you through everything you need to do to create your first form a. You have 5 minutes to complete it. But we think you’ll have a finished form even sooner than that.
The WPForms Challenge is just for fun, and it only appears the first time you make a form.
If you’re using Elementor, you might want to check out this alternative guide to making an Elementor contact form with WPForms.
Ready to start? Let’s begin!
Step 1: Install WPForms
The first thing you’ll need to do is install and activate the WPForms plugin. WPForms is rated as the best WordPress form plugin, and it’s the ideal solution for building contact forms.
For more details, see this step-by-step guide on how to install a plugin in WordPress.
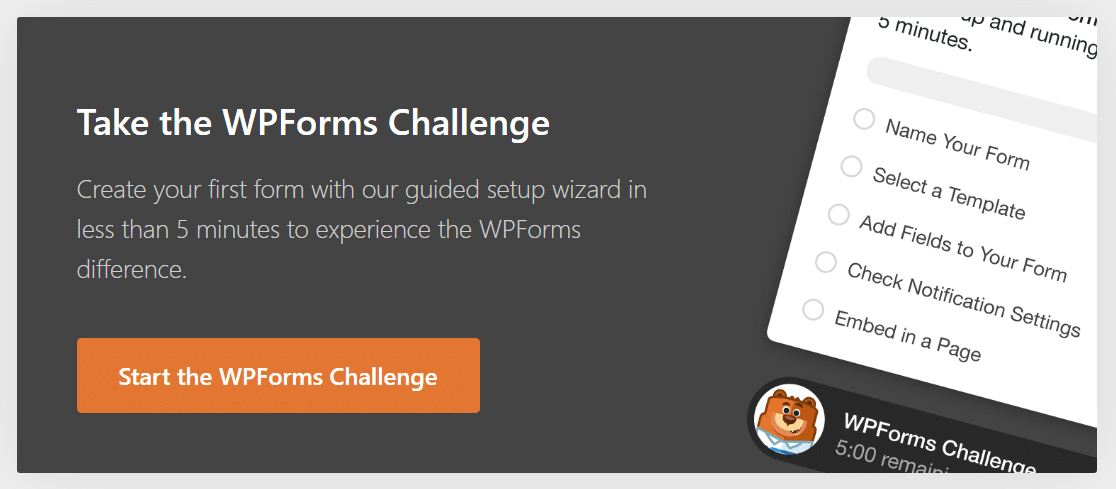
Once activated, you’ll see the WPForms Setup Wizard display the option to take the WPForms Challenge. By the time you’re done with this challenge, you’ll have your first form ready and will be able to create a contact us page in WordPress.
Click Start the WPForms Challenge to get started.
Step 2: Select the Simple Contact Form Template
After you click Start the WPForms Challenge, you’ll be taken to the form setup screen. Here, you can name your form and choose from 2,000+ form templates to get started. There templates for customer service, marketing, and various other business functions as well as nonprofits.
Click Let’s Go to proceed.
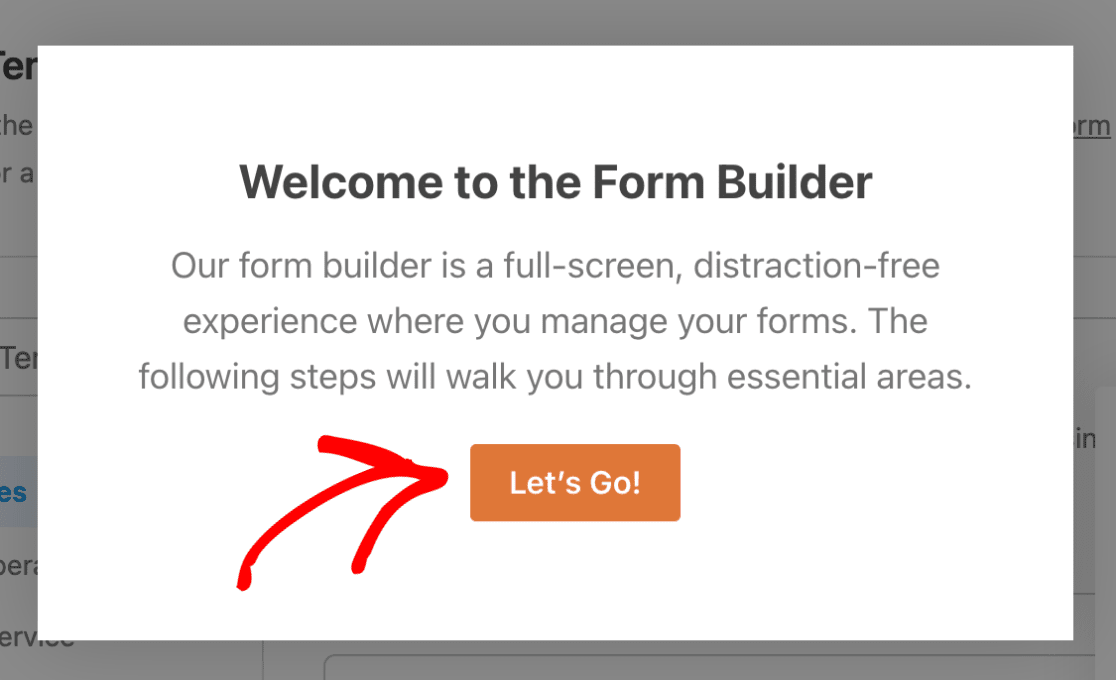
The first step in the challenge is to name your form. Type in a name here and click Done to move to the next step.

You’ll see the timer counting down as you build the form.
Next, it’s time to select a pre-designed template or use the blank template if you prefer to build your form from scratch.
Since we’re creating a contact form, we’ll select the Simple Contact Form template.
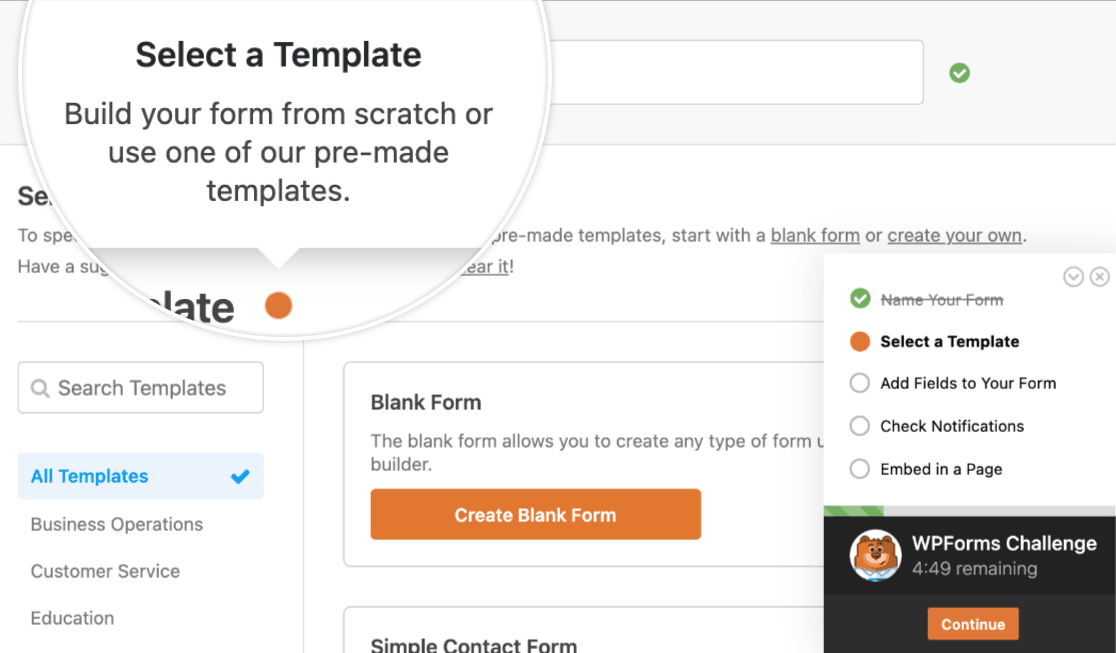
As soon as you click on the template you need, WPForms will take you to the form builder screen where you’ll find a basic contact form template loaded and ready for you.
This is where you can customize your contact form by adding new fields to the template, removing existing ones, or changing their settings.
Step 3: Customize Your First Contact Form
Once you’re inside the form builder, you’ll see a popup message instructing you about the next step:
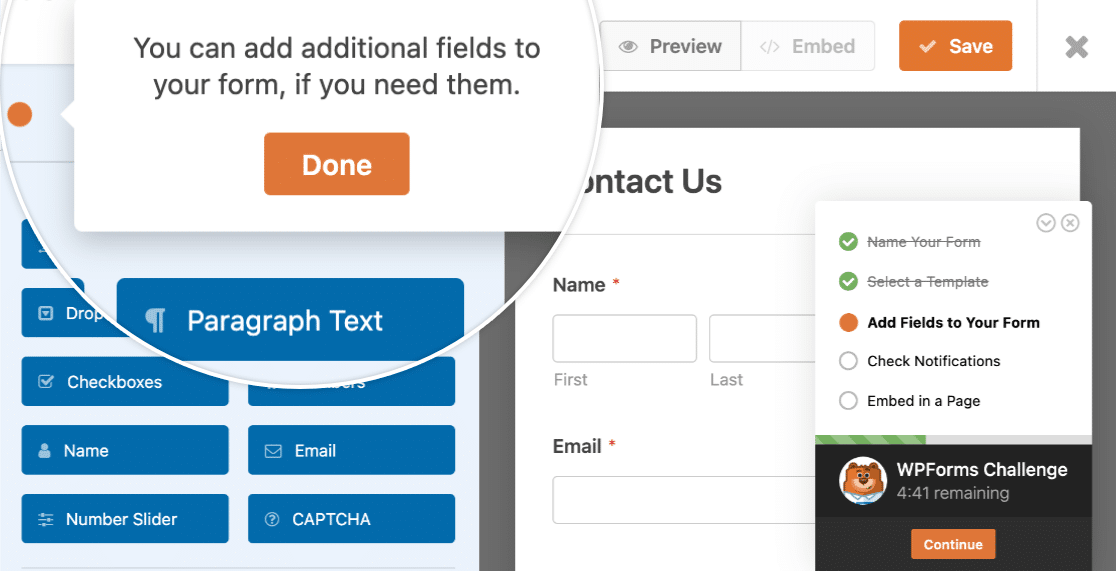
Customizing form fields in WordPress is really easy using the WPForms drag and drop form builder.
You can add new fields to your contact form by dragging them from the left-hand panel to the right-hand panel.
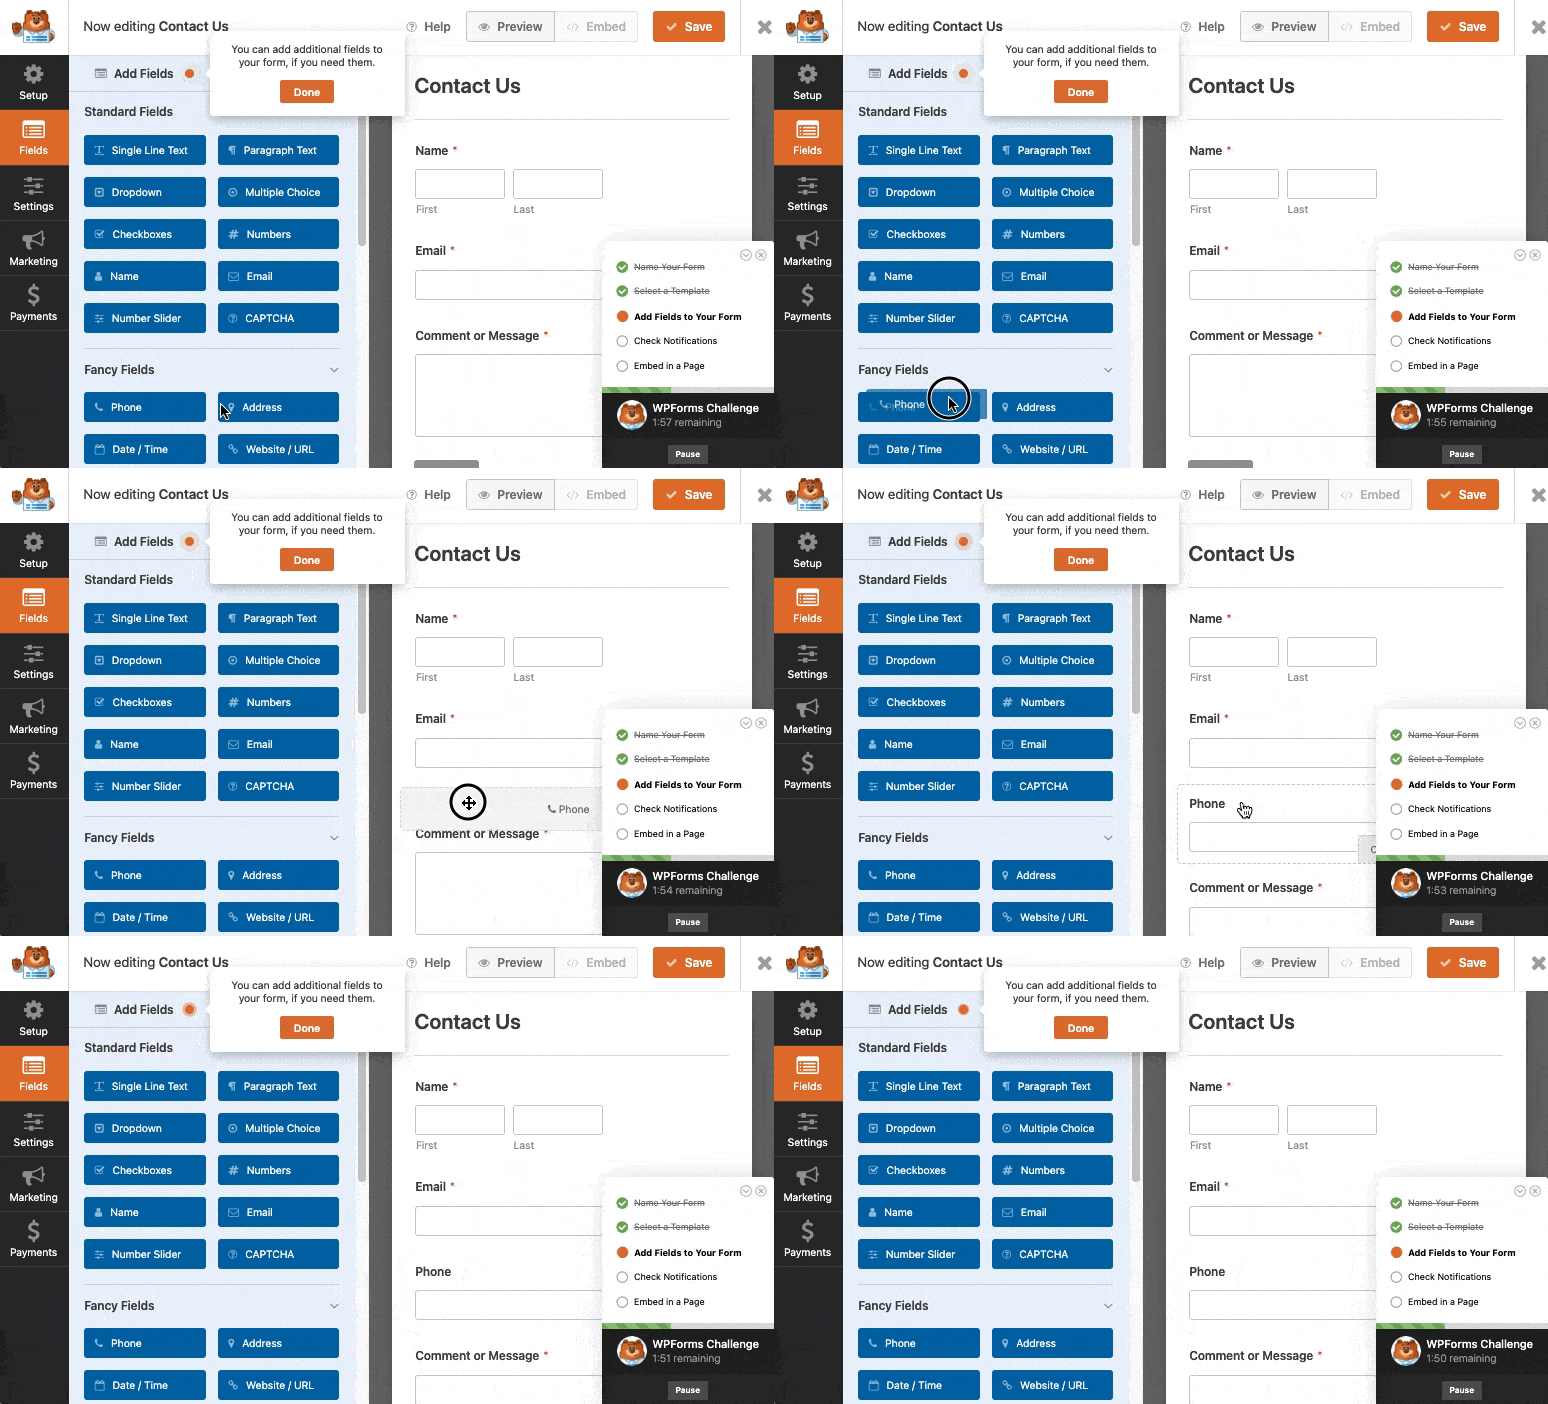
Then, click on the field to make any changes. You can rearrange the order of a field on your form by dragging it.
Check out these contact us page examples to get some ideas for your own custom form.
It’s a good idea to keep your contact form as simple as possible. But you’re free to include any additional fields as needed. For example, you can add an honorific field to your form as well as more advanced options like conditional logic, file upload fields, payment fields (PayPal, Stripe, and more), checkboxes, and many other extra features available in the pro version.
Once you’re finished customizing your form, click Done.
Step 4: Check Contact Form Notification Settings
The next step in the WPForms Challenge deals with your form’s notification settings.
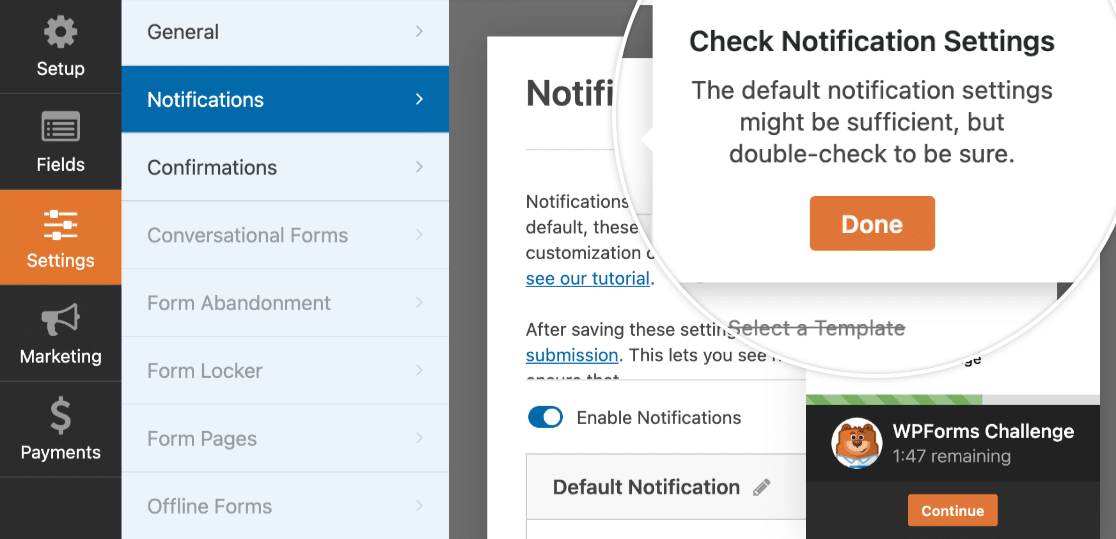
Form notifications are enabled by default in WPForms for each form you create. These are set up to be sent to the admin email address, containing full details of each entry as it is submitted.
But what if you also want to send email notifications to the person submitting the form?
That’s easy to care of. In WPForms, you can create multiple form notifications and send them to different members of your team as well as your customers upon form submission.
Adding to this, if you want to keep branding across your emails consistent, you can check out this guide on adding a custom header to your email template.
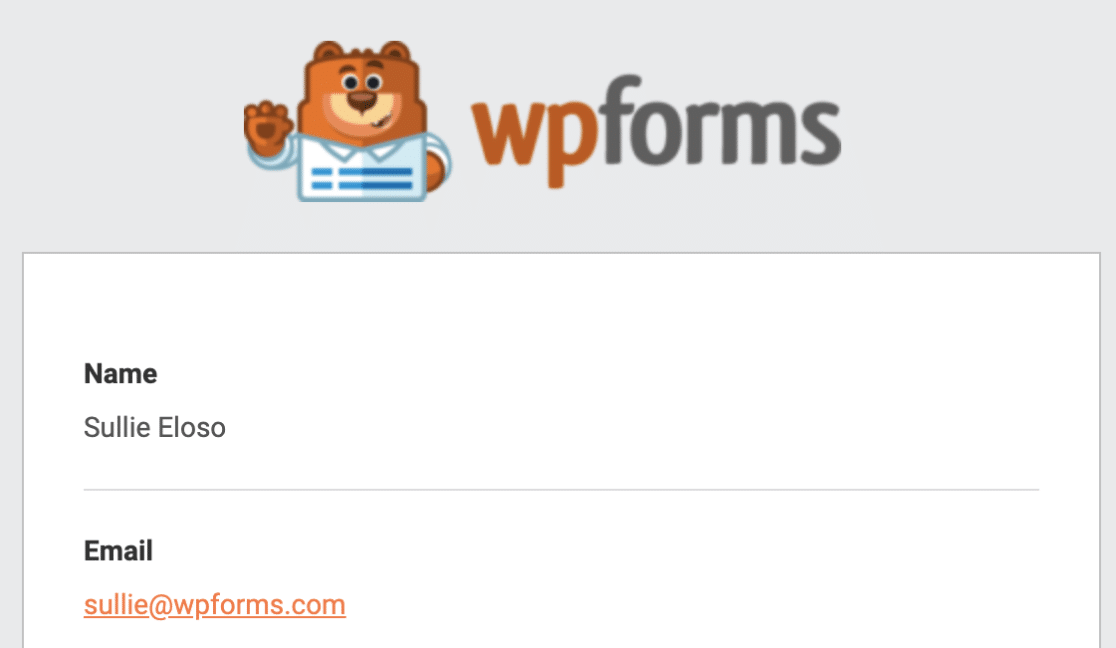
When your form’s notifications are configured properly, click Done.
Step 4: Embed Your Simple Contact Form on a WordPress Page
You’re now ready to add a contact us page to your WordPress website. The embed functionality is super beginner-friendly as it doesn’t require using shortcodes directly.
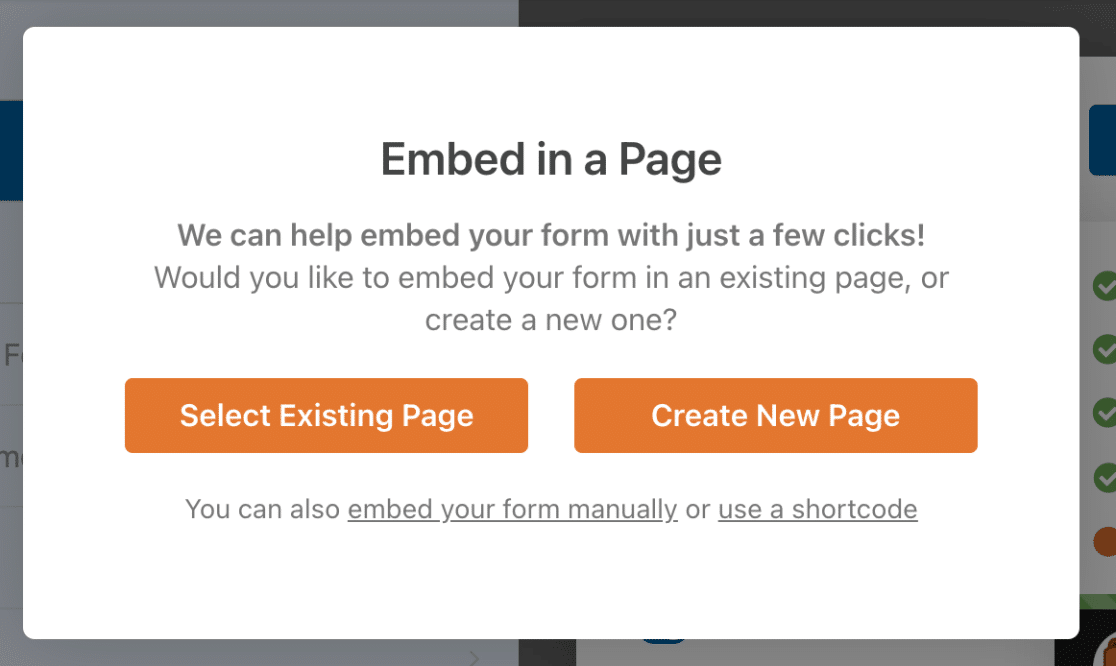
To start, click on the Embed button at the top of the form builder.

You can click Select Existing Page, or Create New Page. Let’s go ahead and create a new page here.
Now, you’ll need to type in a name for your page. We called our page Contact:
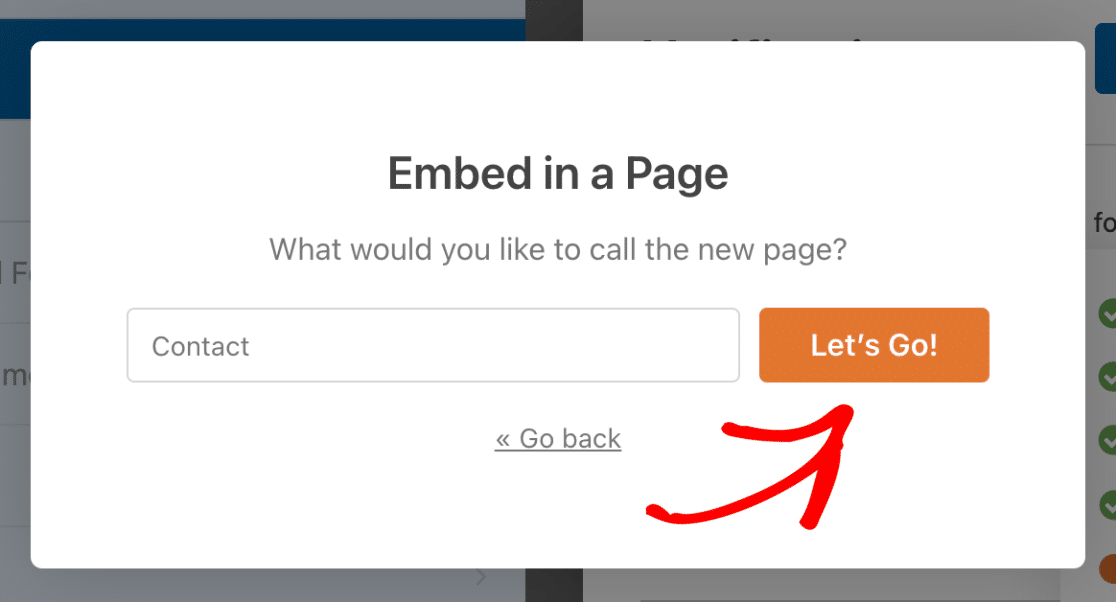
Now WPForms will place your form right on the page. Here, you can also style your form fields, labels, and submit buttons using simple color pickers and style settings. See our guide on styling contact forms for more details.
Just don’t forget, you’ll need to click Publish for your form to go live on your site.
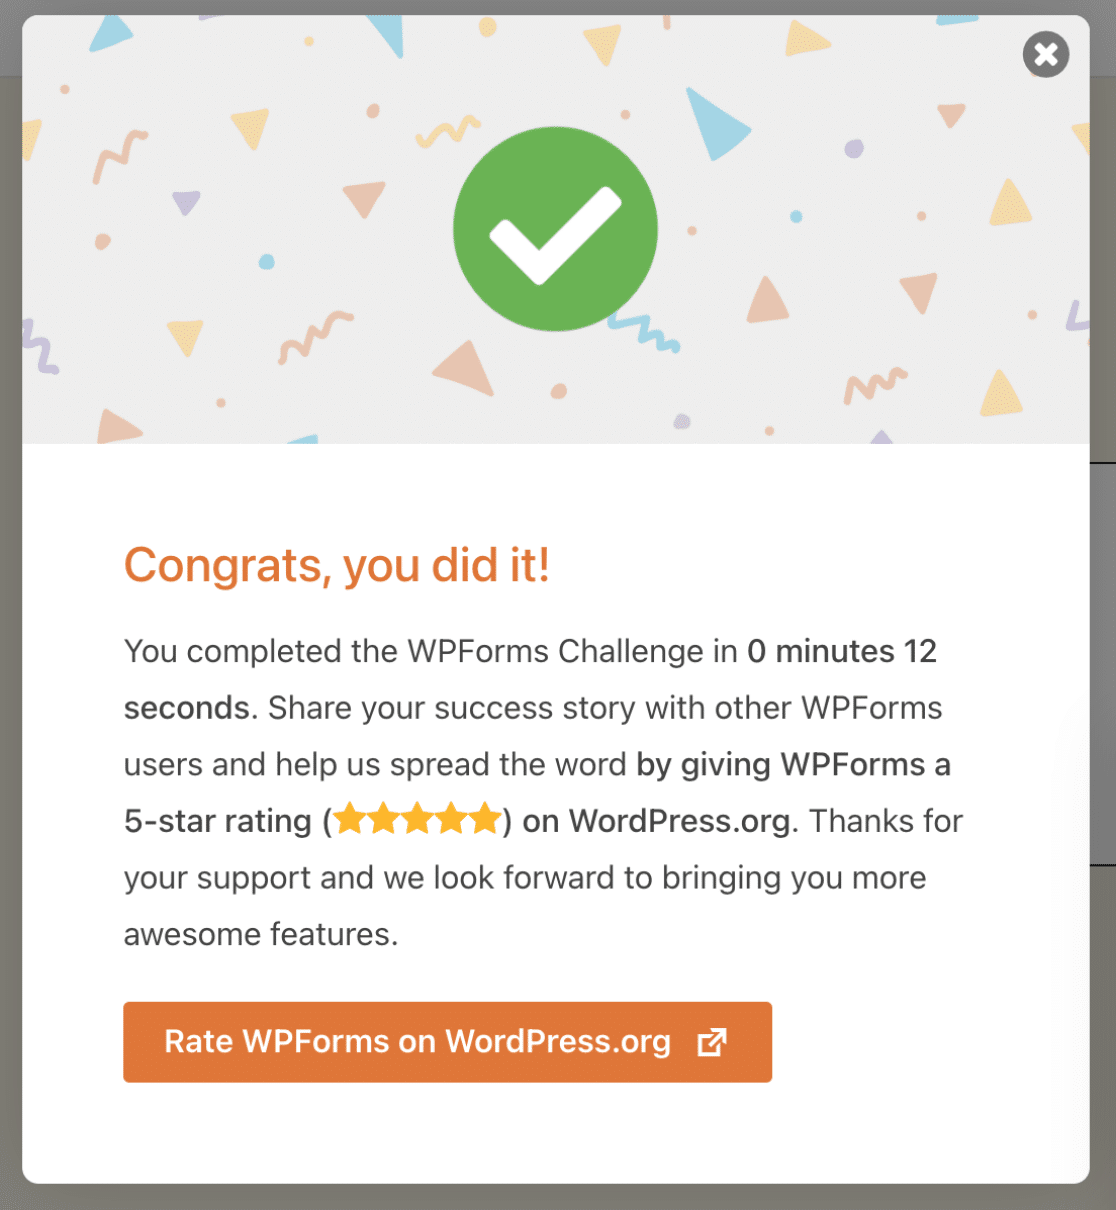
And you’re done! You can see the time it took to create your form at the bottom-right:
You can also embed your contact form in the sidebar of your site.
And there you have it! You now know how to create a simple WordPress contact form.
FAQs on Simple Contact Forms
Take a look at the frequently asked questions below for more info about simple contact forms in WordPress.
What’s the benefit of using a contact form in WordPress?
A contact form on your website provides an easy and secure way for your visitors to send queries, complaints, suggestions, or feedback.
Besides, adding a contact form to your WordPress site helps you with the following:
- Efficient communication — Contact forms are a great way to allow your readers to communicate with you quickly.
- Security — You keep your email address safe from spammers. Since your contact form doesn’t show your email address, spammers can’t steal it and add it to junk mail lists.
- Organization — With a contact form, you can connect to your email marketing service to make things even simpler by automating marketing or even connecting your form with Google Sheets to save entries in a spreadsheet.
Is there a built-in contact form feature in WordPress?
No, WordPress.org doesn’t come with a built-in contact form feature. You’ll need a plugin like WPForms to create your contact form. Installing WPForms is a quick and hassle-free process and you don’t even need to get a paid license in order to get started with a basic contact form.
What are the essential fields to include in a contact form?
A contact form should be kept as simple as possible consisting of only the essential fields like Name, Email, and Message. The WPForms Simple Contact Form template includes these fields so you don’t have to manually change anything if you want to use a well-optimized and simple contact form.
Is it possible to track and manage contact form submissions?
Absolutely! Most WordPress form plugins add a dashboard to your WordPress site where you can view, track, and manage all submissions for your contact forms. In the free version of WPForms, you’ll get notifications by email every time a new submission occurs. You can also store all submissions on your website by upgrading to WPForms Pro.
How can I backup and export contact form data for safekeeping?
One of the best ways to keep an external backup of your contact form data is by integrating your form with a spreadsheet like Google Sheets. WPForms Pro offers a native integration that allows you to connect any WordPress form to Google Sheets so that the data you collect is automatically added to your spreadsheet. This also has the advantage of being updated every time a new submission is made.
You can also manually export your contact form data using WPForms, but it will only include information up to the point when you perform the export. For continuous backup, we recommend integrating your form with Google Sheets.
Next, Block Contact Form Spam
WPForms comes with a bunch of spam protection tools to stop spam on your site. In fact, WPForms Lite itself is an excellent free contact form plugin with captcha options like reCAPTCHA v2 and v3.
If you want to create a longer form, think about creating a multi-step form in WordPress to prevent form fatigue and encourage people to finish filling out your forms.
You might also want to check out these clever web form hacks to unlock hidden customer data with the WPForms Hidden field.
Create Your WordPress Form Now
Ready to build your form? Get started today with the easiest WordPress form builder plugin. WPForms Pro includes lots of powerful features and free templates, and offers a 14-day money-back guarantee.
If this article helped you out, please follow us on Facebook and Twitter for more free WordPress tutorials and guides.



Hello, I’m looking for a form like this
[URL Removed]
Please click ‘contact us about this product’ button and we will be able to find a form.
In that form, we will be able to see the product name and product url, and I’m sure they will be sent to admin email too.
Can you do that?
Please don’t display my comment, just reply by email would be fine. Thanks.
Hey Bill – I had already responded to your previous comment by the time I checked this one but I had already removed the URLs from that message, if that is why you wanted not to post the comment. Please let me know if that helps, or if you want me to remove your comments, I can do that.
Thanks 🙂
I got an email saying I have people who have filled out my simple contact form but I don’t know where to see the entries. Please help!
Hey Annie – If you are on a paid version of WPForms, you can go entries section in the WordPress dashboard, and here you can see the entries. Please follow this detailed guide on viewing entries in WPForms.
I hope this helps!
Hey Bill – Great question! Yes, something like this can be achieved with WPForms. First, you need to use our dynamic field population method where you can pass the product URL, name etc to automatically fill some fields in the form. To open the form in a popup, you can follow this tutorial
For further questions on this, I would suggest contacting our support team. If you have a WPForms license, you have access to our email support, so please submit a support ticket. Otherwise, we provide limited complimentary support in the WPForms Lite WordPress.org support forum.
Thanks 🙂
Can i use this even though I have a free wordpress account (can not use plugins unless i upgrade to business and I can’t do that right now)
Hey Nicole- You’ll need an upgrade your WordPress account to Business as the WPForms Plugin would require installation.
I hope this helps! Thanks! 🙂
I am using the form, i have given my email notification, but still when the form is submitted i dont receive any email about the form data,
Hey Rakshith – I’m sorry you’re having an email delivery issue! To resolve this issue, please check that form notification settings are set up correctly. If they’re correct, the issue is likely because the emails sent from your site are not authenticated. In which case you’d need to configure an SMTP plugin on your site so that emails are sent as authenticated.
For any further help on this, please feel welcome to reach out to our support team. If you have a WPForms license, you have access to our email support, so please submit a support ticket.
Otherwise, we provide limited complimentary support in the WPForms Lite WordPress.org support forum.
I hope this helps!
Hi WP,
Thanks for the help. I set up my CONTACT form, and when I test it on the website it does send and say THANK YOU FOR THE EMAIL. But I’m not receiving the email the email notification at the email address I entered in the SEND TO EMAIL ADDRESS field at the top of the Notifications settings.
Any idea how I solve this? Thanks
Andreas
Hi Andres- We’d be happy to help 🙂
When you get a chance, please refer to this guide to troubleshoot email notifications
I hope this helps! If you have any questions, please feel free to get in touch with our team.
Thanks, and have a good one 🙂
Hello, how can i add the contact form to a button?
I copied the shortcode to the button URL, but it gets blocked when clicked…I want to add the form either as a pop up or for it to appear on the same page as the button, without having to create a new page or use a pop up plugin, how can i go about it?
Thanks
Hey Danny- I am sorry for the confusion! We do not have a feature to display the form as you’ve mentioned. However, the closest option that I could suggest is embedding the form on a page or create a popup form (our customers have given positive feedback on this integration as shown in this article)
I hope this helps! If you have any questions, please feel free to get in touch with our team.
Thanks! 🙂
Can I send email to my wpform contact with the free version of wpform. And can I create a sales form to tell customers/visitors about new updates in my blog and shop?.
Hi Danny, I’m sorry I’m not sure I completely follow you.
Our plugin has a Notifications feature which would automatically send emails to your users who’ve successfully submitted a form. Details about this can be found in this article.
You could certainly create any kind of form you’d wish with our plugin. The form builder lets you build custom forms from scratch, and according to your own requirements. You’re not stuck with a templated form. Form’s however are generally for collecting information, and not so much for sharing. Could you please contact us and share some more details on what you meant for a sales form to tell customers and visitors about updates to your blog and site?
Thanks!
Hi there,
I am able to add a WP From to my wordpress page and when i am logged in i can submit the form and i receive notification email.
However the Contact form works does NOT work when i sign out of wordpress as i get an error when trying to submit my Contact form.
Can someone please help me with what i can do next?
Thanks,
Sophie
Hey Sophia, — We are sorry for any trouble. In order to make sure we answer your question as thoroughly as possible, could you please contact our team with some additional details about the issue you are facing?
If you have a WPForms license, you have access to our email support, so please submit a support ticket. Otherwise, we provide limited complimentary support in the WPForms Lite WordPress.org support forum.
Thanks.
Hi, we are looking at creating a T’s&C’s form, the main wording of which needs some of the words to be as a URL link to an additional General T’s & C’s page. If we purchase the Lite version, can we embed a URL within the wording of the T’s&C’s, or is that not possible? Wanting to check we can do what we are trying to achieve before we purchase the Basic Lite version first. Many thanks
Hey Janice — In order to make sure we answer your question as thoroughly as possible and avoid any confusion, please allow us to get back to you via our email.
Thanks.
Hello when I tested the contact form I created it says this on email:
“New Entry: Simple Contact Form”
How can I change that?
Thanks
Hey Michael – Sure, you can absolutely change it by adding your desired texts in the Email subject line under the notification.
Hope this helps. Thanks 🙂
I purchase professional email and use it to wpform but not receiving any email . I created cpanel email and setup smtp this cpanel email receive email but i want my professional email for contact form . any way to setup smtp for professioanl email ? or any other step to resolve this problem ?
Hey Uroosa – When you get a chance, please drop us a line with more details about the issue you are facing in support so we can assist further.
If you have a WPForms license, you have access to our email support, so please submit a support ticket.
Otherwise, we provide limited complimentary support in the WPForms Lite WordPress.org support forum.
Thanks 🙂