Are you looking for a way to create a conversational form in WordPress?
Giving your users a way to fill out forms as though they’re having a conversation is a great way to reduce form abandonment and boost your form completion rates.
In this article, we’ll show you how to create an interactive form in WordPress using 2 different methods.
What Are the Benefits of a Conversational Online Form?
There are many benefits to creating forms that mimic actual conversations:
- Easier and faster to fill out, which boosts form completions
- Personal and engaging for users
- Can be filled out using only a keyboard, which increases form accessibility
- Interactive nature improves the user experience
Create Your Conversational Form Now
In This Article
How to Create a Conversational Form in WordPress
There are 2 ways to create a conversational form using different WPForms addons.
- Conversational Forms: This addon allows you to replicate a Typeform-style form in WordPress. Your form opens in a new window for a distraction-free experience. The main downside of a Conversational Form is that it can’t be embedded inside an existing page.
- Lead Forms: This addon allows you to create a conversational form that can be embedded in any post or page. The lead forms addon is great if you want to generate more leads, or publish an attractive multi-step form to replace a regular form.
Here’s an example of a form created in the Lead Forms addon:

In this tutorial, we’ll focus on using Conversational Forms since it gives you the classic experience of a Typeform alternative.
Step 1: Create a New Form in WordPress
The first thing you’ll need to do is install and activate the WPForms plugin. For more details, see this step by step guide on how to install a plugin in WordPress.
Next, you’ll need to create a new form. You can create any number of online forms using WPForms and its 2,000+ WordPress form templates.
You can add additional fields to your form by dragging them from the left hand panel to the right hand panel.
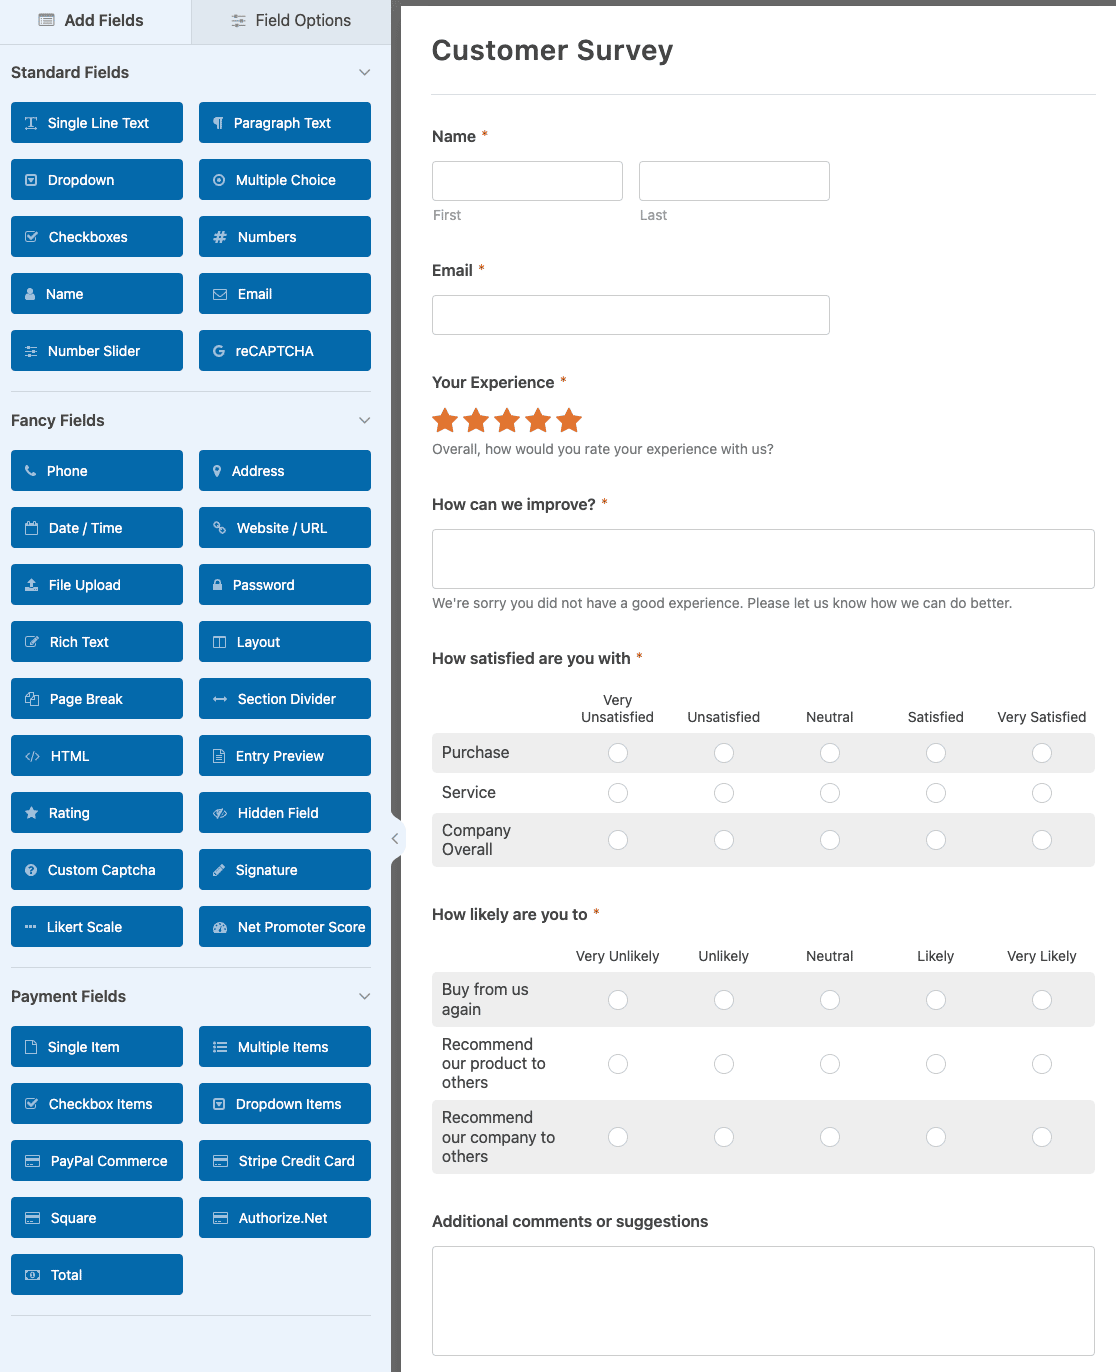
Then, click on the field to make any changes. You can also click on a form field and drag it to rearrange the order on your online form.
Just remember, no matter which type of online form you create, you can give it a full-page conversational contact form layout.
Step 2: Install the Conversational Forms Addon
Once your WordPress form is ready, you’ll need to install and activate the WPForms Conversational Forms addon.
This addon is how you’ll be able to turn your newly created WordPress form into an interactive form.
To do this, go to WPForms » Addons and find the one labeled Conversational Forms Addon.
Click Install Addon to install and activate it.
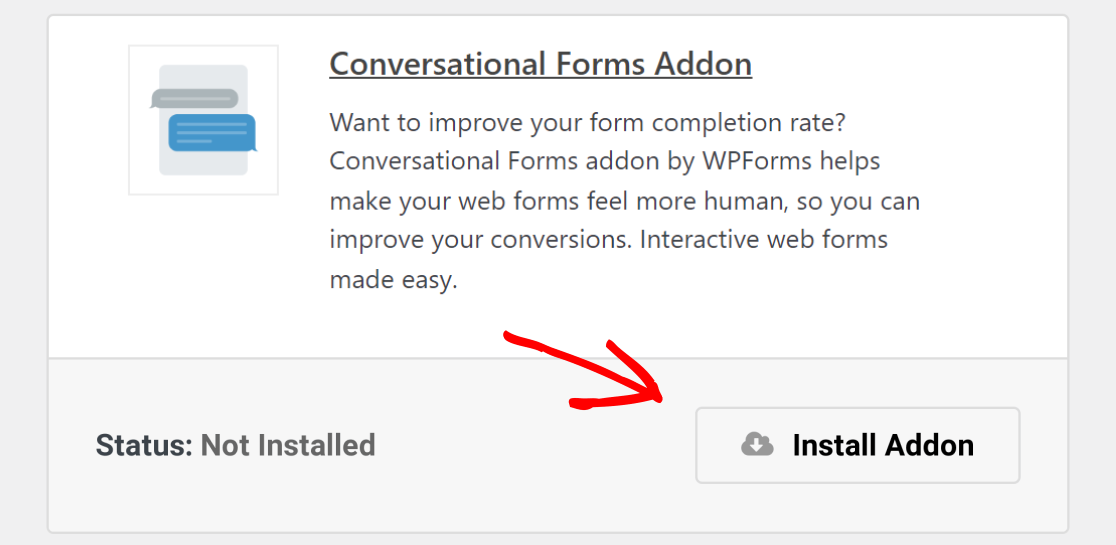
The Conversational Forms addon is now ready to use. But first, let’s take a quick look at the general form settings you might want to configure before creating your distraction free conversational form.
Step 3: Configure Your Form Settings
There are many settings to configure once you’ve customized your form to look the way you want it to.
General Settings
To start, go to Settings » General.

Here you can change things like your form’s name, description, and submit button copy.
You can also enable additional spam prevention features to keep your website secure from unwanted form submissions, add form tags, and more.
Form Notifications
Notifications are a great way to send an email whenever a form is submitted on your website.
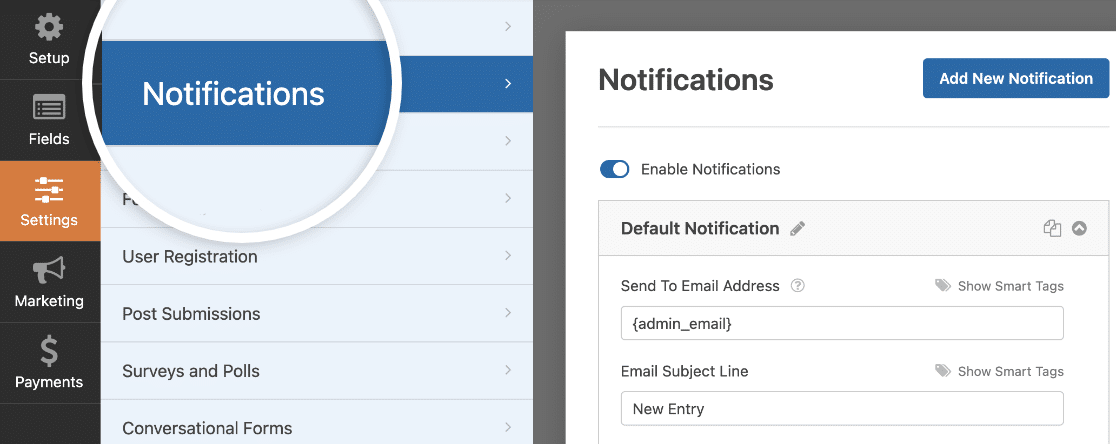
In fact, unless you disable this feature, whenever someone submits a form on your site, you’ll get a notification about it.
For help with this step, check out our documentation on how to set up form notifications in WordPress.
If you need to send more than one notification, for example to yourself, a team member, and your site visitor, check out our step by step tutorial on how to send multiple form notifications in WordPress.
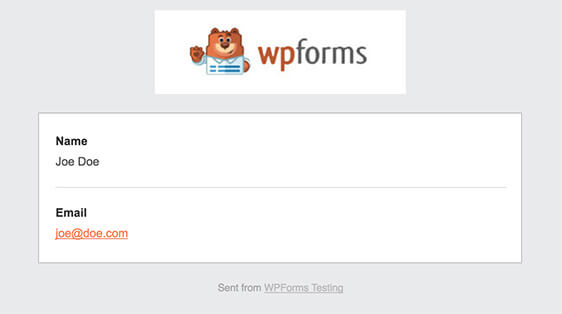
In addition, if you want to keep branding across your emails consistent, you can check out this guide on adding a custom header to your email template.
Form Confirmations
Form confirmations are messages that display to site visitors once they submit a form on your website. They let people know that their form has been processed and offer you the chance to let them know what the next steps are.
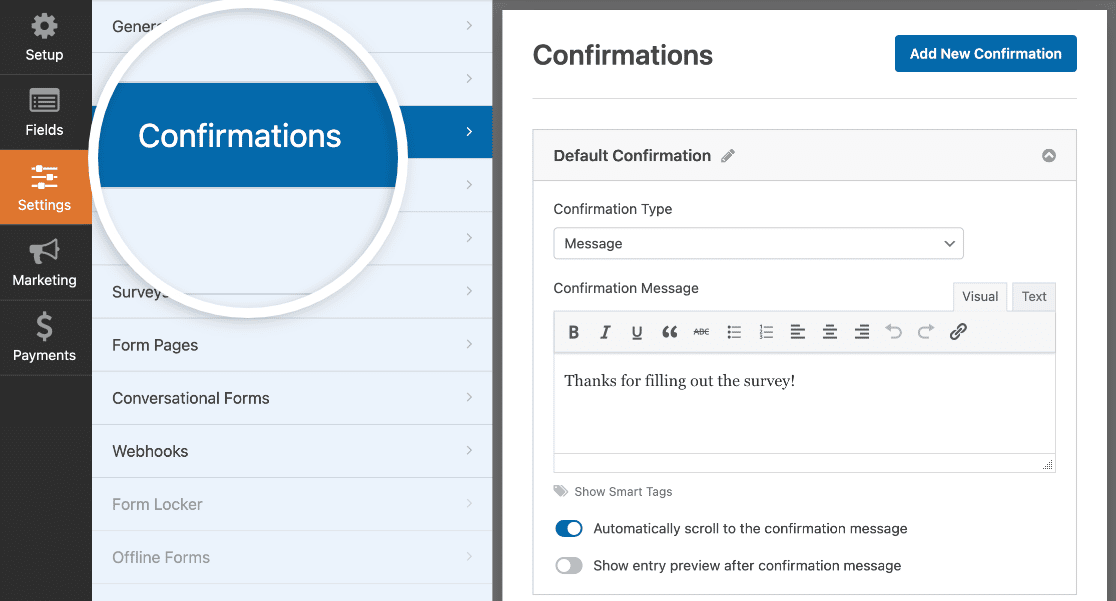
WPForms has 3 confirmation types:
- Message. A simple message that displays once someone submits a form on your website thanking them and letting them know what the next steps are.
- Show Page. Redirect users to another page on your website, such as a thank you page.
- Go to URL (Redirect). Send site visitors to a different website.
If you want to display different confirmations to site visitors based on their behavior, be sure to read up on how to create conditional form confirmations.
Click Save in the top right corner of the form builder once you’re done configuring your form’s settings.
Step 4: Configure Conversational Forms Settings
Now that you have your form’s general settings configured it’s time to configure your conversational form settings.
To do this, go to Settings » Conversational Forms in the form builder and toggle on the Enable Conversational Form Mode option.

When you do this, you’ll see a bunch of settings that you can customize to meet your needs.
Form Title and Message
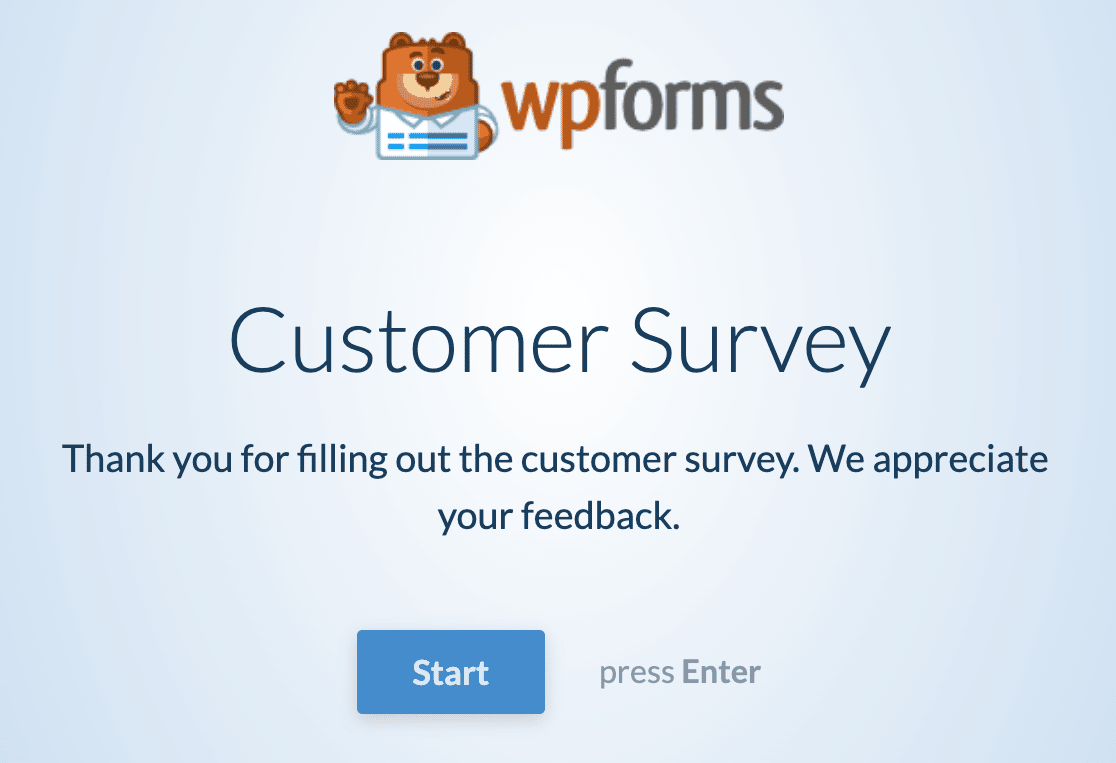
To start, give your form a title that will display for your site visitors. This is good for letting people know what your form is all about and what action you want them to take while there.
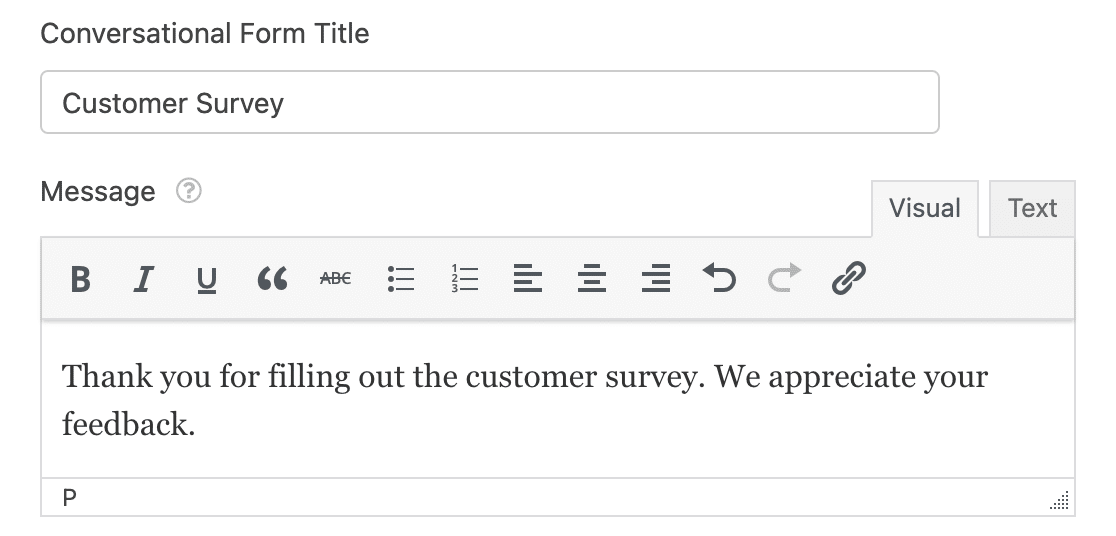
Next, you can add a short message for your site visitors to see. This gives you a chance to add some additional information so people know what to expect when they fill out your form.
Permalink
Whenever you enable conversational form mode for your online form, the Conversational Forms addon automatically creates a unique permalink for you.

You can change this permalink if you want, or leave it.
Either way, this is the URL you’ll use in email campaigns, internal linking, and even social media posts when you want people to click on your conversational form link and visit your site.
It’s super easy to set up, which is why WPForms is the best Typeform alternative.
Header Logo
The next thing you can do to customize your interactive form landing page is add a logo. Click on Upload Image and choose the image you want to add to your form landing page.

You can also remove any WPForms branding by toggling on the Hide WPForms Branding setting.
Color Schemes and Progress Bar
One of the best things about the WPForms Conversational Forms addon is that you can customize your interactive form landing page to have a color scheme that matches your company’s branding.
The color scheme you choose will determine the background color of the your form’s landing page and the form’s buttons.
To make things easy on you, we’ve given you several great color schemes to choose from that we know will look good no matter what.
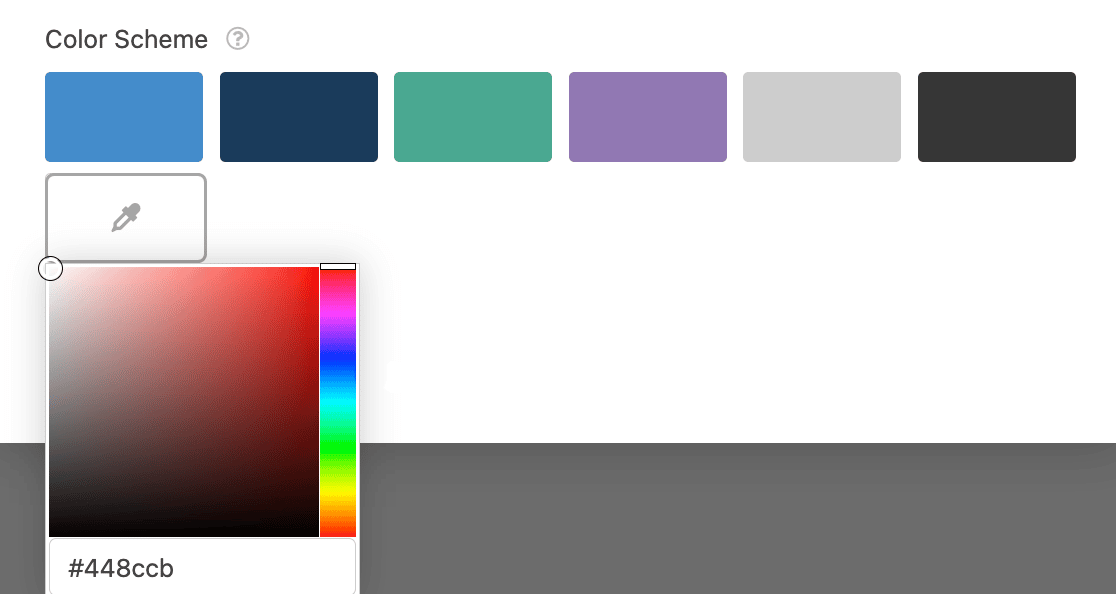
If you don’t like any of the pre-set colors, you can always use the color picker and choose a custom color.
You also have two progress bar styles to choose from:
- Percentage: show users in terms of percentage how far along they are while filling out your form.
- Proportion: show users how many form fields they’ve completed, so they know how many questions are left to answer.
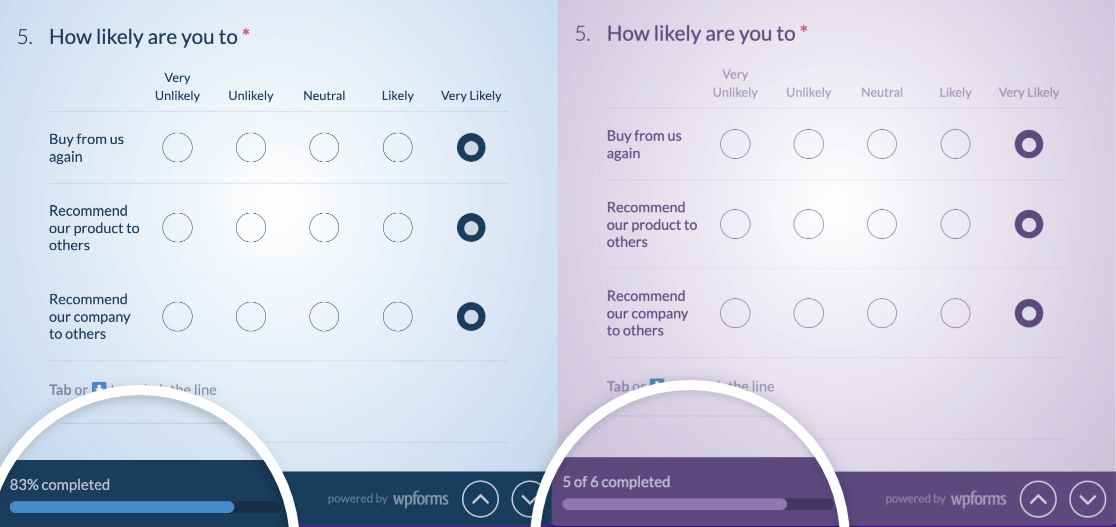
Once you’ve configured all your conversational form landing page’s settings, you can click the Preview Conversational Form button near the top to see how your form will look once it’s live.
When everything looks the way you want it to, click Save.
Now your form is live and ready to start accepting submissions!
Create Your Conversational Form Now
Next, Reduce Form Abandonment
And that’s it! You now know how to create an interactive form in WordPress. Now people that have the unique URL or a link to your interactive form landing page will be able to view it and fill it out.
If you’re looking for more ways to fight form abandonment, check out this article on reducing form abandonment and boosting sales.
So, what are you waiting for? Get started with the most powerful WordPress forms plugin today.
And don’t forget, if you like this article, then please follow us on Facebook and Twitter.


I’m a bit confused. I needed a simple form for the site I’m building. WP forms looked perfect. I built the first one in a couple of minutes. Filled it out and submitted to test it (my own email is listed as the admin and only user on the WP site. I didn’t see where I could enter any other email, so assumed I’d receive the completed form submission.) Expected to receive it in my email. NOT HAPPENING What am I missing?
Hi Jessica,
Usually when you experience issues with email deliverability, we recommend you install the WP Mail SMTP plugin to resolve the issue. In case it helps, please check out our guide on how to install it/a>.
I hope this helps!
Can the conversational form be embedded on another page of my site rather than using the permalink that it creates? When I try to embed it, it changes to a traditional form rather than the typeform-like conversational form.
Also, is there a way to remove the auto-added message of “Please enable JavaScript in your browser to complete this form”?
Hey Bri – We currently don’t have the feature to embed the Conversational Form into a regular page. I do agree this would be great, and I’ll place this on our feature request tracker. In the meantime, you can consider taking a look at Leads Forms addon as a workaround.
To fix the Javascript error that you’re seeing, I’d suggest you to take a look at our documentation here.