Managing expenses in a business can be a headache, especially when approvals are delayed or requests are overlooked. Creating an expense approval form can save you a ton of time and hassle when managing team requests.
Expense approval forms ensure that all financial requests are systematically reviewed per corporate policy and financial projections. This helps facilitate the approval process and simplifies things for everyone involved.
Create Your Expense Approval Form Now 📝
In this guide, I’ll show you how to set up a powerful expense approval form using WPForms. I’ve been through this process myself and know the exact steps to make it as smooth as possible, even if you’re new to creating forms!
How to Create Expense Forms for Your Small Business Easily!
You can rely on the ease of use and functionality of WPForms to design an expense approval form in WordPress. Follow the steps below to get started:
1. Subscribe and Install WPForms Pro
WPForms is the best form builder plugin to add customized forms to WordPress. You can use it to create any type of WordPress form and easily publish it on your site. It even includes 2,000+ WordPress form templates, including expense request forms.
Since we’ll use the Save and Resume and Signature Addons for this guide, you must subscribe to WPForms Pro to access premium integrations, addons, and extra features like conditional logic.
After you’ve purchased the WPForms Pro subscription, it’s time to install and activate the plugin on your WordPress site.
2. Get the Save and Resume and Signature Addons
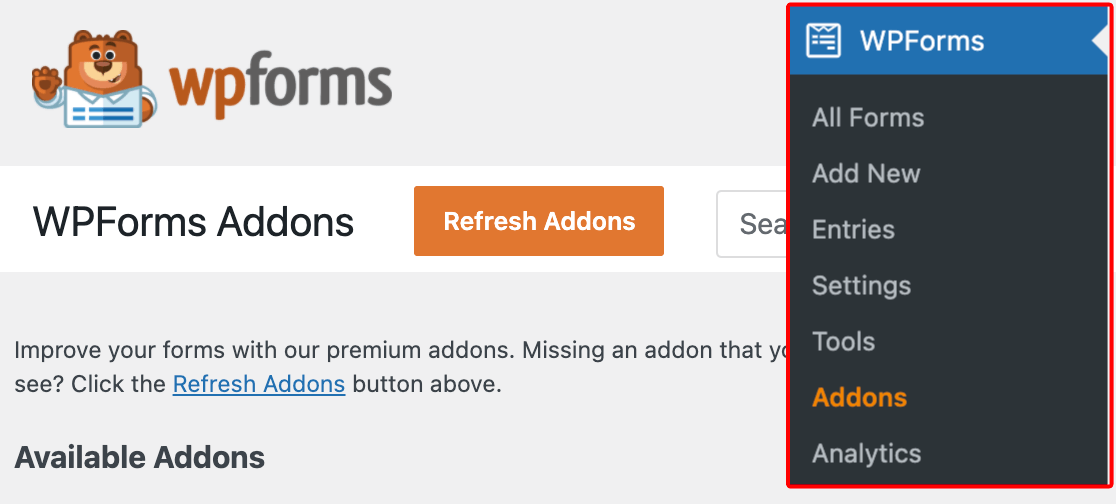
From your WordPress admin dashboard, navigate to WPForms and click on Addons from the list of options.
Now, search for the Save and Resume Addon by typing its name in the Search Addons field. Next, click on Install Addon.
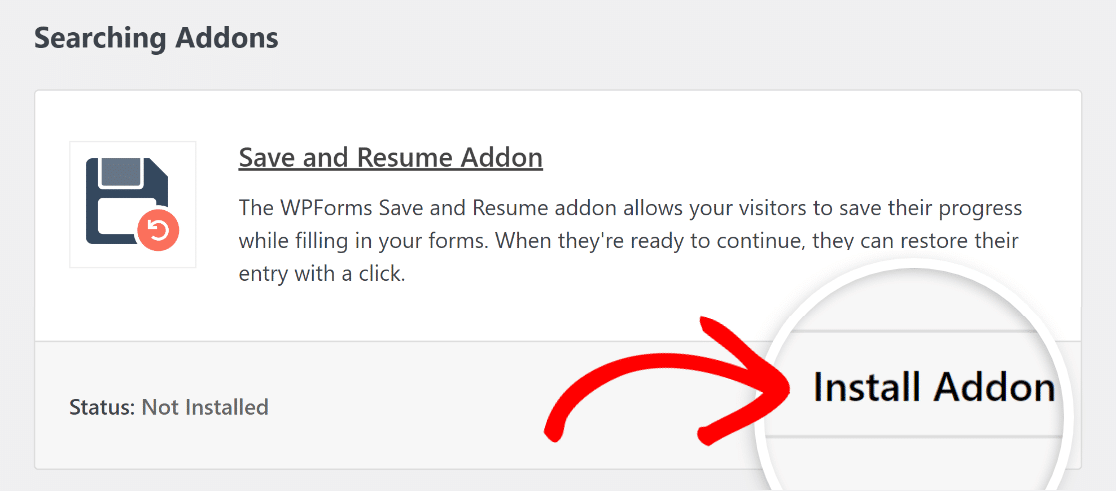
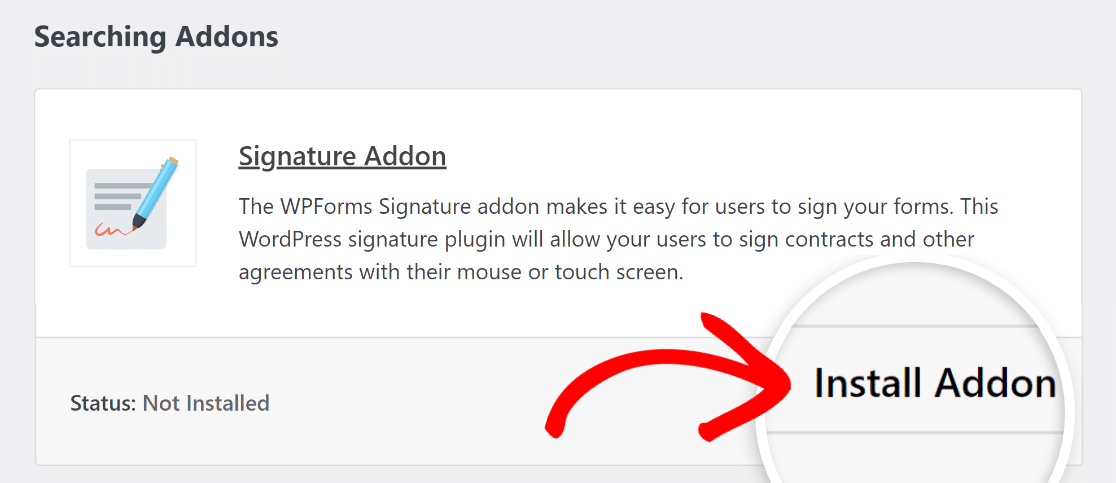
After the addon has been installed successfully, press the same button again to Activate it. And repeat the same process for the Signature Addon.
Great job so far! Now, we’ll walk you through the easy steps to create your expense approval form with the help of an existing WPForms Pro template.
3. Utilize the Expense Approval Form Template
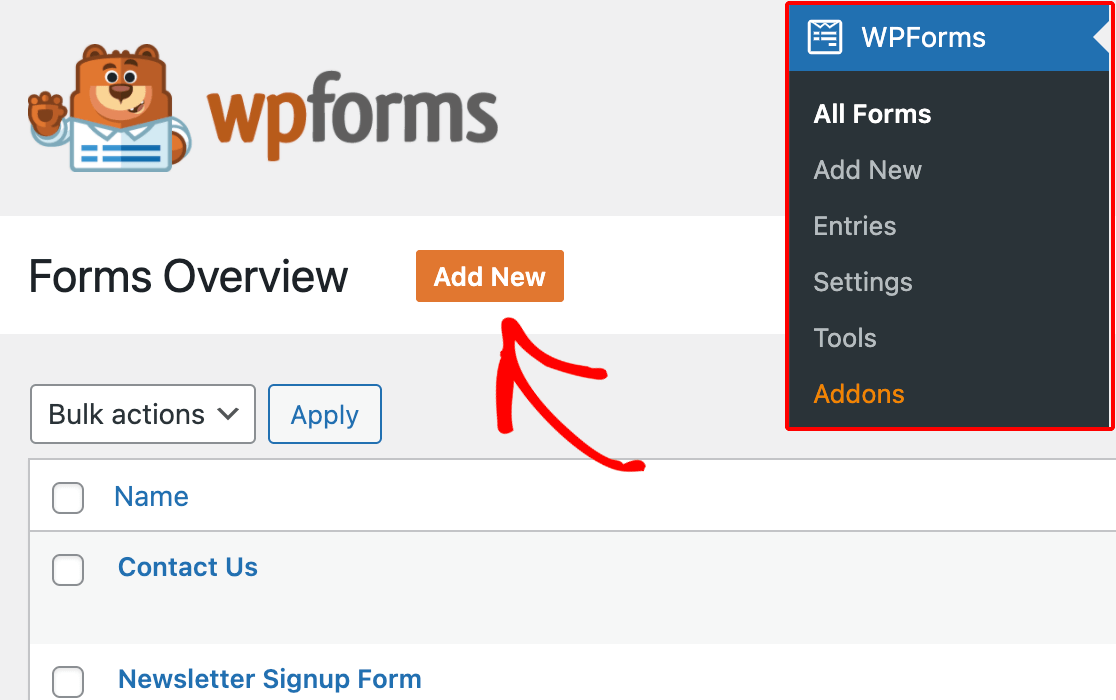
From your WordPress admin dashboard, navigate to WPForms and click on Add New from the list of options.
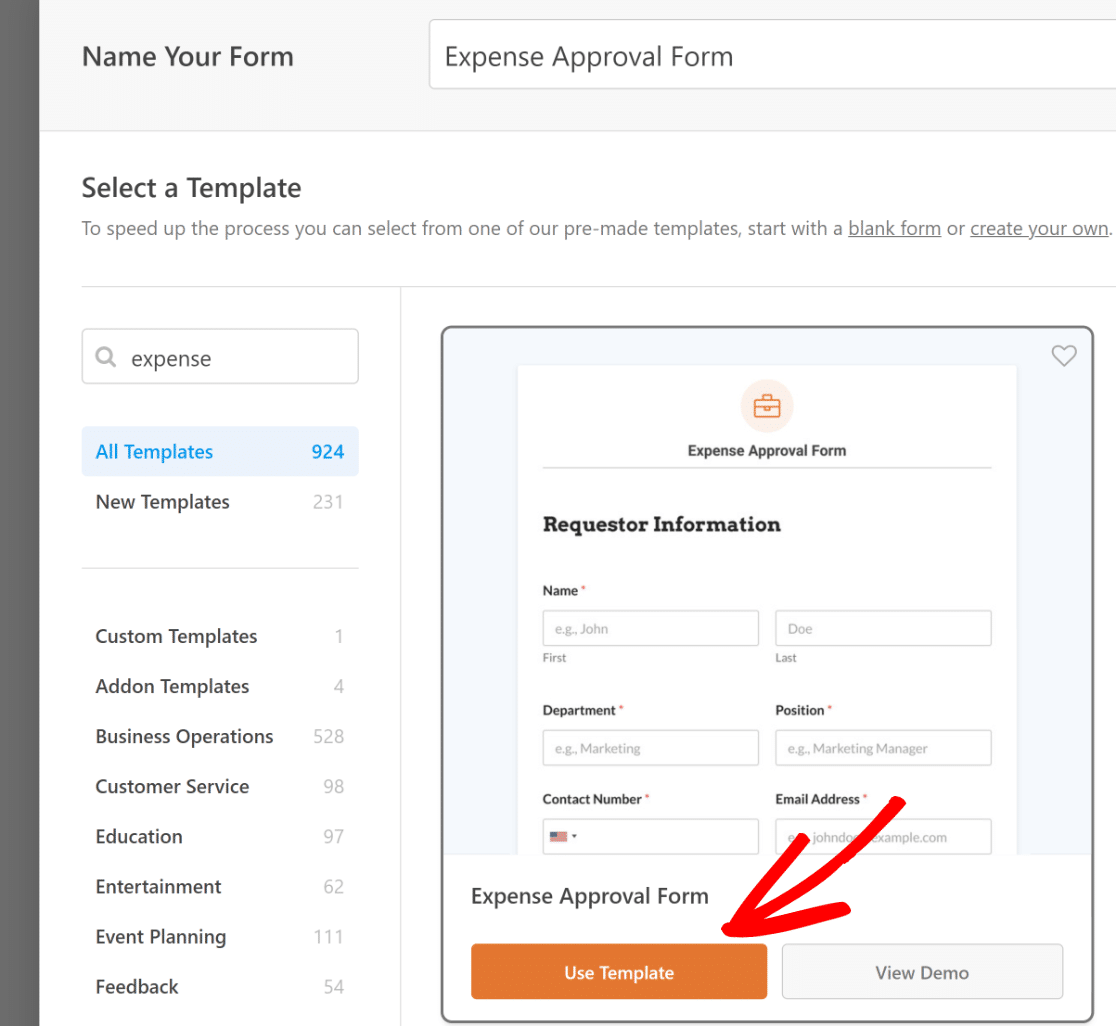
Name Your Form and then use the search box to find the Expense Approval Form template. Once it shows up, click on the Use Template button.
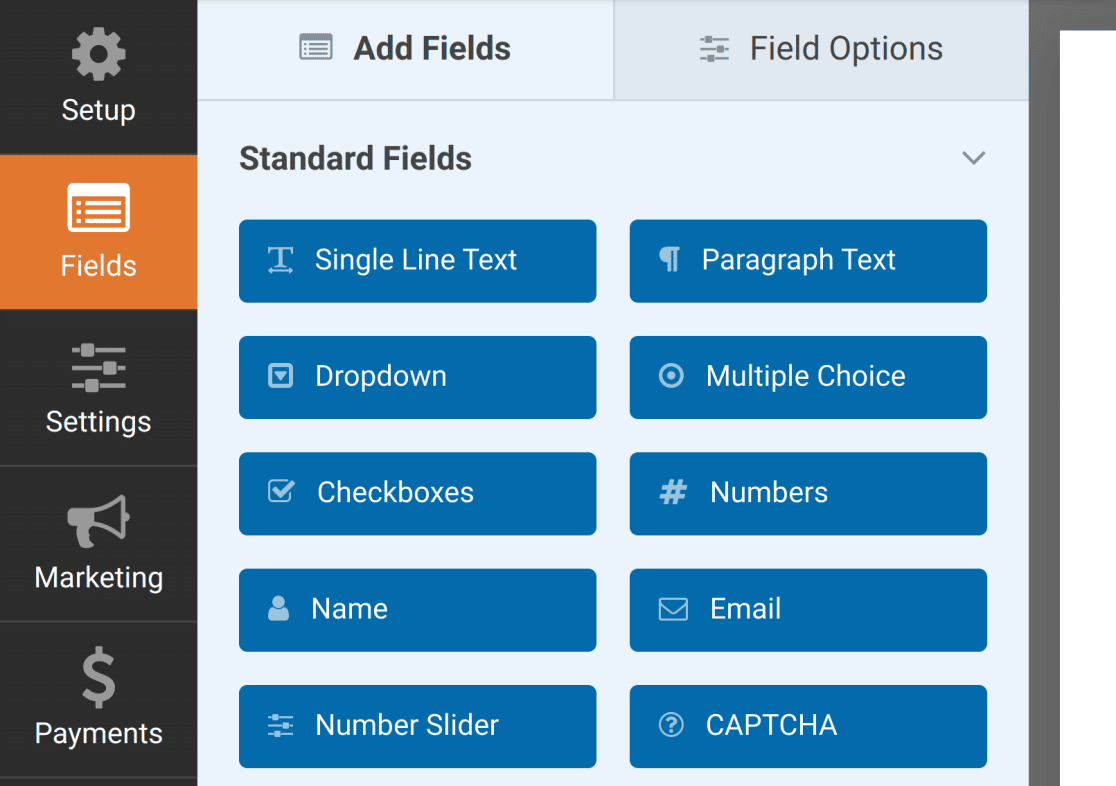
You will now be directed to the Fields screen, where available fields appear on the left panel. The ones you have access to will depend on your license level.
In the right panel, you will see an editable preview of your form. Since we’re using a template, the fields will already be added.
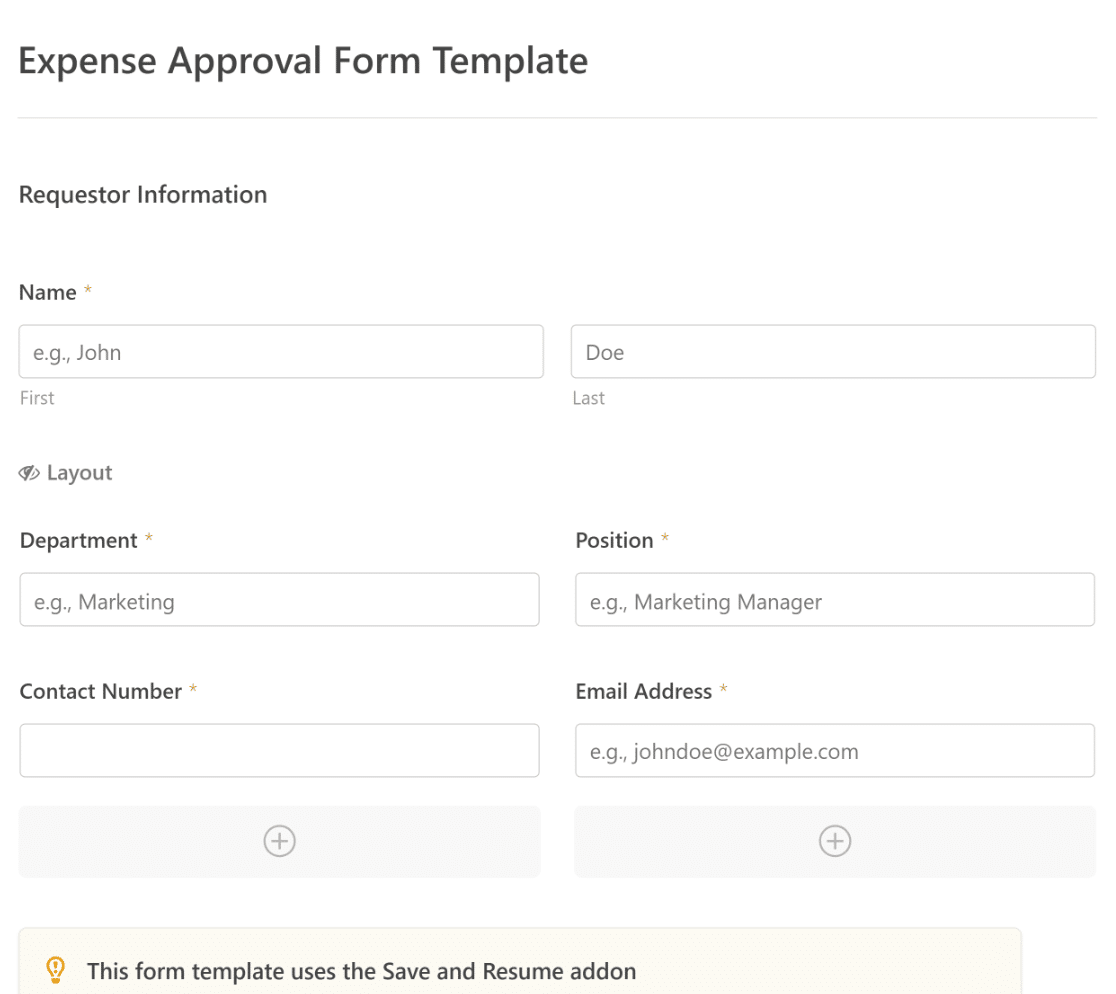
You’ll notice that this template is built with fields that automate capturing the requestor’s information, expense details, and approval via Signature.
If required, you can use WPForms’ intuitive form builder to easily add, modify, and arrange fields to tailor the form to your liking. You can also save your customized form as a template to reuse if you’d like.
Get the Expense Approval Form Template 📝
4. Configure Save and Resume Settings
Navigate to Settings » Save and Resume from the form builder. To turn on save and resume functionality, toggle on the Enable Save and Resume option.
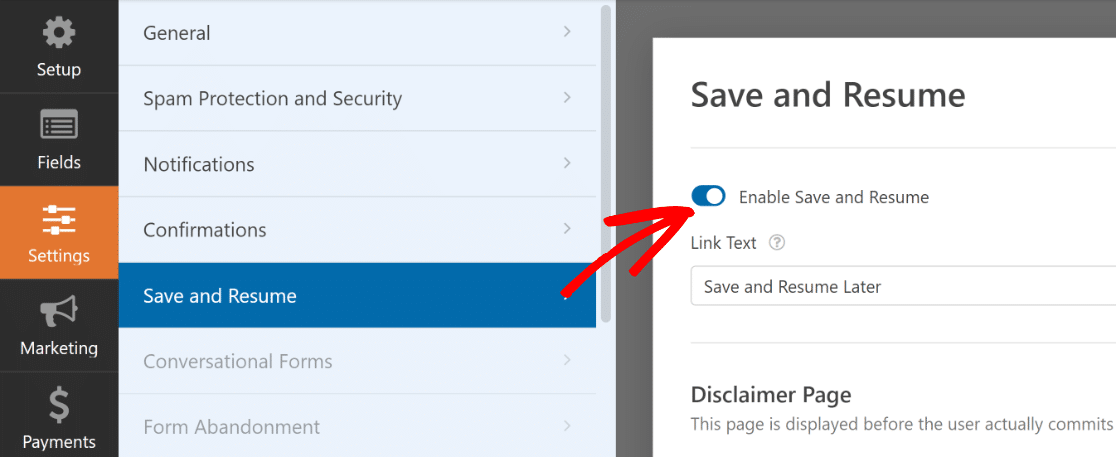
When you turn on Save and Resume functionality, you’ll be able to change a number of settings. We’ve explained each one below.
Customize Save and Resume Link Text
To begin, you can personalize the wording on the link that users will click to save their progress in your form.
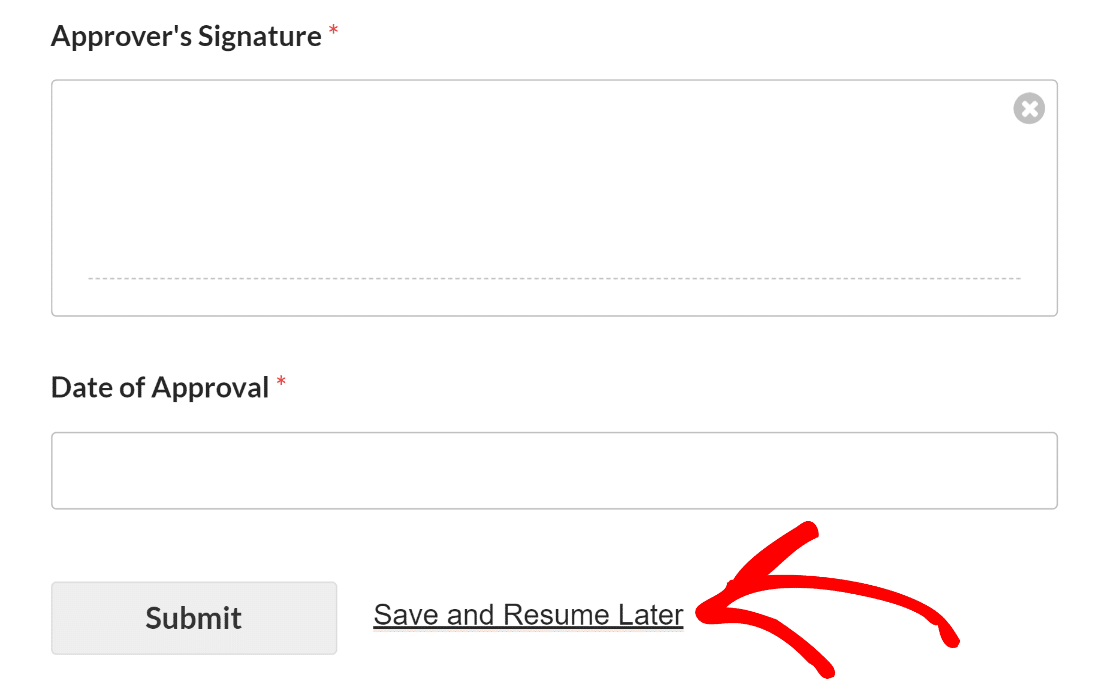
You can change the text in the supplied field. By default, it says “Save and Resume Later,” but you can change it to anything you like.

This link will display on the frontend of your website at the bottom of your form, next to the button labeled Submit.
Enable a Disclaimer Page
You can add an optional disclaimer page that will show up when a requestor clicks the Save and Resume link. To do this, turn on the Enable Disclaimer Page option.

This will bring up a text editor that you can use to modify the content of your disclaimer page once it has been revealed.
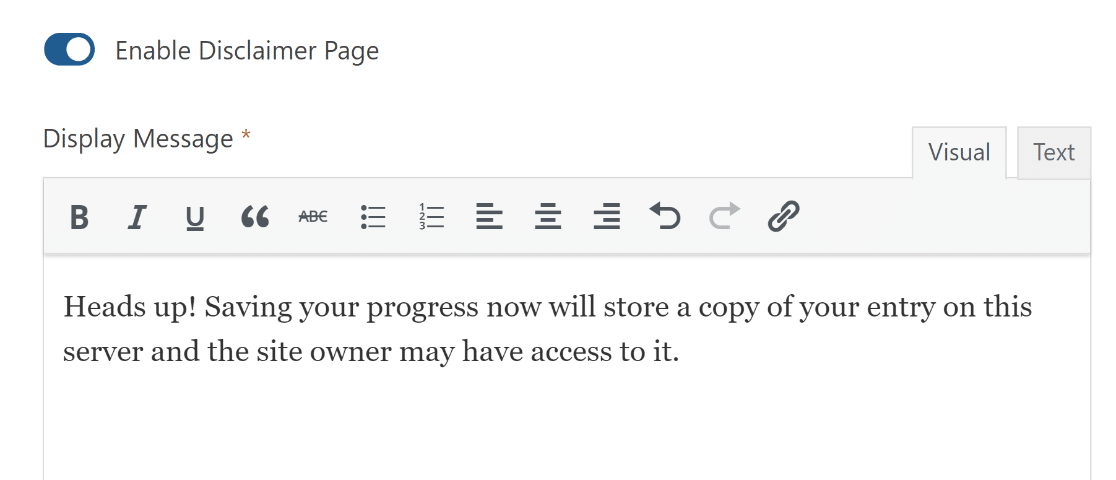
When a user clicks the save and resume link in your expense application form, they will see your disclaimer page. This ensures they are aware of the terms and conditions associated with saving their progress.
Upon viewing the disclaimer, users have two choices. They can confirm their decision to save their progress and leave your form by clicking the Continue button. Alternatively, they can click the Go Back link to return to the form.

Customize the Save and Resume Confirmation Page
When a requestor for your expense approval form saves their progress, they’ll see a Confirmation Page appear.
This message can be customized to help them understand the next step of the expense approval process.
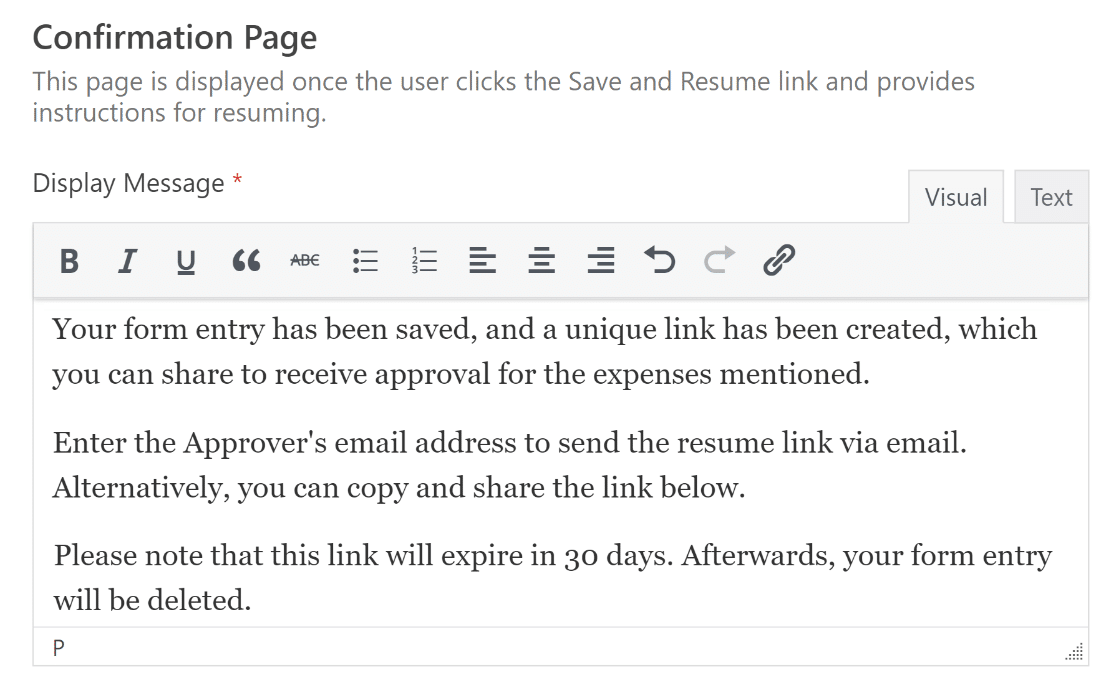
For those who prefer a more hands-on approach, an option to manually copy and share the link can also be talked about.
This can be done by toggling on the Enable Resume Link option underneath the confirmation page display message.

It can also guide the requestor to input the email address of the individual responsible for approving the expenses to send the resume link directly to them.
To send approver’s email notifications with links to resume the form and provide their approval, toggle on the Enable Email Notification setting.

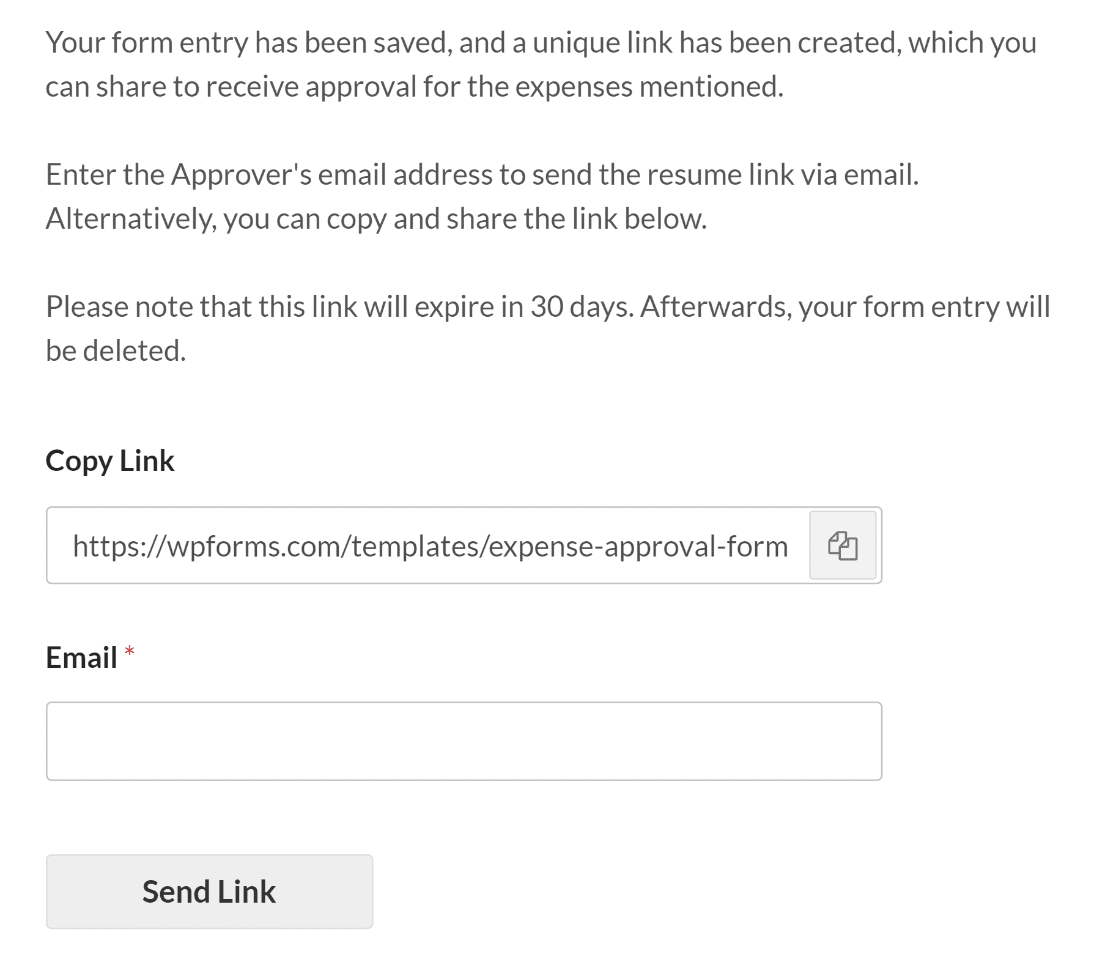
No matter how one chooses to share users’ links to save and resume, these URLs will stop working after 30 days.
We suggest making this clear to users when you customize your save and resume messages so they are less likely to lose their work due to inactivity.
Customize the Email Notification Message
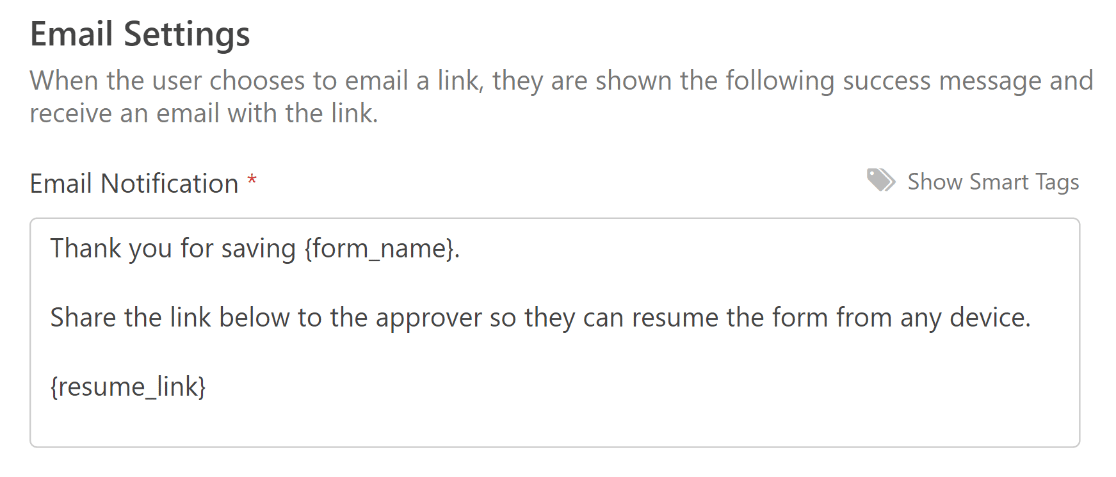
Once you toggle on the Enable Email Notification option, a text editor will pop up for you to customize the email notification message.
Although you can change the default message to anything you like, make sure the email notification has the {resume_link} Smart Tag.
This Smart Tag will provide a link to the form that has only been partially completed, enabling the approver to continue and grant the expense request.
Customize the Signature Field on Your Form
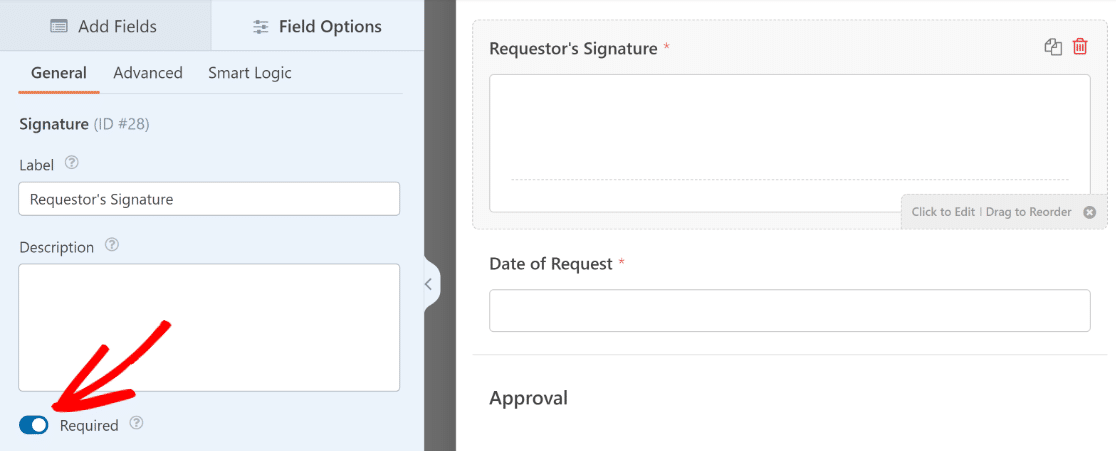
To ensure the authenticity of expense approval requests, the form template we’re using comes with Signature fields for both the requestor and approver.
Click on either of the Signature fields in the form builder area to edit its label, description, or ink color, or mark it as a Required field.
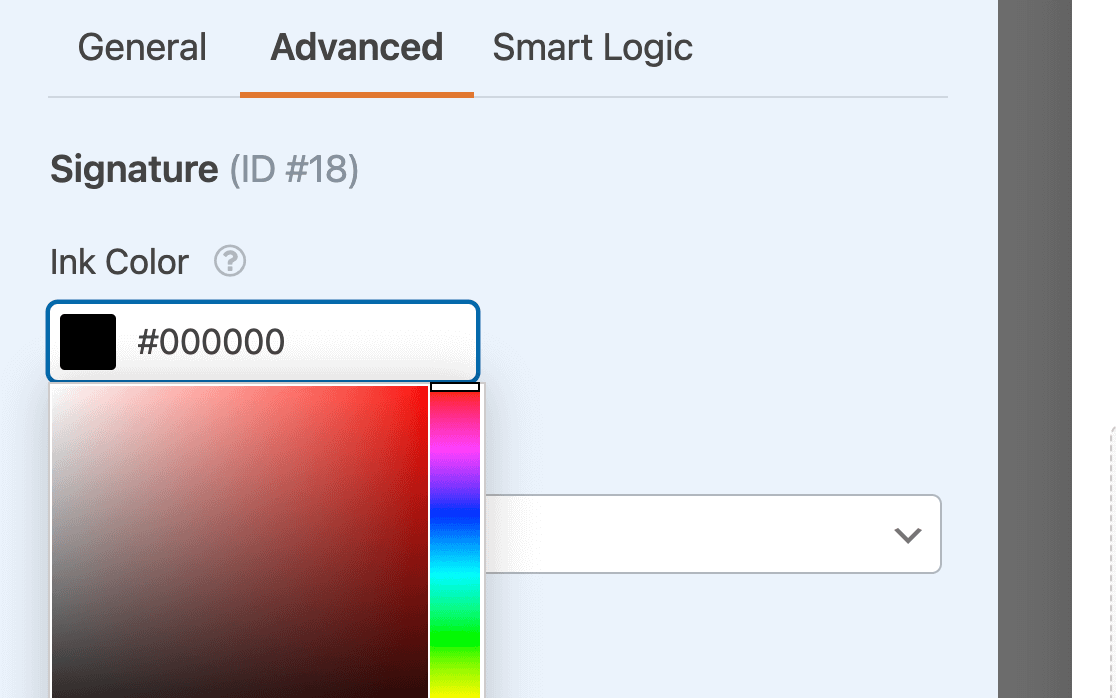
You also have the ability to change the color of the ink used for the electronic signature inside the Advanced Section.
Once you’re finished configuring these settings, be sure to save your form before leaving the form builder.

Enable Form Notifications and Confirmations
It is crucial to set up the messages and notifications that will appear after a user fills out and submits their form.
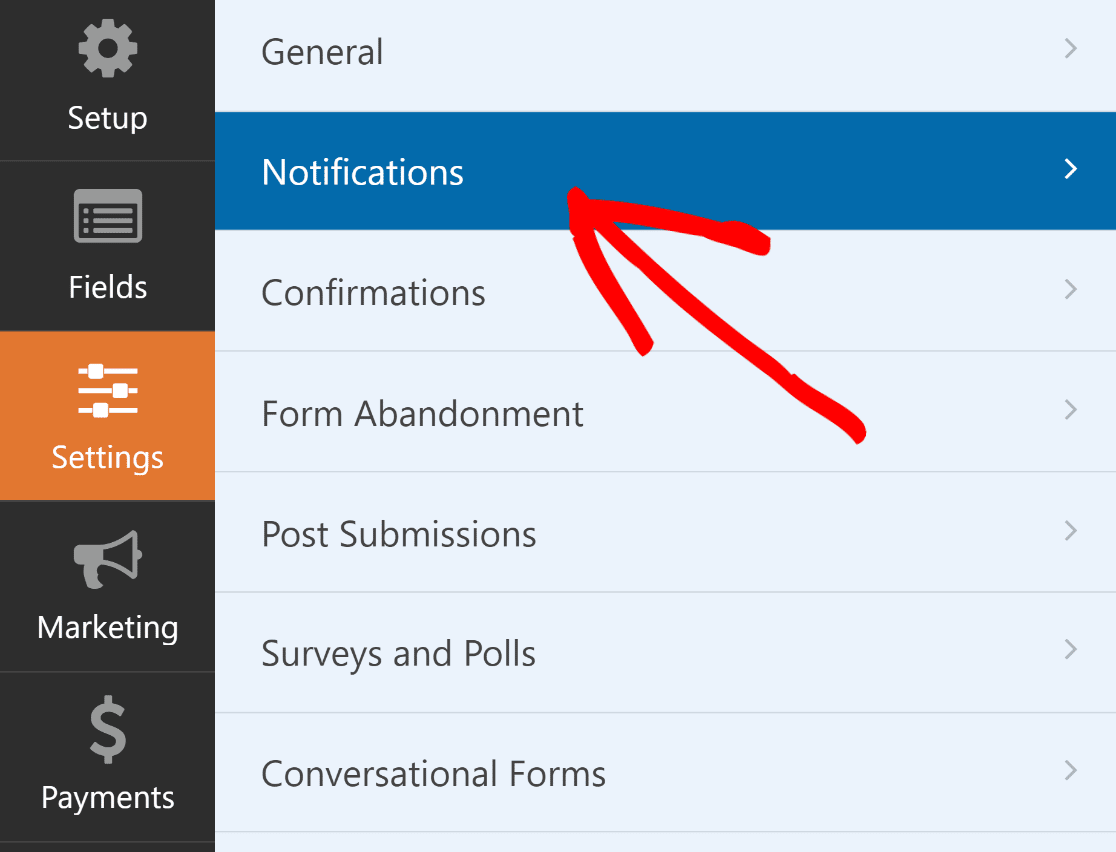
This is easy to do. From the Form Builder screen, navigate to the Settings tab and select Notifications.
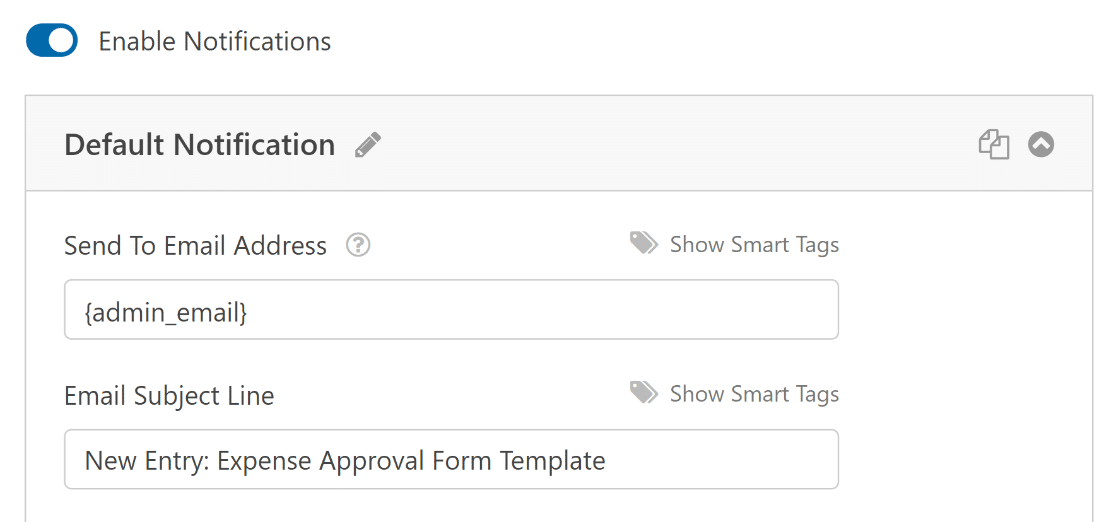
Administrators will receive alerts automatically. However, the email’s title, body, and list of recipients can be modified if required.
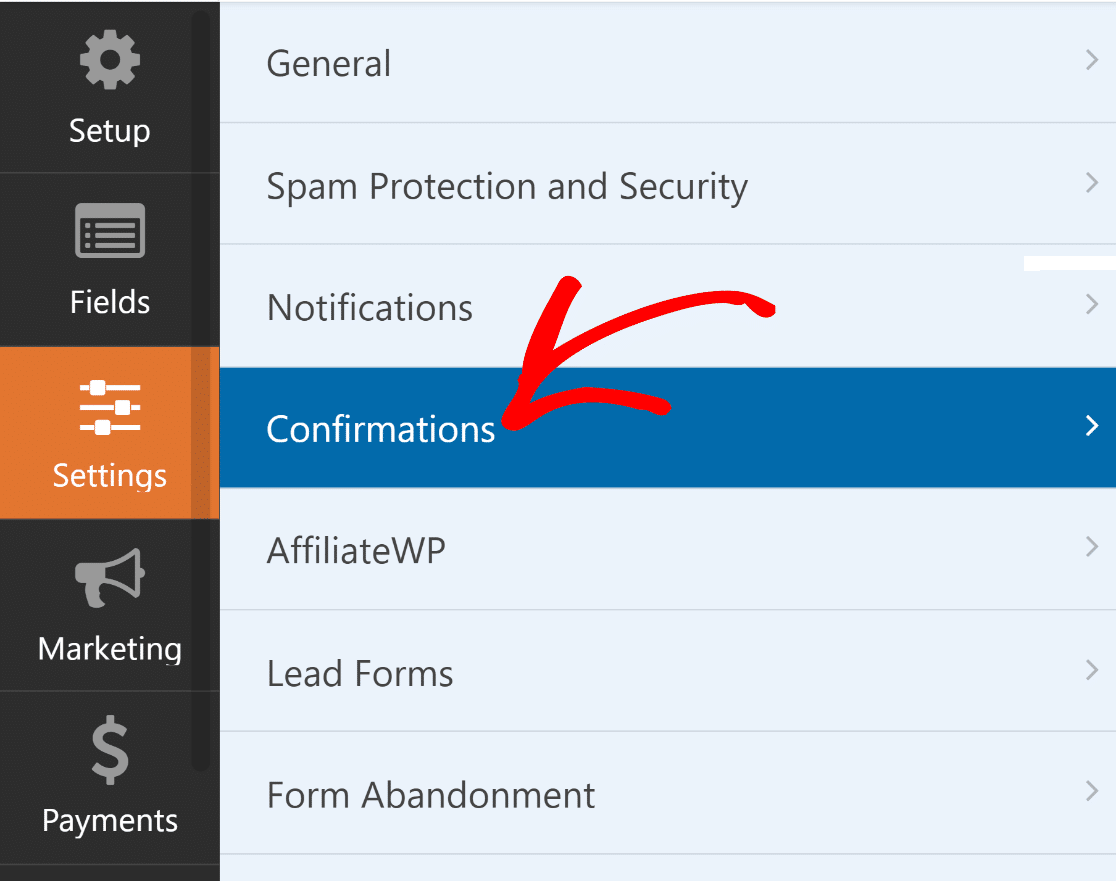
Next, under the Settings tab, select Confirmations to modify the message the decision-makers will receive upon providing their approval and completing the form.
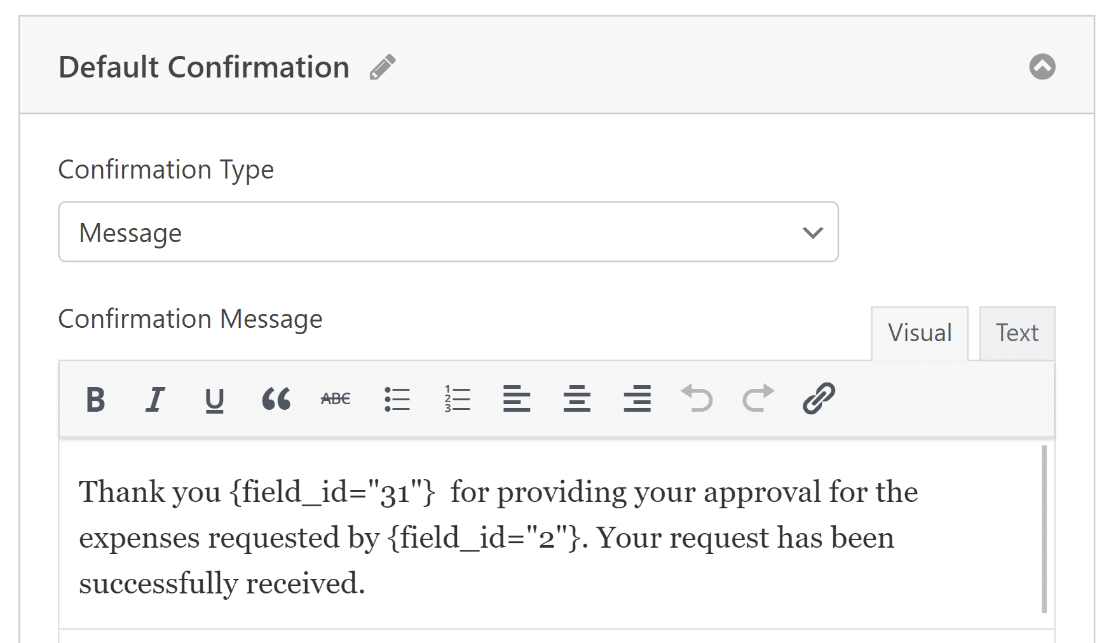
You can also use the Confirmation Type setting in WPForms to display a message, link to another page, or redirect the user.
Once you have configured your email notification and confirmation settings, hit the Save button again to save your current progress.
5. Publish Your Expense Approval Form
Now that you’ve built your expense approval form using the template, you can add it to your WordPress website and further style it using the block editor.
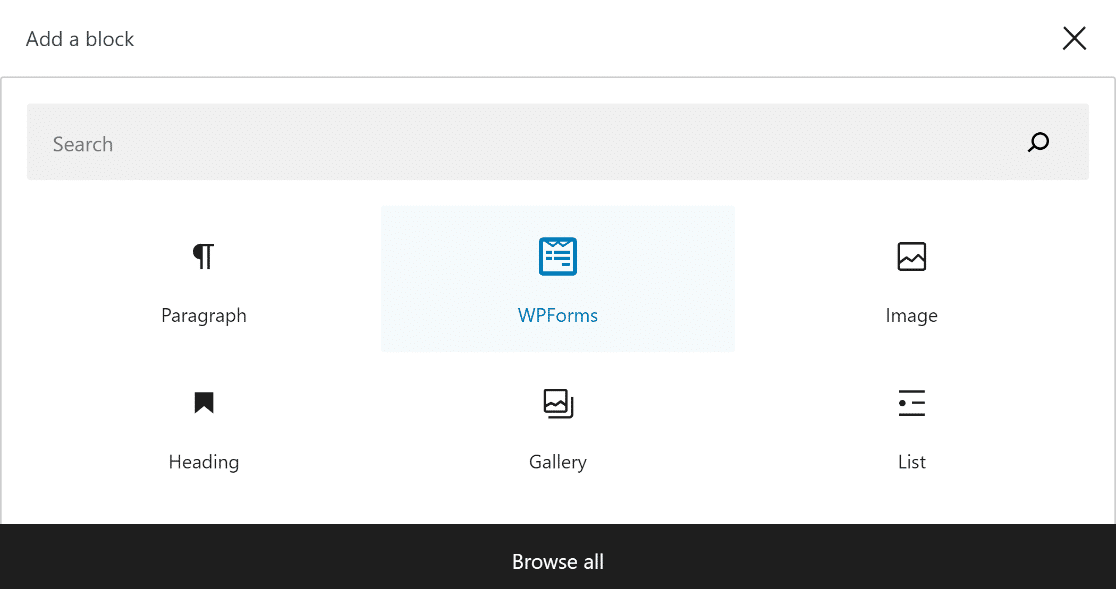
Create a new page/post or simply update an existing one. After that, click on the Add Block button and select the WPForms icon.
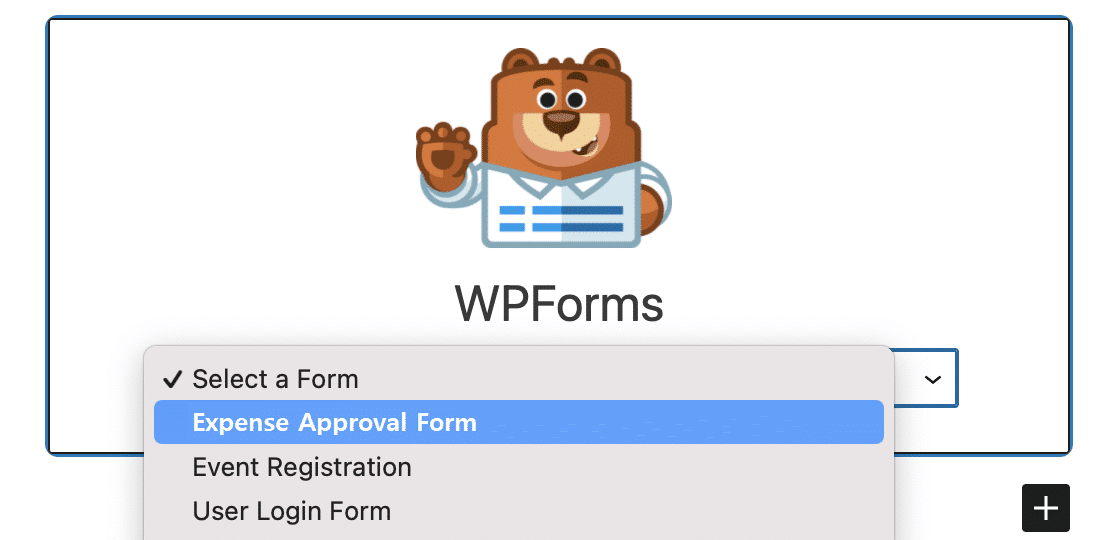
Next, select your expense pre-approval form from the dropdown menu in the WPForms widget to attach it to your page/post.
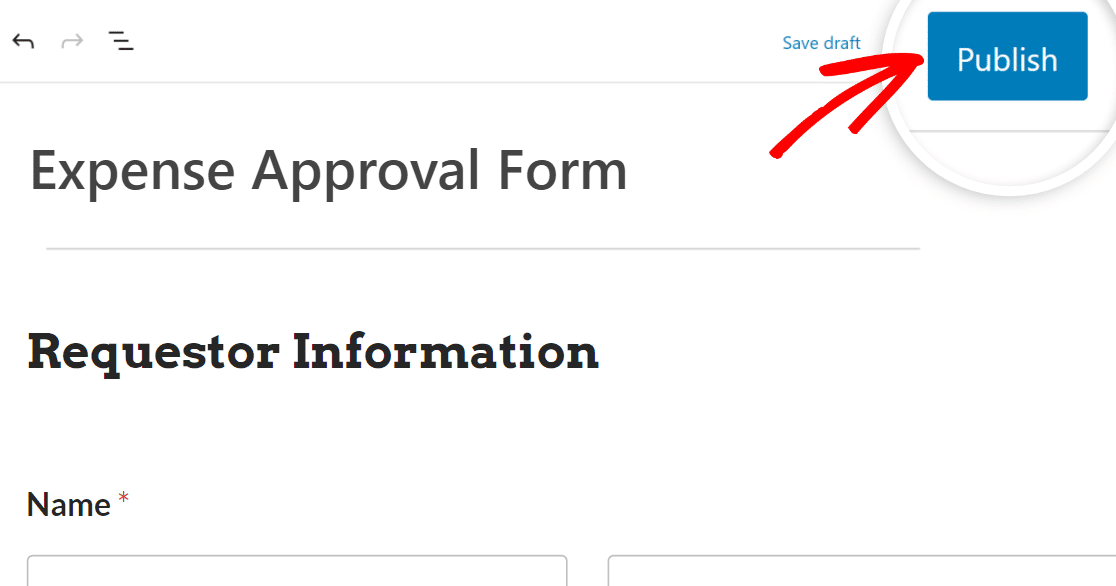
If you’re satisfied with the way your form looks, hit the Update or Publish button, and your form will go live.
Now, all you need to do is test the embedded form after publishing to make sure it works as expected to avoid any problems.
FAQs about Expense Approval Forms
Expense approval forms are a popular topic among our readers. Here are answers to some common questions about them.
What is an expense approval form?
An expense approval form is a document employees submit to get reimbursement for business expenses. It itemizes work-related expenses that employees pay out of pocket and requires supporting documentation like receipts.
Why do companies use expense approval forms?
Companies use standardized expense forms to control spending and ensure expenses adhere to policies. The approval workflow enables oversight and justification of employee spend. Forms create an auditable digital trail for financial reporting.
What information is required on an expense approval form?
Typical details include employee name, department, expense date of request, vendor, description, business purpose, project codes, amount, receipt copy, and approval signatures. Company policy outlines required backup and details.
Who needs to sign/approve an expense approval form?
Expense forms route through an approval chain that varies by company. Common approvers are the employee, manager, accounting supervisor, human resources manager, controller, or CFO.
Next, Check Out Some More Expense Authorization Form Templates
If you’re looking for some more creative ways to create expense and financial-related forms for your business, it is a good time to check out these template demos:
- Simple Expense Form
- Requisition Form
- Online Reimbursement Form
- Expense Reimbursement Form
- Capital Expenditure Approval Form
Create Your Expense Approval Form Now
Ready to build your form? Get started today with the easiest WordPress form builder plugin. WPForms Pro includes lots of free templates and offers a 14-day money-back guarantee.
If this article helped you out, please follow us on Facebook and Twitter for more free WordPress tutorials and guides.



Hi there,
If a main component of an expense approval form is a copy of a receipt why does this form not support keeping the file upload when an approver goes back in to resume and approve? Because after the approver approves it you also don’t allow it to kickback to the requestor to attached the receipt again. Makes no sense.
Hey Harrison – We currently don’t have the feature to keep the file that was added in the file upload field when resuming the form. I do agree this would be helpful and I’ll place this into our feature request tracker.
Really really good functionality.
Are there multiple approval steps from multiple internal people among WordPress members?
Can manager deny the expense form or request review the form?
Does user/manager/CEO can track the his/her expense report?
Hey Ray – When you get a chance, please drop us a line with more details about your need in support so we can assist further.
If you have a WPForms license, you have access to our email support, so please submit a support ticket.
Otherwise, we provide limited complimentary support in the WPForms Lite WordPress.org support forum.
Thanks 🙂