WPForms provides over 2,000 pre-made form templates for you to use. But a lot of the time, you’ll still have to customize a template to make it usable for your site.
If you find yourself having to make the same customizations over and over again, it might be a good idea to create your own custom form templates. All your personalized details will already be included, saving you time when creating new forms.
Fortunately, WPForms lets you turn any form into a template that you can reuse as often as you need. In this tutorial, I’ll show you how it works!
Create Your Custom Form Template Now
In This Article
How to Create Your Own Custom Form Templates (3 Steps)
WPForms makes it super easy to personalize form templates and save them for future use right in the form builder. Here’s how to get started.
Step 1: Create a New Template From an Existing Form
First, you’ll need a form to base your template off of. This can be one of WPForms’ many existing form templates, or a form you’ve already built and saved.
There are tons of different types of forms you might want to create custom, branded templates for, like:
- Consent forms and waivers: Add your company’s terms and conditions to your template.
- Contact forms: Use a personalized template to quickly create multiple contact forms for different purposes to use around your site.
- Order forms: Add your products to your order form template, then use it create multiple order forms. For example, you could make a standard pricing order form and a wholesale pricing order form with the same products.
- Donation forms: Create a template with your organization’s branding and donation options, then use it to create online forms for different fundraising events.
- Application forms: Build a standard application form template, then let leaders from different clubs or other organizations you sponsor create custom forms for their specific groups.
Custom templates are also great if you want to translate your form into another language, then save it and reuse it around your site.
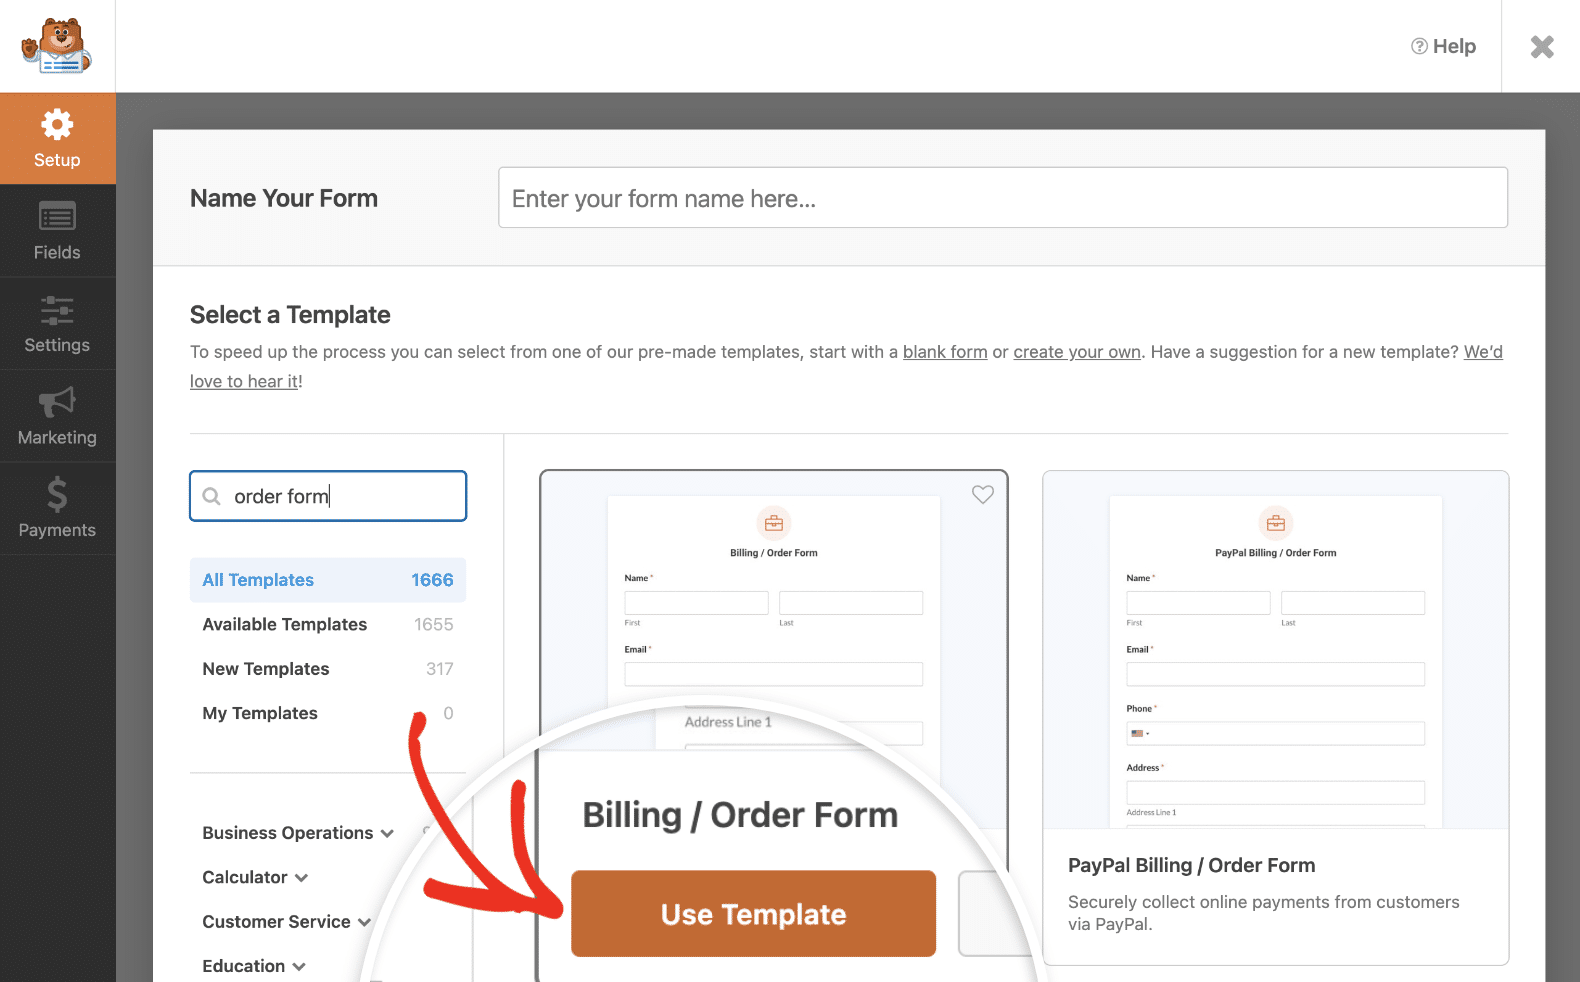
For my example, I’ll use the Billing/Order Form template.
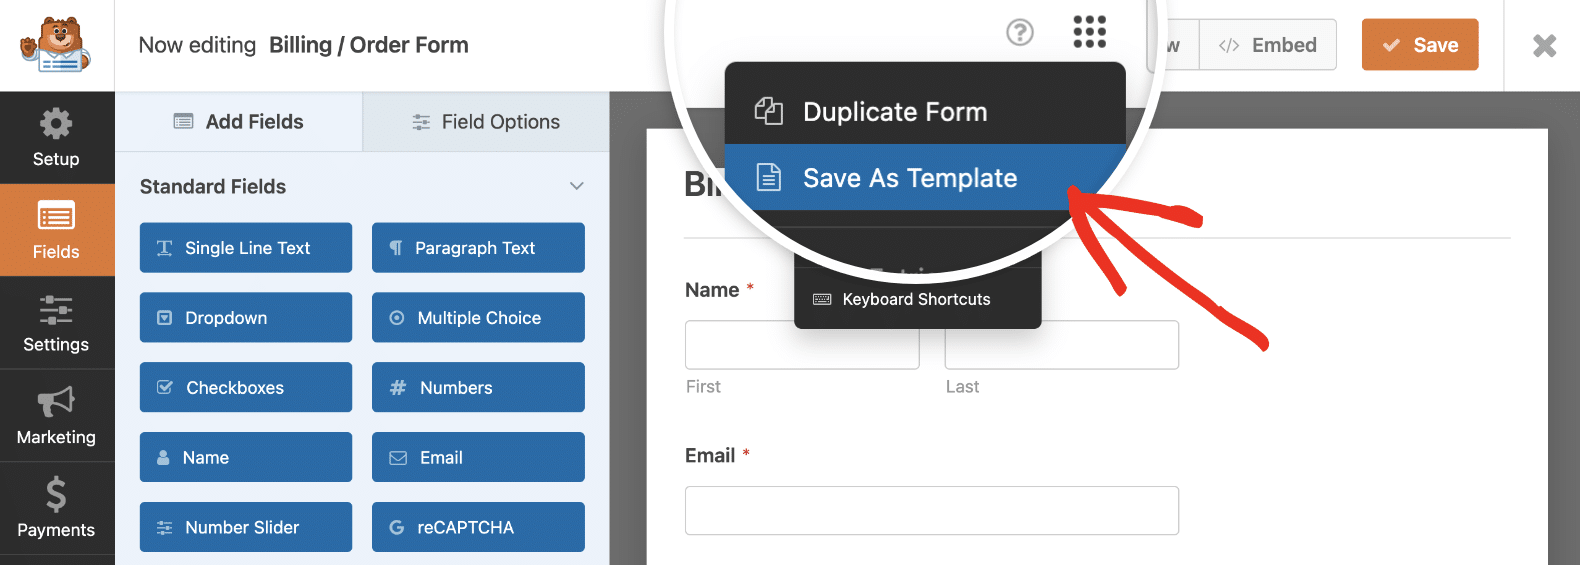
Open the form you want to base your template off of in the drag-and-drop form builder. Then click on the menu icon at the top of the screen to see additional options. Select Save as Template.
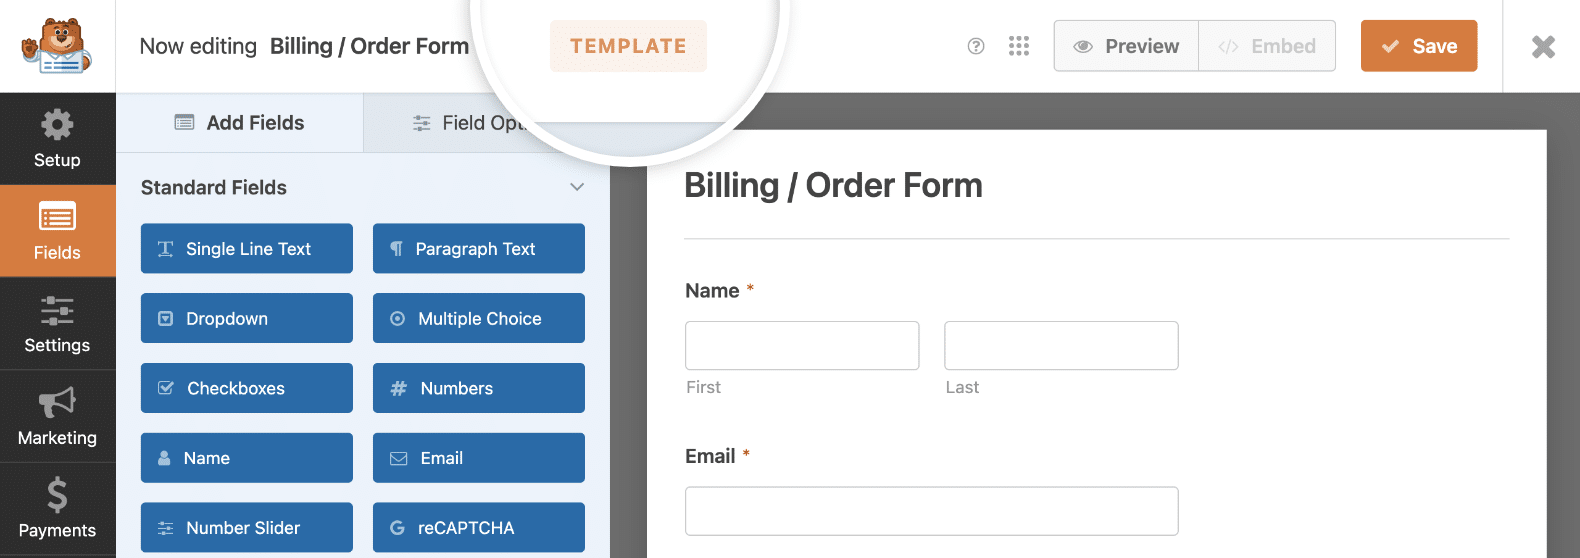
The form builder will then refresh, and you’ll see an orange Template badge indicating that you’re now editing a template.
Next, you’ll be able to make changes to the form so you can reuse it on your site.
Step 2: Customize Your New Form Template
You can configure your new template the same way you would edit any form with WPForms. I’ll walk through a few examples of changes you might want to make to create a functional template that works for you.
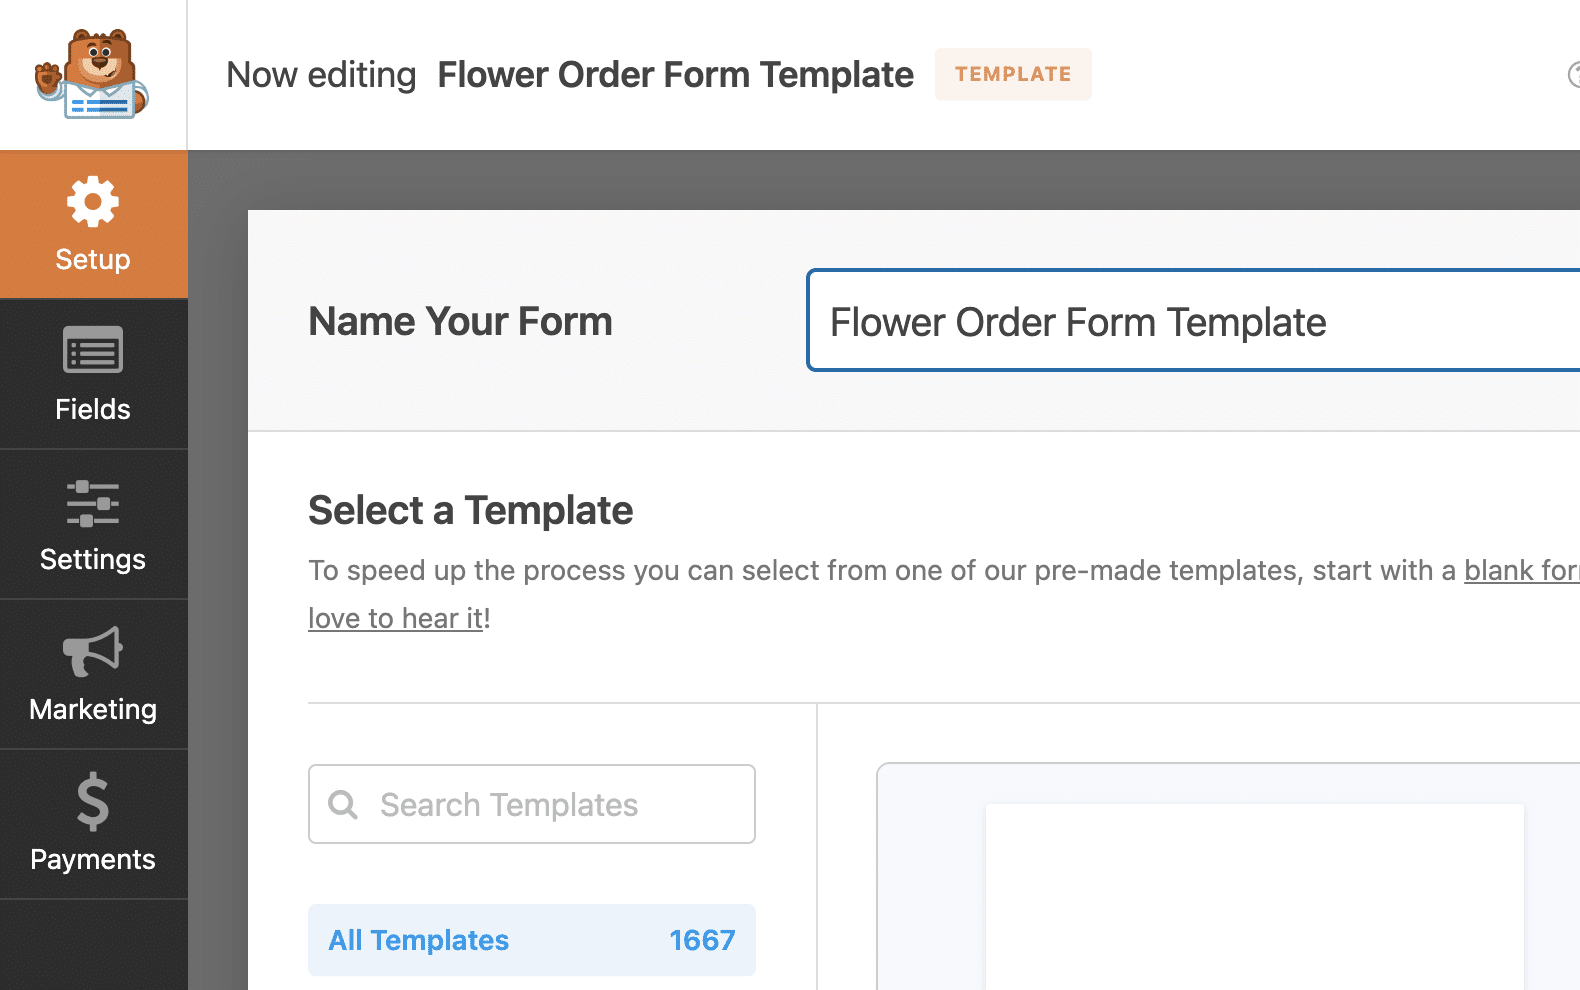
First, I want to change the name of my template, so I’ll click on the Setup tab and type the new name into the field at the top of the builder.
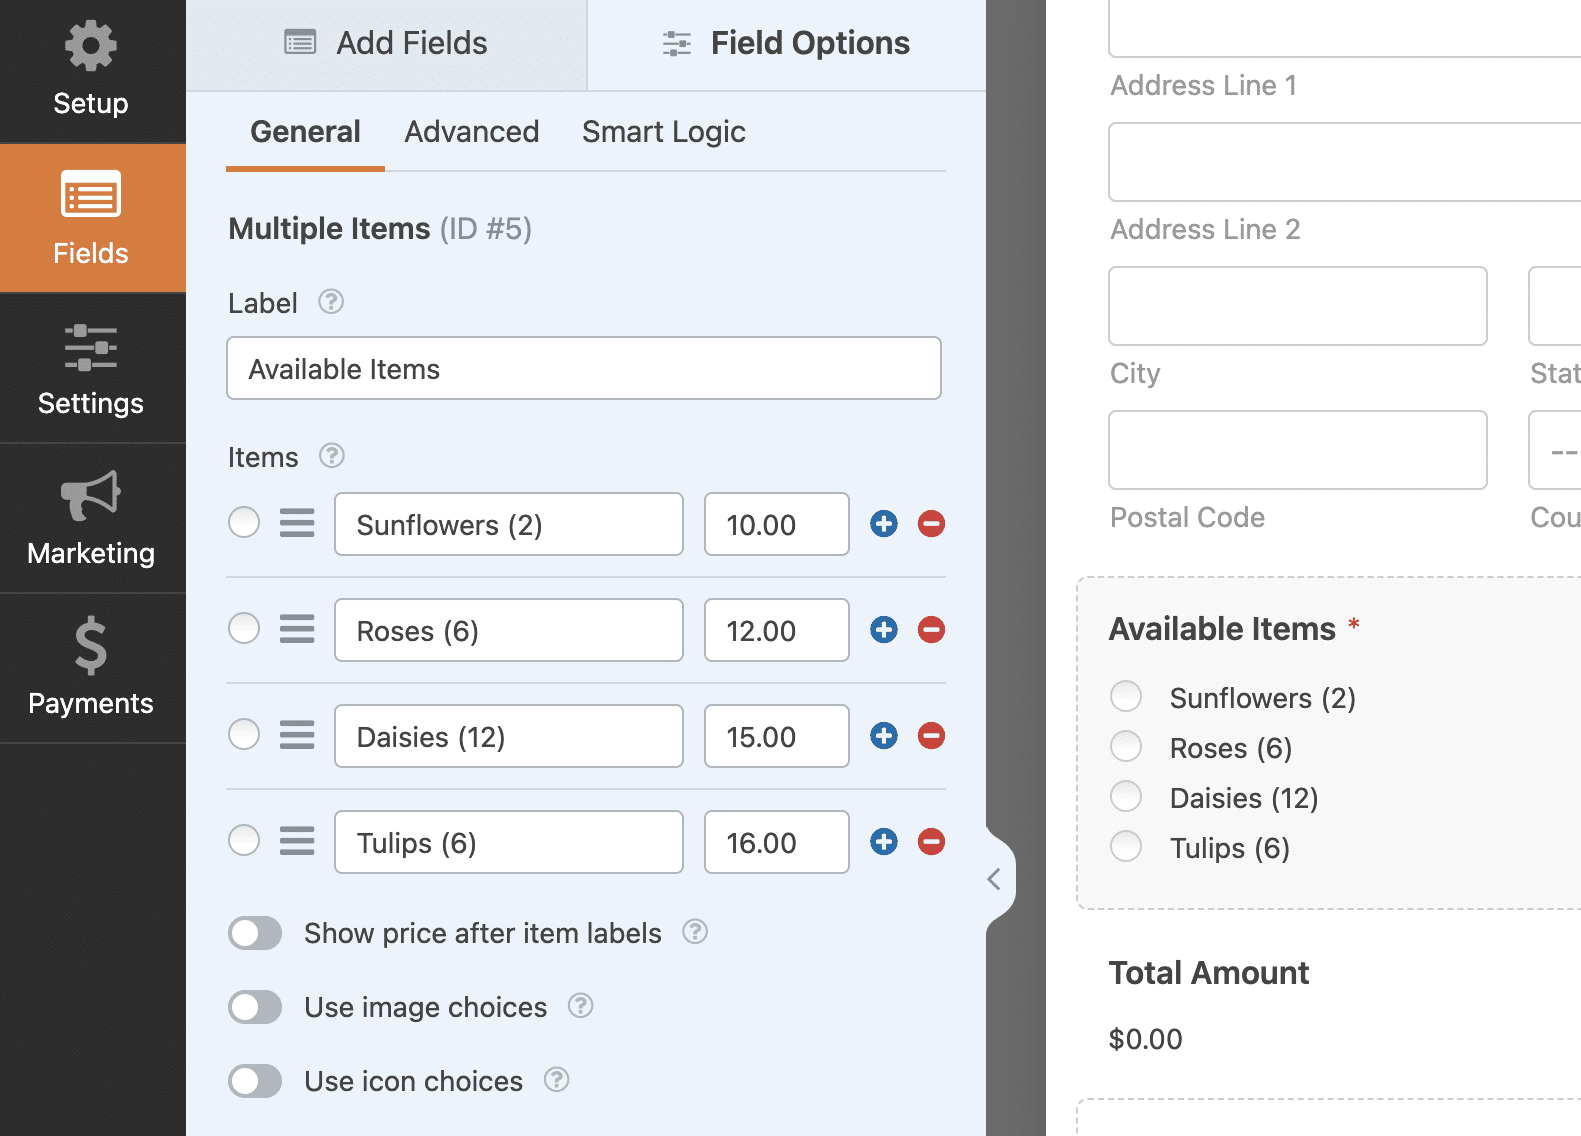
Back in the Fields tab, I’ll edit the form fields. Since my example is an order form, I’m going to start by adding my own products and prices in place of the ones in the Billing/Order Form template.
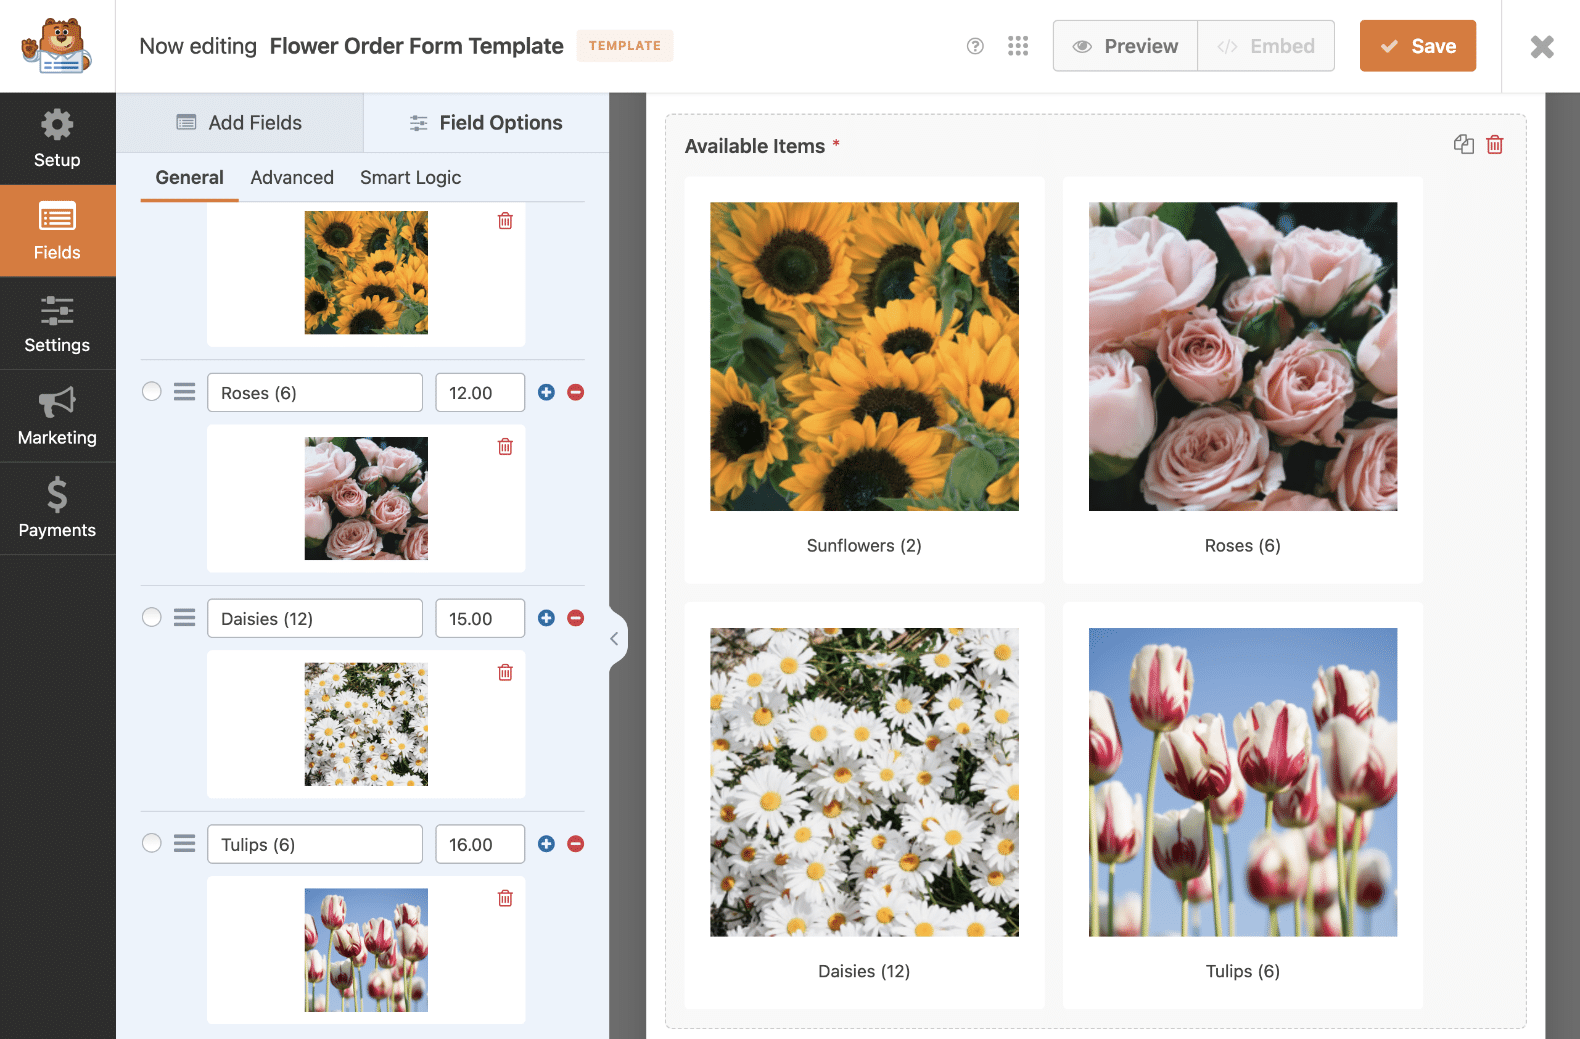
I’m also going to enable image choices so that my order form includes product images.
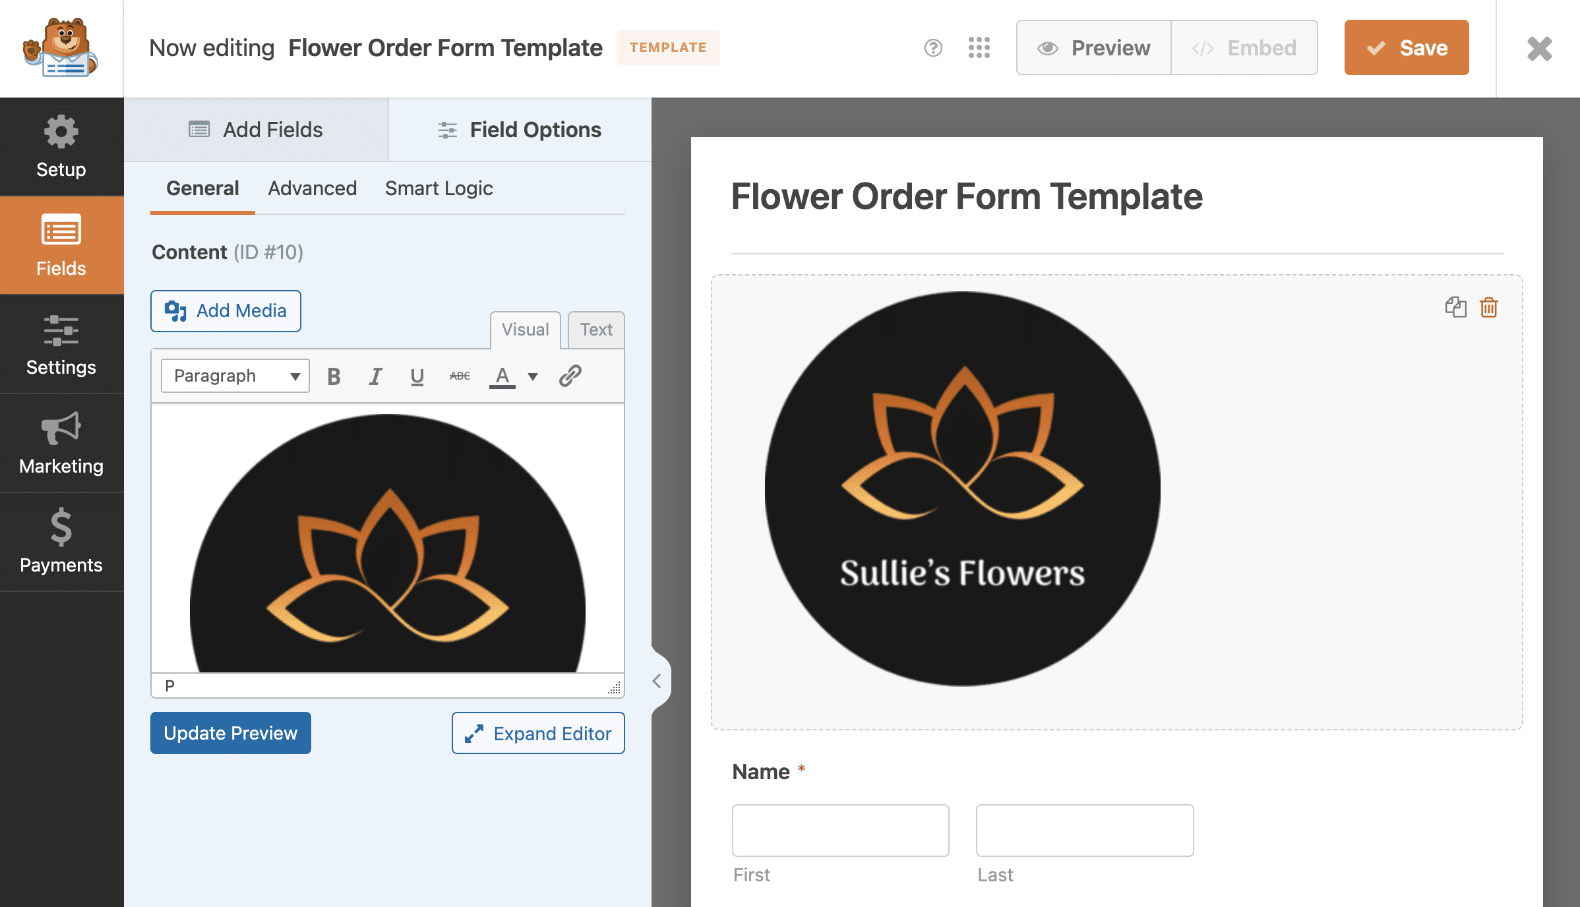
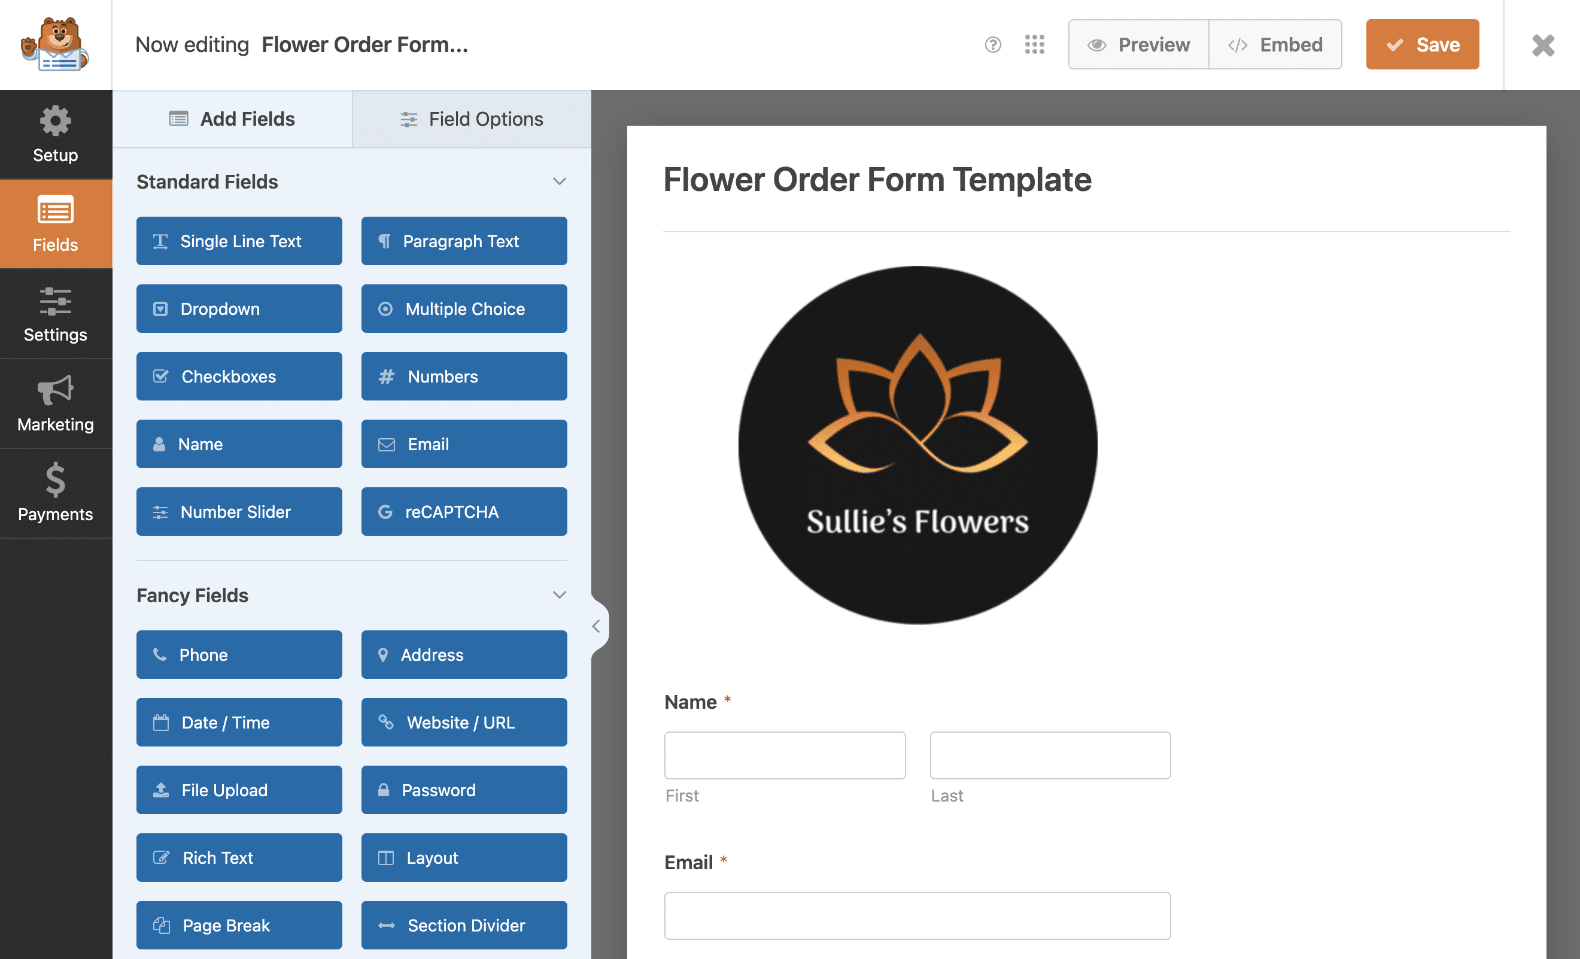
Finally, I’m going to add a Content field to the top of the form so that I can add a logo. Custom templates are especially handy if you want to add your branding to your reusable forms.
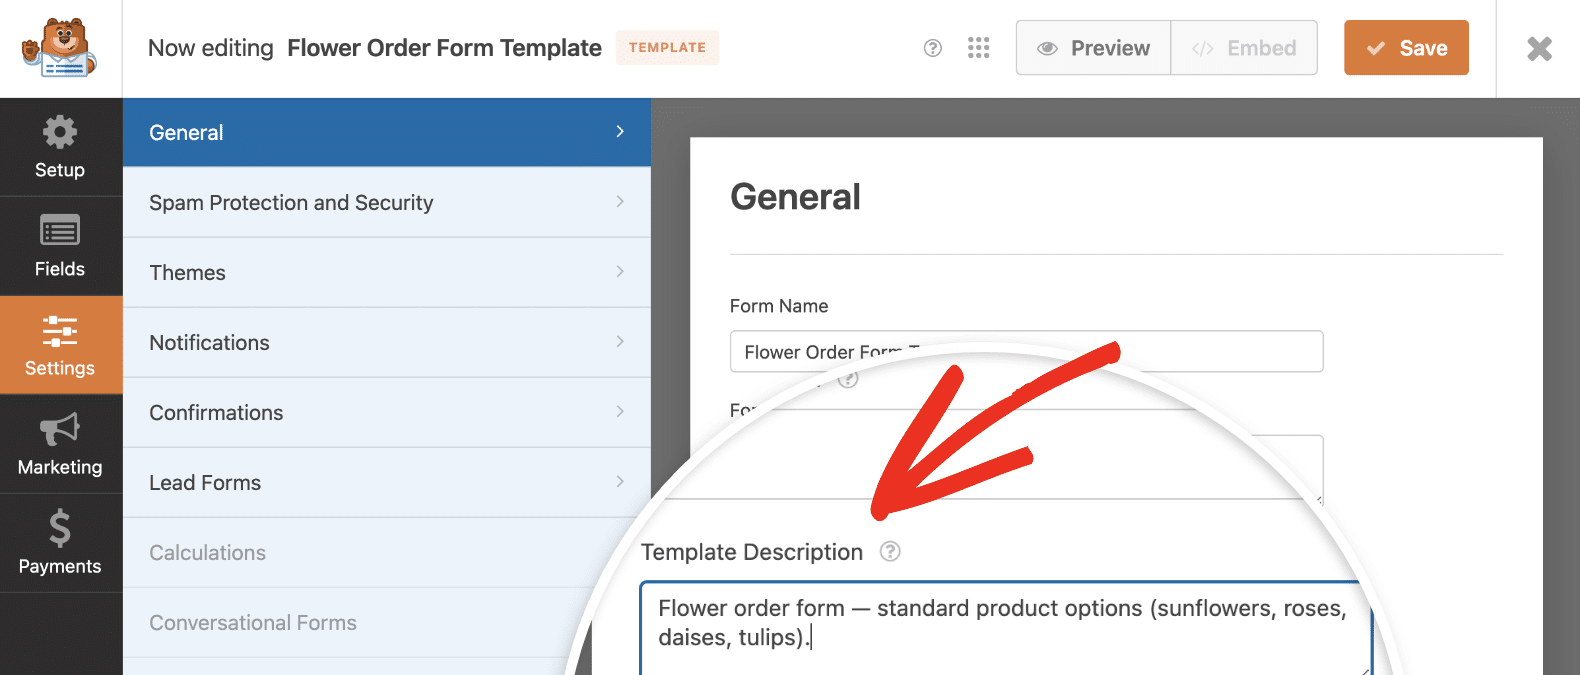
Now that I’m done editing the form, I’ll click on the Settings tab. Under General, I’m going to add a template description that will be visible in the template gallery on my site once I’ve saved this template.
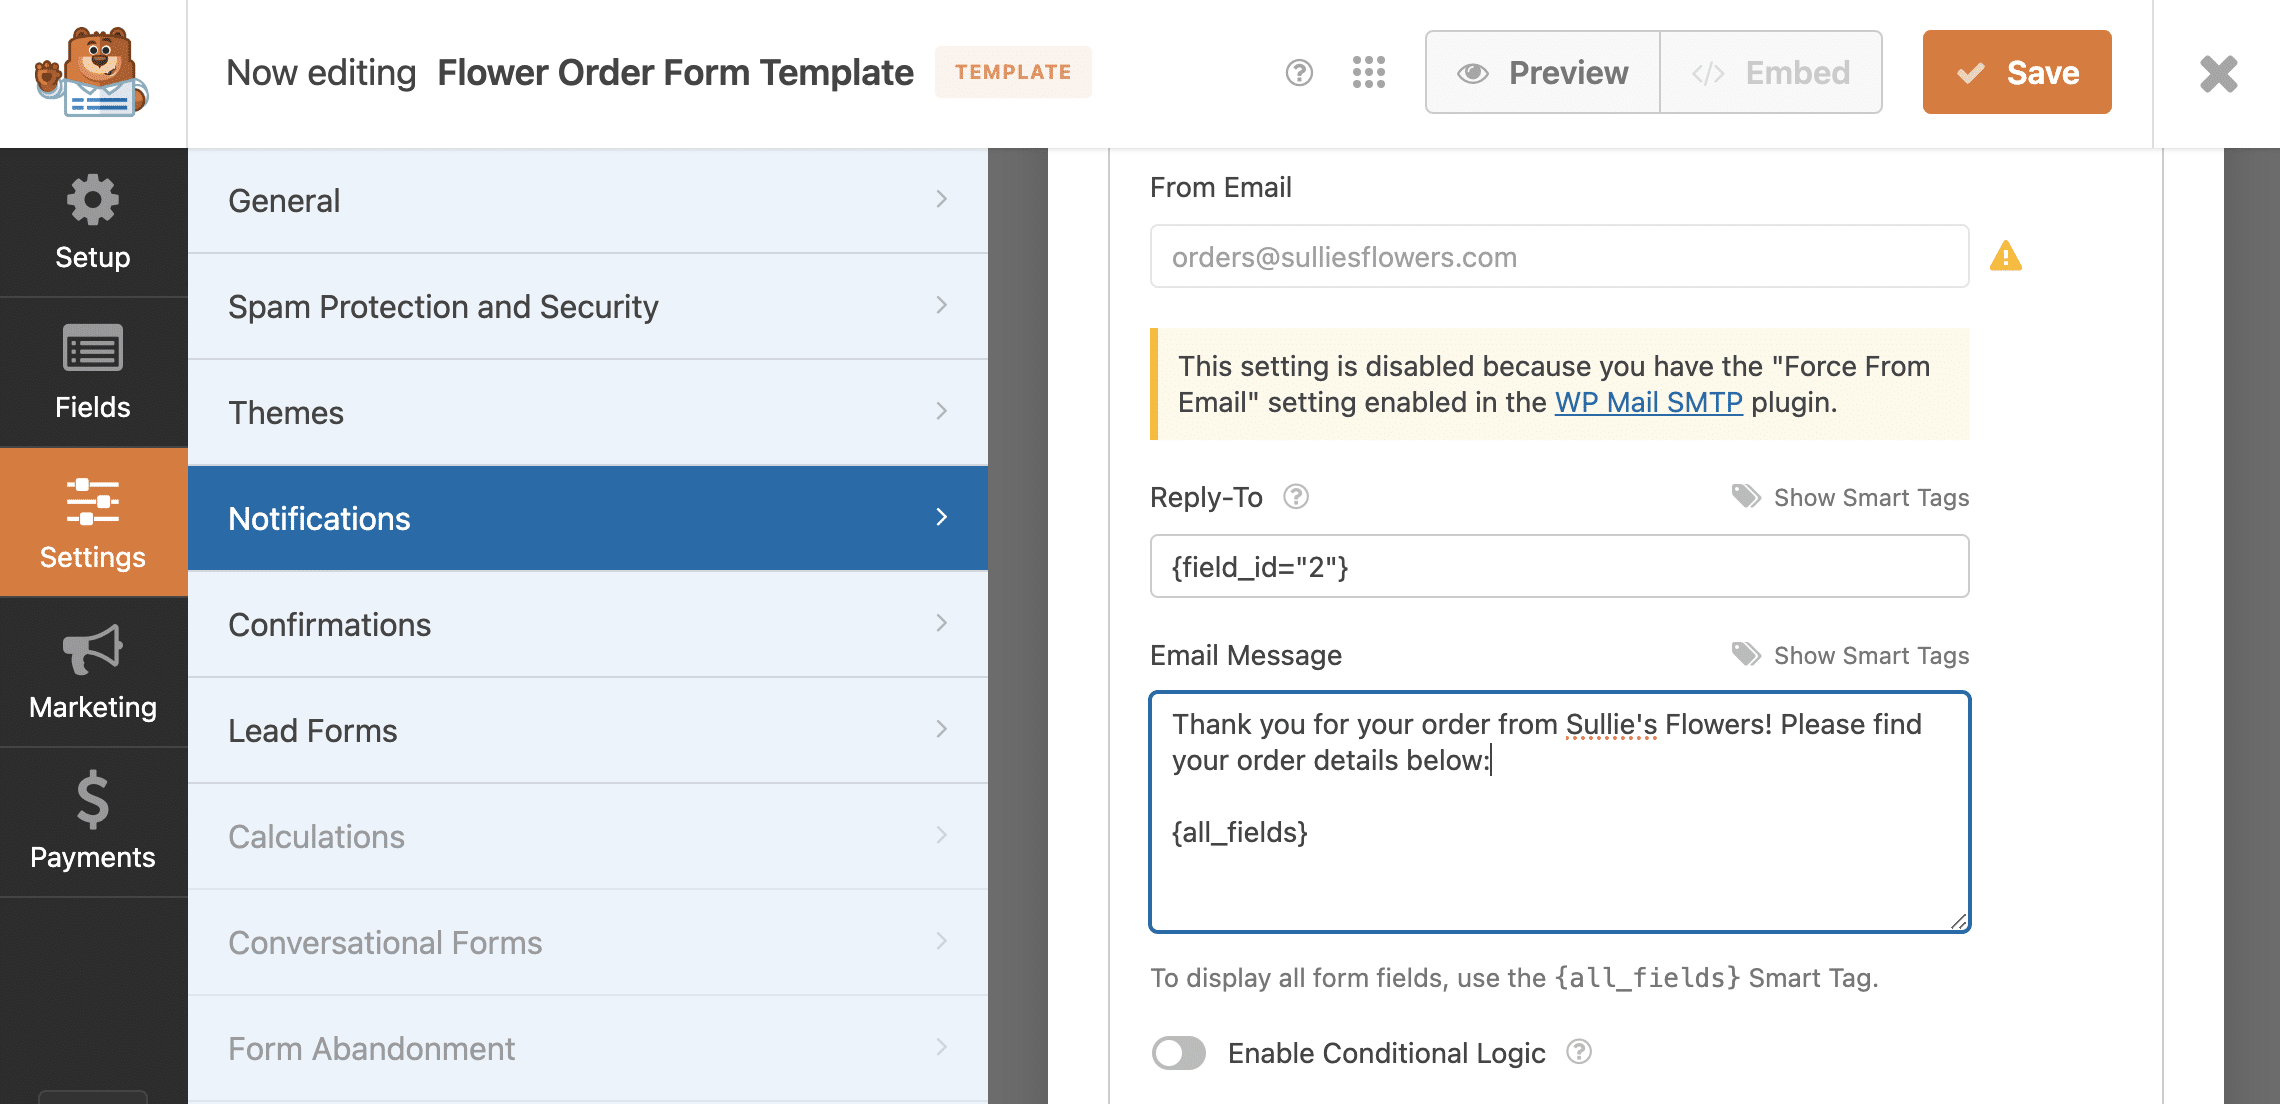
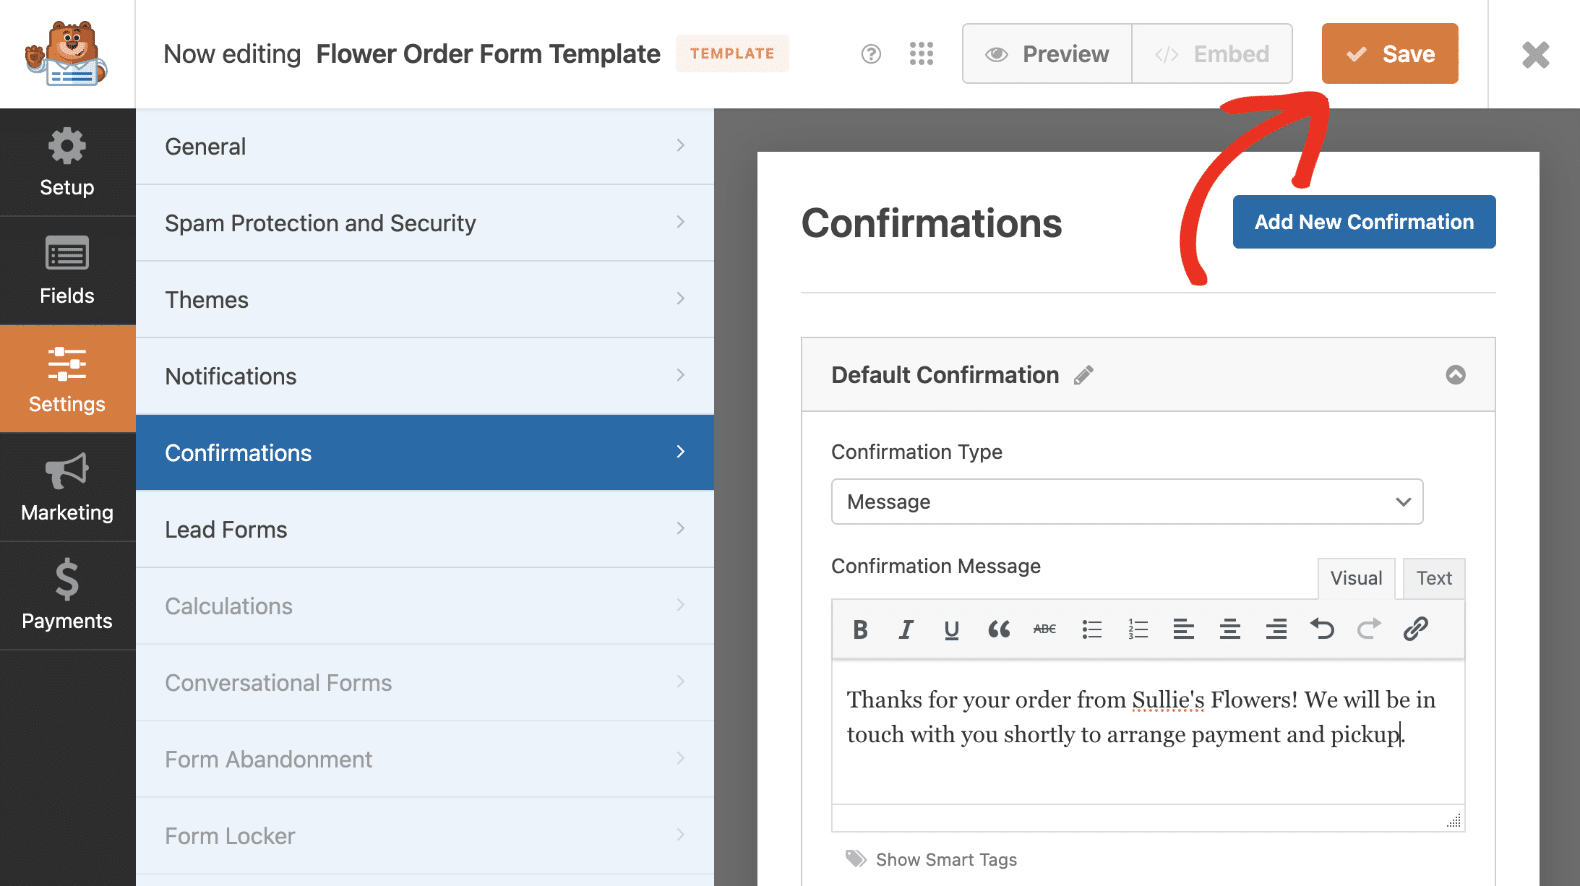
I’m also going to edit the email notification and confirmation message to include the brand name.
The template I’m creating doesn’t include any marketing or payment integrations, so I’ll skip those and click Save to update my template.
Step 3: Use Your Custom Form Template
After you save your custom WPForms template, you can find it with all the other templates in gallery. Navigate to WPForms » Form Templates and click on My Templates to view your custom templates.
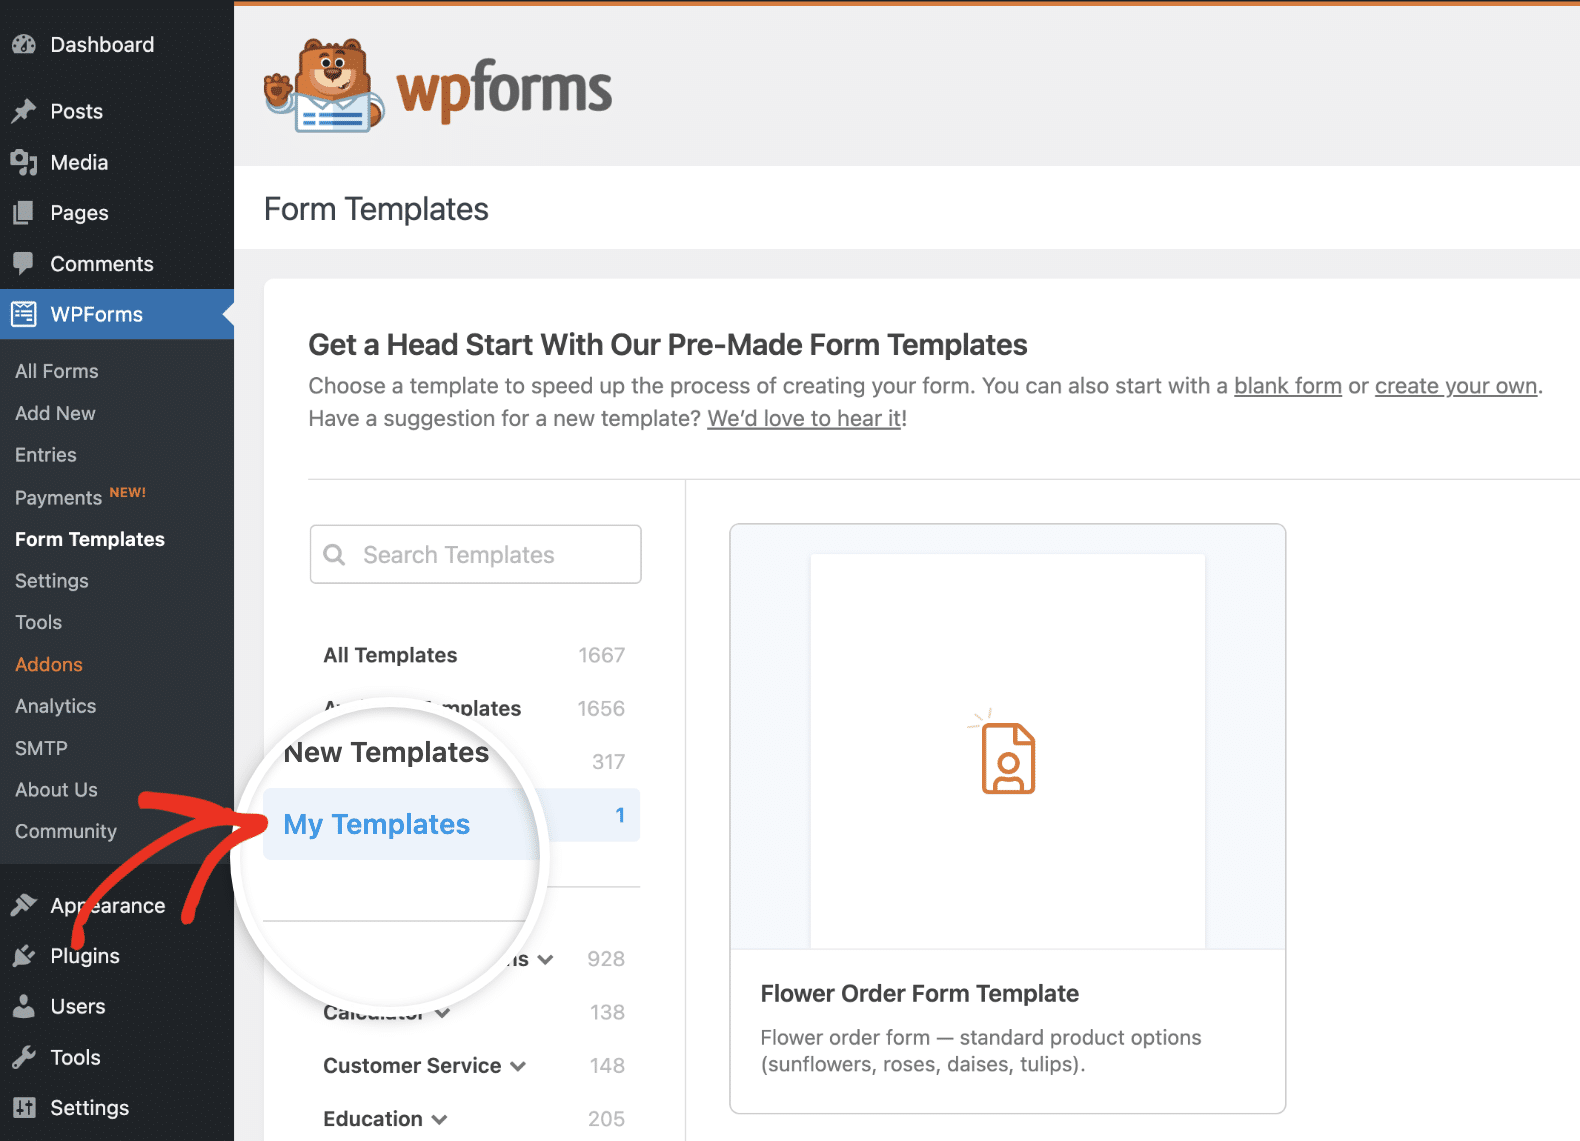
You can see my new order form template above. To use it, all I need to do is click Create Form.
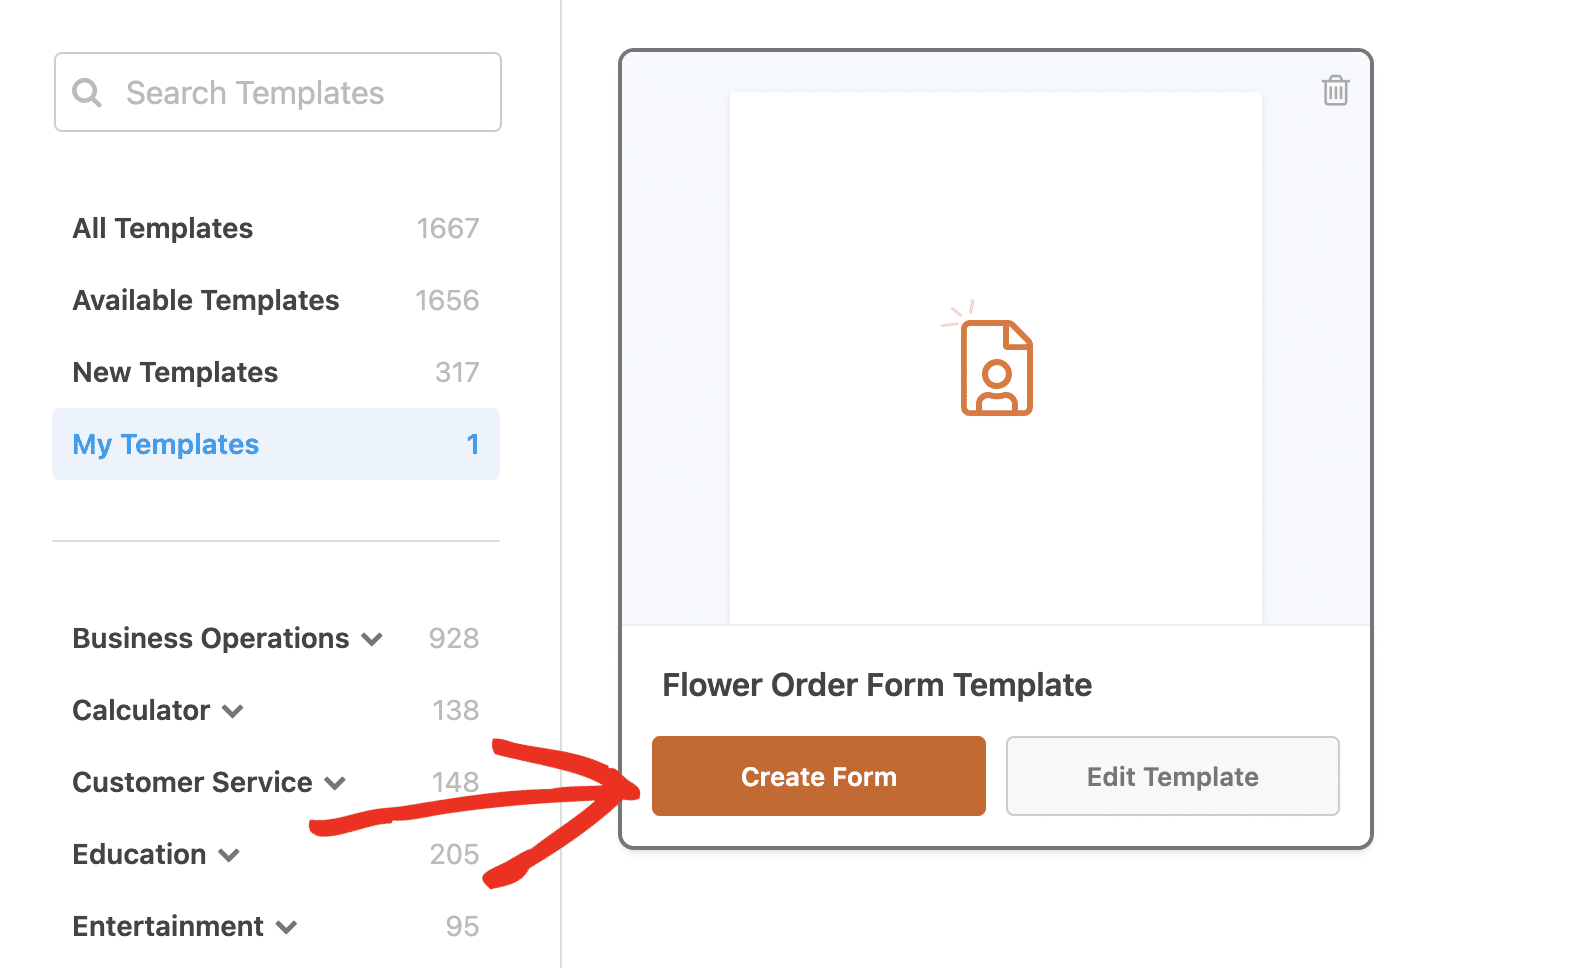
You can see there’s also a button here to edit the template if I decide I want to make more changes to it.
Once my template loads in the form builder, I can customize and embed my order form just like I would any template from the WPForms Templates Gallery.
Deleting Custom Form Templates
If you decide you no longer need a custom template you’ve created, you can delete it from your site by going to WPForms » Form Templates » My Templates and clicking on the trash icon for the template you want to remove.
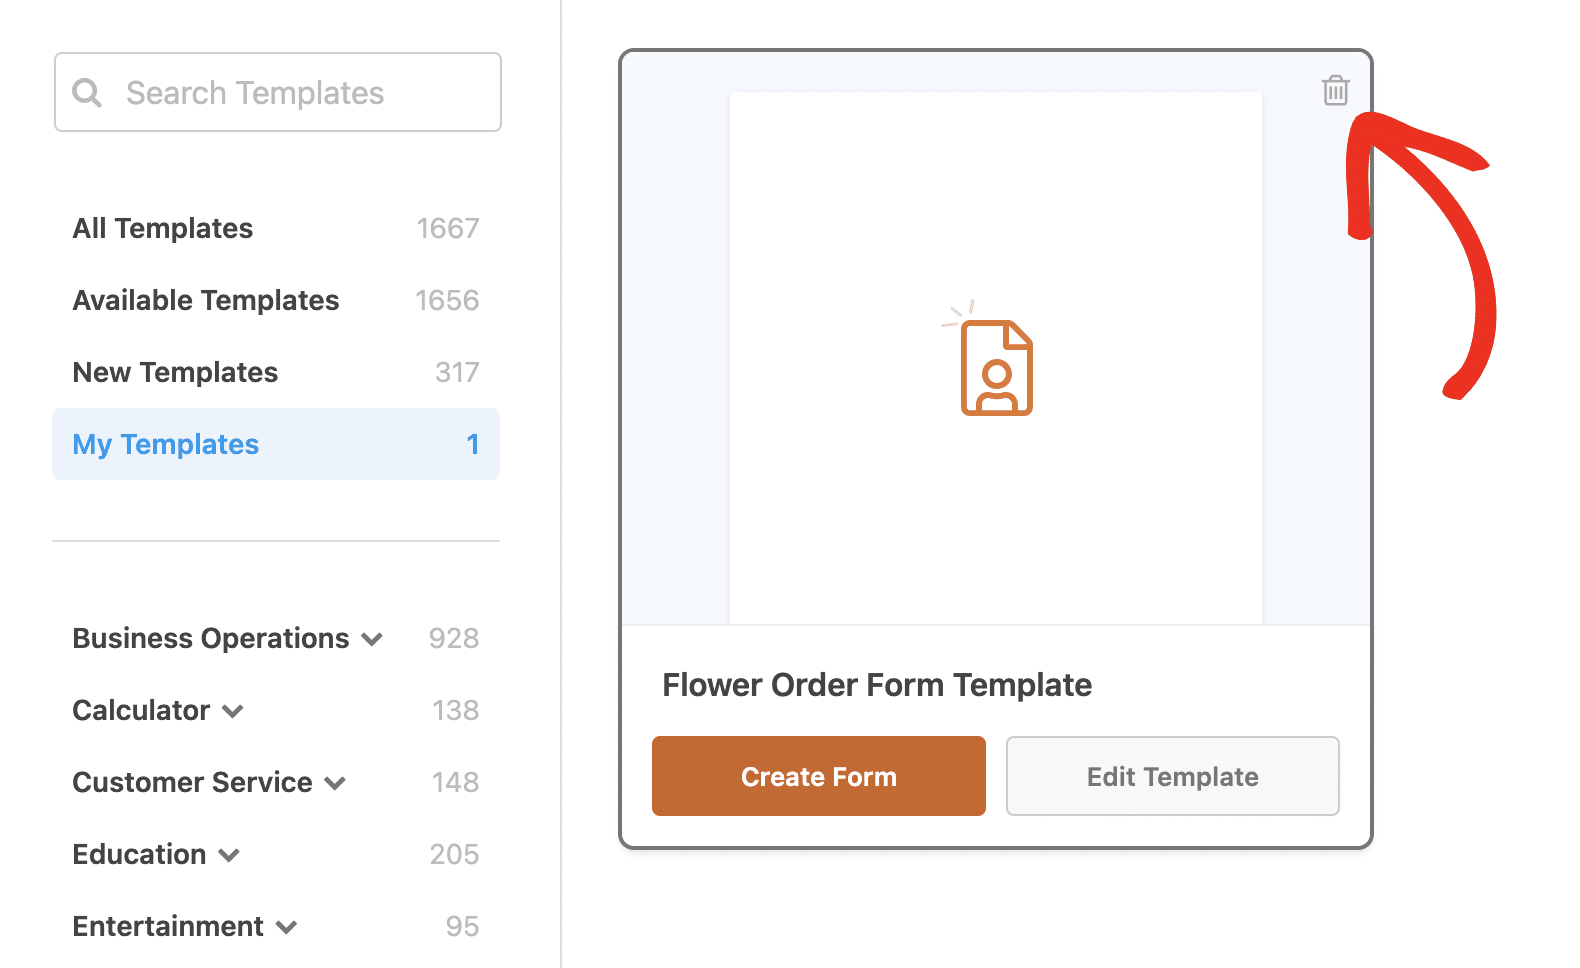
This only deletes the template itself, not any forms you’ve published that use this template.
FAQs on Custom Form Templates
Have questions about custom form templates in WPForms? Here are some top answers.
Can I use my custom form template on another site?
Your custom form template will only be available on the site where you created it. The My Templates section for each site is unique.
However, you can export your form template, then upload it to another site and save it as a template there.

Check out our documentation on this process for detailed step-by-step instructions.
Next, Customize Your Email Notifications
As you can see, making custom form templates in WPForms is really easy! It just takes a few clicks to get started.
Create Your Custom Form Template Now
Another way you can customize your forms is by using email templates to style your notifications. Check out how to style your email notifications in WPForms to learn how to add a header image, change the color scheme, and more.
Ready to customize your web forms from top to bottom? Get started today with the easiest WordPress form builder plugin. WPForms Pro includes lots of free templates and offers a 14-day money-back guarantee.
If this article helped you out, please follow us on Facebook and Twitter for more free WordPress tutorials and guides.

