AI Summary
Do you want to create Jira issues automatically using your WordPress forms? Jira is an online tool that allows you to track the issues and bugs related to your software projects.
In this article, we’ll show you how to create Jira issues from WordPress form submissions without any hassle.
Why Use a WordPress Form to Create Jira Issues?
Jira is a useful project management tool for developers. They can use this tool to keep track and prioritize their software-related bugs and issues.
Now, most of the bugs are usually found and reported by the users of the software. So you’ll have to manually create new issues in your Jira account once they are reported.
However, this can be a time-consuming task for you.
The best solution is to start a WordPress site and then use the WPForms plugin to create a bug submission form.

In case you don’t know, WPForms is a user-friendly form builder plugin. You can easily use its drag-and-drop interface to create any kind of form and then embed it on your WordPress site.
Next, you’ll have to connect that form to your Jira account with the help of Zapier. This will help you to create new issues automatically in your Jira account whenever someone submits the form.
So without further ado, let’s take a look at the step-by-step process of creating Jira issues from WordPress form submissions.
How to Create Jira Issues from WordPress Form Submissions
In This Article
Step 1: Create a WordPress Form
To get things started connecting Jira and WordPress, you’ll have to create a bug submission form with the help of the WPForms plugin.
So install and activate the WPForms plugin if you haven’t already done that. You can follow the step-by-step guide on how to install a WordPress plugin for detailed instructions.
Now you need to go to WPForms » Add New from the left sidebar of your WordPress admin panel. This will take you to the setup page where you can choose a template for your form.
WPForms comes with 2,000+ WordPress form templates to help you get started quickly. There are 2 you can use to collect bug reports and send them to Jira.
Here’s a quick side-by-side comparison of the fields they include:
| Bug Report Form Template | Bug Tracker Form Template |
|---|---|
| Name | Name |
| Where was the bug found? | Describe what happened or steps to reproduce the issue |
| URL where the issue occurs | Operating System |
| Support ticket URL | Browser |
| Expected behavior | Severity |
| Current behavior | Upload a screenshot |
| Steps to reproduce | |
| Screen recording or screenshots |
In the Select a Template section, you need to search for the one you want to use. For our example, we’ll use the Bug Tracker Form template.
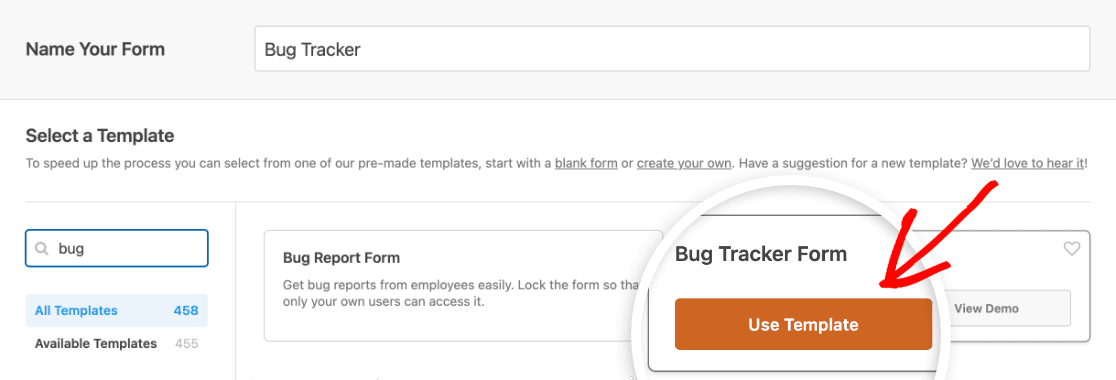
Keep in mind that you can completely customize any template in WPForms, so you can always add or remove fields if you need to.
For example, you should add a Single Line Text field to this form and label it “Subject.” This field will be used by your users to write a brief description of the bug or issue.
Adding a field is as simple as dragging it from the left side of the form builder into the preview area on the right. Then just click on the field to open its field options, where you can change the label and more.
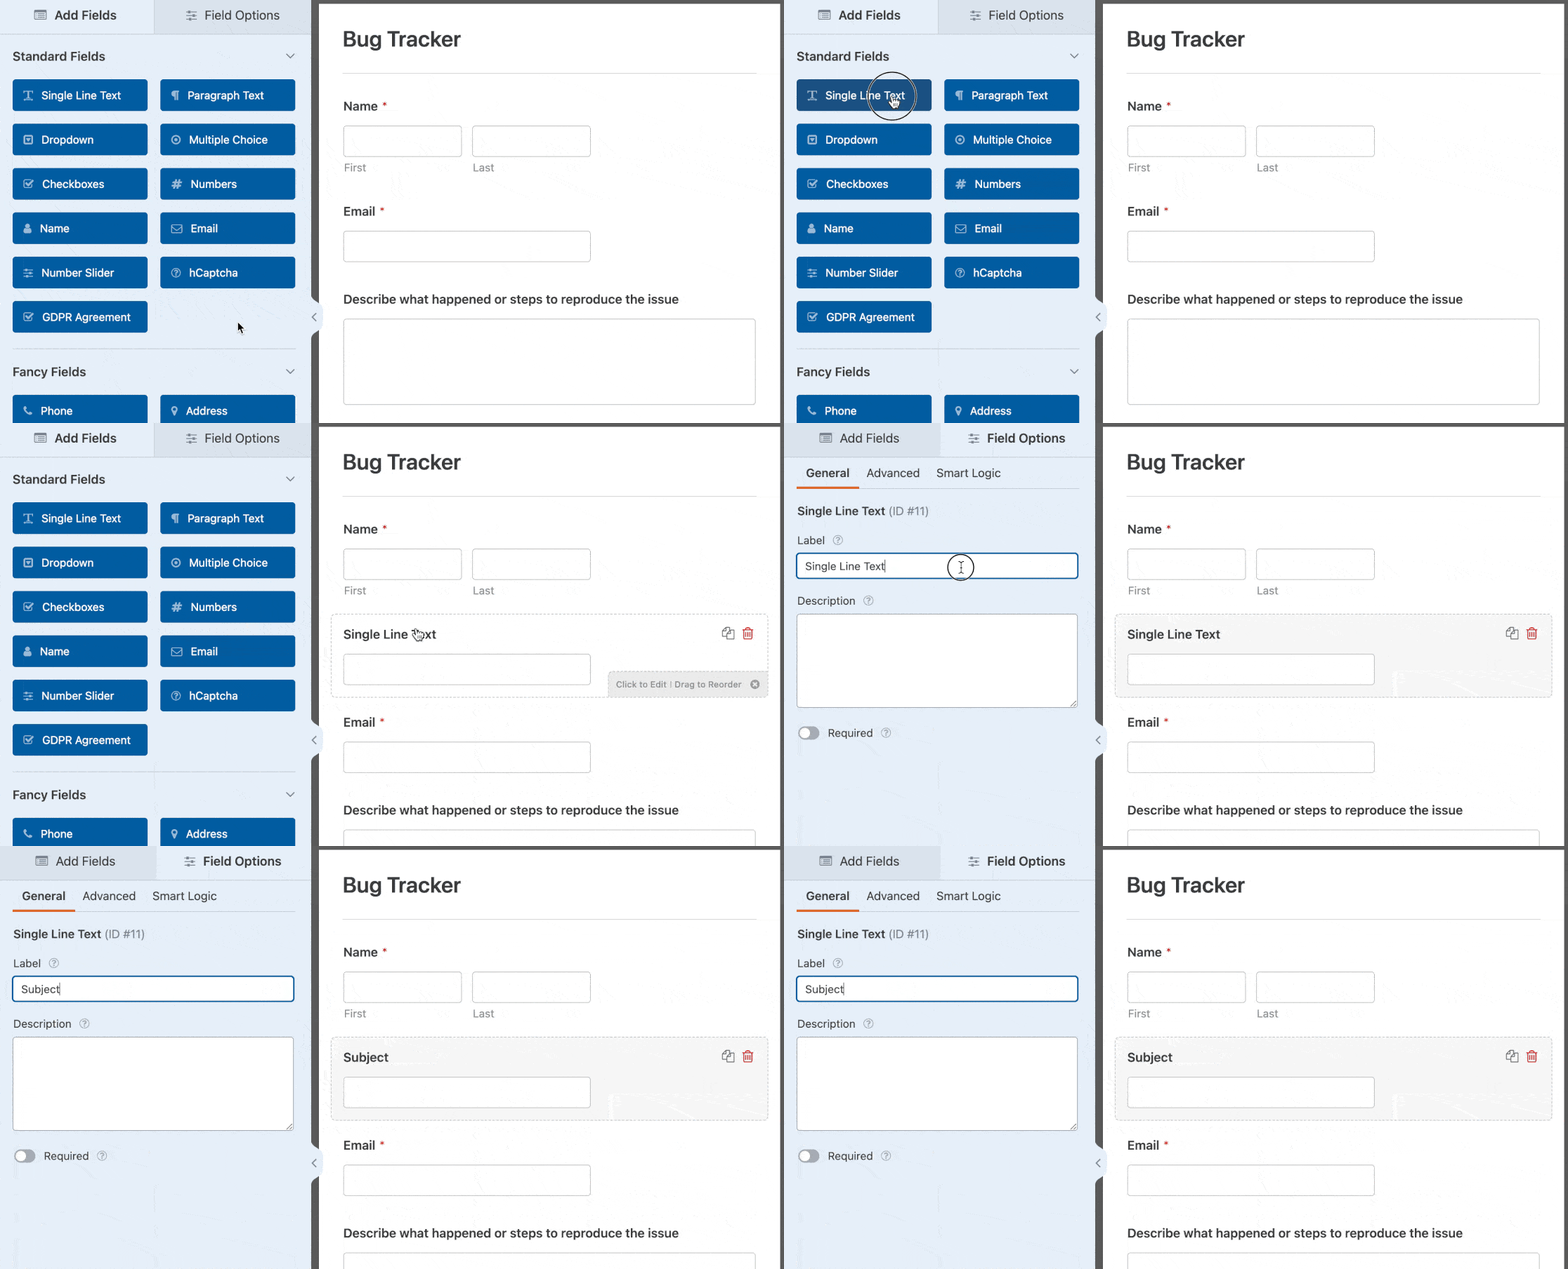
You can also go to the settings page to configure the email notifications and the confirmations settings of this form.
Once you’re done, you need to save the changes by clicking on the Save button in the top right corner of your screen.

Step 2: Add a Test Entry to Your Form
The next thing you need to do is add at least one test entry to your form. This will be required later for testing the connection between WPForms and Jira.
Let’s use the preview option of the form to add a test entry.
First, you need to head over to the WPForms » All Forms page to view all your forms. And then hover your mouse cursor over the title of the bug tracker form.
You’ll now see some options below the title of your form. Go ahead and click on the Preview link to open your form in a new tab of your web browser.
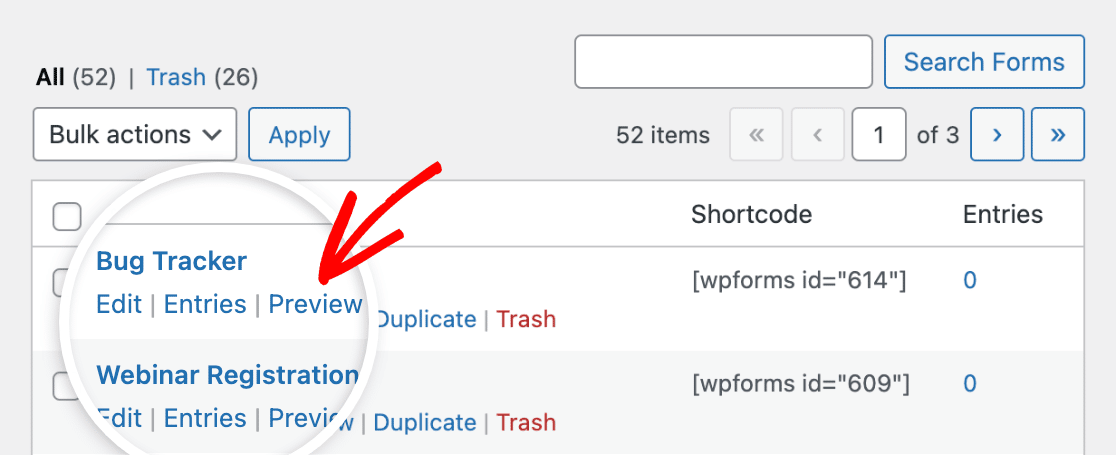
Finally, you need to fill in the form and then click on the Submit button to create a test form entry.
Step 3: Install Zapier Addon
It’s time to install the Zapier Addon on your WordPress site.
Wait! What is Zapier? Zapier is an automation tool that allows you to do a continuous task by connecting 2 or more apps.
And we’ll be using Zapier to connect WPForms and Jira so that your site visitors can create issues in your Jira account automatically.
To get started, you need to go to the WPForms » Addons page and then search for the Zapier addon. Once you find it, you need to install and activate the addon.
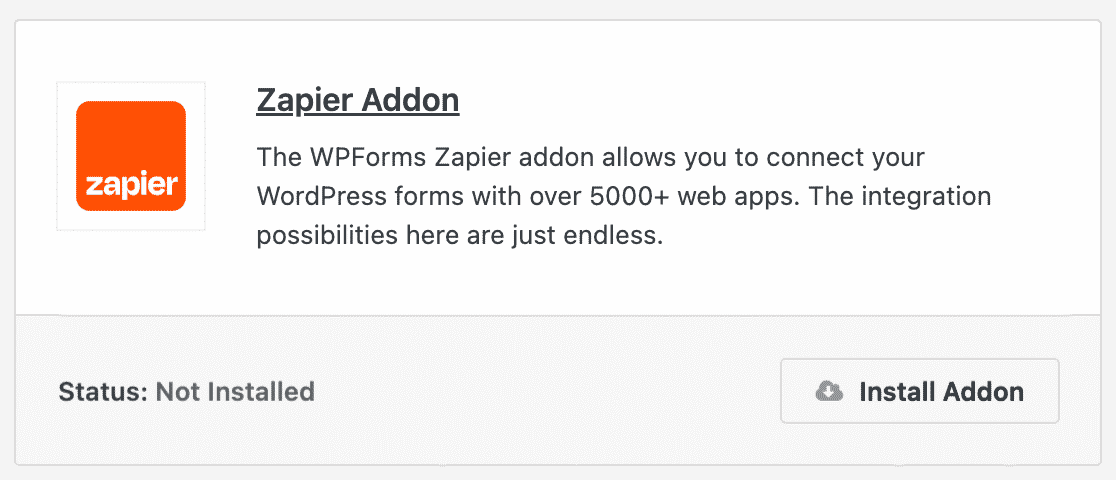
The next thing you need to do is get the Zapier API key for your website. This will be required to connect your WPForms account to Zapier.
So head over to the WPForms » Settings page and then click on the Integrations tab. Here you’ll have to click on the Zapier icon to view the API key of your site.
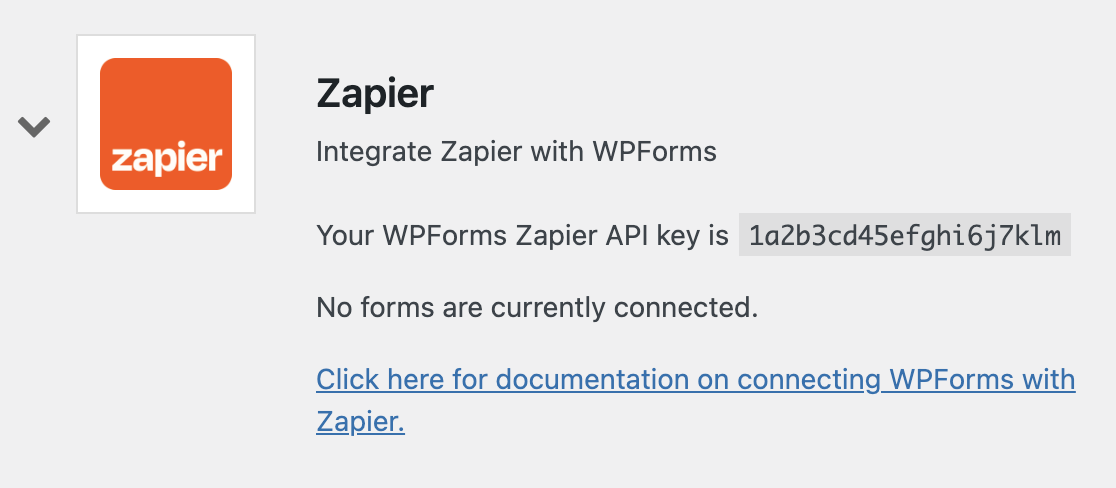
You should keep this page open as we’ll be using this API key in Step 5.
Step 4: Create a New Zap
A Zap is a process of connecting 2 or more apps in Zapier. And in this step, you’ll have to create a new Zap to connect WPForms to Jira software and Jira project.
So to continue setting up Jira and WordPress, first, you need to open the Zapier website in a new tab of your web browser. Here you can create a new account or log in to your existing account.
On the Zapier dashboard page, you need to click on the Create Zap button, present at the top left corner of your screen. This will open a new page to start the configuration wizard.
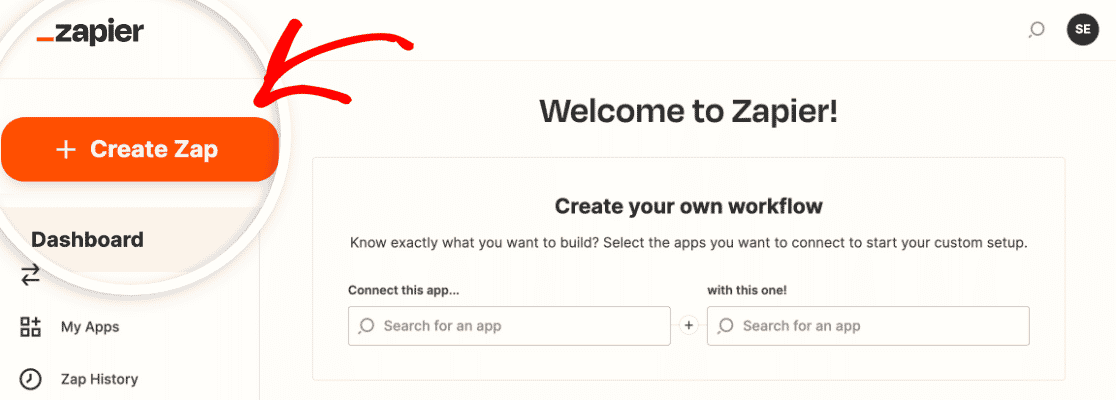
Before starting the process, let’s understand what we’re doing here.
A Zap requires 2 things to work properly: a trigger and an action. We’ll be configuring WPForms as the trigger app and Jira software as the action app.
This will make sure that a new issue will be created in your Jira account whenever someone submits the form on your website.
So without further ado, let’s proceed to the next step to set up the trigger app.
Step 5: Configure a Trigger App
First, you need to search for the WPForms app using the app search box. And then, you need to click on it once you find the app.
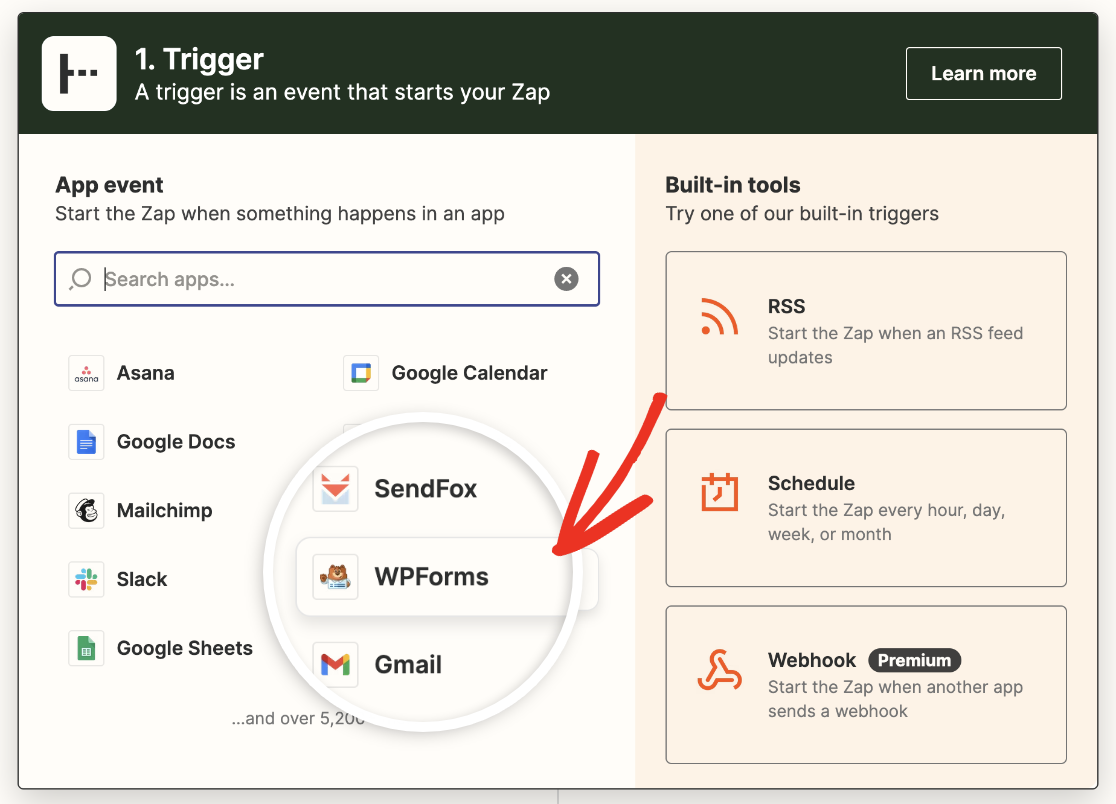
Zapier will now ask you to select a trigger app event.
Since WPForms offers just one trigger event option, select New Form Entry and then click on the Continue button to proceed.
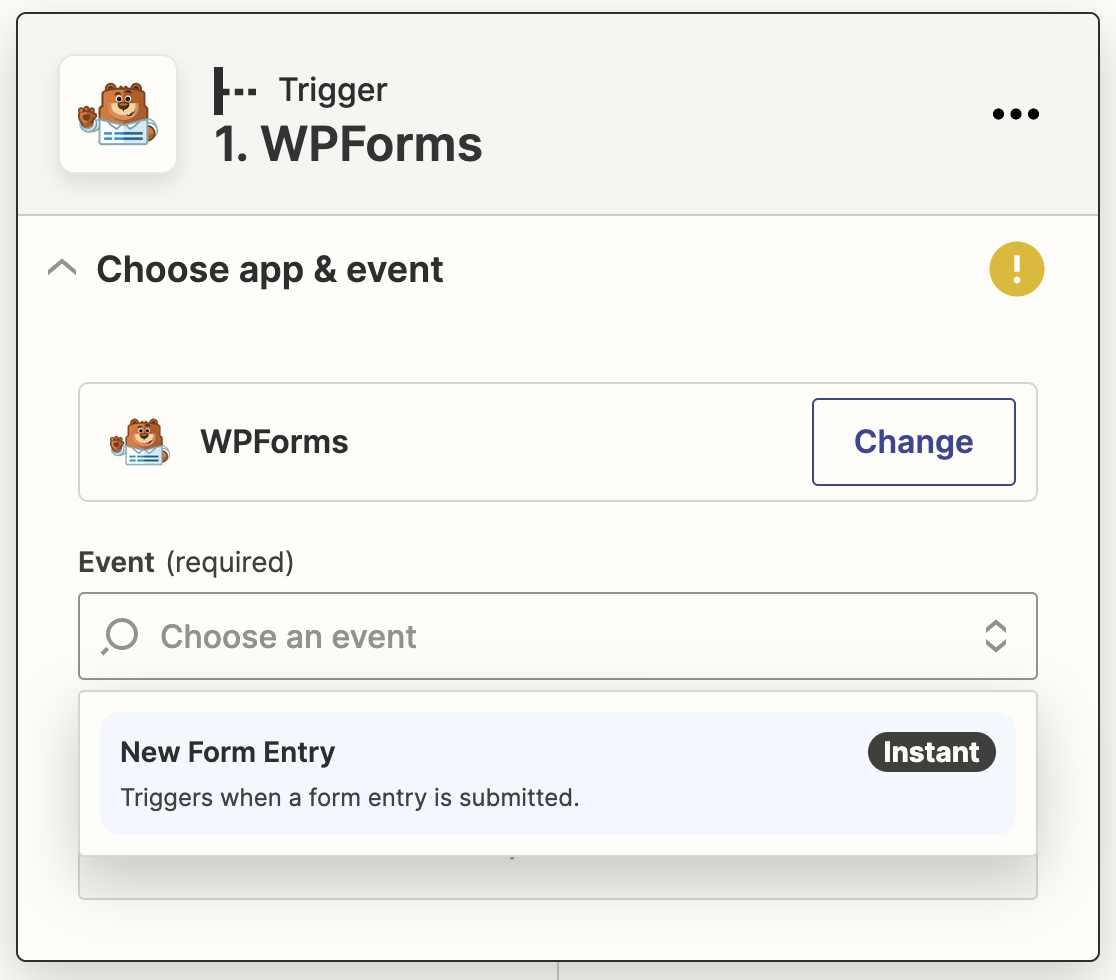
Next, you’ll have to connect your WPForms account to Zapier.
To do that, you need to click on the Sign in button.
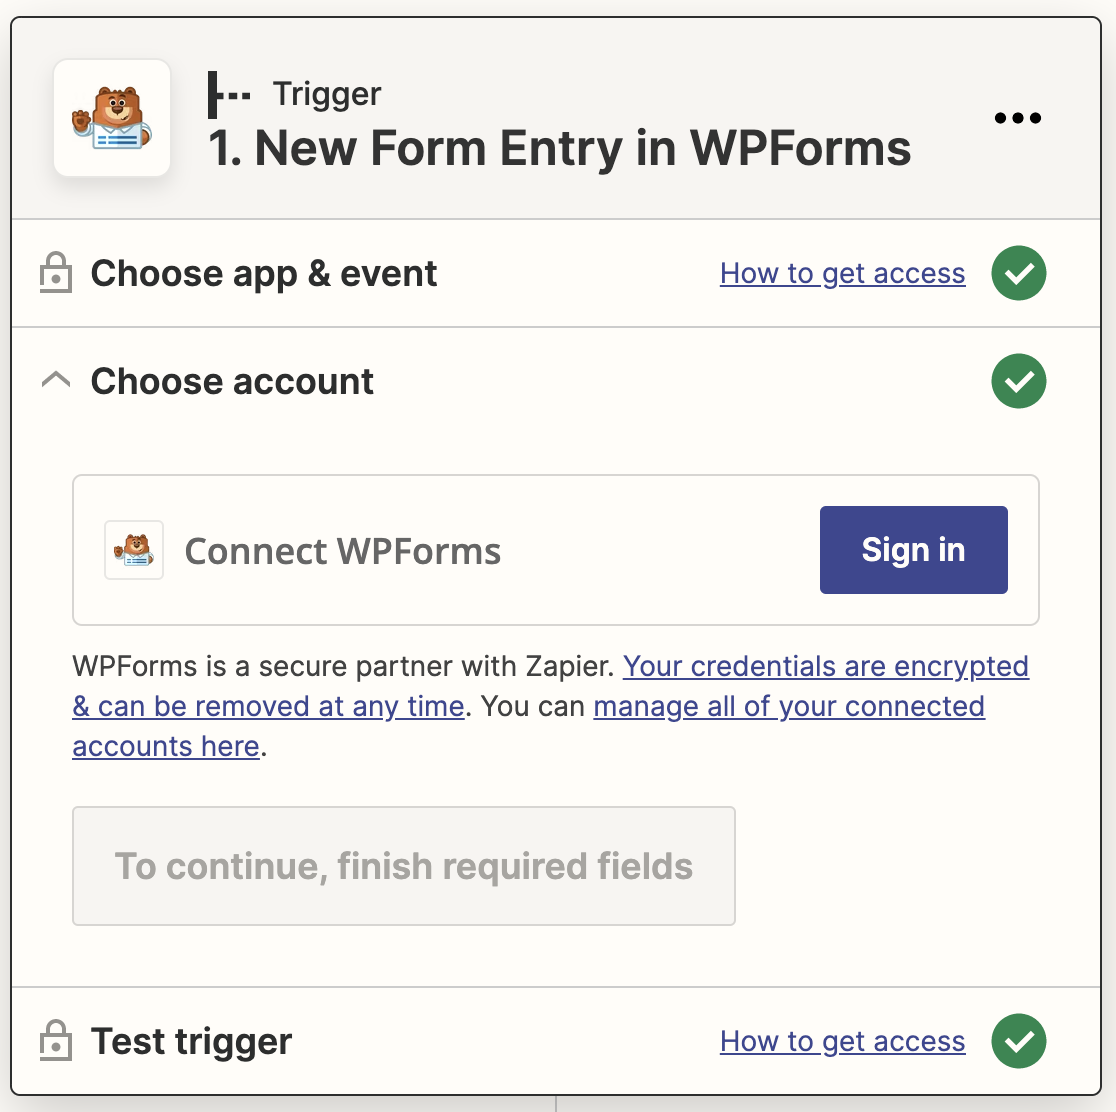
This will open a popup window where you need to enter your website URL and Zapier API key. You may go back to Step 3 to learn how to get the API key.
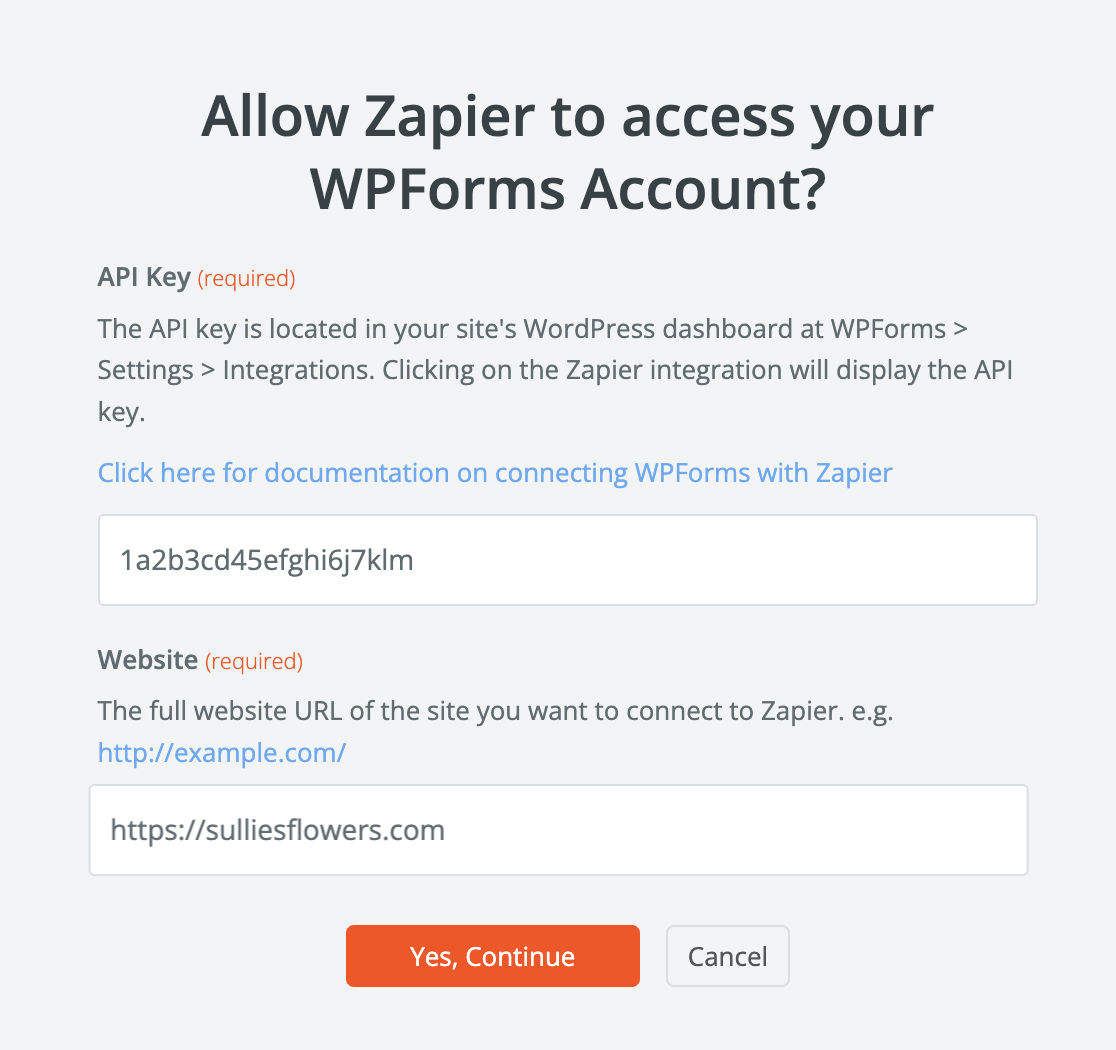
Once done, you need to click on the Yes, Continue button to connect WPForms to Zapier.
You’ll now see your WPForms account added to the Choose Account page. Click Continue again.
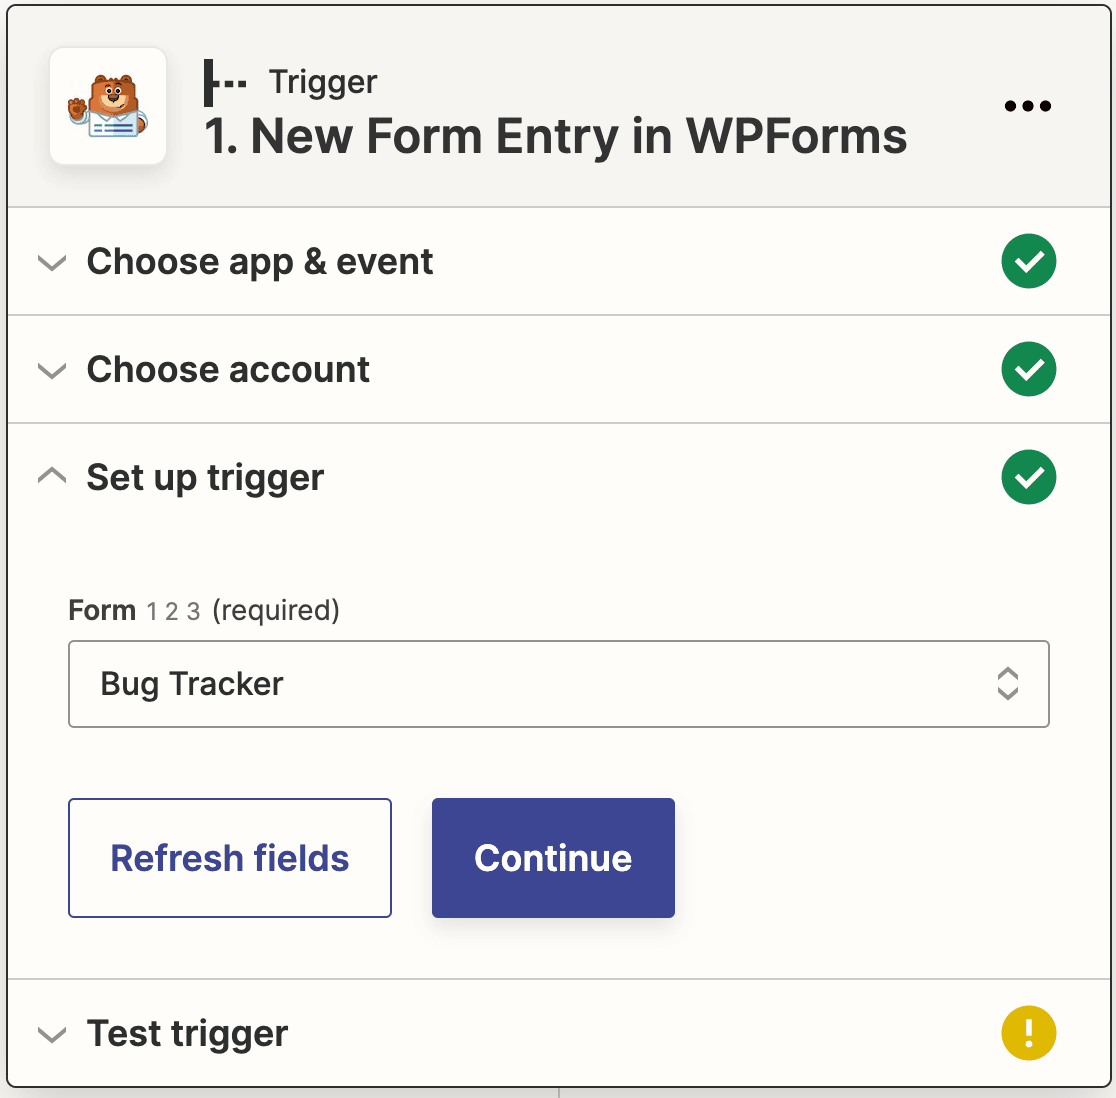
Now you’ll need to select which form you want to connect to Zapier. Choose your bug tracker form from the dropdown, then click Continue.
Zapier will now test your connection to WPForms. Click Test trigger to begin.
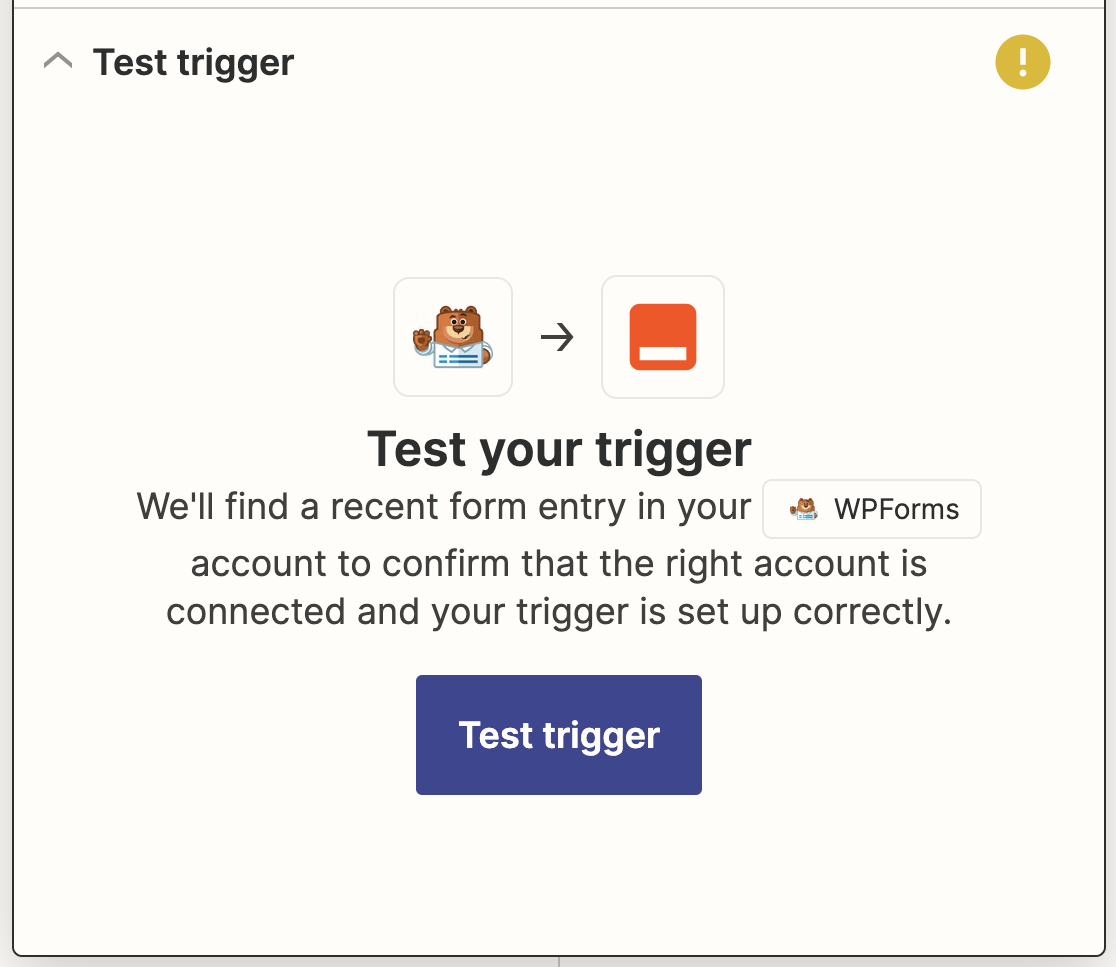
Zapier will try to pull up the test entry you submitted earlier. If it’s successful, you’ll see your entry.
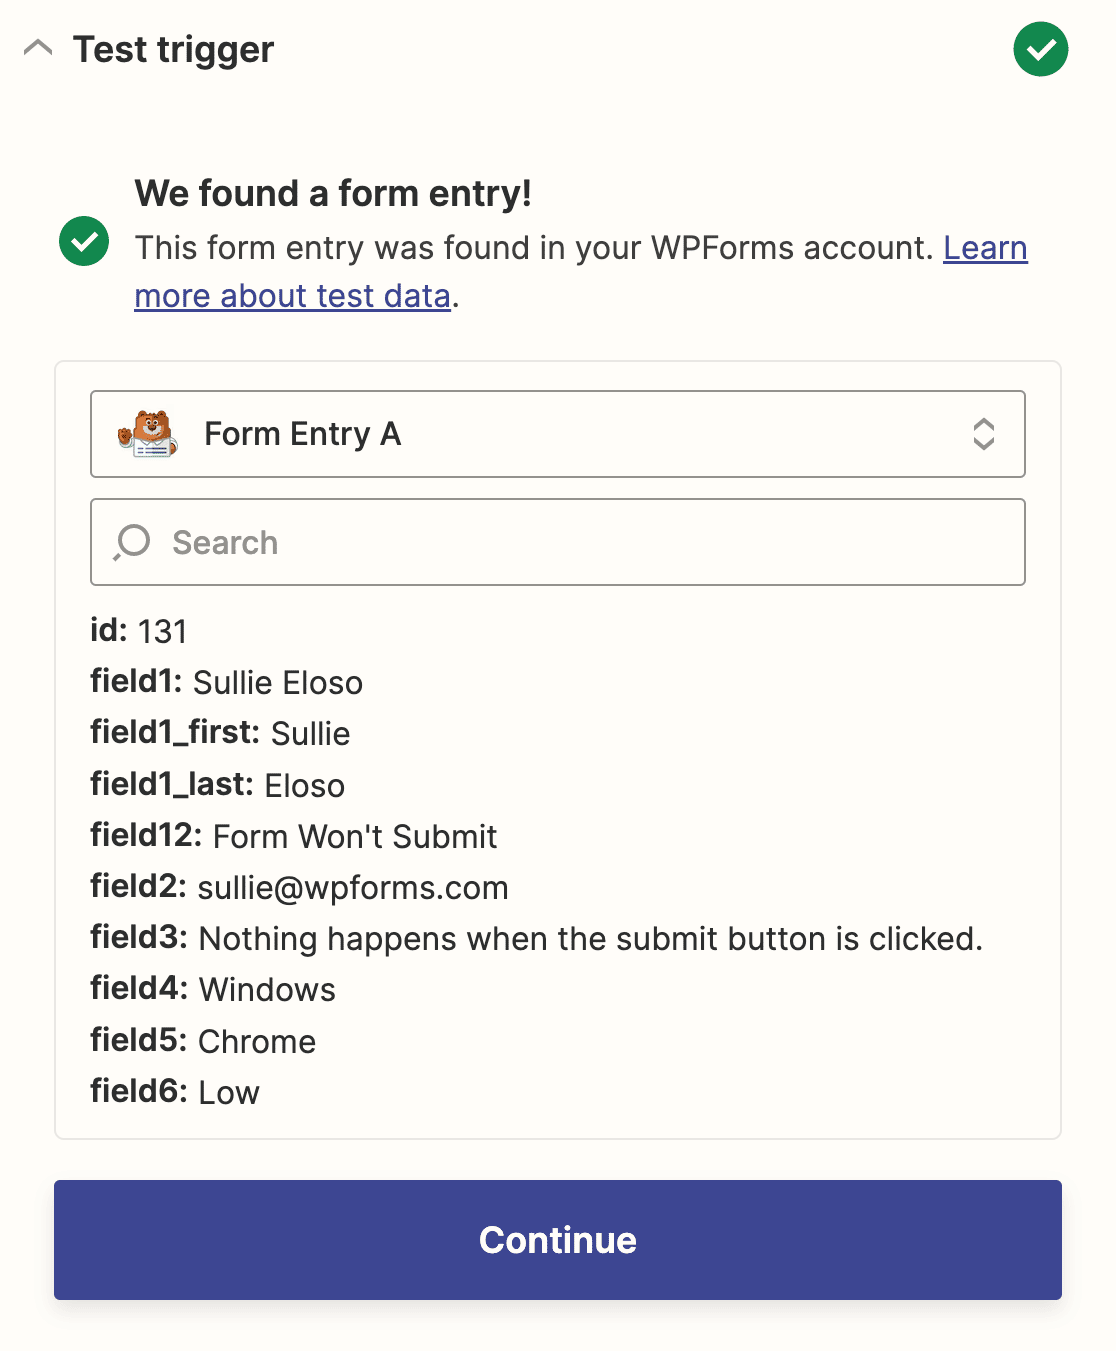
Click Continue to finish setting up the trigger app.
Step 6: Configure an Action App
To connect Jira to WordPress, let’s configure Jira software as the action app now.
To get started, you need to search for the Jira Software Cloud app using the search box and then click on it.
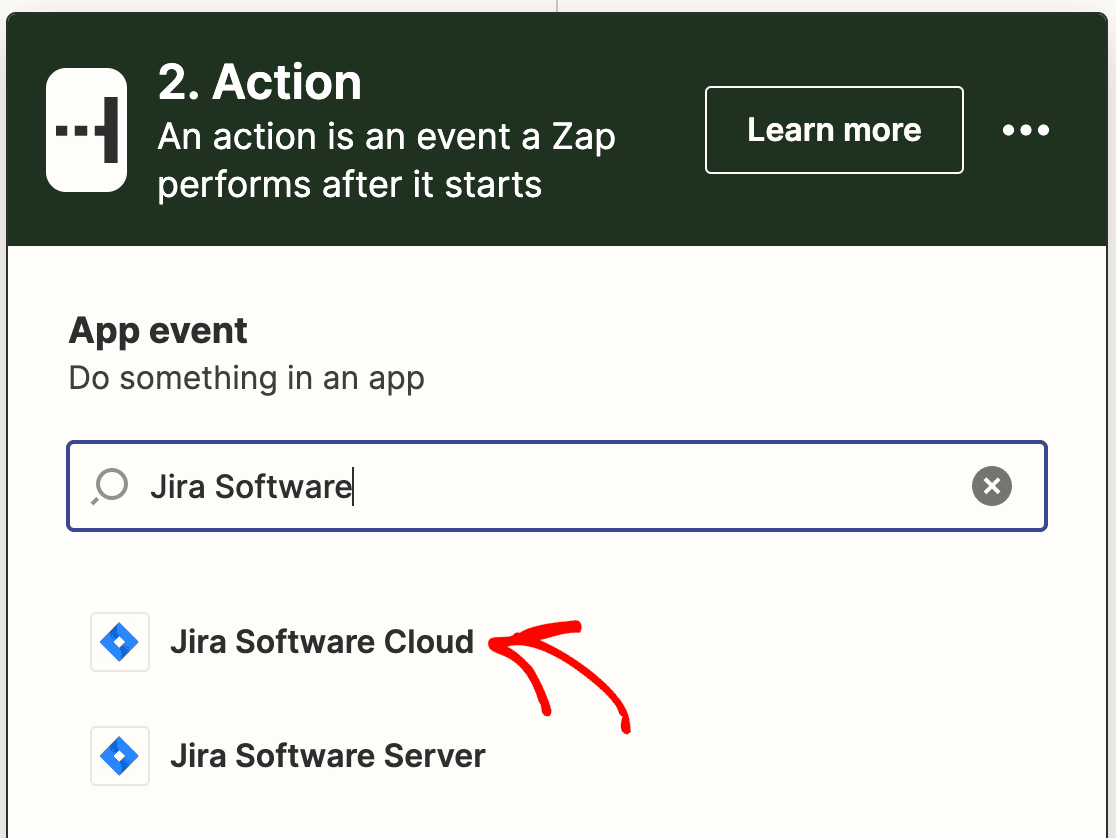
Next, you’ll have to select a Jira action that’ll happen when someone submits your form. Since we want to create a new Jira issue, go ahead and select Create Issue from the dropdown.
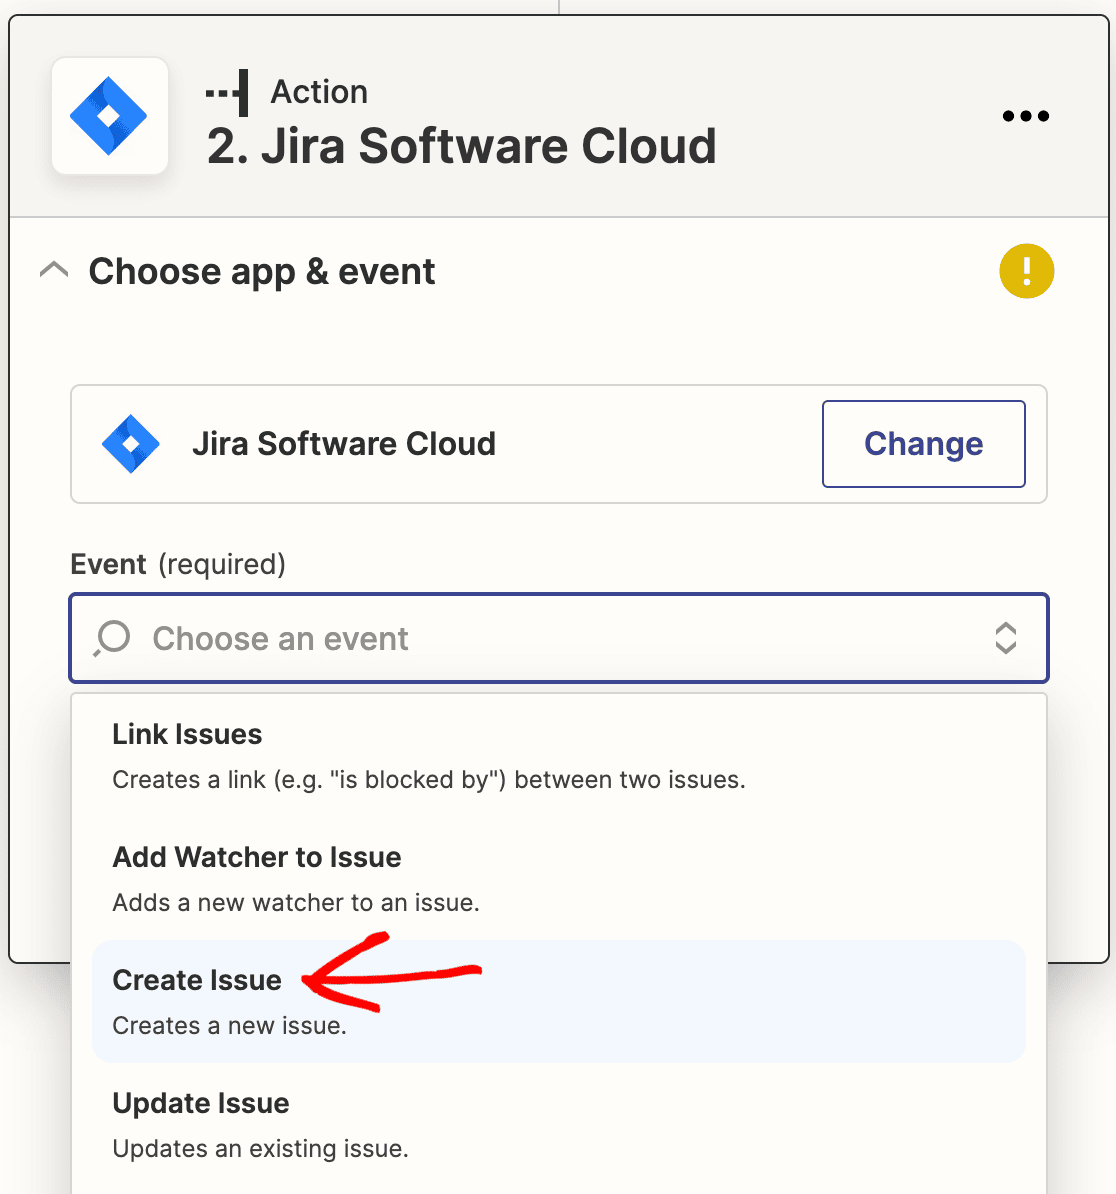
Then click on the Continue button to proceed.
Now you’ll have to connect your Jira account to Zapier. To do that, you need to click on the Sign in button.

This will open a popup window which will ask you to select the version of the Jira software that you use. So select “I use Jira Software Cloud” from the dropdown menu and then click on the Yes, Continue button.

Next, you’ll be asked to provide permission to Zapier so that it can access and create issues in your Jira account. So go ahead and click on the Accept button to connect your Jira account to Zapier.
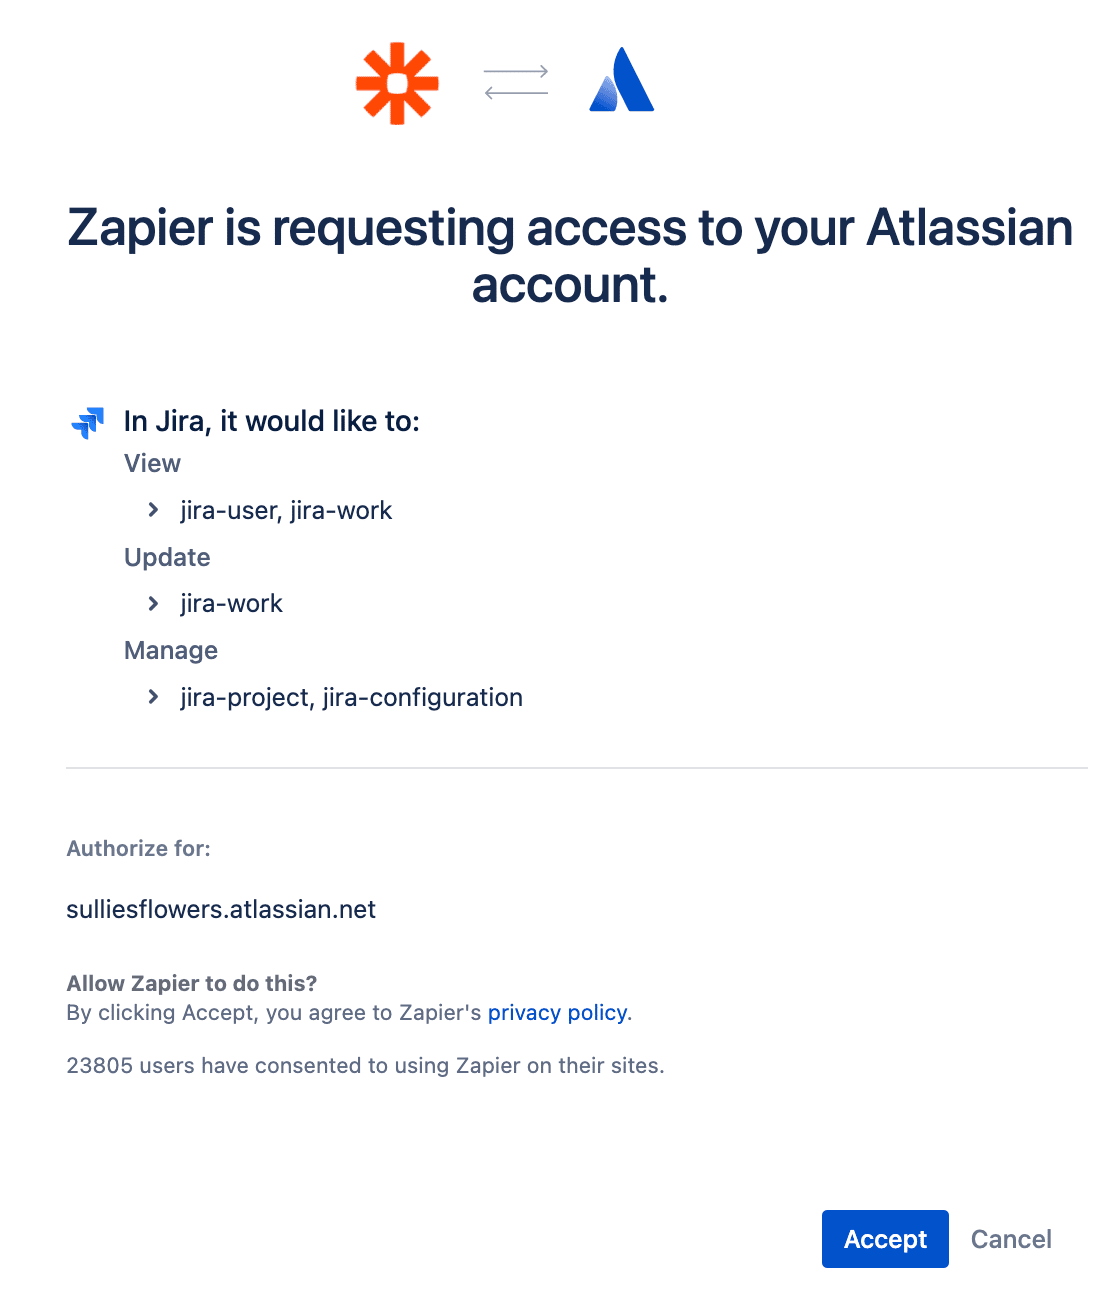
You’ll now see your Jira account added to the Choose Account page. Click Continue again to finish setting up and testing your action event.
Step 7: Set up and Test the Jira Issues Template
In this step, you’ll have to configure the Jira Issues template so it will work with WordPress. This template will be used by Zapier to create new issues in your Jira account.
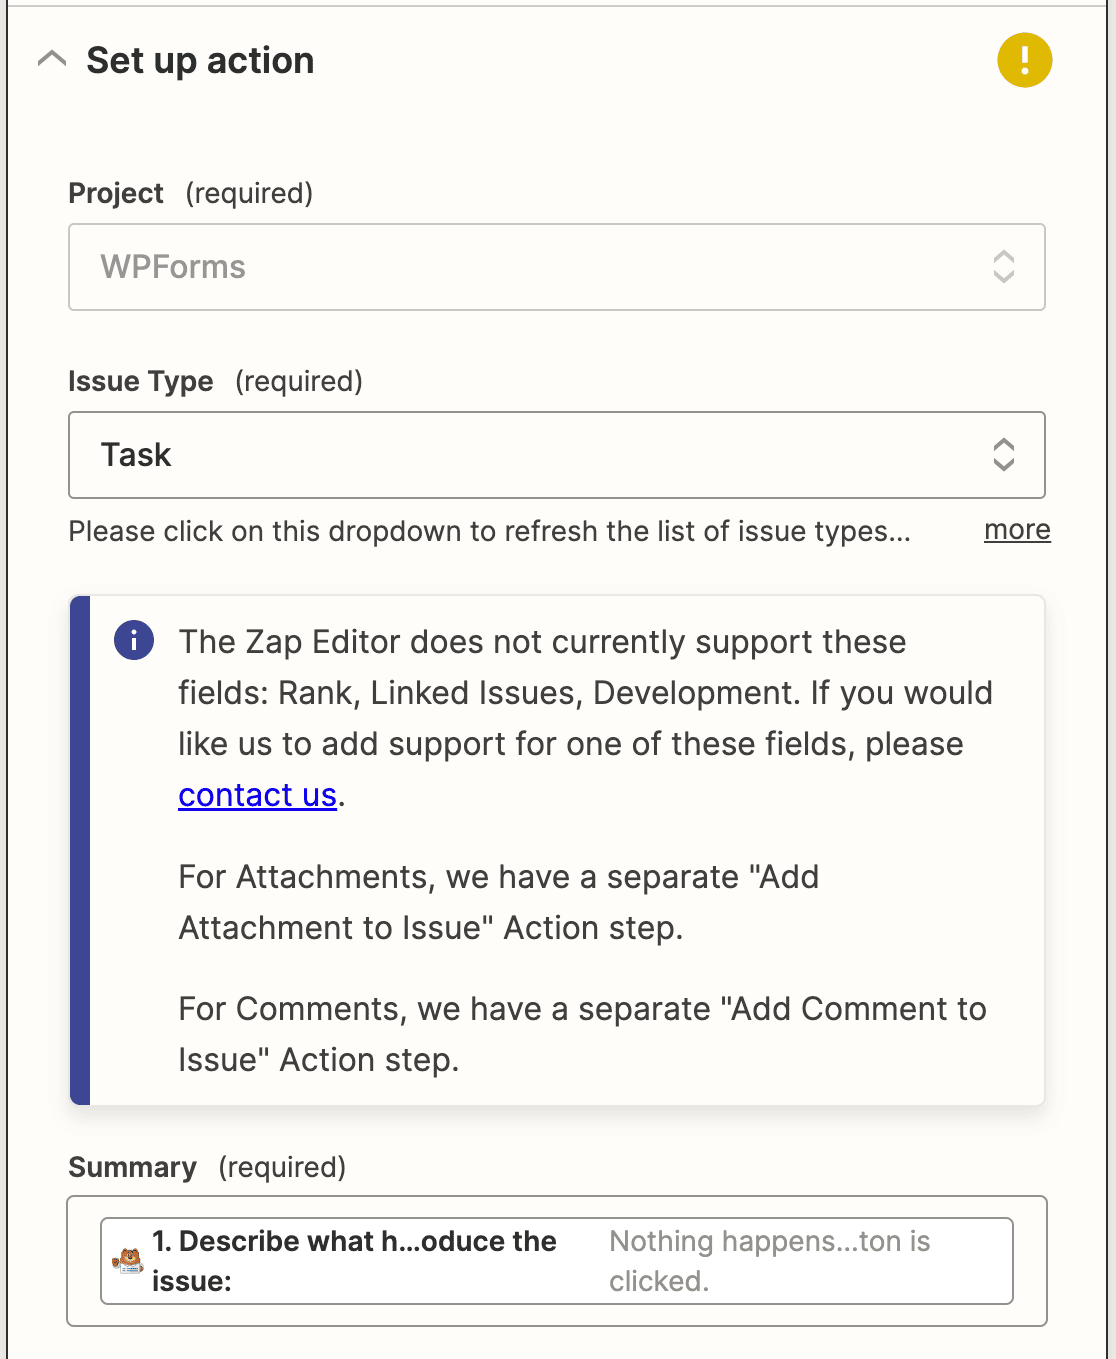
To complete this step, fill out the following fields:
- Project: Select the project where you want to create new issues. This will be fetched from your Jira account.
- Issue Type: You can create new issues as tasks or sub-tasks. Select your preference from the dropdown.
- Summary: A description of the issue. You can select a field from your bug tracker form to pull this information from. We chose the Describe what happened or steps to reproduce the issue field from the Bug Tracker Form template.
- Reporter: Select a user from your Jira account from the dropdown provided.
The rest of the fields are optional. You can fill them out or select fields from your form to fill in details. Then click Continue.
Now Zapier will test your Jira connection just like it did for WPForms. Click the Test & continue button to start.
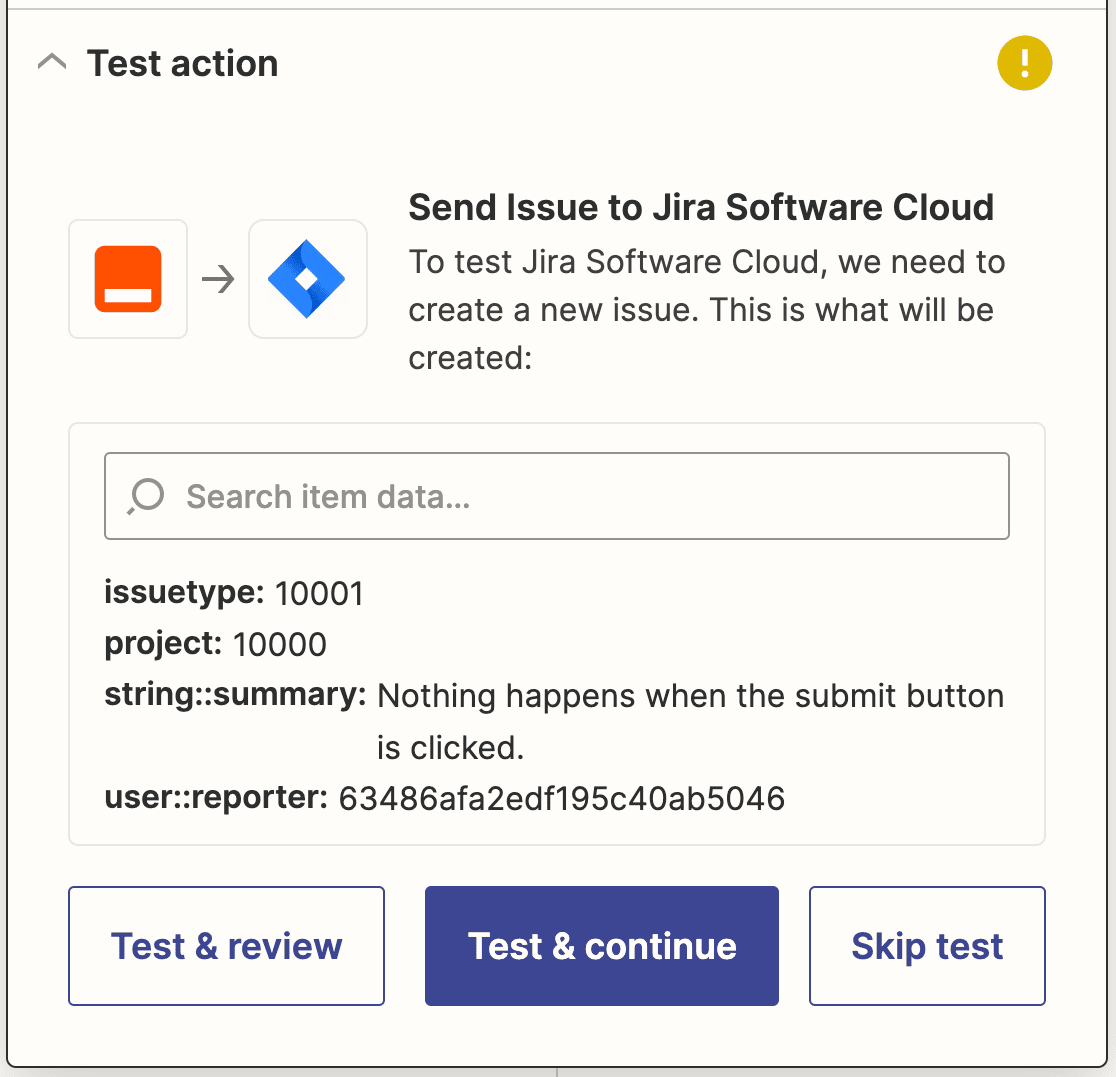
If everything’s working as it should, you’ll see a success message.

Don’t forget to click Publish Zap to make your connection live.
Step 8: Embed the Jira Form to Your WordPress Site
The final step is to embed the form on your website so that your site visitors can use it to create new issues in your Jira account.
You can easily embed a WPForms form on a post, page, or the sidebar of your website.
However, let’s take a look at how to add it to a WordPress page. To do that, you need to head over to Pages » Add New from the left sidebar of your WordPress admin panel.
Now you need to click on the plus (+) button to open the block manager and then search for the WPForms block.
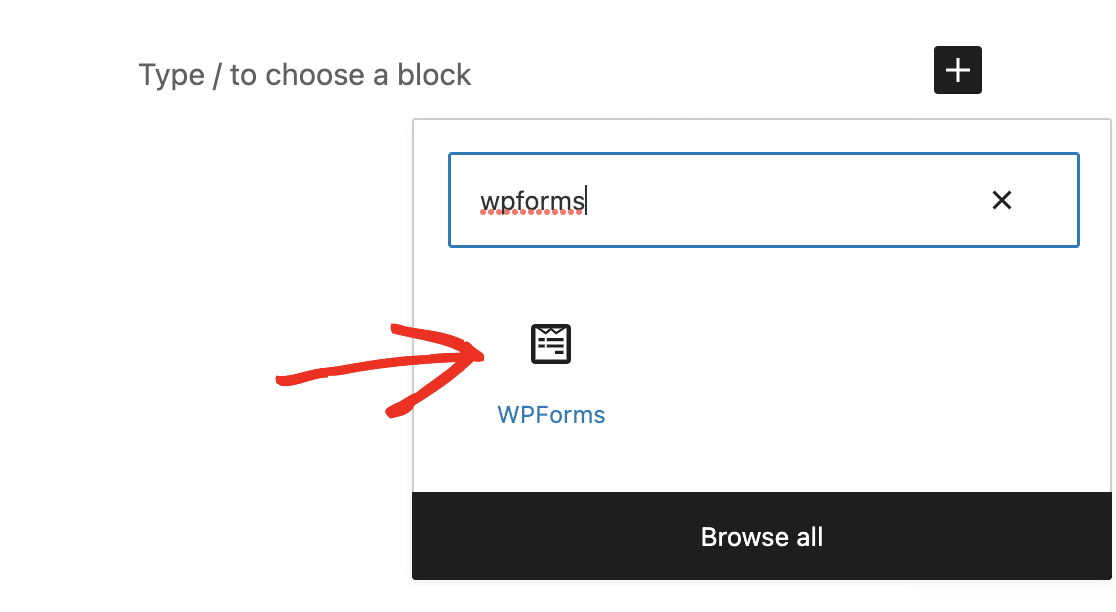
Once you find it, you should click on it to add the WPForms block to the editor.
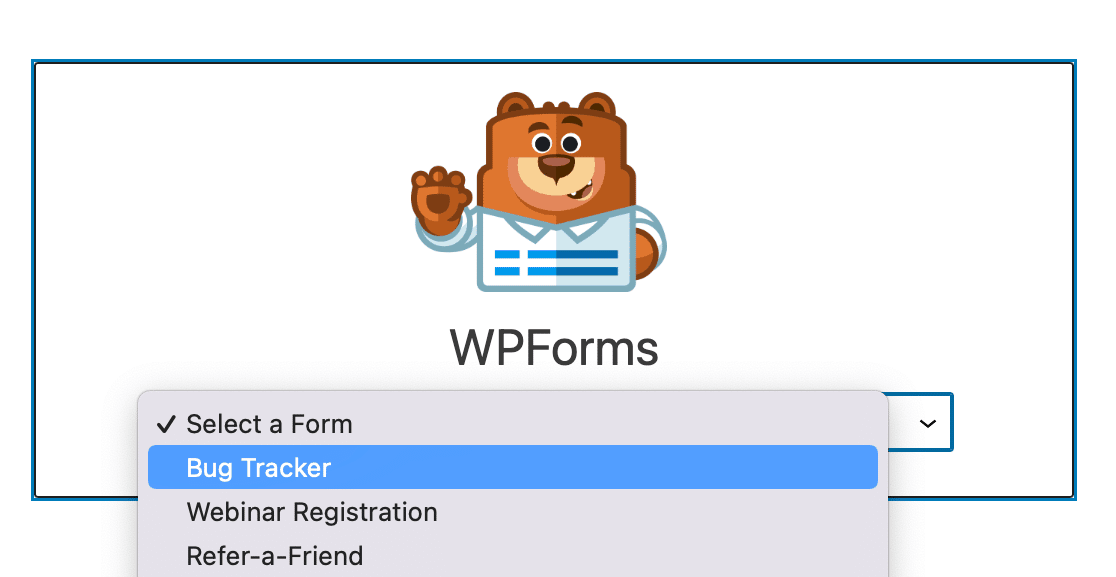
Next, you need to select the bug tracker form from the “Select a Form” dropdown menu. This will insert the form to the page editor.
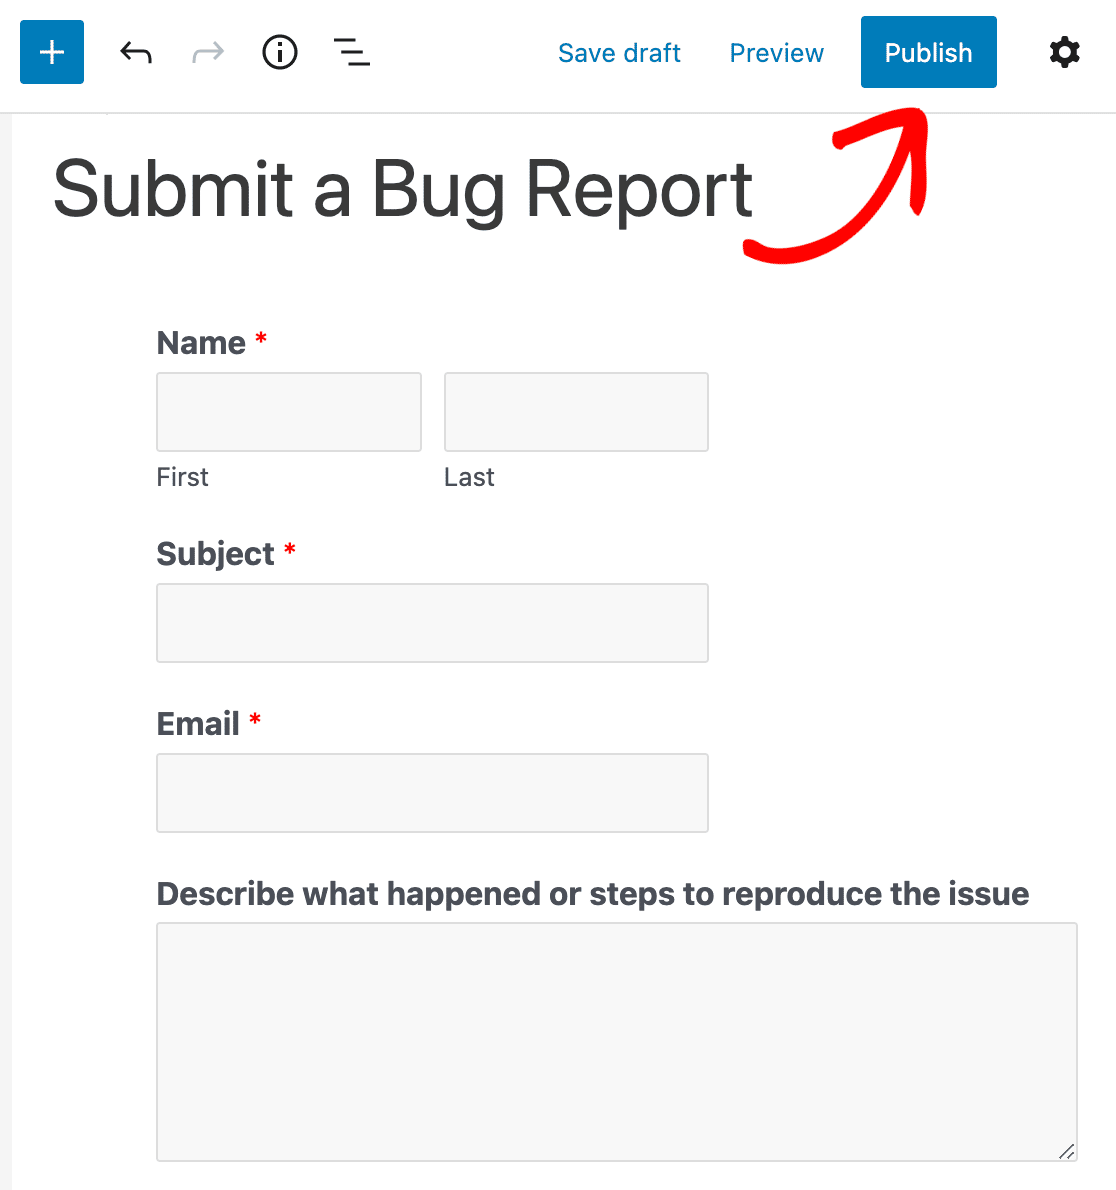
After making the necessary changes, you can publish this page by clicking on the Publish button, in the top right corner of your screen.
Next, Set Up Form Submission Slack Notifications
That’s all! You’ve successfully created a custom Jira issues form and embedded it to your WordPress site.
We hope this tutorial helped you understand how to create Jira issues from WordPress form submissions.
For more awesome ways to use WPForms to automate tasks, check out these guides on how to:
- Send an automatic Slack invite from a WordPress form
- Connect your WordPress contact form to Discord
- Create a custom Airtable form for WordPress
So what are you waiting for? Get started with the world’s best form plugin today.
Also, please follow us on Facebook and Twitter to get updates from our blog.


Hello: can this functionality be configured to capture data from a Simple Contact Form? Specifically, a contact form with drop-down menus? Jira workflows need to be configured, based on options selected in those drop-down menus.
Thanks.
Hey Brian, in order to make sure we answer your question as thoroughly as possible and avoid any confusion, could you please contact our team by submitting a support ticket here and we will get back to you so this.
Thanks.