Do you want to create a custom Airtable form for your WordPress site? Airtable is a cloud service that combines the power of spreadsheets and databases together.
It allows you to build custom spreadsheet apps without writing a single line of code. By linking a custom form to your base, you can skip copy‑and‑paste and keep all your records tidy in one place.
In this article, I’ll show you the step-by-step process of how to build a form with WPForms and send each entry to Airtable in just a few clicks.
Create Your Airtable Form Now! 🙂
Why Create a Custom Airtable Form in WordPress?
Airtable helps you to build custom spreadsheet apps to store information, just like you would do in a database.
It creates easy-to-use and visually appealing spreadsheets that can be used for product planning, user studies, sales CRM, product launches, content calendar planning, and more.
However, you’ll have to enter all the data in your Airtable account manually. To avoid this problem, you can start a WordPress site and then establish a WordPress Airtable integration with the help of the WPForms plugin.
So whenever someone submits the form, the data will be added to your Airtable account automatically. This will help you save valuable time and increase your productivity.
How to Create a Custom Airtable Form in WordPress
A WordPress Airtable integration is pretty easy to configure with WPForms. Just follow the steps below, and you’ll have an Airtable form ready to embed on your WordPress site in no time!
Step 1: Install the WPForms Plugin
To create an Airtable form in WordPress, you’ll need WPForms Pro since the Zapier integration requires a paid license. I always start here because it’s the foundation that makes everything else possible.
What I like about WPForms is how it handles integrations like Airtable through Zapier. You get a reliable connection that actually works, unlike some other form plugins I’ve tried that break under pressure.
If you haven’t installed WPForms yet, go ahead and do that first. It only takes a minute. And if you’re not sure how to install a plugin in WordPress, you can check out this step-by-step guide for help.
The Pro license is what unlocks the Zapier addon, so make sure you have that active before moving forward. Without it, you’ll be stuck with basic email notifications instead of the powerful Airtable integration we’re building.
“💡 Pro Tip: If you’re upgrading from WPForms Lite, don’t worry about losing any existing forms. The Pro version keeps everything you’ve already built and just adds the advanced features on top.”
Step 2: Activate the Zapier Addon
The next thing you need to do is install the Zapier addon for WPForms. Zapier is an automation tool that lets you connect 2 or more apps to do a particular task.
Hence, we’ll be using Zapier to connect WPForms and Airtable. To install the Zapier addon, you need to go to the WPForms » Addons page.
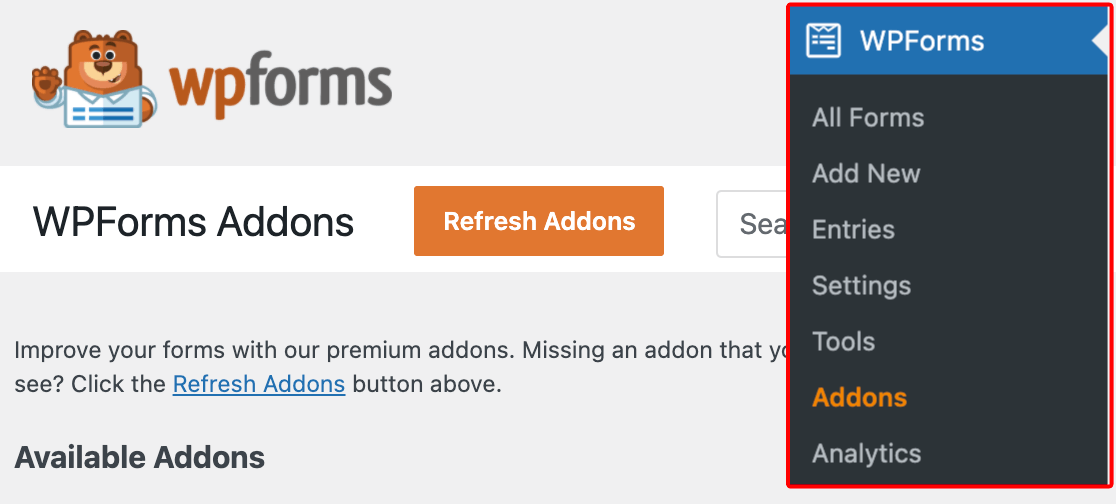
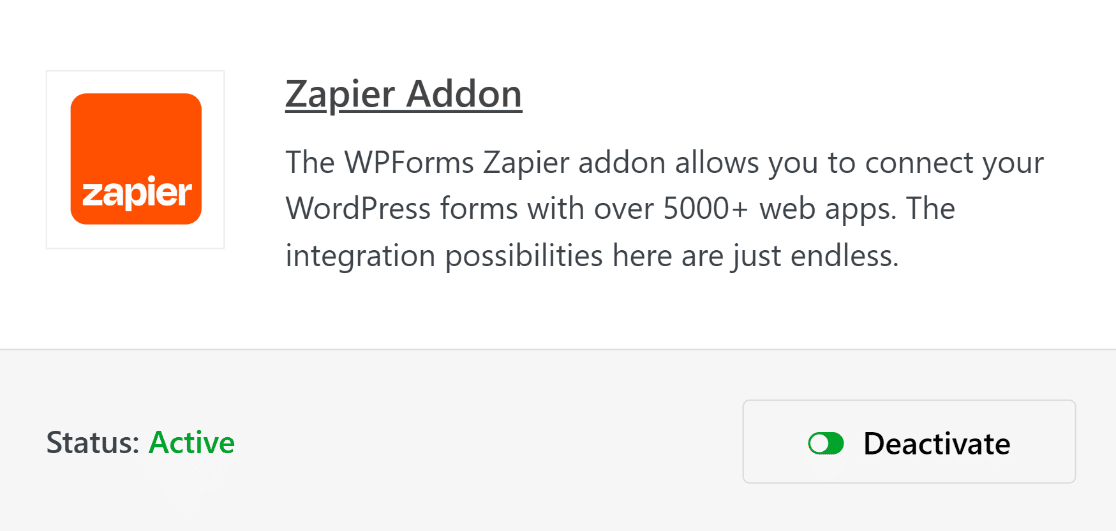
Find the Zapier addon in the list and click Install Addon. Once it’s downloaded, click Activate to get it running on your site. You’ll see a green checkmark next to it once everything’s working properly.
Now, head over to WPForms » Settings page to get the Zapier API key. This key will be used to connect Zapier to WPForms account.
On the WPForms settings page, you need to click on the Integrations tab. And then, you should click on the Zapier logo to find the API key for your site.

Keep this tab open for now. We’ll be needing the WPForms Zapier API key in a later step. If you want to explore other automation possibilities beyond Airtable, check out our complete guide to WPForms Zapier integrations.
Step 3: Create Your WordPress Form
With the Zapier addon ready, it’s time to build the actual form that will collect data for your Airtable base. The key here is thinking about what information you want to organize in Airtable before you start adding fields.
From your WordPress dashboard and navigate to WPForms » Add New to create a new form.
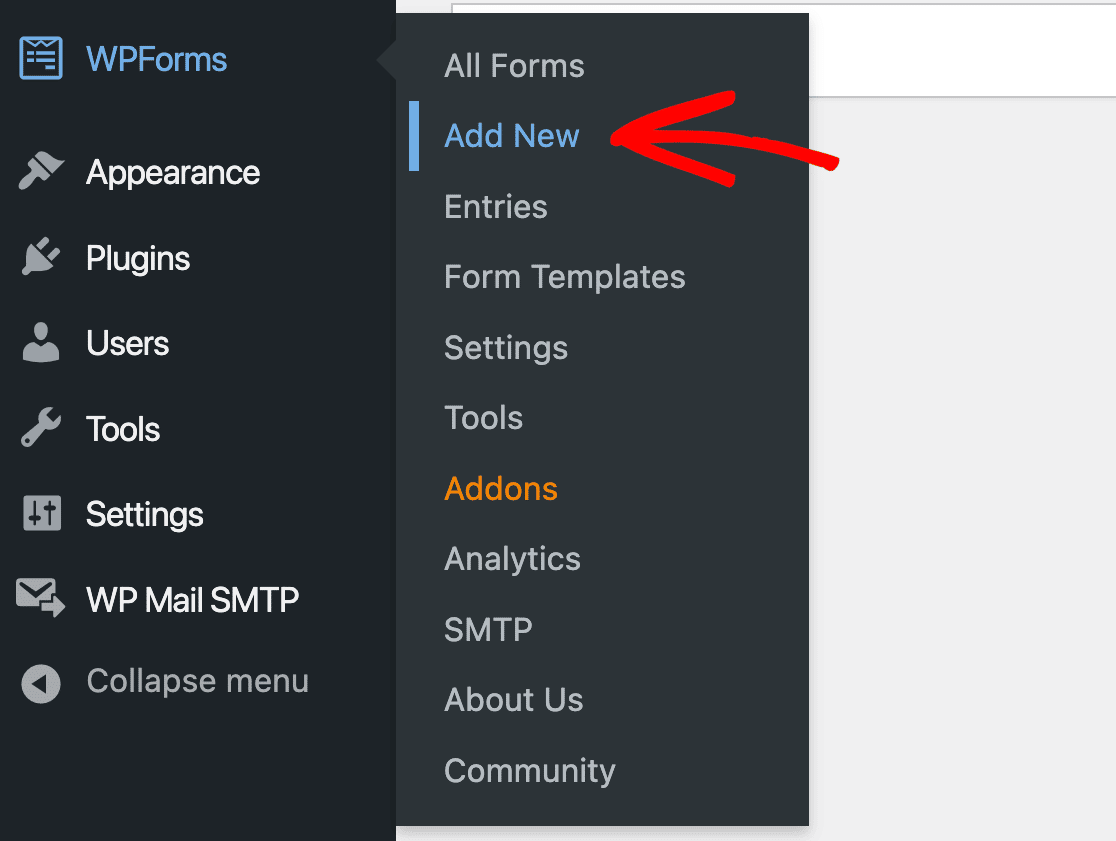
On the Setup page, you can change the Form Name to any name of your choice. Plus, you can select a template from 2,000+ form templates. We’ll use the Simple Contact Form template to create the custom Airtable form in this example.
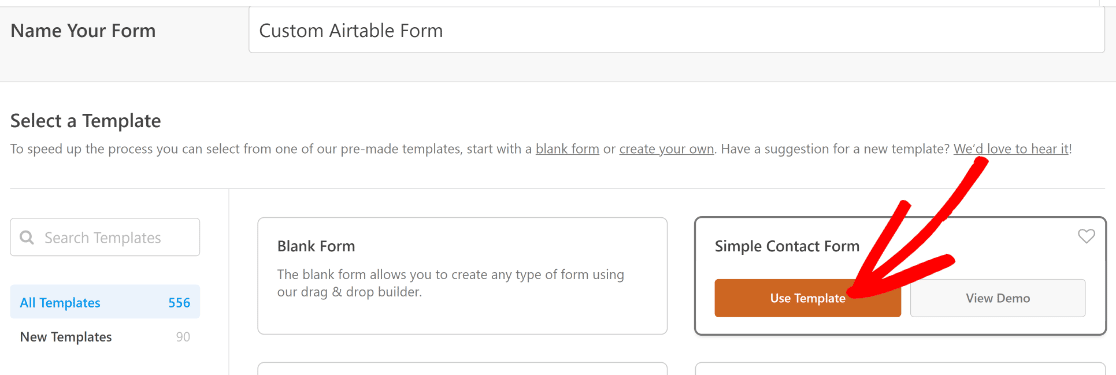
WPForms will now immediately load your form template and take you to the form builder screen. Think about your Airtable workflow as you add fields.
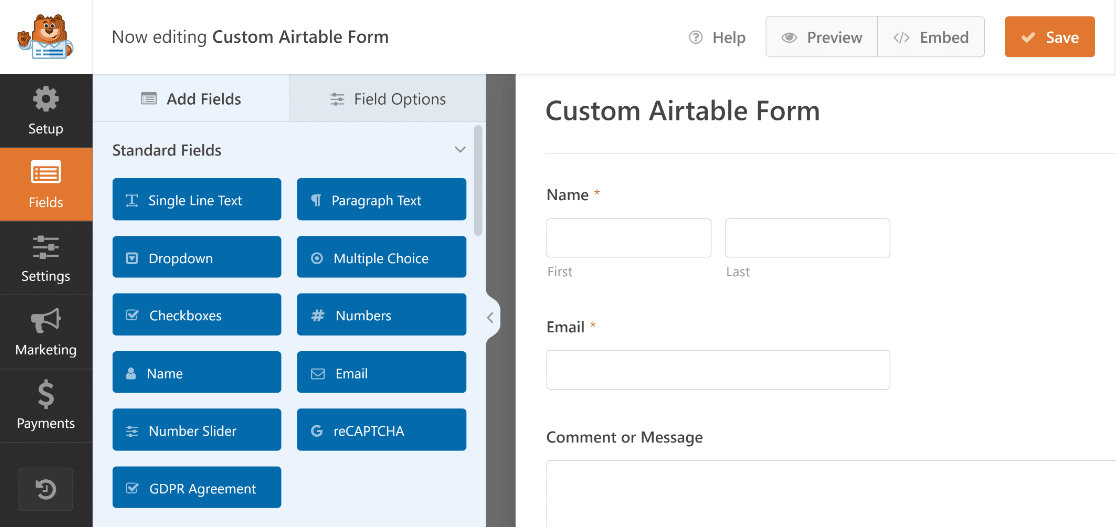
I recommend that you match your fields to the columns of the Airtable record where you want to send your form data. This way, you can easily map your form fields to Airtable columns.
So, we’ll be adding the Phone field and a Single Line Text field labeled “Organization Name” because that’s how the columns of our Airtable worksheet are set up.
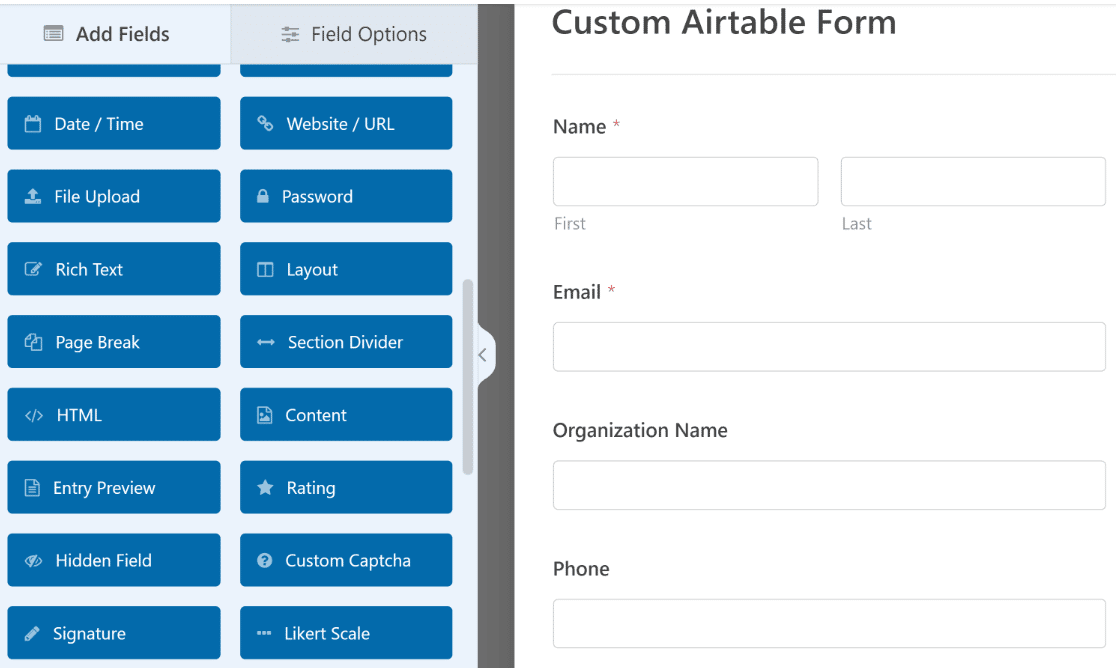
You can follow our tutorial on how to create a simple contact form for detailed instructions on adding fields to any form using the drag-and-drop builder.
Once you’ve added your fields, click Save to store your form. You’ll need this saved form in the next steps when we connect everything to Airtable through Zapier.

The beauty of this setup is that every field you add here becomes a column in your Airtable base, so plan accordingly. For more ideas on effective form fields, check out our guide to creating better contact forms.
Step 4: Embed Airtable Form on Your Website
Before setting up the Zapier automation, you’ll want to get your form live on your website. This lets you test everything and make sure it’s working properly before connecting it to Airtable.
But why do we need to add a test entry? The reason is we’ll be using it later to test the connection between WPForms and Airtable. This will assure us that everything is working properly.
You can easily embed the form on a post, page, or the sidebar of your website. Let’s take a look at how to embed it into a WordPress page. First, you need to click the Embed button on the top of the form builder.

When you press the button, you’ll see a modal window giving you two embed options. In this tutorial, we’ll embed the form in a new page by clicking on the Create New Page button.

Name your box in the text box and then press the Let’s Go! button.

You’ll land in the WordPress block editor, where you can see your form in action. This is a good time to add some context around the form.
Maybe a headline explaining what visitors will get when they submit, or a brief description of your services.
When you’re ready, press the Publish button on the top to publish your page.
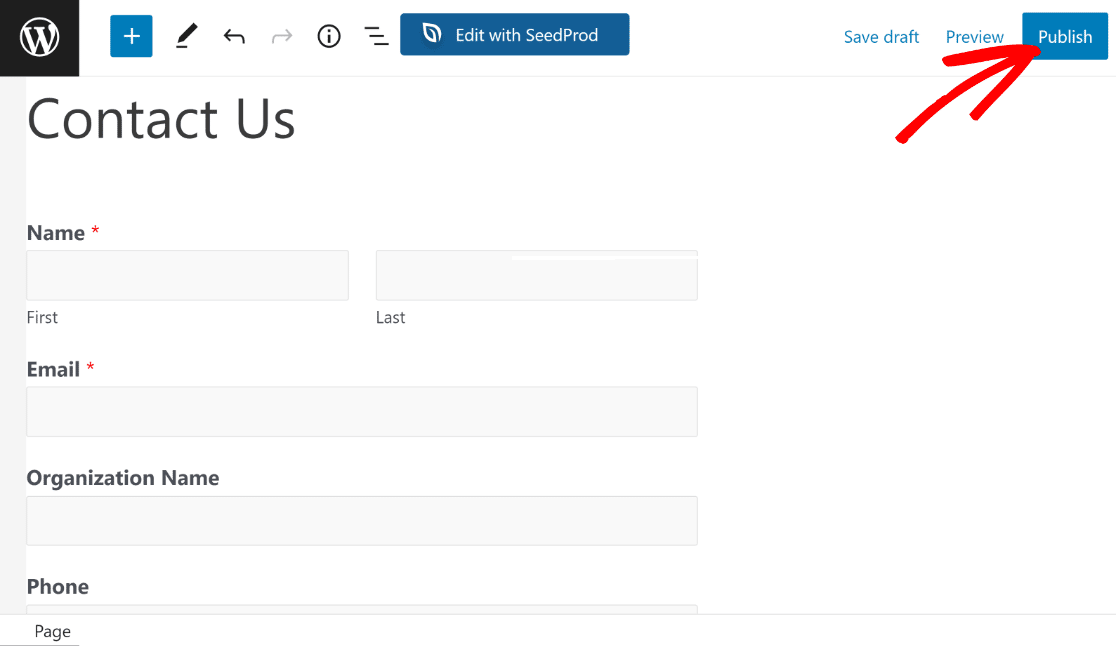
Now, go ahead and open this page in a new tab of your web browser. And then, fill in the form and click on the Submit button to create a test form entry.
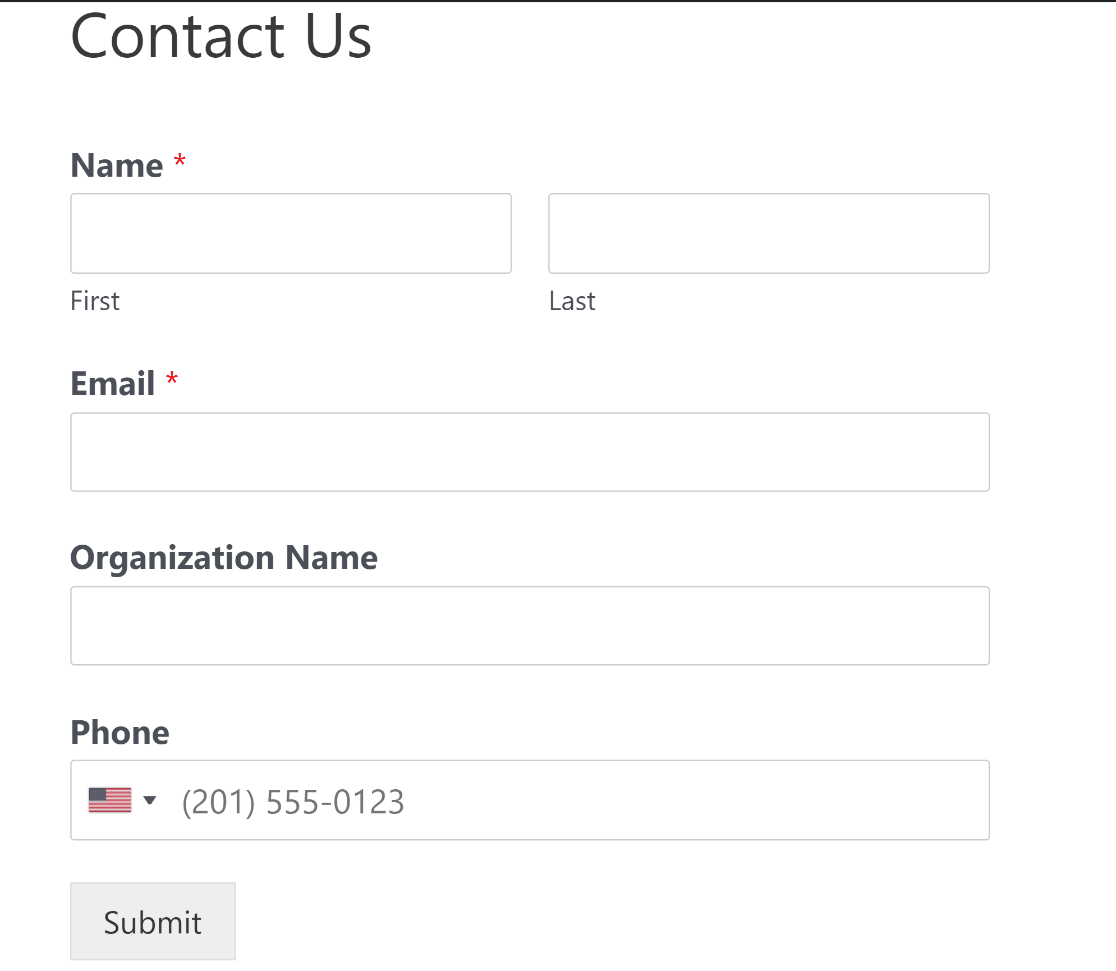
Excellent! Now that we’re done with creating our form, we can move onto creating an automation recipe for sending data from WPForms to Airtable automatically.
Step 5: Create a New Automation Recipe
Now it’s time to build the bridge between your WordPress form and Airtable. This is where Zapier comes in to automate the entire process, so you never have to manually transfer form data again.
Head over to the Zapier website and sign up for an account if you don’t have one already. The free plan works fine for getting started, though you might want to upgrade later if you’re processing lots of form submissions.
Once you’re logged in, click Create Zap to start building your automation. Zapier calls these automations “Zaps” – each one connects a trigger (your form submission) to an action (adding data to Airtable).

Now, the process of creating a zap comprises two parts. In the first part, you’ll have to set up WPForms as the trigger app.
And then, you’ll need to configure Airtable as the action app. Let’s get started with the trigger setup process.
Step 6: Configure the Trigger App (WPForms)
After pressing Create a Zap as shown above, you’ll see the recipe editor window open, where you’ll be required to select your trigger app first.
Search for WPForms using the search box to find and select it. You can also create the edit icon on the top-left of the window to give a title to your Zap.
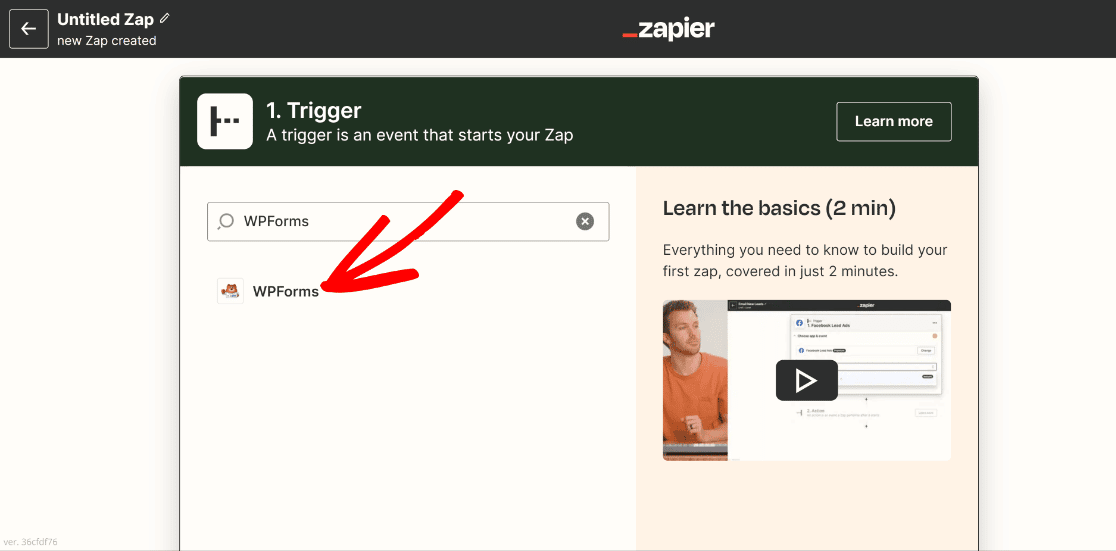
Next, you’ll have to select New Form Entry using the Event dropdown. This will establish every new form entry as a trigger event to run this automation, which is just what we want.
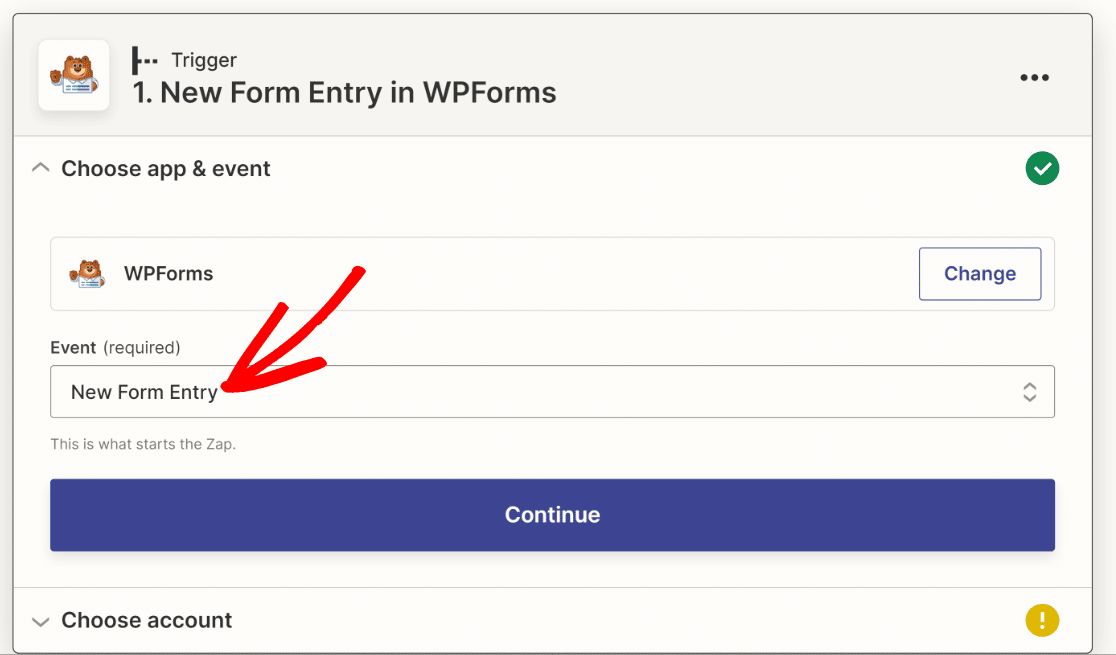
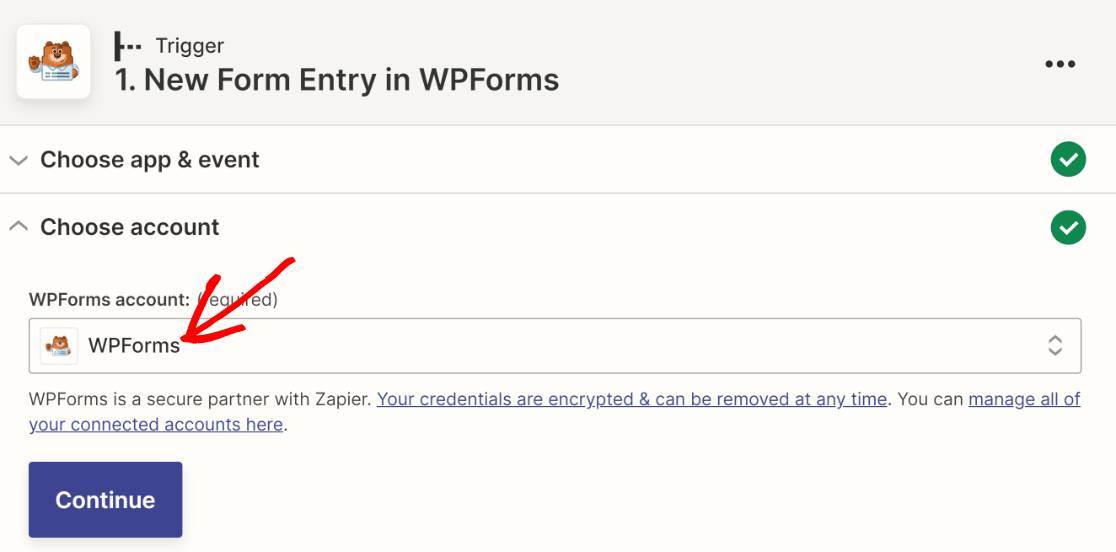
Click on the Continue button at the bottom to proceed. At this point, you’ll have to choose your WPForms account to connect with Zapier. Click on the Sign In button.
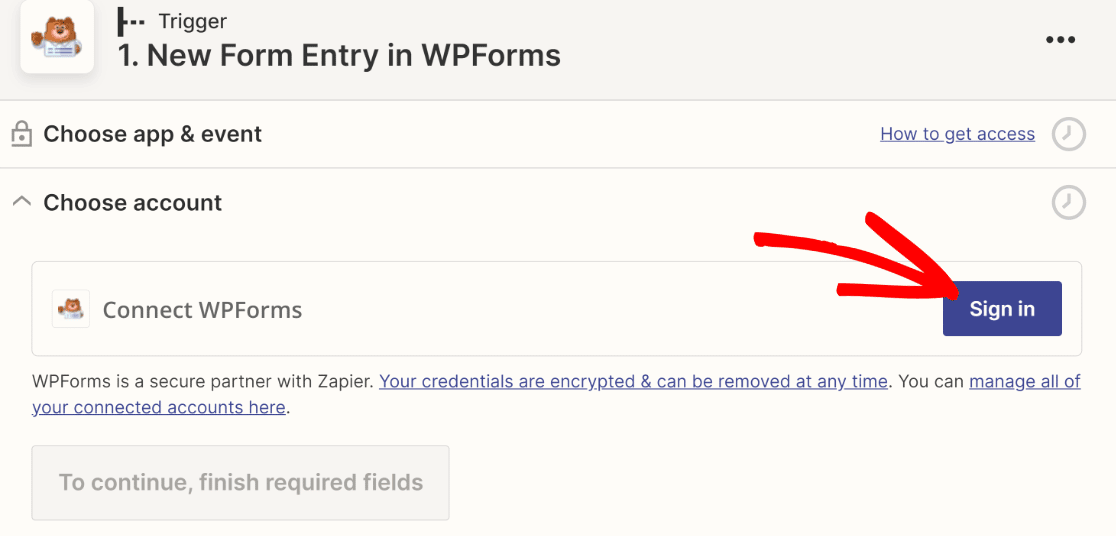
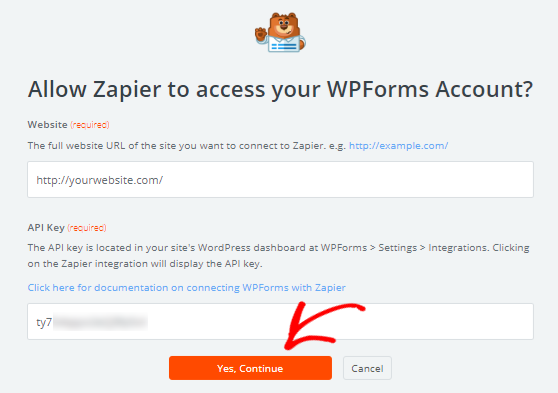
A new popup window will open where you’ll be asked to enter your website URL and the Zapier API key.
Get your WPForms API key for Zapier as we showed in step 2, and paste it into the API Key textbox along with your full website URL on the textbox above.
When you’ve inserted the required details, press Yes, Continue.
After you do this, the popup window will close automatically, and you should see your WPForms account connected as the trigger app. Press Continue to go to the next setting.
Now, you’ll be required to select the specific form that you wish to be processed for the WPForms-Airtable integration. Select the form that you created in Step 3.
We named our form “Custom Airtable Form”, so we’re going to pick that one from the dropdown. When you’ve found the form you need, click on the Continue button.

Once that’s done, Zapier will ask you to test your WPForms trigger by using a recent entry submitted for your selected form.
If you submitted a test entry as we suggested in Step 4, Zapier will have no trouble finding it! Click on the Test Trigger button to continue.

If there are multiple entries submitted for your form already, you can use the dropdown to select a specific entry.
But it doesn’t matter which one you use, since Zapier only needs to test the integration at this point. Press Continue to move forward.
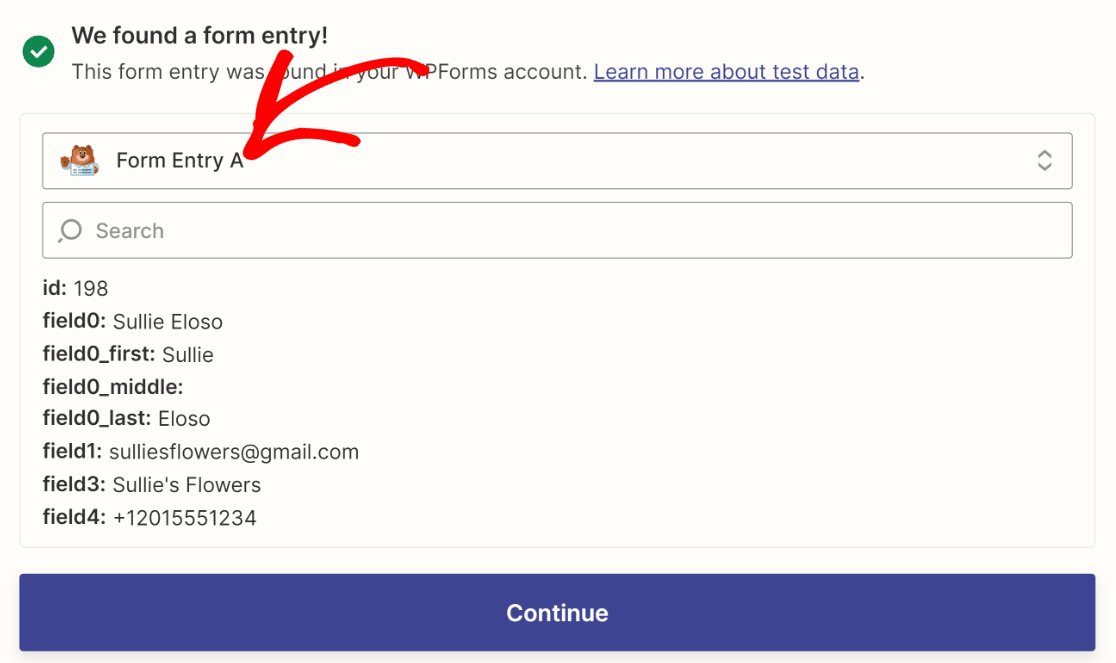
This will complete the trigger setup process. Well done! In the next step, we’ll configure the Action app for our integration: Airtable.
Step 7: Configure the Action App & Publish Automation
As soon as you move on from the previous step, Zapier will show you the settings for configuring your action app.
Because we want Airtable as our action app, use the search field to find Airtable from the list of available apps and click on it.
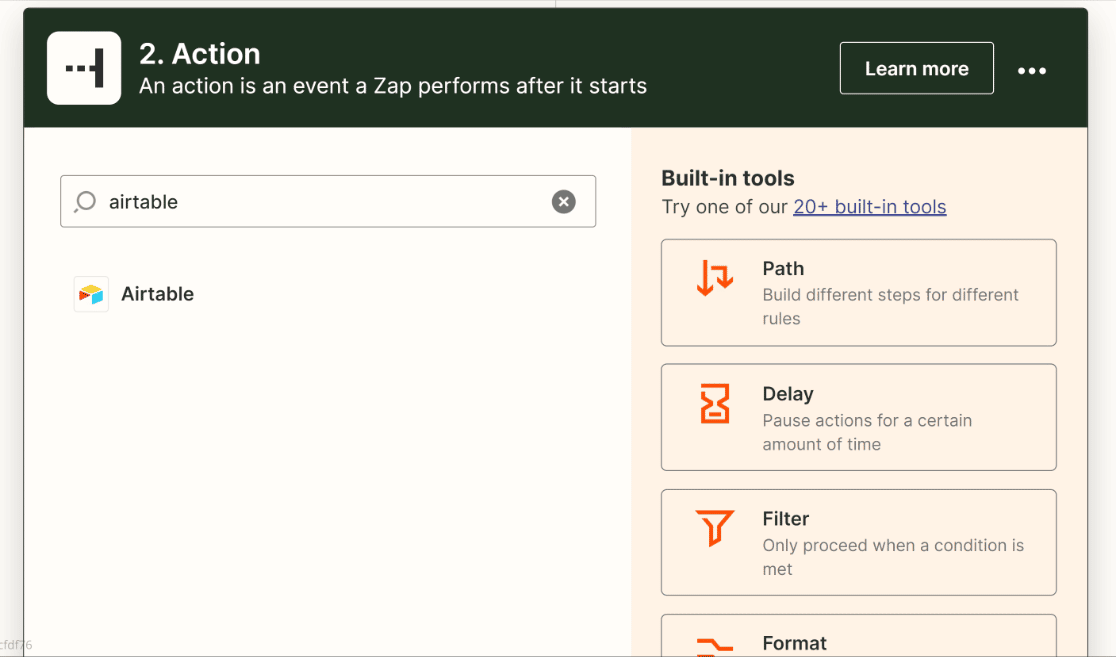
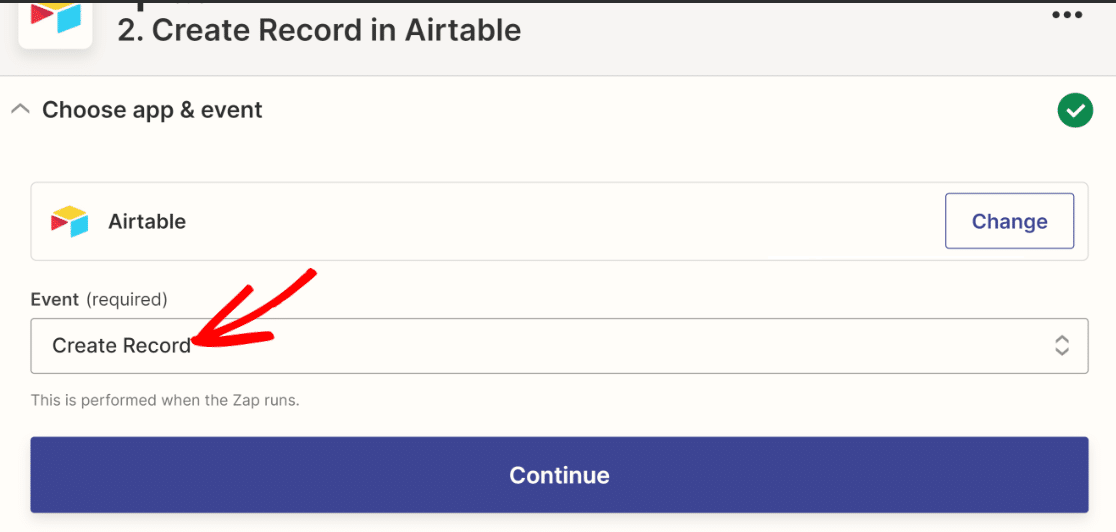
You’ll now have to choose an action event that you want to happen in Airtable. Because we want to send data to Airtable, we’ll choose the Create Record event option from the dropdown.
Next, click on the Sign In button to connect your Airtable account.
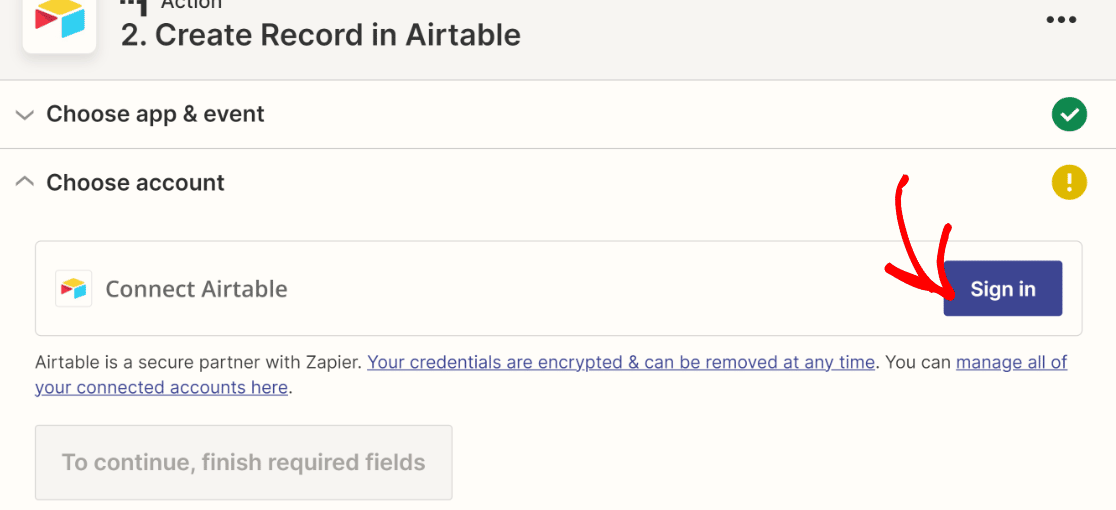
When a new popup window opens, you’ll be required to enter your Airtable API key.
If you don’t have the key yet, go to your Airtable account and click on your profile icon on the top-right to expand the menu.
Then, select Account. On your account page, simply scroll down to find the Generate API Key button and click on it.

You’ll have an API key that you can copy now. With the key copied, switch to Zapier’s sign in window for your Airtable account and insert the API key.

When you’ve done that, press Yes, Continue. Your Airtable account will now be connected with Zapier. Once again, click on Continue to proceed to the next step.
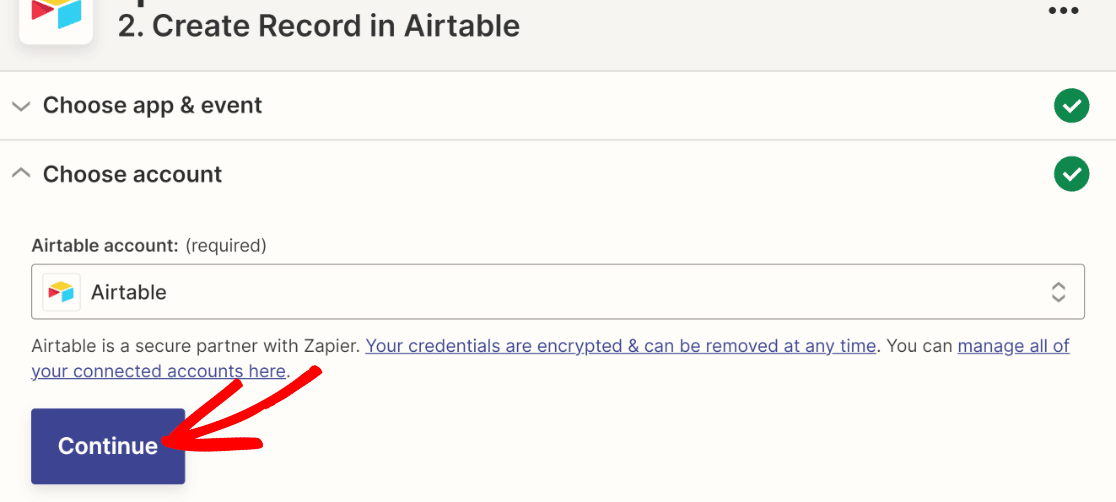
Now, Zapier will ask you to select a Base (or workspace) in which to create the record based on the data sent from WPForms.
You’ll also have to select the table within that workspace. In our example, we set up a table in Airtable and named it “Leads”, so we’ll select that.

When you select your table, Zapier will fetch the column names from your table. To map your form fields correctly to your Airtable columns, simply select the matching WPForms field for each Airtable column field.
When you’re done, click on Continue.
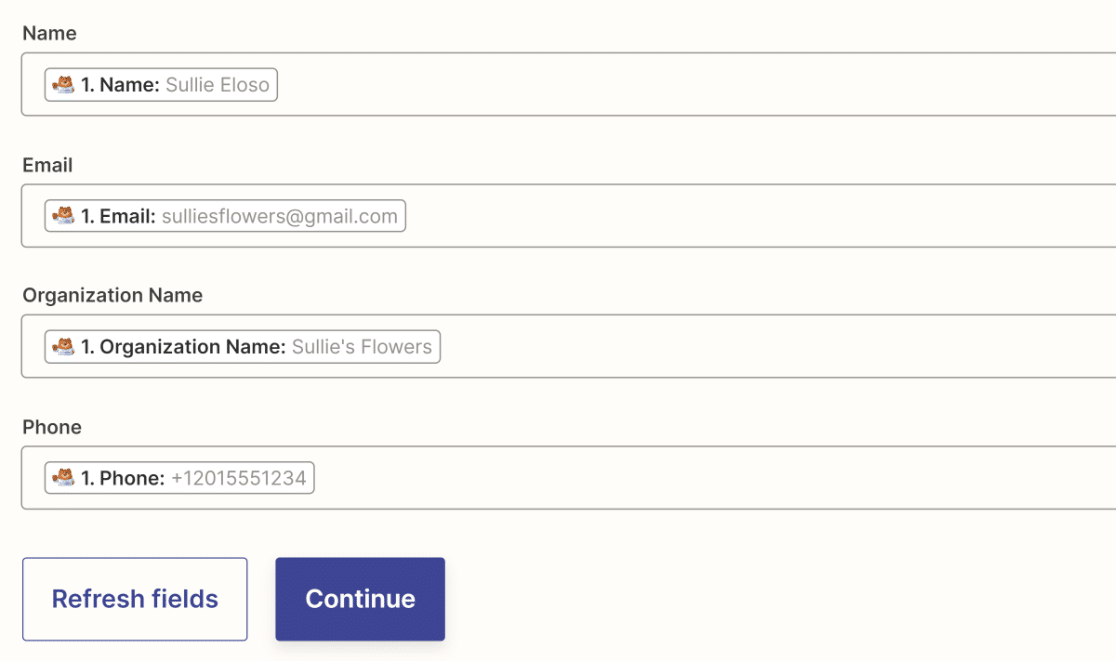
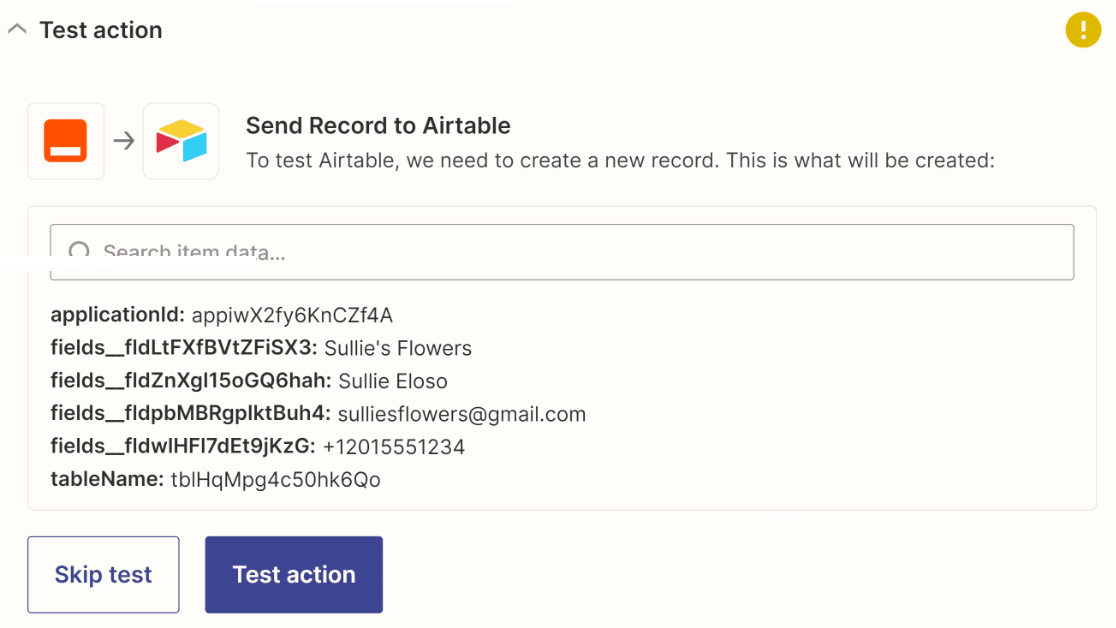
As with your trigger app, Zapier will now need to send a test record to Airtable based on the field mappings you selected earlier. Press the Test Action button to move forward.
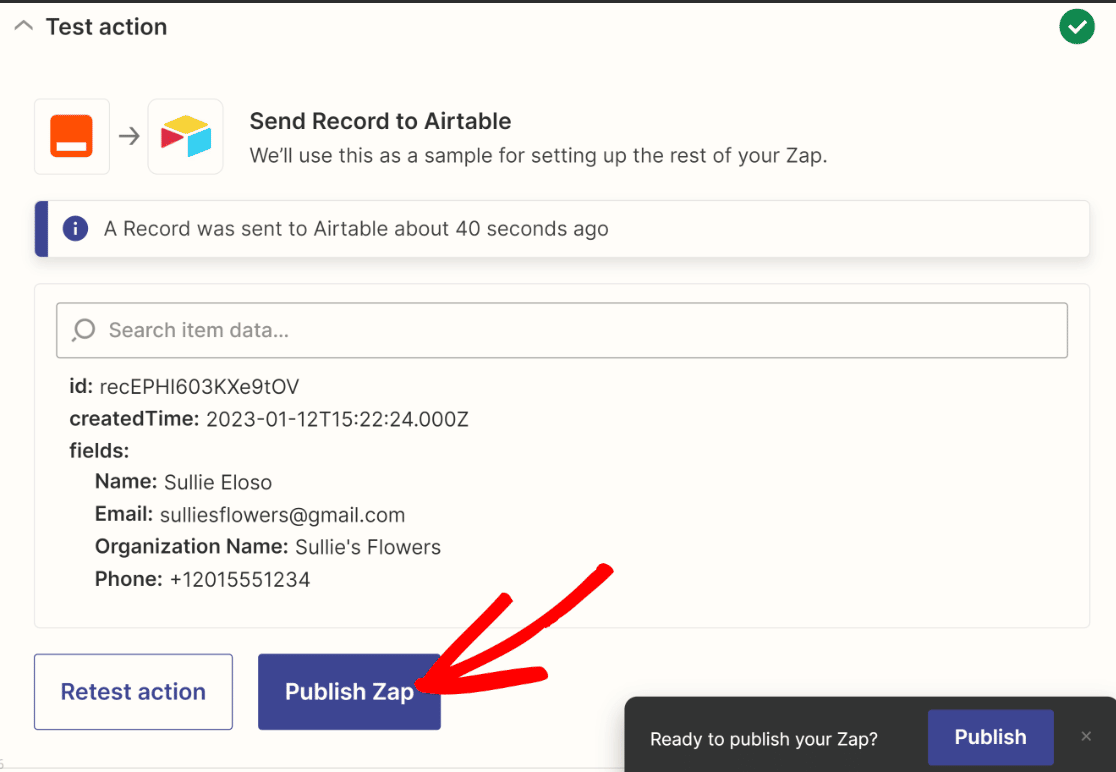
You should see a success message confirming that your record was sent to Airtable. We’re almost done! Click on Publish Zap to make your WPForms-Airtable integration live.
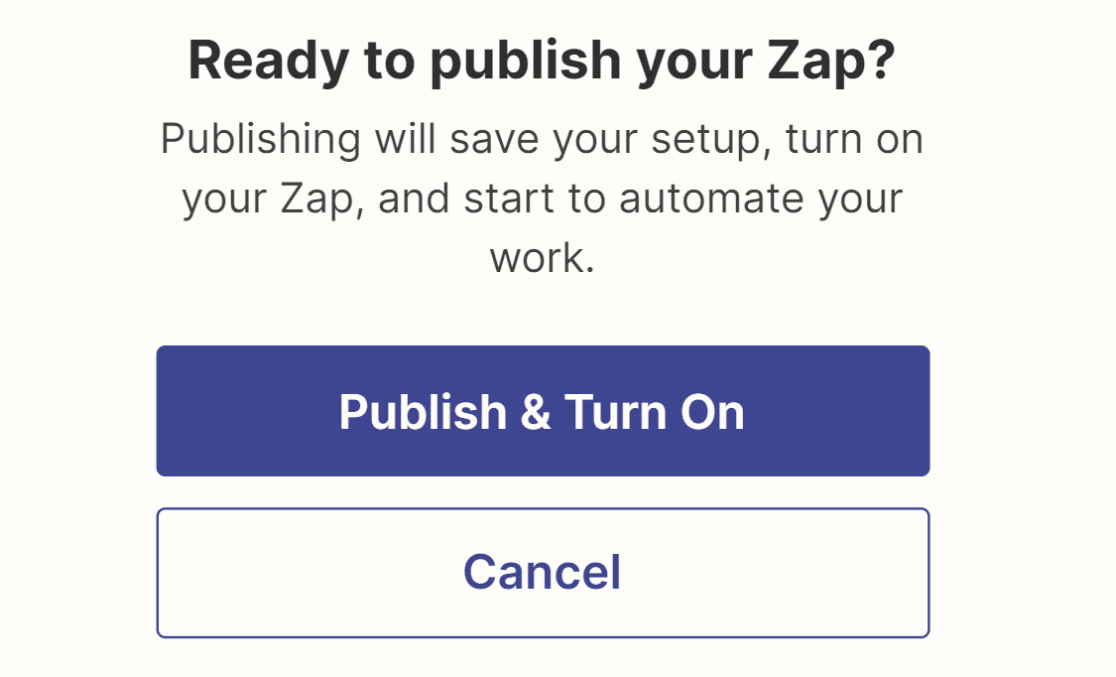
At this point, another modal window will open, asking if you’re ready to publish your automation. Click on Publish & Turn On to get your automation recipe up and running.
Excellent! With your WordPress-Airtable integration turned on, it will ensure that new contacts will be added to your Airtable account whenever someone submits your WordPress form.

It’s a good idea to check your Airtable account to make sure the test record was properly sent by Zapier. In our case, the record was sent almost instantly, and all the fields from the forms match perfectly.
And there you have it! You can now create custom Airtable forms in WordPress and improve your productivity with this efficient integration.
FAQs on How to Create a Custom Airtable Form in WordPress
Learning how a WordPress Airtable form integration works is a popular topic of interest among our readers. Here are answers to some common queries about it:
How do I integrate WPForms with Airtable?
To connect WPForms to Airtable, you can use a tool like Zapier. First, create your form using WPForms. Then, set up a Zap in Zapier that sends each form entry straight to your Airtable base. This works by mapping form fields to the right Airtable columns.
Can I send WordPress form entries to Airtable without code?
Yes, you don’t need to write any code. With WPForms and a Zapier account, you can send form entries to Airtable by clicking through simple setup steps. You just need your form ready in WPForms and your base set up in Airtable.
How do I embed an Airtable form in WordPress?
You can copy the embed code from your Airtable form and paste it into a WordPress post or page using the Custom HTML block. This lets your Airtable form show up right on your site. Visitors can fill it out without leaving the page.
Which plugin connects Airtable to WordPress?
WPForms is a good option to collect form entries, and you can connect it to Airtable using Zapier. There isn’t one plugin that does everything out of the box, but the WPForms + Zapier combo is simple and works well.
Can I display Airtable data on a WordPress page?
Not directly with WPForms. But you can use Airtable’s share view feature to show a table view on your site. Just grab the share link or embed code and paste it into a page or post using a Custom HTML block.
Is there a free way to connect Airtable to WordPress?
You can get started using free versions of both WPForms and Zapier. The free Zapier plan comes with basic features, and it may be enough if you don’t have many form submissions. For bigger needs, you might need a paid plan.
How do I set up conditional logic in an Airtable‑linked form?
WPForms lets you use conditional logic inside the form builder. This means you can show or hide fields based on user input. The logic happens before the form is sent to Airtable, so only the right data goes through.
Is it secure to send form data from WordPress to Airtable?
Yes, it’s secure if you use trusted tools like WPForms and Zapier. Make sure your site has an SSL certificate (HTTPS), and avoid sharing any sensitive data that you wouldn’t normally store in Airtable.
Next, Send SMS Notifications for Forms
If you found this WPForms integration useful, we recommend checking out how to send SMS notifications from your WordPress forms. Setting SMS notifications is a great way of staying updated about new form entries as soon as they’re submitted.
Create Your Wordpress Form Now
Ready to build your form? Get started today with the easiest WordPress form builder plugin. WPForms Pro includes lots of free templates and offers a 14-day money-back guarantee.
If this article helped you out, please follow us on Facebook and Twitter for more free WordPress tutorials and guides.

