Do you want to send a Slack auto invite when a form is submitted? Automatically sending Slack invitations can make it easier to make sure people are in the right channels.
In this example, we’ll show you how to add someone to a Slack channel when a form on your site is submitted.
Create Your Slack Auto-Invite Form Now
How Do I Send an Automatic Channel Slack Invite?
You can send a Slack channel invite automatically using the WPForms plugin.
You’ll just need to connect your forms to Zapier.
Zapier is a service that joins together different sites and services together. You can use your forms as a ‘trigger’, and send the contents of the form entry to another service automatically.
There’s just one thing you need to know. To send a Slack auto invite, the person you’re inviting has to be a member of your Slack workspace already. It isn’t possible to create a new Slack account using Zapier.
But it’s still handy to be able to add people to workspaces from a form, and we’ll show you how in this tutorial.
How To Send a Slack Auto Invite From a WordPress Form
In this example, we’ll create an employee onboarding form. When the form is submitted, the employee will be automatically added to our #onboarding channel in Slack.
Here are the steps we’re going to work through:
For this tutorial, you’ll need the Zapier Starter plan or higher, because we’re going to make a Zap with multiple steps.
Let’s get started by installing the plugin we need.
Step 1: Install the WPForms Plugin
First, install and activate the WPForms plugin.
You can check out the guide on how to install a WordPress plugin if you need any help.
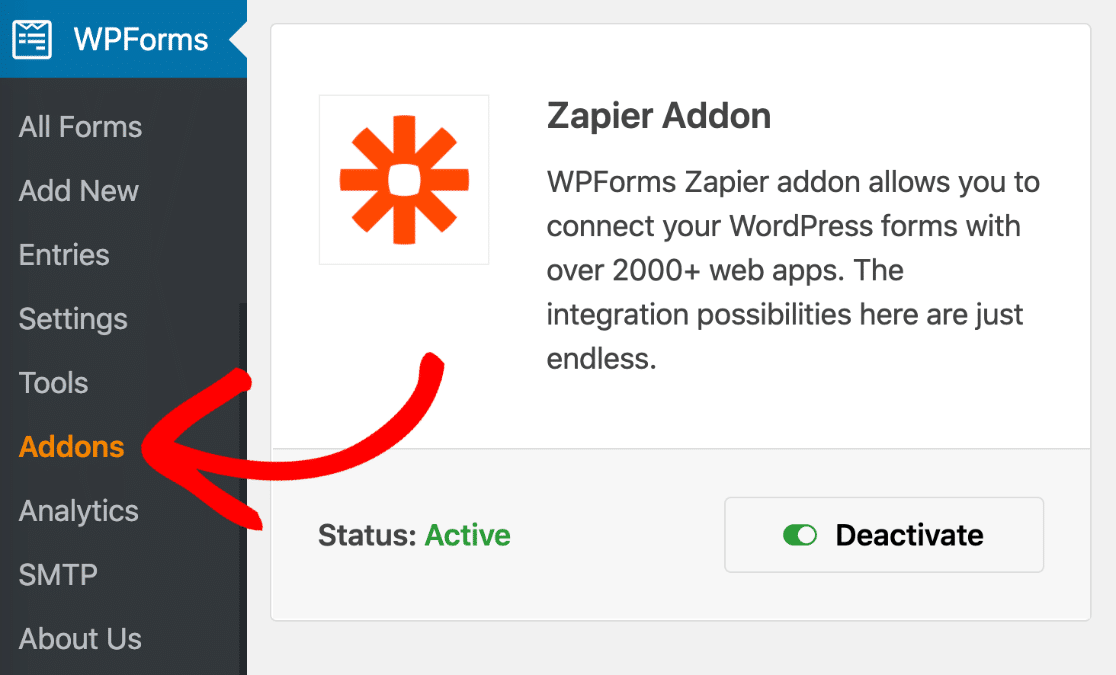
Next, click WPForms » Addons. Install the Zapier addon and activate it before moving on to the next step.
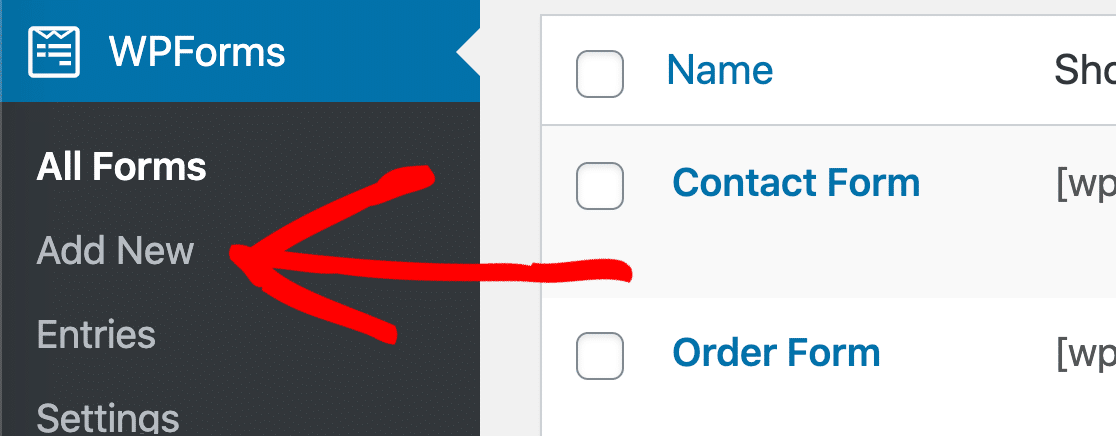
And finally, go to WPForms » Add New to open the form builder.
Now we’re ready to pick a template and customize it.
Step 2: Create Your Slack Auto Invite Form
Now we have the form builder open, we can start making the form.
Go ahead and type a name for your form at the top.
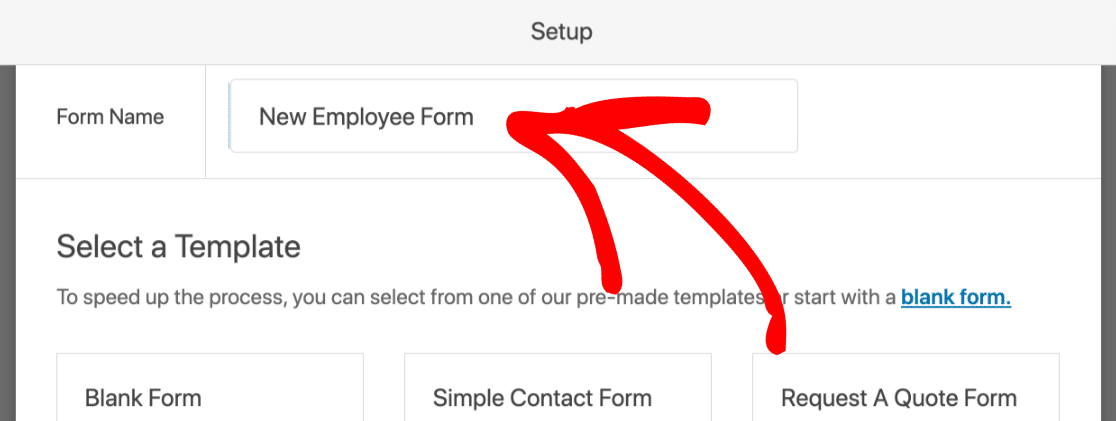
WPForms comes with 2,000+ WordPress form templates that make it really easy to create forms quickly. For a Slack auto invite form, you can use any template as long as it has an email field.
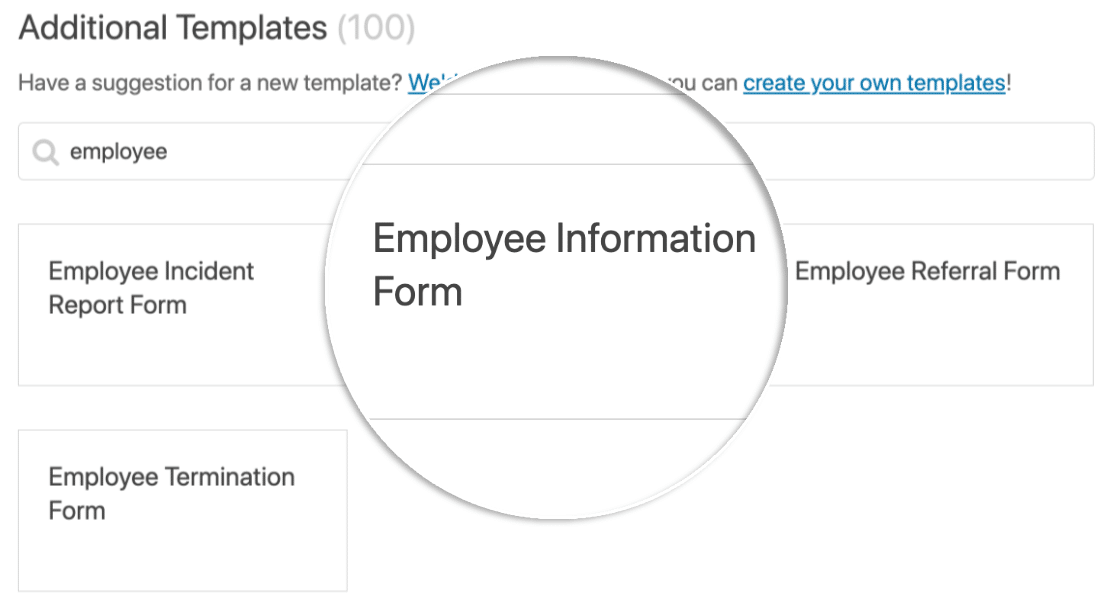
In this example, let’s use the employee information form. If you’ve installed the form templates addon, you can search for it in the Additional Templates section.
Now we’re ready to customize the template.
To add more fields, go ahead and drag the fields you need from the left-hand panel to the right-hand panel. You can also click on each field to make changes to that field.
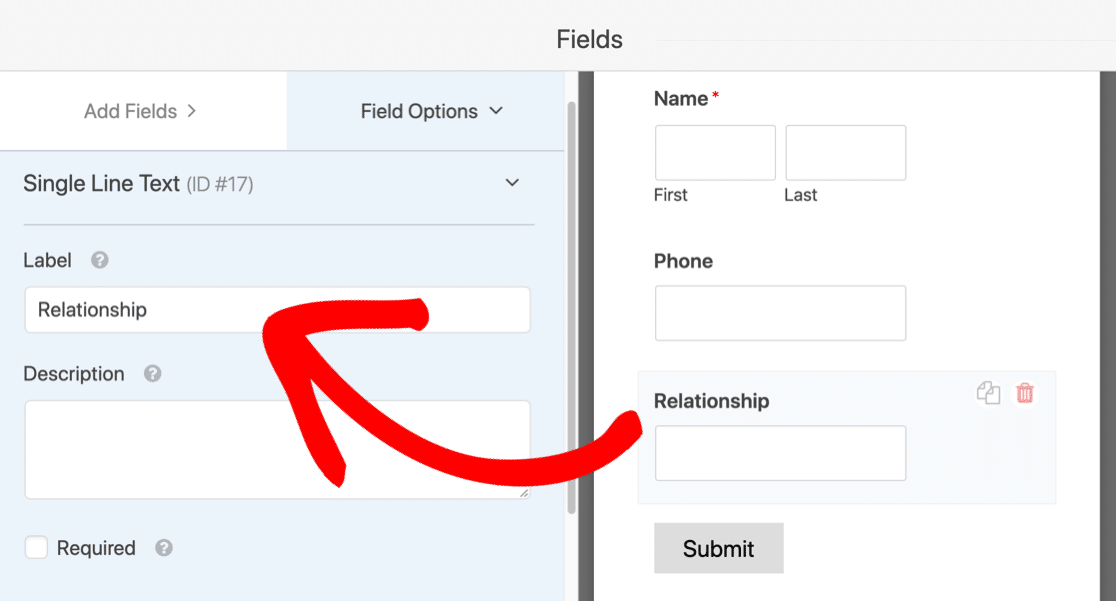
Remember not to remove the email field, because we’ll need the user’s email address to look up their Slack ID.
Remember to click on the Save button in the top-right corner before moving on to the next step.
Step 3: Publish Your Slack Auto Invite Form
WPForms lets you easily publish your form on a page with a few clicks.
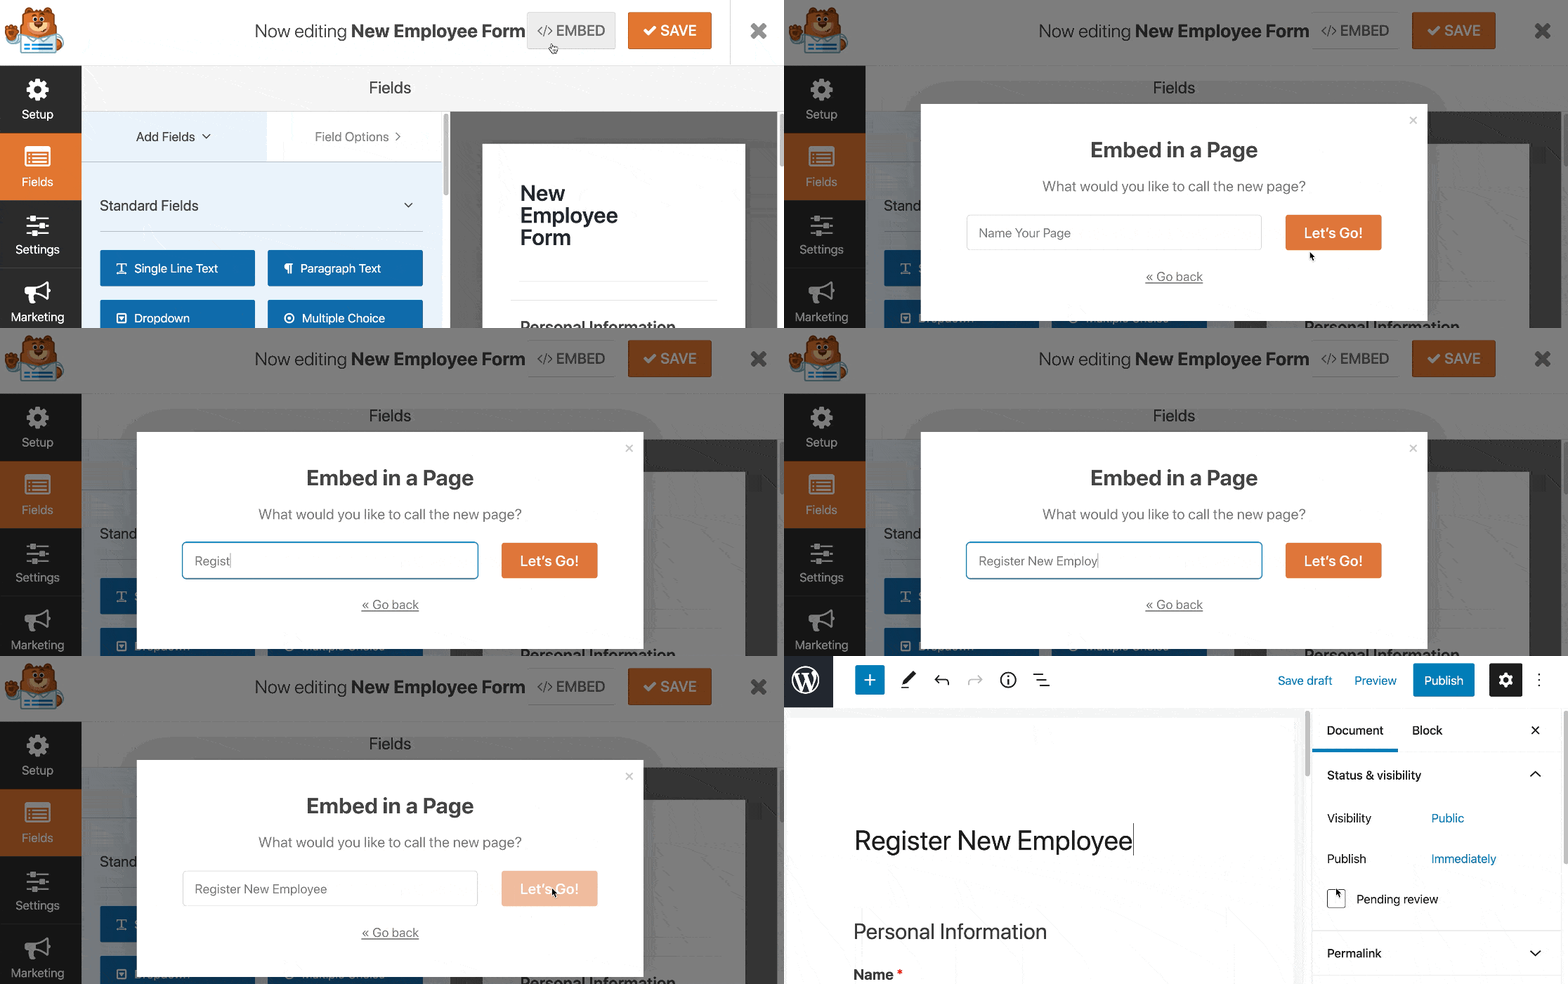
Let’s break this down into steps.
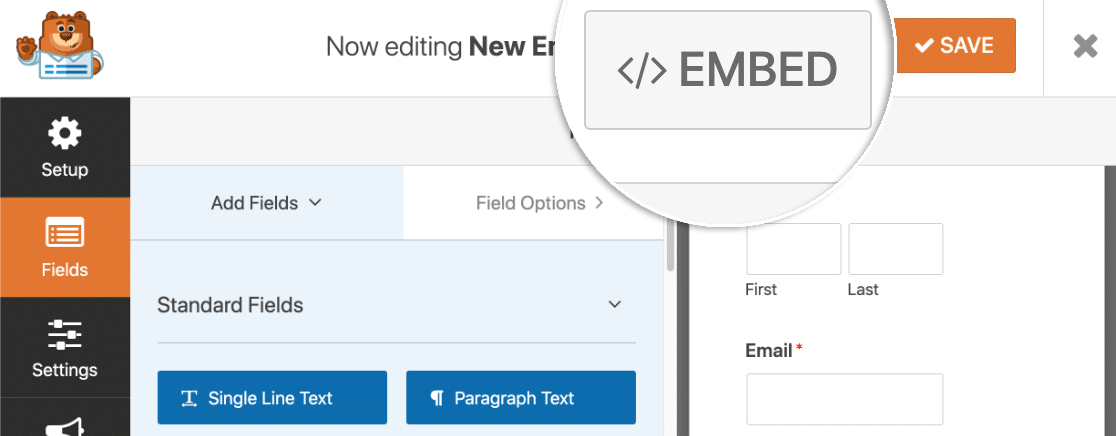
First, click Embed at the top of the form builder.
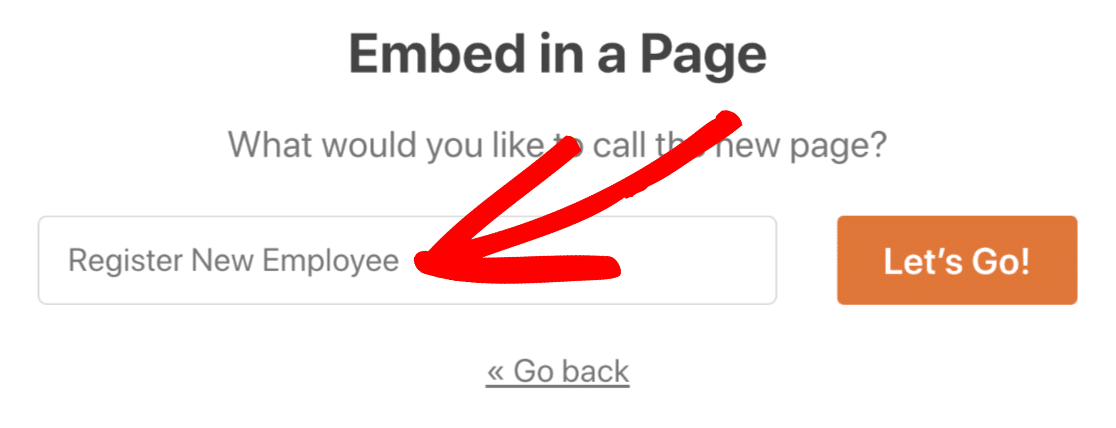
In the popup, you’ll want to click Create New Page.

Next, type in a name for the page.
And finally, click Publish or Update at the top-right.
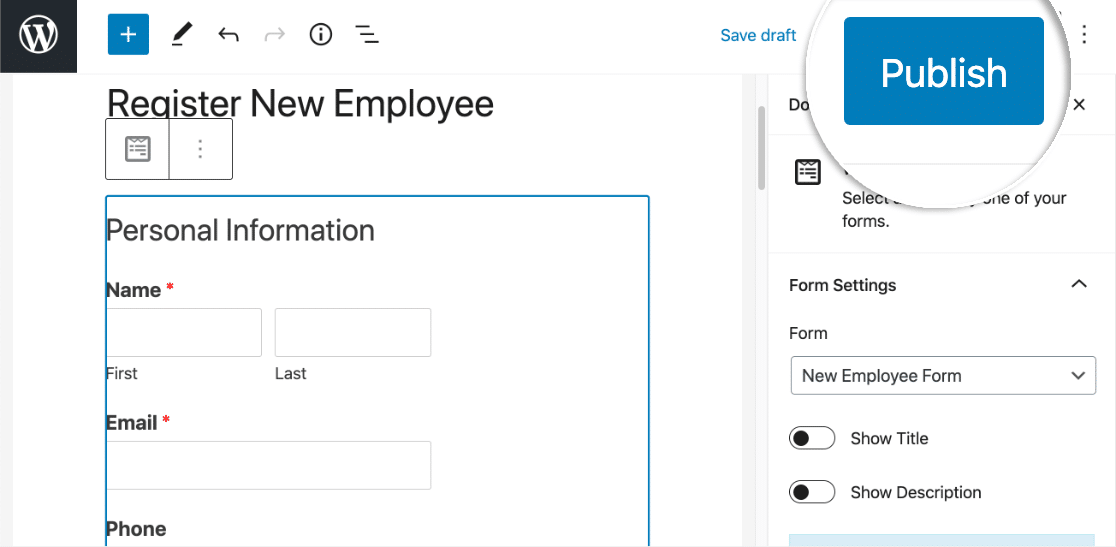
Great! The form is live and ready to be filled in.
Before we move on, you’ll need to add at least one test entry. Without this, Zapier won’t be able to set up your Zap in the next step.
The email address you use in this entry must match an existing Slack user in your workspace.
All done? Great. Go ahead and fill out your form, then submit it.
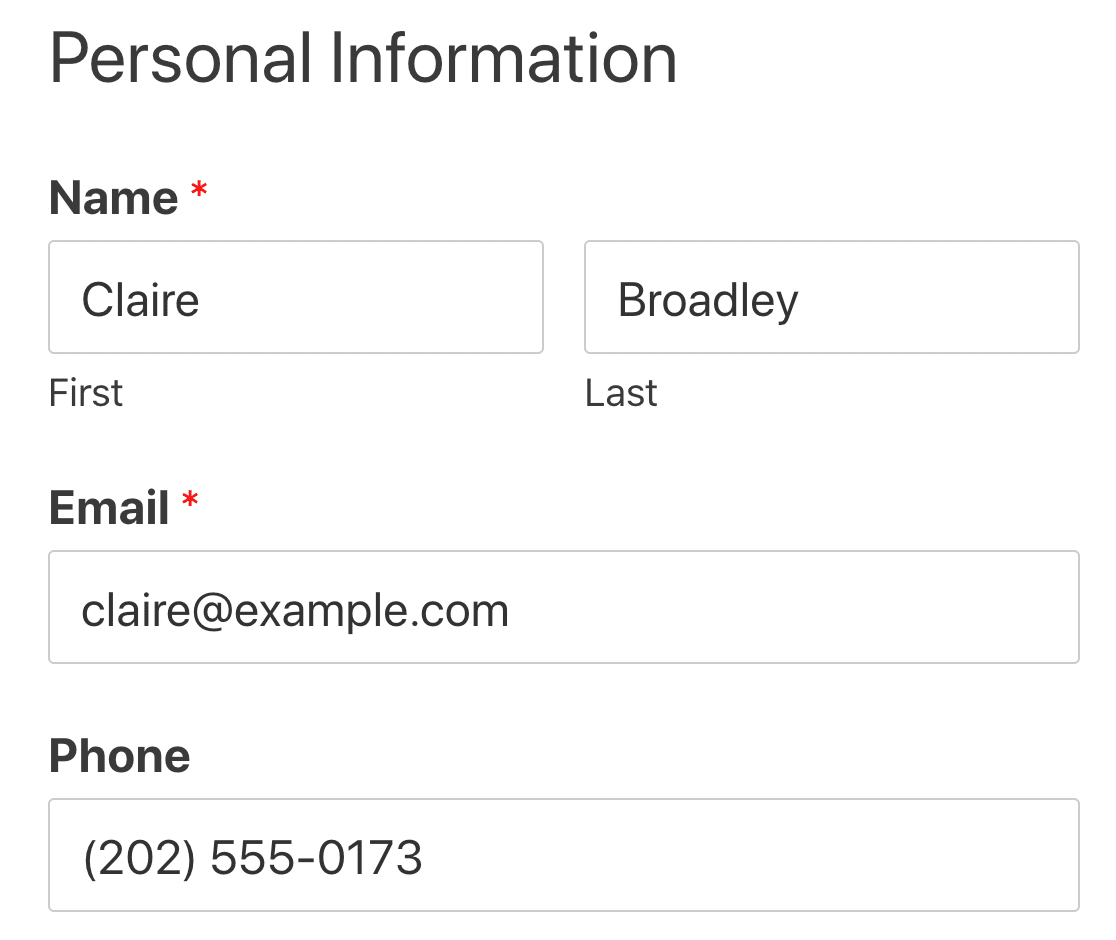
Now we’re ready to switch over to Slack, but keep WordPress open in another tab for a few minutes. We’ll need to switch back in a second.
Step 4: Connect WPForms to Zapier
In this step, we’ll set up a connection between WPForms and Zapier.
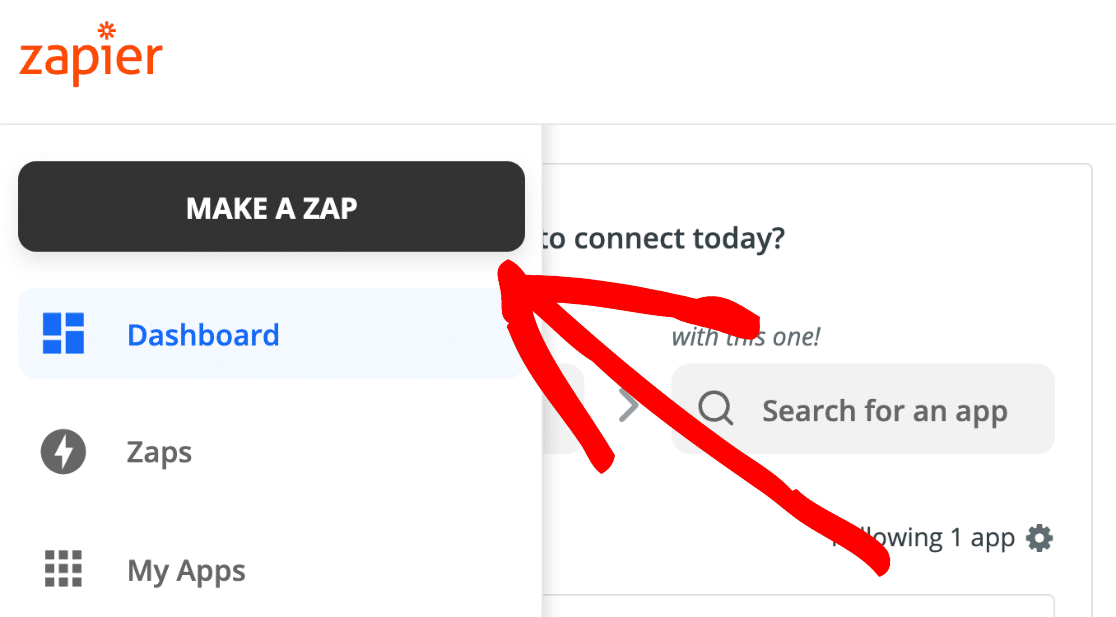
So first, log in to Zapier and click Make a Zap at the top left.
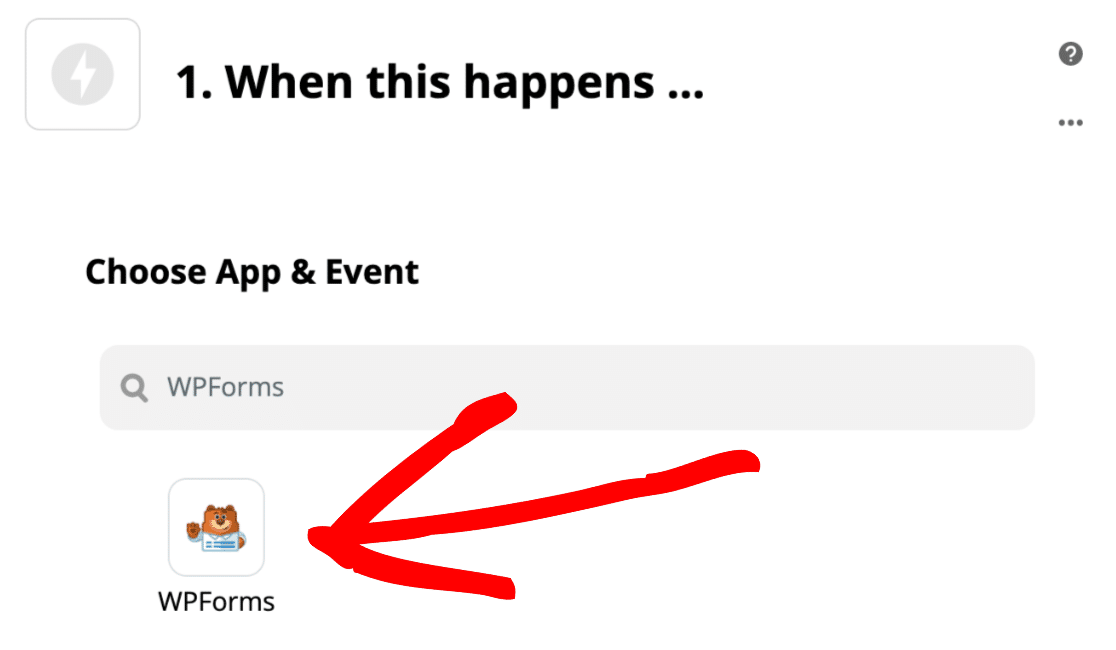
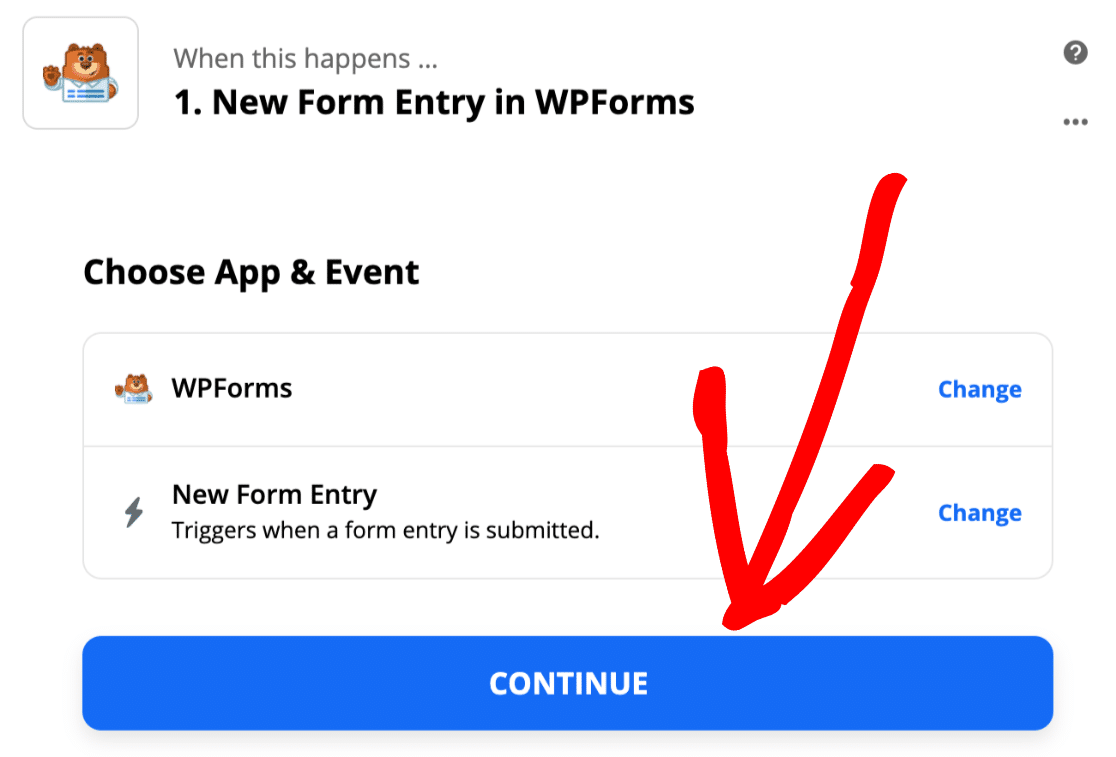
In this Zap, WPForms will trigger the action in Slack. So let’s search for WPForms and select it.
The only action available is New Form Entry, so we can click Continue here.
Now we’re going to switch back to the WordPress tab we kept open in the last step.
Go to WPForms » Settings and click on the Integrations tab.
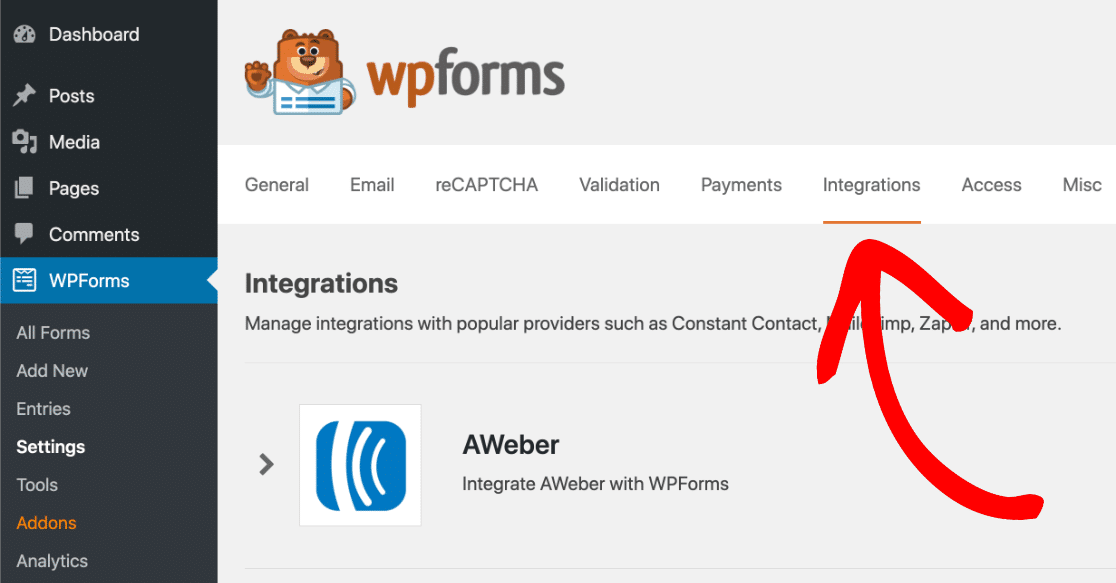
Now click on the Zapier icon to see the Zapier API key for your site.
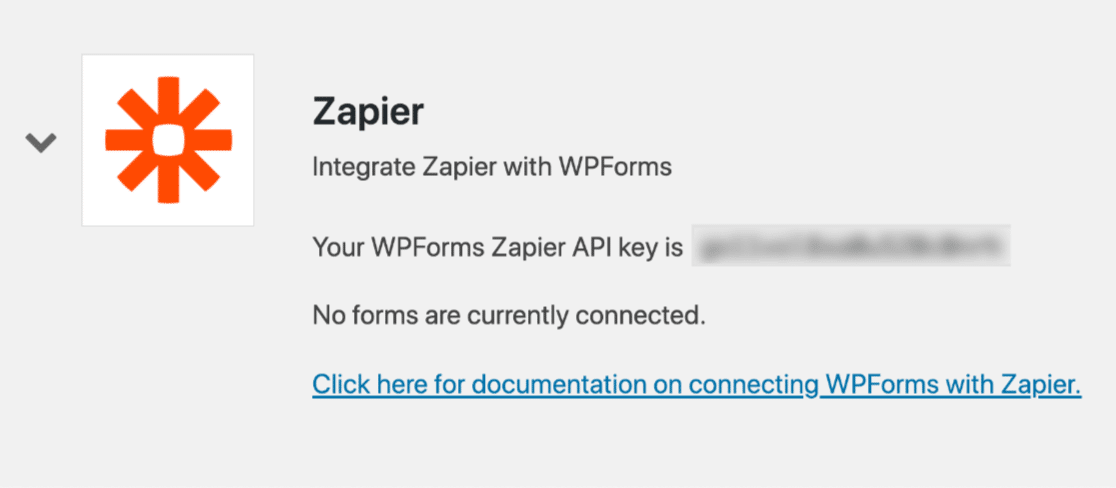
Copy the API key to your clipboard.
Switch back to Zapier. In the connection window, paste in your API key and your site URL. Once done, click on Yes, Continue to connect WPForms to Zapier.
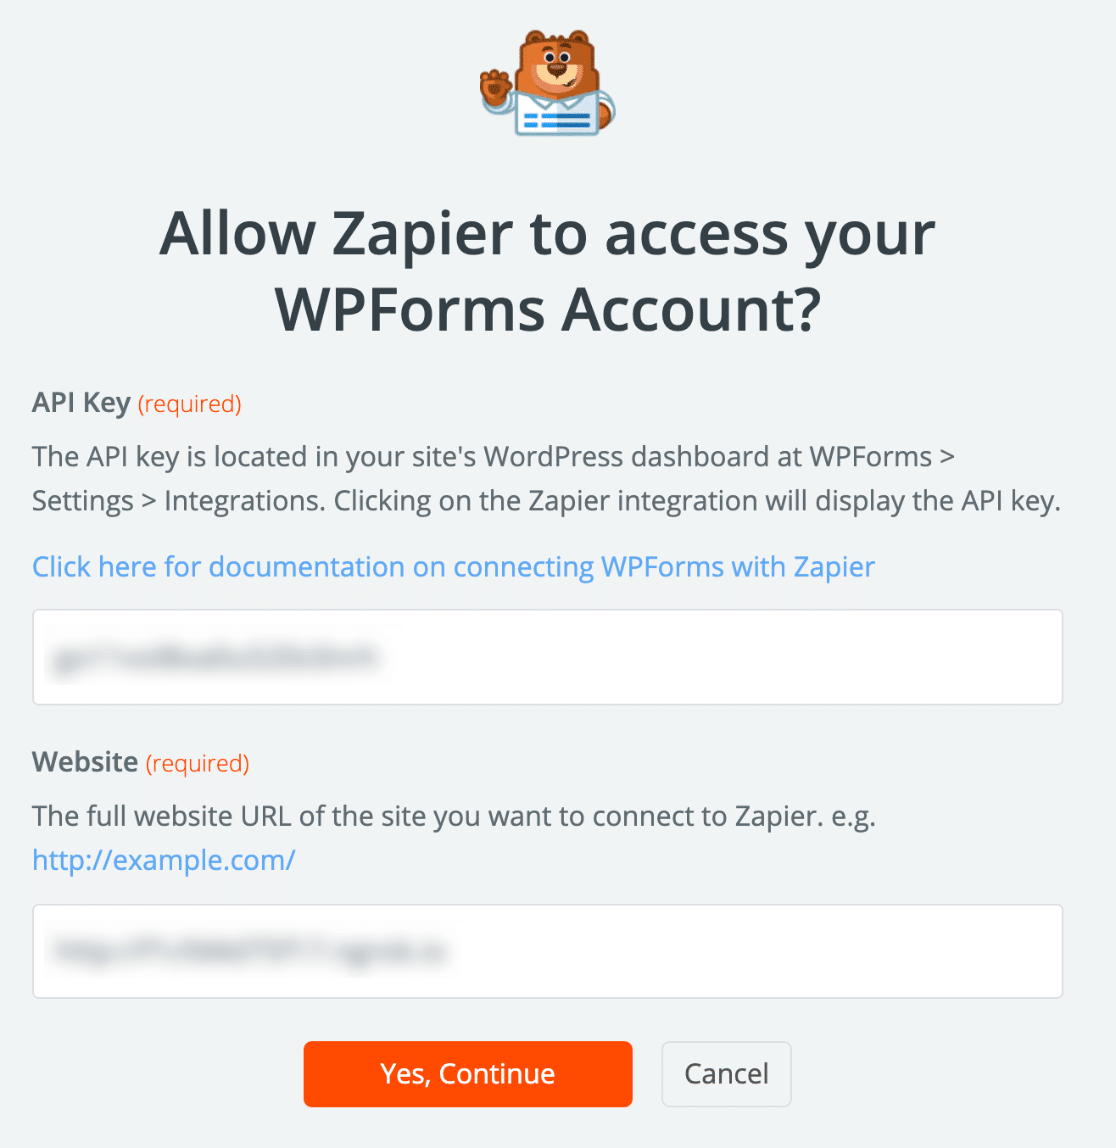
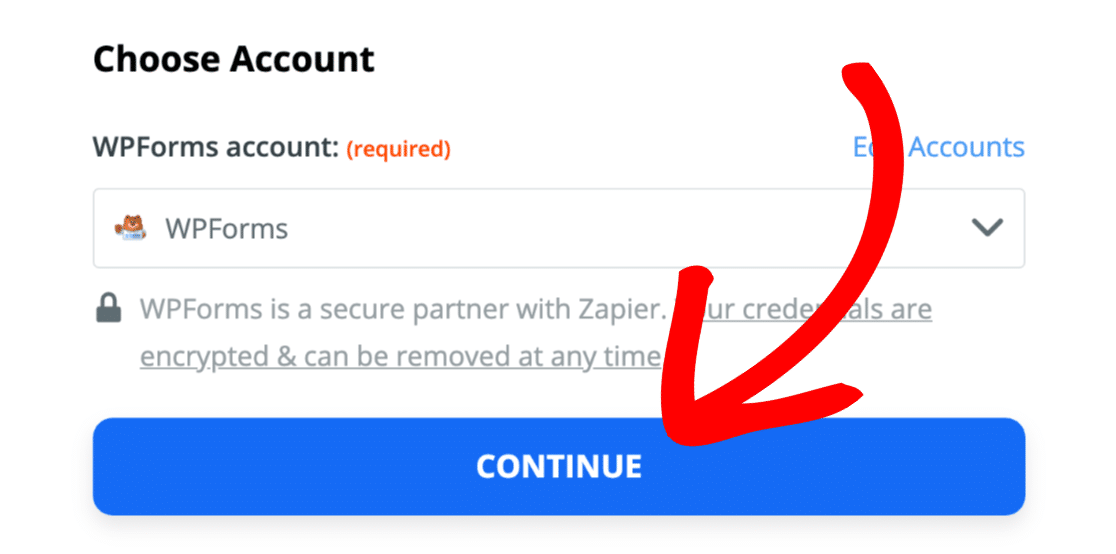
Now click Continue to confirm.
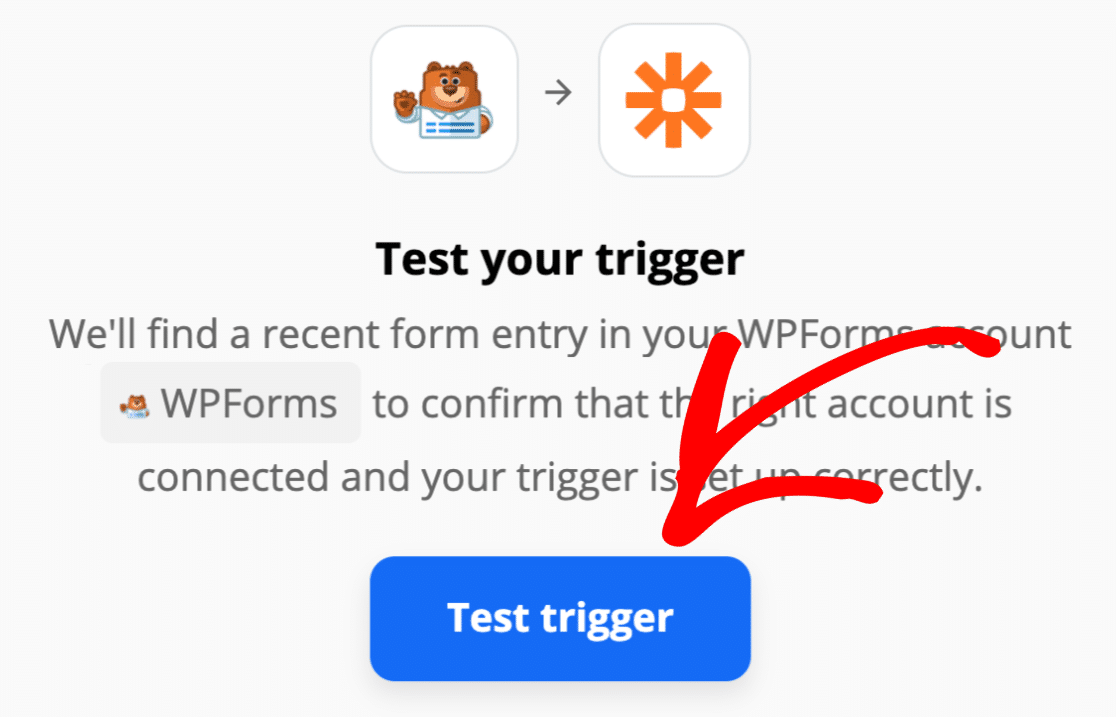
Let’s click the Test Trigger button to see if it’s working.
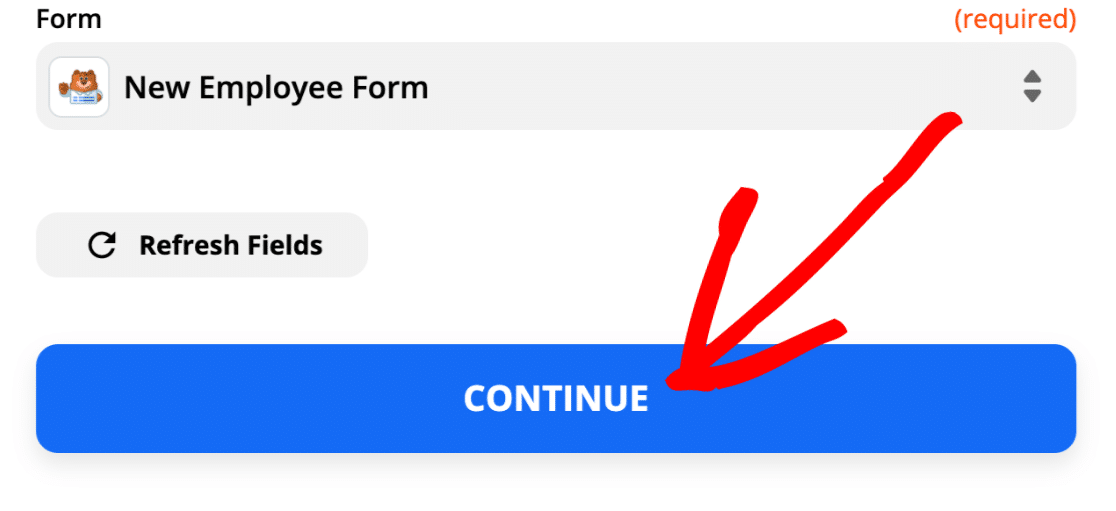
Zapier will now fetch all the forms in WPForms and list them in a dropdown.
Choose the employee information form you created and click Continue.
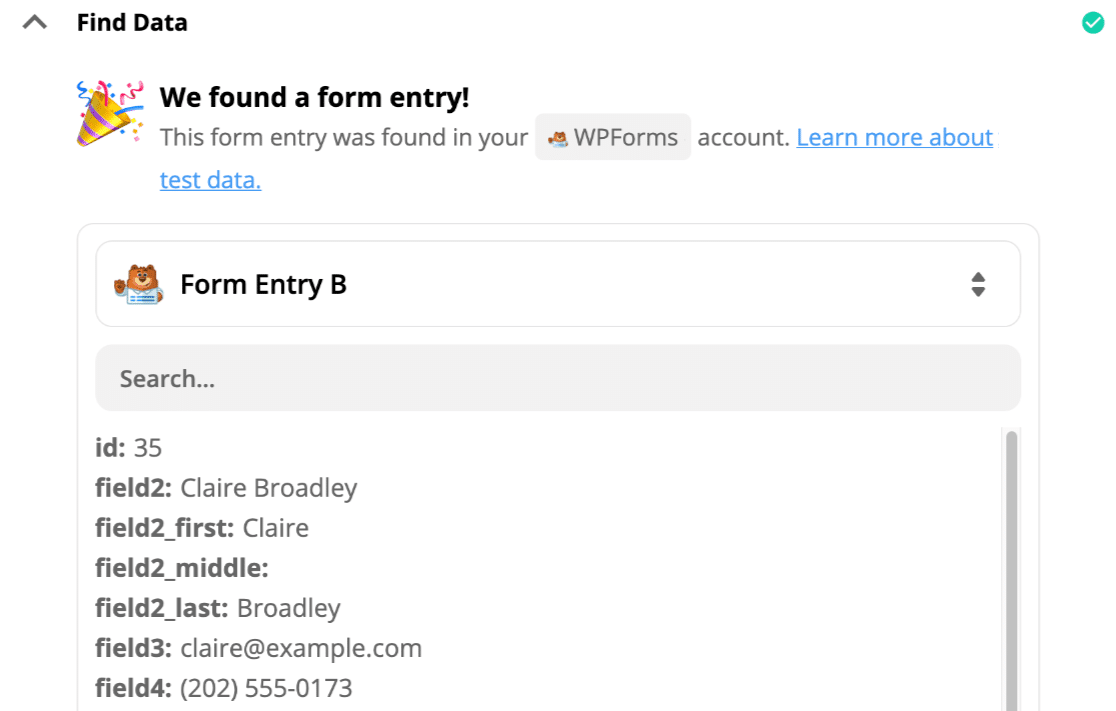
If you see this message, you know everything’s connected and your test entry was found:
Easy, right? Let’s connect to Slack next.
Step 5: Search for Your Slack User
Now it’s time to set up Slack as our ‘action’ app.
Let’s start by searching for Slack and clicking the icon here:

If this is your first time using Slack with Zapier, you’ll be prompted to connect to your Slack account and log in. Once that’s done, click Continue.
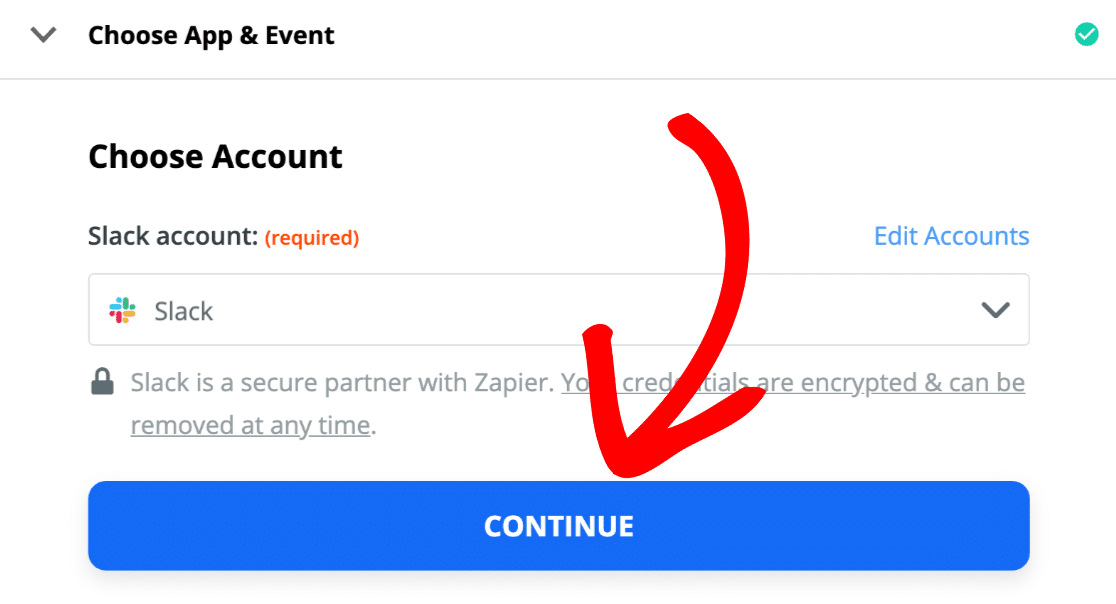
Now we’re going to tell Zapier to search for the Slack user that matches the email address in the form entry.
So let’s select Find User by Email and click Continue.
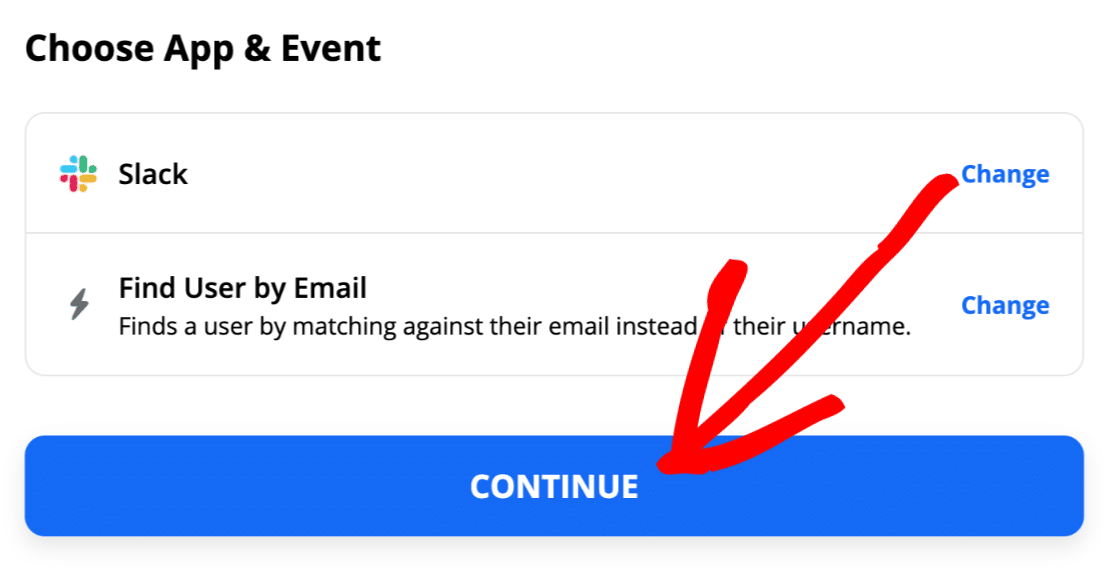
Now we’re going to tell Zapier to use in the email address from the form submission in the search.
All you need to do is select the email field in the Email dropdown and click Continue.
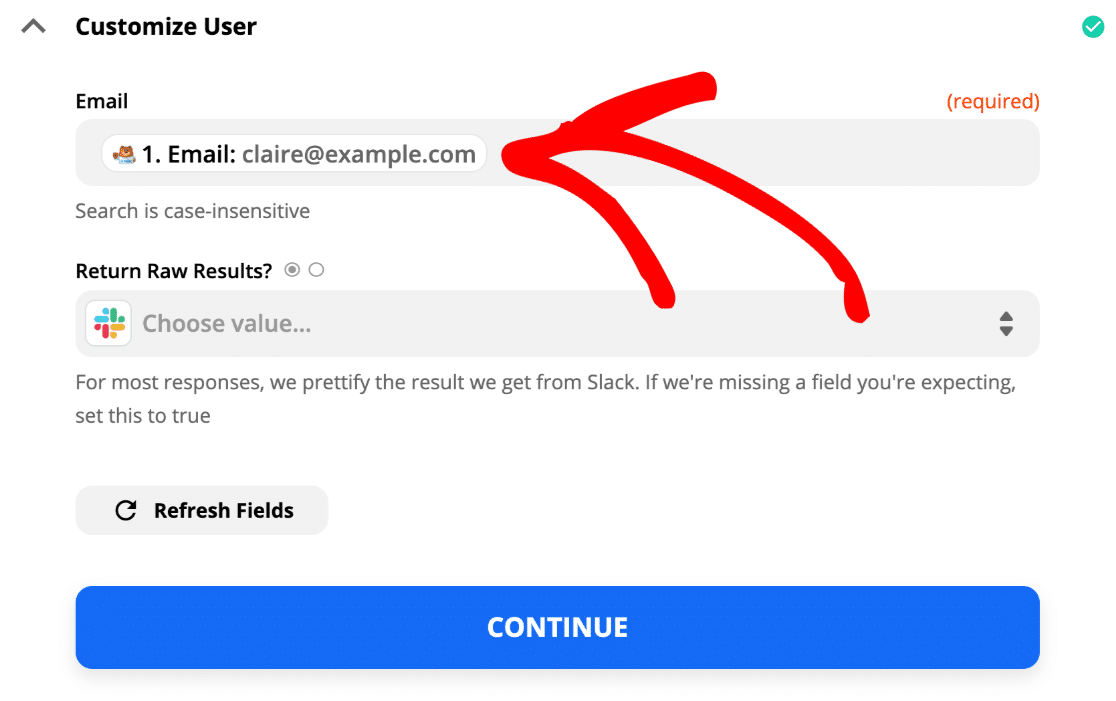
OK, that’s done. Zapier doesn’t show a result yet, because all we’ve done is search for the entry, and we haven’t told Zapier what to do next.
Let’s click the plus icon here to add another step to the Zap:
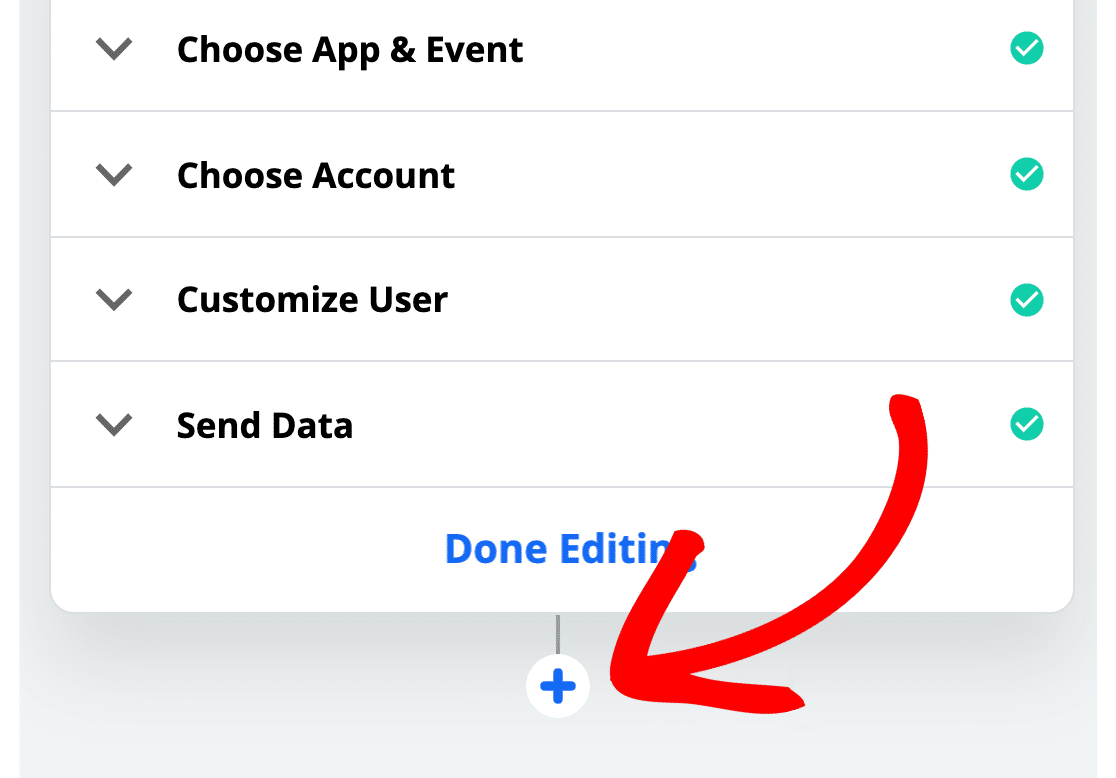
Now we’re ready to add the user to our channel.
Step 6: Add Your Slack User to a Channel
We’ve successfully told Zapier to look for our WPForms user in Slack. Now we need to add another step to tell Zapier what to do once it’s found them.
So let’s start the next part of the Zap by searching for Slack again:

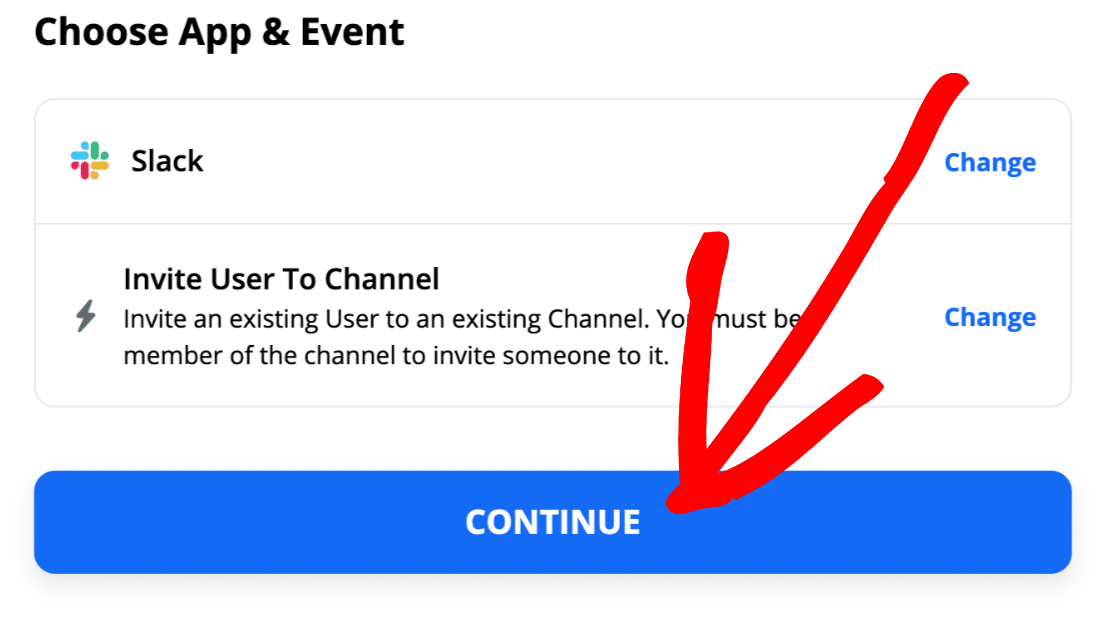
And now we’re going to select the action Invite User to Channel, and then click Continue.
Before we move on, you might want to check the user’s Member ID in Slack so you know what to look for in this next part.
To do that, click View Profile for the user and then click the More icon.
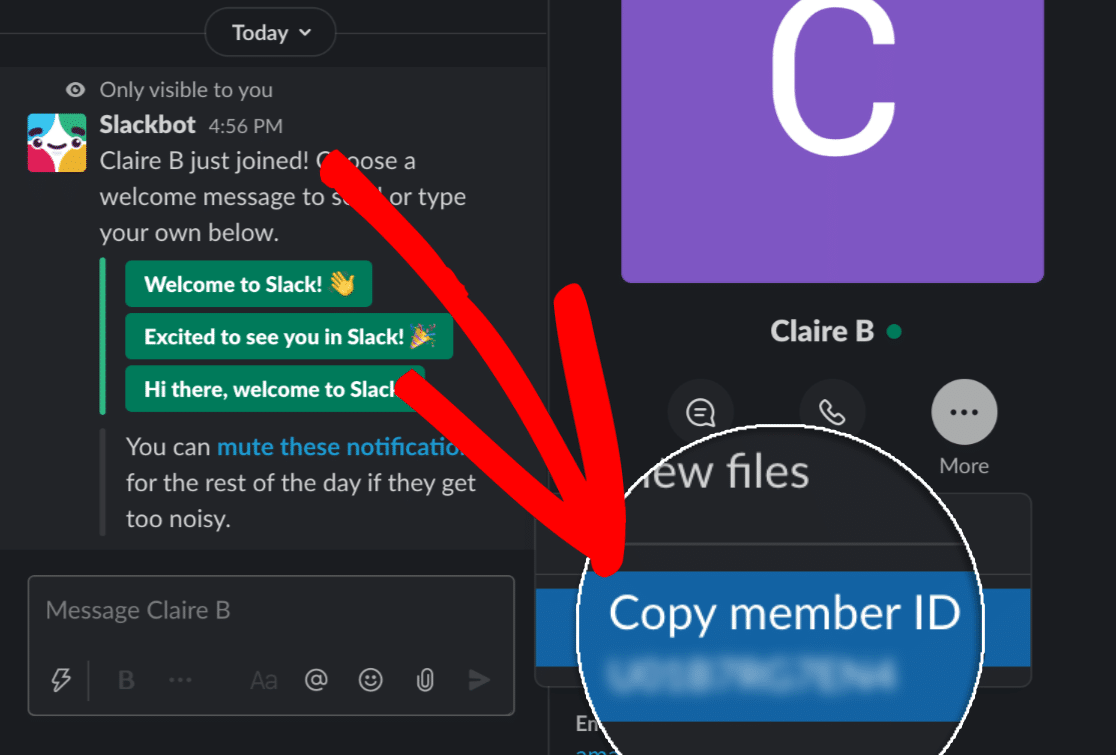
OK. We know what we’re looking for. Let’s continue with the tutorial.
Switch back to Zapier now.
There are 2 things we need to do on this screen.
In the Users field, click Custom. Slack will show you the search results from the last step in a section labeled 2: Find User by Email in Slack.
You’ll want to select the user’s ID here.
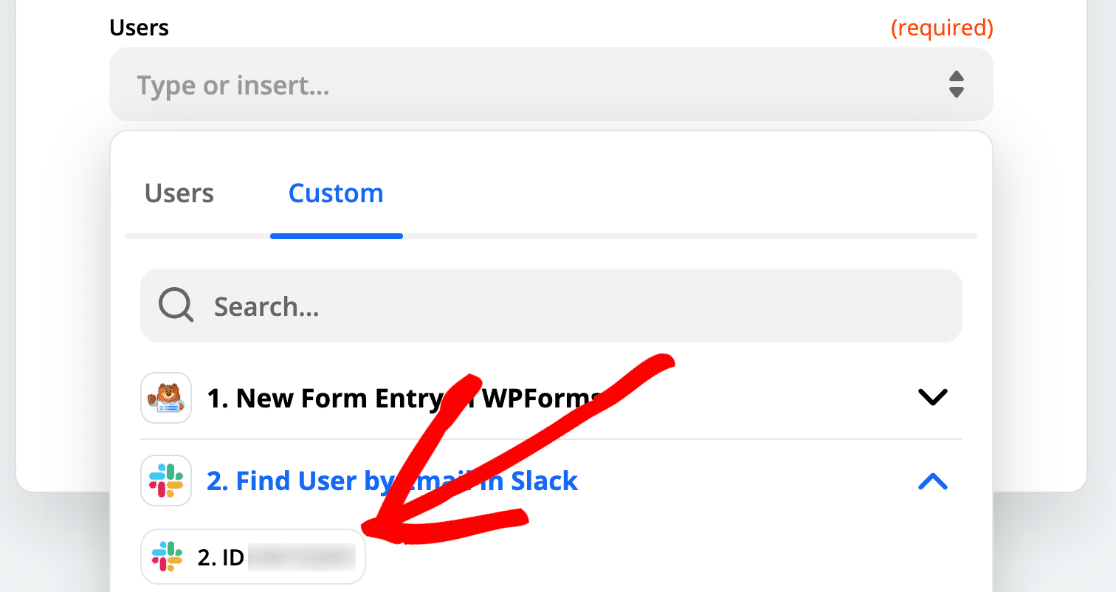
On the same screen, in the Channel dropdown, select the channel you want to add your user to. This must be an existing Slack channel. We’re going to choose our #onboarding channel in this example.
The end result looks like this. The ID you see on the screen here should be the same as the Member ID we just looked up in Slack.
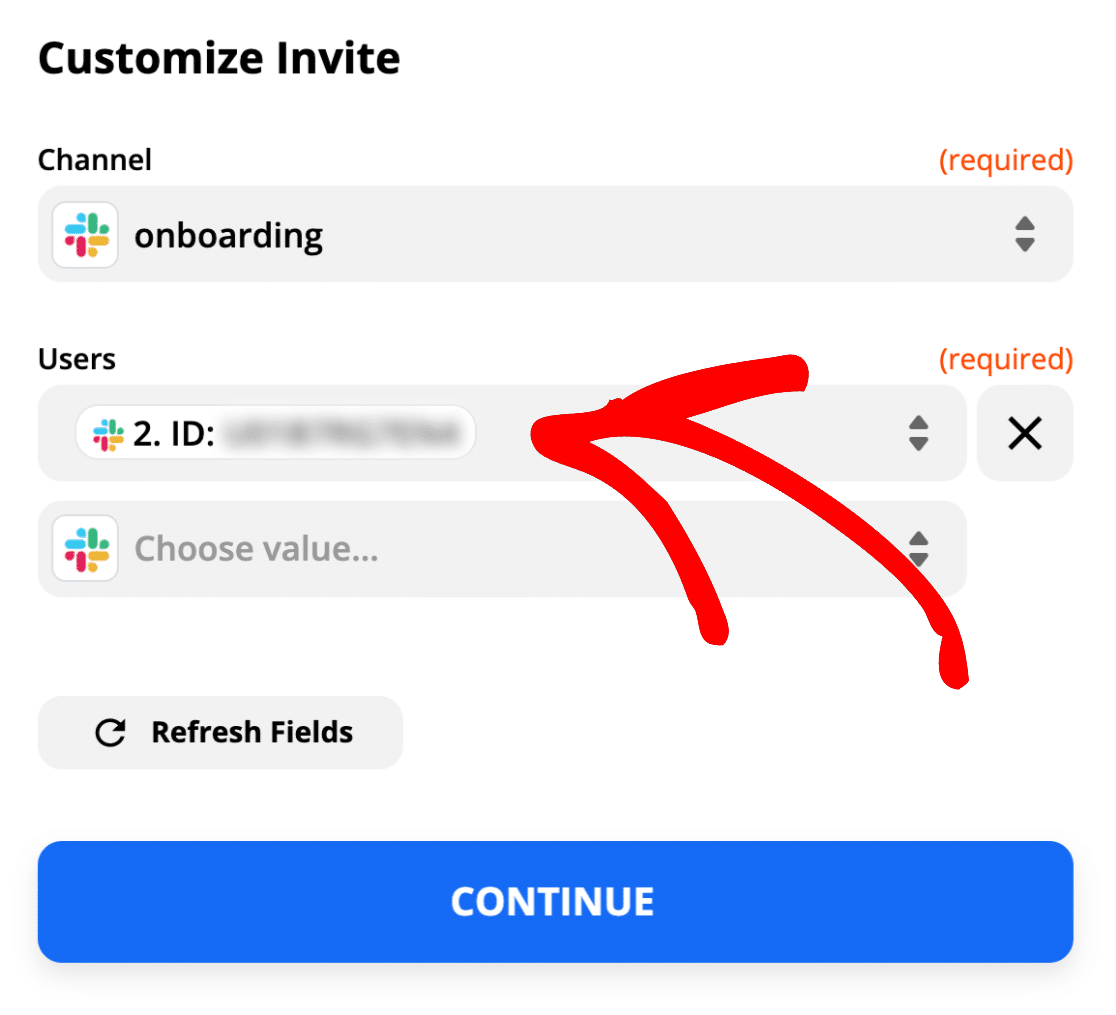
All set? Click Test and Continue.

And that’s it! We’ve successfully added the person to our #onboarding channel.
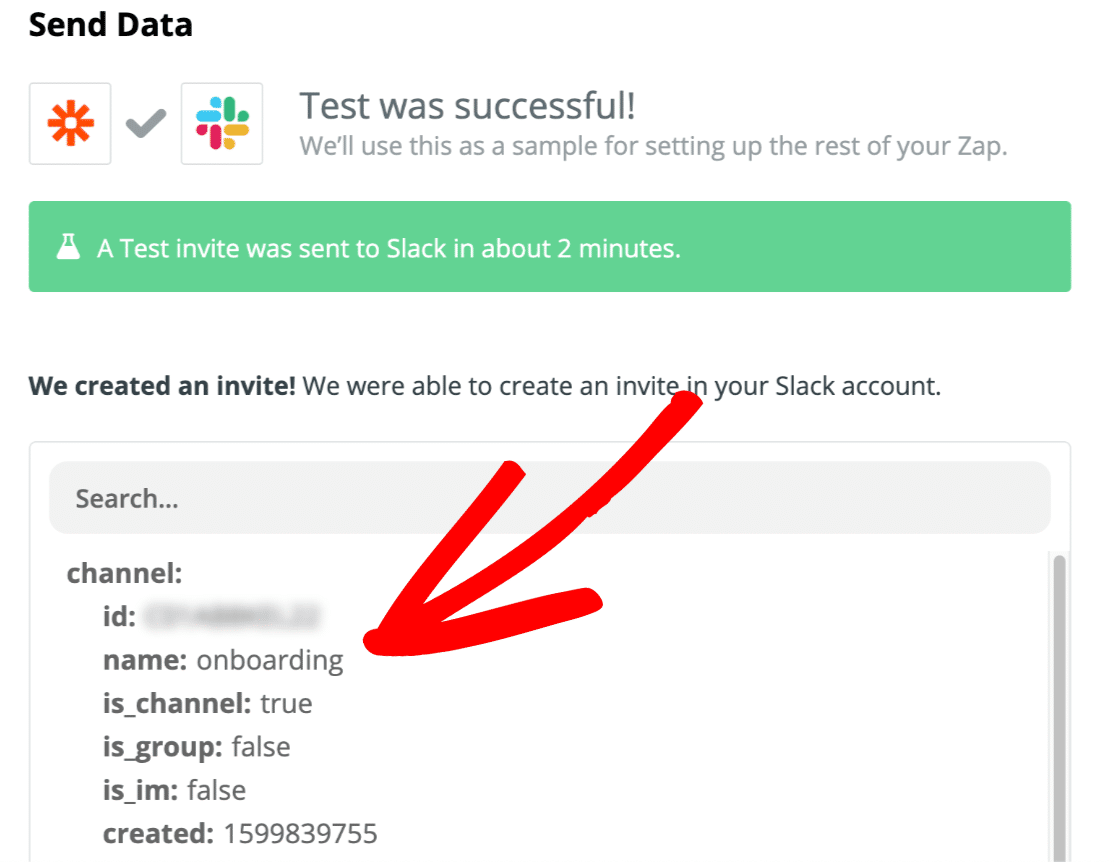
Here’s the result in Slack:

Don’t forget to turn your Zap ON so that this Zap runs automatically when your form is submitted.
That’s it! You’ve successfully connected your WordPress form to Slack to send automatic invitations.
Create Your Slack Auto-Invite Form Now
Next Step: Set Up an Onboarding Project in Toggl
The Zapier addon in WPForms lets you connect your forms to hundreds of services. Try adding more Zaps to use your form data in new ways.
For example, when you add an employee, you could automatically create a Toggl project for your HR department so they can work through a list of onboarding tasks.
Ready to build your form? Get started today with the easiest WordPress form builder plugin. WPForms Pro includes lots of free templates and offers a 14-day money-back guarantee.
If this article helped you out, please follow us on Facebook and Twitter for more free WordPress tutorials and guides.

