Want to use the Brevo (formerly Sendinblue) mailer to get improved and reliable email deliverability on your WordPress site?
Brevo is a solid mailer option for WP Mail SMTP because it’s both super reliable and has a straightforward setup.
In this tutorial, we’ll show you how to set up the connection between WP Mail SMTP and Brevo to improve your website’s email deliverability.
What Is Brevo Email?
Brevo is a cloud-based digital marketing service. It offers a popular email marketing platform and reliable email deliverability solutions. It also works great when paired with WP Mail SMTP.
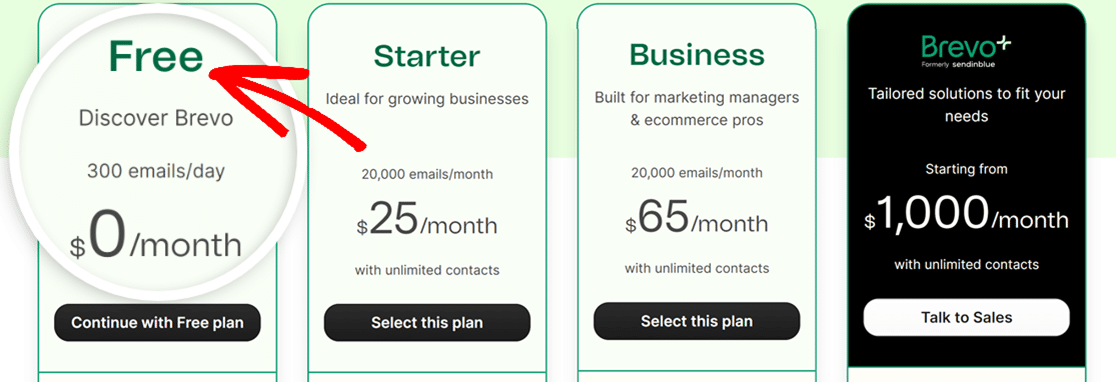
Brevo offers both free and paid pricing plans, depending on how many emails you want to send. The free plan includes up to 300 sent emails per day. This is usually more than enough for many small business websites.
How to Set Up the Brevo Mailer With WP Mail SMTP
Follow this step-by-step tutorial to connect and use your Brevo mailer with WP Mail SMTP.
In This Article
1. Activate Your Brevo Account
To get started, you’ll need to have a Brevo account. If you don’t have one yet, click here to create a Brevo account. There’s no credit card required to sign up.
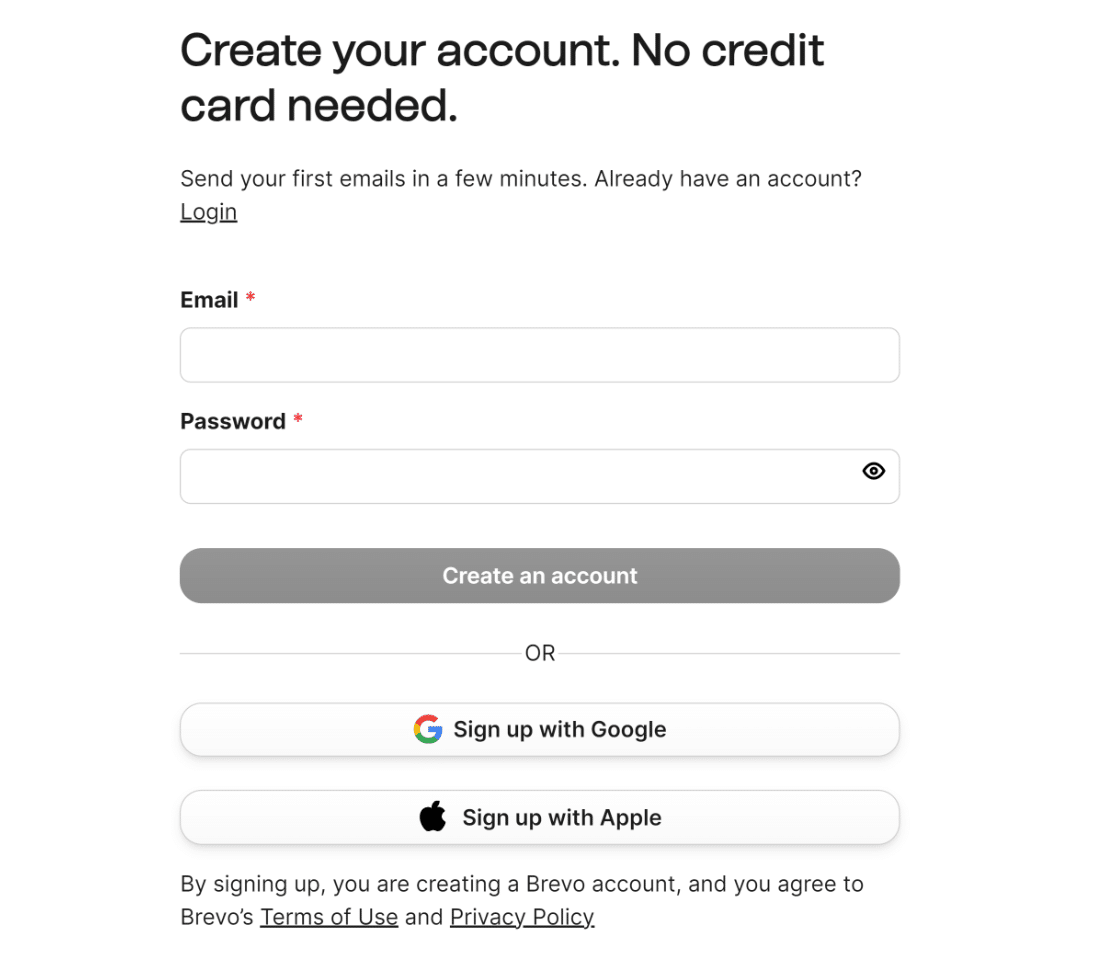
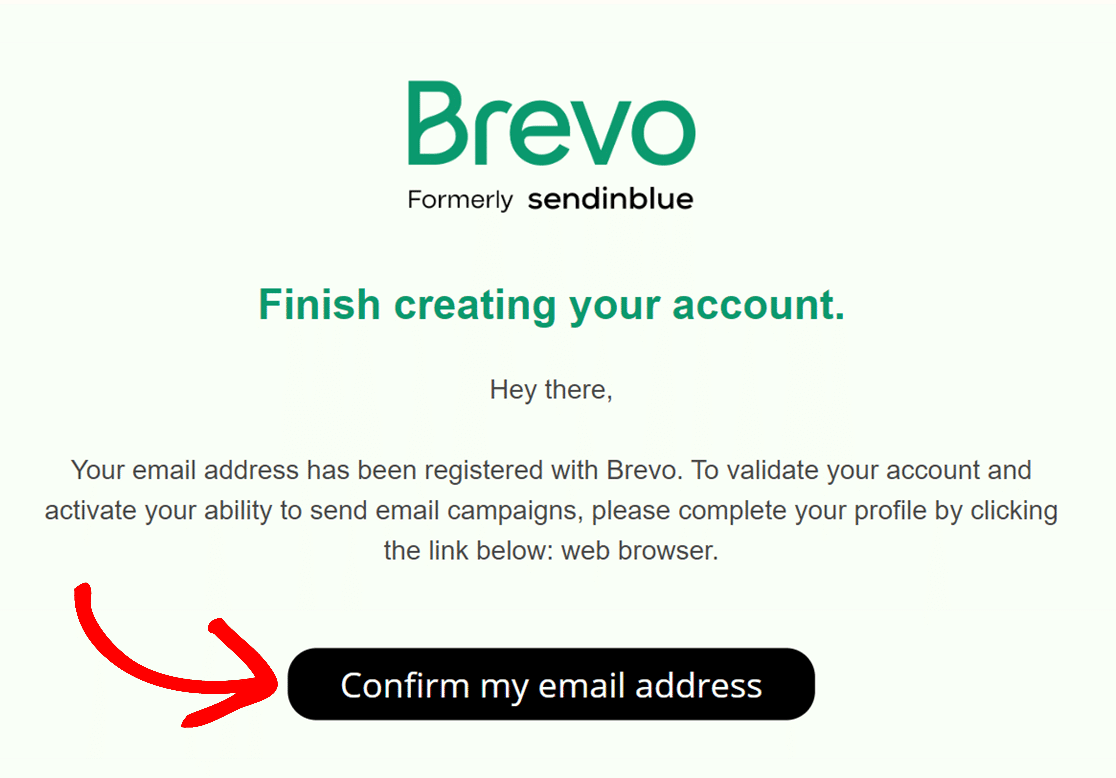
You’ll receive an email from Brevo asking you to confirm your email address. Click the Confirm my email address button in that email.
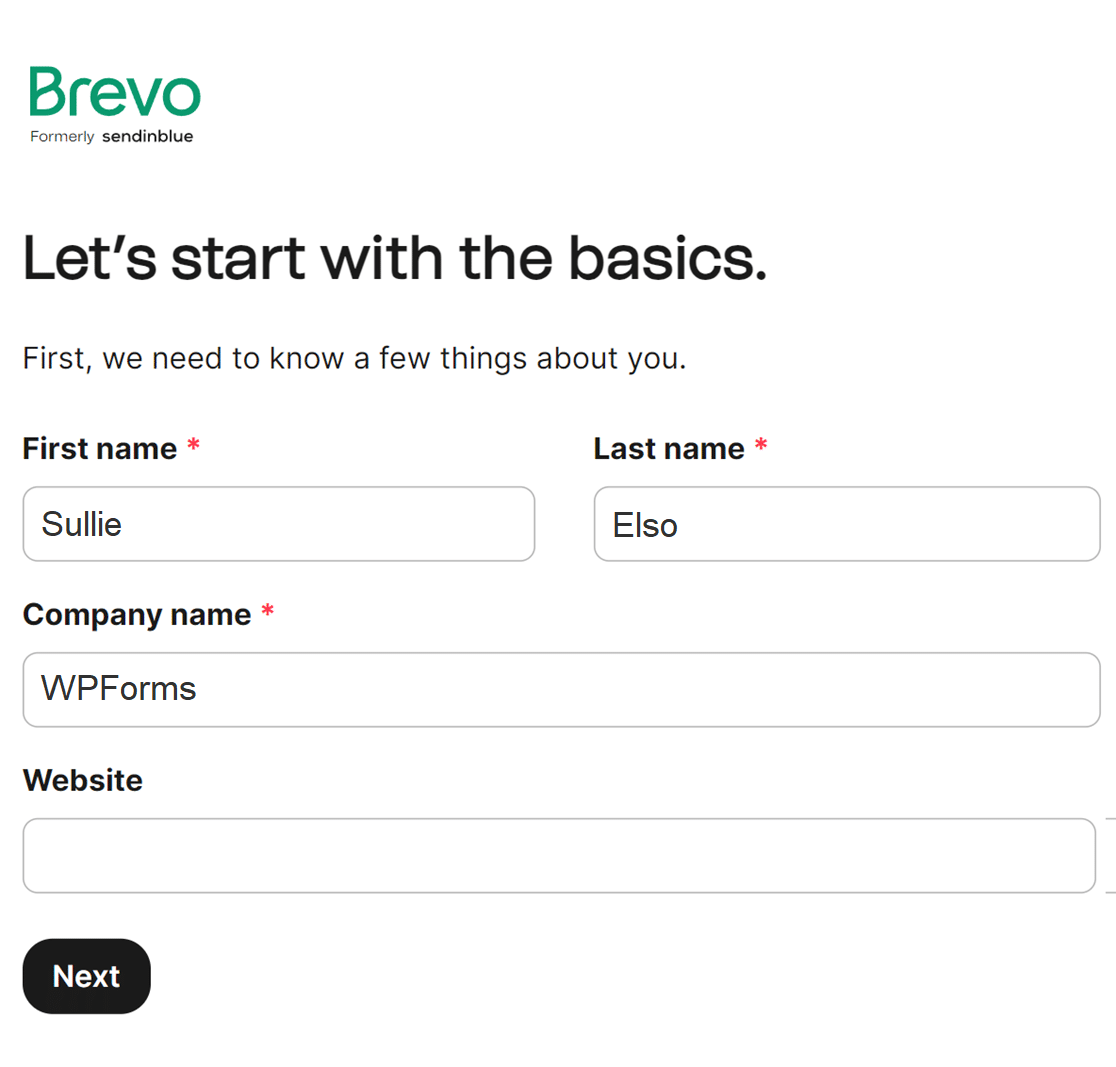
When you confirm your email address, you’ll be redirected back to your Brevo account page to provide some information about yourself and your business.
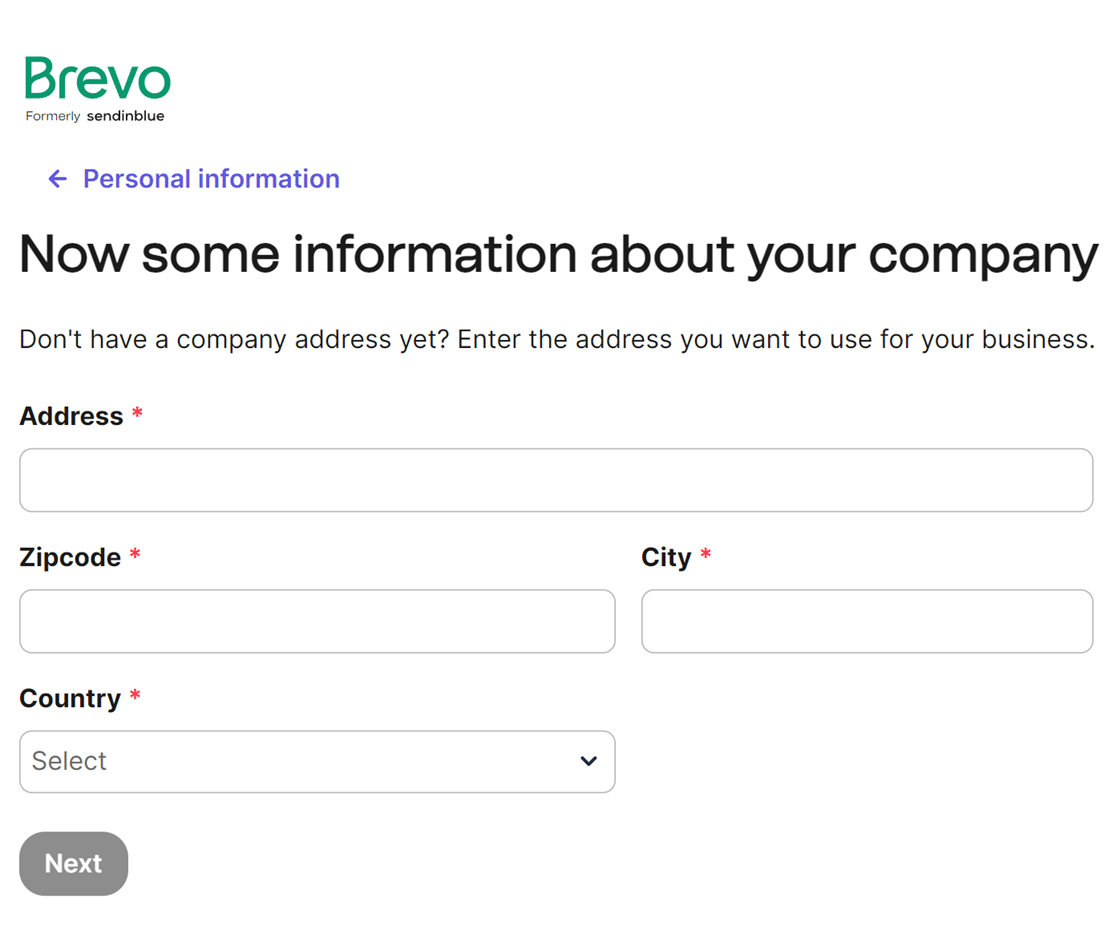
After that, you will be required to enter your address, zipcode, city and country in the relevant fields.
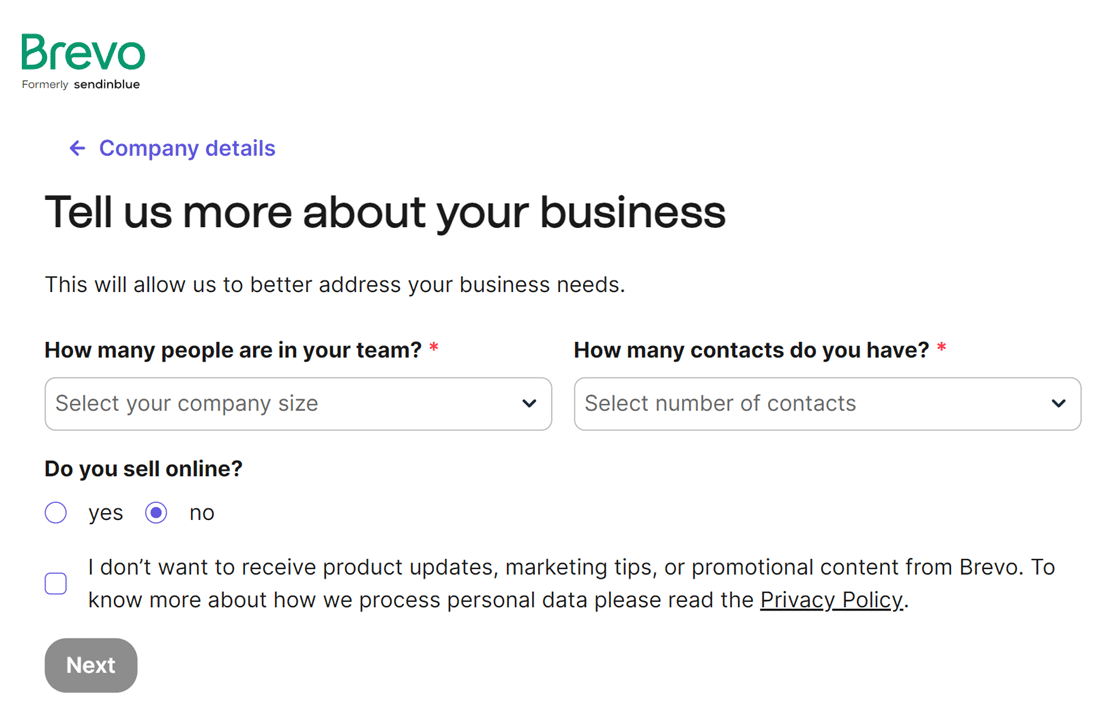
Next, Brevo will ask for info about your business, like how many people work for you, how many people are on your mailing list, and if you plan to sell things online.
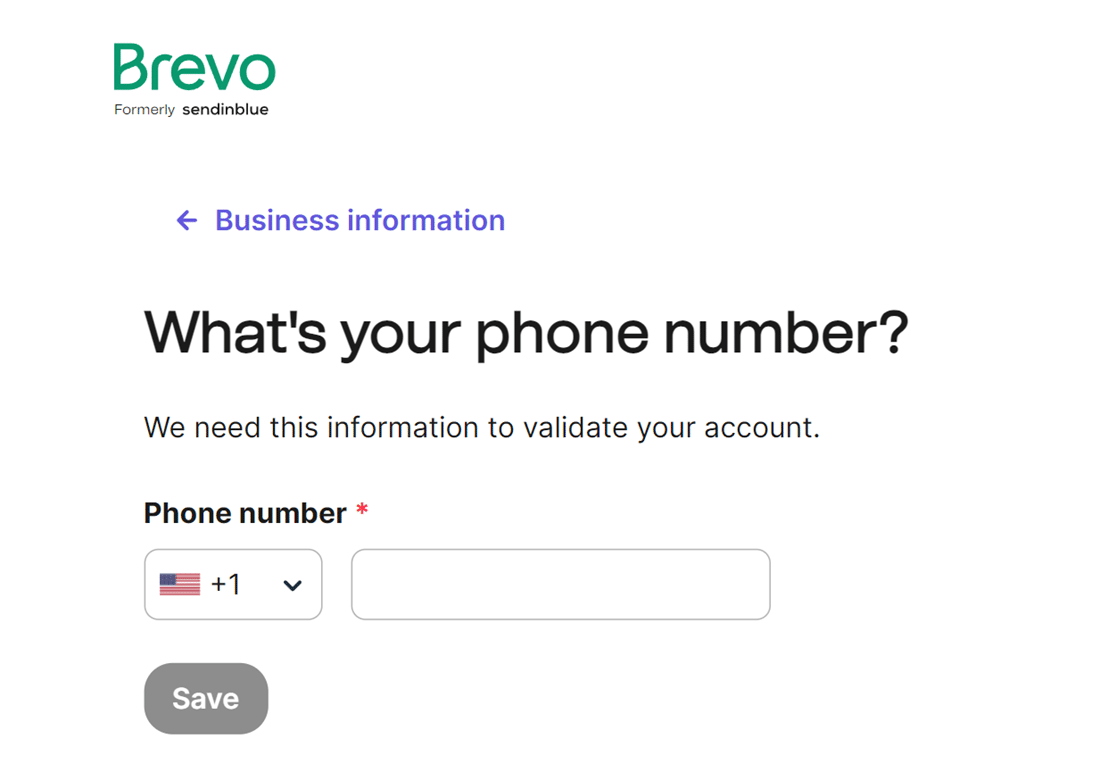
After that, Brevo will request that you provide your phone number. Once you’ve done that, just click on the Save button to proceed.
After filling out the form with the requested information, you’ll have the opportunity to select a plan. The setup process is the same for all plans.
Once you have chosen your plan, you can proceed with the next step of authorizing your domain in Brevo to ensure successful email delivery.
2. Authorize Your Domain
Ideally, for this step, you’ll use an email address at a domain that you own. Although you can use Gmail, Outlook, and others, a domain-specific email improves reliability.
For example, if [email protected] is your From Email, example.com is the domain you would need to validate in Brevo.
Setting Up Your Domain in Brevo
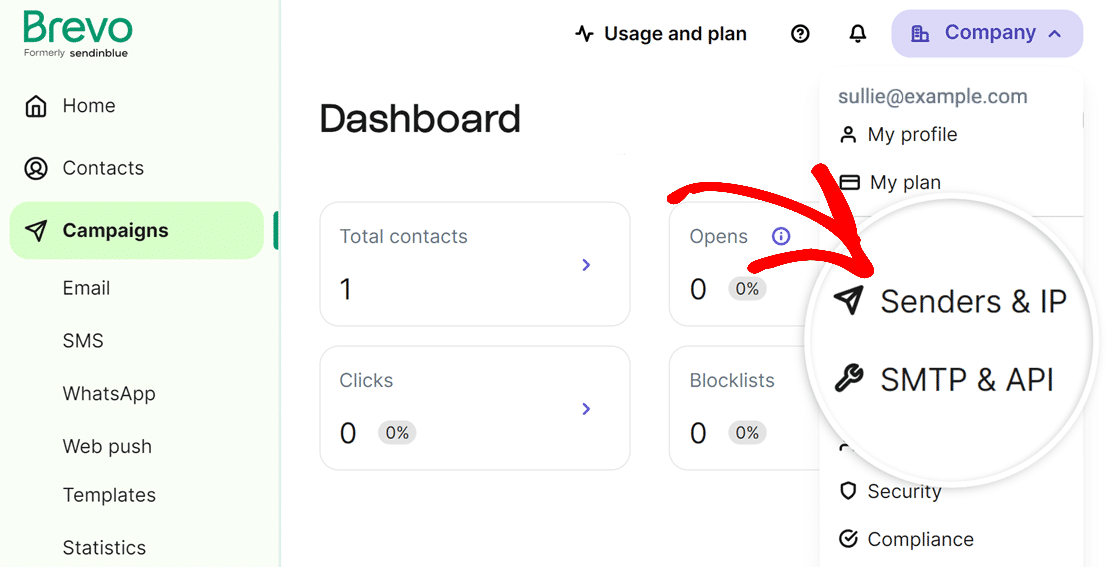
To start domain verification, sign in to Brevo. Then, click on your company in the top right corner of the screen, then select Senders & IP from the menu.
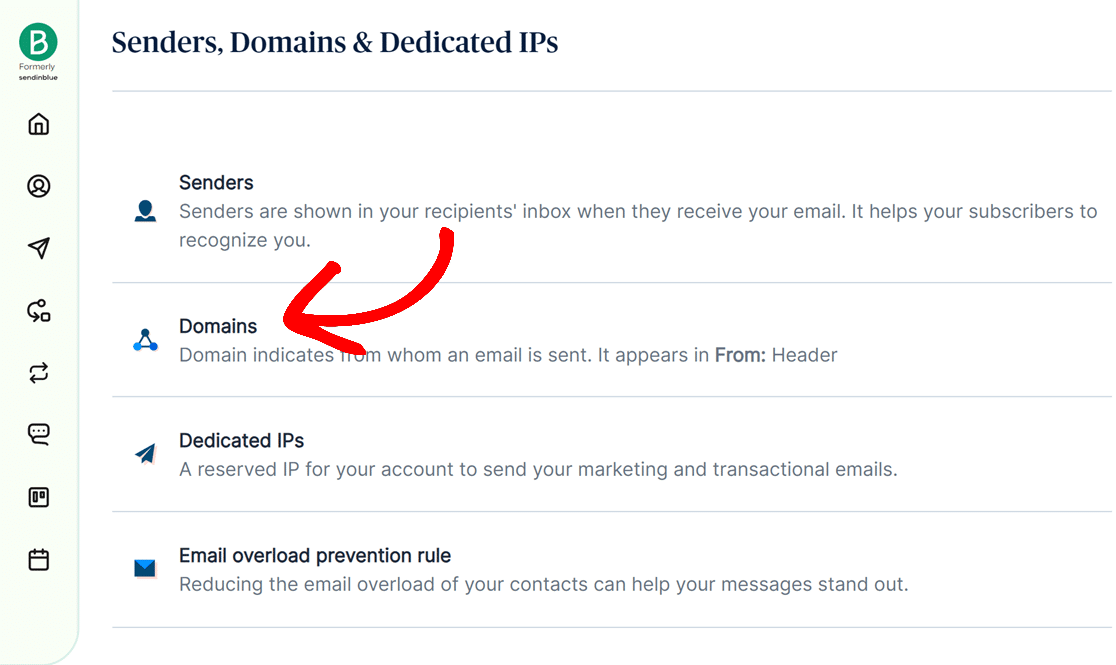
After that, a new page will open up for Senders, Domains & Dedicated IPs. Click on the option that says Domains.
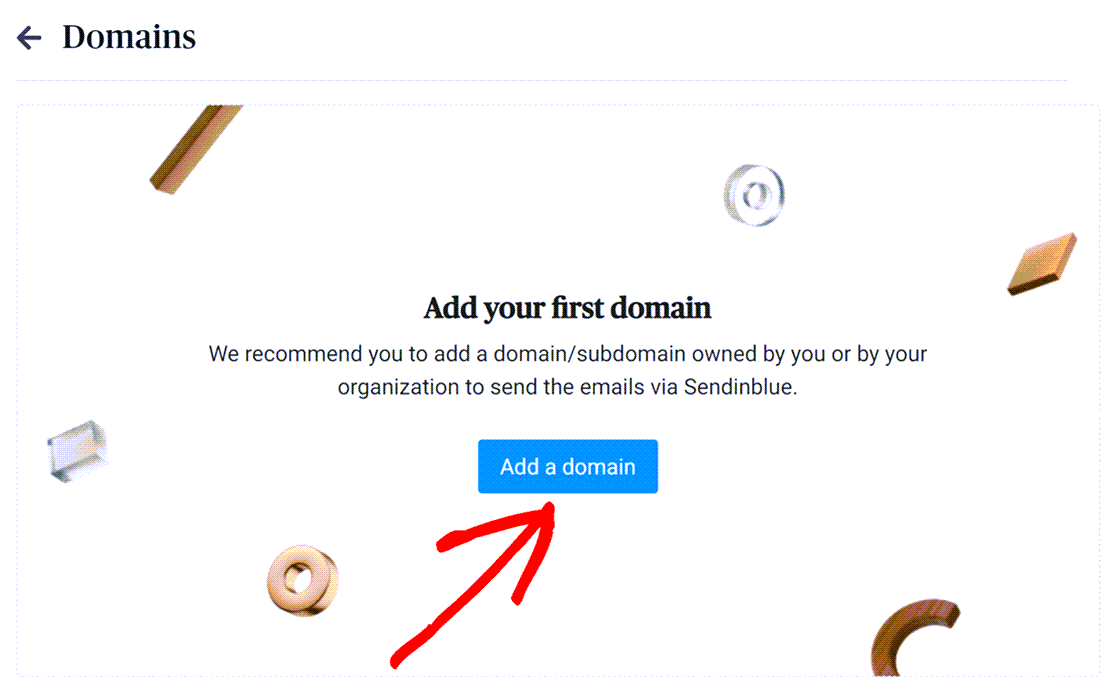
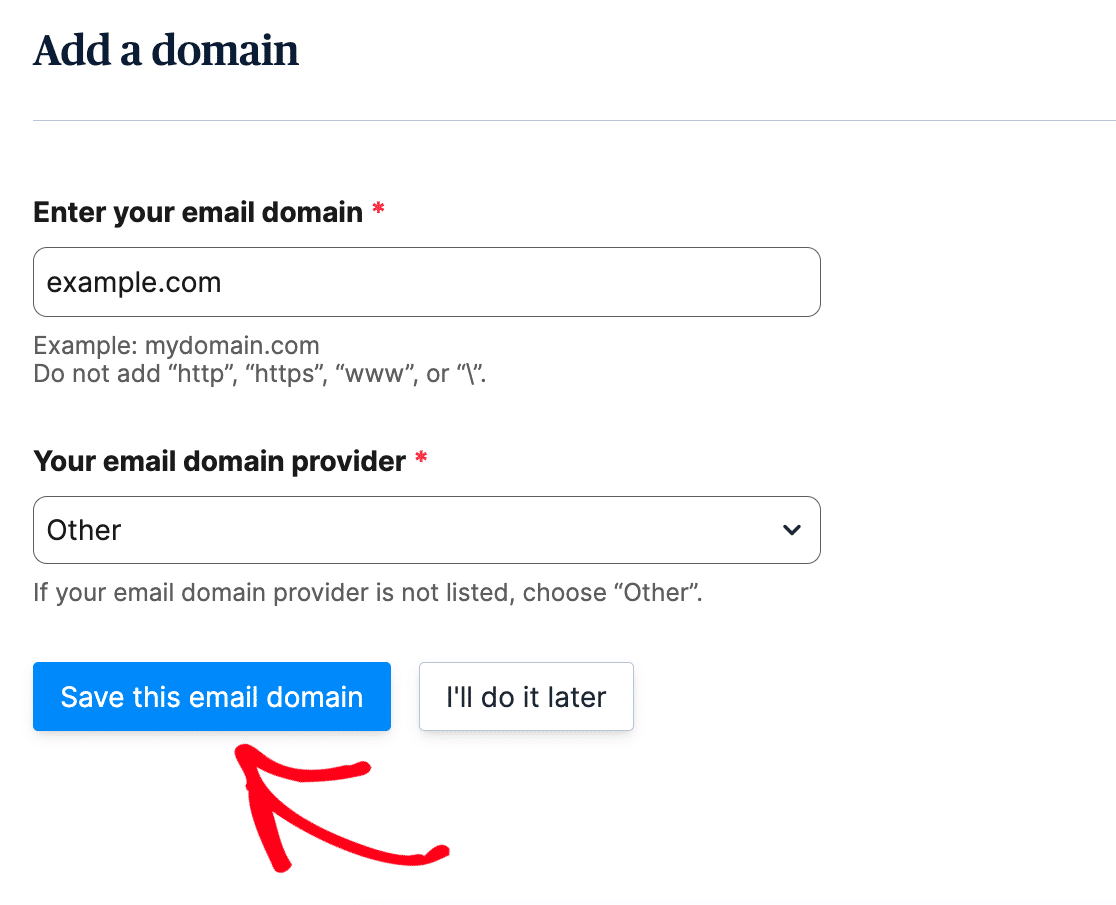
On the next page, click on the button to Add a domain. From there, add your domain name and save it.
If you’re not sure who your email domain provider is, or if it isn’t listed, choose Other from the dropdown and hit the Save this email domain button.
Add DNS Records
Domain authorization is crucial to reliable email delivery. It also protects site owners and visitors.
For Brevo to authorize your domain, you must add 2 TXT records to your site’s DNS settings.
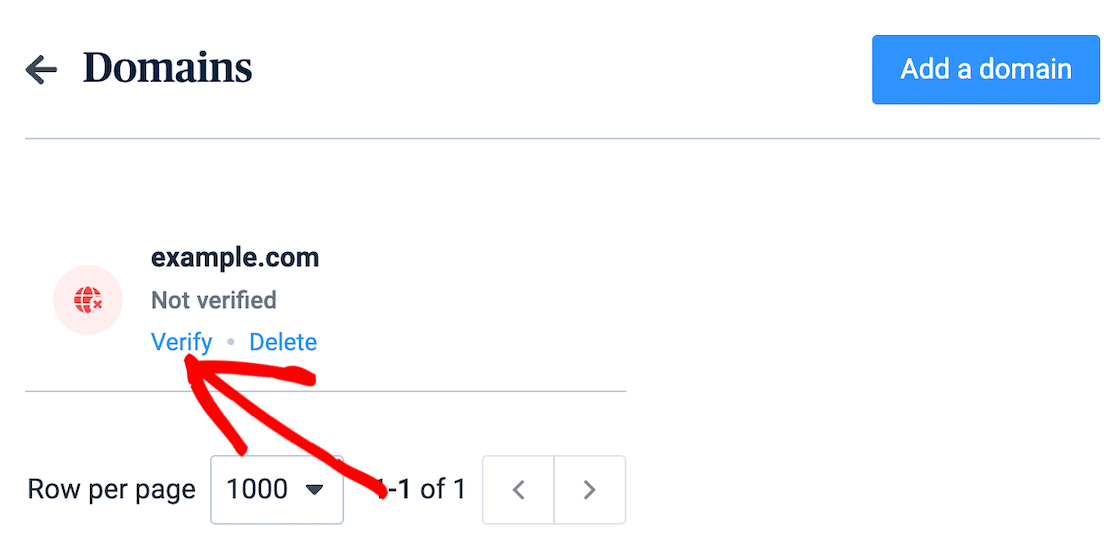
After adding your domain, as we did in the previous step, you should see it appear on the Domains page in brevo. Click the Verify link below it.
Note: We’re using example.com for our domain in the examples below. You should replace that with your own domain or subdomain name.
After clicking Verify, a page opens with 2 records. One is the Brevo code, and the other is a DKIM record. Keep this page open.
In a new window or tab, log in to the service where you purchased your site’s domain. This is often your hosting provider.
Locate your site’s DNS settings. When you look at those, there should be an option to add a new record.
The 2 records you’ll need to add are the TXT Record (Brevo Code) and TXT (DKIM) Record.
Adding the TXT Record (Brevo Code)
From your hosting provider page we opened a moment ago, click the option to add a new record. Now, we’re going to add the TXT Record (Brevo code).
You’ll get this information from the Brevo tab we just left open earlier after clicking the Verify button.

Copy the value and paste it into the appropriate DNS settings on your site. Be careful to copy it exactly, or verification won’t work.
Adding the TXT (DKIM) Record
Next, add the TXT (DKIM) Record. This information will also be in your Brevo account, right below the Brevo Code record.
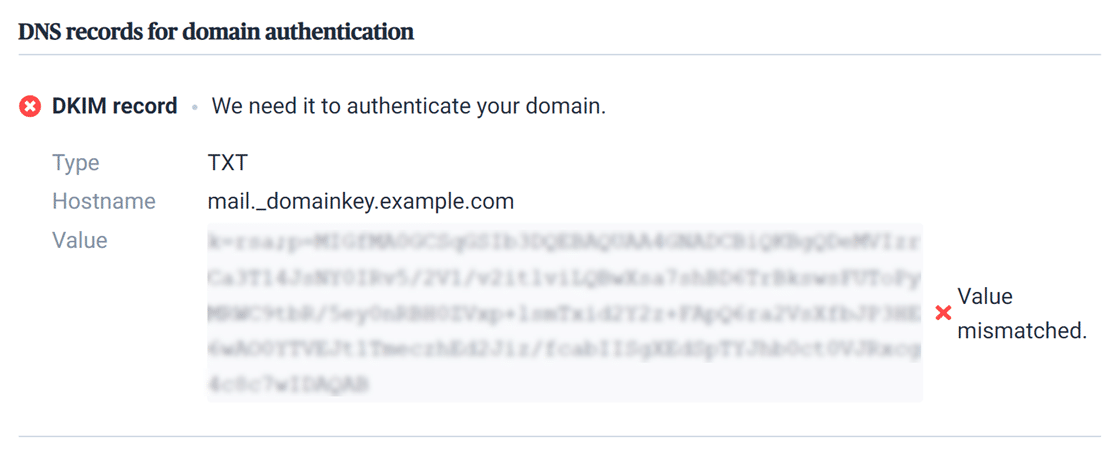
Once again, carefully copy and paste the value into your site’s DNS settings, and be sure to add the correct TTL (Time To Live), usually 1 hour.
Verify Your DNS Records
After you’ve added the records to your site’s DNS settings, it could take up to 48 hours for Brevo to verify them. This isn’t always the case, however.
Back on your Brevo page with the records still open, you can try the Authenticate this email domain button at the bottom.
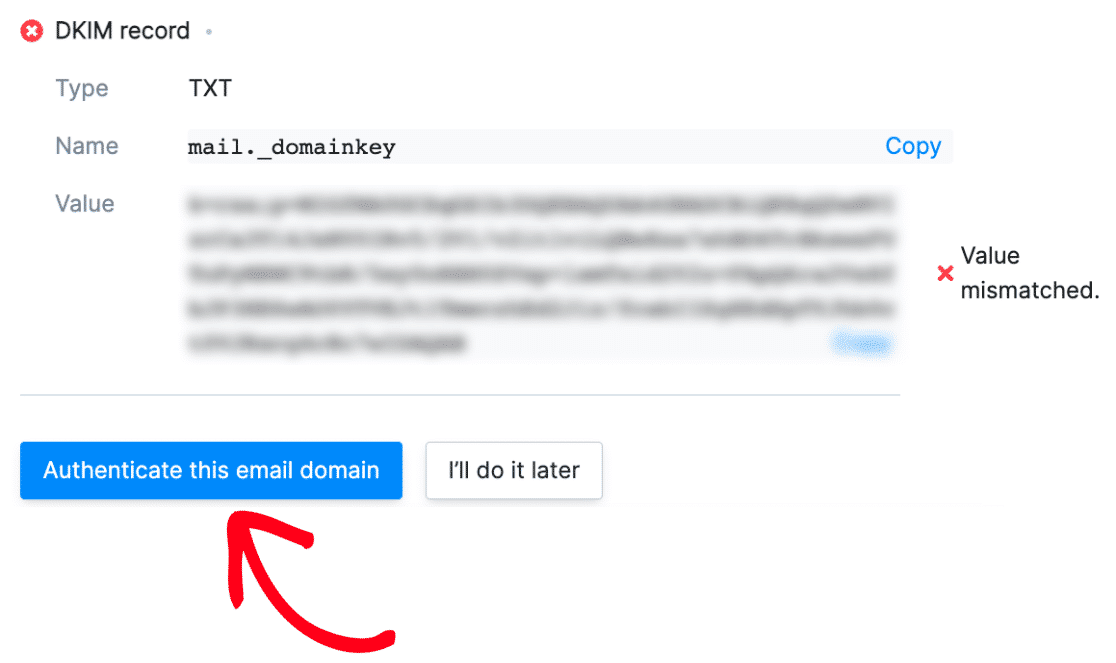
When Brevo verifies your record, you’ll see a green check mark with “Value Matched” next to the record.
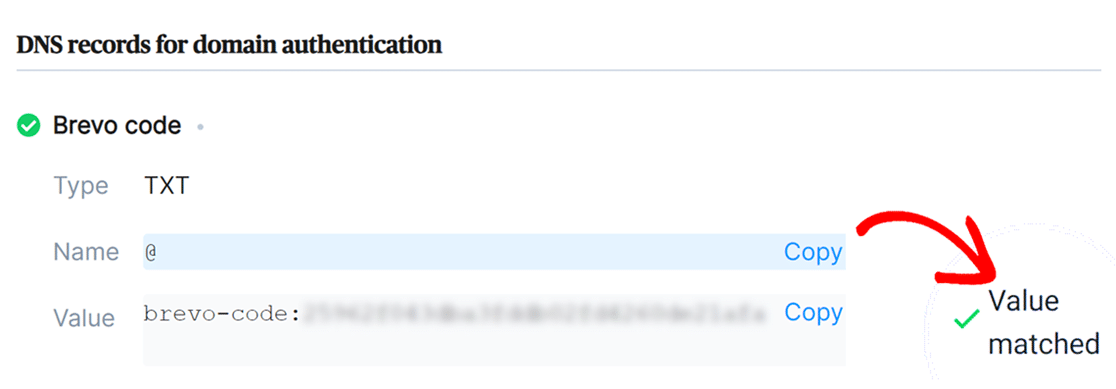
Even though this step might take some time to complete, you don’t have to wait for the verification to move on to the next steps while it’s in progress.
3. Set Up WP Mail SMTP
Next, we’ll switch over to setting up WP Mail SMTP. Before we get started on this step, be sure to install and activate the WP Mail SMTP plugin.
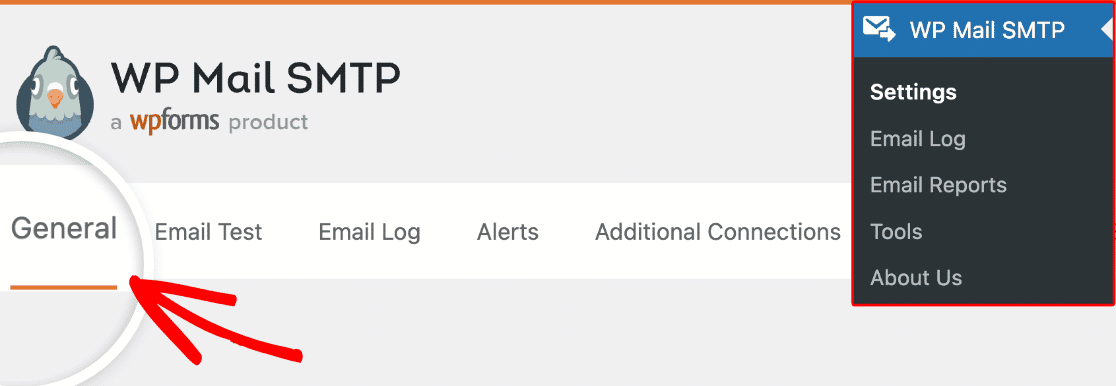
Once WP Mail SMTP is installed, click on WP Mail SMTP in the WordPress menu on the left-hand side to open the plugin Settings page.
From Email
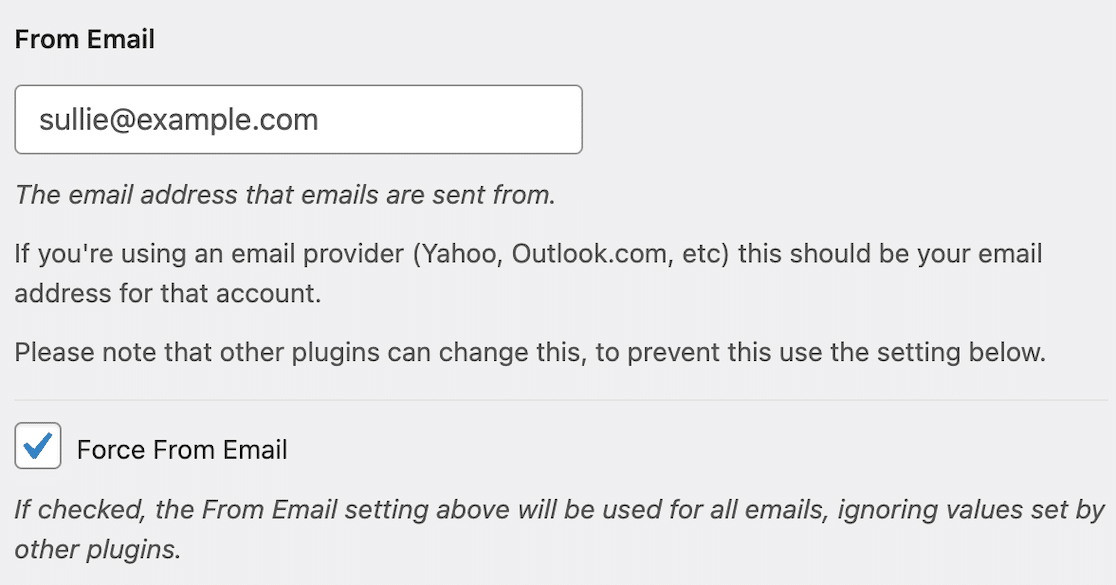
The From Email is the email address from which all your site’s emails will be sent. This should be a domain-specific email address like [email protected].
If you’d like the From Email to be the same site-wide to avoid potential issues with deliverability, you can check the box labeled Force From Email.
This will save you the trouble of editing the email settings throughout your site, including in all form emails. We strongly recommend you check this box.
From Name
The From Name will be set to the site name by default. However, you can change this to any text you’d like.
You can also check the box next to Force From Name to apply this setting to all emails across your site.

Mailer
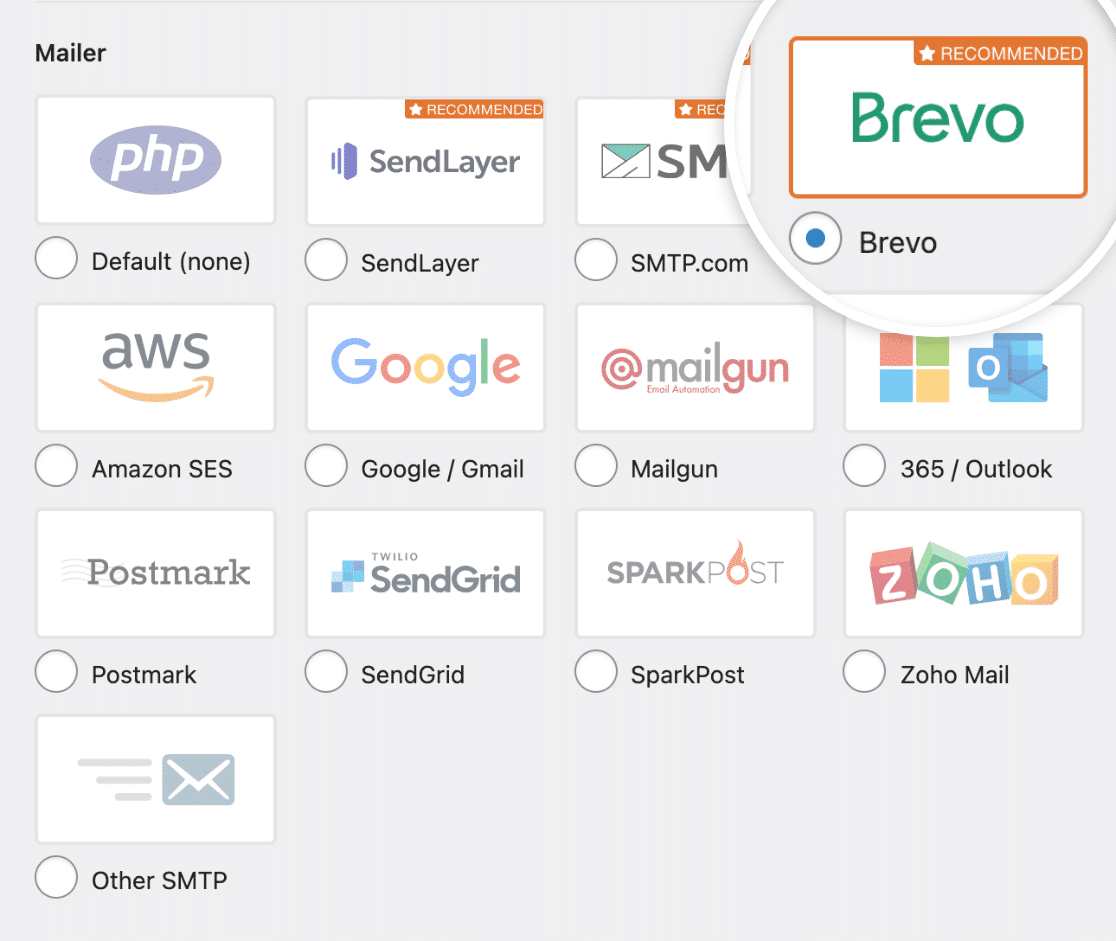
WP Mail SMTP is compatible with both paid and free SMTP service providers. In the Mailer section, select the Brevo option.
API Key
After you select Brevo as your preferred mailer, more mailer-specific settings will become available.
The first thing you need to do is enter your API key. Go back to the window or tab where you have your Brevo account open.
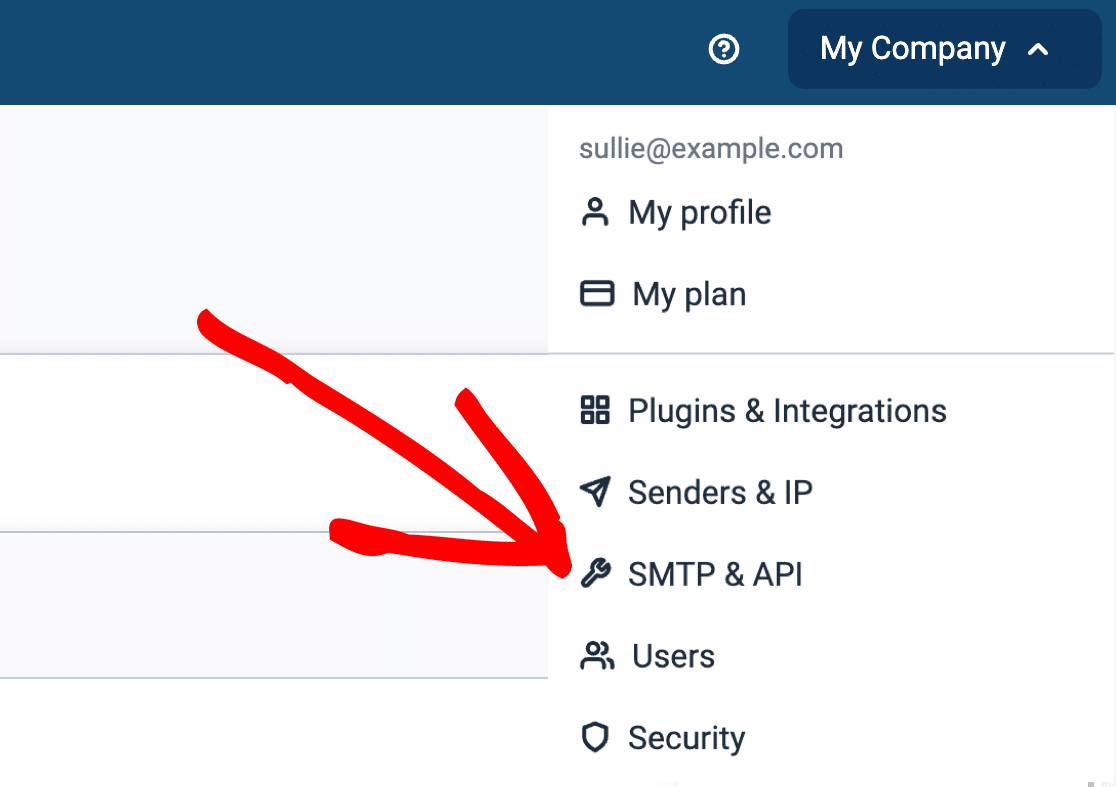
Choose SMTP & API from the dropdown menu that’s located in the top right corner of the screen.
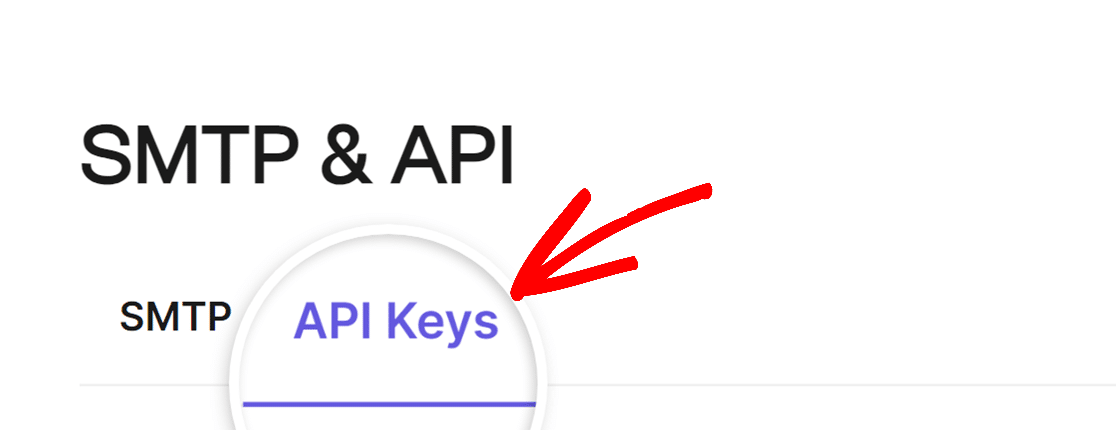
When that page opens, you can generate a v3 API key to use by switching to the API Keys tab.
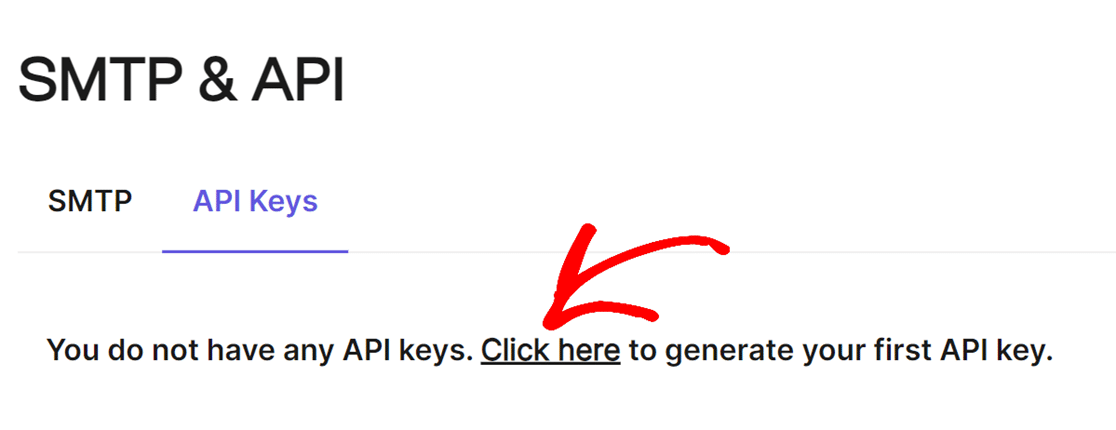
Next, click on the words Click here in the text that reads “Click here to generate your first API key” to create your v3 API key.
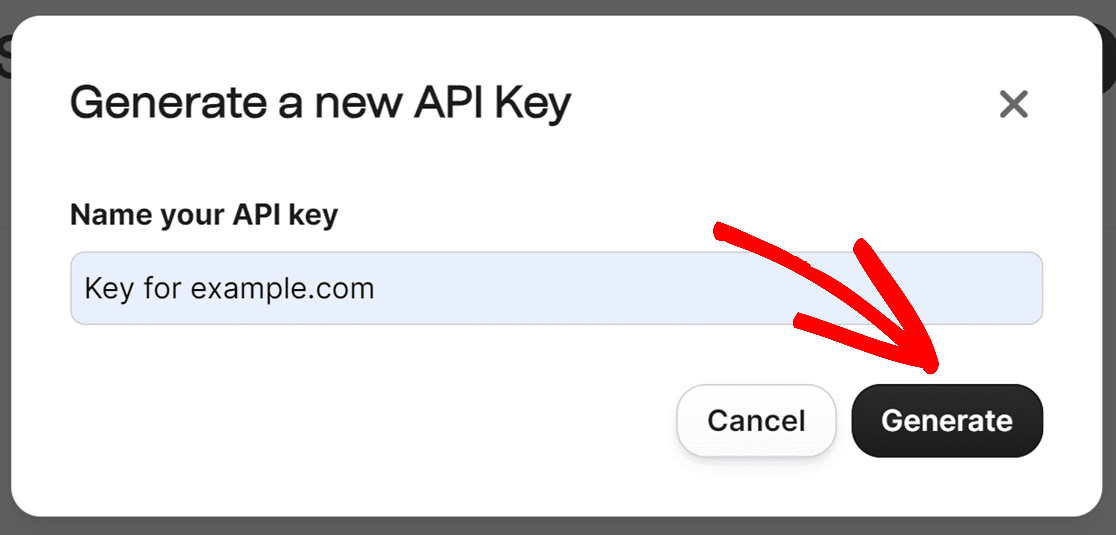
After clicking that link, you’ll see a prompt to name your API key. We recommend choosing something related to your site domain.
After you’ve named the API key, click the Generate button and wait for a few seconds till the next modal appears.
The next modal that opens will display the API key. To copy it for use in WordPress, use the copy icon next to the key.
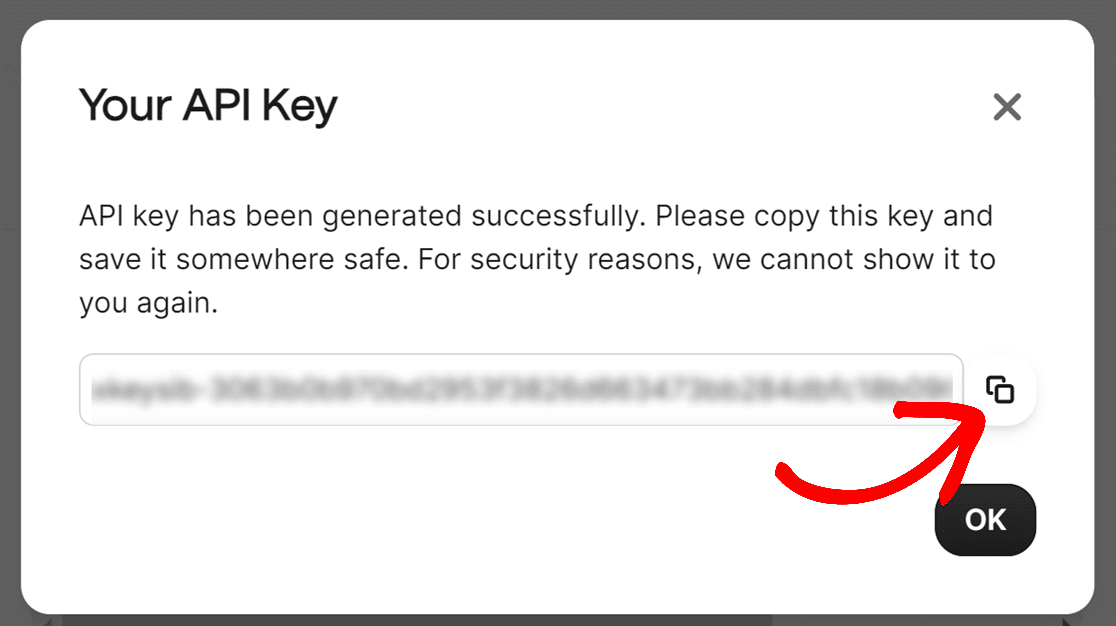
After you’ve copied it, you can switch back to the window or tab with WP Mail SMTP and paste the API key, and save your settings.

Sending Domain
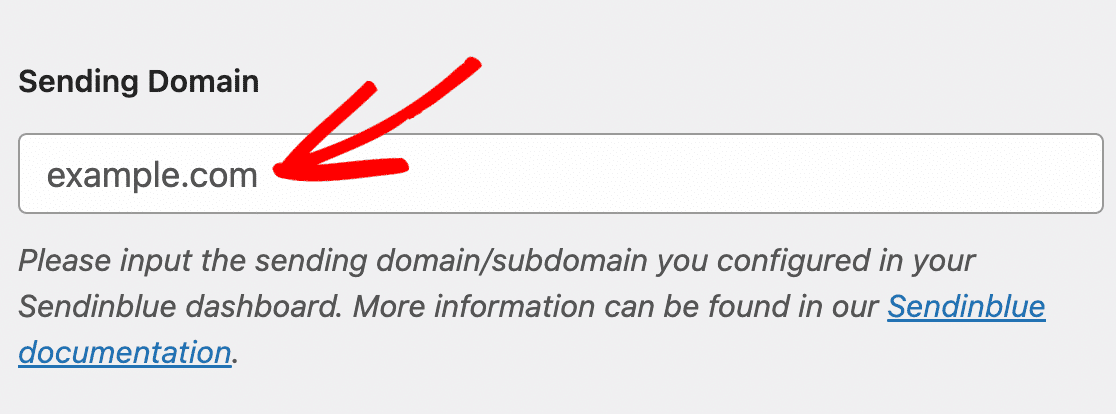
The Sending Domain is an optional setting that allows WP Mail SMTP to check for any domain-side errors in your Brevo setup.
This could include misconfiguration or missing SPF records. This check will run every time you send a test email. You’ll only receive a notification if an issue is detected.
If you use this setting, you should use the same domain you’ve already authorized in Brevo.
For example, if we authorized the domain example.com in Brevo, that’s what we would enter in the Sending Domain field.
Backup Connection
The last option you’ll see in the WP Mail SMTP and Brevo setup process is to establish a backup connection.
This is also optional, but it’s useful for improving email deliverability in the event of primary connection failure.
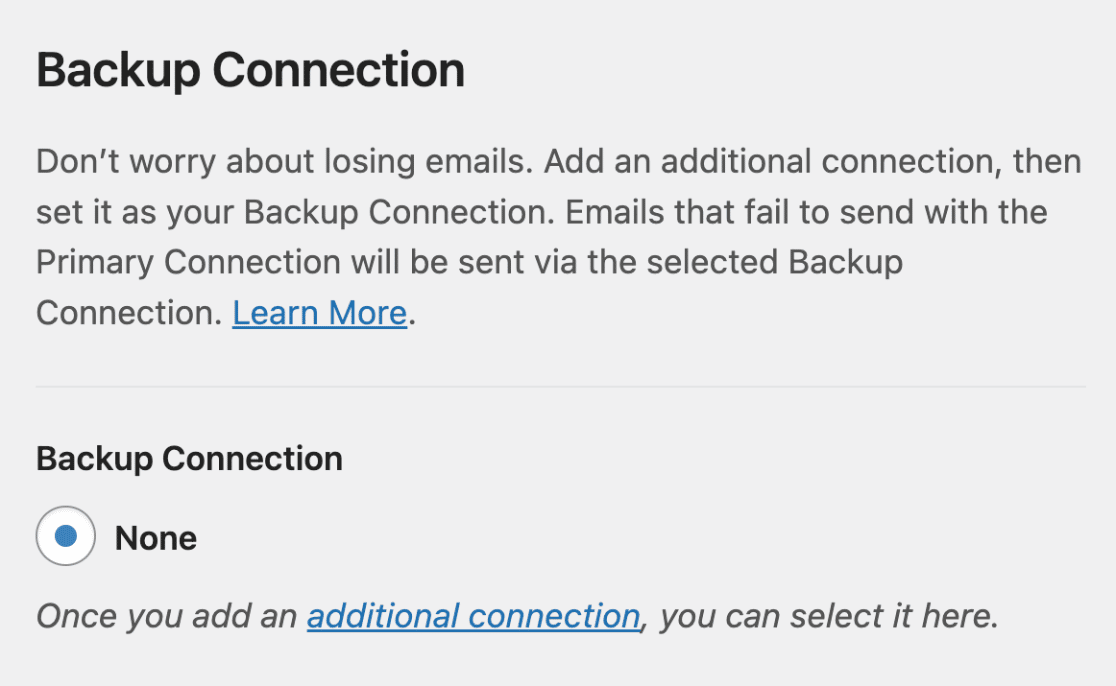
If you click the additional connection link, you can go through the setup process again, choosing a secondary mailer.
Once that mailer is connected, you’ll be able to select it and save. This completes the setup process, so now you’re ready to send a test email!
4. Send a Test Email
Now that your Brevo setup is complete, it’s time to send a test email to make sure everything is working the way it should.
To do this, make sure you’re on the WP Mail SMTP » Tools page and then click the Email Test tab.
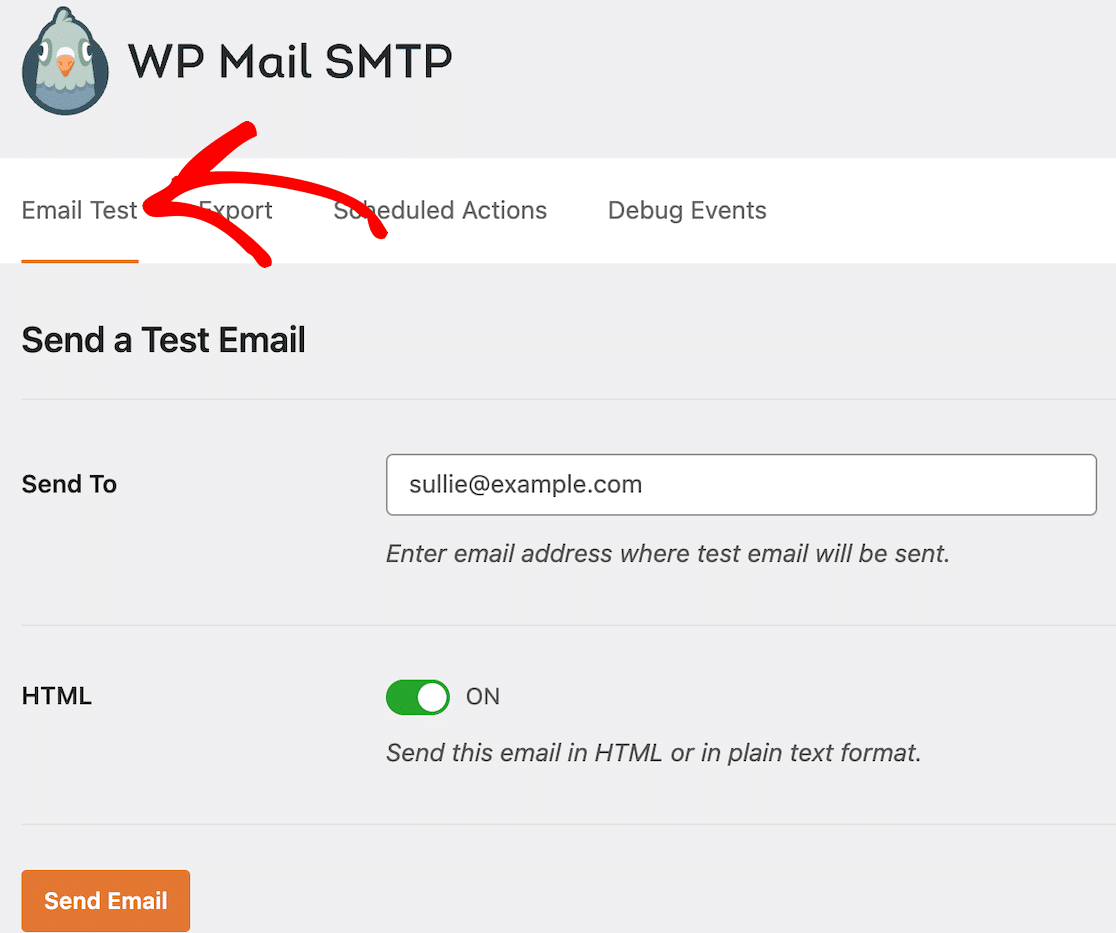
This field will already have your WordPress website’s admin email entered here, but you can enter any email address that you have access to.
Unless you know for sure that you will only be sending plaintext emails from your site, we highly recommend leaving the HTML toggle on.
Click on the Send Email button. After sending the email, you should see a success message like the one below.

Check the email for the address you entered for the test. You should see the email test message in your inbox.
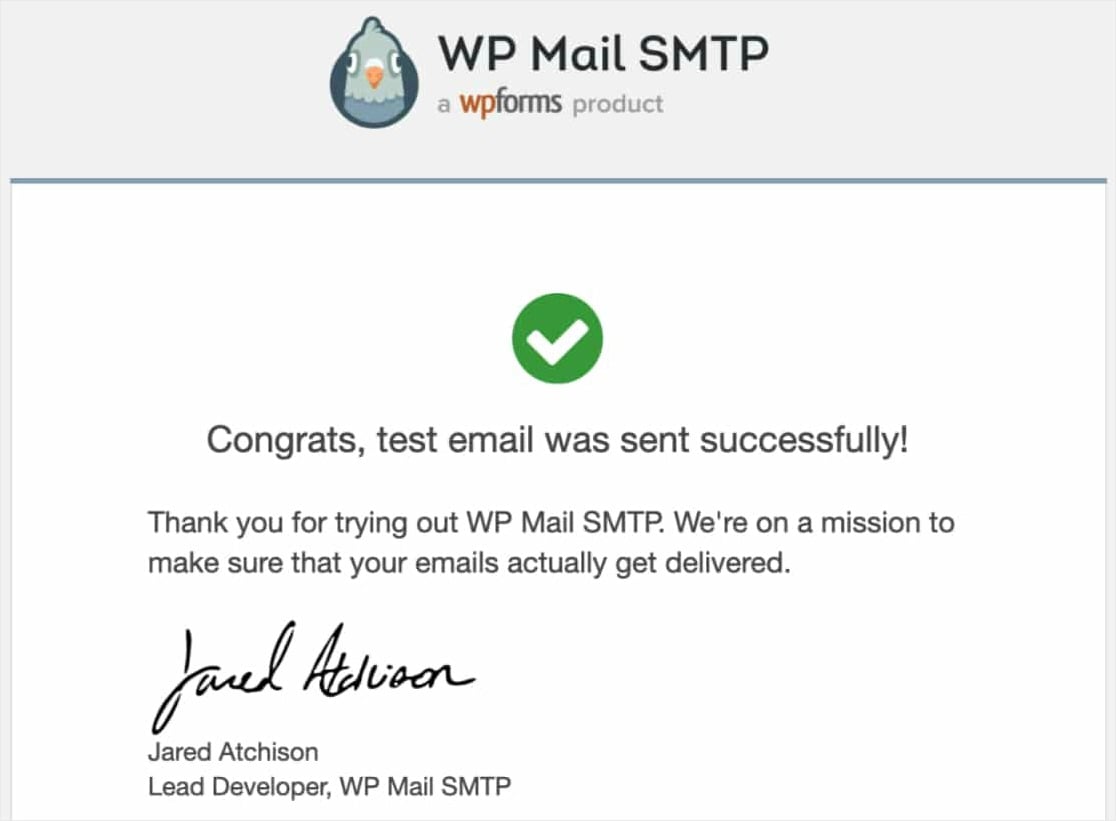
That’s it! You have successfully set up your site to send WordPress emails with the Brevo mailer in WP Mail SMTP.
Common Errors and What To Do
If your test email isn’t sending, you should see a debug log with additional details. Here are some details regarding some of the most common errors.
Permission Denied Error, Unable to Send Email
See this error?[permission_denied]: Unable to send email. Your SMTP account is not yet activated.
This means that your account still needs to be activated. If you’ve gone through all of the steps in this post and you still see that error, you might need to contact Brevo’s support team for further assistance or to activate your account manually.
Unauthorized: Key Not Found
It’s crucially important to make sure you’re copying and pasting the API key correctly. Missing digits can prevent authorization and cause an error like this:
unauthorized: key not found
This means your API key is not configured correctly. In addition to missing digits in the copying process, this also happens when users copy the masked version of the API key.
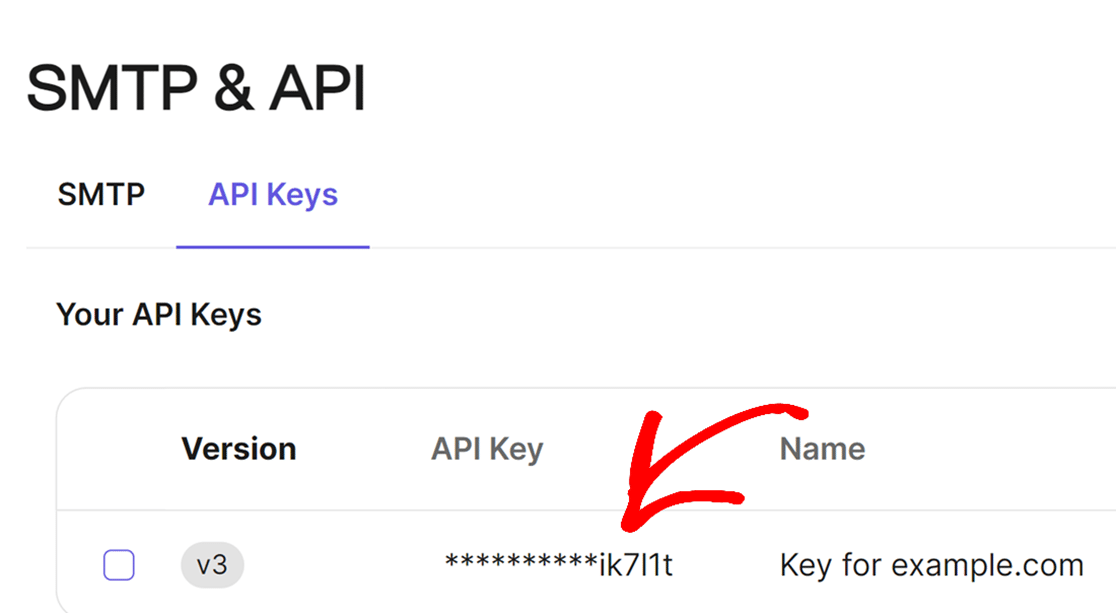
To resolve this issue, generate a new API key from your Brevo dashboard and use the new key to complete the setup.
Other Mailer Options in WP Mail SMTP
If you’re interested in trying a different mailer option than Brevo, or if you want to set up a backup connection, here are some other options to check out:
- SendLayer
- SMTP.com
- Amazon SES
- Google Workspace / Gmail
- Mailgun
- Microsoft 365 / Outlook.com
- Postmark
- SendGrid
- SparkPost
- Zoho Mail
And there you have it! Now you know how to set up WordPress email notifications with Brevo using WP Mail SMTP.
More Questions about Setting Up Brevo with WP Mail SMTP
Using WP Mail SMTP with Brevo is a popular topic of interest among our readers. Here are answers to some common queries about it.
How do I set up SMTP using WP Mail SMTP plugin?
Begin by installing and activating the WP Mail SMTP plugin in your WordPress dashboard. Navigate to WP Mail SMTP settings, select your mailer (like Gmail, SMTP.com, or others), and follow the on-screen instructions.
How do I connect Brevo to WordPress?
To integrate Brevo (formerly Sendinblue) with WordPress, you can use the official Brevo WordPress plugin. Install and activate the plugin, then link your Brevo account by entering the provided API key.
How do I create a Brevo form in WordPress?
Once you have the Brevo plugin installed and activated, you can connect your Brevo account to your forms with WPForms. Simply go to WPForms » Settings and click on the Integrations tab.
How do I integrate Brevo to my website?
For general website integration, sign in to your Brevo account and navigate to the integration section. Generate the necessary scripts or codes. Then, embed these codes into your website’s header, footer, or specific pages where you want Brevo features to be available.
Next, Get Started With Creating Forms
So now that your emails are working, you can get started by setting up a simple contact form and start getting form notifications whenever someone fills out your form.
Create Your WordPress Form Now
Ready to build your form? Get started today with the easiest WordPress form builder plugin. WPForms Pro includes lots of free templates and offers a 14-day money-back guarantee.
If this article helped you out, please follow us on Facebook and Twitter for more free WordPress tutorials and guides.



Hi,
I have :
Heads up! The last email your site attempted to send was unsuccessful.
Email Source: WPForms Lite
Mailer: Brevo
unauthorized: not verified
I don’t know how to solve this problem, I consulted many posts, but none answered my question, please help! !
Hi Laura – It looks like the Brevo mailer is not configured properly under WP Mail SMTP. Please follow this doc and double check if you have configured everything properly.
In case you are still facing an issue, please feel free to post on WPForms Lite WordPress.org support forum to get further assistance.
Thanks 🙂