Do you want to set up WordPress SMTP with Postmark?
Email delivery issues are very common in WordPress if SMTP is not properly configured on your website.
Thankfully, it’s very easy to fix email errors by setting up SMTP with Postmark. In this post, we’ll explain step-by-step how you can set up WordPress SMTP with Postmark to improve email delivery across your site.
Why Contact Form Emails Are Not Delivering
By default, WordPress uses the PHP mail function to send emails. But PHPMailer isn’t a reliable way to send emails from WordPress because it doesn’t support authentication. As a result, your outgoing emails have a much higher chance of ending up in spam.
Moreover, most web hosts have completely disabled the PHP mail function. This means that notification emails from WPForms or other contact form plugins will never reach beyond your own WordPress site.
To fix this, you can configure your WordPress site to rely on SMTP rather than the default PHP mail function. SMTP is the preferred email delivery technology supported by all web hosts. And it also adds proper authentication to make sure no emails are flagged as spam during delivery.
Why Should You Use Postmark?
Postmark is a highly reliable email service provider. It is one of the easiest SMTP mailing services to set up and connect with your WordPress site. Postmark ensures that all emails generated by your contact form and other plugins reach you and your customer’s inbox every time.

What’s more, Postmark is a great option for small websites because it allows 100 emails per month totally free of cost. You can sign up for the free trial without a credit card. And if you want to upgrade your plan to send more emails, you can purchase the premium package whenever you’re ready.
You can sign up to Postmark using any email address, but we strongly recommend that you use an email address at your website domain (e.g. [email protected]) rather than a public domain (e.g. [email protected]). This lets you authenticate your domain (as shown in the steps below), which improves your email deliverability.
Besides, domain-specific email addresses help you build brand recognition and compel your customers to trust your emails as legitimate.
How to Set Up WordPress SMTP With Postmark
Here’s a quick overview of the steps for setting up WordPress SMTP with Postmark:
Let’s begin the tutorial.
1. Sign Up for a Postmark Account
The first step is signing up for a Postmark account. Visit the Postmark pricing page to see available plans and select one that suits your needs.

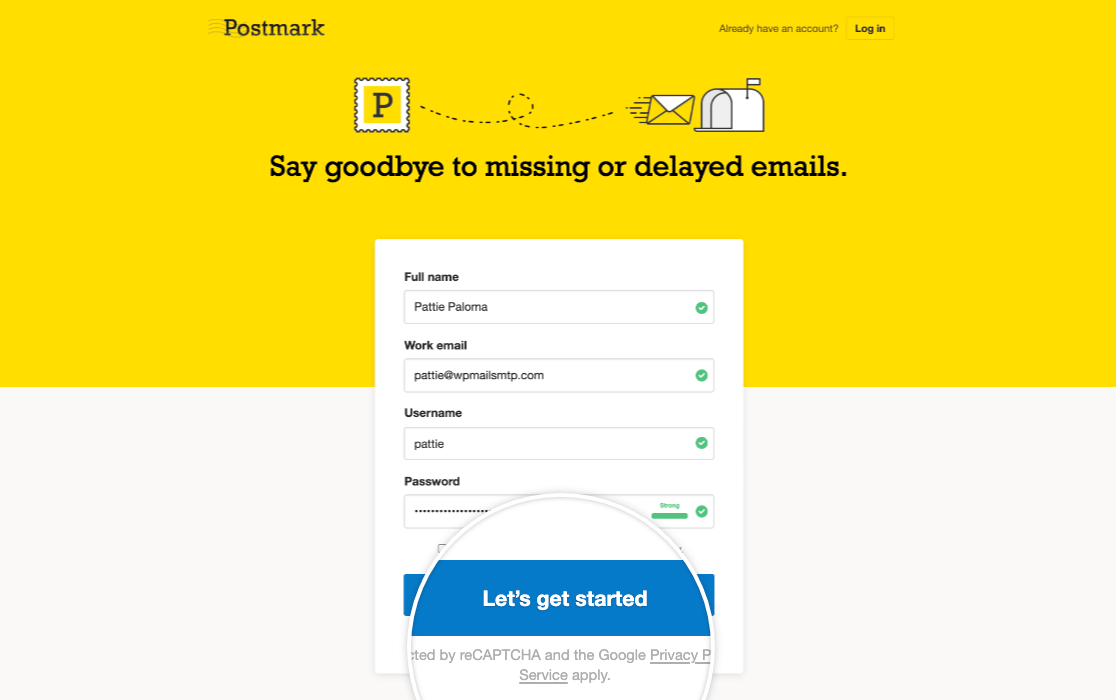
Next, enter your name, email address (remember to enter a valid domain-specific email), and login credentials. Then click Let’s get started.
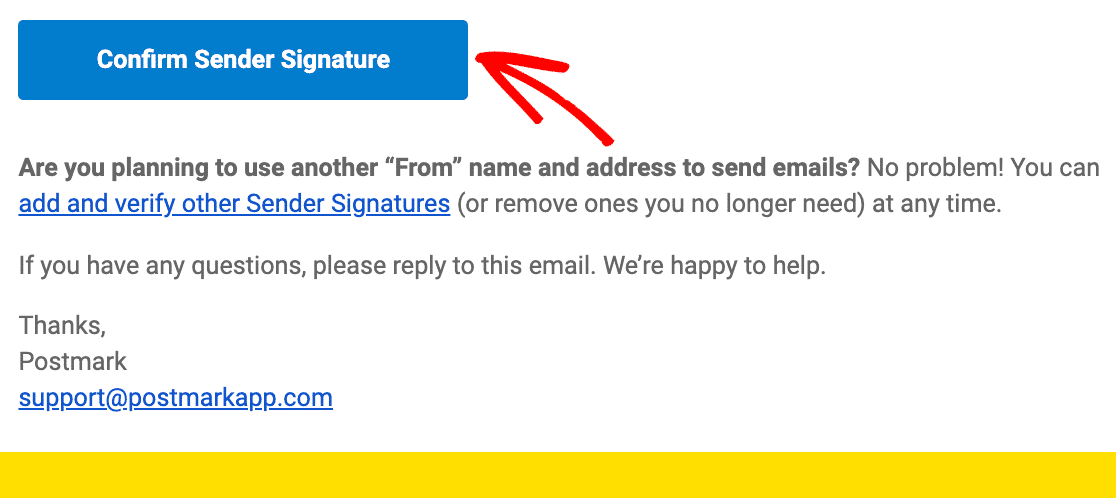
Now, Postmark will send a verification email to your email address. Open this email and click on Confirm Sender Signature.
Request Account Approval
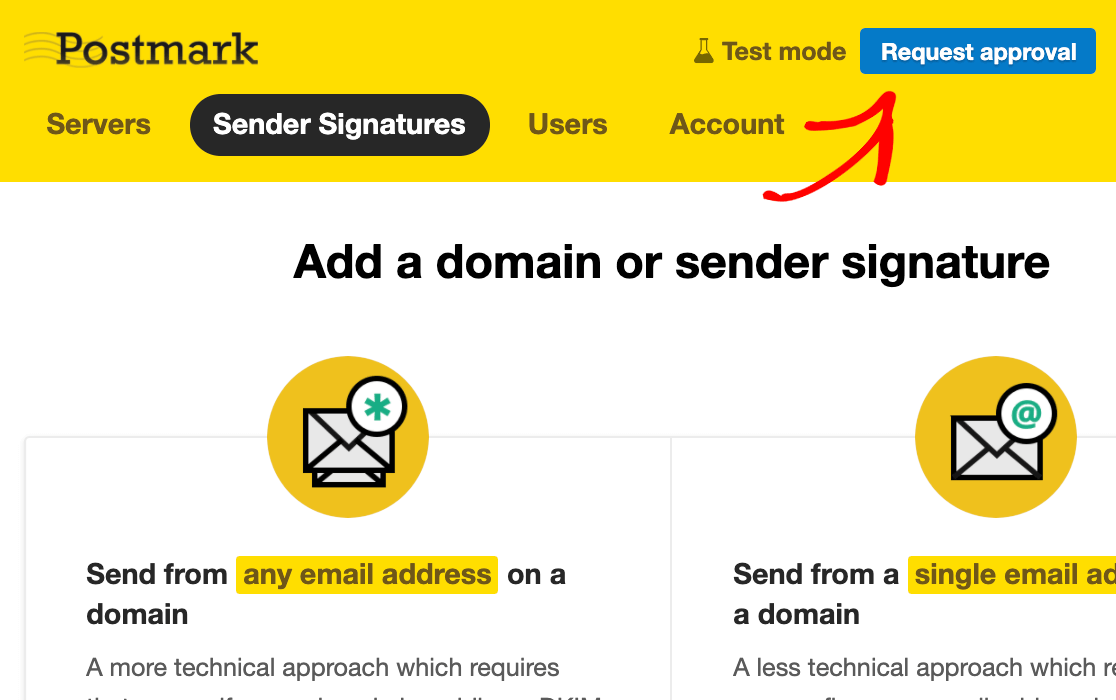
Log into your Postmark account dashboard and click on the Request approval button on the top right of the screen.
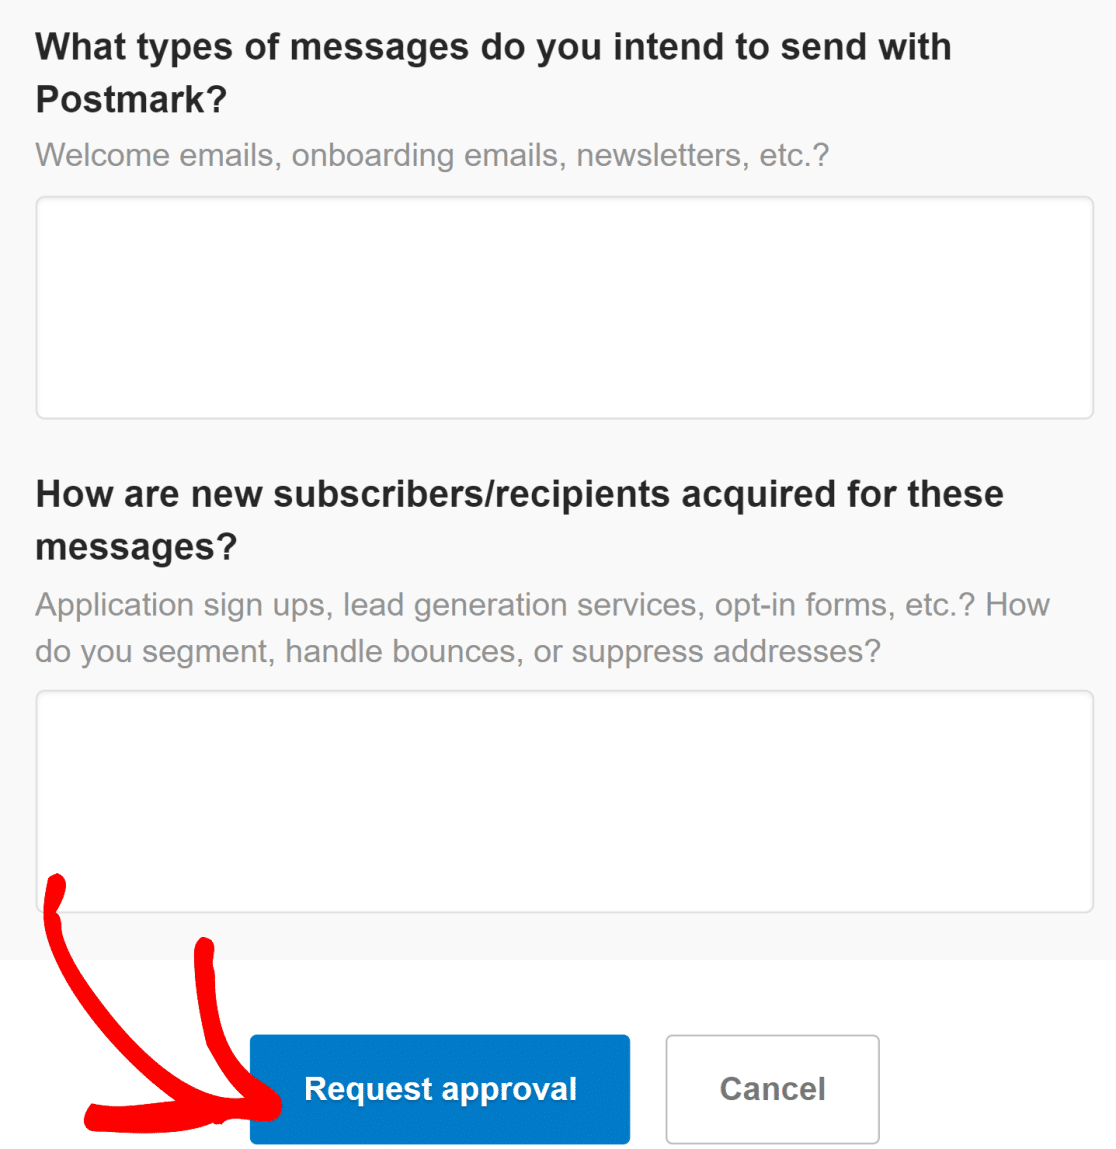
Fill out the form and click on Request approval.
It typically takes 1 business day for Postmark to manually review your details and approve your account.
While you wait for the approval, you can still move on to the next configuration steps. If you only want to use the email address you signed up for Postmark with in the first step, then you can skip the next two steps and jump to locating the API token to connect Postmark with WP Mail SMTP.
But if you want to use multiple email addresses associated with your domain, please go through all the steps below.
Add New Sender Signature (Optional)
To create additional domain-specific email addresses, log into your Postmark dashboard and click on the Sender Signatures tab.

Next, click on the Add Domain or Signature button.
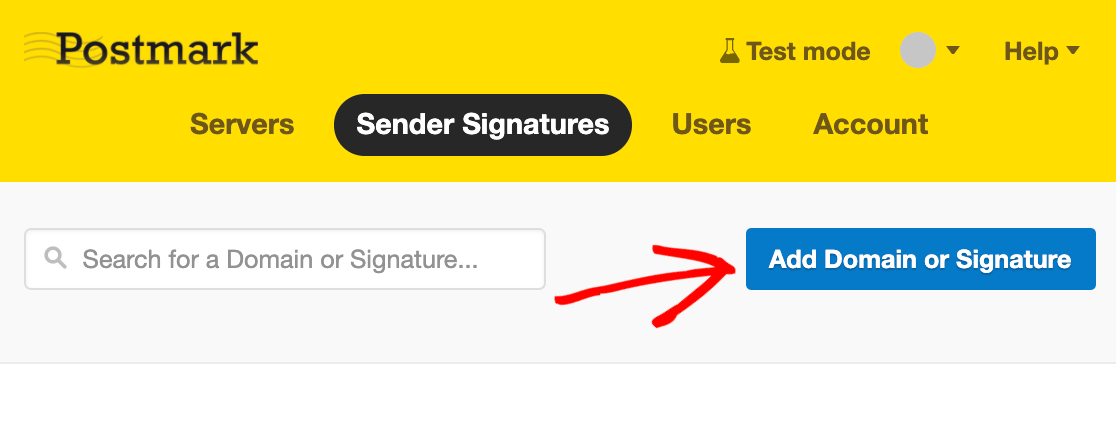
If you want to send emails from a single email address, you can add a sender signature. This is easier than adding a new domain, but the advantage of verifying your domain is that it lets you use multiple email addresses at the same domain. So, you don’t have to verify each email address separately as long as they belong to one verified domain.
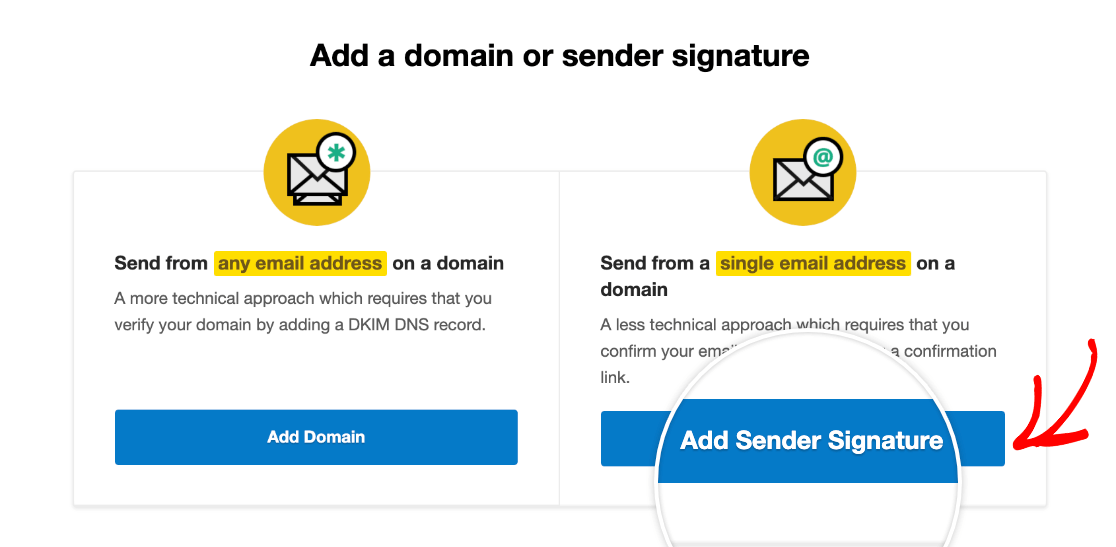
First, let’s see how to add a new email address. Click on the Add Sender Signature button to proceed.
Enter the Full Name, From Email, and Reply To email in the form.
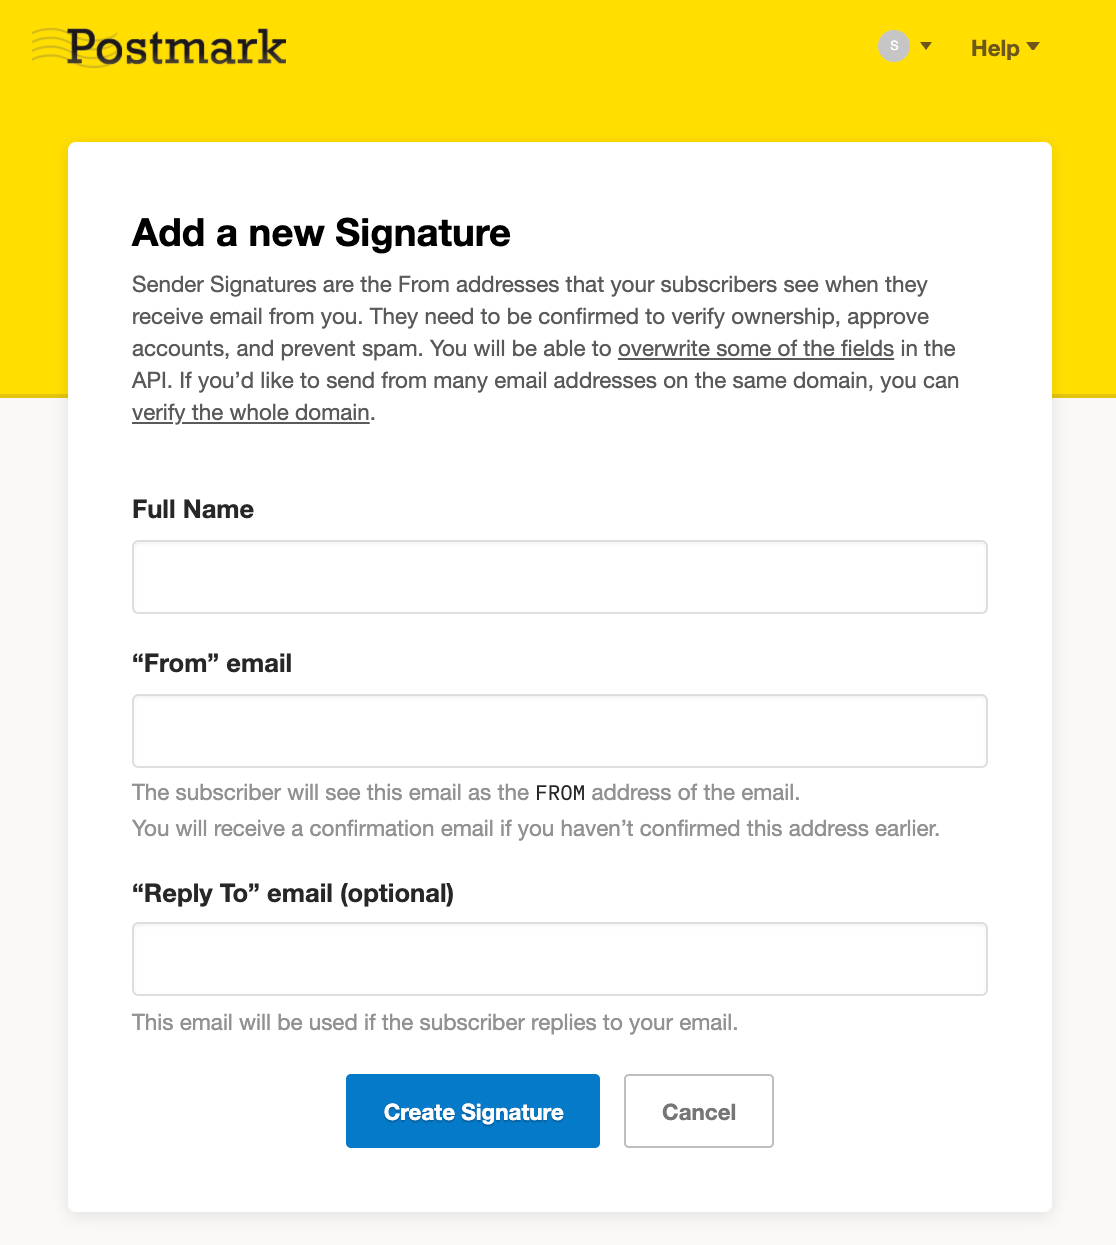
Click Create Signature to prompt Postmark to send you a verification email to the email address you provided. As before, open the email in your inbox and click on Confirm this Sender Signature button to finish adding your new email address.
Add A Domain (Optional)
You can verify your whole domain in Postmark if you want to use several authenticated email addresses all having the same domain. Here’s how:
Click the Add Domain or Signature button within the Sender Signature tab in your Postmark dashboard.

This time, click on Add Domain.
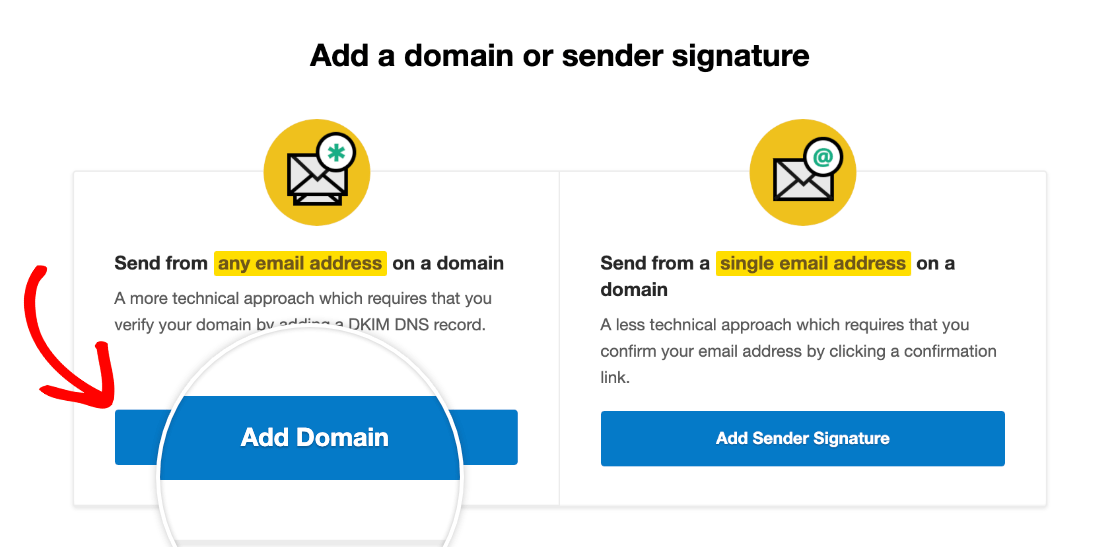
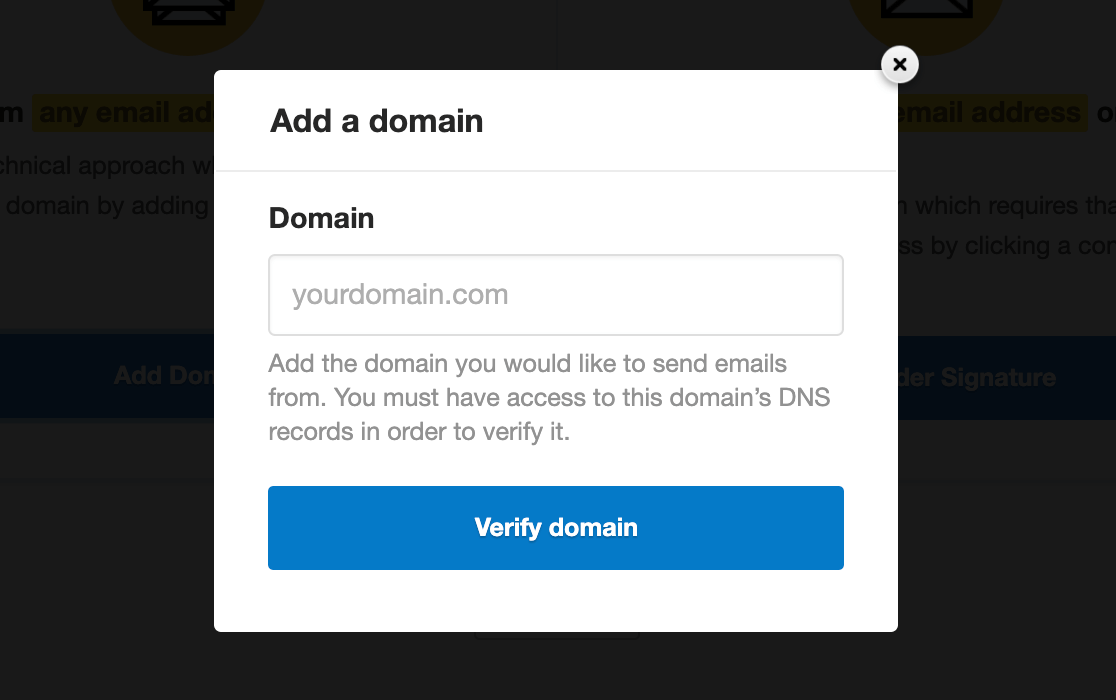
Now, enter the domain that you want to verify in the popup window and click on Verify domain.
In the next window, copy the DNS records and add these settings to your web host.
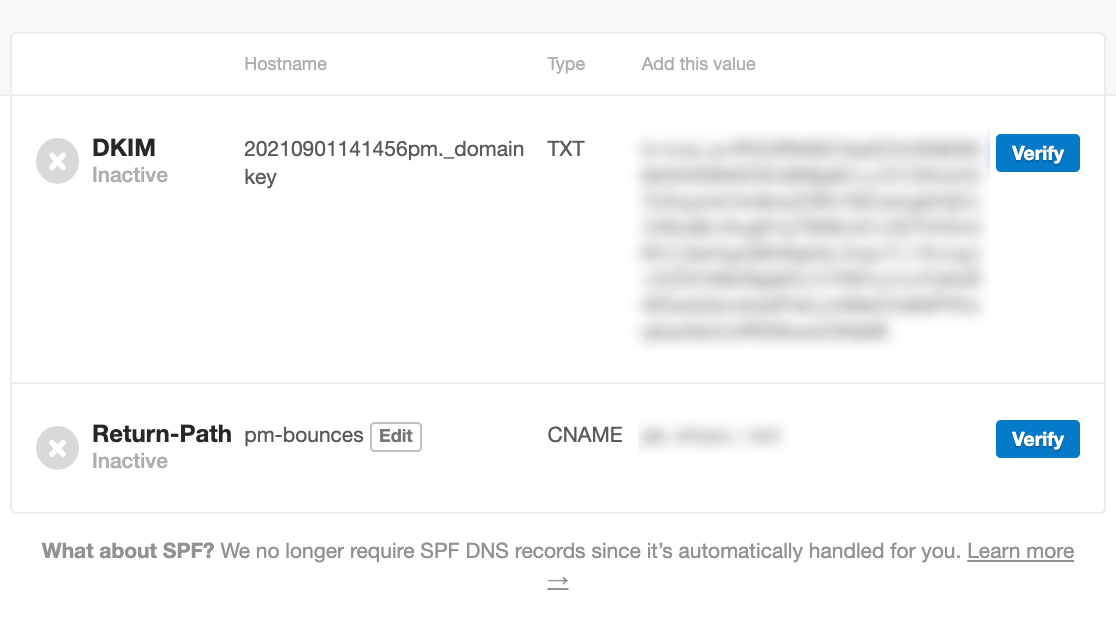
You can find the documentation for locating DNS settings for some of the popular web hosts below:
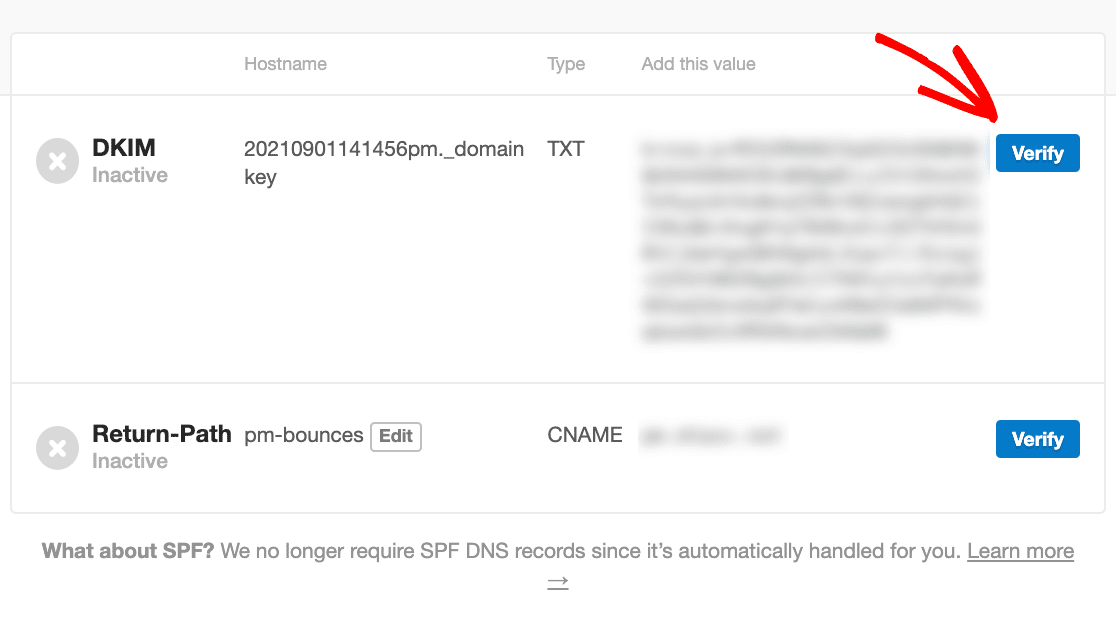
After adding the DNS records to your web host, return to Postmark’s domain DNS verification page and click on the Verify buttons next to each record.
Once your domain has been successfully verified, the icons will turn green and read “Verified” as shown below.
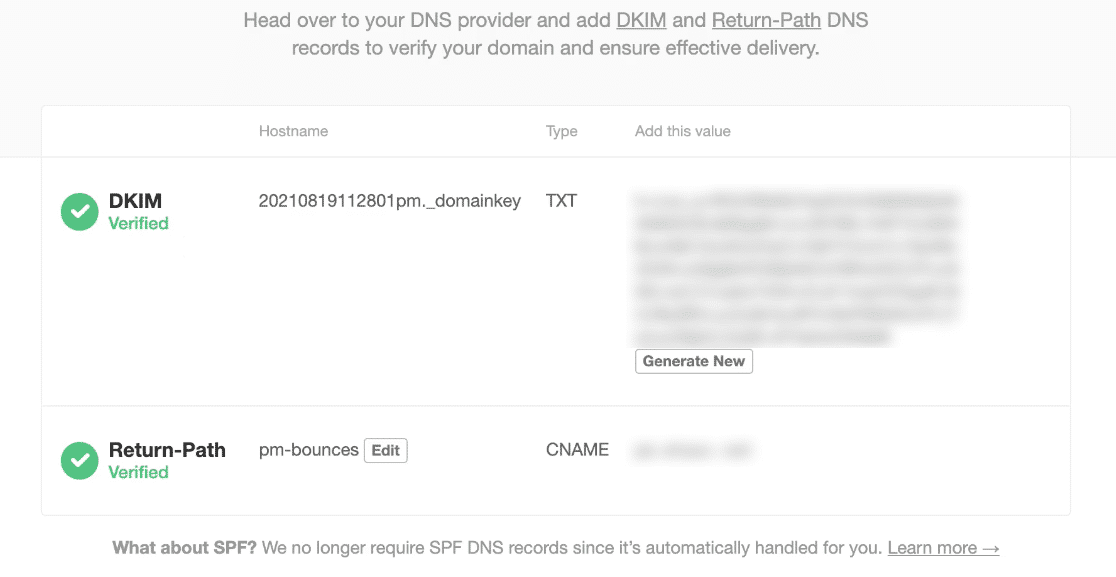
However, it may take up to 48 hours for your DNS settings to refresh and become verified. But you can move on to the next steps in the meantime.
2. Locate Postmark API Token
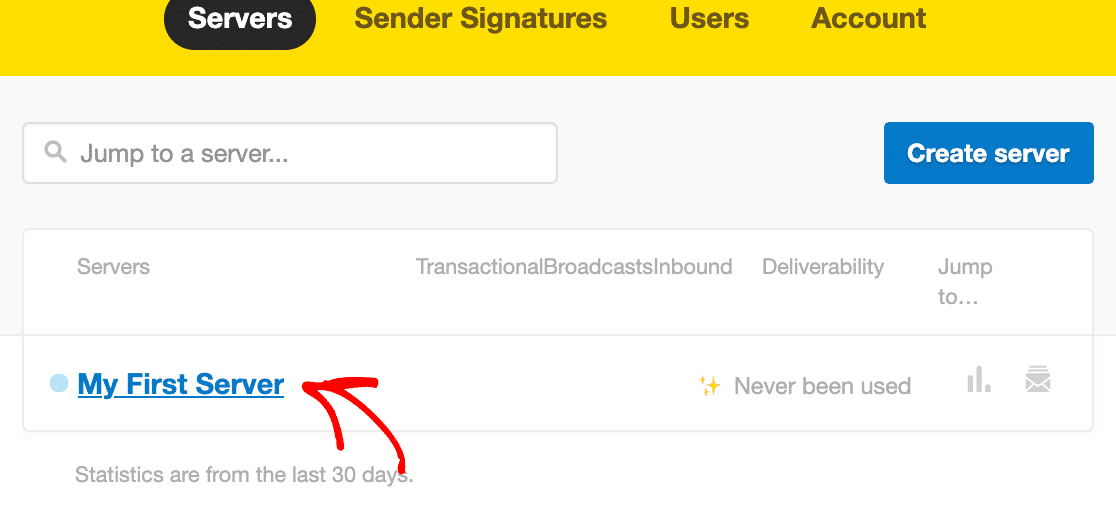
You’ll need an API token to connect your Postmark account to WP Mail SMTP. To find it, click on the Servers tab in your Postmark account area.

Next, click on one of the existing servers or create a new one. We’ll use the default server “My First Server” for demonstration here, but you’re free to create new servers and use any that you prefer.
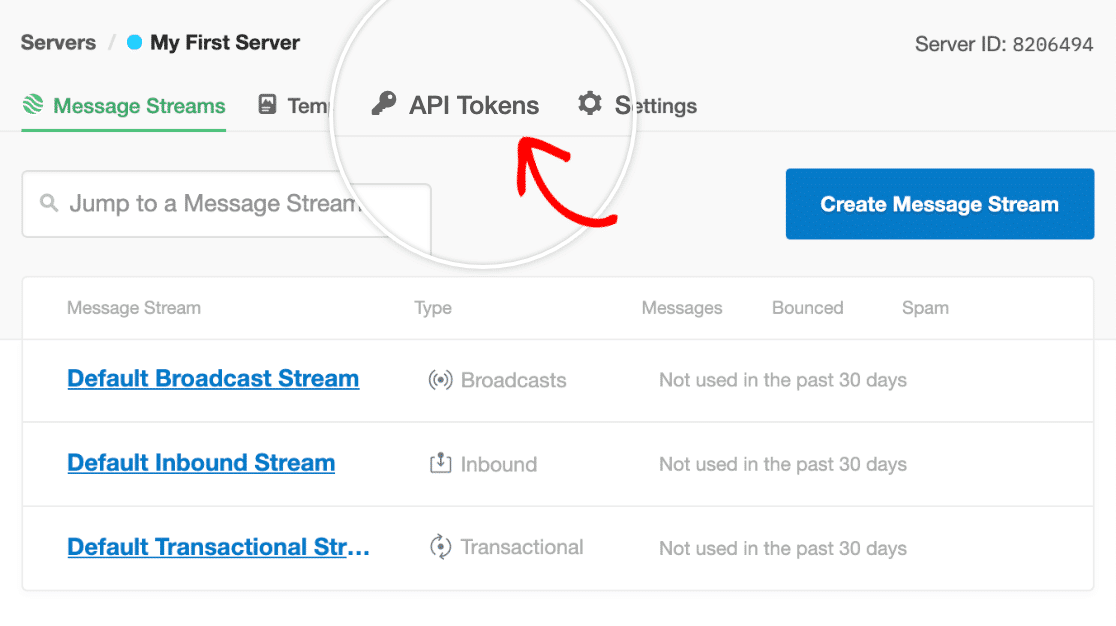
Inside your server area, click on the API Tokens tab.
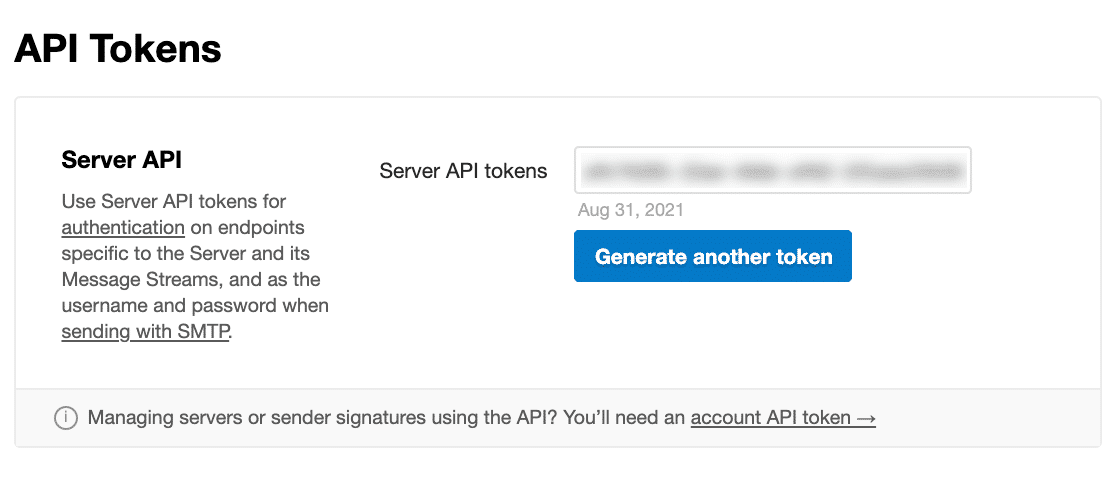
For now, leave this page open and move on to the next step. We’ll return to this very soon.
3. Find Message Stream ID (Optional)
Postmark offers different message streams to separate your emails by purpose. For instance, you can use one stream for transactional emails, and another for notification emails. But this is entirely optional.
To use this functionality, head to your Postmark account and click on the Servers tab. Then, click on your server name. In the next screen, you’ll see a list of existing message streams. You can also create new streams by clicking the Create Message Streams button.
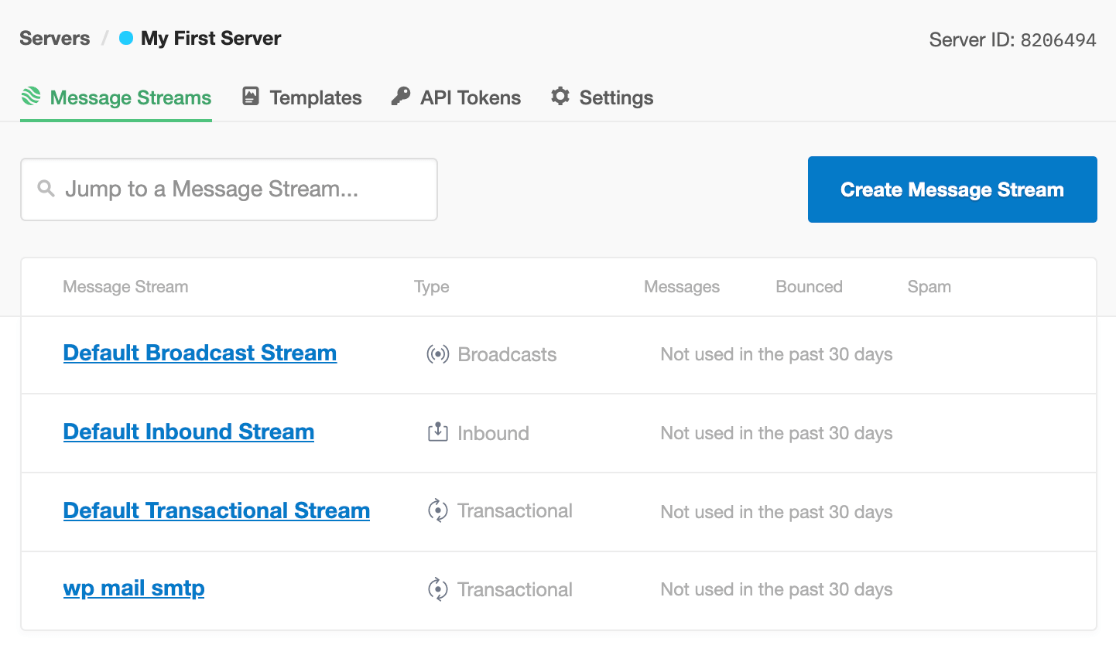
But for this tutorial, we’ll use a WP Mail SMTP message stream that we earlier created. Clicking on the desired message stream will take you to a new page. On the top of the page, locate the Stream ID.

Leave this page open for now. We’ll return this in the next step.
4. Set Up WP Mail SMTP
WP Mail SMTP is the top SMTP plugin for WordPress. It effectively improves email delivery across your WordPress site. For example, WP Mail SMTP can instantly fix WordPress contact form email errors.
In this step, we’re going to set up WP Mail SMTP and connect it with Postmark mailer service. Install WP Mail SMTP on your WordPress site and activate it. For instructions, see this guide on how to install WordPress plugins.
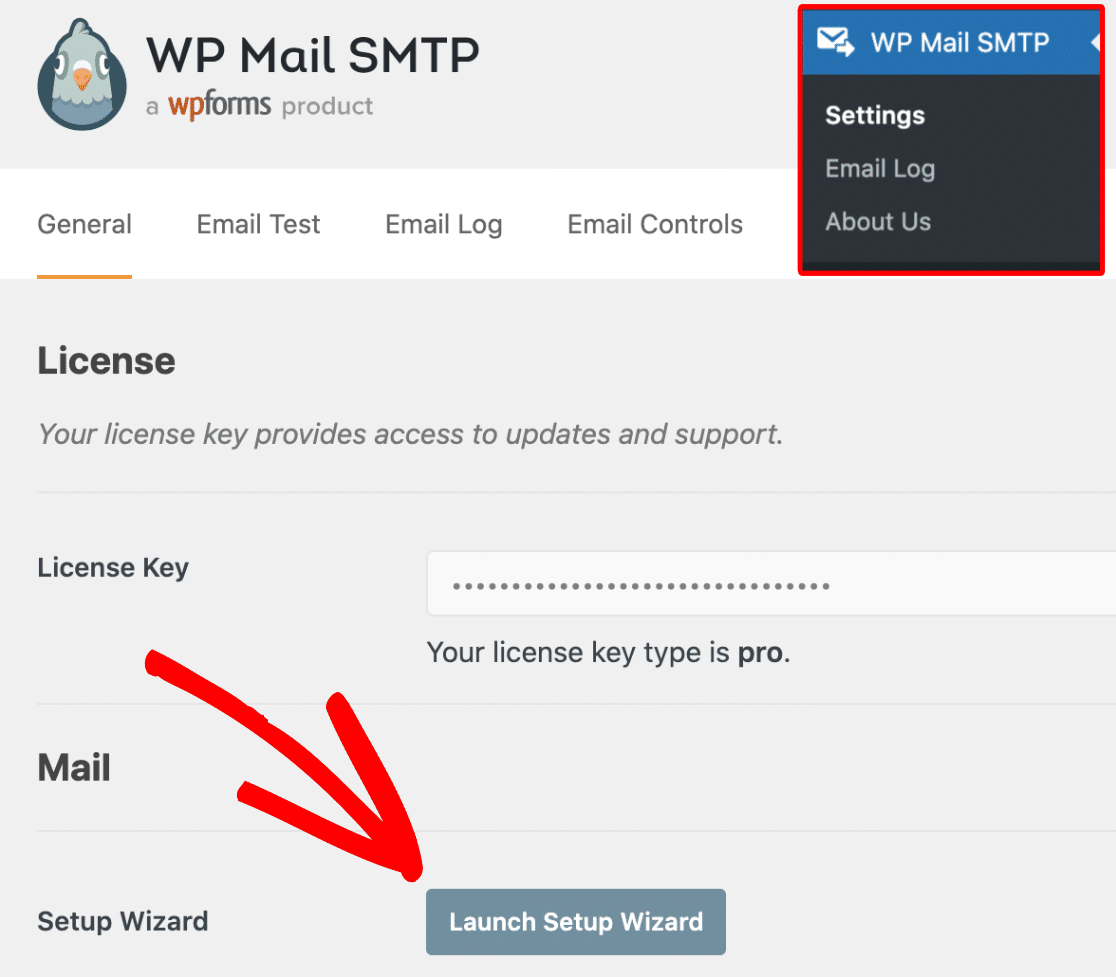
Once WP Mail SMTP is activated, it will launch the Setup Wizard. If it doesn’t launch automatically, you can launch it manually by going into WP Mail SMTP Settings and scrolling down to locate the Launch Setup Wizard button under the Mail section.
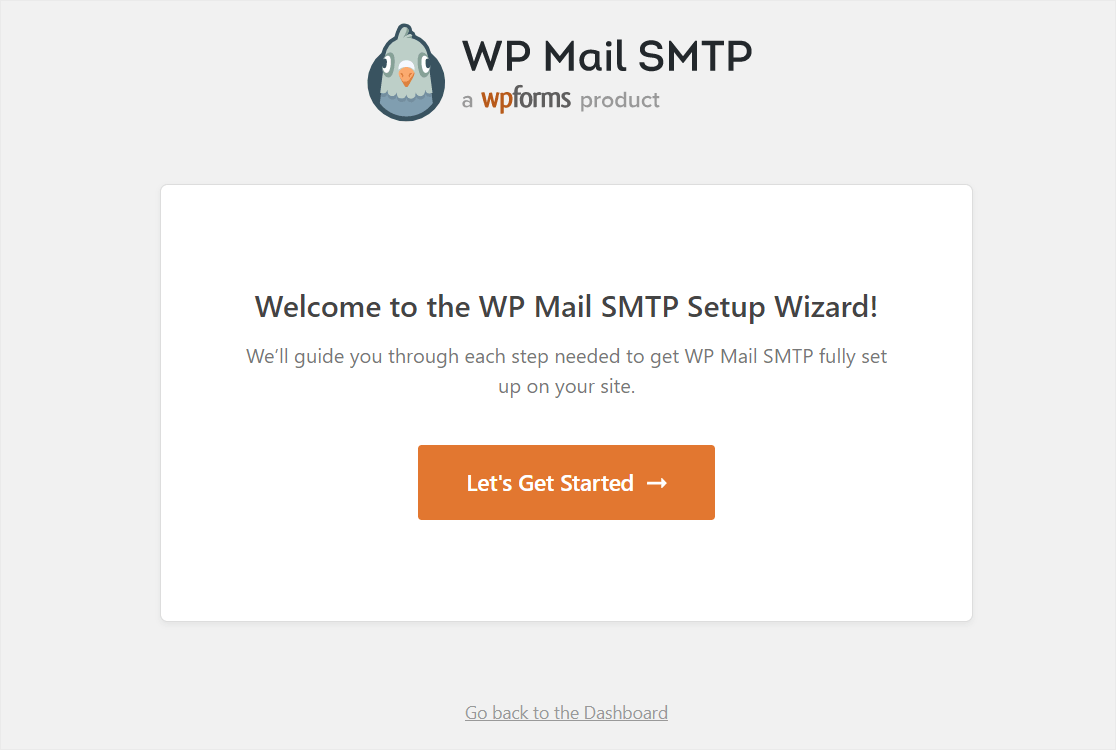
Next, click on Let’s Get Started.
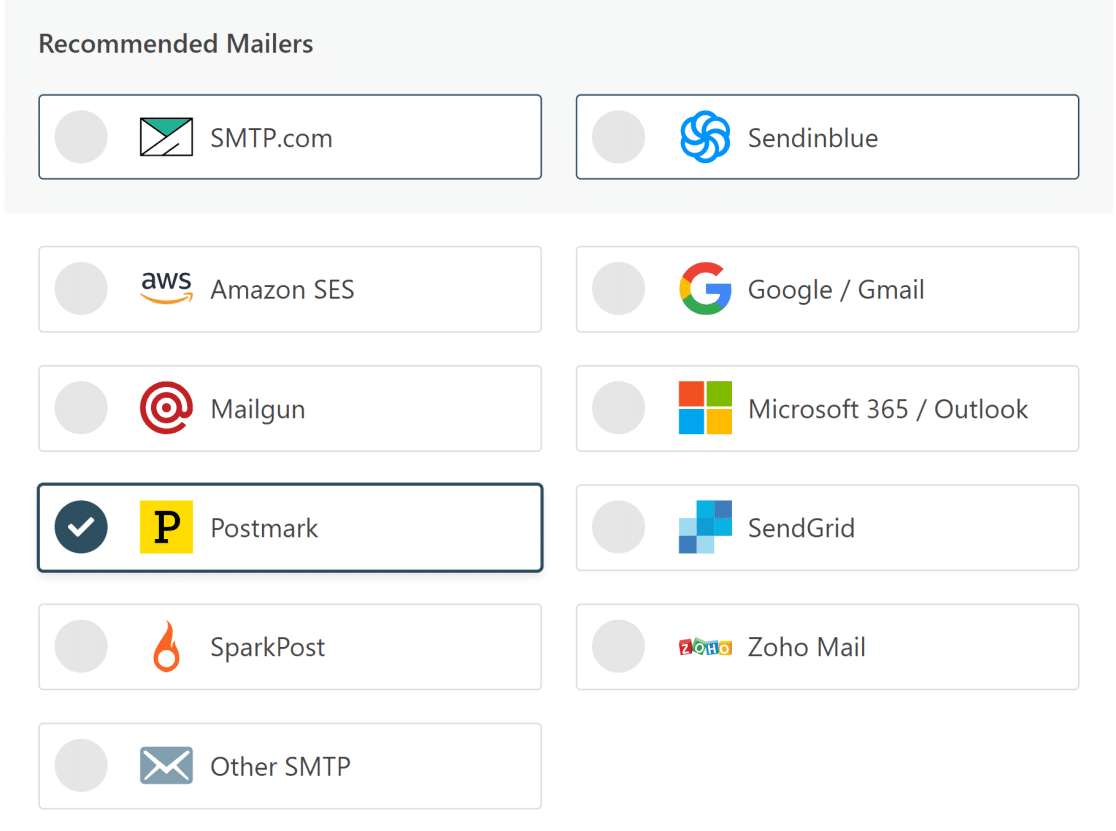
Select and Configure Postmark in WP Mail SMTP
Now, select Postmark as your mailer service and click on Save and Continue.
Now, return to the screen you left open in step 2 and copy the API token, and paste it into the Server API Token field in WP Mail SMTP Setup Wizard.

Next, return the screen you left open in step 3 and copy the Stream ID as directed in that step. Paste the stream ID into the Message Stream ID field in WP Mail SMTP Setup Wizard.

Enter From Name and From Email
The From Name setting is right below the Message Stream ID field you saw in the above step. This is the name that your customers will see when they receive emails from you. You can change it to any name you want.
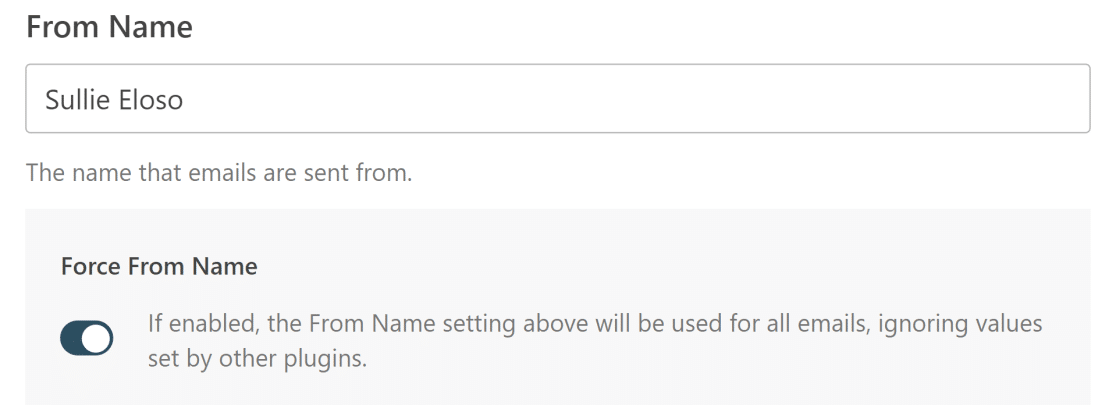
You can click the Force Name toggle button to make sure all outgoing emails across your site display the same name.
Next up is the From Email field. If you set up a single Sender Signature in your Postmark account, you should enter that same email address in this field. But if you’ve verified your whole domain successfully, you can enter any valid email address as long as it’s at the same domain that you verified in Postmark.
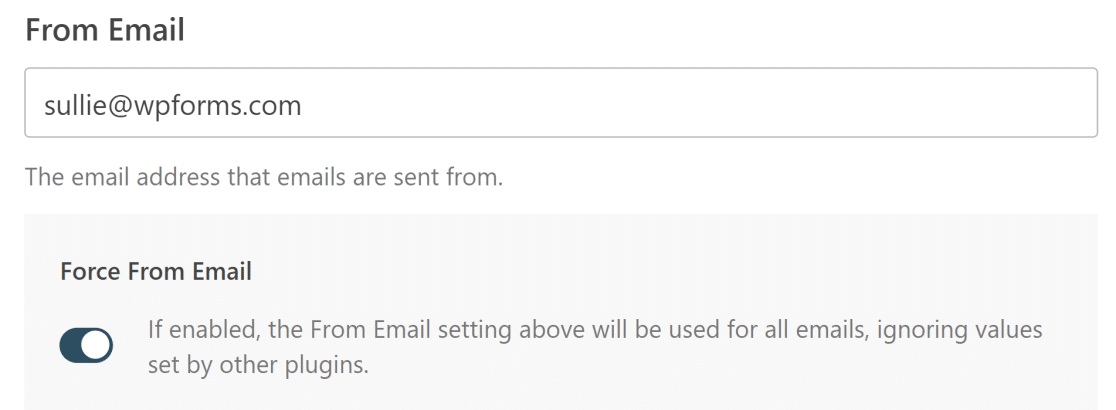
If you click the Force From Email toggle button, then all outgoing emails across your site will use this same From Email.
5. Send Test Email
We’re nearly there! Let’s send a test email now to make sure everything is set up properly.
From your WordPress dashboard, click on WP Mail SMTP and then click Tools. Next, click on the Email Test tab. Enter any email address that you own in the Send To field. Leave the HTML toggle button on (unless you only want to be sending plain text emails).
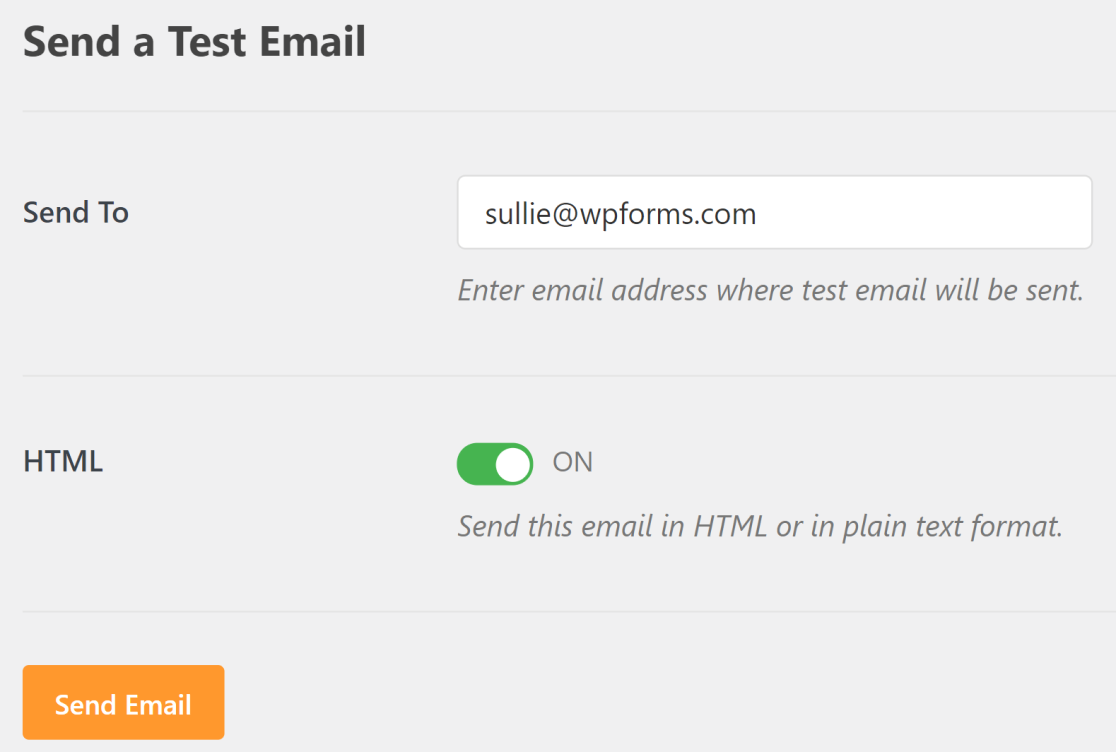
Click on Send Email and you should receive a success message. Now, open your inbox to see the test email.
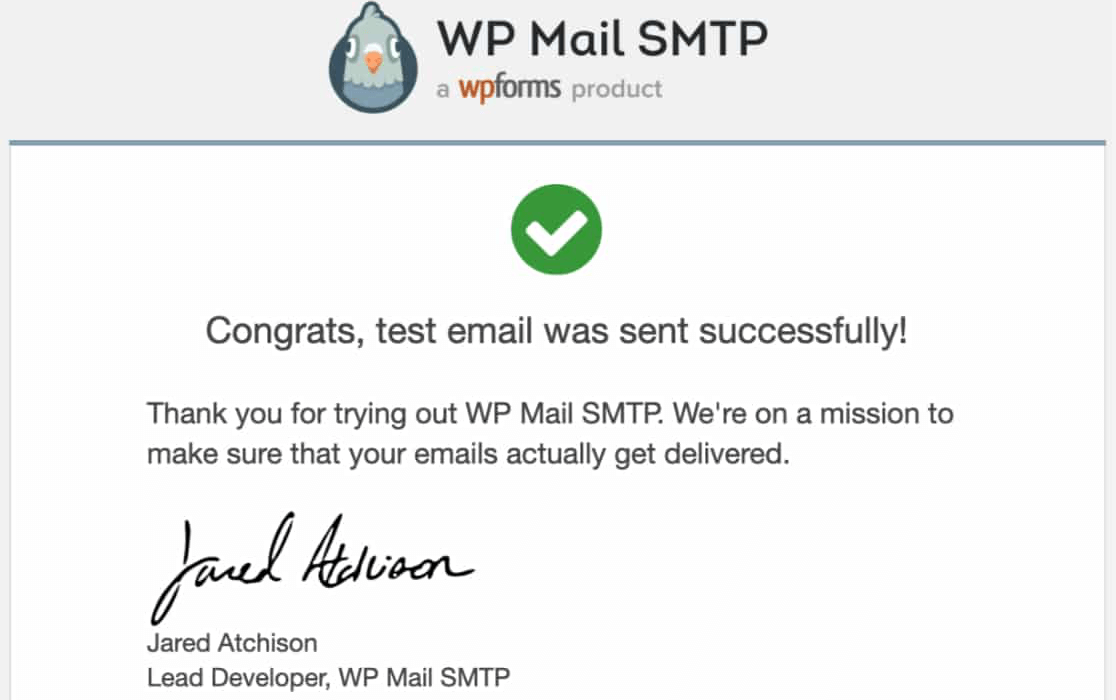
And we’re done! You’ve now successfully set up Postmark so that your emails won’t go to spam anymore.
Next up, Add hCaptcha to WordPress Forms
Now that you’ve fixed your email delivery issues, you might also want to prevent spammers from misusing your WordPress forms.
Adding an hCaptcha to your contact forms is an effective anti-spam solution. See our tutorial to learn how to add an hCaptcha to your WordPress forms.
If you’re a growing website, you might like this list of different types of WordPress forms that can help you collect leads and boost conversions. You might also be interested in learning about other leading SMTP plugins.
Ready to build your form? Get started today with the easiest WordPress form builder plugin. WPForms Pro includes lots of free templates and offers a 14-day money-back guarantee.
If this article helped you out, please follow us on Facebook and Twitter for more free WordPress tutorials and guides.

