
AI Summary
Do you want to connect Elementor Forms to Google Sheets?
While Elementor can store your form entries inside your WordPress dashboard, there are times when you may want to keep a copy of your form entries and leads in a Google Sheet.
Unfortunately, Elementor Forms doesn’t offer a quick solution to connect it with Google Sheets. You’ll have to use third-party integration apps like Zapier to set up this automation.
The good news is there’s an alternative way that’s faster, cheaper, and easier to set up.
In this post, we’ll show you how to connect Elementor Forms to Google Sheets without Zapier.
Sync Your Forms with Google Sheets
What’s the Best Way to Connect Elementor Forms to Google Sheets?
The default way to connect Elementor Forms to Google Sheets is using webhooks to create an automation with Zapier.
We don’t recommend this method for beginners because:
- It requires webhooks, which can be slightly complicated to set up
- You can only create a limited number of row entries in your sheet because Zapier consumes 1 task from your total allowance for every new entry created.
This can quickly become costly as your form submissions grow.
You can avoid webhooks and Zapier altogether by using an alternative solution for sending your WordPress form entries to your spreadsheet automatically.
The answer is to use WPForms Pro.

As a dedicated form builder plugin, WPForms Pro includes a native Google Sheets integration. This lets you connect any individual form to your spreadsheet without any code or the use of third-party apps.
Besides, Elementor has a WPForms widget, so you can still use Elementor to build your pages and embed any WPForms form inside your page.
And if you’d like to learn more about the differences between these form builders, see our guide on Elementor Forms vs WPForms.
Now that we know of the benefits of using WPForms Pro to simplify sending entries to Google Sheets, let’s go over the steps needed to complete this integration.
How to Connect Elementor Forms to Google Sheets
In This Article
1. Install WPForms Pro
WPForms has over 13 5-star reviews on WordPress.org, making it one of the most highly rated contact form plugins.
To install WPForms Pro on your site, you’ll first need to purchase the Pro license.

When you’ve completed the purchase, you can go ahead and install WPForms on your site.
The installation only takes a few minutes. When the plugin is installed and activated, it’s time to get the Google Sheets addon, as we show in the next step.
2. Install the Google Sheets Addon
Installing addons in WPForms is quick and easy. From your WordPress dashboard, navigate to WPForms » Addons.

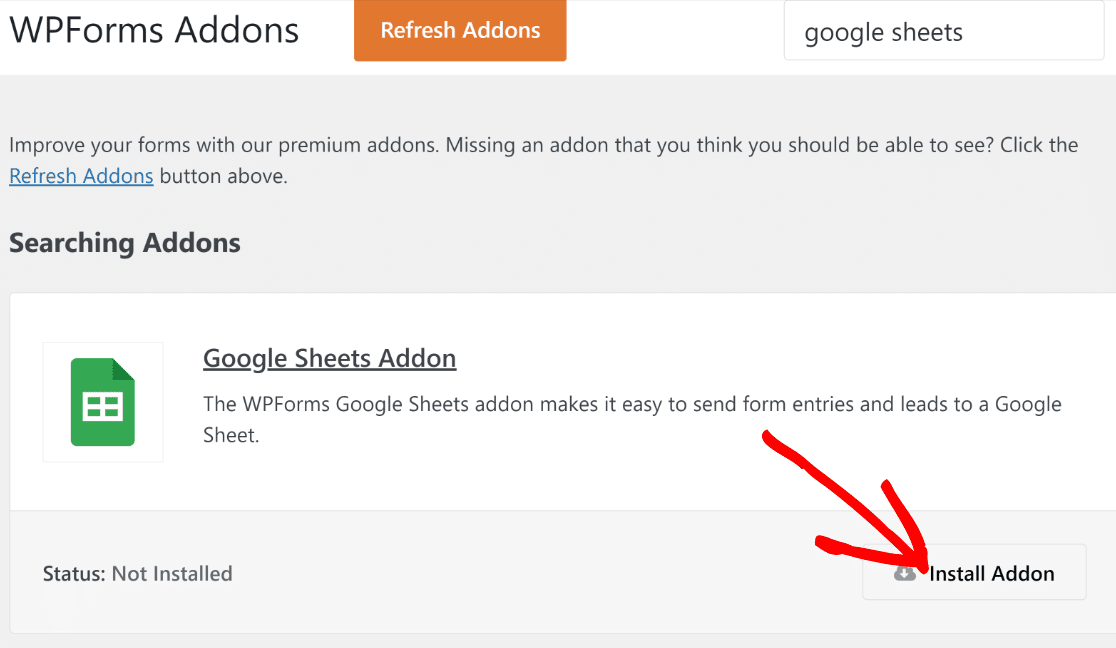
On the WPForms Addons page, search for the Google Sheets Addon. When the addon appears on your screen, click on the Install Addon button under it.
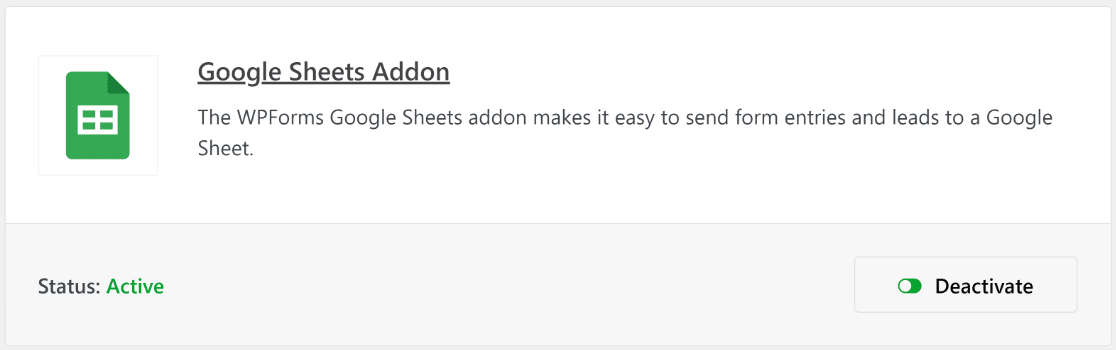
Once the addon has finished installing and become activated (this only takes a few seconds), you’ll see the status read Active.
So we have the addon ready, but we still need to connect WPForms with a Google Account so it can communicate seamlessly with our spreadsheets.
3. Integrate WPForms With a Google Account
To connect your Google Account with WPForms, click WPForms » Settings from the admin menu. After that, click on the Integrations tab located on the horizontal navigation bar.

Once inside the Integrations settings, scroll down to Google Sheets and click on it to expand its options menu. After that, click on Add New Account.

If you’re already logged in to your Google account, you can simply select it from the list. Or you can enter the login credentials if you don’t already have the account saved.
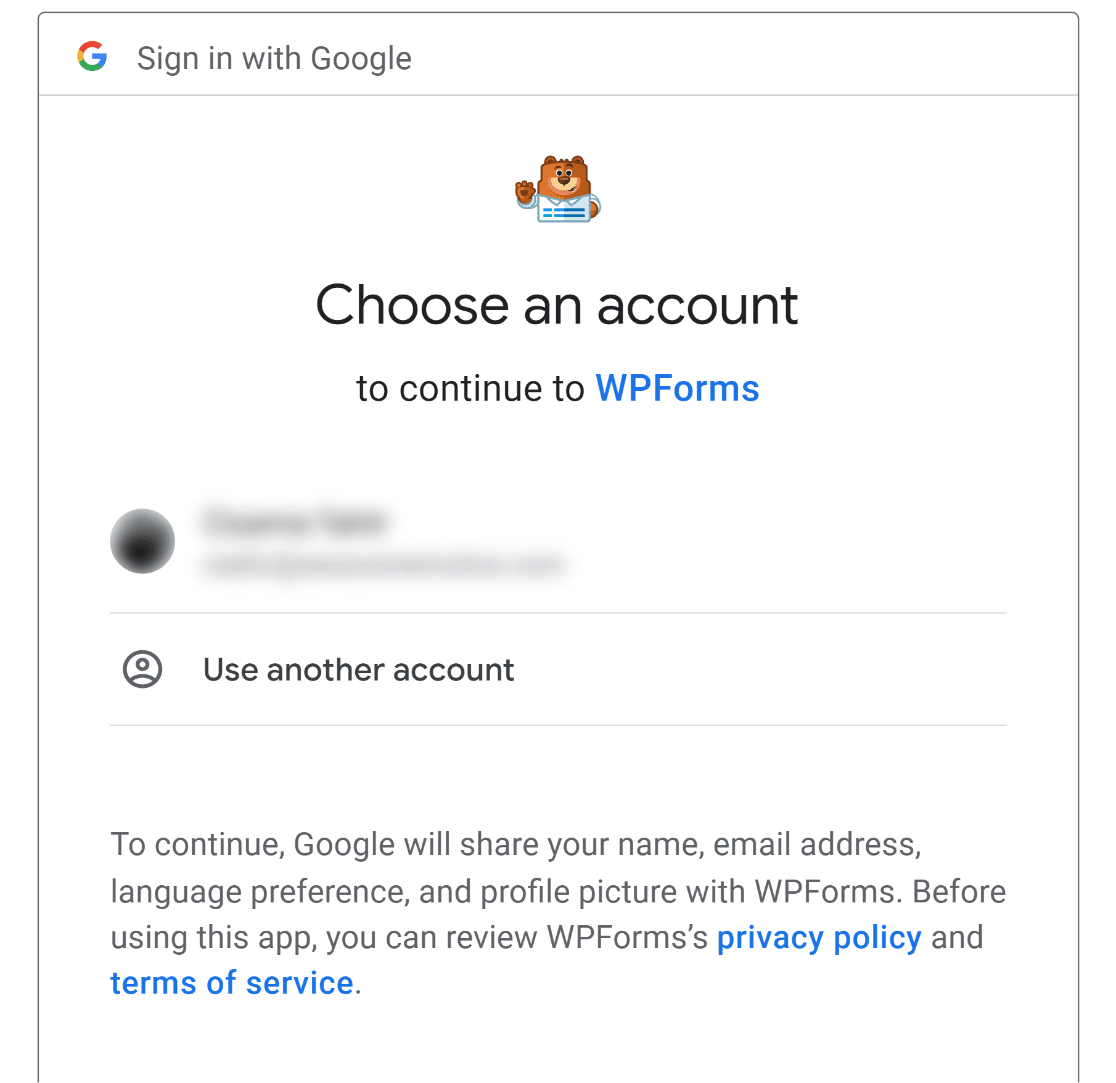
After signing in, you may receive a permission request notification from WPForms to access your Google account. Allow the requested permissions and you should be taken back to the WPForms Integrations page with your Google account now connected.

Now that we’ve set up all the necessary plugins and integrations, we can proceed to creating a WordPress contact form that can send data to Google Sheets.
4. Create a New WordPress Form
To create a form in WPForms, go to WPForms » Add New from the WordPress dashboard.

This will open the form builder interface. Start by naming your form. You can give any name to your form, as this is for your internal reference only.

Then, scroll down and to the Select a Template section. Here, you’ll find over 2,100+ form templates that you can use as you see fit.
For this tutorial, we’ll use the Simple Contact Form.

Your selected template will load in just a few seconds.

You’re free to customize your template by changing or removing existing fields or just adding a few more as you need.
When you’re happy with how your form looks, move on to the next step, or check out this guide for instructions on creating a multi-step form in Elementor.
5. Connect Your Form to a Specific Spreadsheet
Before WPForms can start sending your form data to a spreadsheet, you need to configure the settings for how the data should be handled from WPForms to Google Sheets.
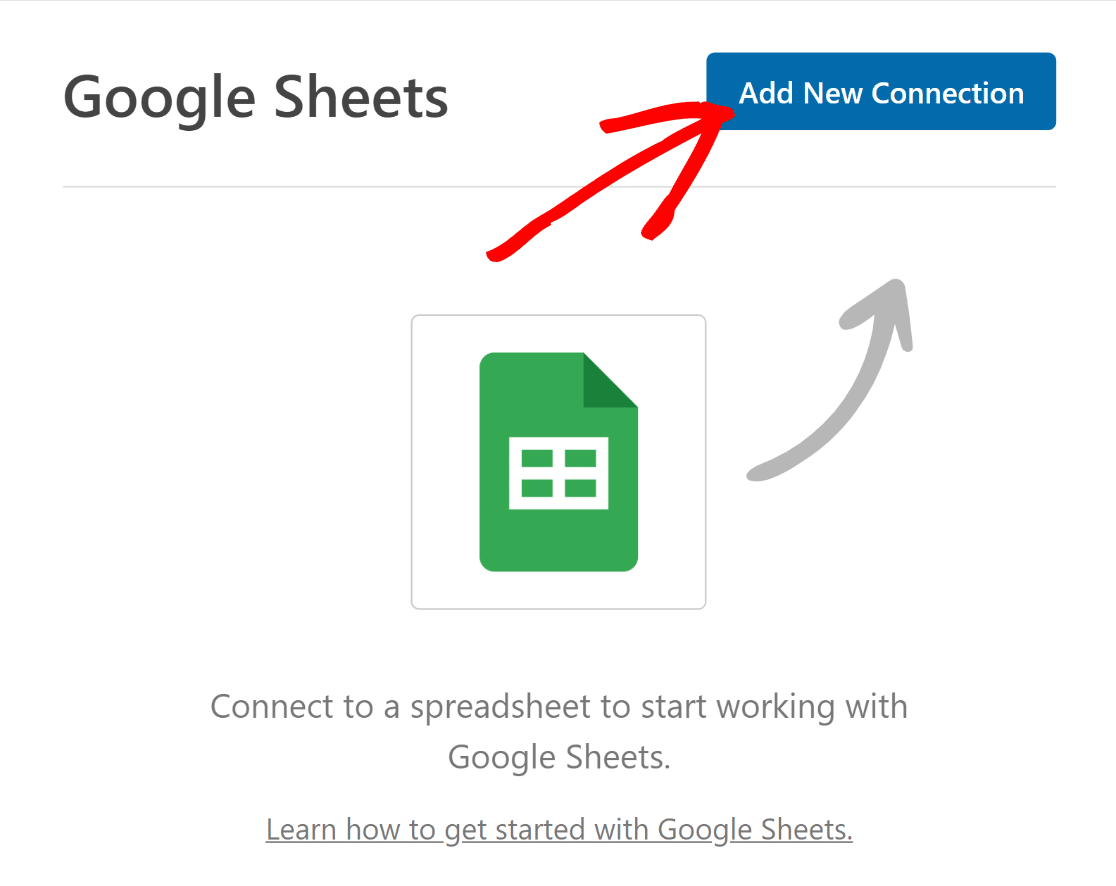
You can do this by clicking on Settings from inside the form builder. Then select Google Sheets.
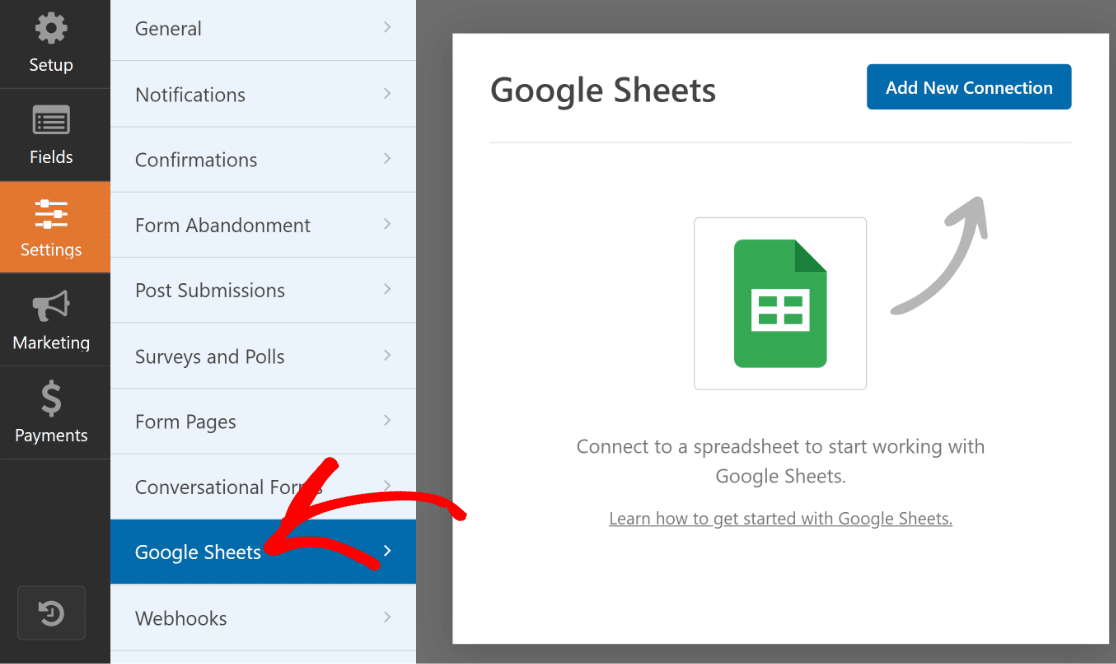
Press the blue Add New Connection button on the top-right.
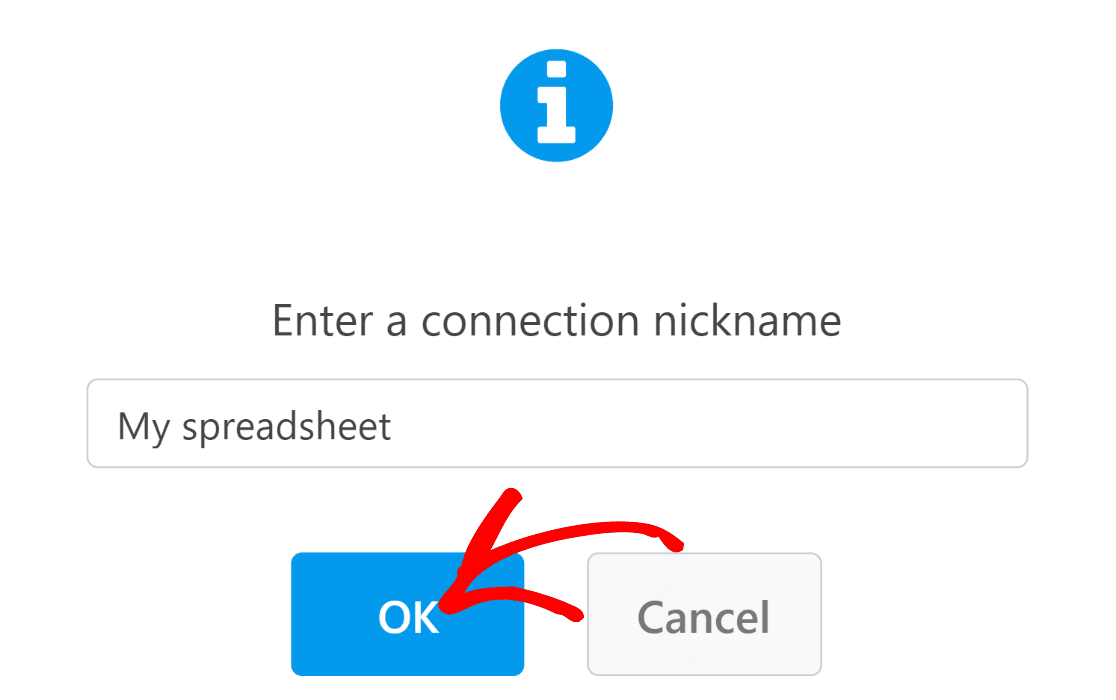
You’ll see a modal window pop open asking you to enter a connection nickname. Enter any name and then press OK.
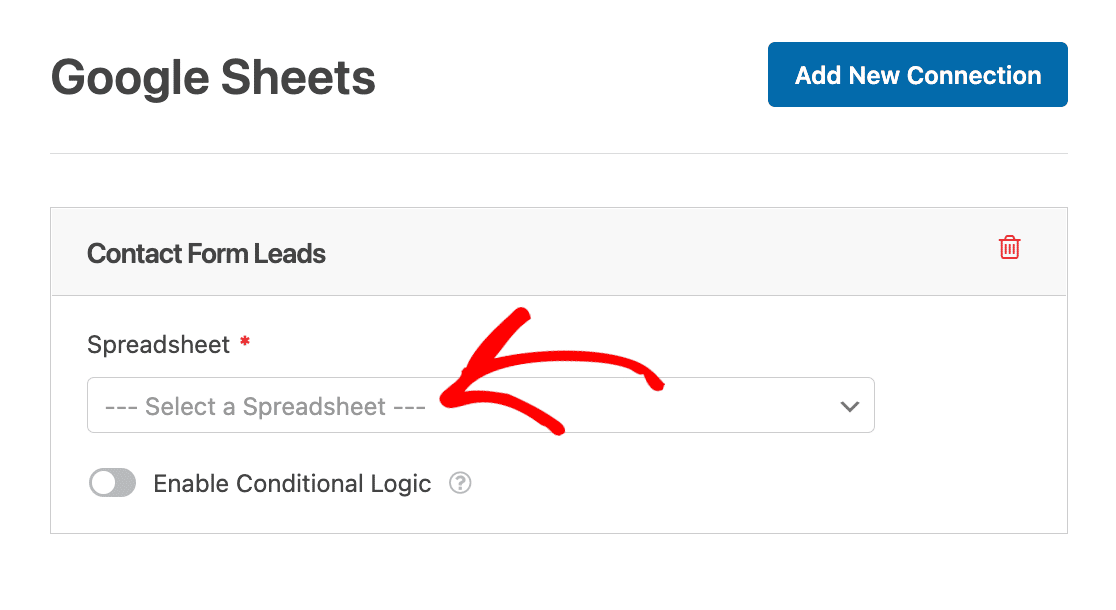
Now you can configure the settings for your WPForms-Google Sheets integration. First, you need to select a spreadsheet to which you want to send your form submission data.
We’ve already set up a spreadsheet for our form, so we just need to select it. However, you can also create a new spreadsheet from the dropdown if you like.
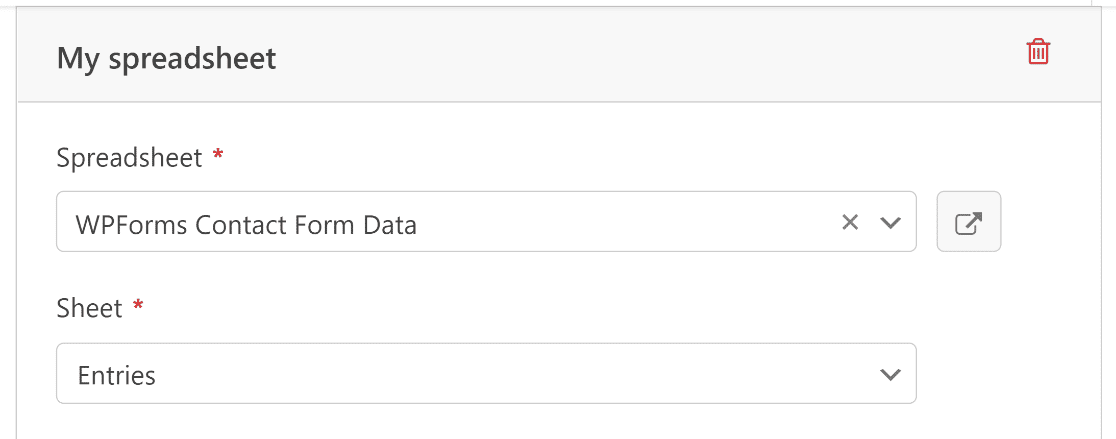
Click on the Spreadsheet dropdown to see a list of all spreadsheets saved in your Google account and select one.
Along with the spreadsheet, you also need to select the individual sheet where you want to send the form data. In our example, we named this sheet ‘Entries’. Use the Sheet dropdown to select the desired sheet.
Next, we’ll map our form fields with our spreadsheet columns.
By default, WPForms uses the Column A of your spreadsheet for Entry ID information. You’re free to map your main fields starting from Column B and so on.
The mapping process is easy. Start by selecting a Column using the Column Name dropdown.
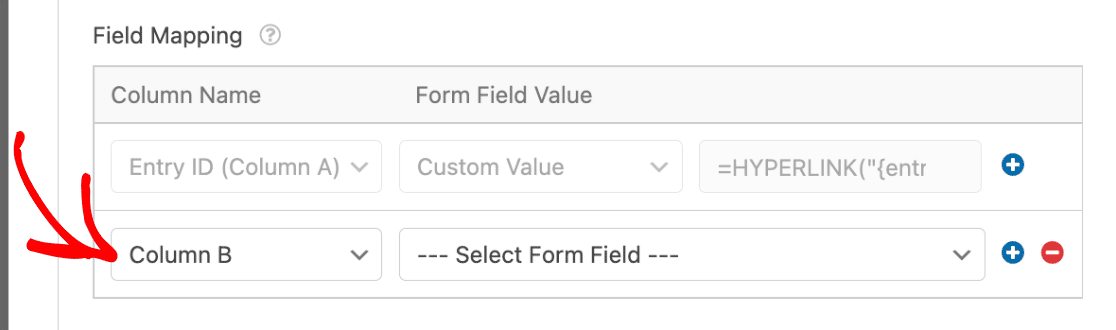
Then, use the Form Field Value dropdown to determine which field value should go inside the selected column of your sheet.
For instance, we selected Column B from the Column Name dropdown and the Name field from the Form Field Value dropdown to send Name field values from each form submission to Column B, and so on.
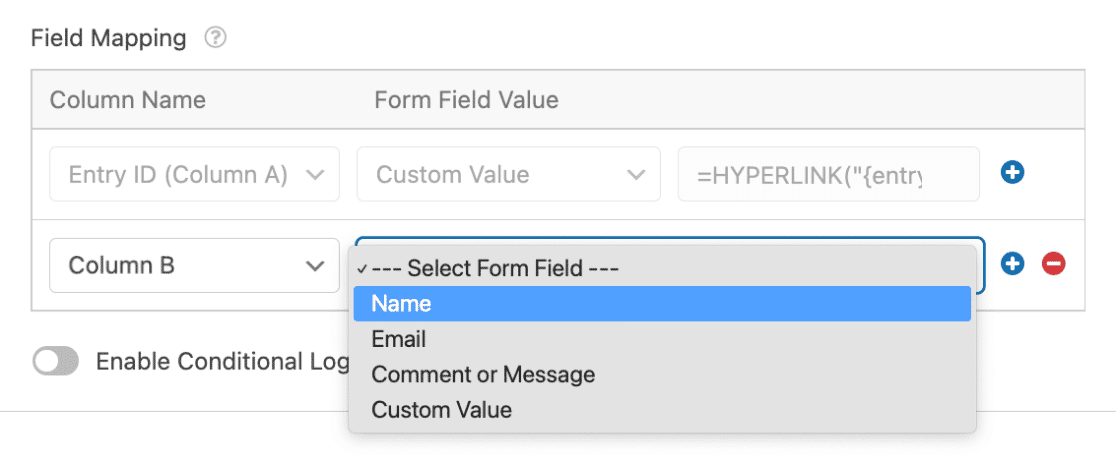
If you want to send the remaining form field values to other columns of your sheet, press the plus (+) button to add mapping items.

Repeat this process until you’ve mapped all your fields with the desired spreadsheet columns.

When you’re done with this step, press the Save button at the top of the form to save your progress.

Now, we’re ready to use Elementor to add our contact form.
6. Embed Form Using Elementor
Open your WordPress dashboard and go to Pages. Select an existing page from your list if you want to edit it and insert your form, or press Add New to create a new page.

Give a title to your page. Then, select the Edit with Elementor button.

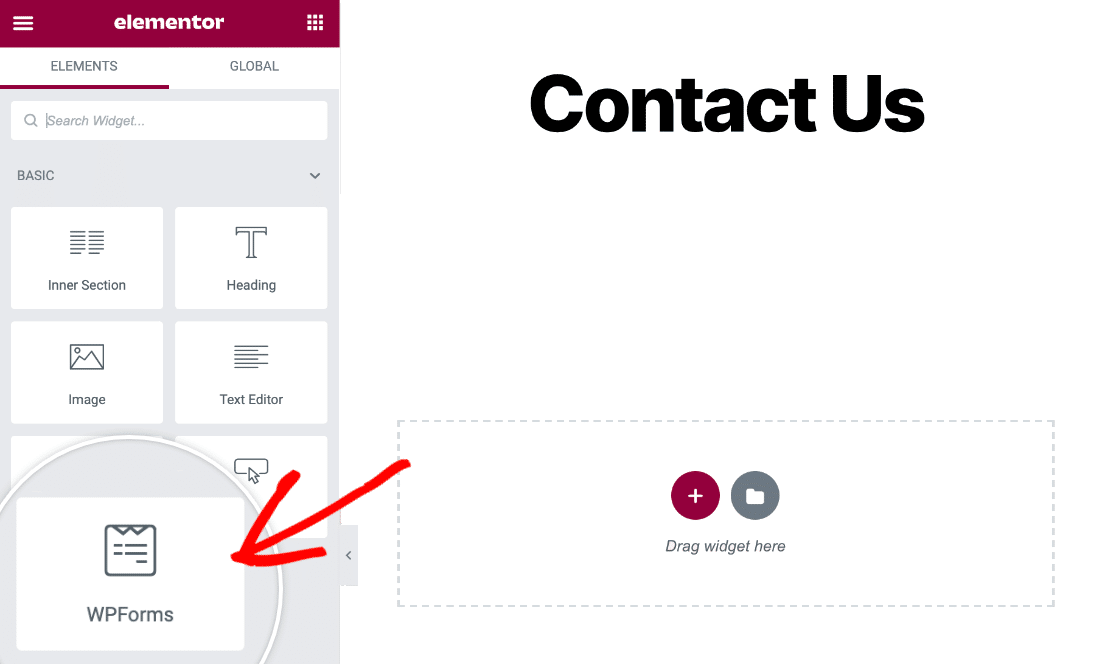
This will launch the Elementor page builder interface. Once it’s loaded, you can start designing your page by adding different block elements from the sidebar.
To insert the form you just created, select the WPForms block and drag it where you want on your page.
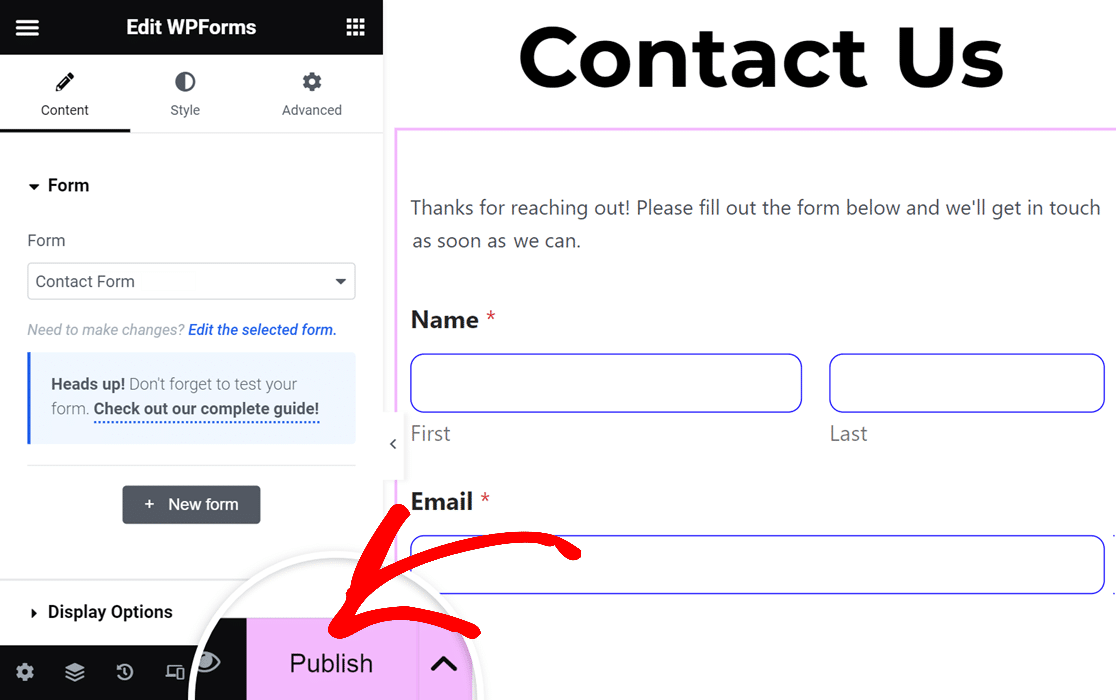
After you’ve placed the WPForms block on your page, you can use the dropdown to select your form.
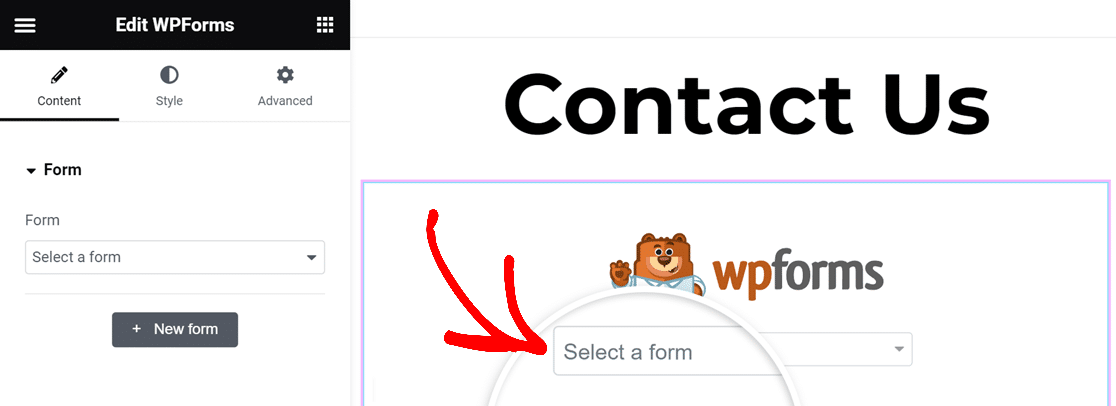
Your selected form will load up instantly, and the fields will appear exactly as you set them up.
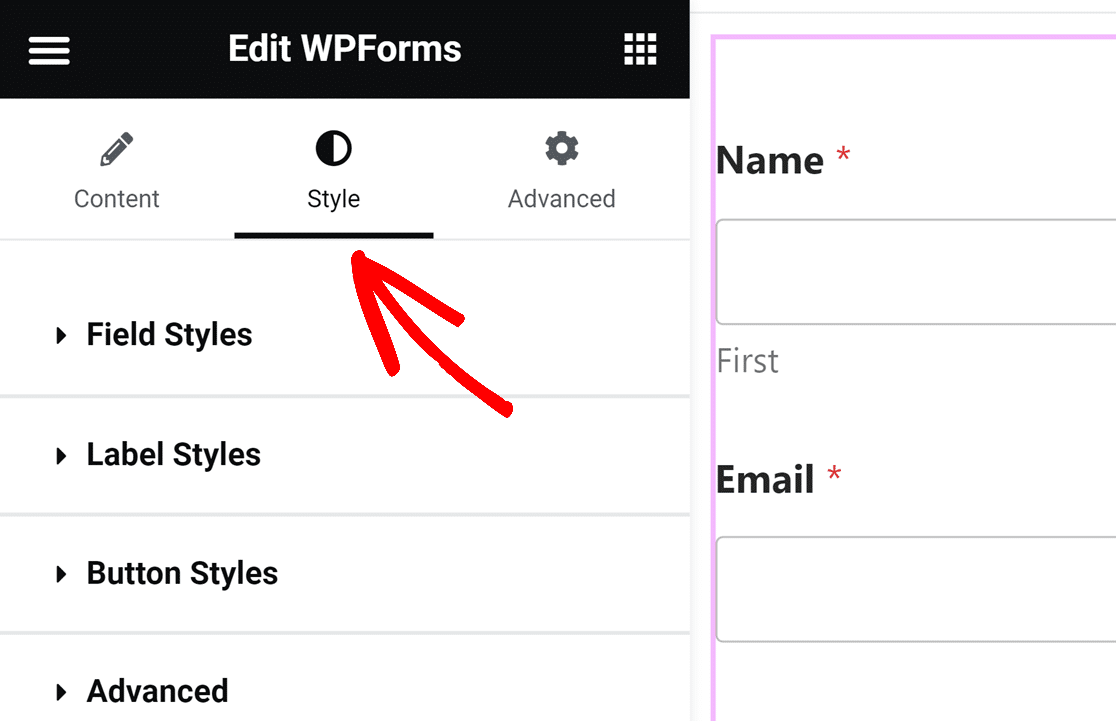
Before publishing it, you may want to customize the appearance of the form. This can be easily done from the Style tab.
When you’re finished, go ahead and publish your form page.
Now, every time a visitor submits this form, you’ll find a new row created in your spreadsheet with the entry data.

If you click the Entry ID link, you’ll be taken directly to the form entry screen inside your WordPress dashboard.
And that’s it.
You can now connect your Elementor Forms to Google Sheets without using Zapier or setting up webhooks. Also,, check out this guide if you want to manage events through Google Sheets with a repeater field.
FAQs
Got more specific questions about connecting Elementor Forms with Google Sheets? You may want to read our responses to some of the commonly asked questions:
What Do I Need to Send Elementor Form Data to Google Sheets?
In Elementor, there’s no built-in functionality to automatically send your form data to Google Sheets. You’ll need to set up webhooks and use a third-party app, Zapier, in order to have your form submissions sent to your spreadsheet. Not only is this a lengthy process, but it’s also costly because Zapier restricts the number of entries you can send to your Google Sheets monthly, even with its paid plans. A better alternative is to use a dedicated form builder like WPForms that offers a native integration with Google Sheets without needing any other software.
Why Should I Save My Contact Form Data in Google Sheets?
Saving your contact form data in a spreadsheet gives you the freedom to sort, analyze, and organize your form entries in any way you like. You can easily share your sheets with other team members for improved collaboration when it comes to tracking your leads and following up with them. Plus, your spreadsheets can work as a backup for your form entries outside of your WordPress environment.
Where Is Elementor Form Data Stored?
Elementor stores your form data in your WordPress database. Before Elementor Pro 3.2, there was no way to access your Elementor Form submissions without using additional plugins. But Elementor now comes with a Submissions menu that allows you to view and manage your entries easily. Still, Elementor doesn’t support a built-in integration with Google Sheets, so you’ll need an alternative like WPForms to directly connect your forms with Google Sheets and then use the WPForms block widget in Elementor to embed it.
Next, Improve Your Elementor Contact Forms
Elementor has a decent form widget but is not a dedicated form builder. As a result, Elementor Forms suffers from many limitations that you won’t encounter in more powerful form builders listed in our top Elementor form plugins roundup.
And if you’d like to create a free Elementor form, we have a separate guide for that.
Ready to build your form? Get started today with the easiest WordPress form builder plugin. WPForms Pro includes lots of free templates and offers a 14-day money-back guarantee.
If this article helped you out, please follow us on Facebook and Twitter for more free WordPress tutorials and guides.

