Do you need to fix email delivery issues on your WordPress site? SMTP.com has been working to improve email deliverability for decades, establishing an extensive record as a reliable service.
This tutorial will show you how to improve email deliverability with the SMTP.com mailer in WP Mail SMTP.
In This Article
Note: WP Mail SMTP and SMTP.com are two different products from different companies. SMTP.com is a mailer that you can connect with WP Mail SMTP. If you have a WP Mail SMTP license and you’d like to use the SMTP.com mailer, you will need to purchase an SMTP.com plan separately.
What Is SMTP.com?
SMTP.com has been a market leader in email delivery and the preferred choice for more than 100,000 businesses for over 22 years. It’s known for its ease of integration, quality support, and powerful API.
In order to complete the SMTP.com mailer setup in WP Mail SMTP, you’ll need:
-
- A domain-specific email address (i.e., [email protected])
- A credit card (required to complete account registration)
- Access to your site’s DNS records
- Cost: Free up to 50,000 emails within 30 days. After this, you will need a paid account. Check out SMTP.com’s pricing page for full plan options. Higher plans may include much higher sending limits.
- From Email Requirements: You’ll need a domain-specific From Email (e.g., [email protected]) for reliable email delivery.
- Bottom Line: SMTP.com is a recommended mailer because it’s a reliable industry leader in email delivery. Where many similar services require an extensive setup process, SMTP.com has remained rather straightforward.
Note: For more information about supported mailers, check out our complete guide to WP Mail SMTP Mailers.
Once you have these details on hand, you can jump into the tutorial below.
Setting Up Your SMTP.com Account
First up, you’ll need an account with SMTP.com. This account will connect to your WordPress site so that your emails can deliver reliably. If you already have an SMTP.com account, go ahead and log in. Otherwise, create a new account now.
When creating a new account with SMTP.com, you’ll need to complete a few additional steps after registering. These steps help to prevent spammers from signing up for your mailing list, which is important to keeping SMTP.com’s service reliable.
First, be sure to check your email inbox and follow the activation link sent to you. This will also require you to agree to SMTP.com’s usage policy.
Next, SMTP.com’s team will review and approve your account, which may take up to 24 hours. This approval process will likely require you to provide additional details or clarification, so please keep an eye on your inbox for any updates.
Once your SMTP.com account is up and running, you’ll be ready to start the mailer setup process. Keep the browser tab or window with your account page open, as you’ll use it in the next step.
Setting Up Your Site’s DNS Settings
Authentication is an important step in successful email delivery. This helps to show email providers that your emails are being sent from a legitimate source.
SMTP.com uses an SPF record to help authenticate your emails, so you’ll need to add this record to your site’s DNS settings. You’ll also need to set up a DKIM record before you can send emails with SMTP.com.
Note: For more details on modifying your site’s DNS settings, see our tutorial on adding DNS records for WP Mail SMTP setup.
You can also check out SMTP.com’s knowledge base for details on the DNS records it provides.
SMTP.com has a straightforward onboarding process that makes it easy to access the DNS records required to authenticate your domain. To get started, you’ll need to access their onboarding portal and log in with your SMTP.com account details.
Sending Domain
The first step is to specify your sending domain. This should be your site’s domain. To begin the verification process, you’ll need to enter your site’s domain in the What is your sending domain? field. Then click Next to continue.

Adding the SPF Record
After adding the sending domain, you’ll see the SPF record that you’ll need to add to your site’s DNS settings. Click on the copy icon to copy the SPF record.

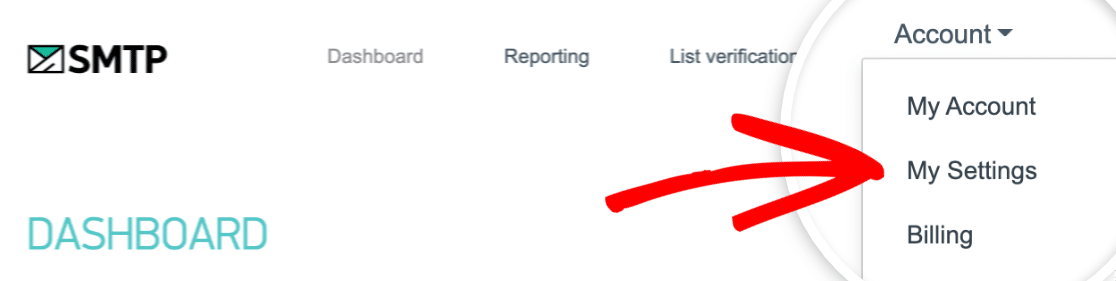
Alternatively, you can find the SPF record from your SMTP.com account dashboard. In the top menu, click on Account » My Settings.
In the GENERAL tab, you should see the following SPF record:
v=spf1 include:_spf.smtp.com ~all

You’ll need to add this record to the DNS settings for your site.
In your site’s DNS settings, you may also see a TTL (Time To Live) field for the record. If you’re provided with a way to change this, we recommend setting the TTL to 1 day (or 86400 seconds, depending on the units your DNS uses).
After you’ve successfully added the SPF record, head back to the onboarding portal and click on Verify SPF.

Once the changes are propagated, you’ll be able to proceed and add the DKIM record for your site.
In some cases, DNS changes can take up to 48 hours to be recognized, so you may need to check back on this later.
Setting Up the DKIM Record for Your Domain
Before you can send emails from your domain, you’ll need to add a DKIM record in your domain’s DNS settings.
For SMTP.com, this record consists of a TXT record with the following configuration:
- Name:
smtpcomcustomers._domainkey - TXT Value: copy from the onboarding portal.
- TTL: 3600 seconds or 1 hour, depending on the unit in your DNS settings.
You can find the details for this record in the DKIM Verification section of the onboarding portal.

SMTP.com recommends a TTL of 3600 seconds. Depending on your provider, using this value may not be possible. If so, you should use your provider’s default value.
After setting up your DKIM record, head back to the onboarding portal and click on Verify DKIM to confirm the status.

Remember that it may take up to 48 hours for changes to your domain’s DNS settings to be reflected on your domain.
Once the records are propagated, you should see a Verified status below each record.

Note: For more information on DKIM records on SMTP.com, check out their DKIM documentation.
Setting Up WP Mail SMTP
Now that your SMTP.com account is ready, you can switch over to setting up WP Mail SMTP. When you’re ready, go ahead and log in to your WordPress admin dashboard.
If you haven’t already, be sure to also install and activate the WP Mail SMTP plugin.
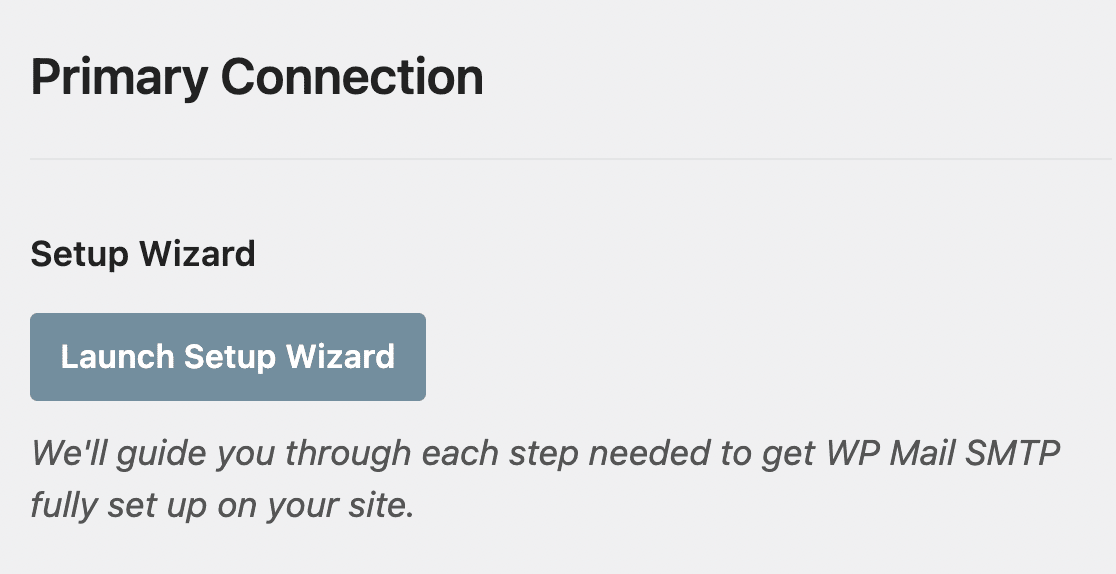
Once you’ve installed WP Mail SMTP, go to WP Mail SMTP » Settings, then select the General tab.

Next, scroll to the Primary Connection section.
In the next sections, we’ll cover the details for each of the settings located on this page.
From Email
The From Email is the email address that all of your site’s emails will appear to be sent from. In order for SMTP.com services to be able to work properly, this email address must be at your domain (i.e., [email protected]).
Note: You can use any email address as the From Email address as long as it contains the domain you verified in your SMTP.com account. However, it must be connected to a working inbox if you plan to receive emails at this address.
We strongly recommend also checking the box labeled Force From Email. This option will save you the trouble of editing the From Email settings throughout your site, and help to ensure your mailer can process your site’s emails.

Note: For more details, see our guide to understand how the Force From Email setting works.
From Name
The From Name will, by default, be set to your site’s name. However, you can change this to any text you’d like.
You can also select the Force From Name option to apply this setting to emails site-wide.

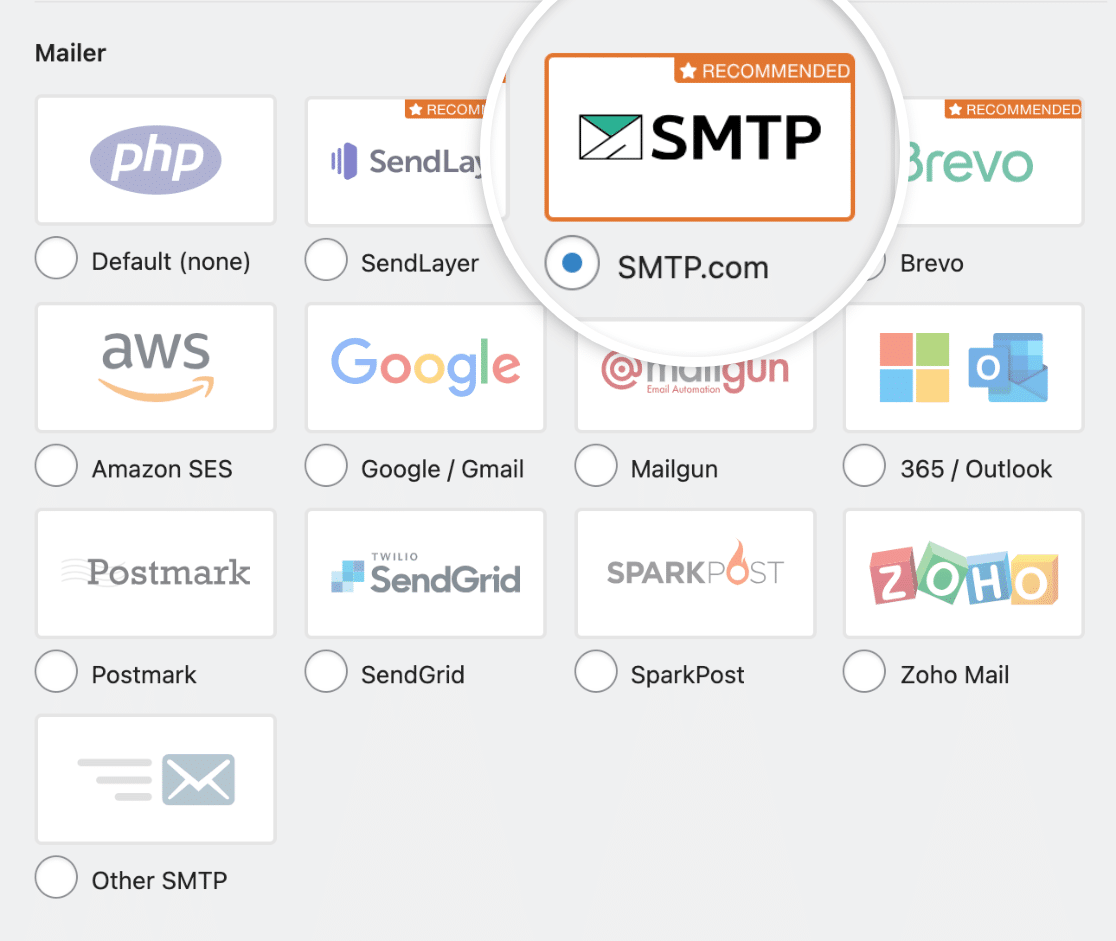
Mailer
In the Mailer section, you’ll need to select the SMTP.com option.
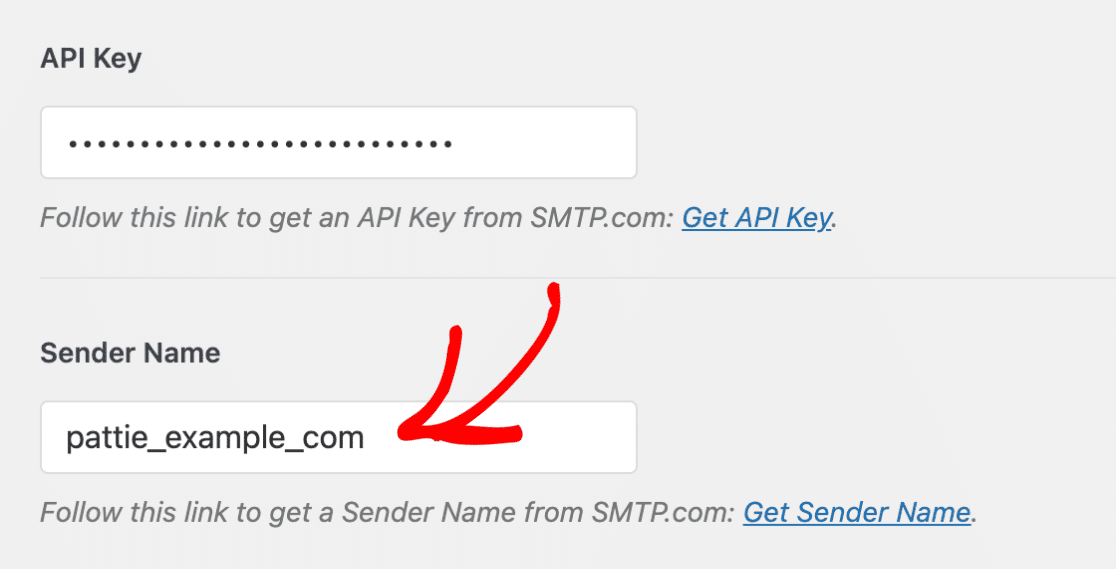
API Key
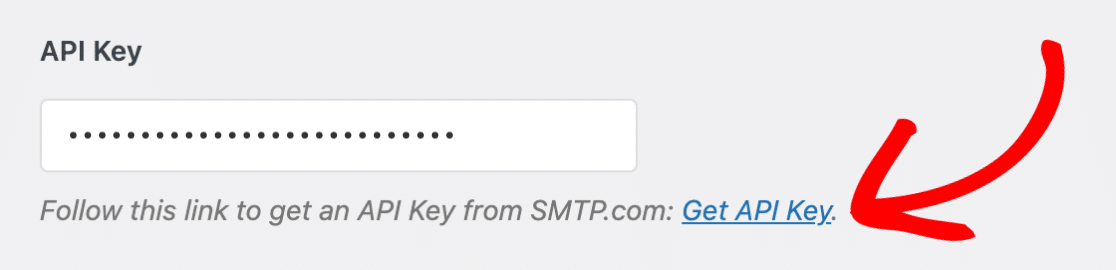
Next up, you’ll need to fill in the API Key and Sender Name from your SMTP.com account.
To quickly locate the API Key for your SMTP.com account, click on the Get API Key link in the SMTP.com section of the settings.
This link should take you to the API page in your SMTP.com account. Here, carefully copy the full value in the Key column.
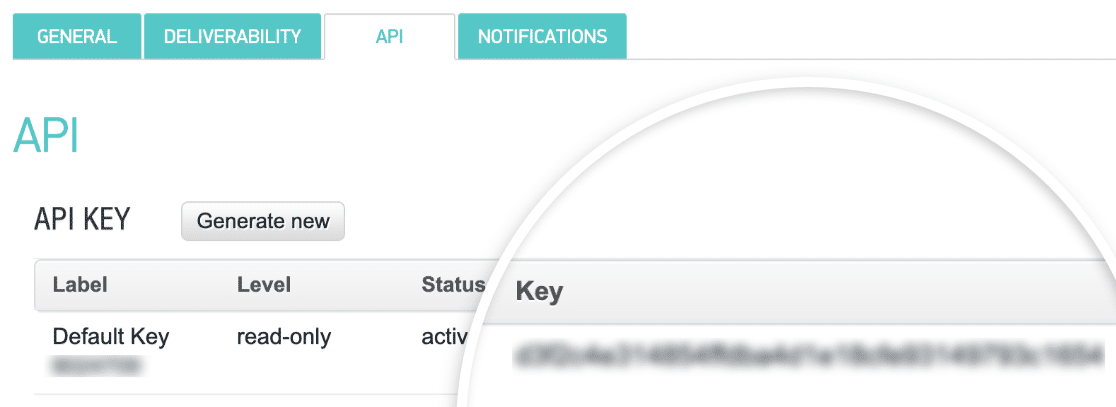
Then return to your WP Mail SMTP settings and paste the value you copied into the API Key field.
Sender Name
Once you’ve added your API Key, move down to the Sender Name field. To quickly find the value needed for this field, click on the Get Sender Name link.
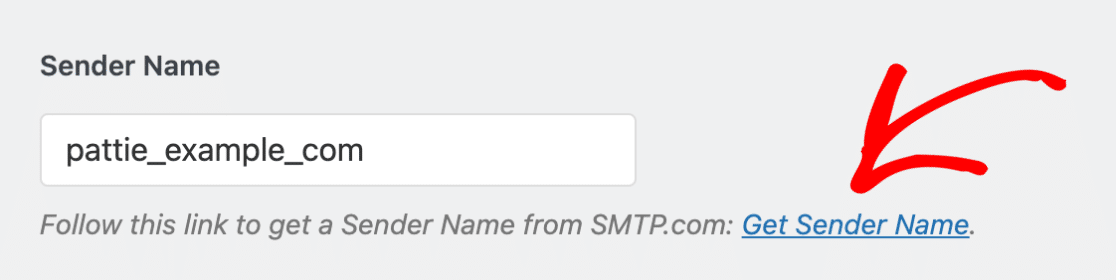
This link should open the Senders page of your SMTP.com account. Here, you’ll need to copy the value under the Name column.

After copying the Name value, switch back over to your WP Mail SMTP settings and paste it into the Sender Name field.
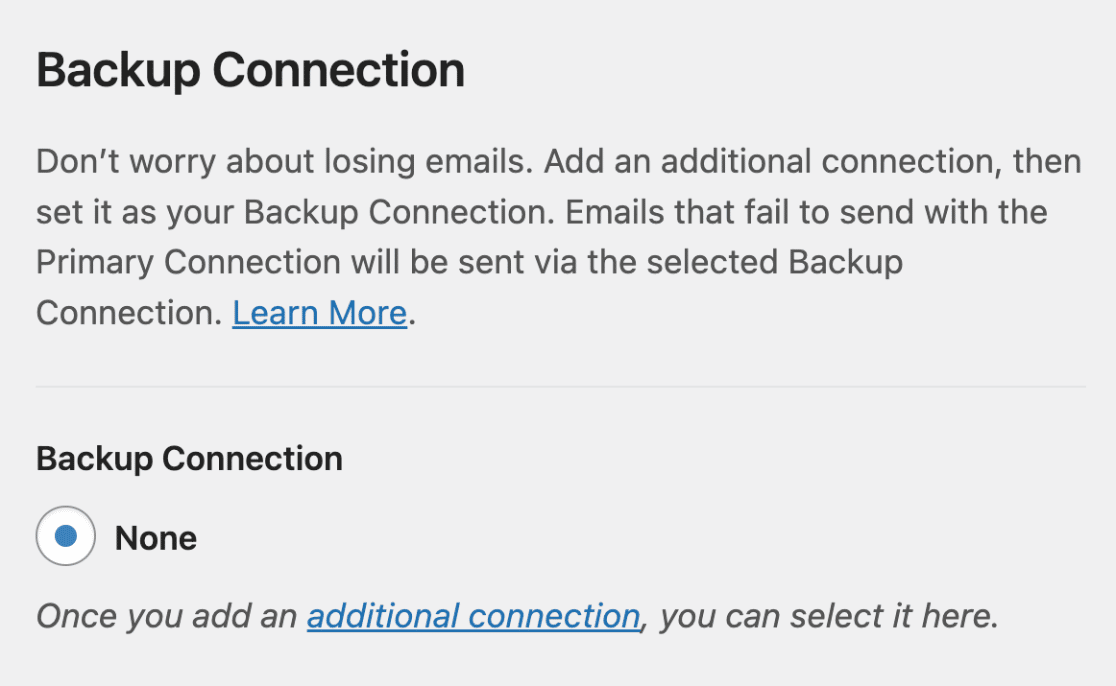
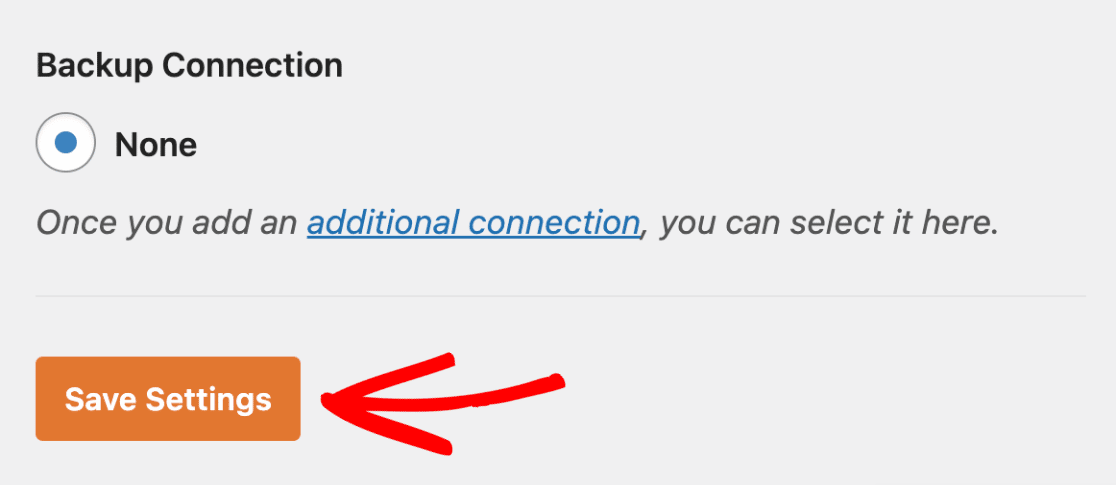
Backup Connection
Setting up a Backup Connection is optional and isn’t required to complete your SMTP.com mailer setup. However, to further improve email deliverability, we recommend configuring an additional connection to serve as a backup in case your Primary Connection fails.
Note: Want to send emails using different connections based on a set of rules or conditions? Be sure to check out our Smart Routing tutorial to learn more.
Once you’re done, click the Save Settings button to save the changes.
Sending a Test Email
Note: Before moving forward with this step, please check your SMTP.com Deliverability Settings to confirm that your site’s SPF Status is set to Pass.
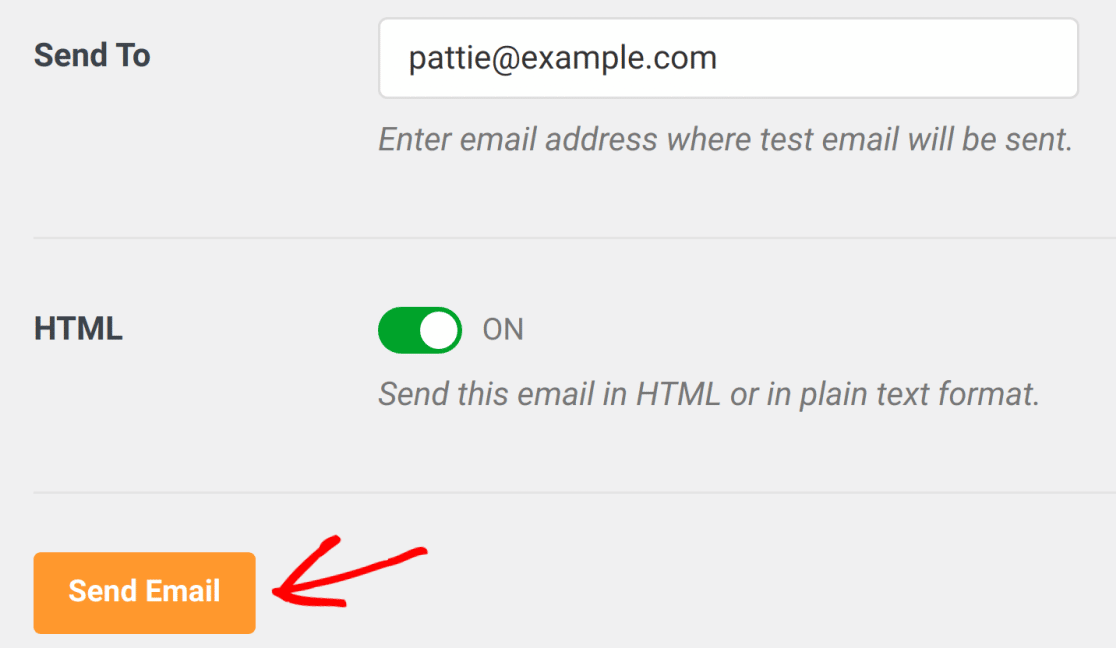
Once your settings are all ready to go, you can send a test email to make sure your connection is working as expected. To do so, go to WP Mail SMTP » Tools and click on the Email Test tab.

In the Send To field, you can enter any email address whose inbox you have access to. We recommend leaving the HTML setting ON unless you know you’ll only be sending plain text emails.
Note: If you’ve set up an additional connection, you’d be able to choose between your Primary Connection and other connections when sending a test email.
Once you’ve configured your settings, click the Send Email button to send your test email.
Once the email has been sent, you should see a success message.
Next, check the inbox for the email address you entered. You should soon receive the email for this test.

Last, you’ll need to confirm that this test email was properly sent through your SMTP.com account. To do so, check your SMTP.com Deliverability Settings page.
If the email was successfully sent through your SMTP.com account, you should see a Pass status for your domain.

Note: If you do not see a Pass status, then please review the earlier steps in this tutorial to confirm that you filled out all of your SMTP.com and WP Mail SMTP settings correctly.
That’s it! You’ve just completed the setup for SMTP.com with WP Mail SMTP, and your site’s emails should be delivered reliably.
Next, would you like to keep a log of all the emails your site sends out? Be sure to check out the details in our email logging guide.