Do you want to automatically create a Trello card from a WordPress form?
You can collect every form submission and organize it in Trello so you don’t need to spend hours copying them manually.
Create Your WordPress Trello Form Now
How to Create Trello Cards From WordPress Forms
In This Article
Step 1: Install the WPForms Plugin and Zapier Addon
The first thing you need to do is to install and activate the WPForms plugin. Here’s a step by step guide on how to install a WordPress plugin if you need help.
Then you’ll want to install the Zapier addon, which lets you connect your forms to over 7,000 web apps including Asana, Jira, and of course Trello. That way, you can save your time by automating different cards.
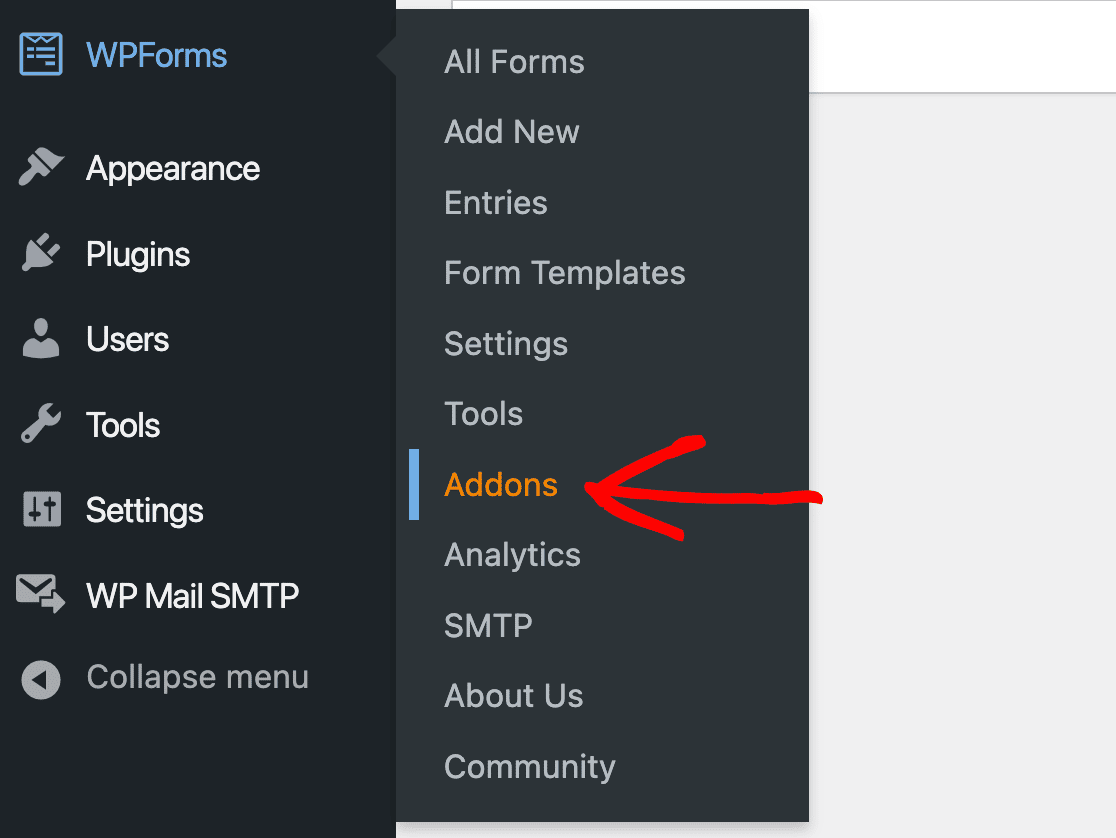
In your WordPress admin area, go to WPForms » Addons.
On the next screen, find the Zapier addon and click Install Addon.
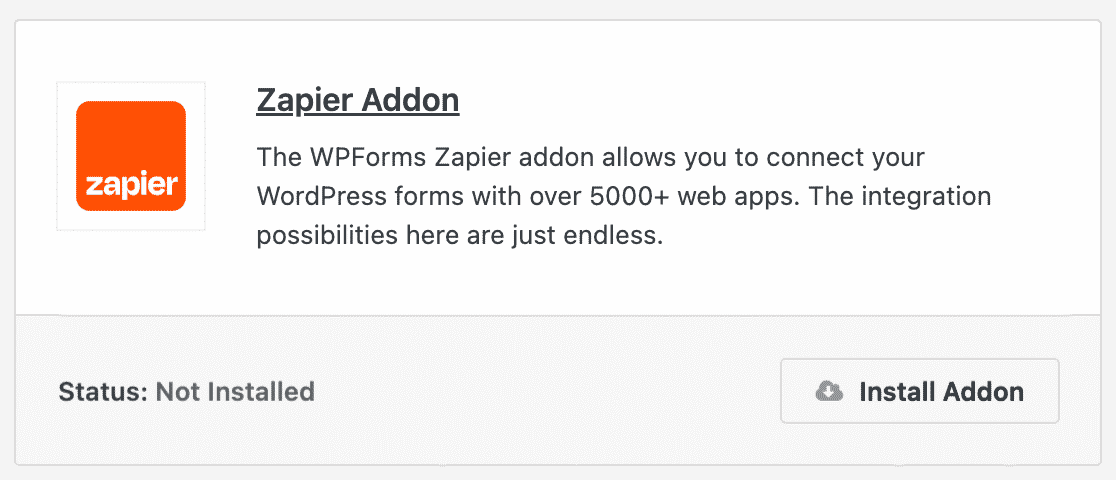
The addon should then activate automatically. If you need any help with this process, check out our Zapier addon guide.
Step 2: Create a WordPress Form
Next, you’ll need to create a WordPress form using WPForms. We have tons of tutorials on how to create different types of forms, including:
You can create Trello cards from any type of WordPress form you want to build with WPForms. However, for the sake of this example, we’ll be using the Request a Quote Form template.
To get started, go to WPForms » Add New.
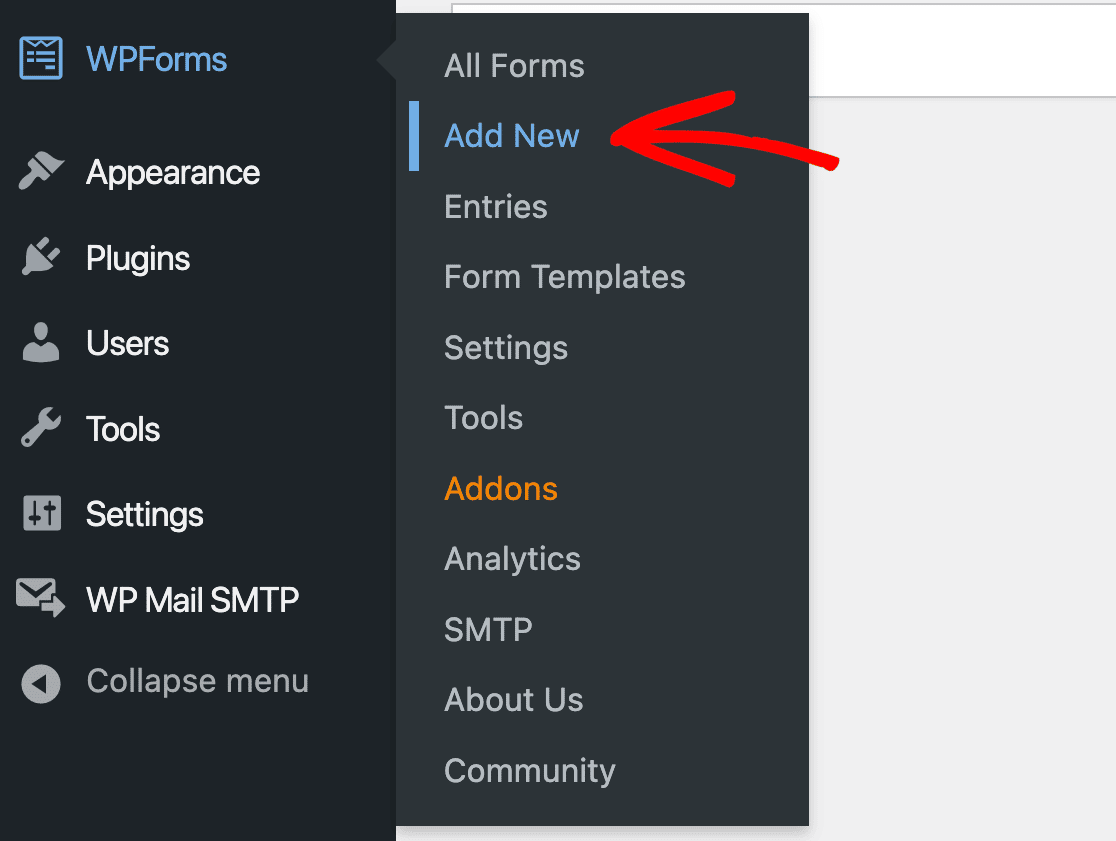
Then name your form and select your template.
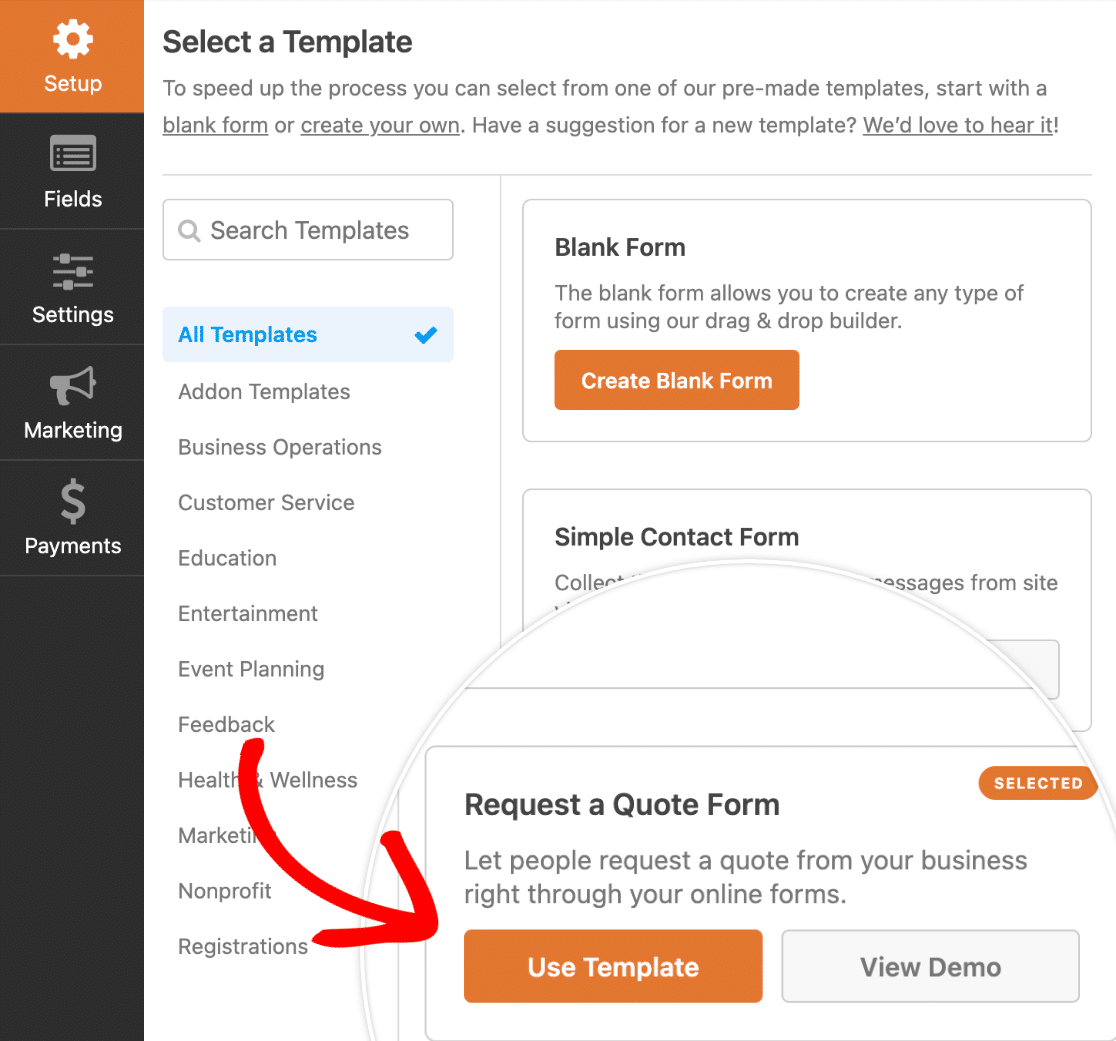
Once you choose a template, it will load in the form builder. Here you can add, remove, or edit fields as you see fit and customize your form’s settings.
When you’re happy with how your form looks, click Save in the top right corner of the builder.

Step 3: Submit a Test Entry
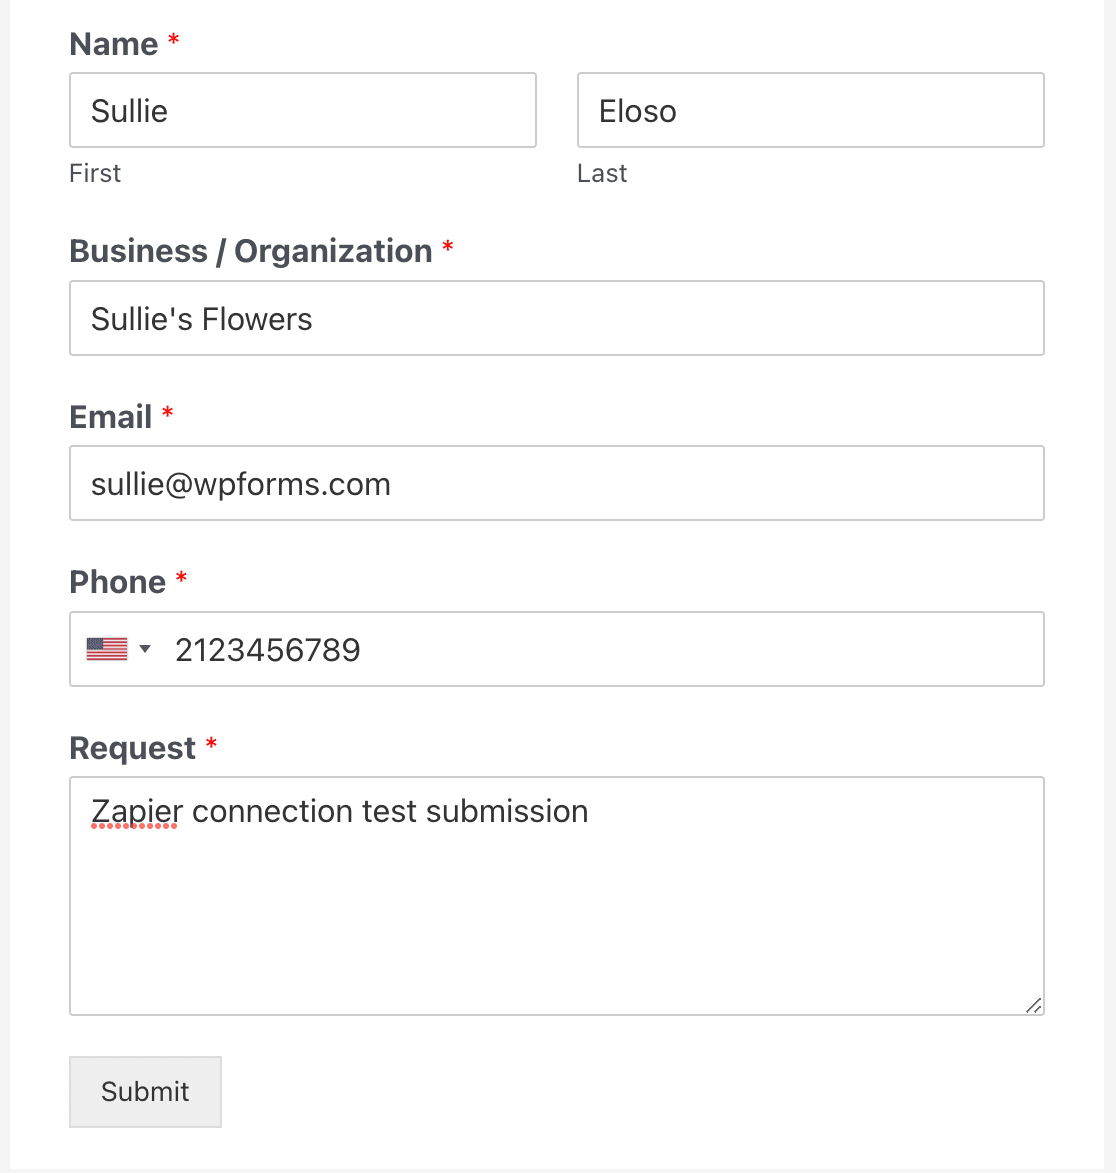
Next, you need to submit a test entry to your form. You’ll use this entry during the setup process in Zapier, so don’t skip this step!
You can submit your test entry from the form preview page. Click Preview at the top of the from builder to open it.

Then just fill out your form and hit Submit.
Step 4: Connect WPForms to Zapier
Now let’s connect your form to Trello via Zapier.
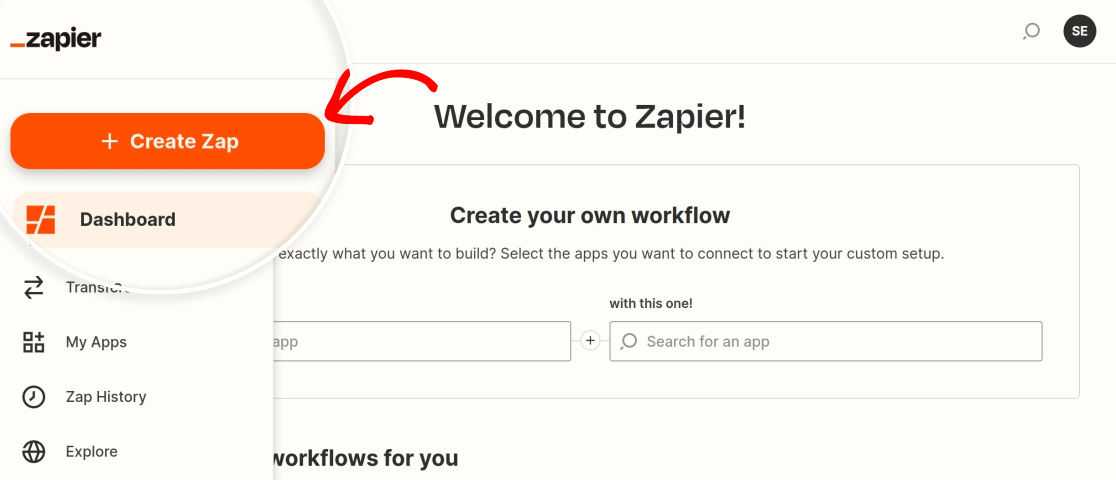
The first thing you need to do is to log in to your Zapier account and click Create Zap.
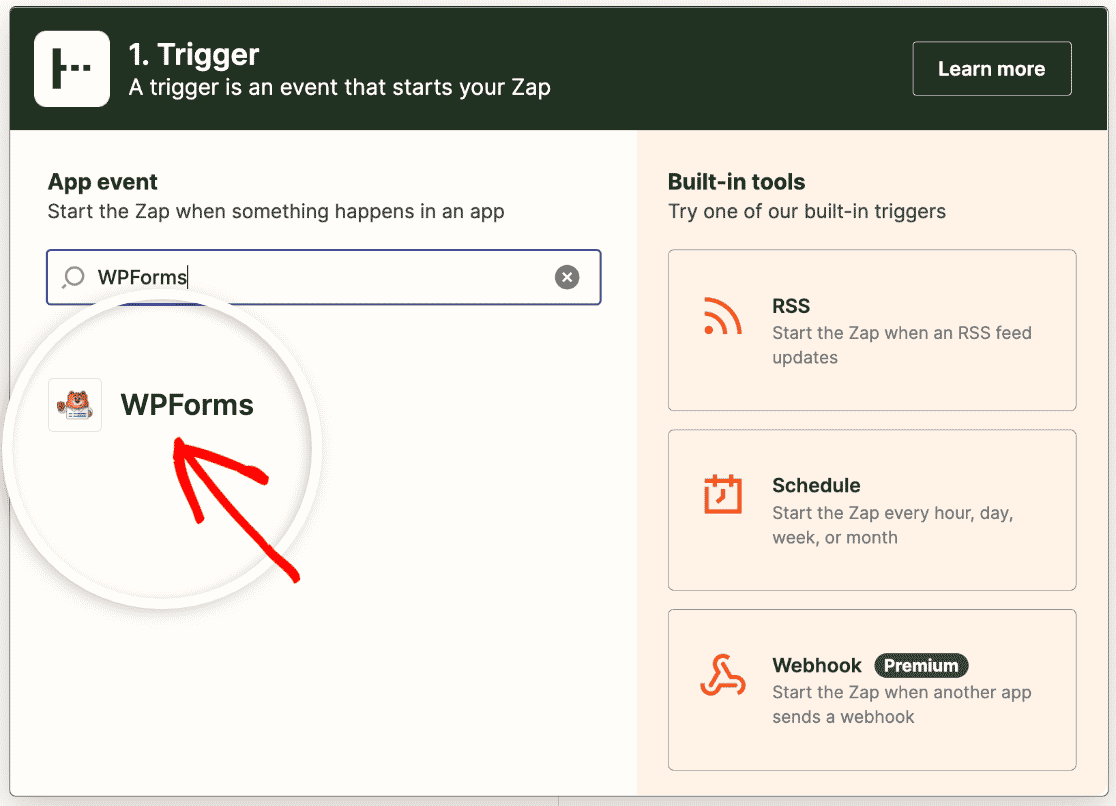
 Once the Zap setup wizard launches, select WPForms as your trigger app.
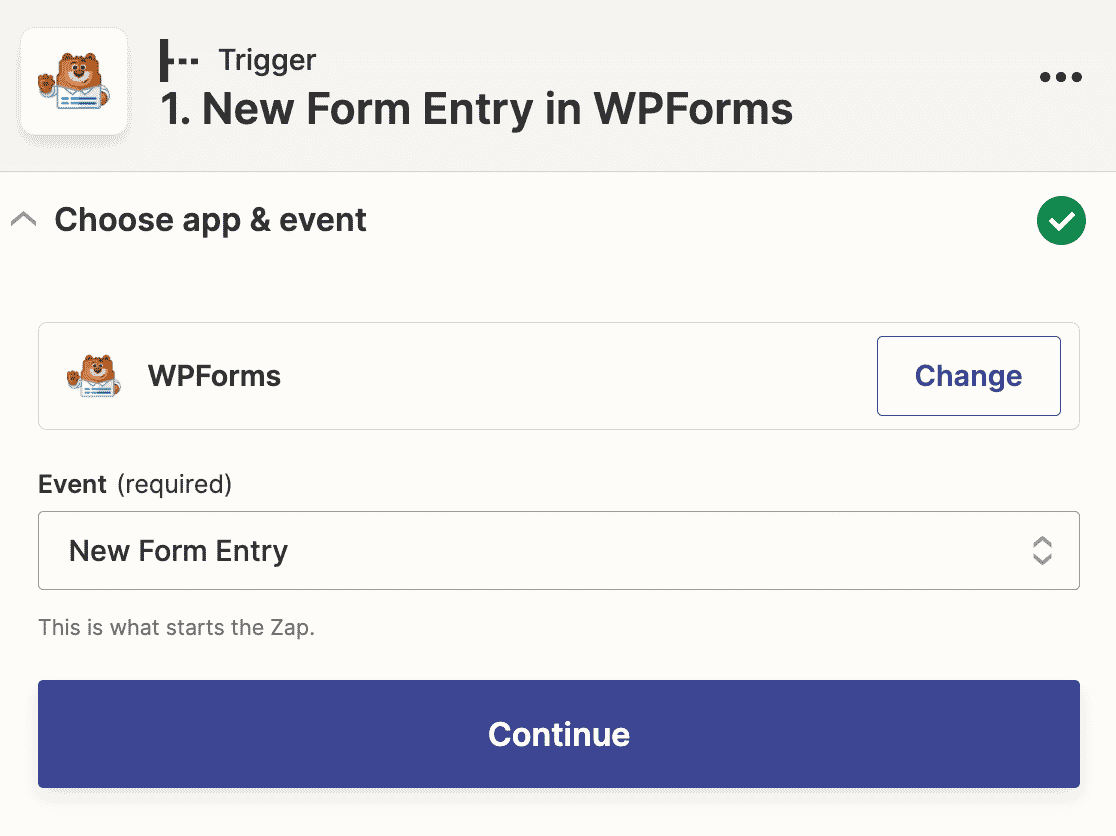
Next, you’ll need to choose the app event that will trigger the action in Trello. The only option for WPForms is New Form Entry, so select that from the dropdown and then click Continue.
Now you’ll need to sign in to your WPForms account to connect it to Zapier. Click the Sign in button on the next screen.
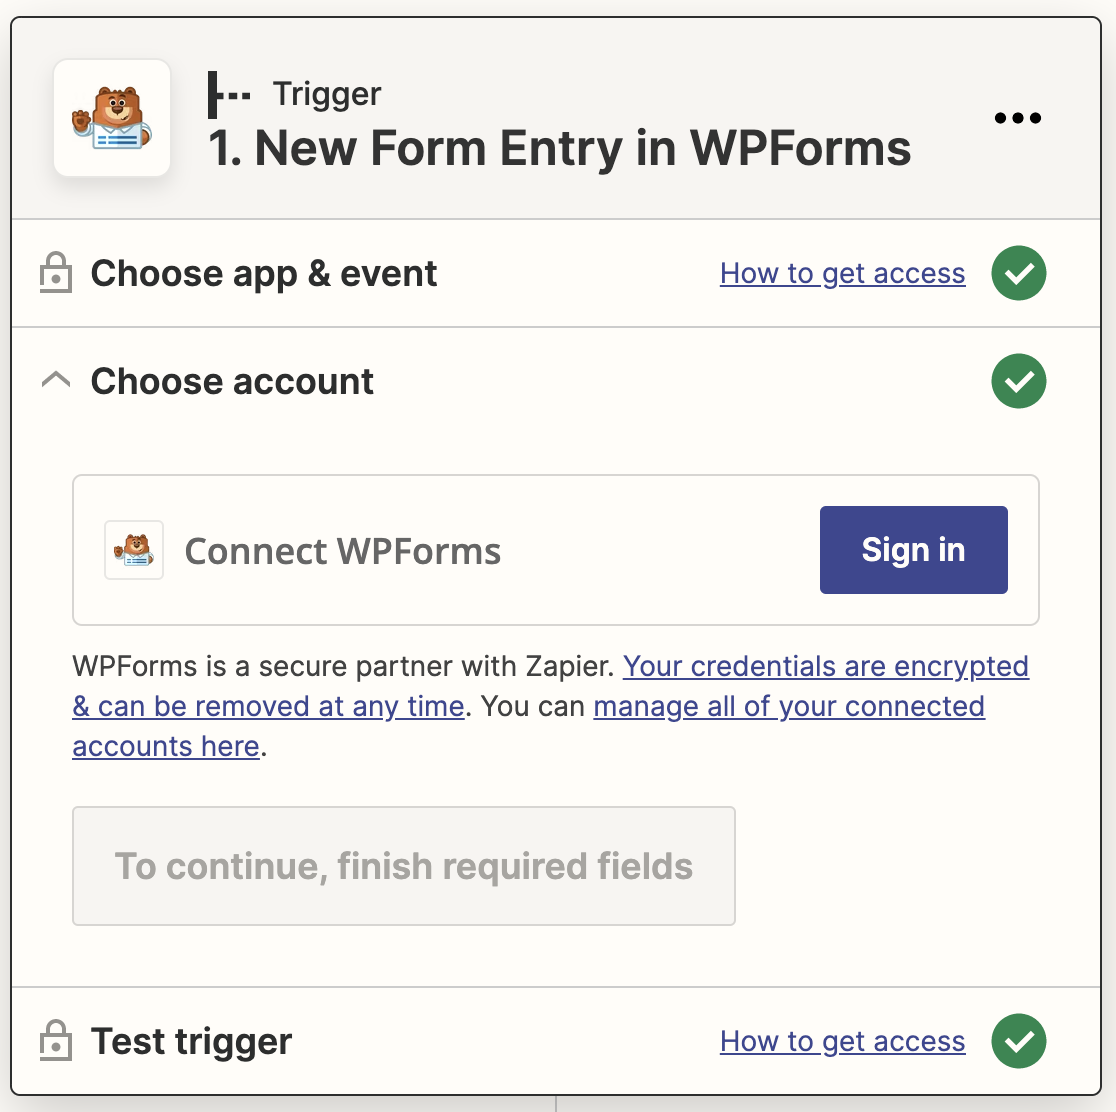
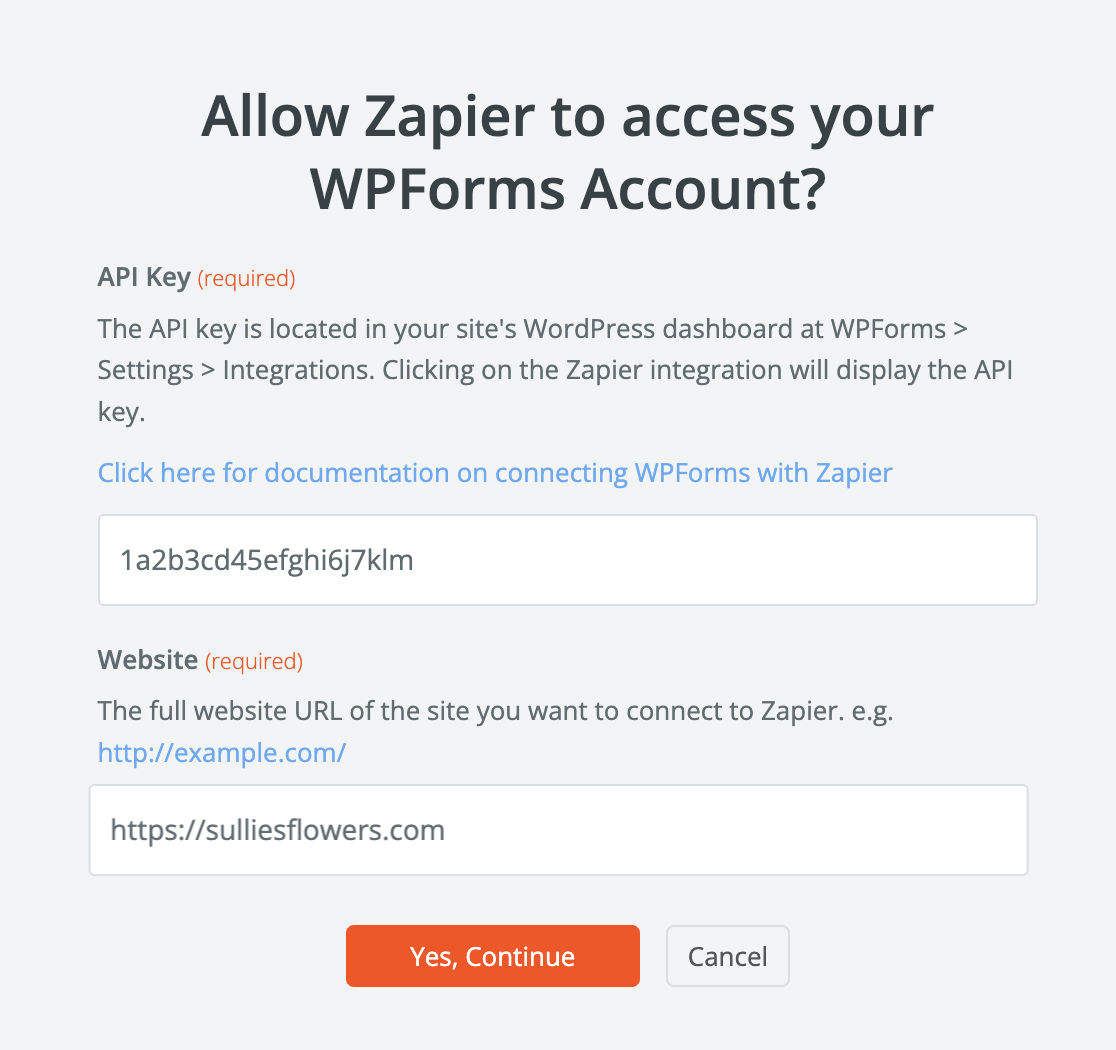
This will open a popup window where you’ll need to enter your Zapier API key and your site’s URL.
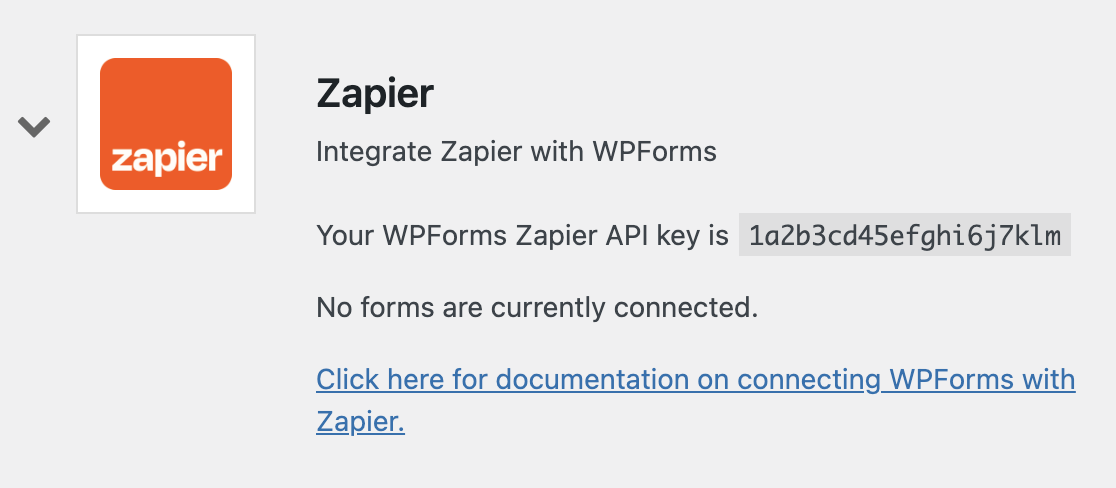
You can find your Zapier API key in your WordPress admin area. Go to WPForms » Settings » Integrations and look for the Zapier section. Expand it to find your API key.
Just copy your API key and paste it into the popup window. Then click Yes, Continue to close the window and move to the next step.
Now you’ll need to choose the form that you created in the Step 2 from the dropdown.
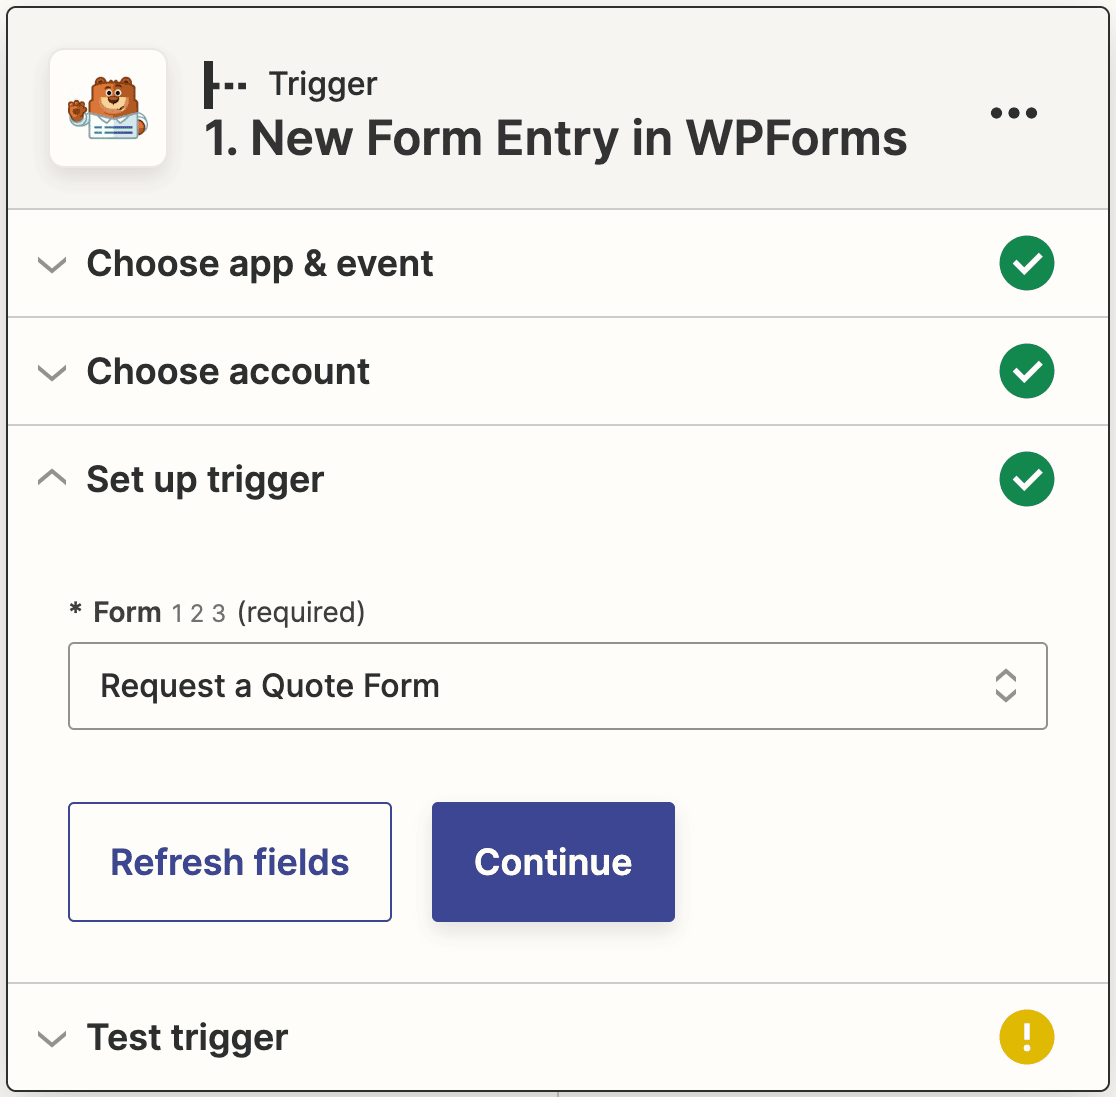
Then click Continue again. You’ll now be prompted to test your trigger. Click the Test trigger button to proceed.

Zapier will look for the test entry you submitted earlier and pull it up.
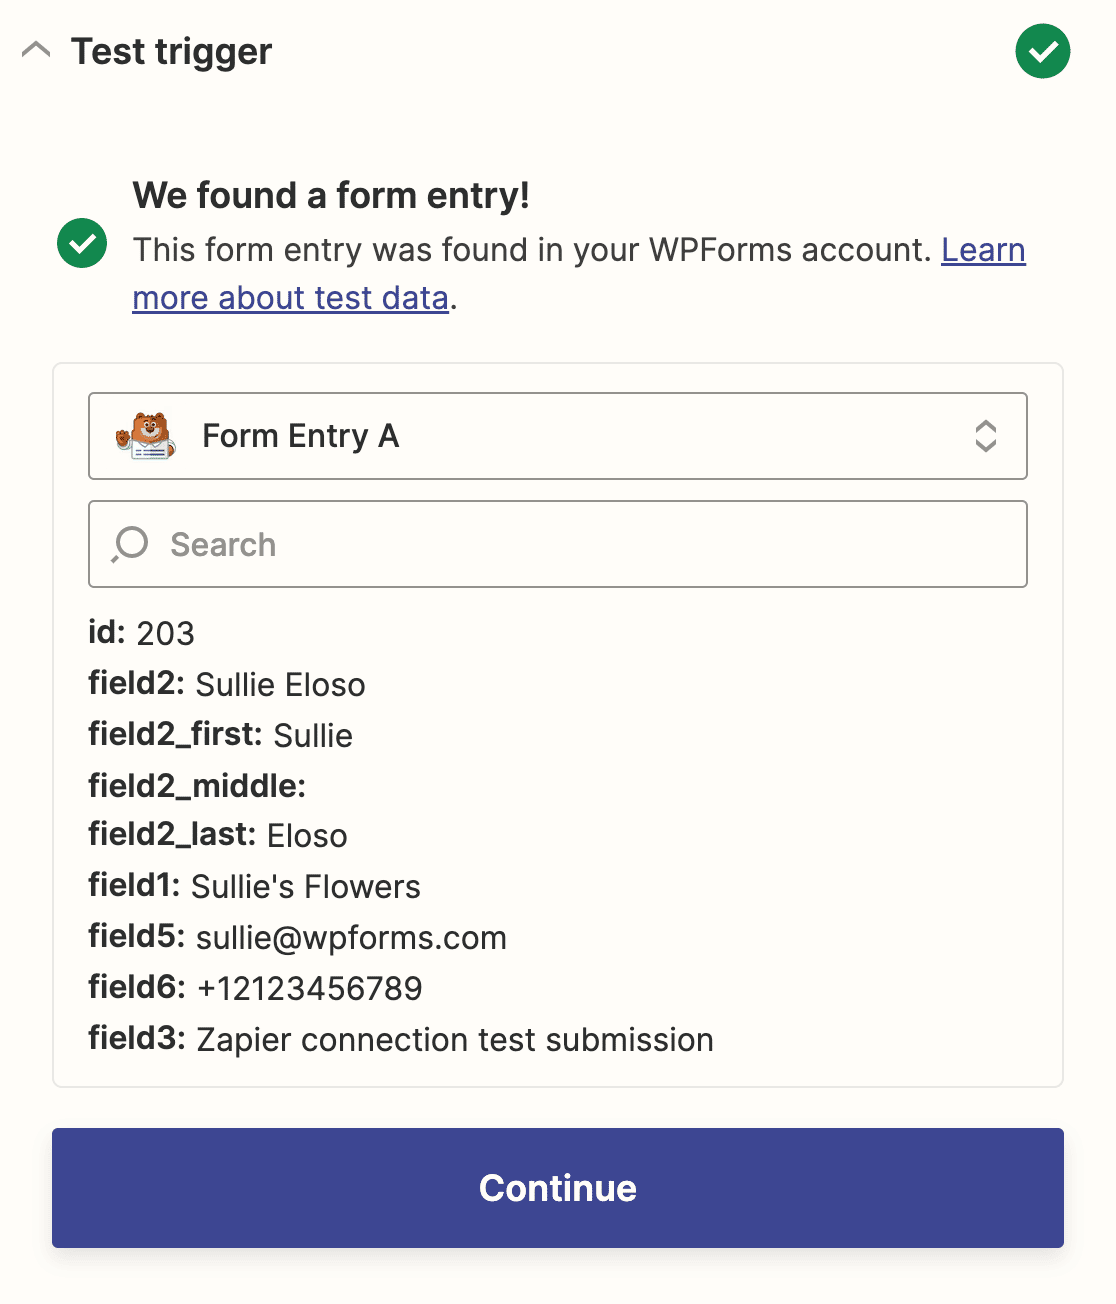
If everything looks correct, go ahead and click Continue to set up the second half of your Zap.
Step 5: Connect Zapier to Trello
At this point, everything is set up on the WPForms side. Now you just need to connect Zapier to Trello and it will automatically create a new card whenever someone submits your selected form.
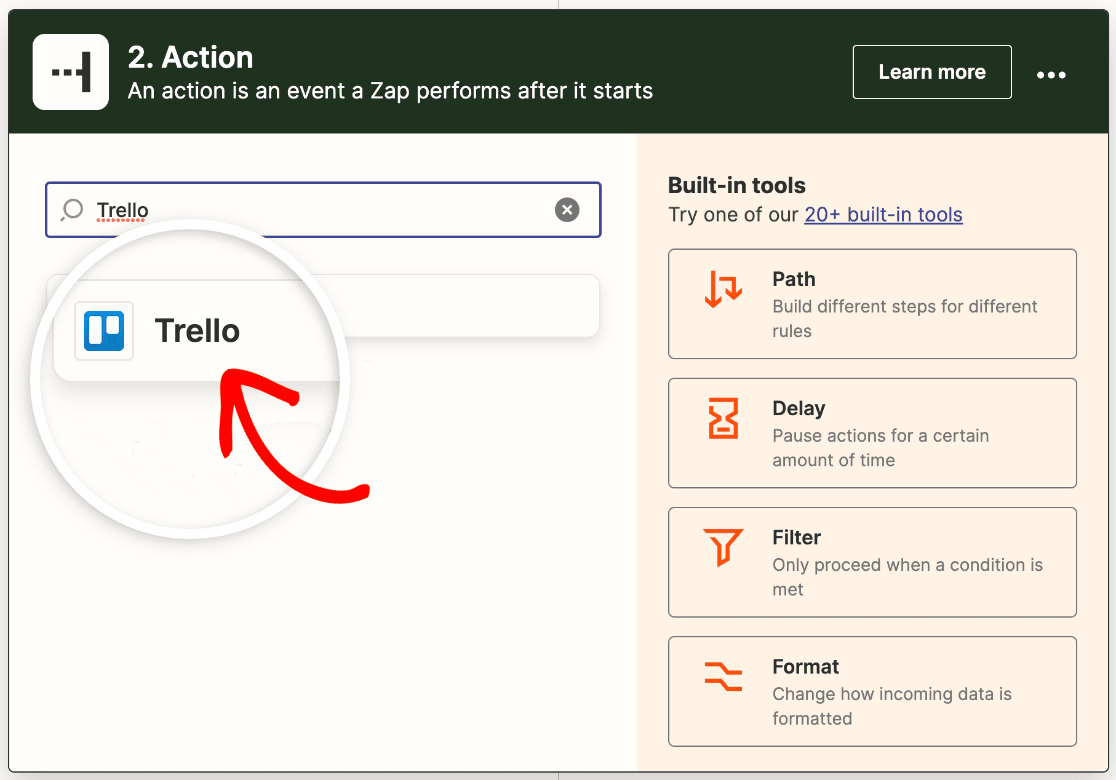
First, select Trello as the action app.
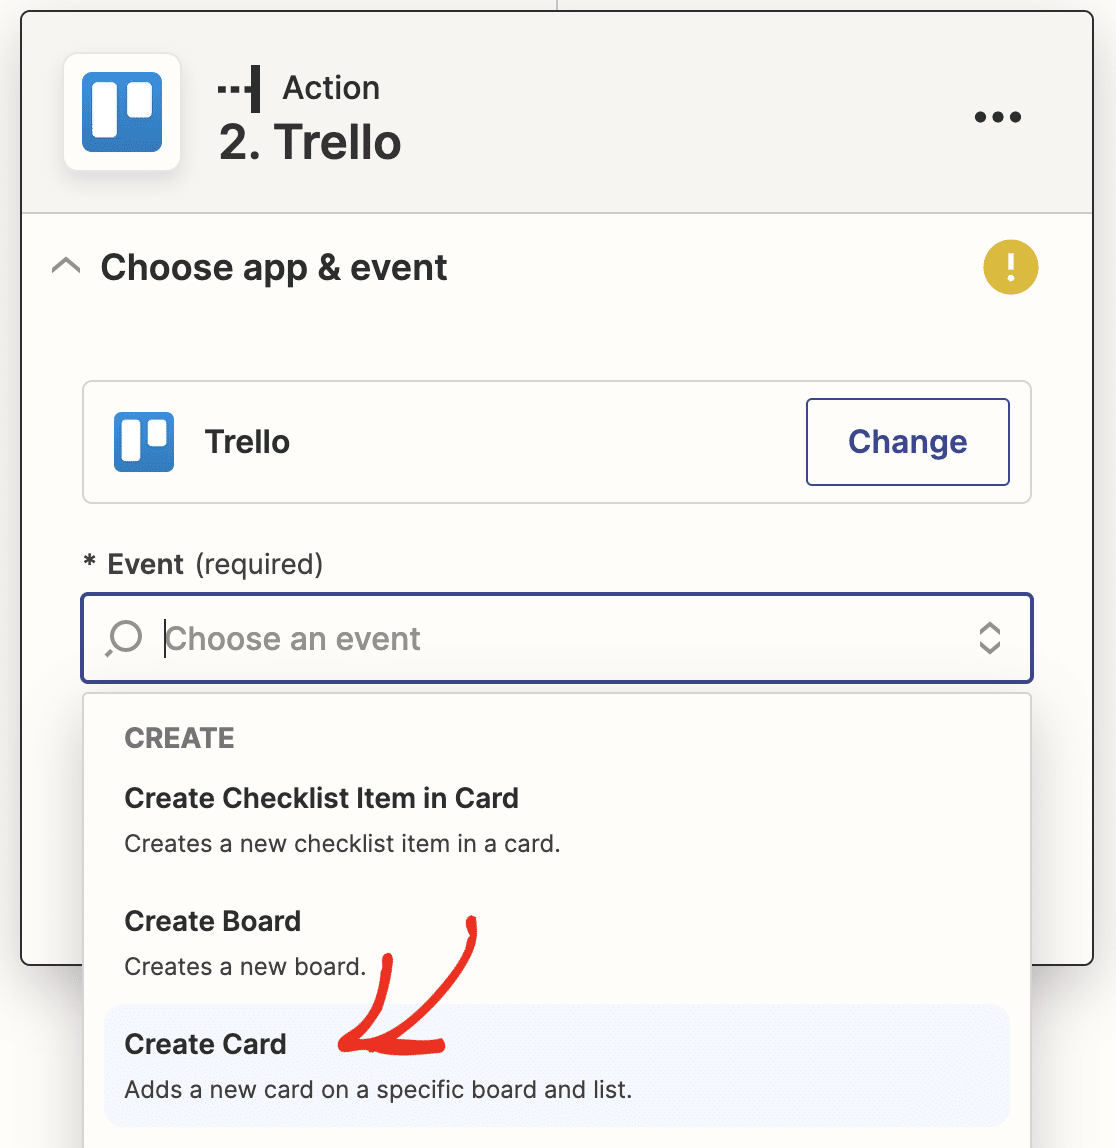
Then choose the action you want to perform when your form is submitted. For this tutorial, that means we’ll select Create Card from the dropdown.
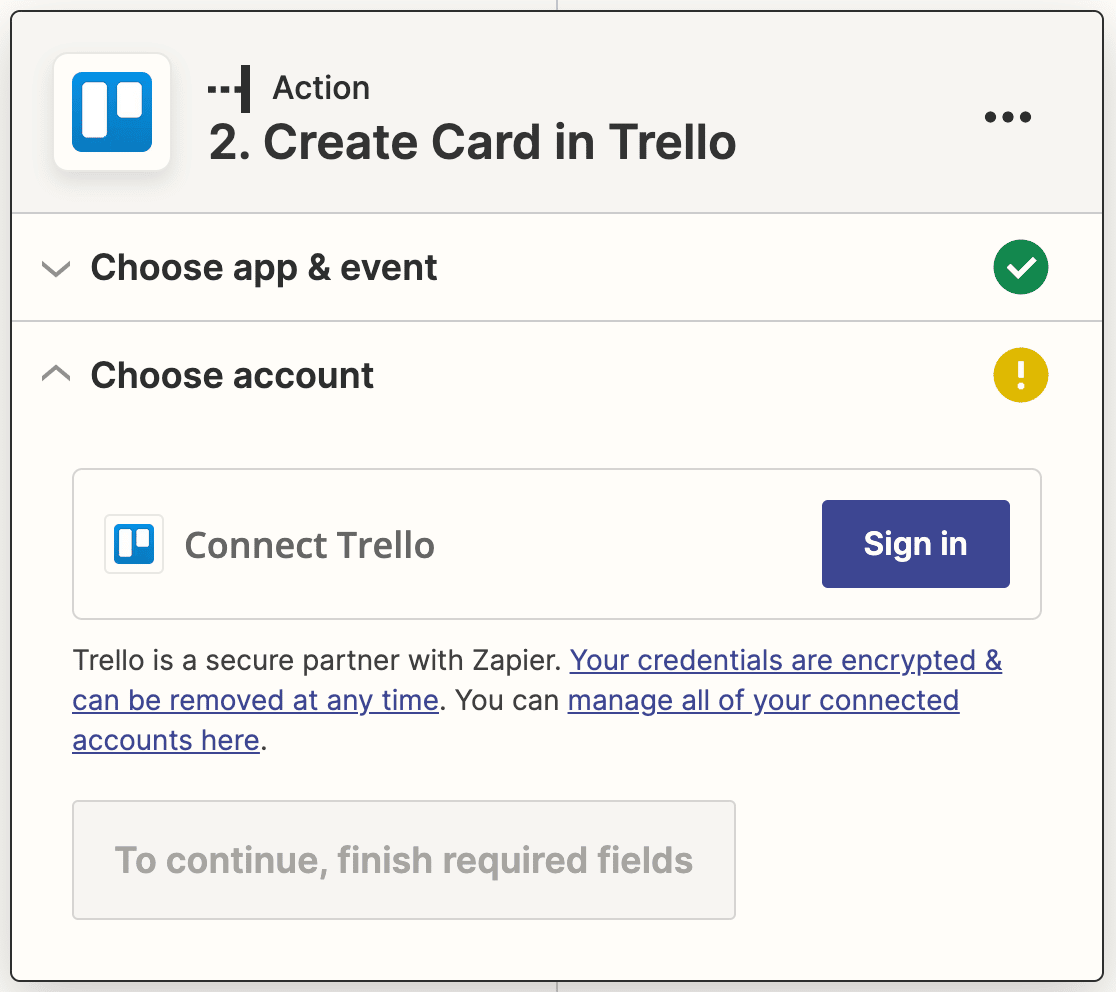
Next, you’ll need to sign in to your Trello account. Click the Sign in button in Zapier.
This will open a popup where you’ll log in to Trello. Enter your credentials and click Continue.

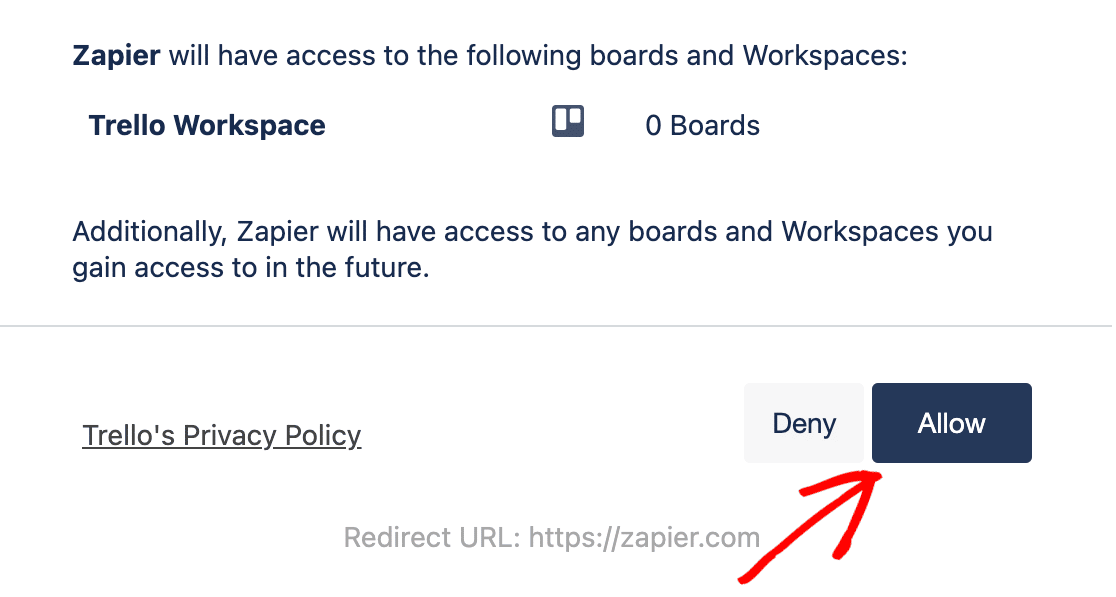
Then you need to give Zapier permission to access your Trello account. At the bottom of the popup, click Allow.
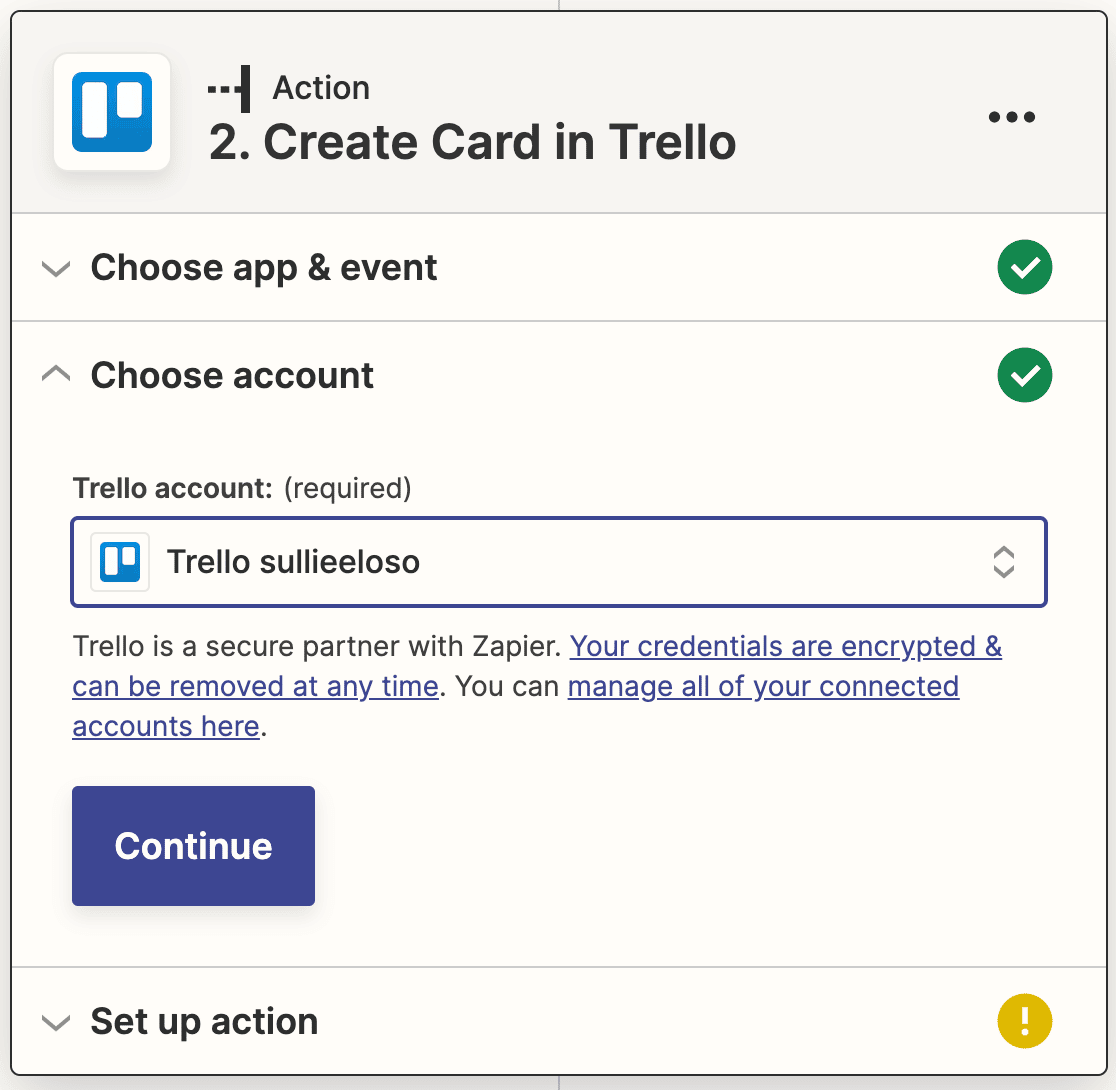
You’ll be taken back to Zapier and see your Trello account added in the setup wizard. Go ahead and click Continue to move on.
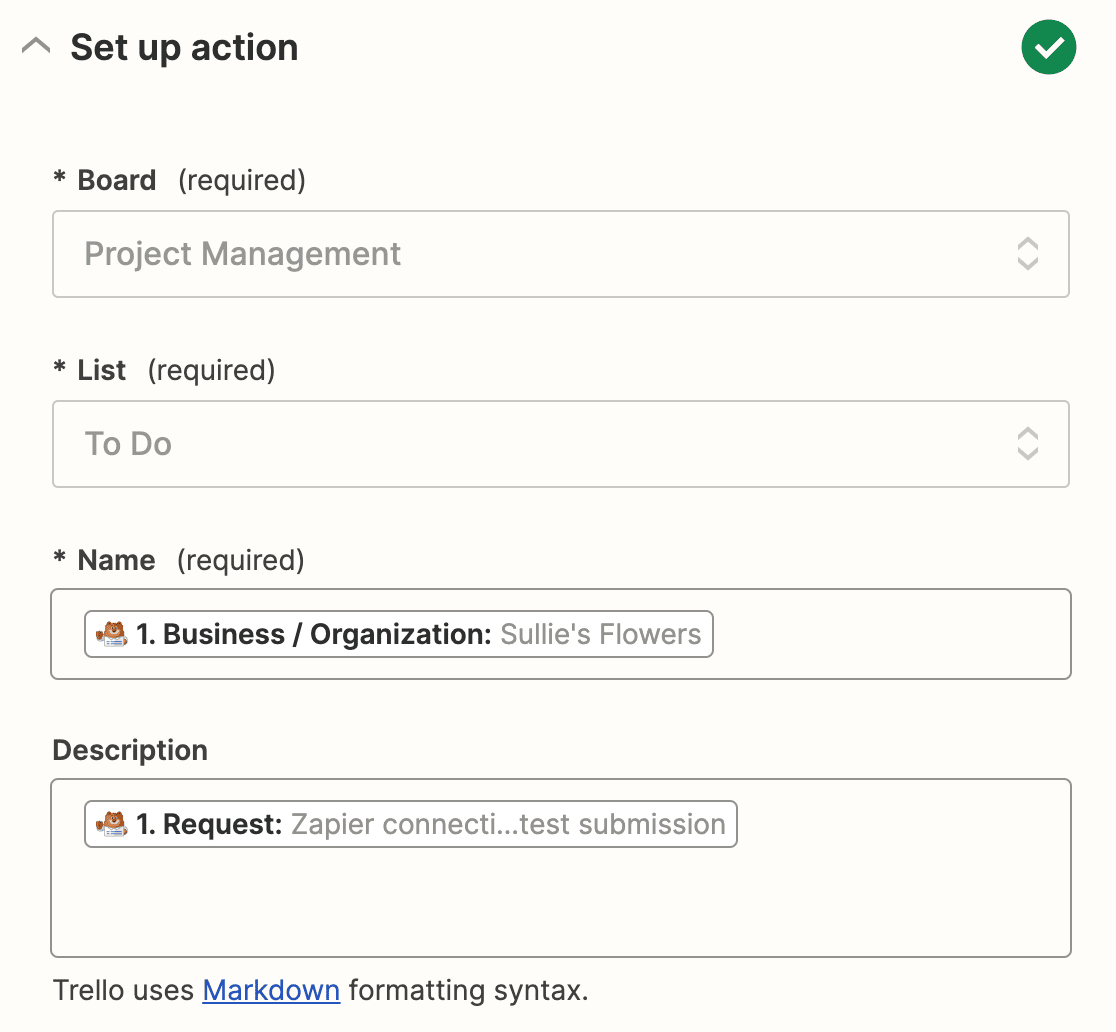
Now you’ll set up the template for the new cards that will be created from your form entries. You have to select a Board, List, and Name. We’ve also added a description by mapping the Request field from our form.
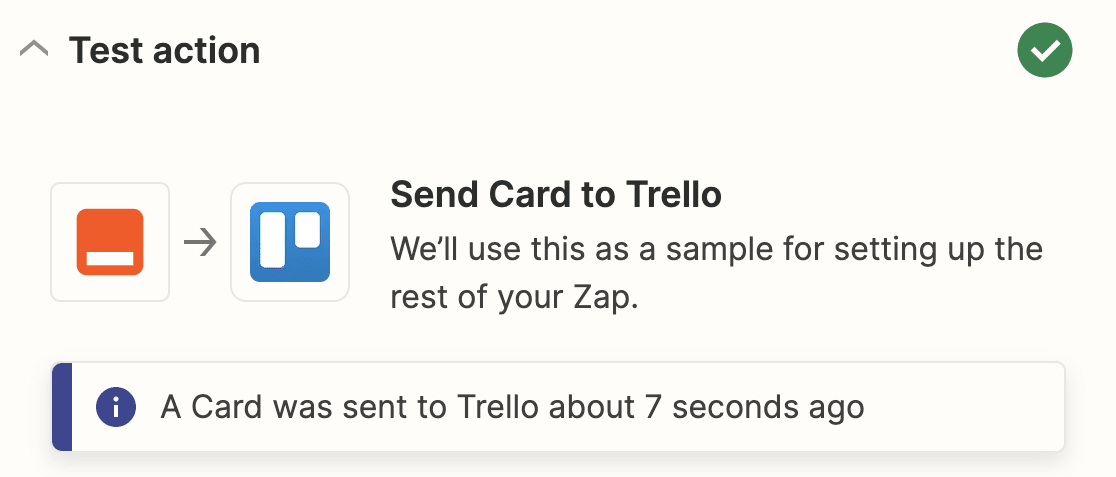
There are some optional fields here, too. Once you’re added all the details you want to include in your Trello cards, click Continue. Next Zapier will test your connection to Trello just like it did for WPForms. Click Test action to start.
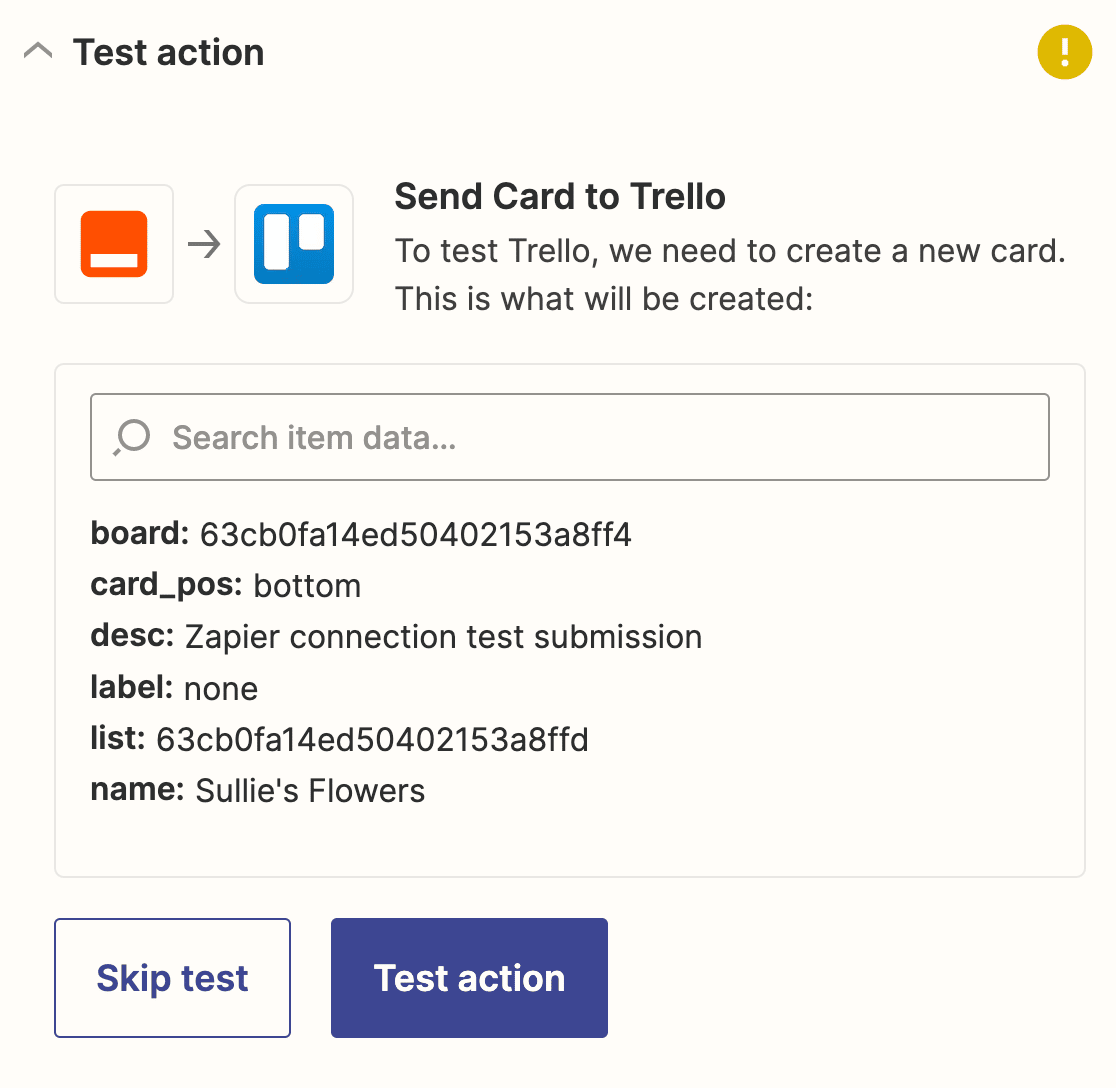
If everything is set up correctly, you’ll see a success message.
Don’t forget to publish your Zap to make the connection live.
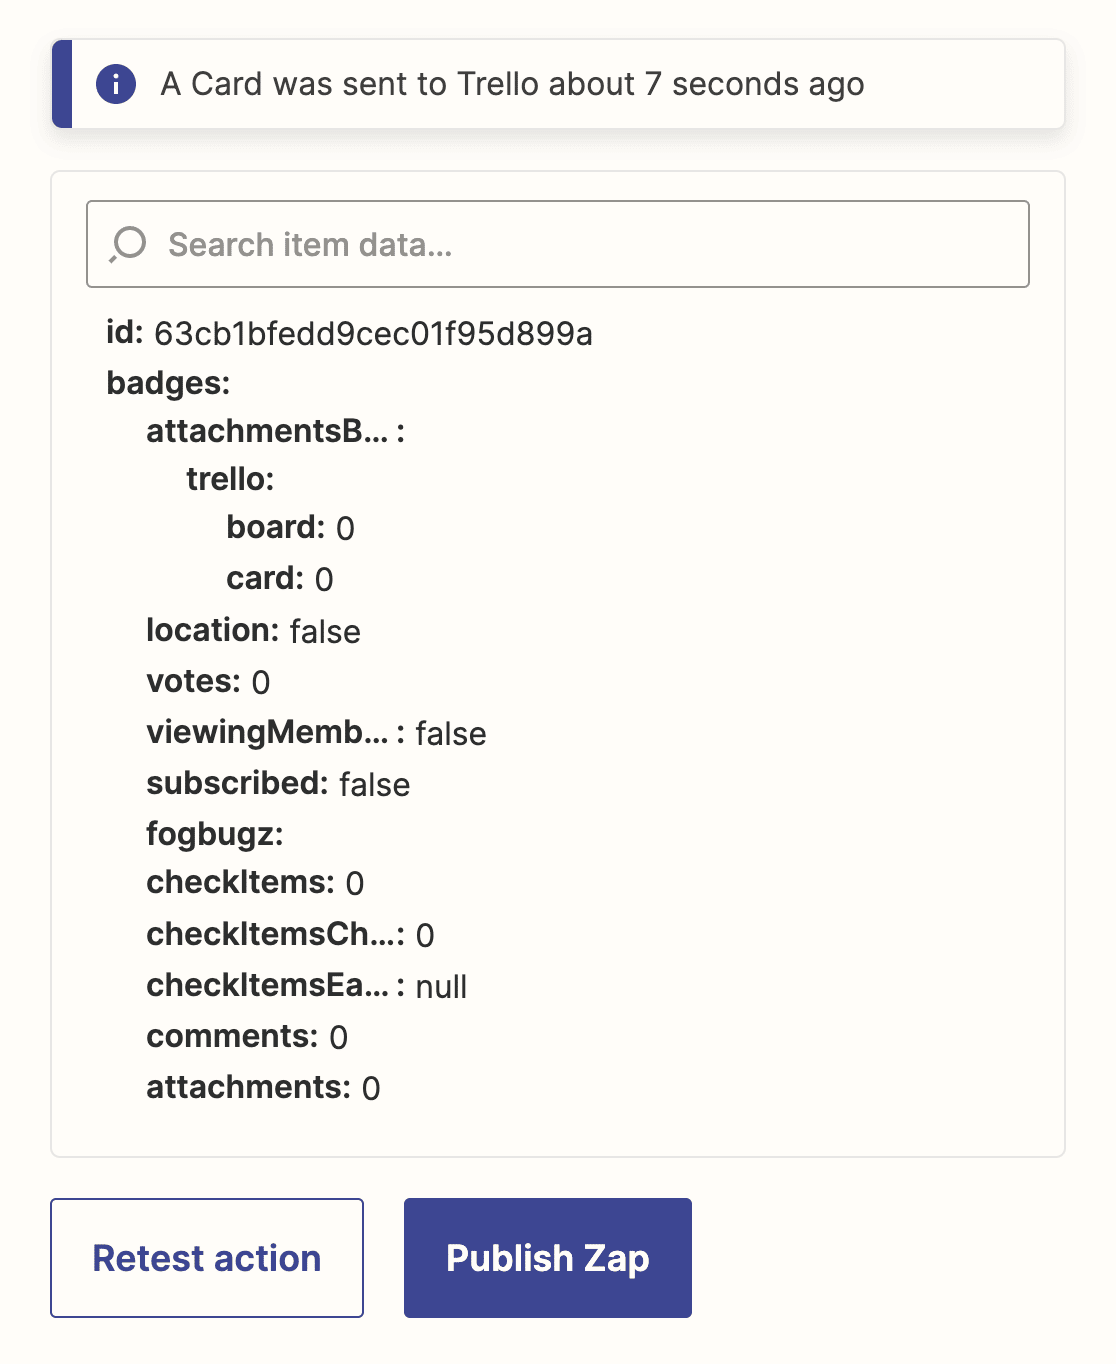
That’s it! You’ve connected WPForms to Trello using the Zapier addon to automatically create a Trello card when someone submits a form on your WordPress site.
Make sure to embed your form in a post, page, or widget so that site visitors can find it easily.
Create Your WordPress Trello Form Now
Next, Send Submission Notifications to Users
We hope this guide helped you to automatically create Trello cards from WordPress forms.
Keeping your team in the loop when you get new form entries is crucial. You can automate the process even more with our tutorial on creating multiple notifications in WordPress forms.
Ready to build your form? Get started today with the easiest WordPress form builder plugin. WPForms Pro includes lots of free templates and offers a 14-day money-back guarantee.
If this article helped you out, please follow us on Facebook and Twitter for more free WordPress tutorials and guides.




I have a question: Why not just use the Mailadress of the Trello-Board as adress for the form? I guess with zapier you can create more sophisticated tasks, but if I just want to send the answer to the form to a trello board that would work, would it?
Thank you,
Angie
Hi Angie!
Great question. In principle, WPForms won’t care which email address you are using, it will simply try to send the form data to the chosen email address. SO if it is a Trello board email address it should deliver the data there. However, it is a question of how Trello will recognize that data and if it will create a card with the data received from WPForms.
I will personally try this to see if it works, and you are welcome too!
Please let us know!
Have a good one 🙂