


AI Summary
When someone submits a form on your site, the entry usually lands in an email inbox or your WordPress dashboard. If nobody checks either one for a few hours, a warm lead cools off fast.
In this guide, I’ll show you how to send WordPress form entries to a Slack channel automatically, so your whole team sees every submission the moment it comes in.
Send Your Form Entries to Slack Now! 🙂
How to Send WordPress Form Entries to a Slack Channel
The easiest way to do this is with the WPForms Slack addon, a native WPForms Slack integration that posts to any channel you pick whenever a form gets submitted.
I keep Slack open all day while I work, so this is the first WordPress form Slack notification I set up on any site where a team handles the submissions.
Step 1: Install the WPForms Plus Plugin
WPForms is the form builder I recommend for this job because the Slack integration is built in rather than routed through a middleware service.
What I like most about WPForms for team alerts is that the notifications meet people where they already talk. Notification emails tend to sit unread in my inbox for hours, so a ping in the team’s Slack channel gets acted on much faster.
You’ll need a Plus license or higher for this tutorial, because that’s the tier where the Slack addon unlocks. Plus runs $99.50 per year, and it also includes 10 email marketing integrations like Mailchimp and Kit, along with Notion and Twilio.
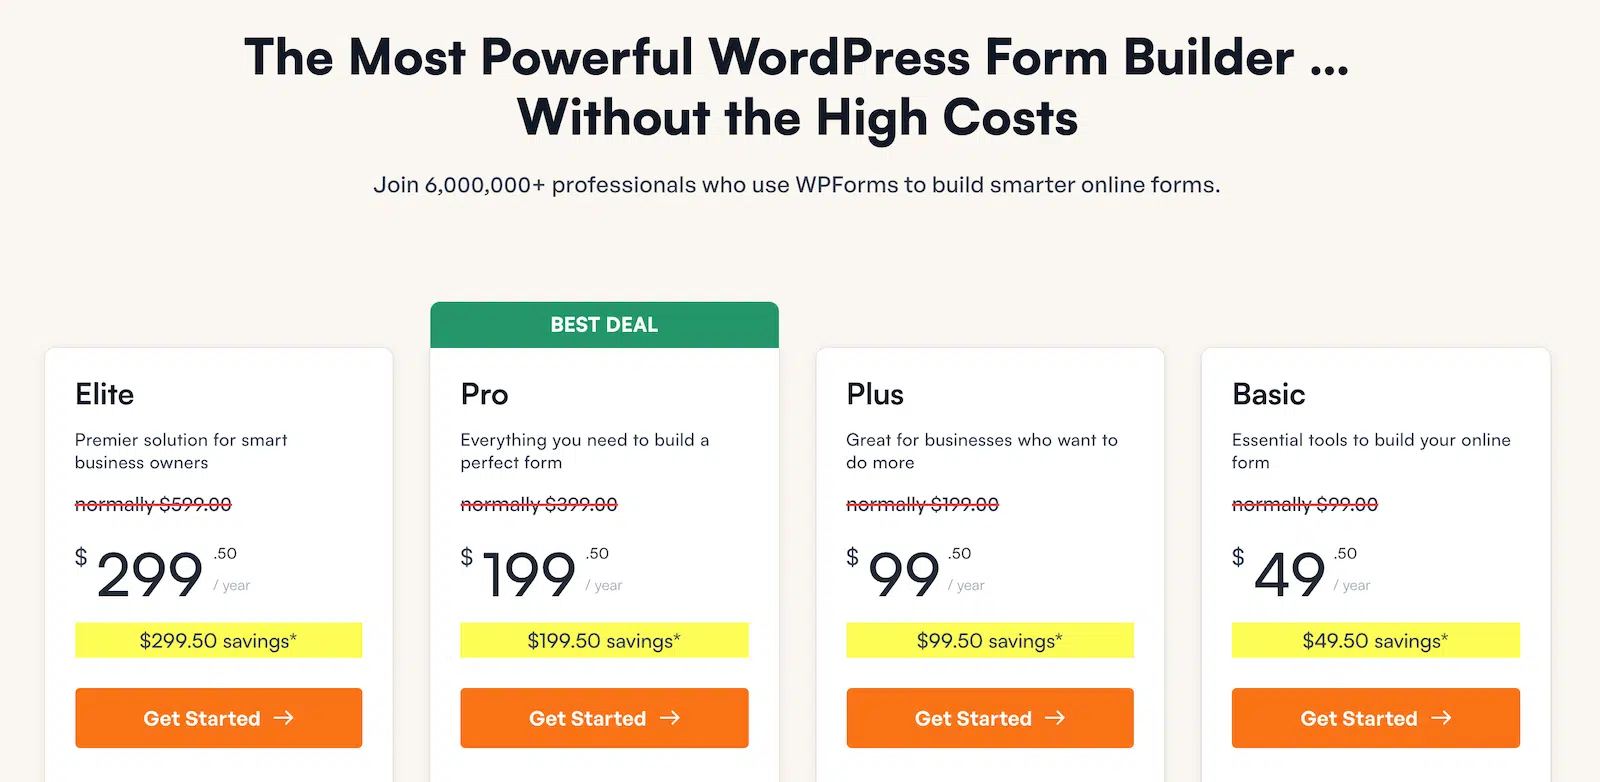
To get started, buy the Plus license. Then, install WPForms on your website. If you need help, follow these instructions on how to add a plugin to WordPress.
Upgrade to WPForms Plus Now! 🙂
Step 2: Install and Activate the Slack Addon
With the core plugin active and your license verified, the next piece is the WPForms Slack addon itself.
This one handles all three Slack actions you’ll meet later in the tutorial, and there’s nothing else to install after it.
From your WordPress dashboard, head to WPForms » Addons. Type slack into the search box to filter the addon list.
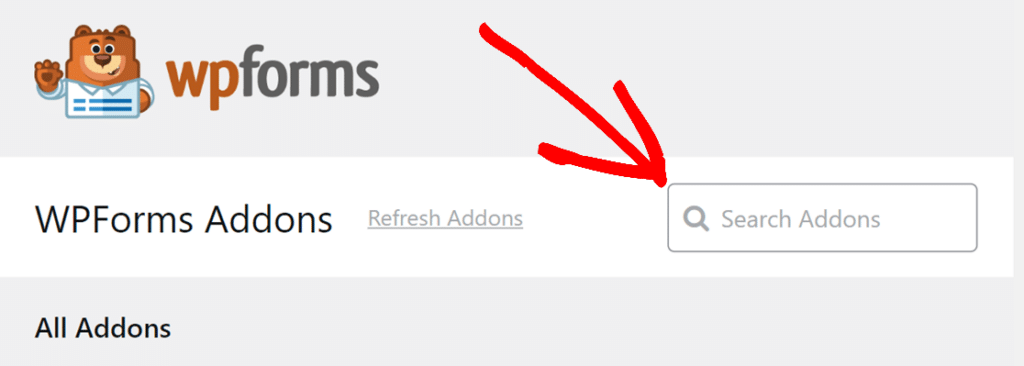
Go ahead and click Install Addon on the Slack card. WPForms downloads and activates the addon for you in a few seconds, and you’ll see the button label change while it works.

Once the installation finishes, the status toggle on the card flips to the on position, and activating the addon updates two places in your dashboard at once.
Slack now appears as a provider under your WPForms integration settings, and every form on your site gains a Slack option inside the builder’s Marketing panel.
If the addon doesn’t appear in your list at all, verify your license key under WPForms » Settings and reload the page. For anything else that gets in the way, our doc on how to install and activate WPForms addons covers the common fixes.
Step 3: Connect WPForms to Your Slack Workspace
Now you’ll link WPForms to your actual Slack workspace. This is a one-time connection, and every form on your site can reuse it afterward. Go to WPForms » Settings and open the Integrations tab.

Click on Slack to expand its section, then click the Add New Account button. This opens Slack’s sign-in page. Log in to the workspace where you want your form alerts to land.

After you sign in, Slack shows a permission screen explaining what WPForms will be able to do. Pick a channel from the dropdown and click Allow.

The channel you choose on this screen simply completes the authorization. You’ll pick the exact destination for each form later, inside the form builder.
Slack then sends you back to your WPForms Integrations page, where your workspace now shows a green Connected status.

Most form plugins ask you to create a Slack app yourself and copy a webhook URL across by hand. WPForms handles the whole handshake through the sign-in you just completed, so you never touch an API key or a webhook.
Step 4: Create the Form You Want Slack Alerts For
Next you need the form that will actually trigger your Slack alerts. If you already have one built, jump ahead to Step 5, but I’ll create a quick contact form here so you can follow along from scratch.
Head to WPForms » Add New, give your form a name, and type contact into the template search. Hover over the Simple Contact Form template and click Use Template.

The builder opens with Name, Email, and a message field already in place. Drag a Dropdown field from the panel on the left onto your form, and label it What do you need help with?

Click the new field to open its options, then set the choices to Sales, Support, and General Question.
This dropdown shows your team the topic right inside the Slack message, and it also gives the conditional logic in Step 7 something to work with.

Click Save in the top right corner of the builder. If this is your first time in here, our guide on creating your first form covers every part of the builder in more depth.
Step 5: Send Form Entries to Your Slack Channel
This is the step where you tell WPForms to send form notifications to Slack every time someone hits submit. Everything happens inside the form builder, so keep it open.
Go to Marketing » Slack in the builder’s left panel and click Add New Connection.

A popup asks for a connection nickname. The nickname is only for your own reference, so something simple like Lead Alerts works fine. Click OK to continue.

Choose your workspace under Select Account, then set Action To Perform to Send a Channel Message.

Two more settings appear below. Pick the channel that should receive your entries under Select Channel, then write your alert in the Message field.
Click Show Smart Tags to insert live entry data, and see our guide on using Smart Tags in WPForms if you haven’t worked with them before.
Step 6: Publish and Test Your Form
Your connection is live, so now the form needs a home on your site. Adding it to a page takes about a minute with the WPForms block, and then you can watch a real entry travel all the way into Slack.
Create a new page in WordPress or open an existing one, whatever seems fit. Then click into the page body and type /wpforms to search the block inserter.

Select the WPForms block, then choose your contact form from the block’s dropdown. The editor loads a live preview so you can see exactly what visitors will get.

Now, you can either publish this page directly to launch your form or try making some styling changes to give it extra oomph.
To make quick work of styling your form, you can select a ready-made theme under the Form Theme section. In this example, I’m using the Elegance theme (which is one of my favorites).

Now, fill in the form with a test entry and submit it. Then switch over to Slack. Your test entry appears in the channel within seconds, with every field you tagged laid out in the message.

I like to repeat the test once for each dropdown choice after setting up the routing in the next step, since that proves every rule fires the way you expect.
If the message never shows up at all, run through the checklist in the FAQ section below before you change any settings.
FAQs About the WPForms Slack Integration
The WPForms Slack integration raises a handful of recurring questions, especially from people weighing it against Zapier or webhook setups for Slack notifications from WordPress forms. I’ve gathered the answers I give most often below, so you can skip the support threads.
Does WPForms have a Slack integration?
WPForms has a native Slack addon that works on any Plus, Pro, or Elite license. It can post channel messages, send direct messages, and set reminders whenever someone submits your form, and the Slack addon documentation covers every setting in detail.
Can I send WordPress form entries to Slack without Zapier?
The native Slack addon exists for exactly this reason, and it comes with the Plus tier at $99.50 per year with no middleware to pay for. The Zapier addon needs a Pro license plus a separate Zapier account, which makes it the pricier route and mainly useful when you want apps WPForms doesn’t reach directly.
Can I send form entries to a private Slack channel?
The current version of the addon posts to both public and private channels, and you pick a private channel under Select Channel like any other. If you connected your workspace on an older addon version, click the Reauthorize notice in the form builder first, since private channel access needs the updated permissions.
Can I send a direct message or a reminder instead of a channel message?
The addon covers both of these with its other two actions. Change Action To Perform to Send a Direct Message to notify specific teammates, or to Set a Reminder to schedule a follow-up in Slack. Reminders use natural language and only accept English phrases, so write something like in 2 hours or on Friday at 9 AM.
What entry data can I include in the Slack message?
Smart Tags let you pull any field from your form into the message. Click Show Smart Tags next to the Message field and pick the fields you want, from the visitor’s name to their exact message. Slack’s own text styling works in these messages too, and Slack’s formatting guide lists the syntax for bold, italics, and code snippets.
Why isn’t my form sending messages to Slack?
Work through these checks in order, and save the form after each change.
- Connection status: go to WPForms » Settings » Integrations and confirm your Slack account still shows Connected.
- Saved settings: reopen Marketing » Slack in the builder and confirm the connection kept its account, channel, and message.
- Conditional logic: a strict rule quietly filters entries out, so switch it off temporarily and test again.
- Reauthorization: if a Reauthorize notice appears in the builder, click it and grant the updated permissions.
Does WPForms Lite work with Slack?
WPForms Lite can’t post to Slack on its own, because the Slack addon starts at the Plus tier. Lite does include one free email notification per form, and you can set up form notification emails in a few minutes while you decide whether the upgrade fits your workflow.
Next, Send Your Form Entries to More of Your Team’s Apps
Slack is one of several places WPForms can push your entries the moment they arrive. If your team coordinates from their phones, learn how to send WordPress form entries to WhatsApp.
And if submissions usually turn into appointments, you can send WPForms entries to Google Calendar and let bookings drop onto your schedule automatically.
Get Instant Slack Alerts for Your Forms! 🙂
Ready to build your form? Get started today with the easiest WordPress form builder plugin. WPForms Pro includes lots of free templates and offers a 14-day money-back guarantee.
If this article helped you out, please follow us on Facebook and X (Twitter) for more free WordPress tutorials and guides.





