
AI Summary
Do you want to test your Stripe payments in WordPress before taking real transactions?
It’s critical to have a smooth payment process that allows customers to make transactions on your site without any issues.
By testing your payment integration, you can verify your checkout process and fix any issues before launching your form to collect real payments from customers.
In this post, we’ll show you how to enable Stripe test mode in WordPress so you can simulate credit card processing in a safe environment,
Test Stripe Payments in WordPress Now
What’s the Purpose of the Stripe Test Mode?
The Stripe test mode gives you a testing environment where you can simulate transactions without incurring real charges. You can use test credit cards to make these simulated transactions with Stripe, allowing you to safely try your checkout process and fine-tune it to ensure the best customer experience.
How to Enable Stripe Test Mode in WordPress
When you’re ready to test your Stripe payment integration in WordPress, just follow the steps below:
In This Article
1. Install WPForms
WPForms is the best-rated form builder for WordPress that lets you create all kinds of payment and order forms.
It comes with a native Stripe integration that lets you perform test transactions. And when you’re ready to accept live payments, you can do so with a click of a button.
Stripe payments are available in all WPForms license levels (including WPForms Lite).
While you can test your Stripe payments and accept real transactions in the free version of WPForms, we recommend WPForms Pro to unlock tons of advanced features and remove the additional 3% transaction fees.

After choosing a plan that works for you, go ahead and install WPForms on your WordPress site.
Great! It’s time to set up the Stripe connection with WPForms and enable test payment mode.
2. Enable Stripe Test Mode
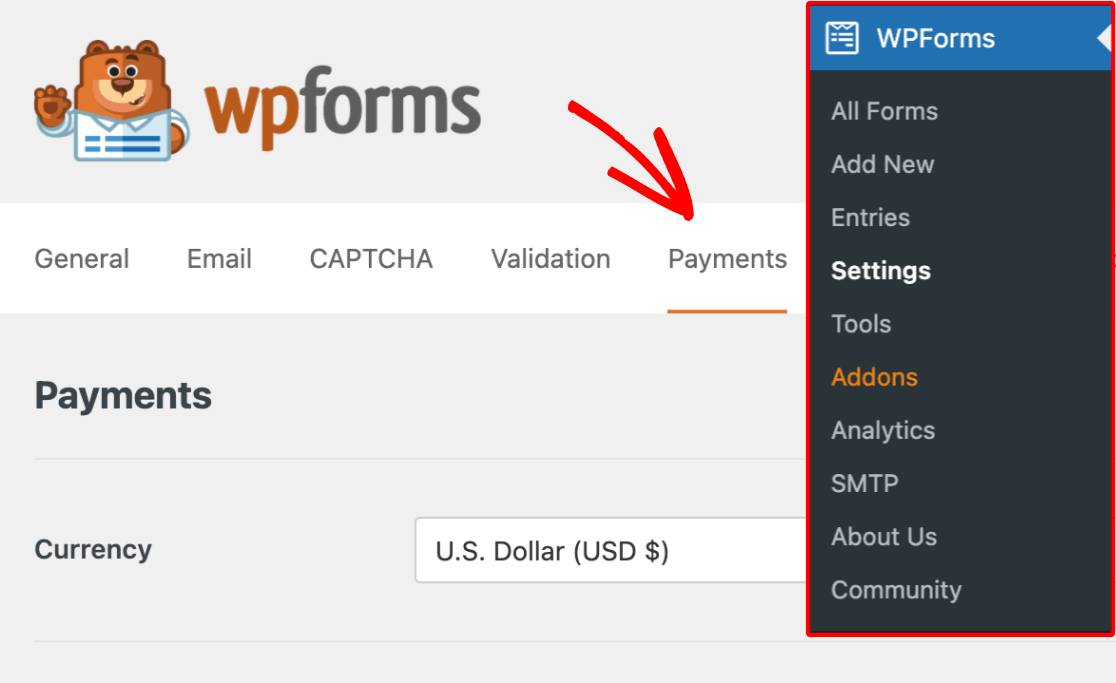
Open your WordPress admin menu and click WPForms » Settings. Then, navigate to the Payments tab.
On this screen, you can connect to Stripe and enable the test mode to stop Stripe from processing real payments.
Scroll down and select the checkbox next to Test Mode.

After selecting the Test Mode checkbox, you’ll see a modal popup to alert you that you’ll have to reconnect to Stripe when you decide to switch to live payment processing. Click on OK to proceed.

Now, press the Save Settings button to stay in the Test Mode.

All that remains now is to connect your Stripe account with WPForms. To do this, press the blue Connect with Stripe button.

You’ll now be taken to the Stripe login form. Simply enter your Stripe email and password and follow on-screen instructions to establish connection.

Note: You can skip the Stripe login form entirely for making test payments by clicking on the Skip this form button at the top. But it’s necessary to fill out this form and establish connection with Stripe for live payments.
When you’re done, return to the WPForms Payments screen. You’ll notice that the Connection Status now confirms that you’re connected in Test Mode.

The Stripe webhook will now configure automatically when you connect your site to Stripe. It will try the autoconfiguration several times in the background.
Excellent! In the next step, we’ll create a payment form for performing tests with Stripe.
3. Create a Form to Test Stripe Payments
WPForms makes it incredibly easy to create payment forms. To save time, it gives you over 2,100+ ready-made form templates.
You can create a new form and use a template by going to WPForms » Add New from your WordPress dashboard.

You’ll now be taken to the form setup screen. Enter a name for your form. This can be anything and is only used for your reference internally.

After naming your name, scroll down and select an appropriate template. We’ll use the Stripe payment form template for this example.

After selecting the template, WPForms will take only a few seconds to load it.
Once the templated is loaded, you can make customizations to suit your specific needs.

For instance, you can include the actual items that you want to be selling by changing the options under the Multiple Items field in this template.

Remember that you’ll be putting the same form in front of your customers when you’re ready to publish it after testing. So try not to use an incomplete form just because you’re focused on testing it at this stage.
After customizing your form, press the Save button at the top.
4. Configure Stripe Payments
The Stripe Credit Card field in your form will only process payments (real or test) after you’ve enabled payments from the form builder settings.
Click on Payments » Stripe on the left of your form builder. Then, click on the Enable Stripe Payments toggle button.
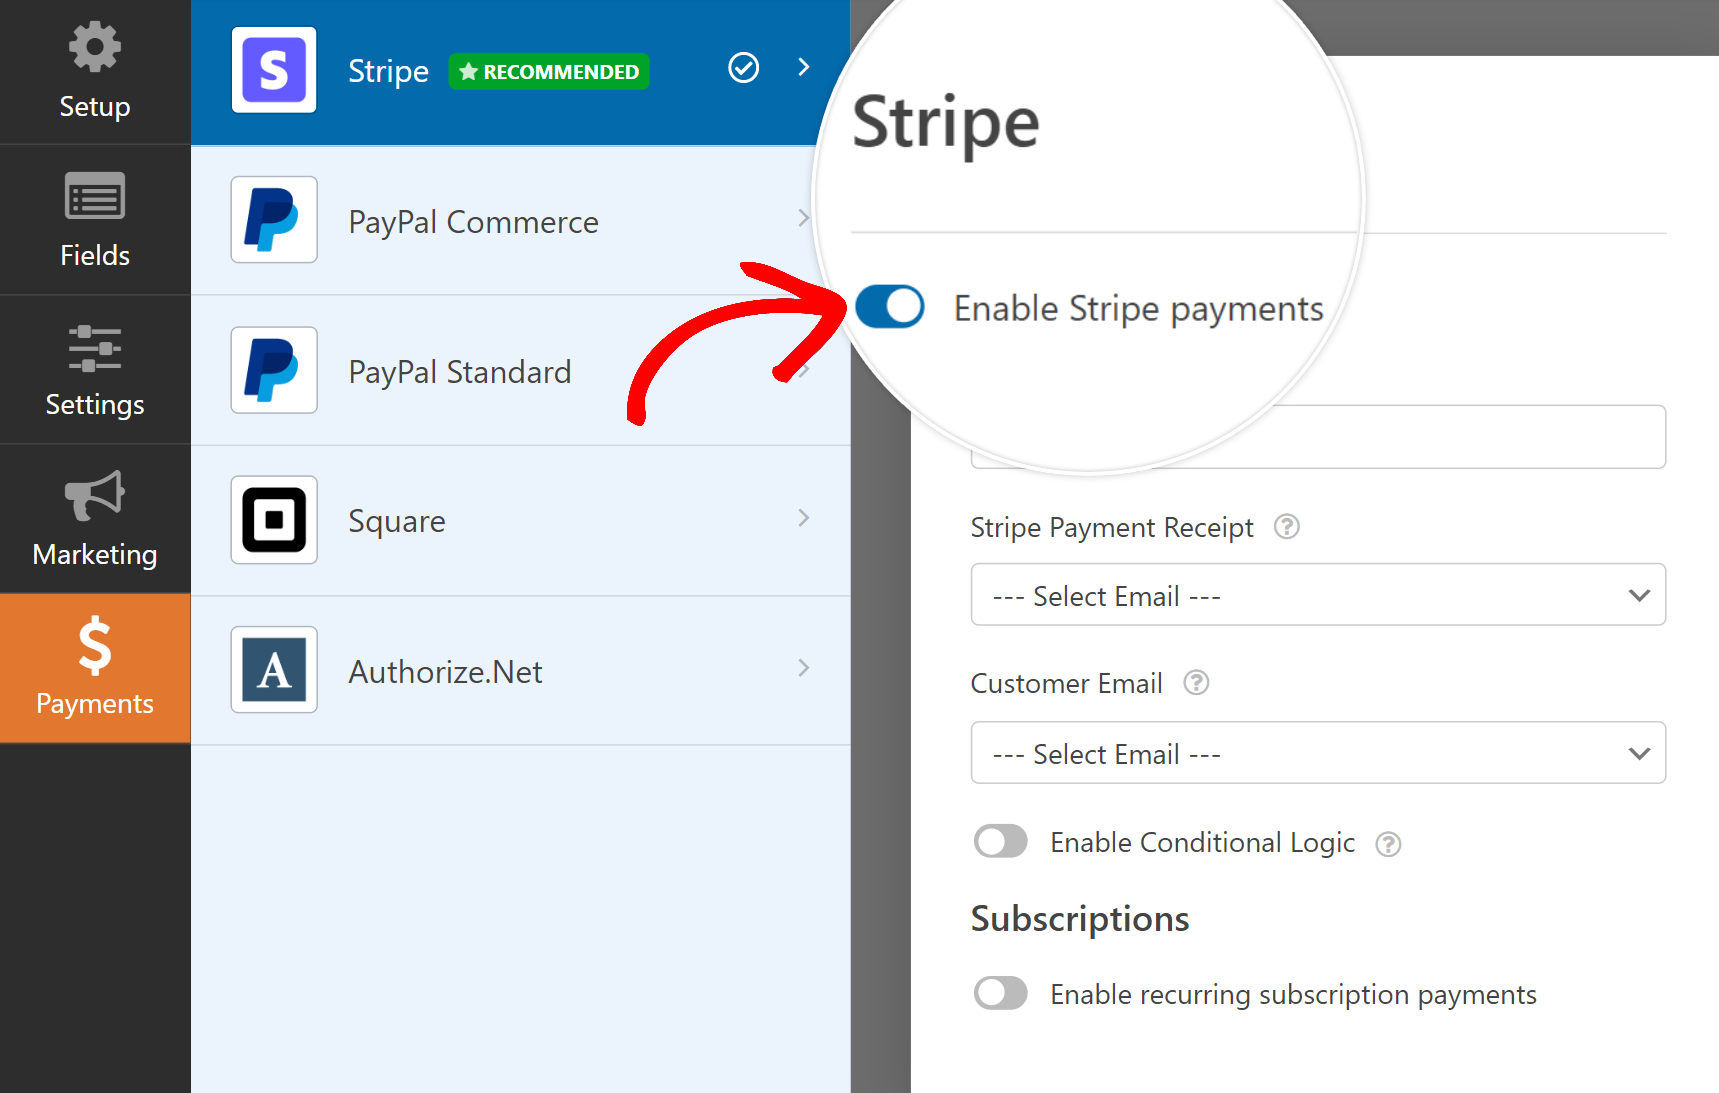
When you’ve done that, you’ll see additional options appear for payment processing with Stripe. These settings are optional but it’s a good idea to configure them.
You can also test recurring subscription payments if that’s the payment method you want to test. By default, Stripe will only charge one-time payments.
Perfect! The form is now ready for testing. Make sure to press Save before proceeding.
5. Preview the Form and Perform Tests
You don’t have to publish your form during the testing phase, so you can safely try it out without worrying about your customers discovering it.
Simply press the Preview button at the top next to Save to enter the preview mode of your form.

You can simulate payments by using special test card values provided by Stripe.
List of Stripe Test Credit Card Numbers
These cards can be used with any CVV and any future date as the expiration date. Note that American Express cards require a 4-digit CVV, while all the other requires have a 3-digit CVV.
| Card Type | Number |
|---|---|
| Visa Credit | 4242424242424242 |
| Visa Debit | 4000056655665556 |
| Mastercard Credit | 5555555555554444 |
| Mastercard 2-Series | 2223003122003222 |
| Mastercard Debit | 5200828282828210 |
| Mastercard Prepaid | 5105105105105100 |
| American Express | 378282246310005 |
| Visa Credit (Canada) | 4000001240000000 |
| Visa Credit (Germany) | 4000002760000016 |
| Visa Credit (UK) | 4000008260000000 |
| Visa Debit (UK) | 4000058260000005 |
After filling out your complete form and entering test card values, press the Submit button.
Congratulations! You just created your first test payment entry.
But how can you view your test payment data? We’ll cover the easy way to do that in the next step.
6. View Your Test Payment Data
WPForms gives you a dedicated payments screen that keeps track of all of your test and live payments for your reference.
To access the payments screen, click on WPForms » Payments.

Inthe Payments Summary screen, you can switch between live and test payment data. Click on the Test Data toggle next to the date picker, and WPForms will now only display the test payments you’ve made.
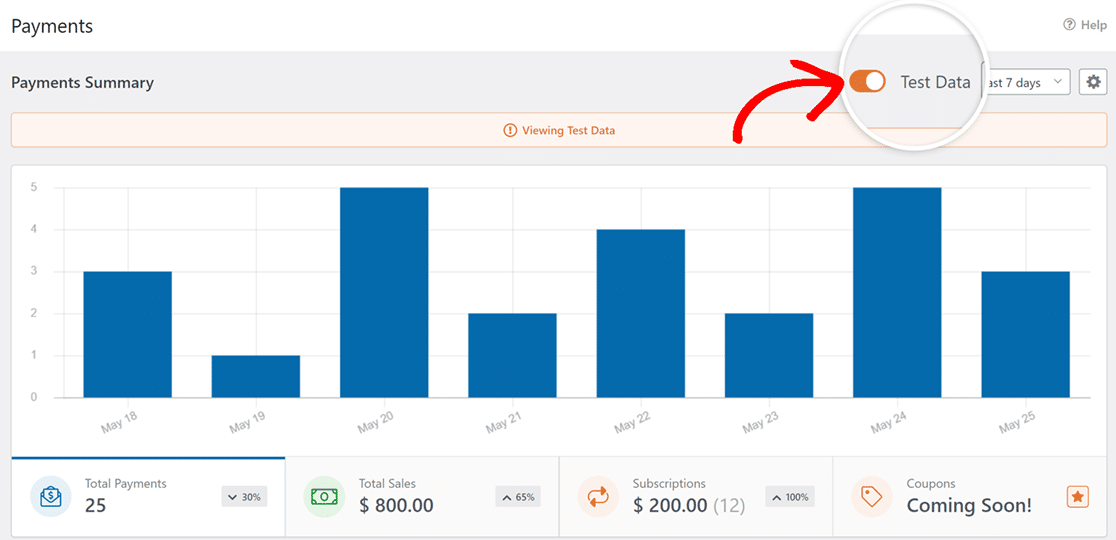
If you want to see additional details about any specific test entry, scroll down to the payments table and click on an entry you’re interested in.

You can now see complete payment details and entry summary for that specific submission.

Feel free to test your form repeatedly by trying different card payment methods and simulating different situations.
When you’re satisfied and ready to publish your form to start accepting live transactions from customers, just follow the next step.
7. Publish Your Form and Collect Real Payments
In order to allow Stripe to process real transactions, we must first switch it to live payment mode.
This can be done by returning to WPForms » Settings from your WordPress admin menu and then selecting the Payments tab.
Now, deselect the Test Mode checkbox.

Switching from Test Mode to Live Transactions requires you to reconnect with Stripe.
As before, click on the blue Connect with Stripe button and submit the Stripe login form to reestablish connection in live mode this time.

Click on Save Settings.
Now, return to your Stripe payment form by navigating to WPForms » All Forms and selecting the form you created earlier.

After you click on the form, you’ll find yourself inside the form builder interface again. To publish this form, click on the Embed button at the top.

WPForms gives you the flexibility to directly embed your form on an existing page or create a new one from scratch specifically for your form.
We’ll select Create New Page here.

Enter a name for your page and click on the orange Let’s Go button.

This will take you to the WordPress block editor. The form will already be embedded inside a block within your page. If you want, you can make further changes to the page content and even customize the styling of your form.
When you’re satisfied with how the page and your form look, go ahead and press the Publish button.

Brilliant! Your form is now published, so you can easily collect credit card payments via Stripe from real customers.

And there you have it! You’re now all set to enable Stripe Test Mode in WordPress.
Next, Start a Monthly Giving Program
Now that you can test and work with Stripe payments within WordPress, you may want to consider starting a monthly giving program to consistently generate donations for your cause.
Also, if you’re struggling to create enticing lead generation campaigns and not getting the results you expect, it may be time to consider using a powerful lead generation tool that can take care of all the legwork for you.
Test Stripe Payments in WordPress Now
Ready to build your form? Get started today with the easiest WordPress form builder plugin. WPForms Pro includes lots of free templates and offers a 14-day money-back guarantee.
If this article helped you out, please follow us on Facebook and Twitter for more free WordPress tutorials and guides.


“Test mode” really needs to be an option at the form level, not site-wide. We have lots of live registration forms on our site that take payments and need to stay functional while testing payments on a new form.
Hi Jon. Thanks for your feedback! We have a feature request for this, although it isn’t available at the moment.
We recommend having a staging site where you can enable Test Mode without interrupting the payment process on your other forms. If you don’t have a staging site feature on your hosting plan, you might consider using the free InstaWP plan for this. InstaWP has a plugin that will copy your site for you.