AI Summary
Do you want to send notifications from a WordPress form to WhatsApp?
Although it might seem like WhatsApp notifications could be complicated, they really aren’t so bad.
If you want to see what I mean, stick around and I’ll tell you what you need and how you can start sending notifications from your WordPress form to WhatsApp. You can do it. I believe in you!
How to Send Notifications From a WordPress Form to WhatsApp
Before we get started, here are the tools you’ll need to follow along with this tutorial:
- WPForms: You will need to download and install the WPForms plugin on your website. Please note that you will need the Plus plan or above to access the Twilio addon, which is what makes WhatsApp notifications easy.
- Twilio Account: You’ll need to go through the process of setting up a Twilio account and obtaining a phone number. This will be necessary to connect Twilio and WPForms.
- Twilio Addon: Make sure you install and activate the Twilio addon in WPForms.
More on those as we go along. For now, here’s a brief overview:
Essentially, you’ll set up and configure some items in Twilio, then connect that to your WPForms account so they can work together to send WhatsApp messages to users directly from a successful form submission.
Let’s look at how it comes together.
Step 1. Create a Message Template in Twilio
To send WhatsApp messages using Twilio, you need to create a message template in Twilio. Later on in this process, you’ll see how these templates will pull information from your WPForms form fields. For now, here’s how you set it up.
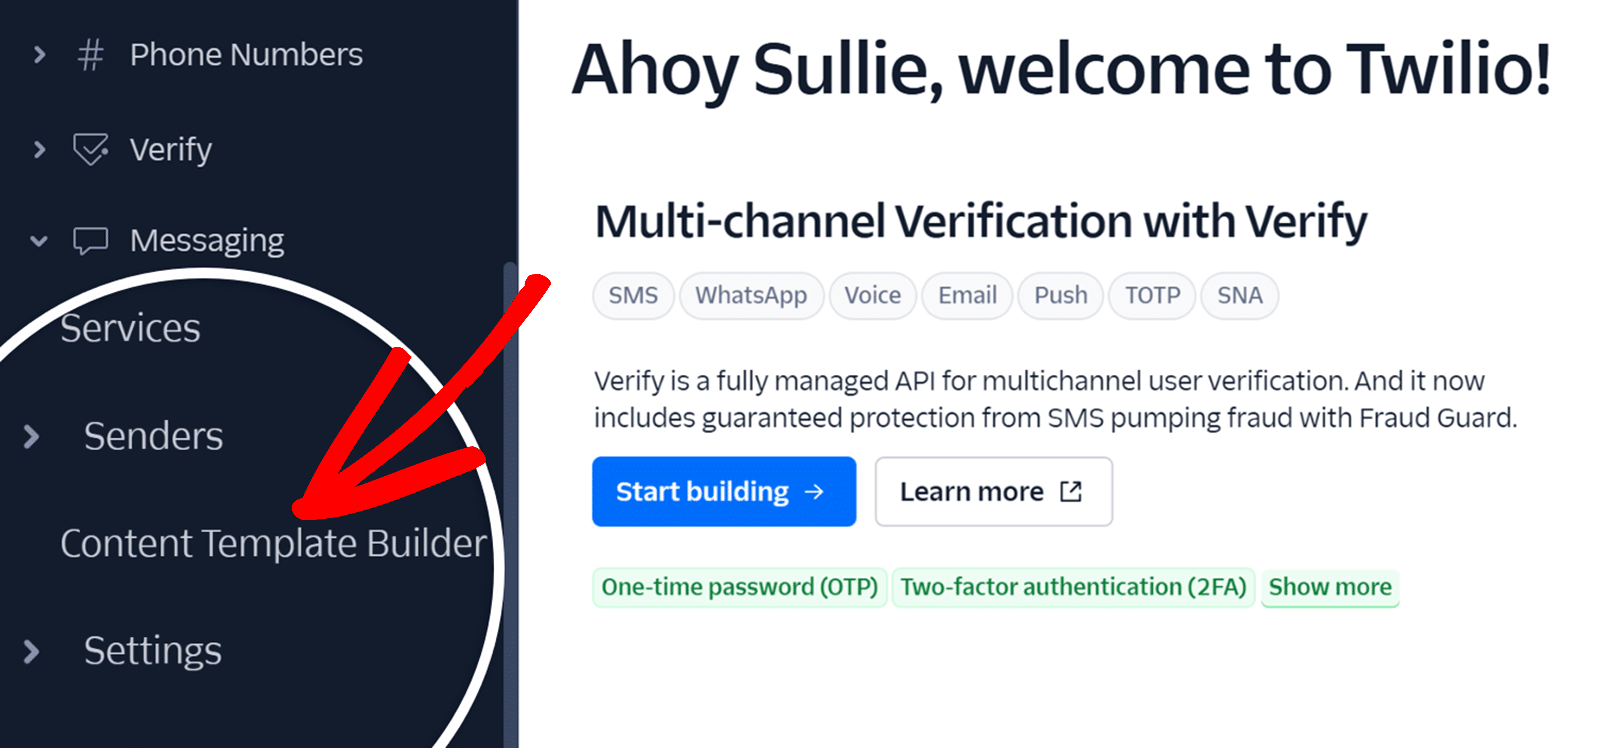
From the left sidebar navigation, go to Messaging » Content Template Builder.
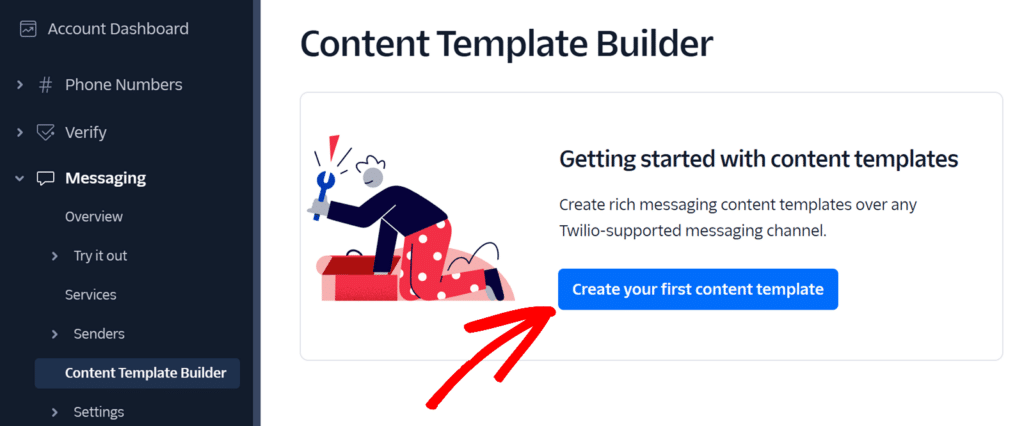
Next, click the blue button that says Create your first content template.
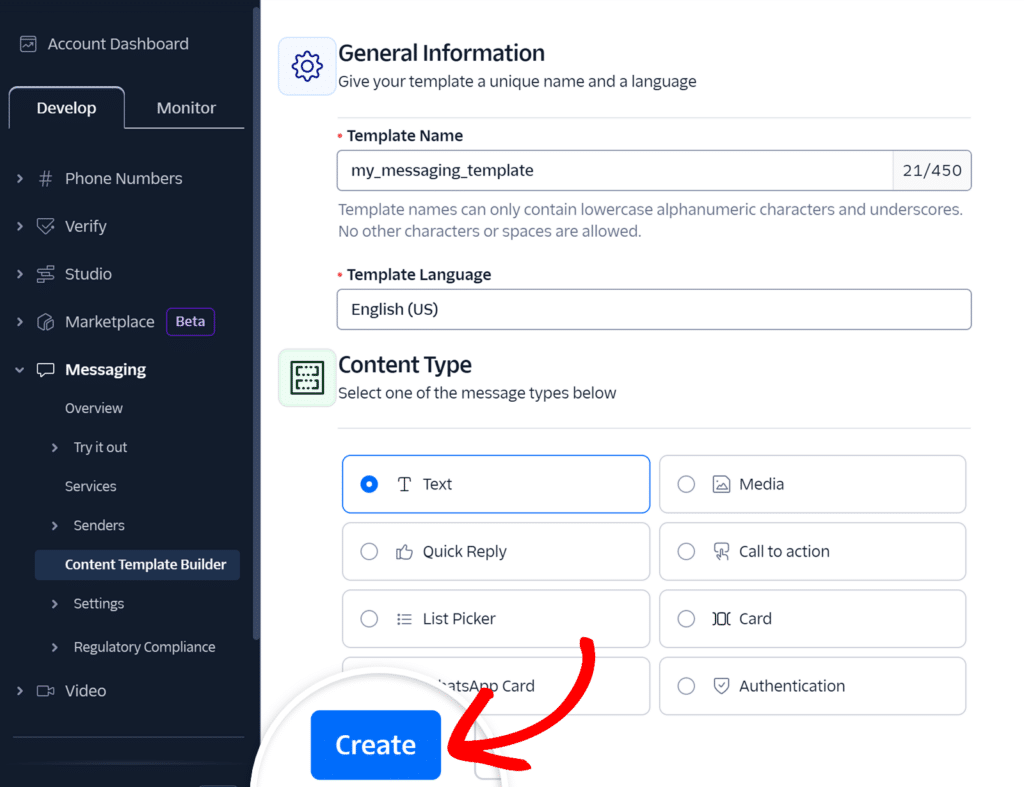
After that, you’ll need to provide some details. The first will be the Template Name and the second will be Template Language. The third is the Content Type. That’s where you have multiple options to choose from, and which you choose is going to depend on what kind of notification message you want to send.
If you just want to send some text, for example, you’ll choose that option.
Once you’ve made your selection, click Create.
Now we need to configure the template.
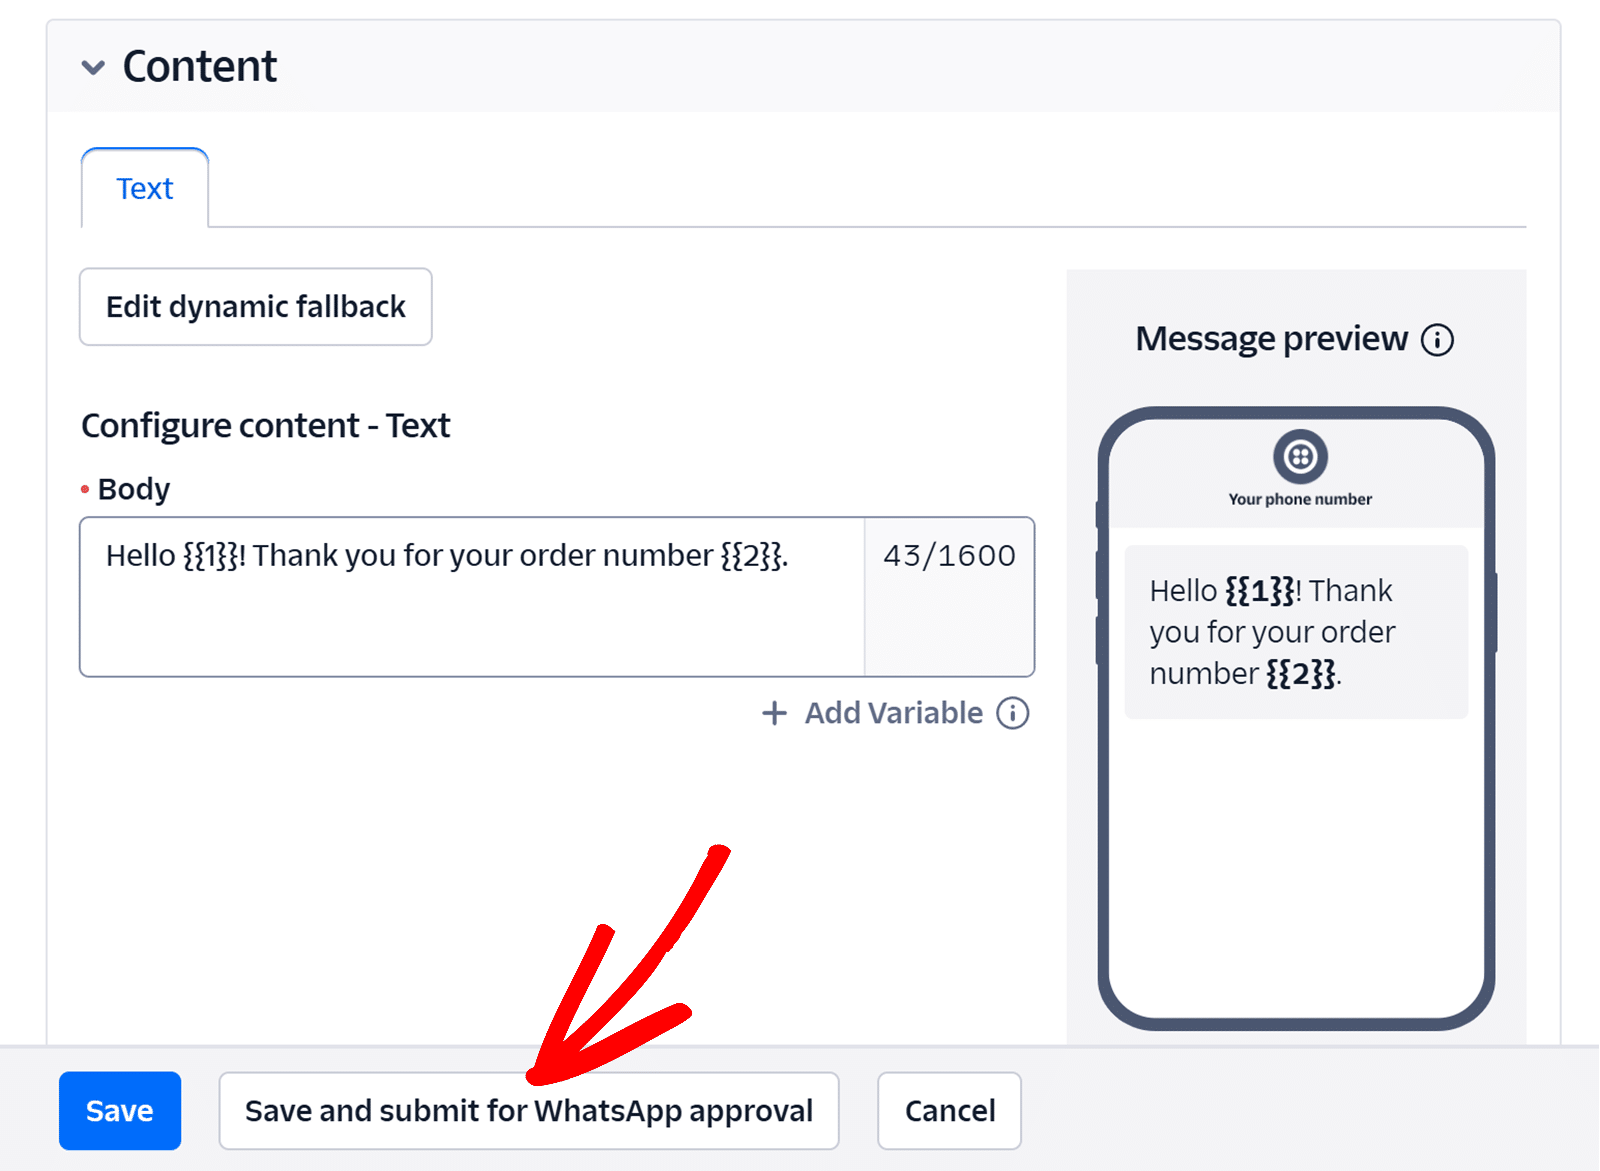
Scroll down until you locate the Content section. Enter your message text in the Body field. Take note on the character limits.
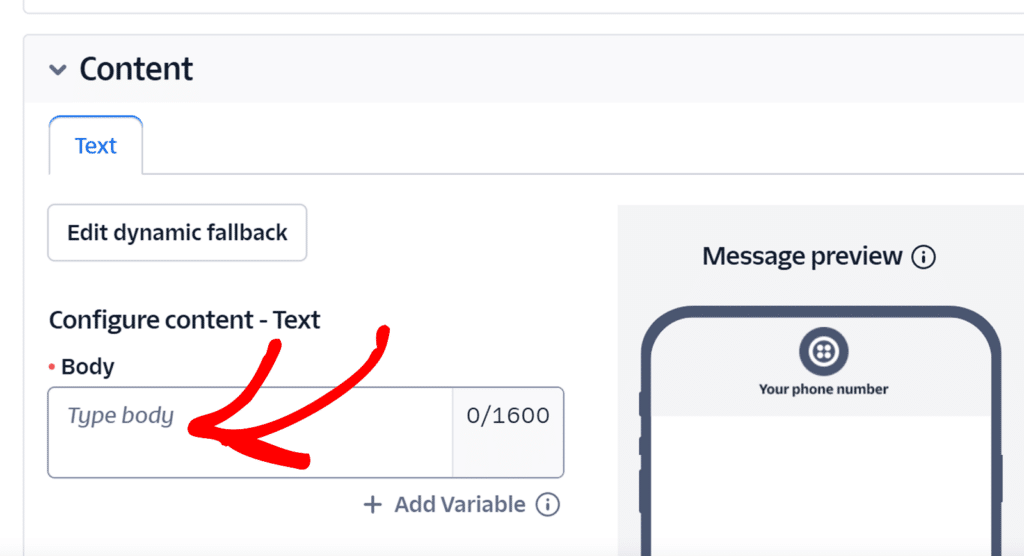
You can also click on + Add Variable to use dynamic text that will pull in from your form fields, such as names, order numbers, or other personalized information.
When you’re happy with your message, click Save and Submit for WhatsApp Approval.
After you do this, you’re going to get a screen asking you to provide sample values so that you can see how the text will look when those variables are filled in. After you add those for the variable fields you’ve used, click on Save with samples.
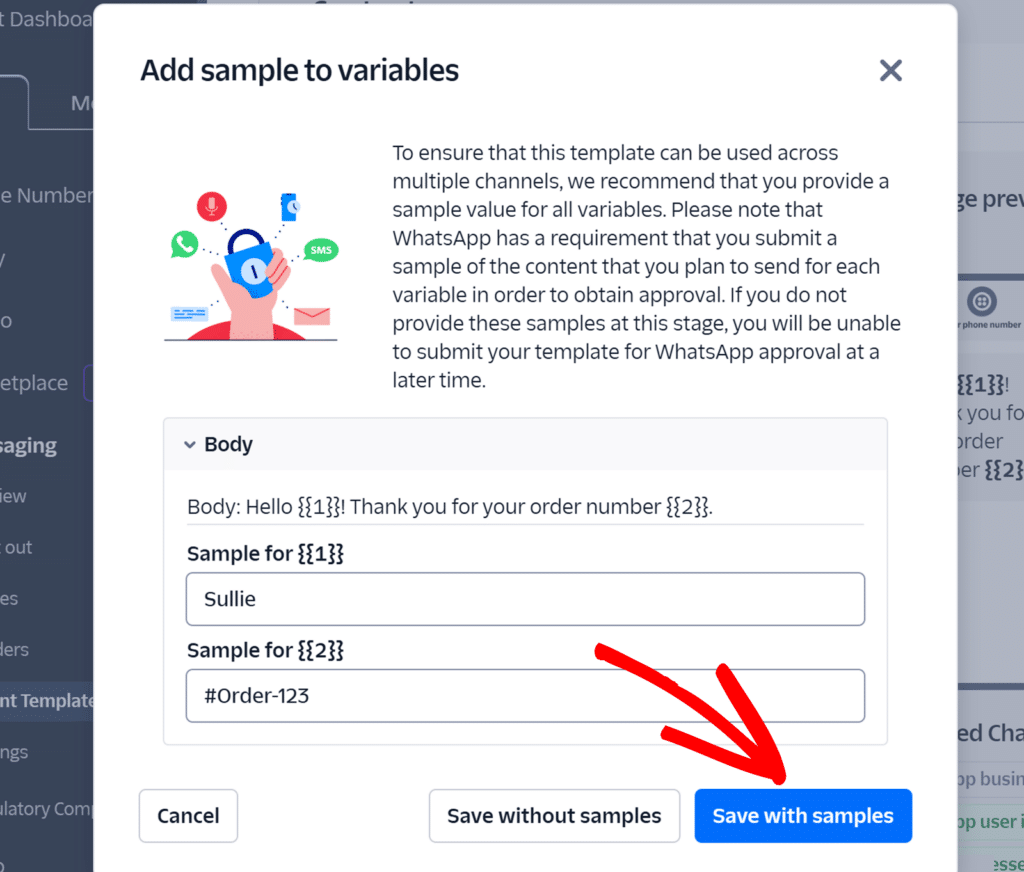
Don’t get too hung up on the sample values. When you connect your form to Twilio in WPForms, you’ll be able to map the variables to specific form fields. Think of this more like a test feature for now.
Leave this tab open because we’ll need to come back to Twilio to get some information. Open another tab and navigate to your WordPress dashboard for the next step.
Step 2. Connect WPForms to Twilio
Now that you’ve set things up in Twilio, how are you feeling? Hopefully it’s been pretty easy so far! Now I’m going to show you how to connect WPForms to Twilio so we can bring everything together.
From your WordPress dashboard, click on WPForms » Settings. Then choose the Integrations tab.
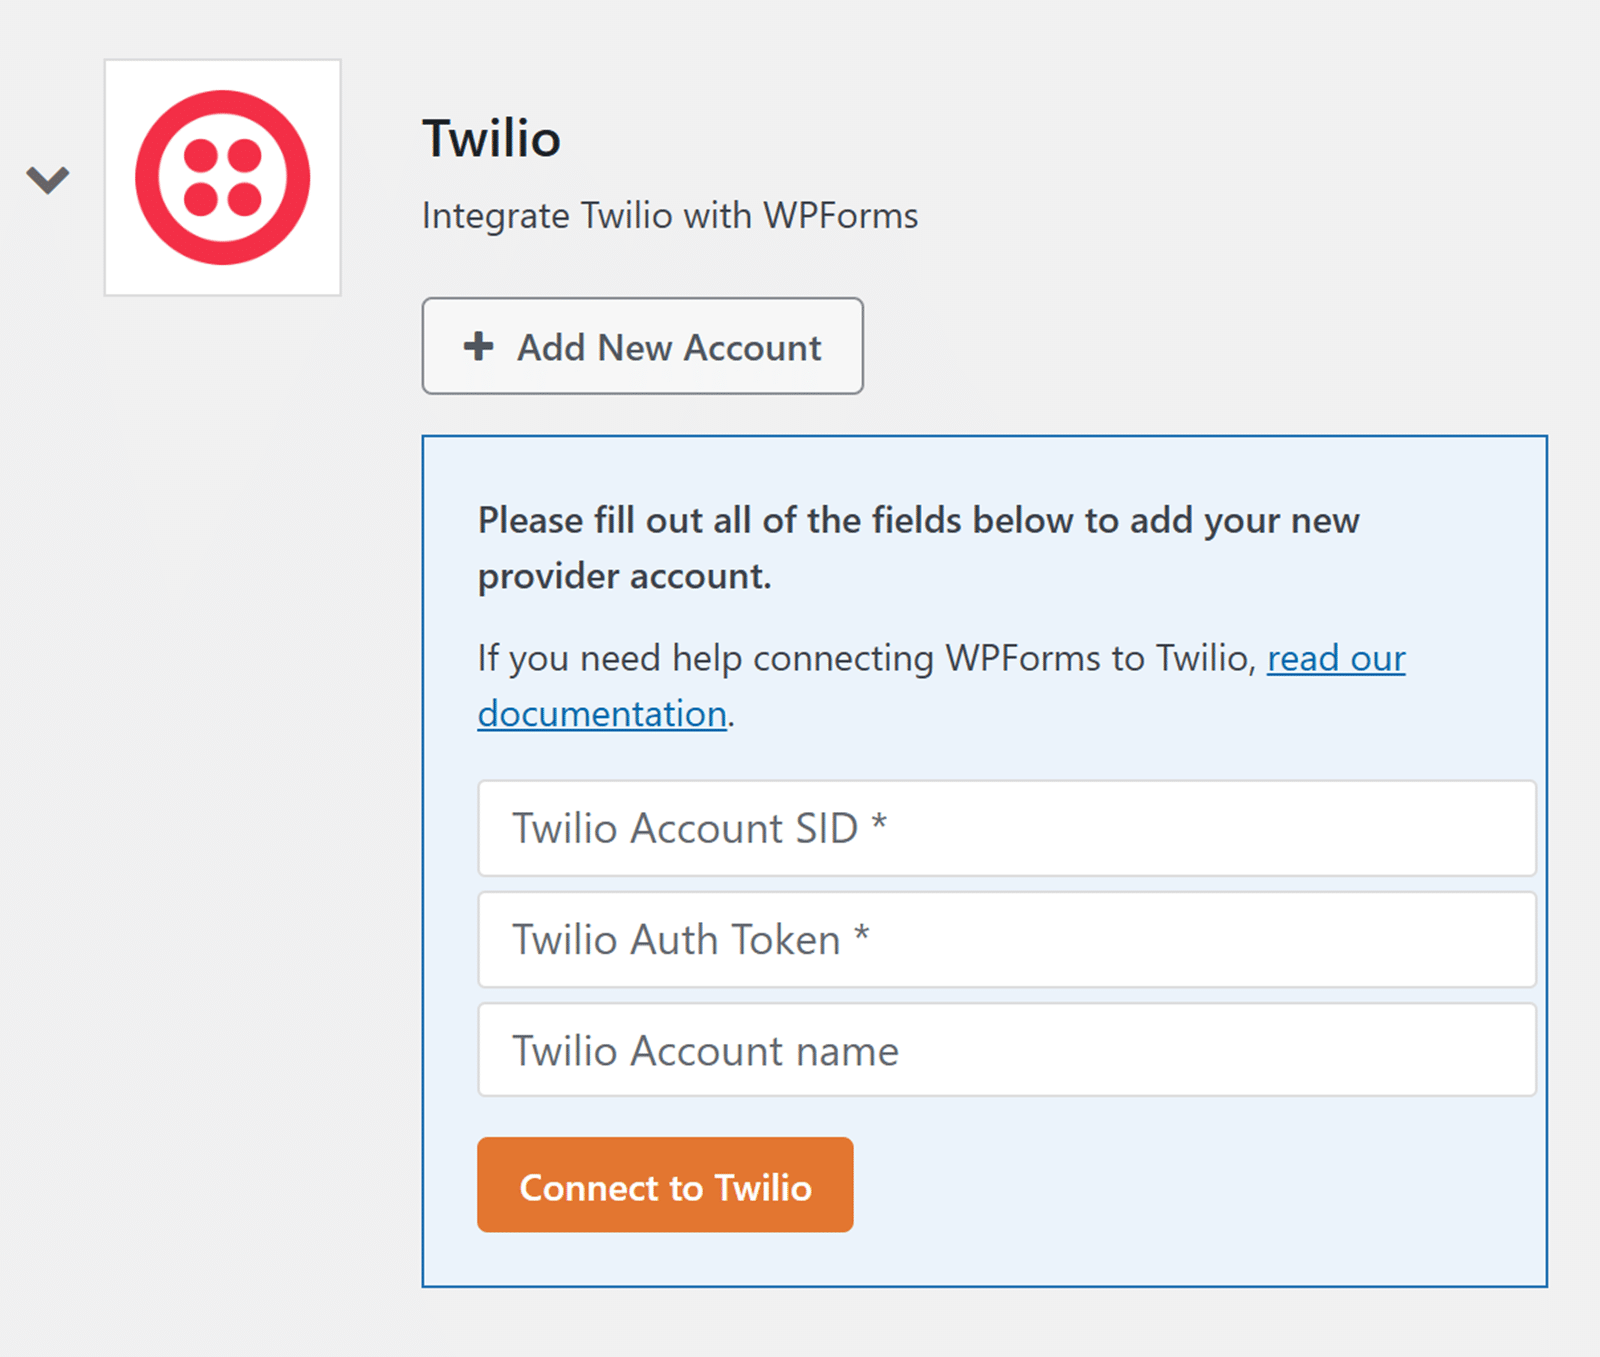
Scroll down until you locate Twilio. Click Add New Account.

You’ll see that there is some information you have to provide to add your account.
This is where having 2 tabs open comes into play. It will be a lot easier if you can switch between them to quickly get the info you need to connect your account.
Click back over to the tab with your Twilio account open and navigate to your dashboard. You should see a section on the dashboard called Account Info. It includes the Account SID and Auth Token, which you need to add in WPForms.
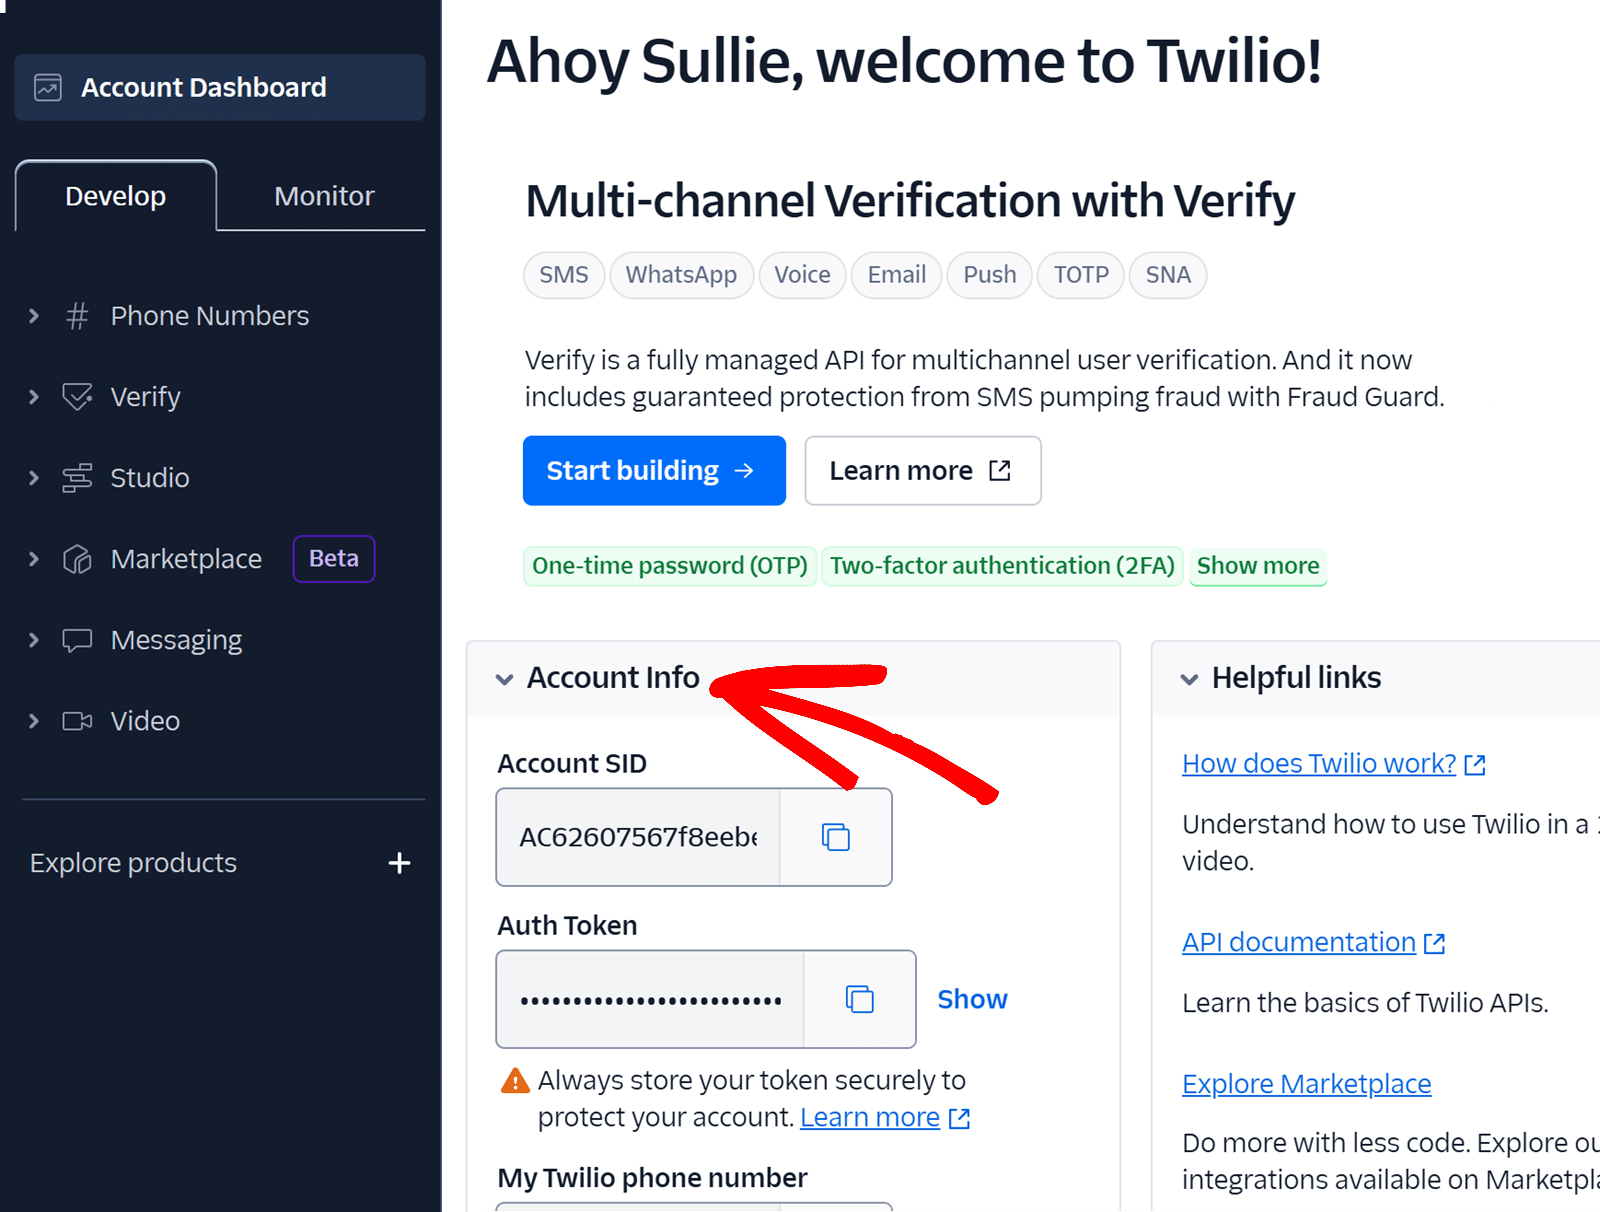
Copy the information and paste it in its respective field over on your WPForms tab.
After you add both numbers, the last field asks for a Twilio Account Name. Think of this just like a nickname. It’s for internal use only and helps you differentiate between accounts and connections if you have multiple.
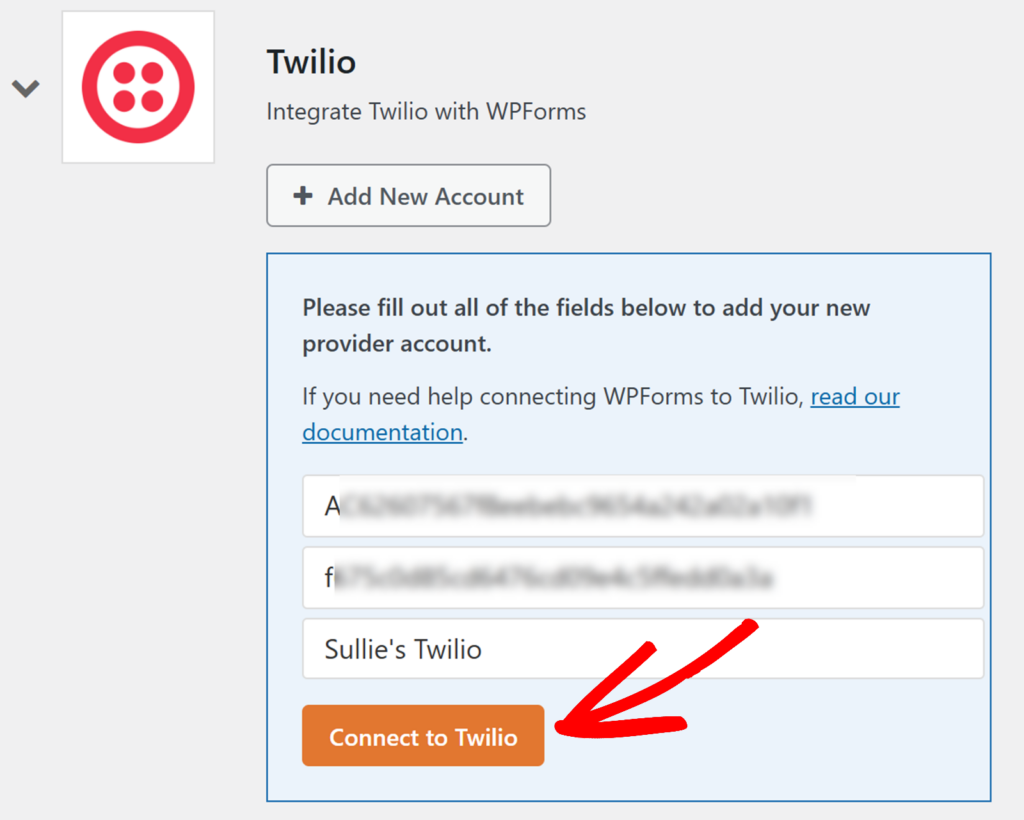
When all the information is in place, click Connect to Twilio.
If the connection is successful, you’ll see that reflected in the status.
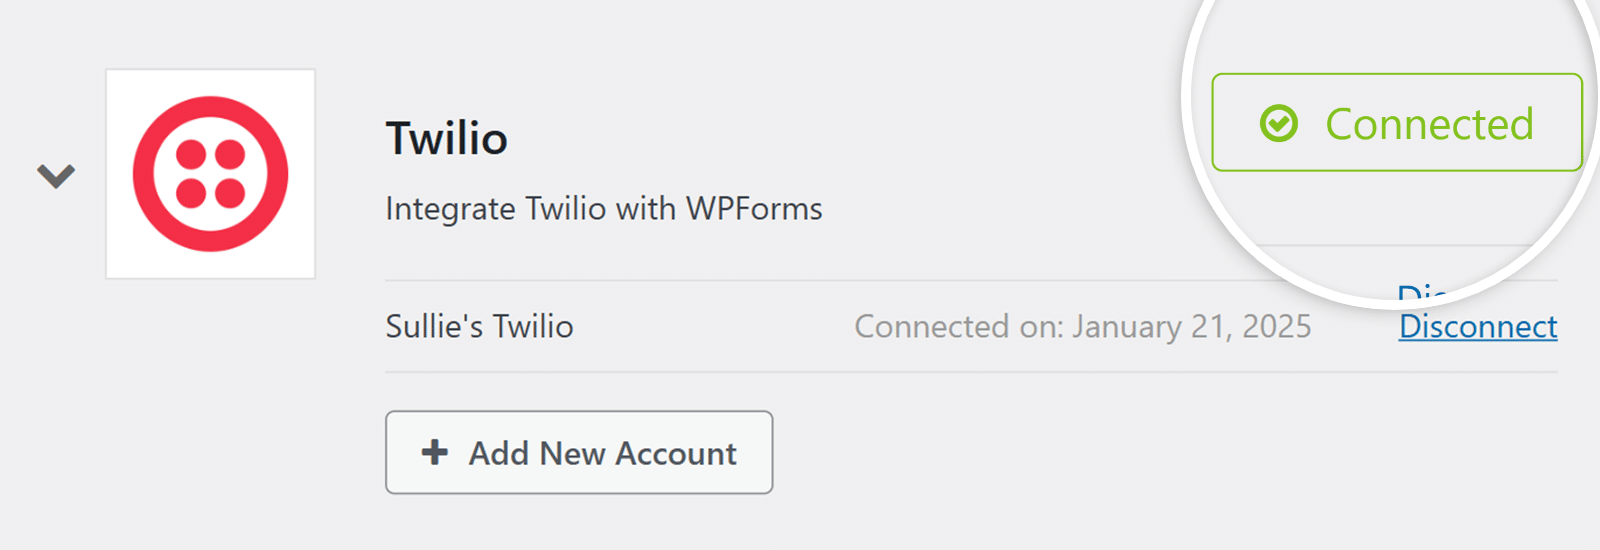
Now it’s time to bring it all together!
Step 3. Create a Form in WPForms
In this final step, I’ll show you how to bring everything together so you can send notifications from a WordPress form to WhatsApp. The first thing you need is the form you’re planning to use to trigger your WhatsApp notifications.
You can create a form or use one of the 2,100+ form templates available on WPForms. If you decide to use a template, you can customize it to make it your own.
When your form is ready and you’re looking at it in the WPForms form builder, click on Marketing. In the list of your addons that comes up, select Twilio. Click to Add a New Connection.
Don’t worry, this is different from what you did at the end of step 2. Here you’re adding the connection directly to this form.
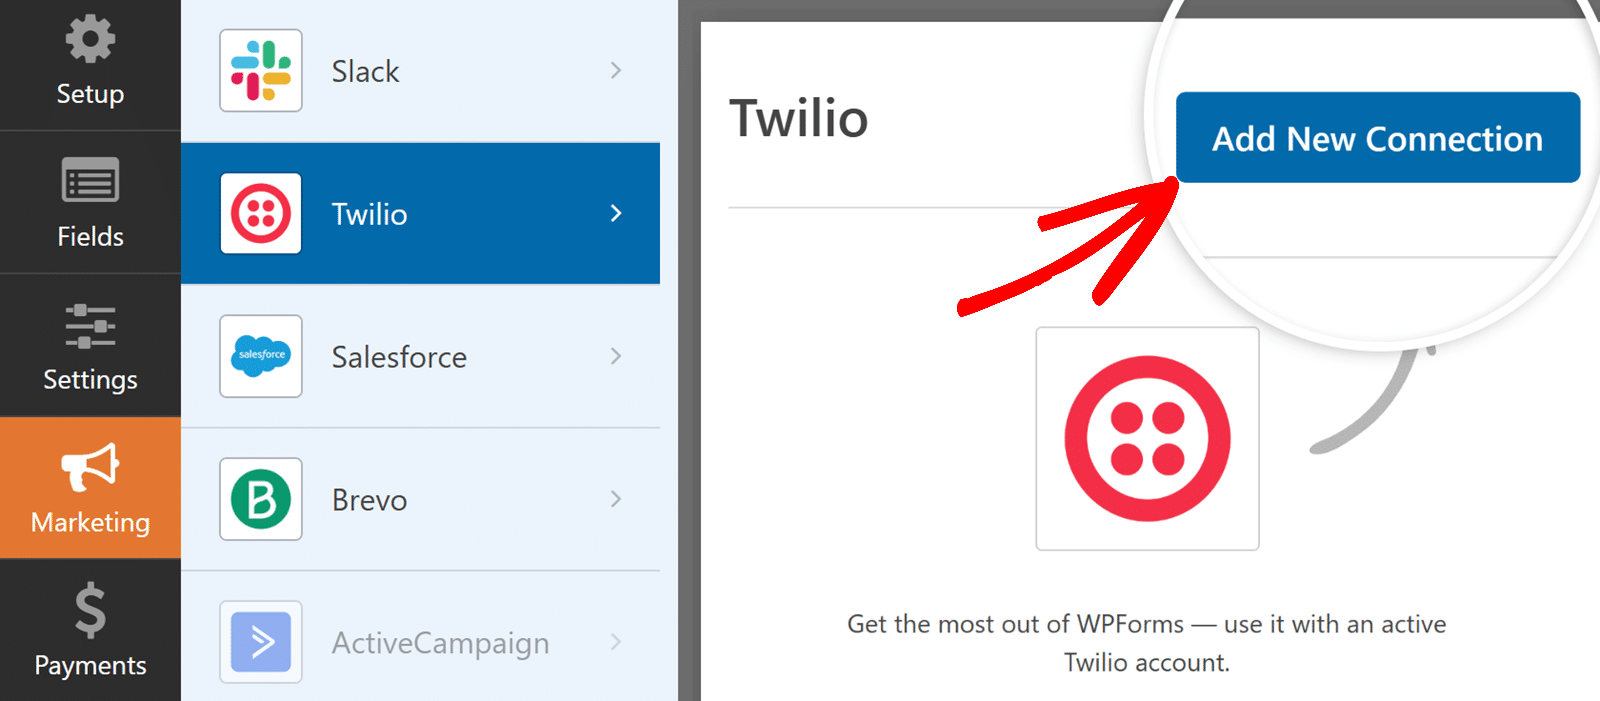
In the modal window that comes up, enter a connection name. Again, this is for internal use and helps you differentiate between different connections if you have them.
Then you’ll choose the account to connect. If you only connected one account in step 2, that’s the only account that’s going to show up here. Select the account you want to connect to the form.
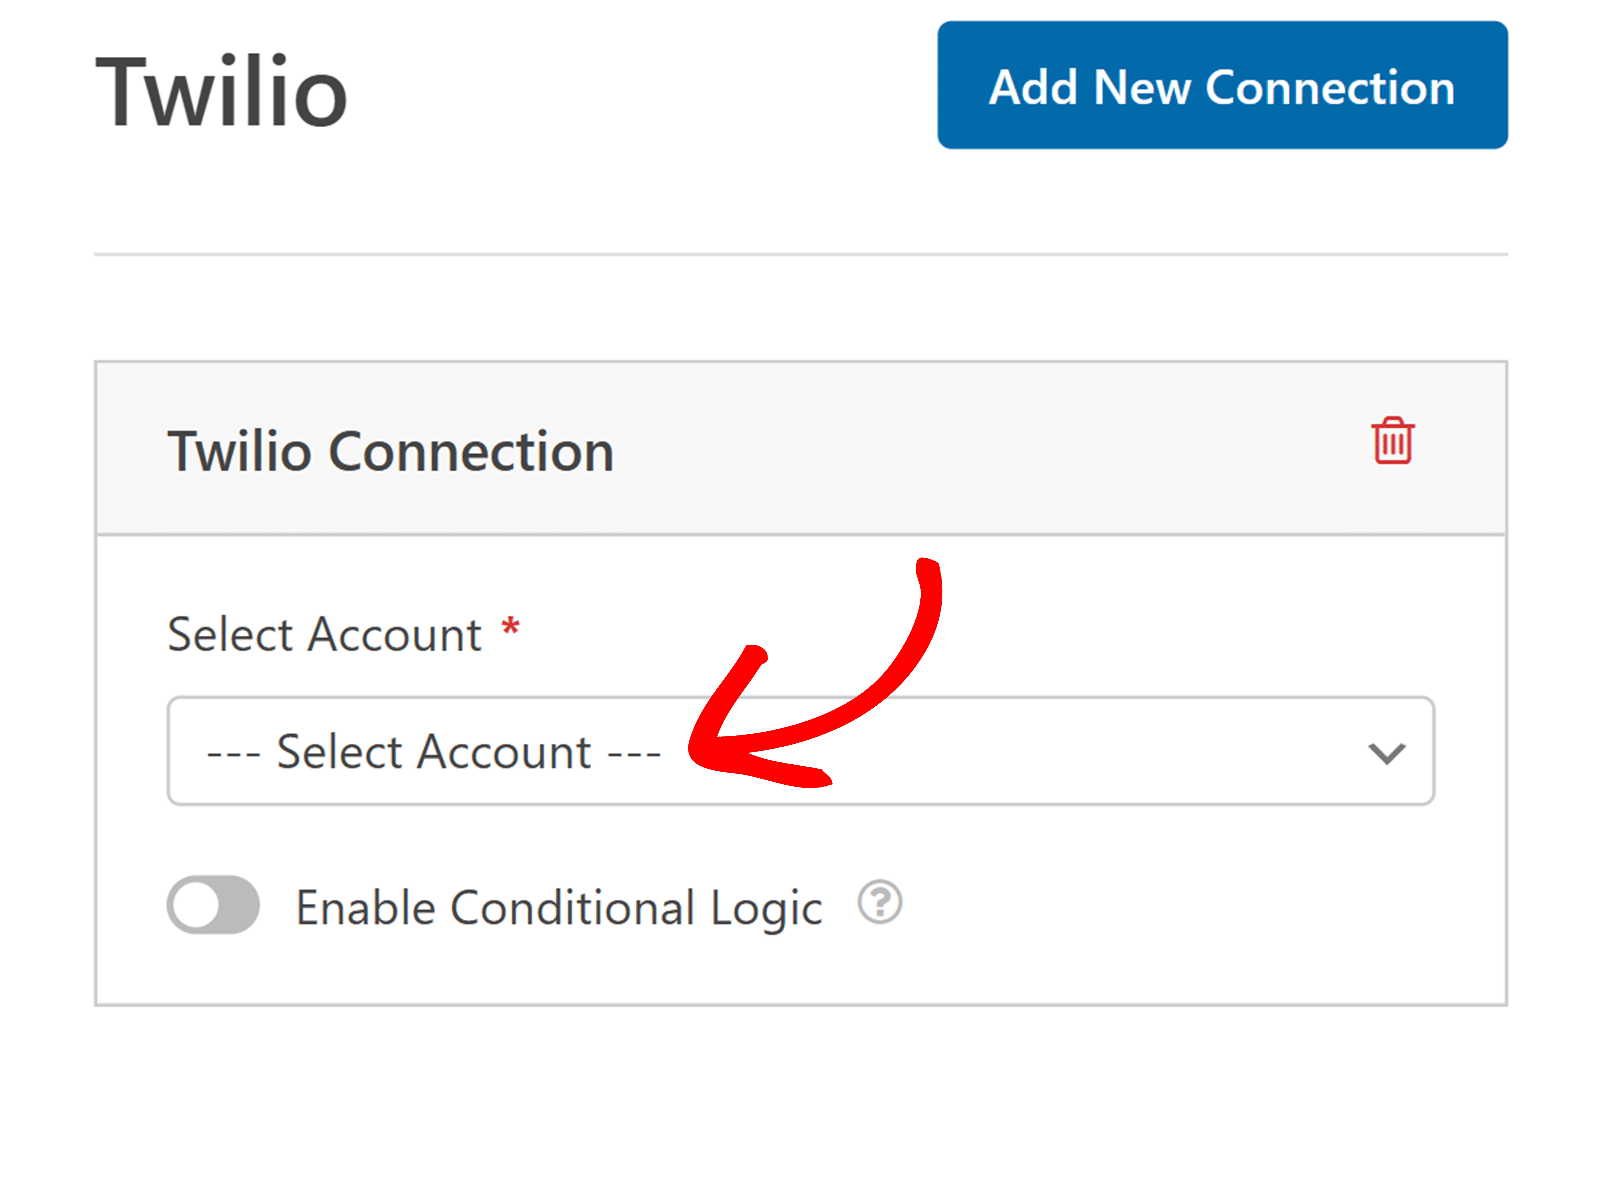
If you’re finding it confusing, think of it this way: the last step connected your Twilio account to WPForms. This step further establishes that connection directly to your form.
After choosing the account, you’ll have to answer whether you want to send as SMS or send as WhatsApp. For this tutorial, we’re going to choose WhatsApp since that’s what we’re covering here.
Next, choose the phone number that you want to use to send your messages.
Then you’ll indicate who should receive the messages.
If you select Phone Fields, the messages will go to the people who submit your form, based on the information they provide in the phone fields of your form. When you do this, a dropdown will appear so you can select the correct field from your form to use.

If you select Verified Phone Number, you’ll see a dropdown that lists all of the numbers you’ve verified in your Twilio account. You’ll select the specific number that you want to receive a notification.

Finally, because you chose to send as WhatsApp, you’ll see a dropdown where you can select a Message Template.
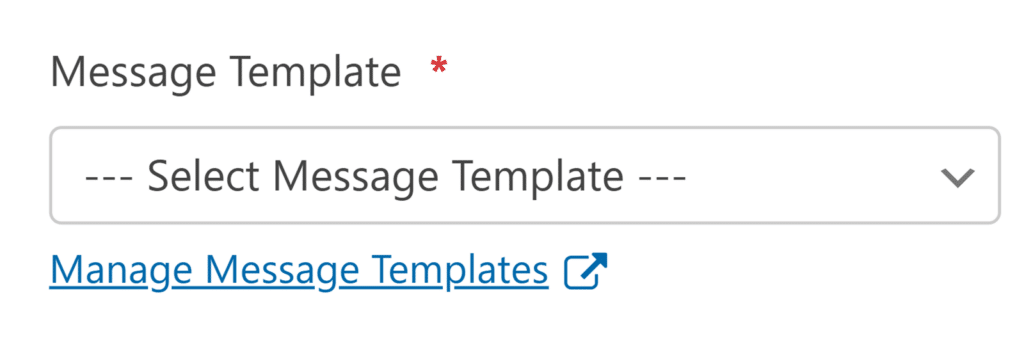
Recall for a moment what you did in Step 1 above when you created a message template in Twilio. The template or templates that you created there should now be available in this dropdown for you to select.
Select the template you wish to use.
After you select the template, you’ll see options to map the variables to your form fields.
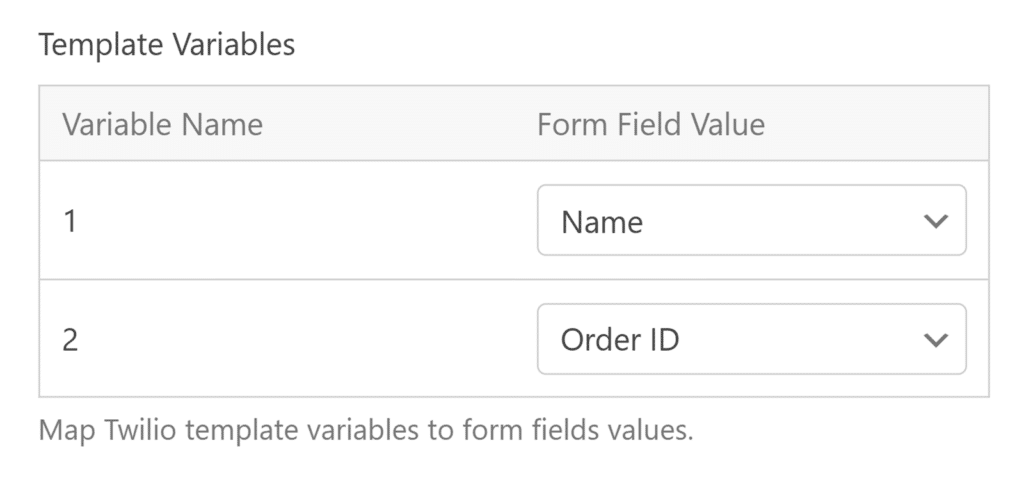
This might seem a little confusing because all the pieces are coming together here, so let me break it down.
You created a message template in Twilio to use for WhatsApp notifications. In that message template, you added numbered variables to personalize the message.
You also created a form using WPForms. This form is what your users will actually be filling out.
You want to send notifications from the WordPress form to WhatsApp, which requires you to connect the message template with your form.
Once you map the form fields from your WPForms form to your Twilio message template (which you created to send as a WhatsApp message), those variable fields will populate with the correct personalized information. They’re now connected.
Or, to simplify, your WhatsApp message will include information submitted through the form you create on WPForms.
When you’re finished configuring the settings here, click Save at the top of the form builder.

Optional: Enable Sandbox Testing
This step is completely optional, but I want you to have the information, should it be applicable to what you’re doing.
If you want to test your WhatsApp messages before committing to a WhatsApp Business account and getting WhatsApp approval, you can do that in Twilio. Its Sandbox environment lets you test your integration out first.
Fortunately, this is pretty easy to set up by connecting your preferred phone number to the Twilio WhatsApp Sandbox.
Start by logging in to your Twilio account. In the left sidebar navigation, click on Messaging, then in that sub-menu, click on Try it out » Send a WhatsApp message, like so:
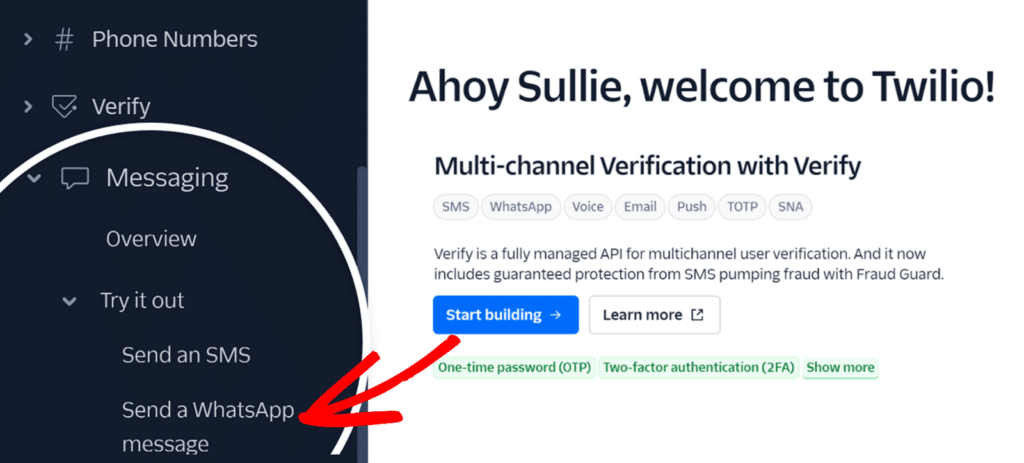
When the page opens for Send a WhatsApp message, which was your last selection here, scroll down until you see Connect to WhatsApp Sandbox. You’ll see your connection details there, along with 2 options for joining.
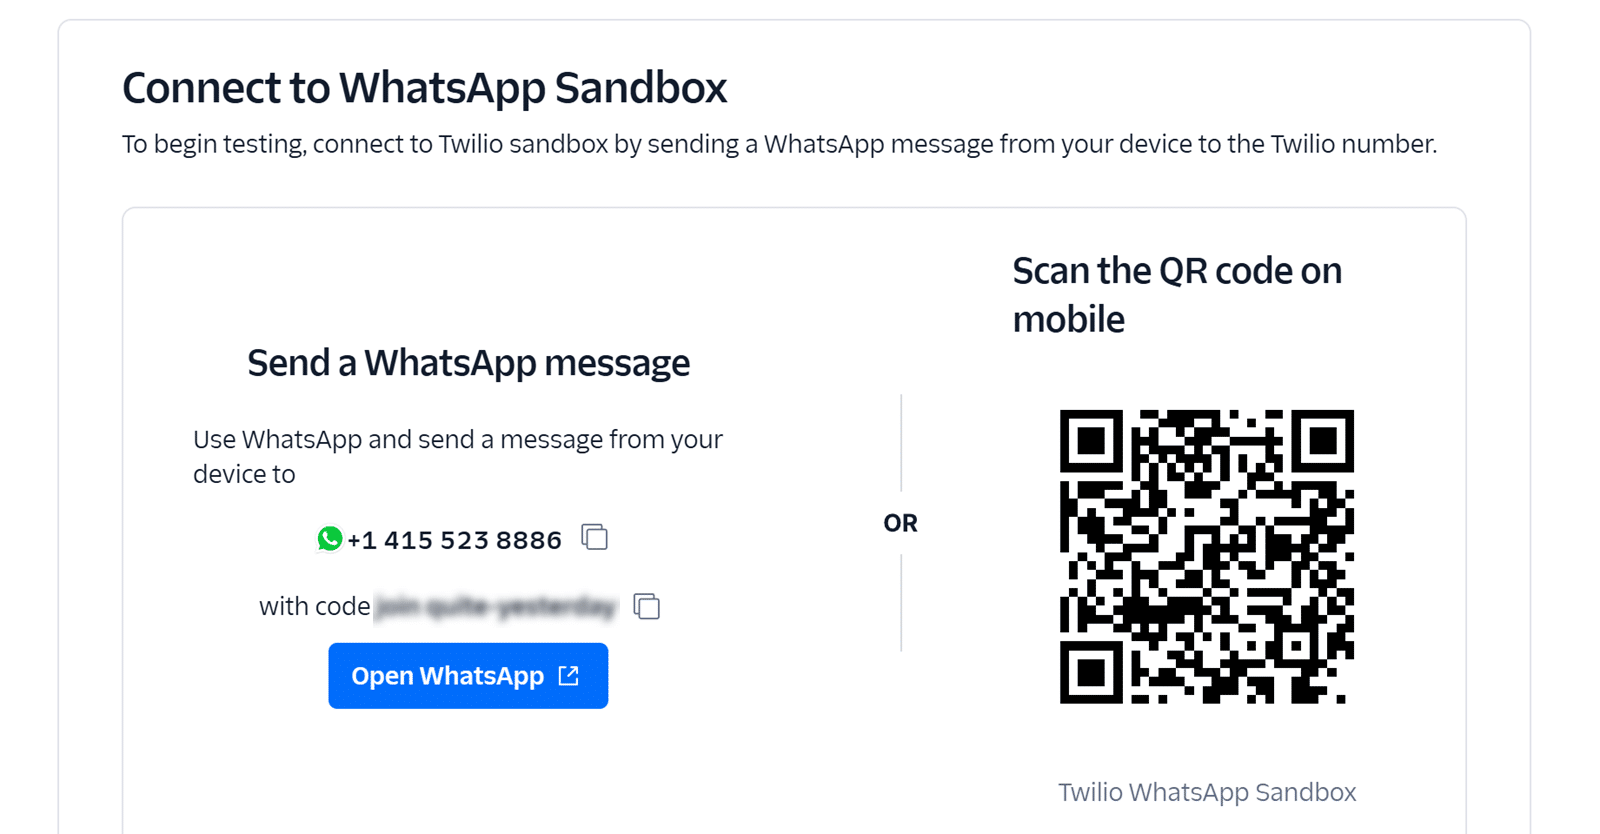
You can choose whether you want to send a WhatsApp message to the Twilio number with your personal join code, or if you want to scan the QR code.
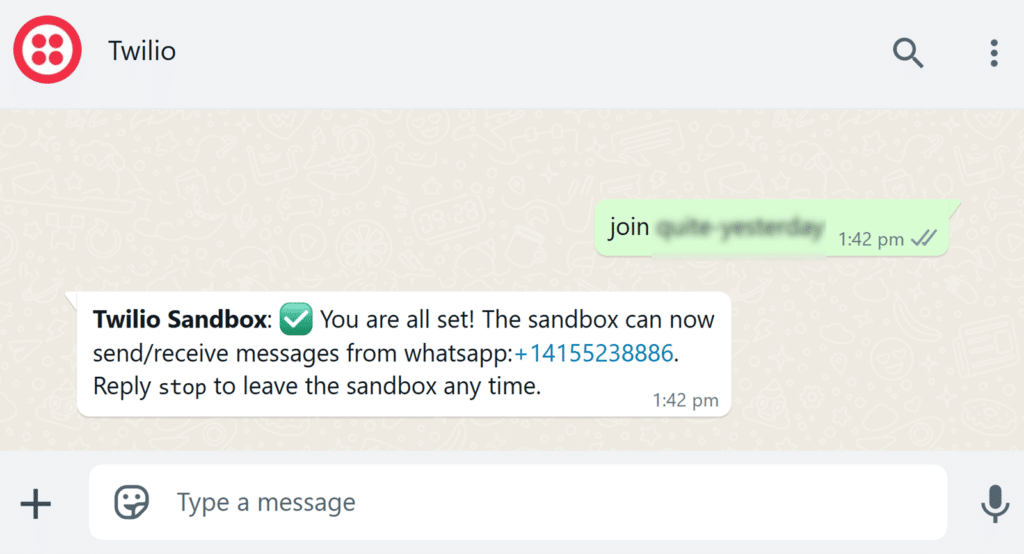
After you send the join code, check your phone. You should receive a message confirming that your number is connected to the Sandbox environment and you can begin testing.
From your WordPress dashboard, navigate to the WPForms plugin and open the form you’re using for your WhatsApp messages.
Once the form is open in the form builder, select the Marketing tab on the left side, and then find Twilio.
If this looks familiar, it’s because you were here before when you configured Twilio settings in Step 3.
Beneath the dropdown where you selected to Send As WhatsApp, you’ll see a toggle switch to Enable Sandbox Mode.
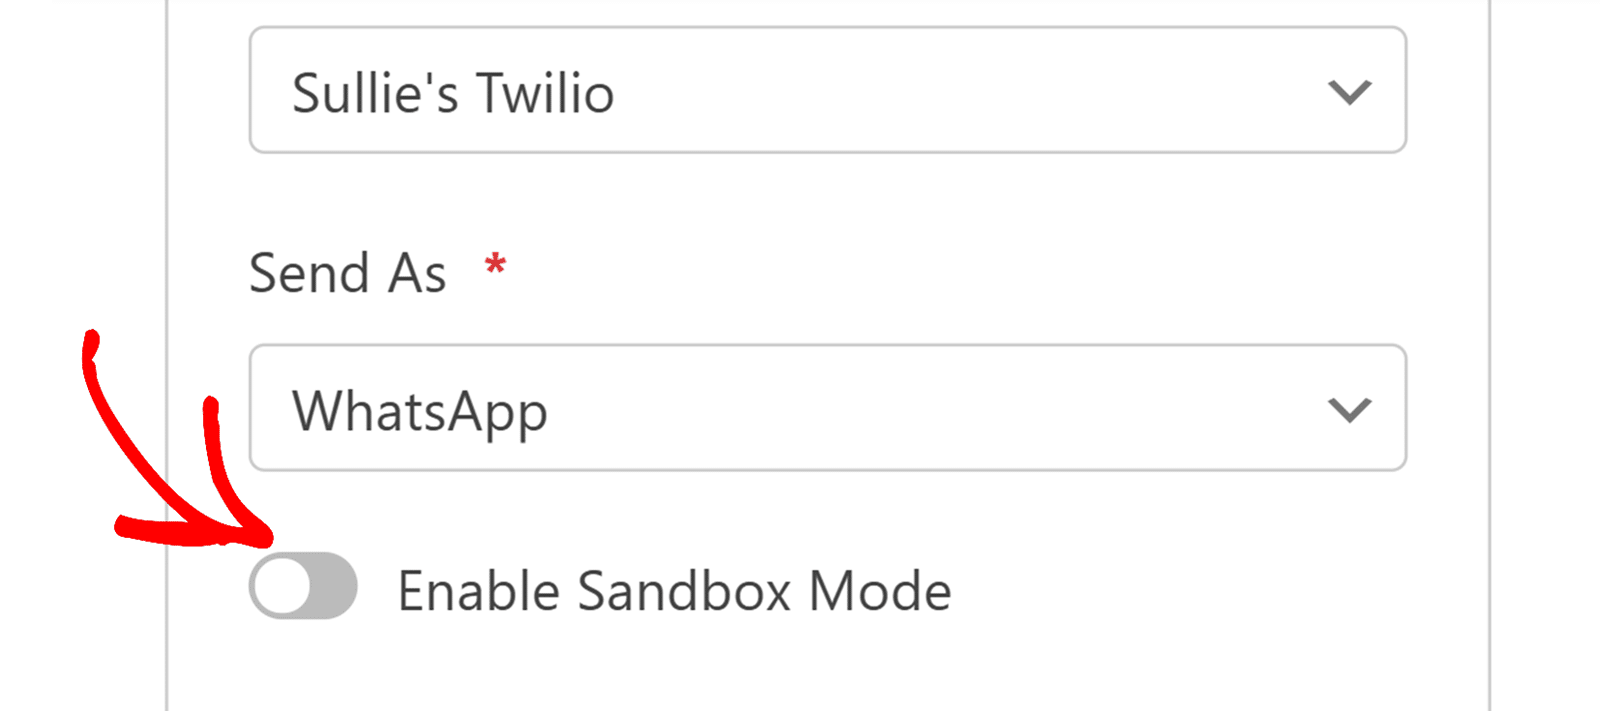
When you enable Sandbox Mode, you’re no longer required to use a pre-approved message template. Instead, you’ll see a Message field where you can create whatever text you like for testing.
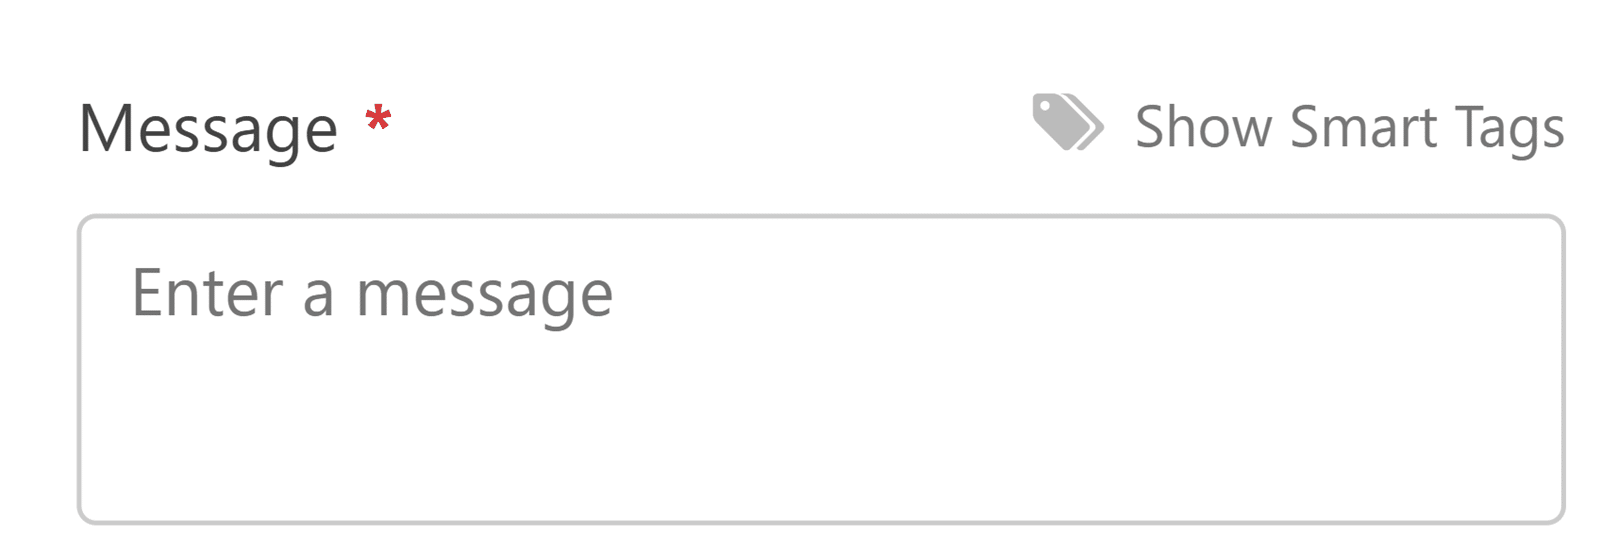
Now you can send messages using the Twilio test number to test the integration without the need for a WhatsApp Business account right away.
It’s worth noting that you get a 3-day test period in Sandbox mode. After the 3 days are up, your test messages won’t send unless you reconnect Sandbox mode.
Once you’re done configuring your message, save your form, and you’re good to go.
Next, Explore More Ways to Use Conversational Marketing
Now that you know how to send notifications from a WordPress form to WhatsApp, maybe you’re looking for more ways to practice conversational marketing. If you want to attract and engage customers through conversation and personalization, check out our guide to conversational marketing examples and customer engagement tools.
Ready to build your form? Get started today with the easiest WordPress form builder plugin. WPForms Pro includes lots of free templates and offers a 14-day money-back guarantee.
If this article helped you out, please follow us on Facebook and Twitter for more free WordPress tutorials and guides.




Great article!
2 Questions:
1. Will only the Pro subscription of WPForms work in this integration (and not the Plus or Basic)?
2. We have a medical clinic. We use WhatsApp to communicate with our clients. If I use the integration as explained, leads will be send to our WhatsApp application. If we receive a lead from an existing client, that we had already chatted with on WhatsApp before, will clicking on his phone number on the lead open the existing chat or open a new one?
Thank you.
Hey Yonatan – Any paid version including the Basic & Plus plans of WPForms integrates seamlessly with Uncanny Automator.
Regarding your second query, please know that the steps will only send the form submission entry to the appointed phone number of Whatsapp. If you add a phone number variable in the message then we have no control over if it will open the previous conversation. In most devices, clicking on a phone number will open a popup and prompt you on the step that you want to take. Hope this helps. Thanks.
Hi, does the notification on whatsapp contain the content of the form?
Hey Lilly – Sure it does! During the integration, you will be able to pass selected field’s value to WhatsApp from the Triggers section using WPForms-specific tokens. Here is a screenshot in case it helps.
Thanks.
Do I need a paid version of Uncanny Automator?
Hey Matheus – You actually don’t need to have a paid version of Uncanny Automator to connect with WhatsApp.
Can I use this to automate a process where after filling the form, the customer is redirected to my whatsapp DM with a structured message containing the inputs from the form filled earlier?
I f so, please how can I go about it?
Hey Abdulmuiz– Sure it does! During the integration, you will be able to pass the selected field’s value to WhatsApp from the Triggers section using WPForms-specific tokens. Here is a screenshot in case it helps.
If you are facing any issues or need any further help, please contact our team by submitting a support ticket here.
Thanks.
I want to auto send submission confirmation and thank you text on Mail and Whatsapp both.
Is it possible?
Hi Surya. Yes, you can set up automatic confirmations for both WhatsApp and email when a form is submitted. For WhatsApp, follow the blog post but modify the message to be a thank you instead of sending all form entries. For email, use WPForms’ built-in notification feature – please check out this guide on setting up form notification emails.
If you need help customizing the messages or setting up both notifications, feel free to submit a support ticket and our trusted advisors can assist with your specific setup.