AI Summary
Looking for a simple way to customize your form notifications with the WPForms custom email template feature?
Through WPForms, you can easily change the look and feel of your notification emails to create a more personalized experience.
Create a Custom Email Template Now
So, without further ado, let’s go through the steps on how to create a custom email template in WordPress using WPForms!
In This Article
How to Make a Custom Email Template in WordPress
Creating a custom email template in WordPress is very easy, especially with a WPForms custom email template. Follow the steps below to get started.
Step 1. Set Up a Basic Notification Email
As the best form builder plugin, WPForms allows website owners to create contact forms, order forms, calculator forms, and numerous other form templates that cater to a wide range of audiences and industries.
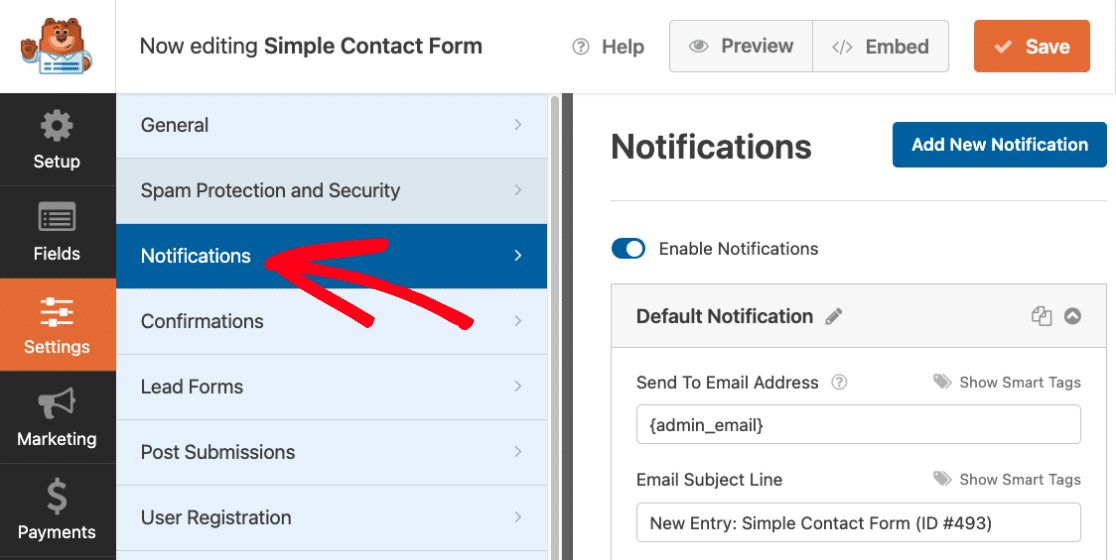
So, the first step is to install the WPForms plugin and then create a form. After that, navigate to the Settings » Notifications tab in the form builder to set up a basic form notification email.
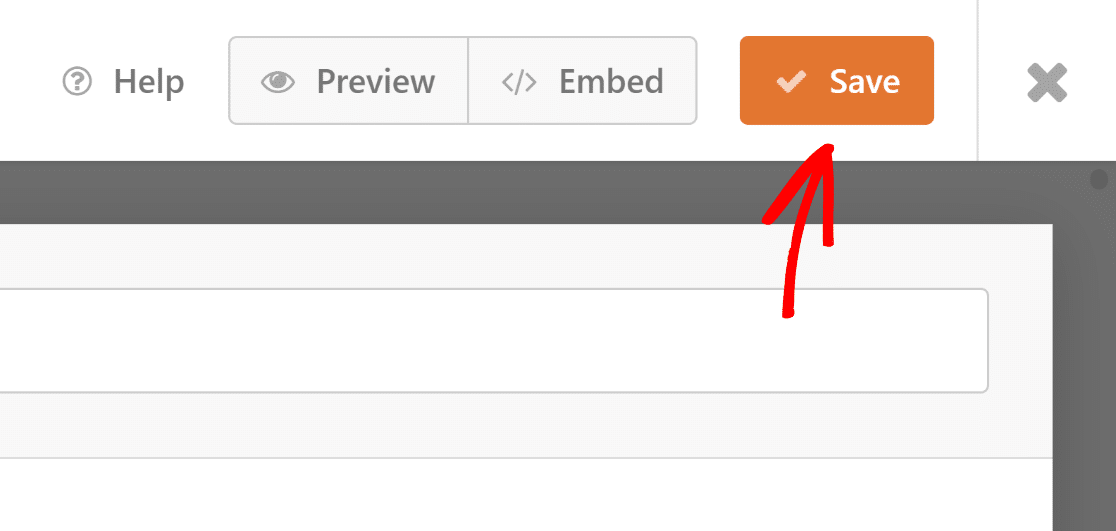
After creating your form and notification email, save your form and notification settings before moving on to the next step so you don’t lose your progress. Just hit the Save button at the top right corner of the screen.
By default, all WordPress uses PHP to send emails from your website, which can be flagged as spam by many inboxes. To avoid this from happening, it’s advised to use an SMTP plugin like WP Mail SMTP.
Step 2: Choose an Email Template
You’re all set to create your own email template now. Go to WPForms » Settings from your WordPress dashboard and click on the Email tab.
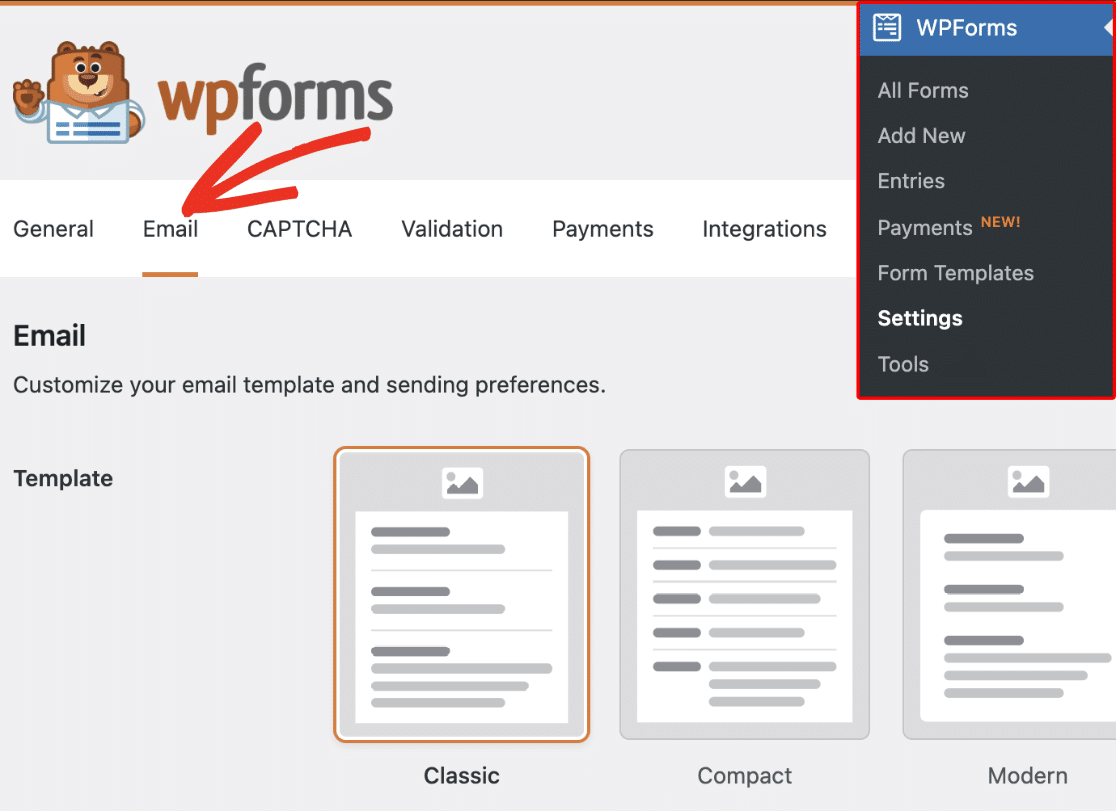
From here, if you look at the Template section, you’ll find six different email templates available to different license levels:
- Classic
- Compact
- Modern (Pro)
- Elegant (Pro)
- Tech (Pro)
- Plain Text
By default, all form notification emails use the Classic template, but you can upgrade to Pro to access the Modern, Elegant, or Tech templates.
For this example, we’ll choose the Elegant template, but feel free to pick any from the list that best suits your needs and requirements.
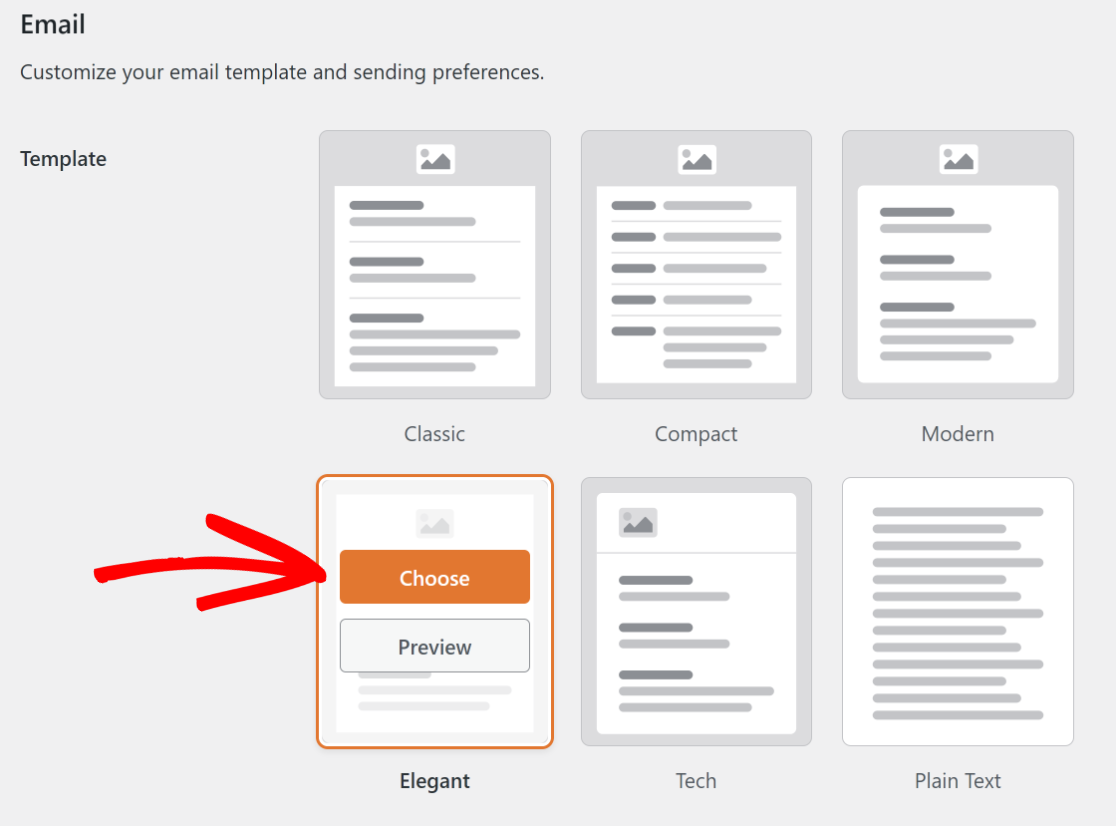
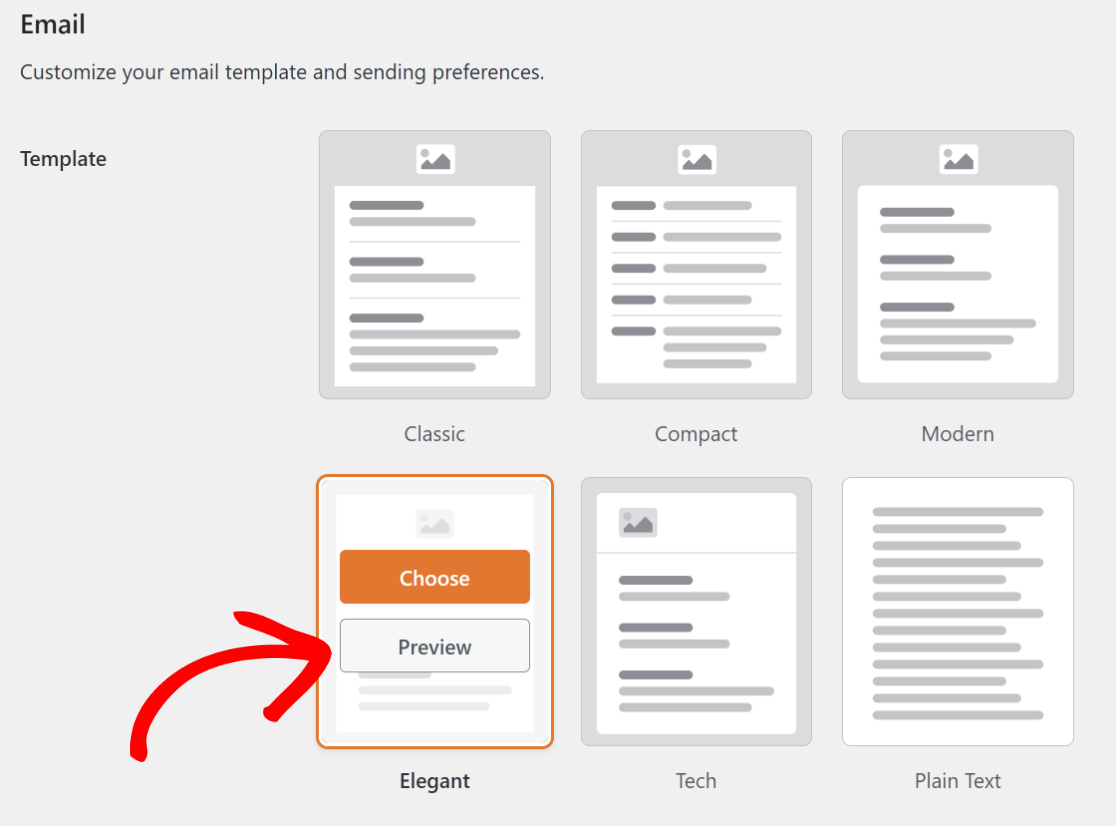
If you want to view how the template looks in your users’ inbox, you can also click on the Preview button to get a quick glimpse of its appearance.
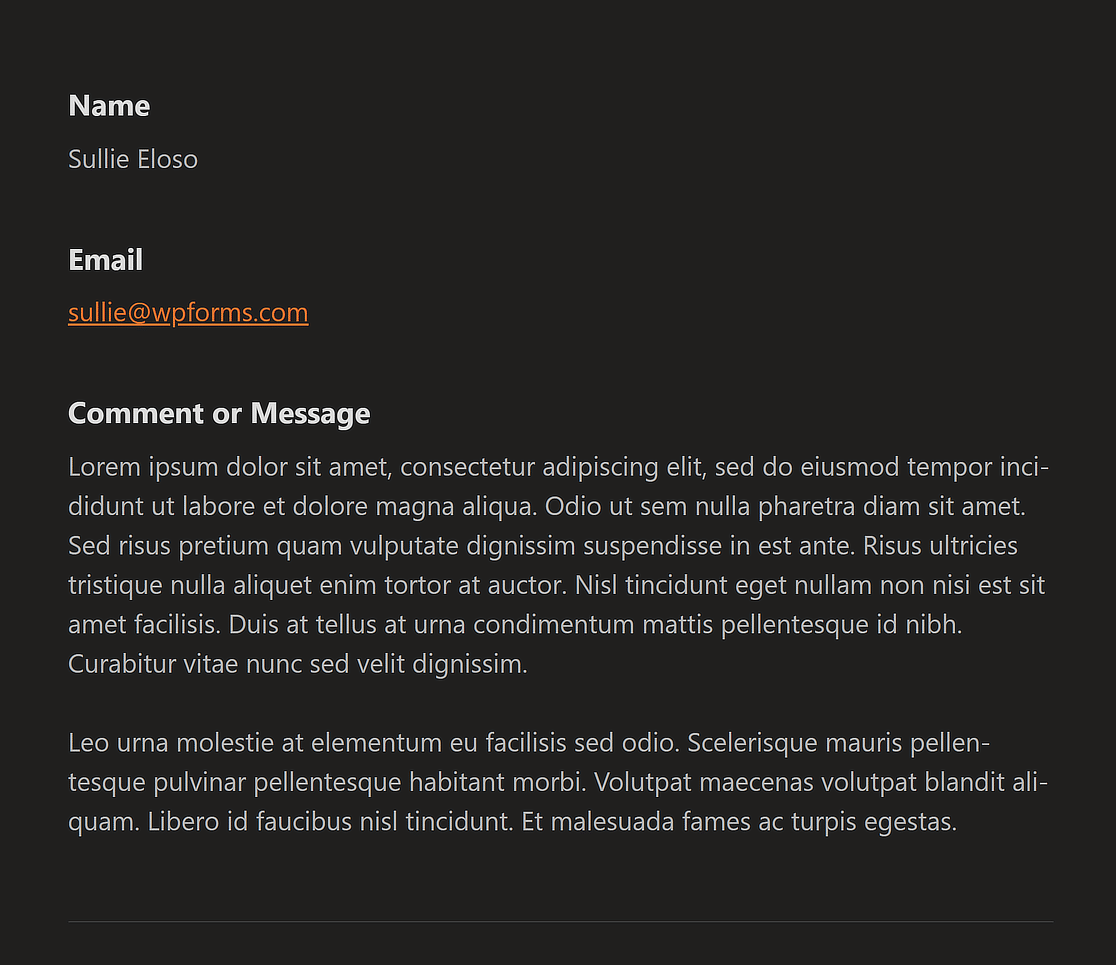
Here’s an example of how the Elegant template and its email message looks if users have a Dark theme set on their desktop or mobile device.
Step 3: Set an Email Header Image
If you want to create a personalized email notification, WPForms even gives users the option to set an email header image to represent your brand logo.
All you have to do is navigate to the Header Image section and then click on the Upload button to choose a logo that displays at the top of your email.

This will give you the option to either upload a new file or select an existing one from your WordPress Media Library.
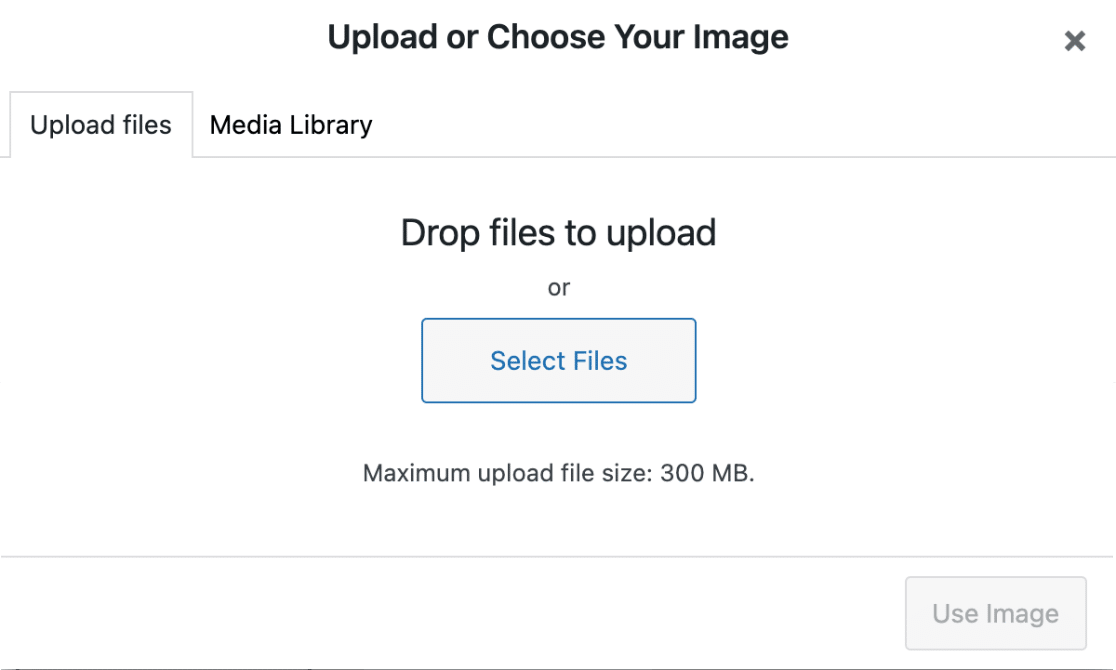
After adding a new picture or choosing an existing one, you only have to click the Use Image button, and your logo should now be visible.
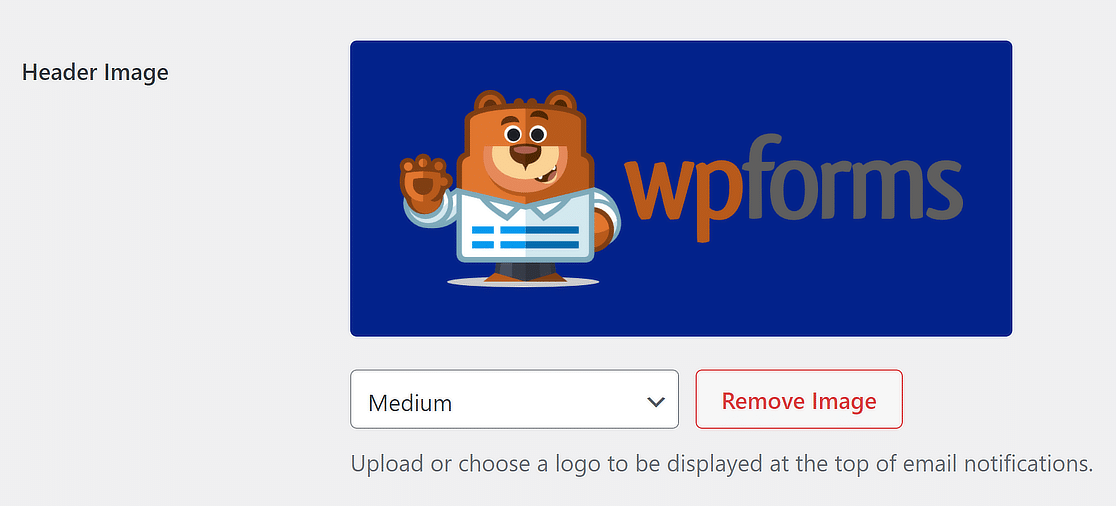
If you want to modify the logo’s size at the top of email notifications, use the dropdown menu with options such as Small, Medium, and Large.
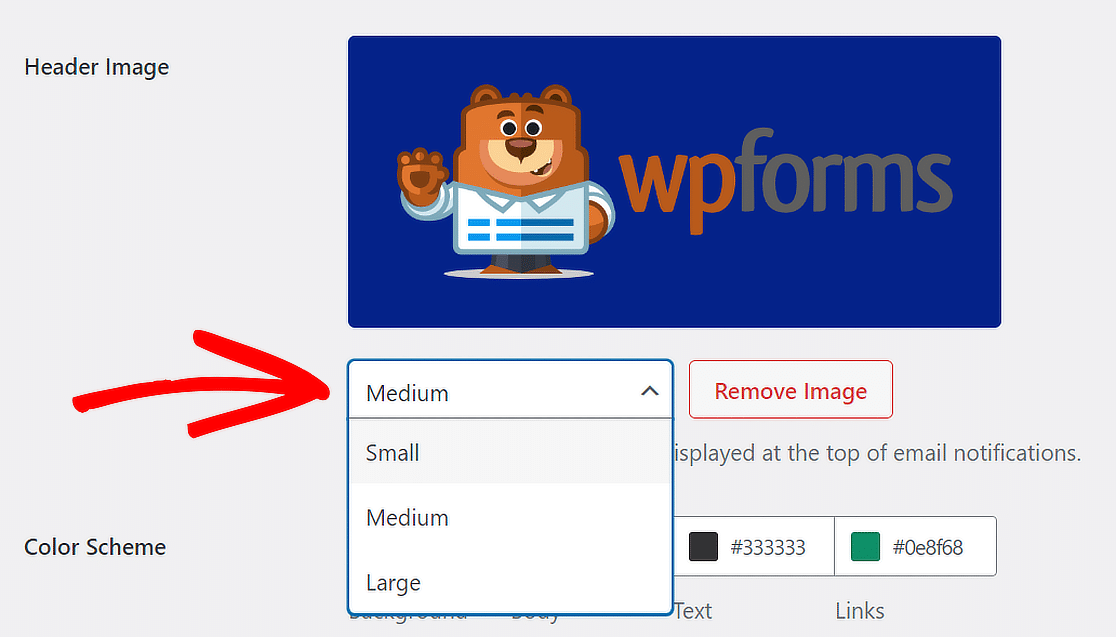
The image resolution changes depending on the size you pick and the user’s screen. To put it another way, if you are reading an email on a phone, it will adjust itself to fit the screen automatically.
Step 4: Change the Color Scheme
You’ll be pleased to hear that WPForms also allows you to adjust the colors in your email through the Color Scheme section.

You can change any of the colors in two ways. You can either type the HEX number into the color field or click on it to get to the color picker.

Where Pro users can adjust the background, body, text, and link colors, Lite users can only modify the background color. Here’s how these options work:
Background
The color you choose for the Background decides how the email template looks on the outside. The background color, in this case, is dark blue.
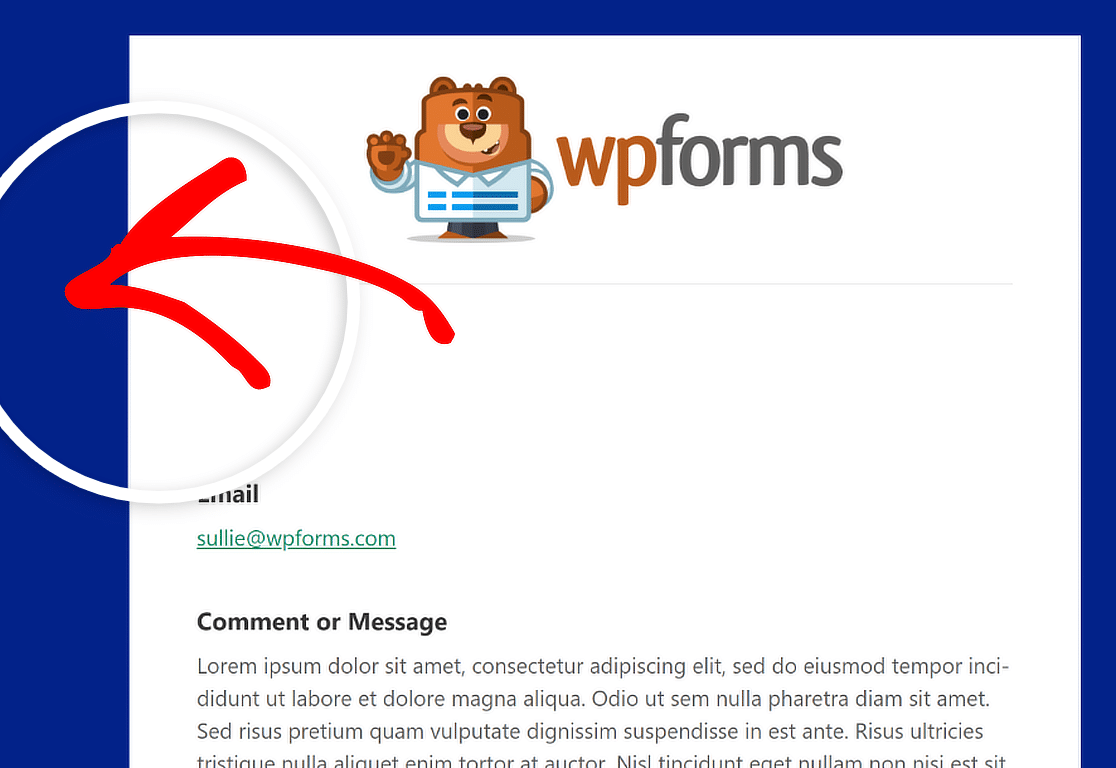
Body
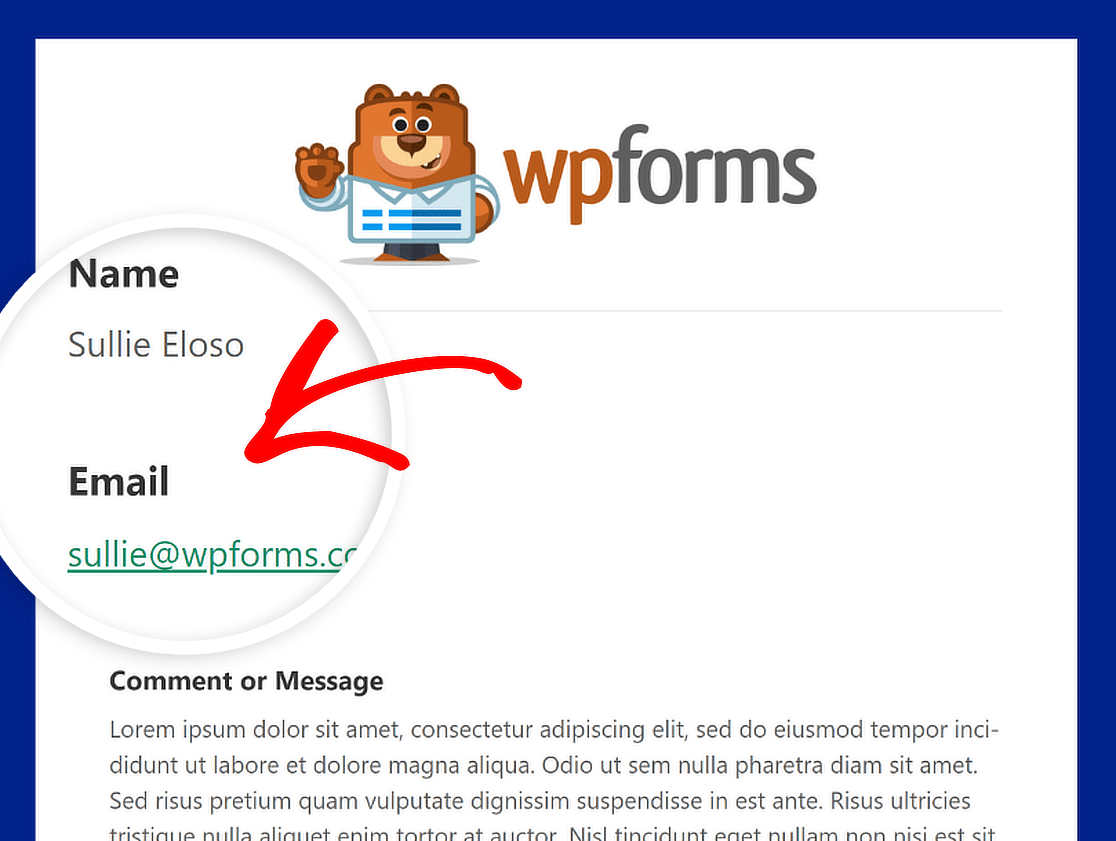
The Body color sets the appearance of the email template container. This is the place where the email notification is stored.
For your reference, here is an example picture of a Body container in a white color scheme. Feel free to change it to anything you like!
Text
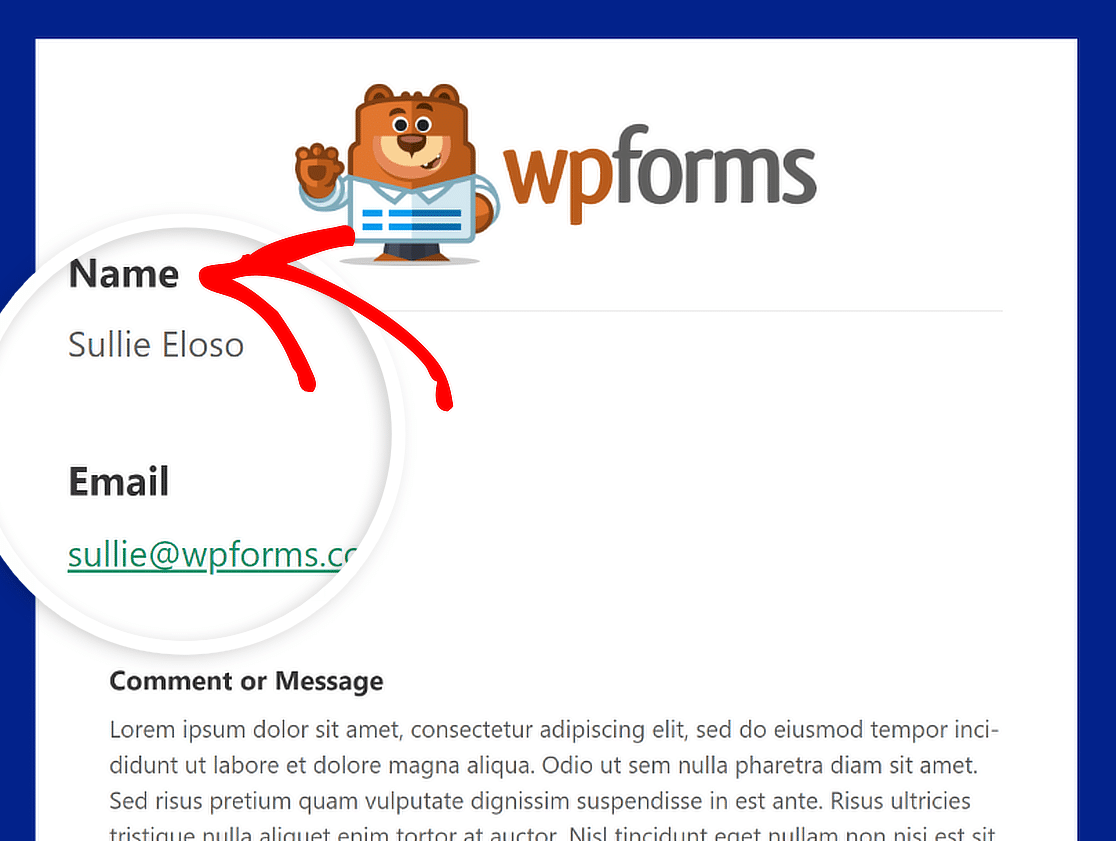
The words in the email notification will all be this color. The default color scheme features a dark Text color, as shown in the image below.
Links
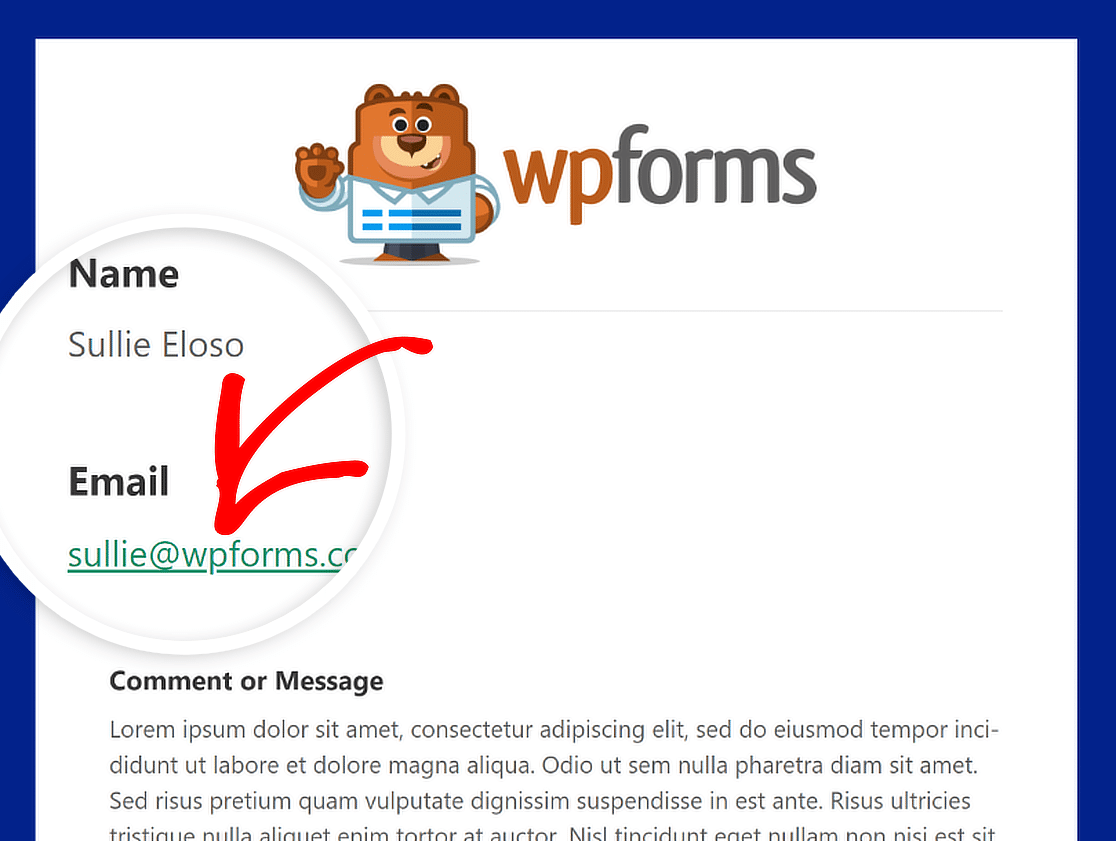
This color applies to all Links in the notification email. The picture below shows an email address that is shown as a link and is displayed in green.
Typography
Typography is crucial in selecting the font family for notification emails sent from your website. WPForms offers support for both Sans Serif and Serif fonts.

To change the font family of your email notification, all you have to do is click on the Typography dropdown and pick the font you want from the list.

Step 5: Preview Your Email Template
When you’re done making changes to your email template, scroll down and click the Save Settings button to keep the changes.

After you’ve saved your changes, you can preview them to see how they would appear in your user’s inbox. Simply click on the Preview Email Template link.

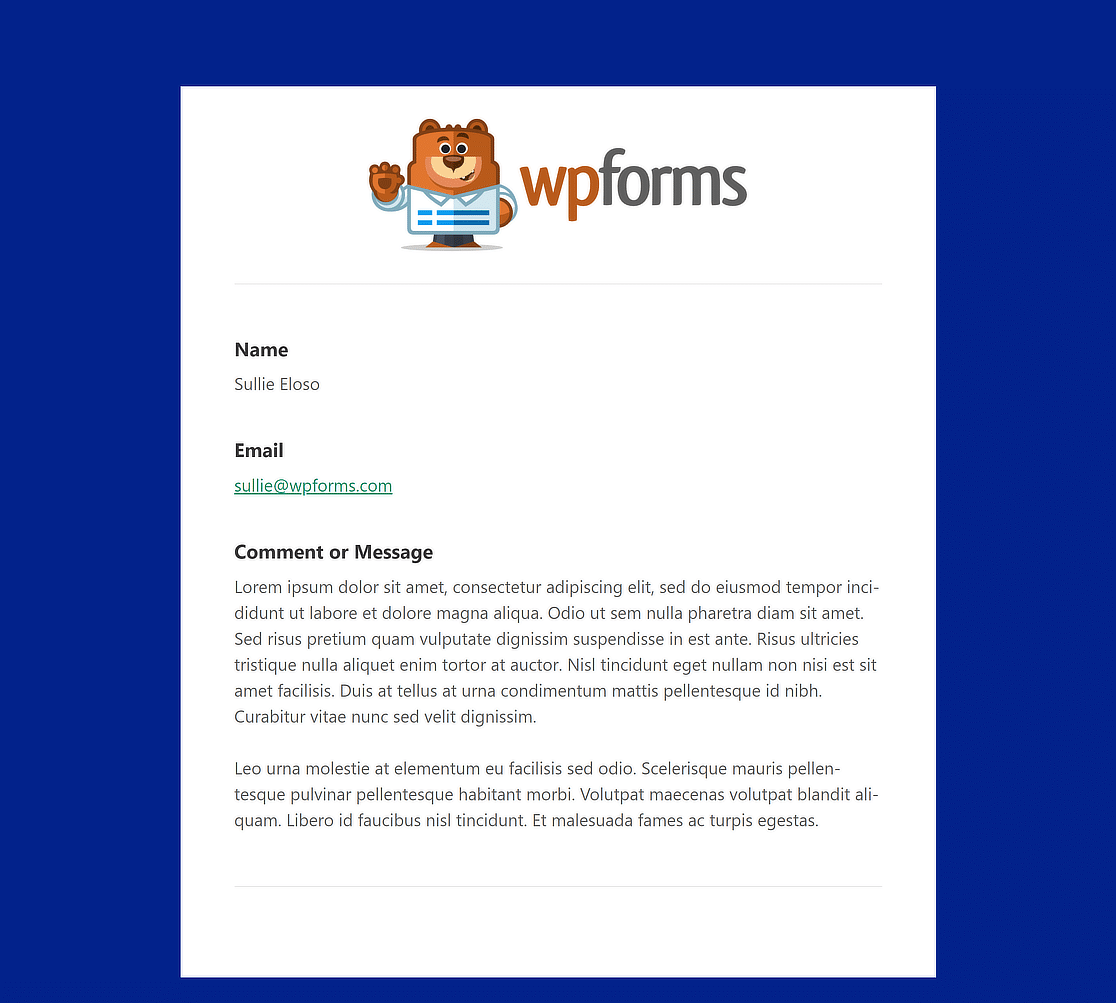
A new tab will open where you can see a sample of your new notification email. What you changed in the settings will show up in the sample as well!
Step 6: Choose Email Templates for Individual Forms
If you want to change the email design for individual forms, that’s possible too. In the form builder, simply navigate to Settings » Notifications.
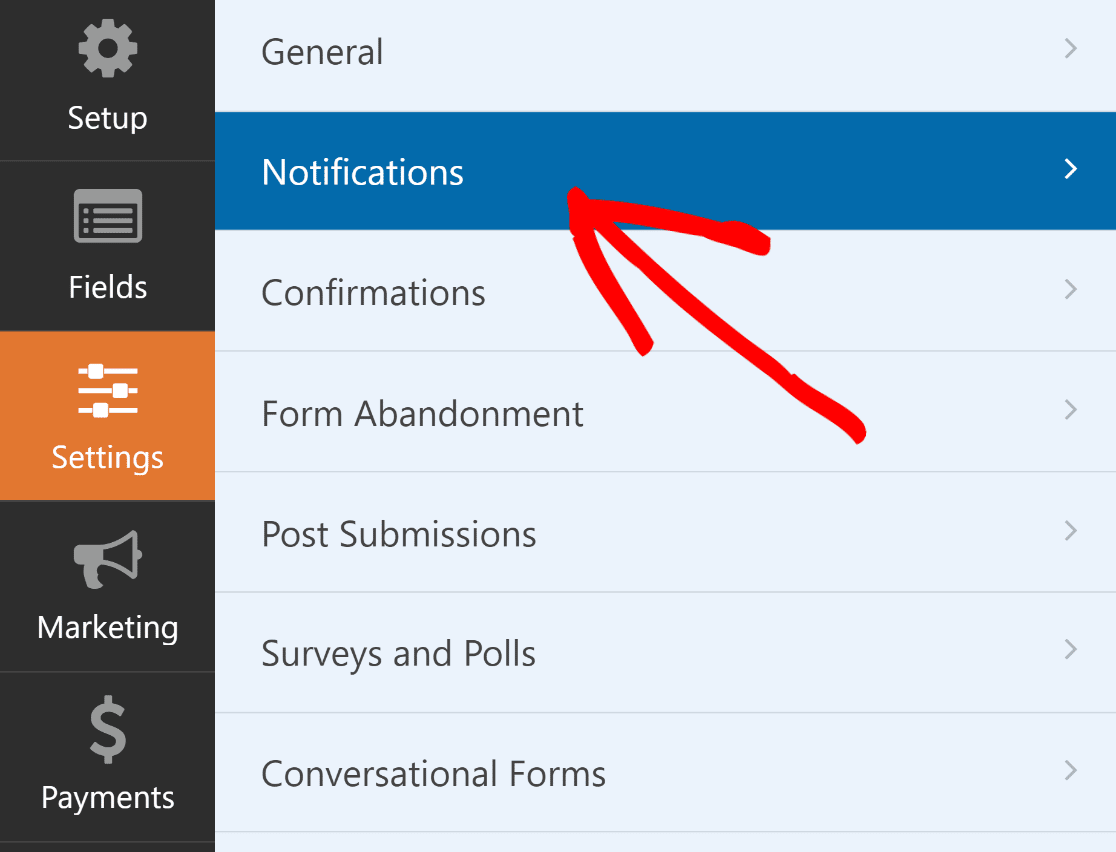
Then, scroll down and click on Advanced to get to the more advanced choices. There should be a dropdown button under Email Template.
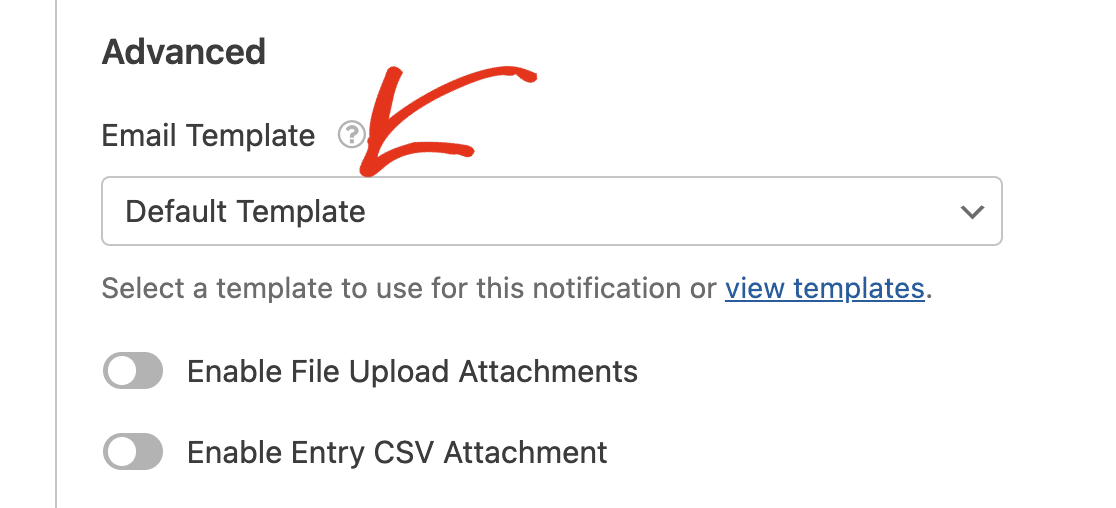
The choice is set to Default Template for all forms on your site. Click on the Email Template dropdown and select the desired template to override this.
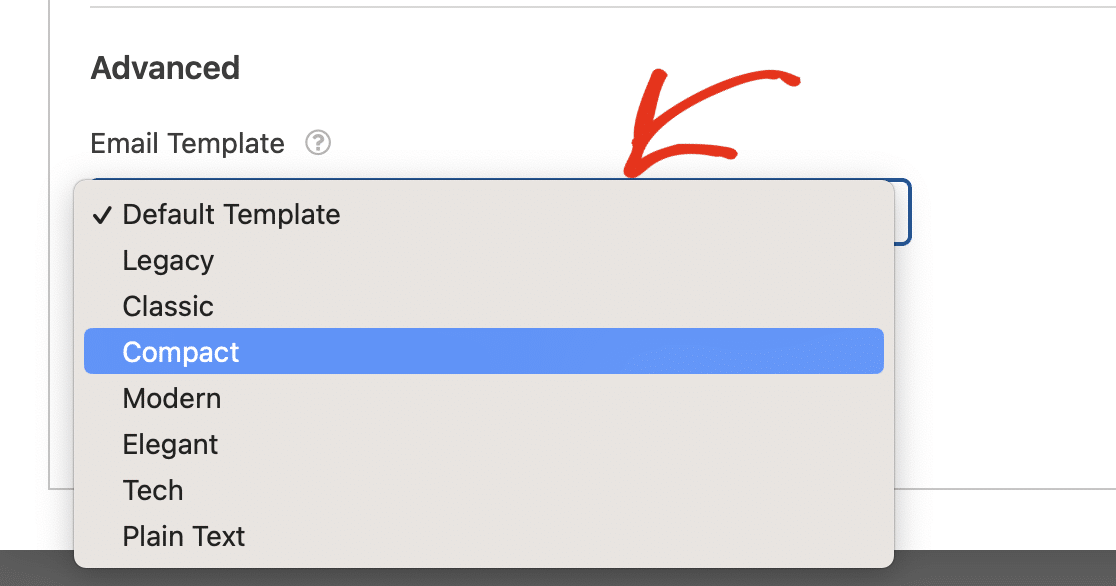
If you’re happy with how your form and email template look, take your form live and let those custom email notifications roll out!

“By customizing your form notifications, you can take control of the branding and design of the email. The WPForms custom email template feature makes this task a cakewalk. You can customize the form emails in minutes and make it consistent with your brand’s design. Highly recommended!”
More Questions about WPForms Custom Email Templates
Looking for answers to your questions? Check out some of the most frequently asked questions we receive about WPForms Custom Email Templates:
How do I change the email template in WPForms?
In the form builder, simply navigate to Settings » Notifications. Then, click on Advanced to get to the more advanced choices. There should be a dropdown button under Email Template. Choose the desired email template from here.
How do I create a custom email template in WordPress?
To create a custom email template, navigate to WPForms » Settings and click the Email tab. Here, you can choose from various templates like Classic, Compact, or Modern. Then, you can customize the template by adding a header image, selecting your preferred color scheme, and choosing a typography style.
How do I customize my email template?
Select the Email tab from WPForms » Settings. You can then choose a template that fits your style and make it your own by adding a header image, changing the colors, and picking out a font in the text area. Use the Preview button to see how your template will look and ensure it fits your brand style guidelines.
Next, Learn How to Attach Files to Form Email Notifications
The WPForms file upload field is a powerful feature that lets website visitors upload files when they fill out a form on the frontend of your site. Check out this guide to learn how to attach these files to your form email notifications.
Create a Custom Email Template Now
Ready to build your form? Get started today with the easiest WordPress form builder plugin. WPForms Pro includes lots of free templates and offers a 14-day money-back guarantee.
If this article helped you out, please follow us on Facebook and Twitter for more free WordPress tutorials and guides.

