
AI Summary
If you’re looking for an easy way to get your WordPress form to send an SMS notification, you’ve come to the right place!
Sending notifications through SMS is an effective conversational marketing tool. You can send welcome messages, coupon codes, offers, discounts, and more, based on form data from customers.
Although the process might seem complex and complicated to set up, I’m going to show you how to do it in just 3 quick and easy steps. You really won’t believe how easy it actually is.
How to Send an SMS Notification From WordPress Forms (Easily)
Before we get started, there are a few tools that you’ll need to follow along with this tutorial. As I explain the steps, they’ll be based on you having the following:
- WPForms: You will need to download and install the WPForms plugin on your website. Please note that you will need the Plus plan or above to access the Twilio addon, which is what makes SMS notifications so easy.
- Twilio Account: You’ll need to go through the process of setting up a Twilio account and obtaining a phone number. This will be necessary to connect Twilio and WPForms.
- Twilio Addon: Make sure you install and activate the Twilio addon in WPForms.

Once you’ve got the tools in place, you’re ready to go.
Here’s a quick overview of the steps we’ll cover.
Let’s get started.
Step 1: Connect WPForms to Twilio
The first order of business is connecting your WPForms to Twilio. To do this, navigate to your WordPress dashboard. Then, from the left sidebar, click on WPForms » Settings and select the Integrations tab.

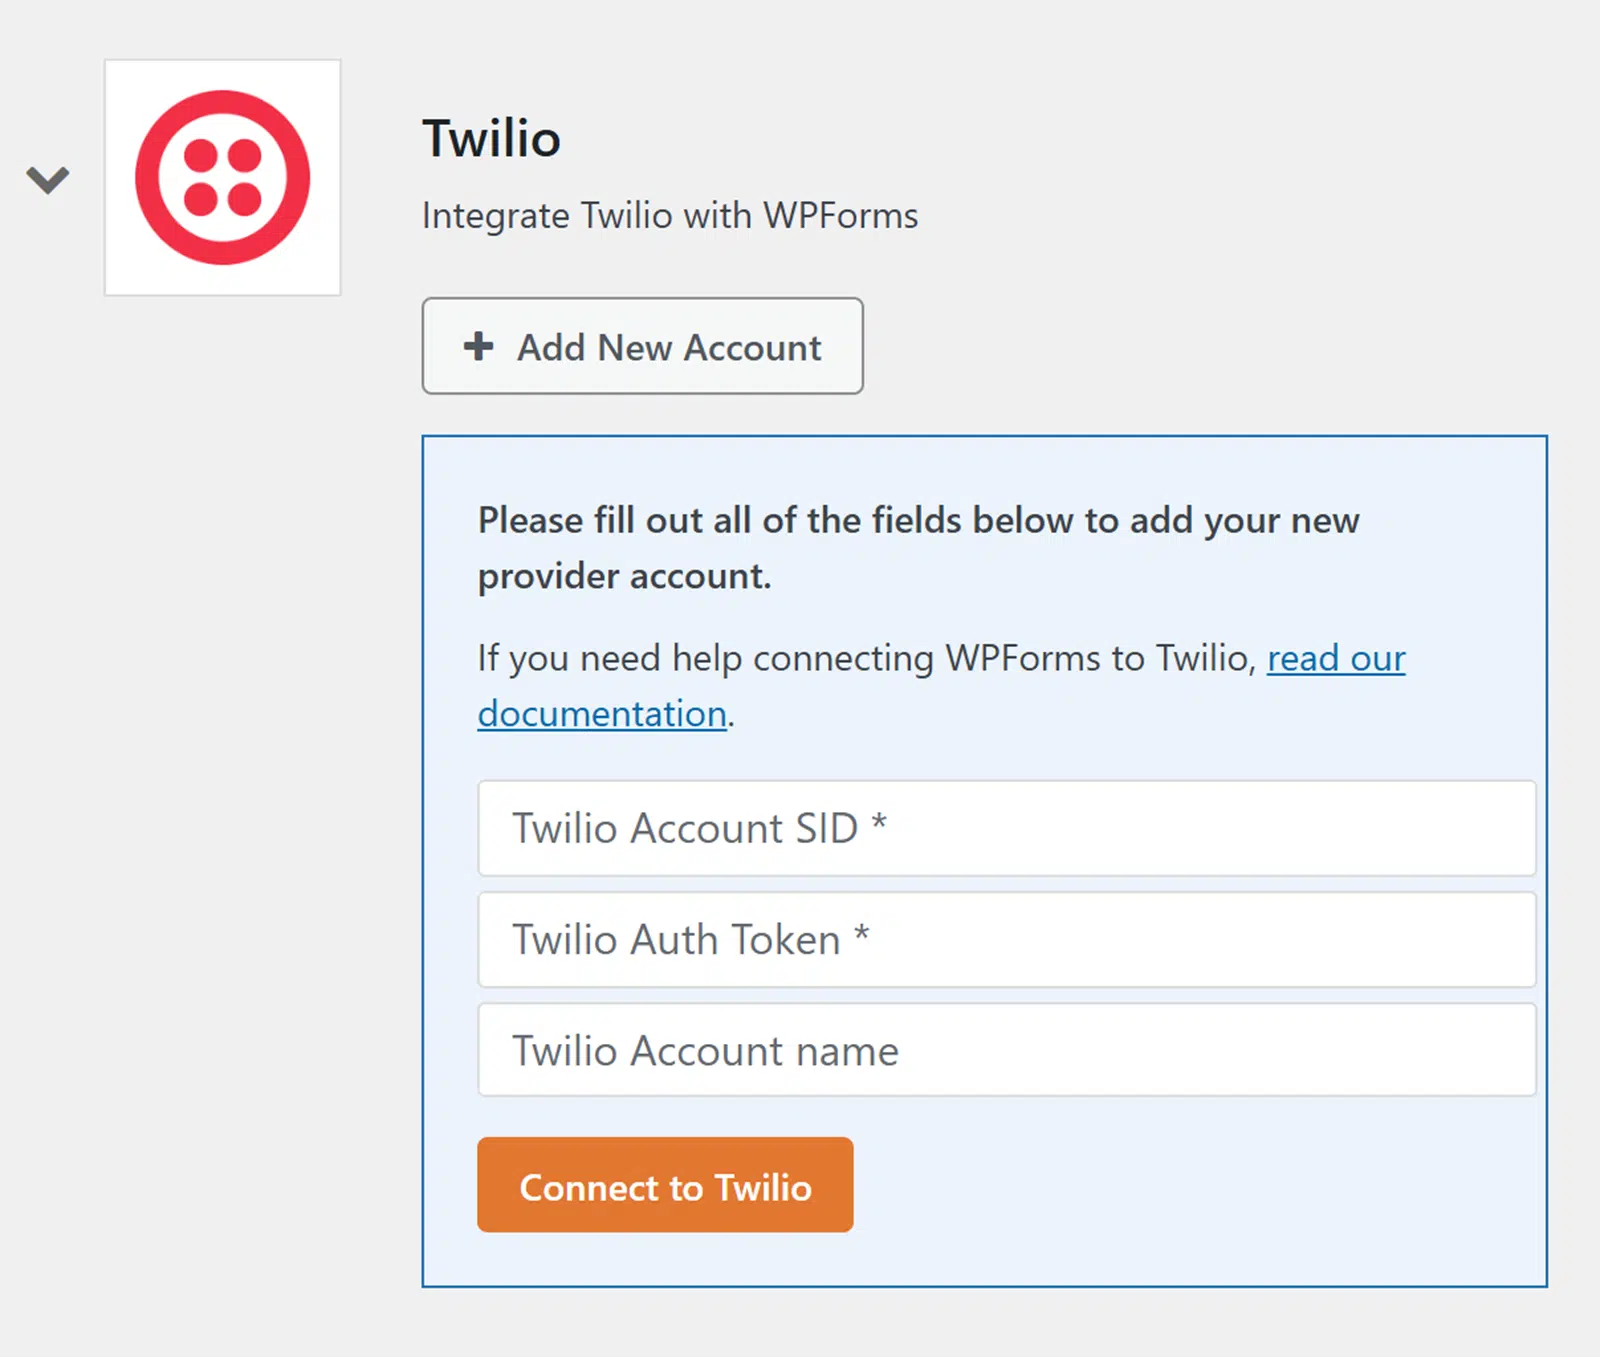
Locate and click on Twilio to expand the options. Then click on the Add New Account button.

You’ll see that you need to provide some information about your Twilio account to connect with WPForms.
If you haven’t already, open Twilio in another tab. At this stage, it helps to have your Twilio account open in one tab and WPForms in another so that you can copy and paste the information you need to complete this step.
On your Twilio dashboard, locate the Account Info section. Here you’ll find your Account SID and Auth Token.
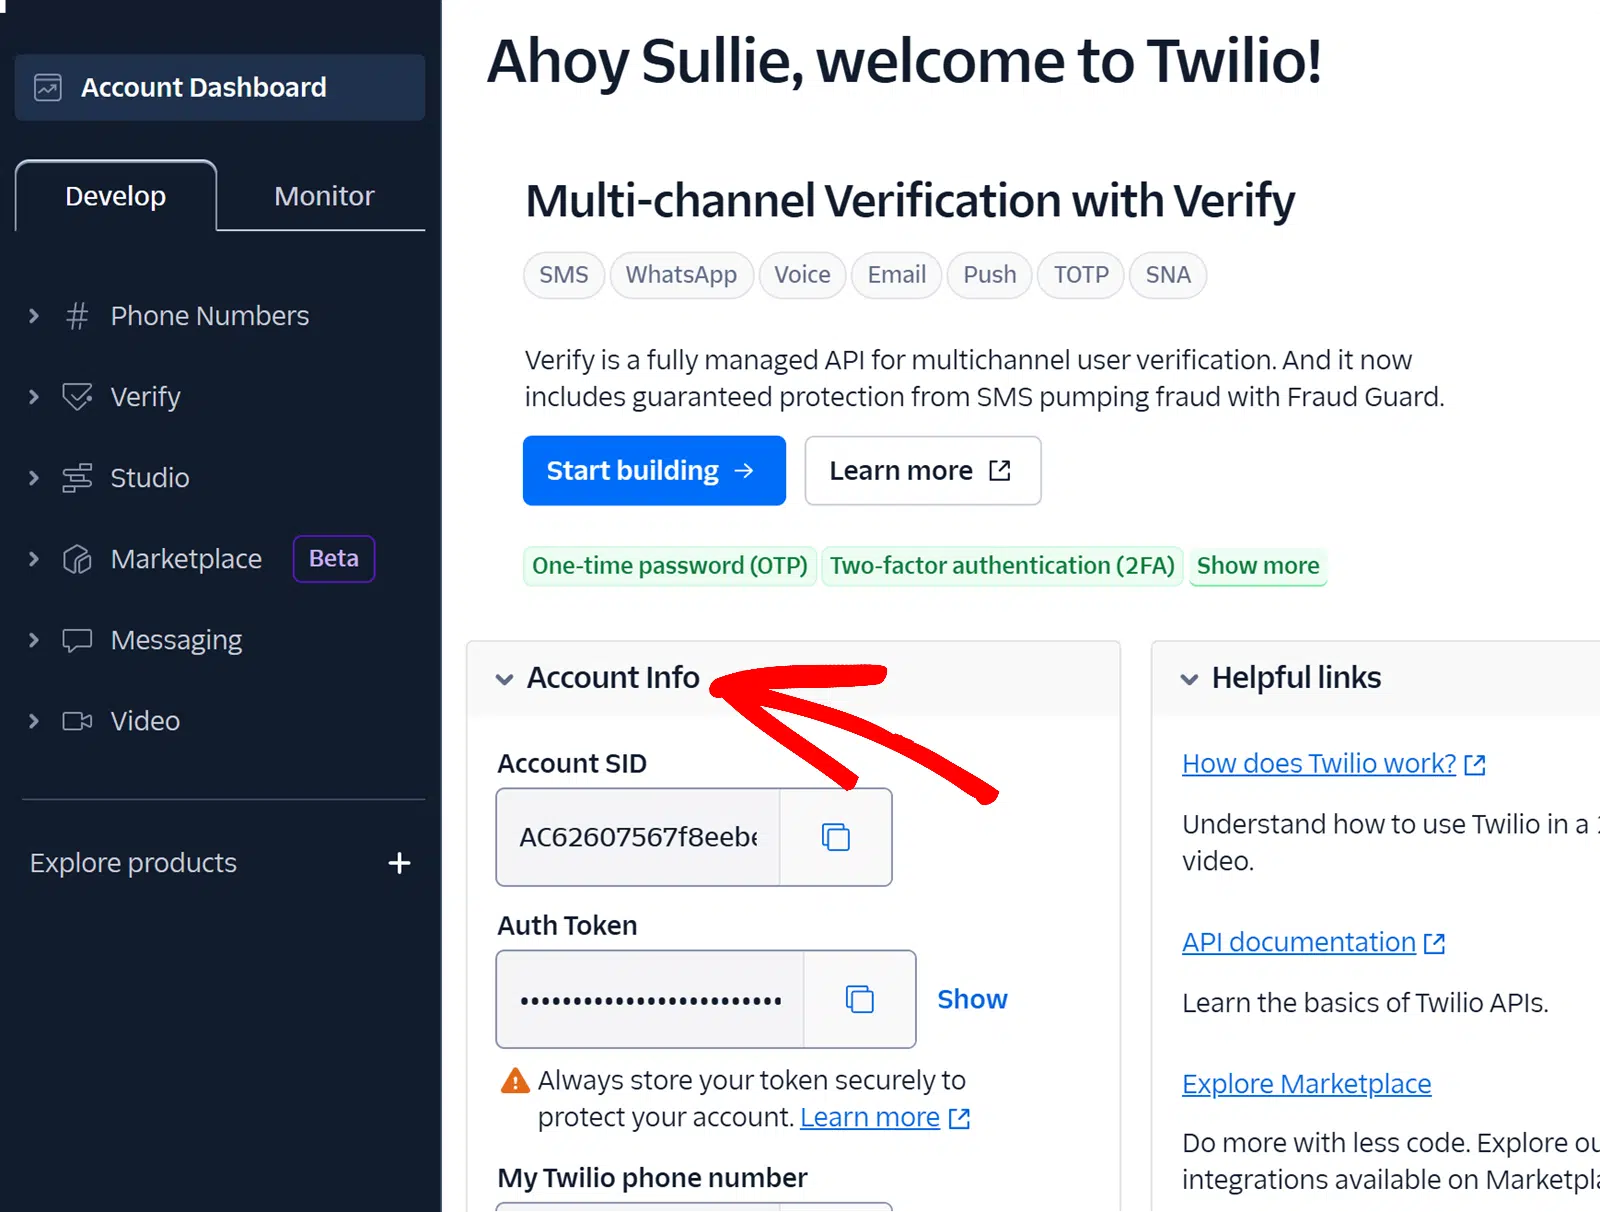
Copy and paste the Account SID and Auth Token from Twilio to their respective fields in WPForms.
The last field asks you for a Twilio Account Name. This is strictly internal and just to help you differentiate between different accounts if you have them. You can name this whatever you’d like.
When you’re finished, click Connect to Twilio.

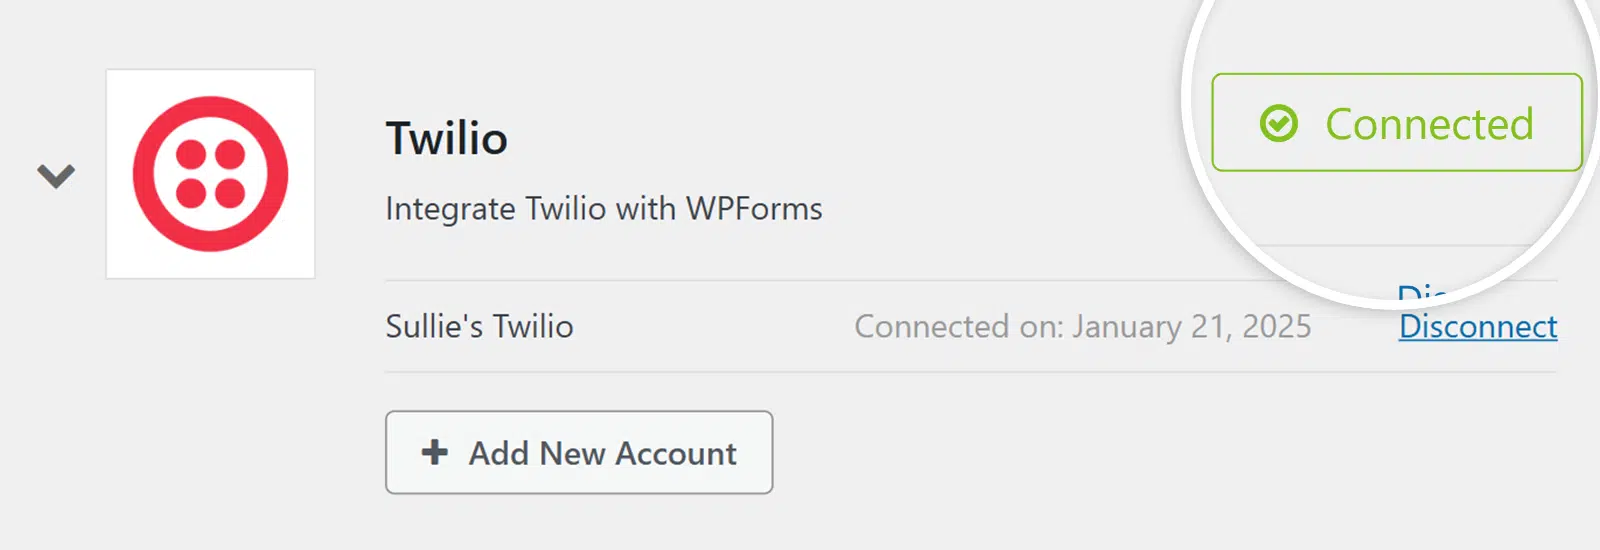
Now you should see that the Twilio integration is connected.
What This Step Means
The first step in being able to send SMS notifications through your WordPress form is to establish a connection between your Twilio account and WPForms. Think of it like the 2 platforms shaking hands. They’re ready to work together.
Next, I’ll show you how to give them something to work with so that your form can send SMS notifications.
Step 2: Create Your WordPress Form With WPForms
Now you’re going to need the form that you’re planning to use to trigger the SMS notification. In this step, you’ll take your Twilio connection from WPForms as a whole to your specific form.
I don’t know about you, but I find form-building to be very relaxing. WPForms has so many features and I find it very soothing to drag and drop form fields into place and create something that will make an impact on users.
So, in other words, this is the fun part. 🙂
There are 2 ways to build a form. You can either create a form, or you can use a template. WPForms has 2,100+ form templates, and they’re all fully customizable.
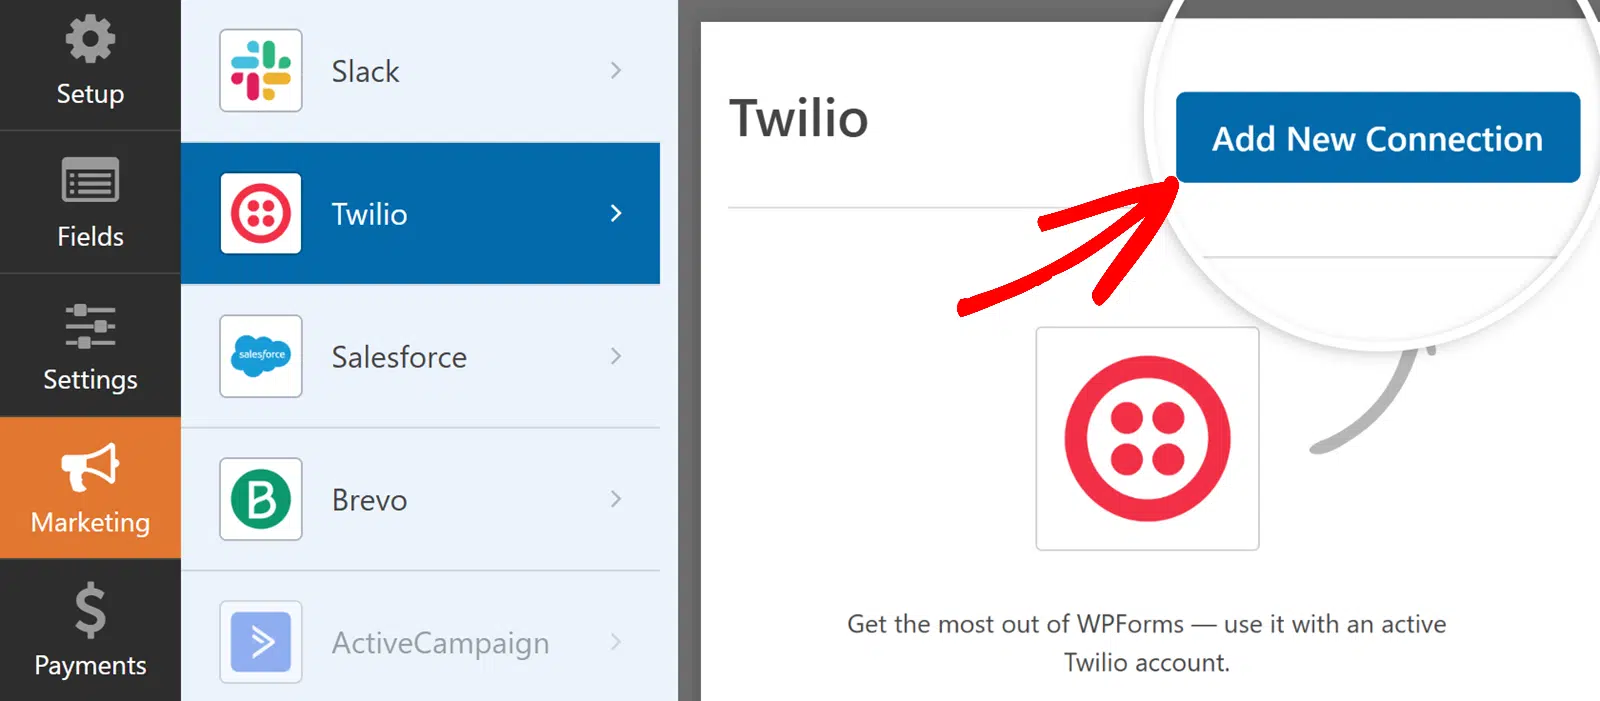
When your form is complete and loaded in the form builder, click on Marketing in the left side menu.
Your options will vary depending on which addons you’ve installed. Find and click on Twilio. Then click on the button that says Add New Connection.
Go ahead and give the connection a name and click OK. This is also for internal use only and is just meant to help you differentiate between multiple connections if you have them.

Now you’re going to get into the specifics. As you make selections, more options will appear based on those selections.
First, select your Twilio account under Select Account. This is going to be based on the plugin integration that you set up already in Step 1. If you only connected a single account, then that’s the only option you’ll see.

After selecting your account, you’ll specify whether you want to Send As SMS or WhatsApp. Select SMS.

After selecting SMS, you will need to choose which of your Twilio numbers you want to use to send your notifications. This is the Send From field.

Next, select the recipient in the Send To field. There are 2 options here.
Using Phone Fields
If you select the Phone Fields option, the notifications will go to the people who submit your forms, using the phone number they provide there.

After selecting Phone Fields, another dropdown will let you select the form field you want to connect. This will most likely be the one where they provide their phone number.
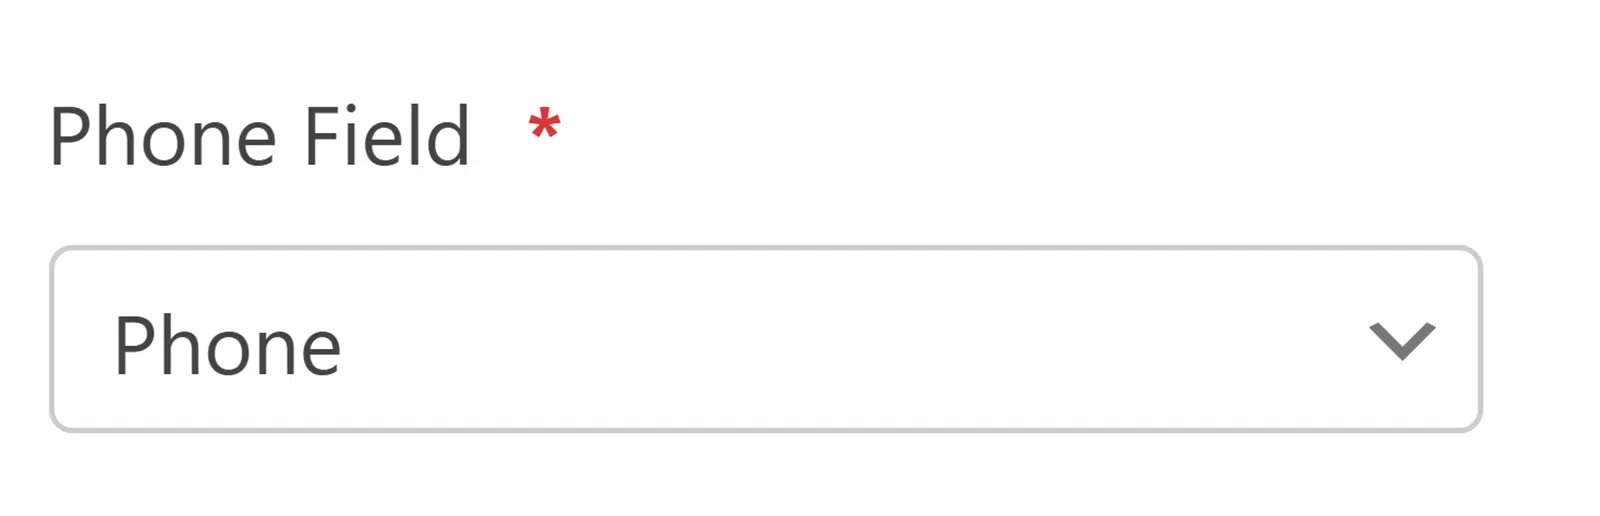
Remember, this is the connection between Twilio and your specific form now. You’re in that form’s settings, so you’ll have that form’s fields to work with.
Using a Verified Phone Number
The other option is to send your notification to a number that you have previously already verified in your Twilio account. If you select Verified Phone Number, a dropdown will give you a list of all of those numbers for you to choose one.

The verified phone number is good for if you need someone on your team to get an immediate notification of a form submission, say.
Otherwise, if you’re looking to send notifications to multiple users who submit your form, you probably want to use the phone fields.
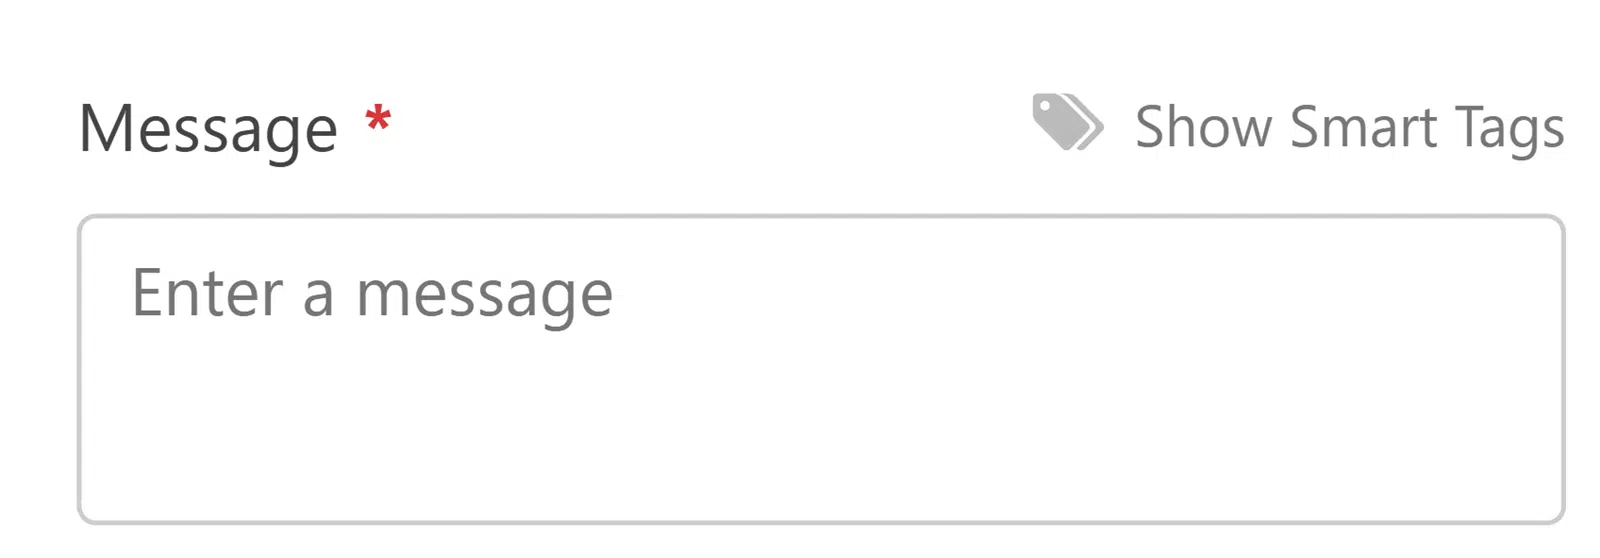
Finally, you’ll write the message you want to send in the Message field. Use the Smart Tags to further personalize your message. They’ll pull information from the form fields you’ve included. Just keep character limits in mind and how the Smart Tags will affect those.
Nice work! Now don’t forget to save it!

When you’re ready to publish the form to your site, you’ll embed it on the page where you want it to appear and it will start collecting submissions!
What This Step Means
In the first step, you connected your Twilio account to WPForms. I told you to think about it like the 2 platforms shaking hands. In this second step, think of it like they worked together on a specific project (your form).
In this second step, you extended the connection from Twilio to WPForms to include your specific form. This form is now connected to Twilio and able to send SMS notifications as it collects information from submissions.
Step 3: View Delivery Status and Message Logs
After your form is formed and your settings are set, all that’s left to do is monitor. You can do this through WPForms or through your Twilio dashboard.
Monitor Through WPForms
From your WordPress dashboard, go the left sidebar navigation and click on WPForms » Tools. On that screen, select the Logs tab.

Monitor Through Twilio
From your Twilio dashboard, select the Monitor tab in the left navigational sidebar. Then go to Logs » Messaging to view programmable messaging logs. This includes delivery status, timestamp, content, recipient, and errors.

That’s all there is to it!
Next, Boost Your Conversational Marketing Skills
Sending messages from your WordPress form as an SMS notification to users is just one way to engage in conversational marketing. There’s so much more you can do to attract and engage customers with personalization and conversation.
Check out our guide to conversational marketing examples and customer engagement tools for more!
Ready to build your form? Get started today with the easiest WordPress form builder plugin. WPForms Pro includes lots of free templates and offers a 14-day money-back guarantee.
If this article helped you out, please follow us on Facebook and Twitter for more free WordPress tutorials and guides.


This is ridiculous. Why do I need 3 applications just to send a text message.
Hi Justin,
I’m apologize for the frustration but since we currently don’t have a built-in feature for to send out text messages, this is a workaround we have for the time being.
Thanks!
How can I make clients who fill my form also receive SMS confirmation that their form have been submitted
Hi Kalu,
We don’t have a way to do this right now, but I’ve made a note on our feature request list so we can keep it on our radar! Thanks for the suggestion 🙂
Is there a way to connect the “to number” to the telephone value inserted in the form? This way I could send SMS to the users that have submitted a form.
Hi Laurent,
We don’t have a way to do this right now, but I’ve made a note on our feature request list so we can keep it on our radar! Thanks for the suggestion 🙂
Hello,
I was wondering whether this has become possible now?
Hey Sebastian, I apologize that we don’t have this feature ready yet. Giving an estimated time when the feature may be released is not possible at the moment but I will share this feedback with our team. I apologize for the same.
I’ve noted your interest in this feature and added your email to our list to receive updates about this feature.
Thanks!
first i have to purchase wpforms license, then install zapier and then twilio,
and i can add my mobile number where i will get message when someone submit wpform. right?
Hey Umar – Yes, you are absolutely correct! You will need our Pro License for Zapier addon. In Twilio settings, you can set up any of your numbers where you want to get the messages from Twilio when someone fills the form.
For more help, please feel welcome to reach out to the support team. If you have a WPForms license, you have access to our email support, so please submit a support ticket.
Otherwise, we provide limited complimentary support in the WPForms Lite WordPress.org support forum.
Thanks 🙂
When someone fills a contact form with a message or subscribes where does the message or subscription notification go?
I just created a contact form for my blog and tried sending a message through that form just to test it. But I haven’t received any email for that message.
Hey Jui – Could you please go through this tutorial on how to set up form notification? Once this is done, your notifications will go to the email address which you have set in the Send To field.
For further help on this, please drop us a line in support so we can assist.If you have a WPForms license, you have access to our email support, so please submit a support ticket. Otherwise, we provide limited complimentary support in the WPForms Lite WordPress.org support forum.
Thanks 🙂
there is any system for whatsapp message?
Hey Pradipkumar – I’m afraid we don’t have an integration with WhatsApp, though I do agree it would be super helpful. I’ve added a vote to the feature request list and we’ll keep it on our radar as we continue to plan out our future roadmap.
I apologize for the inconvenience.
text message goes to user also?
Hi there! Whether or not the SMS goes to the user depends on how your SMS plugin has been configured. As it is not default functionality of WPForms, please refer to the team that supports your SMS plugin on if and how this can be done.
I hope this helps to clarify 🙂 If you have any further questions about this, please contact us if you have an active subscription. If you do not, don’t hesitate to drop us some questions in our support forums.
Hard coding the from and to numbers won’t work. In a scenario where random members are trying to connect via a directory the from and to numbers are both variable. Am surprised nobody thought of this.
Hi there,
In order to make sure we answer your question as thoroughly as possible, could you please contact our team with some additional details about what you’re looking to do?
Thanks! 🙂