AI Summary
If your employee write-ups live in Word documents, each one gets printed for a signature and filed in a drawer. When the same problem comes back months later, nobody can find the last one.
This guide gives you a free employee write-up form template to copy, plus a private online version in WordPress where the employee signs on the spot and HR hears about each write-up the moment it’s filed.
Create Your Employee Write-Up Form Now! 🙂
How to Create an Employee Write-Up Form Online in WordPress
Online, each write-up becomes a private entry in your WordPress dashboard that only the people you choose can open.
Before a manager writes the next one, they can pull up an employee’s earlier warnings with a single search. This setup suits small business owners and HR teams that don’t have a dedicated HR system.
- What to Include in an Employee Write-Up Form (Free Template)
- Step 1: Install the WPForms Pro Plugin
- Step 2: Create Your Form From the Write Up Form Template
- Step 3: Add Warning Levels, Policy Details, and Evidence Uploads
- Step 4: Set Up the Employee Acknowledgment and Signature
- Step 5: Notify HR and Send the Employee a Copy
- Step 6: Keep Write-Ups Private and Find Past Records
What to Include in an Employee Write-Up Form (Free Template)
Paper or online, a good write-up answers the same questions about who was involved, what happened, which rule it broke, and what comes next.
Use this checklist to write your own, or copy the employee write-up form template below it. Every employee write-up form should include these 12 things.
- The employee’s name, job title, and department
- The supervisor or manager issuing the write-up
- The date of the write-up
- The date, time, and location of the incident
- The type of violation and the policy it breaks
- A factual description of what happened
- Witnesses and any supporting evidence
- Previous warnings for the same issue
- The warning level, from a documented verbal warning up to a suspension
- The corrective action and the improvement you expect, with a deadline
- The consequences if the problem continues
- The employee’s statement, an acknowledgment, and signatures with dates
Before you use it, check the wording against your employee handbook and your local employment law. A fillable PDF still has to be signed and emailed back, which is how write-ups end up scattered across inboxes.
If you’re deciding between an online form or a fillable PDF, the online form puts every write-up in one place you can search, and that’s the version we’ll build next.
Step 1: Install the WPForms Pro Plugin
WPForms gives you a drag and drop form builder with 2,100+ form templates, including ready-made HR forms like the Write Up Form template, which covers most of the incident details before you add a single field.
What I like most about using WPForms for write-ups is that photos and documents sit in the same entry as the employee’s signature, instead of in a manager’s inbox.
The Write Up Form template and the Signature field that lets you collect signatures from any device are both part of WPForms Pro, along with the PDF and Form Locker addons.
Basic covers stored entries and file uploads with access restrictions, plus extra notifications with conditional logic. The free Lite version only emails you each submission without saving it in your dashboard, which the FAQ explains.
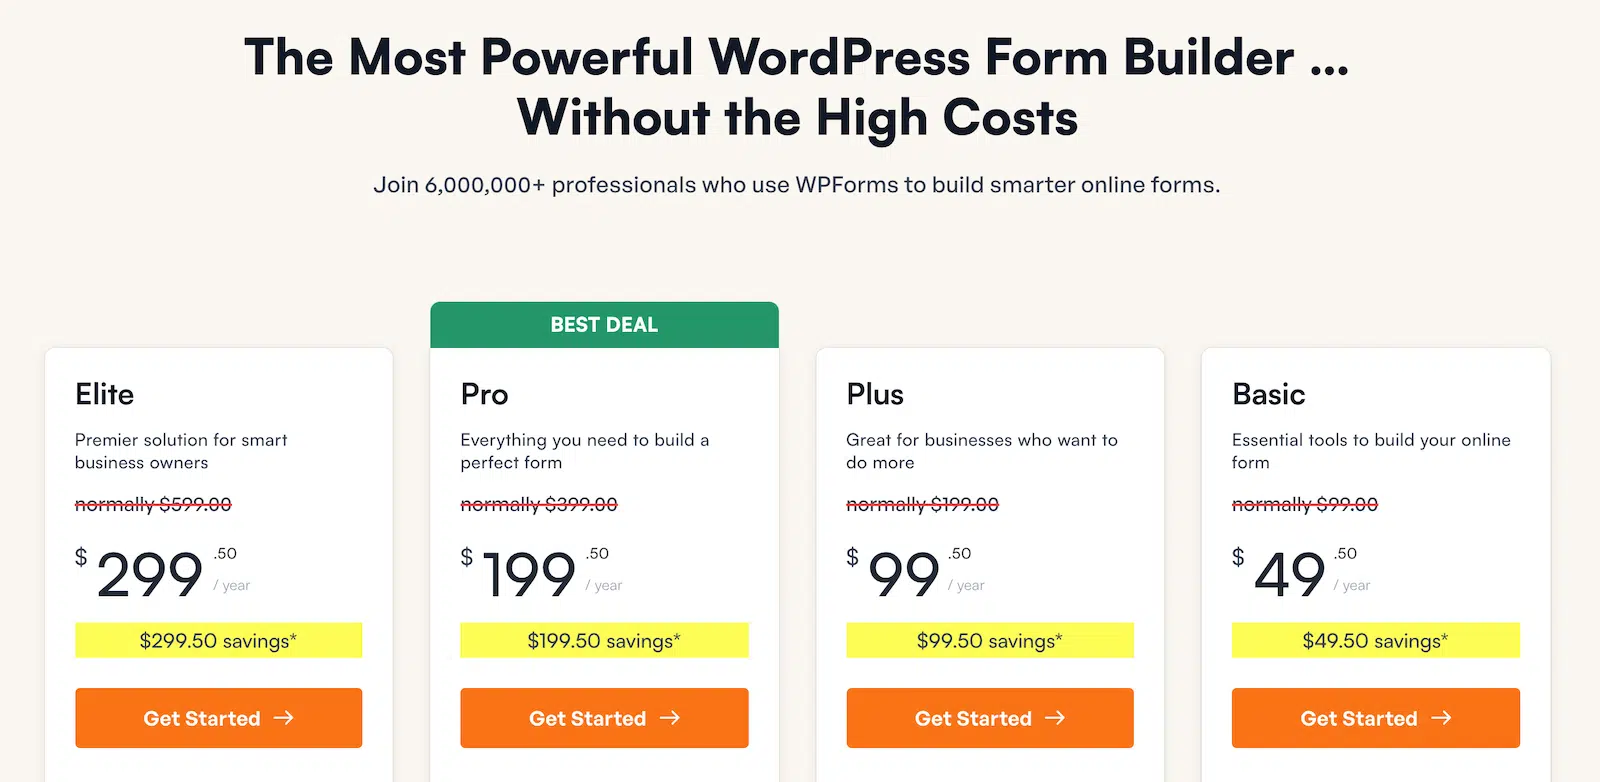
To get started, buy the Pro license. Then, install WPForms on your website. If you need help, follow these instructions on how to add a plugin to WordPress.
Step 2: Create Your Form From the Write Up Form Template
You’ll build on the Write Up Form template, which already has 13 fields in place. Before you load it, install the Form Locker and PDF addons that Steps 5 and 6 rely on.
Go to WPForms » Addons and type Form Locker into the search box. Click Install Addon on its card, and WPForms downloads and activates it in one step.

Once the card reads Activated, search for PDF and install that addon the same way.
Now open WPForms » Add New. At the top of the screen, type a name for your form, such as Employee Write-Up Form.
In the template search box, type “write up” to narrow the library down.

Hover over the Write Up Form card and click Use Template.
If the Signatures addon isn’t active yet, WPForms offers to install and activate it for you. The builder then opens with the template’s fields already on the canvas.

The template already asks for four groups of details.
- The people: The employee’s name, email, and department, plus the supervisor’s name.
- The incident: The date and time, the location, a description, and any witnesses.
- The response: The corrective action taken and the improvement you expect.
- The employee’s side: A statement, the date, and the employee’s signature.
The Write Up Form template page has a live preview if you’d like to click through the form the way a supervisor would.
Step 3: Add Warning Levels, Policy Details, and Evidence Uploads
Next, add the fields that tie each write-up to your discipline policy.
From Standard Fields, drag a Multiple Choice field onto the canvas just below Witnesses (If Any) and label it Warning Level.
Replace its choices with your own discipline steps, such as Verbal Warning (Documented), First Written Warning, Final Written Warning, and Suspension.
Switch on Required as well, because every write-up needs a level.

I’d pick Multiple Choice over Dropdown here, since a dropdown without placeholder text selects its first choice by default.
Below it, add a Checkboxes field labeled Type of Violation, with choices for Attendance or Punctuality, Conduct or Behavior, Performance, Safety, and Company Policy.
Then add two Paragraph Text fields named Previous Warnings and Consequences If Not Corrected. After that, add a Date / Time field called Follow-Up Date and set its Format to Date.

Now drag a File Upload field onto the form and label it Supporting Evidence. In Allowed File Extensions, list the file types you’ll accept, such as pdf, jpg, png, and docx.
Open the field’s Advanced tab and switch on Enable File Access Restrictions. Set User Restriction to Logged-in Users, then choose only the roles that handle HR under User Roles, such as Administrator and Editor.

With these restrictions on, a link to an uploaded photo or document only opens for logged-in users with those roles.
Restricted files also can’t be attached to notification emails, which keeps the evidence inside WordPress. You can read more about how to restrict who can open uploaded files in the docs.
If your policy also asks for a job title or an employee ID, add a Single Line Text field for each one before you move on.
Step 4: Set Up the Employee Acknowledgment and Signature
An acknowledgment line tells the employee exactly what their signature means. Drag a Checkboxes field onto the canvas just above Employee’s Signature and label it Employee Acknowledgment.
Delete two of the default choices. In the one that’s left, type “I have received this write-up. My signature confirms receipt, not agreement.” Turn on Required, and the form won’t submit until the box is checked.

Next, click the Employee’s Signature field and open its Advanced tab. The Input Method setting gives the employee two ways to sign.
- Draw: The default, where the employee signs with a finger or a mouse, which suits a tablet passed across the table.
- Type: The employee types their name, and WPForms turns it into a handwriting-style signature saved as an image, which suits a laptop.

For employees who refuse to sign, add a Checkboxes field at the bottom of the form called Employee Declined to Sign, with a single choice. Below it, add a Single Line Text field called Witness Name and a Signature field called Witness Signature.
Click Witness Signature and open its Smart Logic tab. Switch on Enable Conditional Logic and set the rule to Show this field when Employee Declined to Sign is checked.

Add the same rule to Witness Name.
Then give Employee Acknowledgment and Employee’s Signature the same rule with Hide selected, which keeps a refusal from blocking the form. These show and hide rules come from WPForms’ conditional logic.
Click Save, then click Preview to open the form. Fill it in on the device you’ll use in write-up meetings. Then check the acknowledgment box and sign the pad the way an employee would.

Each signature is saved as a PNG image alongside the rest of the entry. The Signature addon documentation covers the other options, like ink color for drawn signatures.
Step 5: Notify HR and Send the Employee a Copy
Each write-up can trigger up to three emails, depending on its warning level. In the builder, open Settings » Notifications. On the Default Notification, change Send To Email Address to your HR inbox.
Then replace {all_fields} in the Email Message box with a short note and the {entry_details_url} smart tag. HR still gets an instant alert with a link to the write-up, and the details stay in WordPress behind a login.

Next, click Add New Notification and name it Final Warning Alert. Set its Send To Email Address to the business owner or your HR lead, and give it the same short Email Message you wrote for HR.
Scroll down and switch on Enable Conditional Logic. Set it to Send this notification if Warning Level is Final Written Warning. Click Add New Group and add a second rule for Suspension.

The docs explain how to send a notification only when a condition is met if you’d like to route other warning levels, too. Add one more notification and call it Employee Copy. I
n Send To Email Address, click the tag icon at the right end of the box and choose the Email field to address it to the employee. Then change the Email Subject Line to something like A copy of your write-up.

Now open Settings » PDF, which the PDF addon adds to the builder, and click Add New PDF. Name it something like Write-Up Record.
A new PDF attaches to the Default Notification at first, so remove that under Notifications and select Employee Copy instead.

The preview on the left uses sample data, but the real PDF pulls in every field on the form, including the signature.
WPForms generates it on its own servers and doesn’t store the entry data afterward, as the note at the top of the PDF settings explains. Once Employee Copy is selected, click Save to keep these PDF settings.
Step 6: Keep Write-Ups Private and Find Past Records
Last, lock the form to logged-in managers and decide who can read its entries.
Before the form goes on a page, open Settings » Form Locker, which the Form Locker addon adds to the builder. Switch on Logged-In Users Only and add a short message for anyone who isn’t logged in.

Then click Embed and choose Create New Page. Name the page Employee Write-Up and publish it.
To check an employee’s history, go to WPForms » Entries and click your form’s name.
Use the gear icon in the table header to replace the Email and Department columns with Warning Level and Type of Violation, then click Save Changes.
In the search bar, choose Employee’s Name and type the employee’s name. Click Search to list every write-up they’ve had.

That list is what a supervisor should check before filling in Previous Warnings on a new write-up. Click View on any entry to open the full record, including the employee’s signature.

Use Add Note to log follow-up meetings. For a personnel file, click Print, Export (CSV), or Export (XLSX). To get every write-up into one spreadsheet, you can export your entries to a CSV file.
Each entry also shows the User who filed it. Since only administrators can see WPForms entries by default, go to WPForms » Settings » Access and add your HR manager’s role, such as Editor, to both View Entries boxes.

The second box covers forms other users created, so it’s the one that opens this form to your HR manager. WPForms also offers to add the role to View Forms, since viewing entries requires it.
Because these permissions cover entries on every form on your site, give them only to the people who handle HR. The Access Controls doc explains what each permission includes.
And that’s it! Your write-up form is ready for your next meeting.
Start Filing Write-Ups Online Today! 🙂
FAQs About Employee Write-Up Forms
Write-ups raise the same handful of questions, from whether an employee has to sign to how a write-up form differs from a disciplinary action form.
What is an employee write-up form?
An employee write-up form is a written record of a specific conduct or performance problem at work. It spells out the rule that was broken and what has to change.
The employee signs it to confirm they received it, and HR keeps it in their personnel file alongside any earlier warnings.
How do you write up an employee?
Meet with the employee in private and go through the write-up in this order.
- Describe what happened, with dates and specifics.
- Name the policy it broke.
- Explain what has to change and by when.
- Let the employee respond in their own words.
- Both of you sign and date it.
- Give the employee a copy and file the original.
The free template earlier in this guide follows the same order.
How many write-ups can an employee get before being fired?
Each company sets its own rules, so there’s no universal number of write-ups before termination. A common pattern is a documented verbal warning, then one or two written warnings with the last one marked final, then termination. Serious misconduct, like theft or violence, can lead to dismissal right away.
Most jobs in the United States are at-will, so employers usually don’t have to give warnings before letting someone go. Your employee handbook sets the rule in practice, and since this isn’t legal advice, check with an employment lawyer if you’re unsure.
How do I write up an employee for unprofessional behavior?
Stick to what you saw or heard and when it happened, then name the policy it breaks and the change you expect to see.
Leave out personality labels, because “had a bad attitude” gives the employee nothing to fix, while “raised their voice at a coworker in front of customers on Saturday” tells them exactly what to change.
Does an employee have to sign a write-up?
In most US workplaces, an employee’s signature confirms they received the write-up and says nothing about whether they agree with it.
Employees generally can’t be forced to sign, so if someone refuses, note it on the form and have a witness sign, which is what the declined-to-sign fields from Step 4 are for.
Employees can usually add a written response as well, and the Employee’s Statement field gives them room for it.
Is a write-up the same as a disciplinary action form?
A write-up usually means a written warning, while a disciplinary action form often covers the whole range, from a verbal warning to a suspension or termination, and some companies call that same document a corrective action form.
The Warning Level field from Step 3 lets one form handle all of those steps. If you’d rather start from that format, WPForms also has an Employee Disciplinary Action Form template.
Can I make an employee write-up form with WPForms for free?
WPForms Lite can handle a simple version built from standard fields. Each write-up arrives by email, though, and nothing is saved in your WordPress dashboard. Lite also leaves out the Date / Time, File Upload, and Signature fields.
For a record you can search later, start with Basic, and move up to Pro for the Write Up Form template and signatures. If you’d rather stay on paper, print the free template from earlier in this guide.
Next, Set Up a Performance Improvement Plan Form
When repeated write-ups are about performance rather than conduct, a performance improvement plan is often the next step. WPForms has a performance improvement plan form template you can set up the same way you built this form.
And if you keep the rest of your employee records in WordPress too, our guide to creating an employee information form covers the details you collect when someone joins.
Make Your First Online Write-Up Form! 🙂
Ready to build your form? Get started today with the easiest WordPress form builder plugin. WPForms Pro includes lots of free templates and offers a 14-day money-back guarantee.
If this article helped you out, please follow us on Facebook and Twitter for more free WordPress tutorials and guides.