Do you want to automatically add your customers from your WordPress forms to your favorite accounting software, QuickBooks?
With WPForms, you can easily integrate your online forms with QuickBooks so you don’t have to add your customers manually, which can be a great time saver.
In this article, we’ll explain how to integrate QuickBooks Online to your WordPress forms.
Does WordPress Integrate With Quickbooks?
Yes, you can integrate Quickbooks Online with WordPress to automatically add customers to your Quickbooks database.
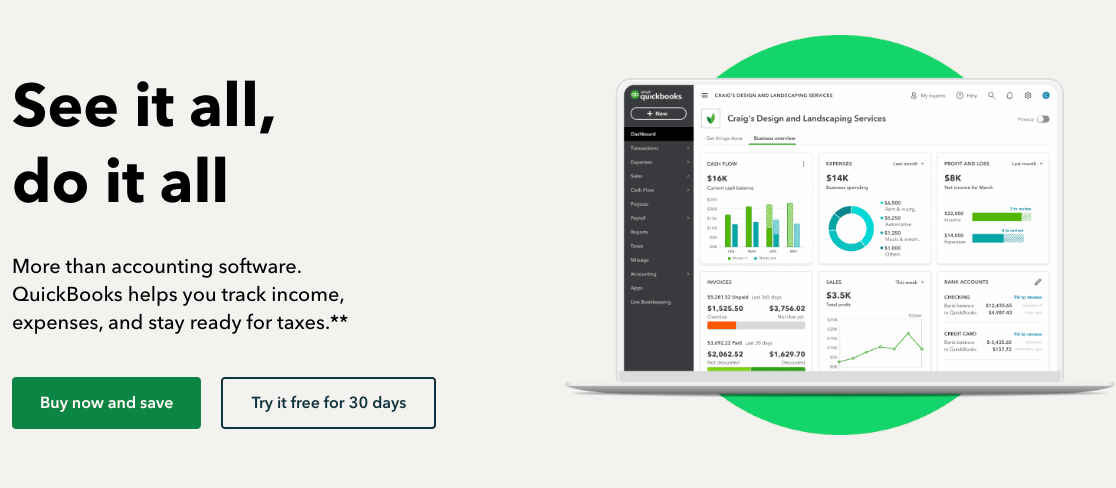
QuickBooks is accounting software for small business that comes with tons of features like online bank syncing, custom invoicing, and more. Adding your customer details to QuickBooks allows you to easily create and send custom invoices to your customers.
With Quickbooks, you can also create a profit or loss statement and statement of cash flows. As it can do many simple bookkeeping tasks automatically, it saves your time on bookkeeping and paperwork.
How to Integrate Quickbooks Online With Your WordPress Forms
The easiest way to automatically add customers to Quickbooks is to use WPForms and its Zapier addon. This will let you build a custom order form for your WordPress site and connect it to Quickbooks Online to automatically send customer information to your bookkeeping program.
In This Article
Step 1: Install and Activate WPForms
To add your customers to QuickBooks from a WordPress form, the first thing you need to do is to install and activate the WPForms plugin.
Here’s a step-by-step guide on how to install a WordPress plugin if you need some additional help.
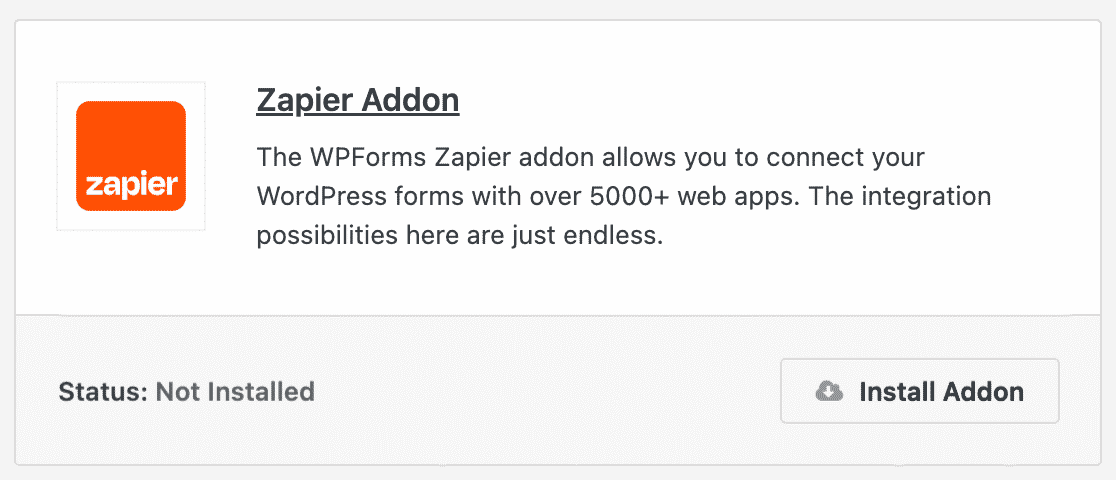
In order to import contacts into QuickBooks from your form, you’ll also need to install and activate Zapier addon on your site.
The Zapier addon lets you connect your WordPress forms to over 7,000+ web apps, including the QuickBooks app.
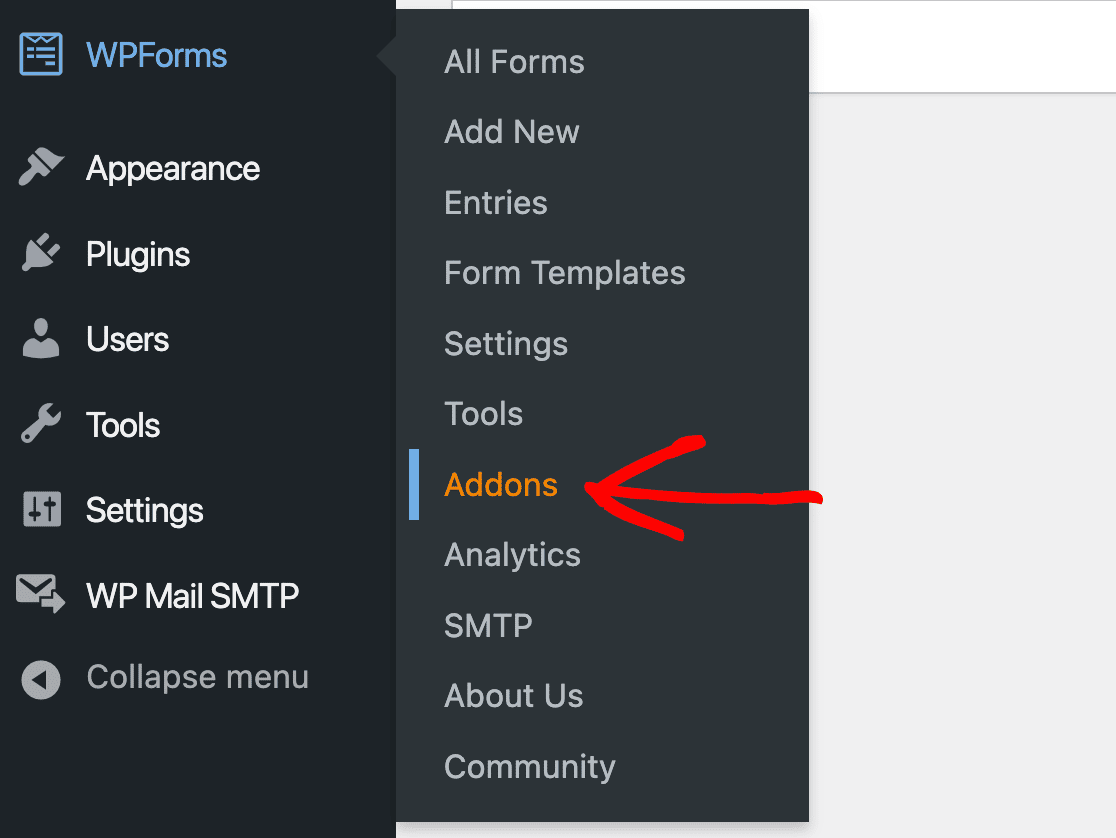
In your WordPress admin area, go to WPForms » Addons.
Then find the Zapier addon and click Install Addon.
For more help with this step, you can check out our tutorial on how to install and use the Zapier addon.
Step 2: Create Your Quickbooks Form
After the installation, you’ll need to create a WordPress form to connect to your Quickbooks account.
For our example, we’ll create a simple order form, but you could also connect your contact form, quote request form, appointment booking form, or any other form you use on your WordPress site.
In your WordPress dashboard, go to WPForms » Add New. Here you can name your form and choose from one of the hundreds of templates available.
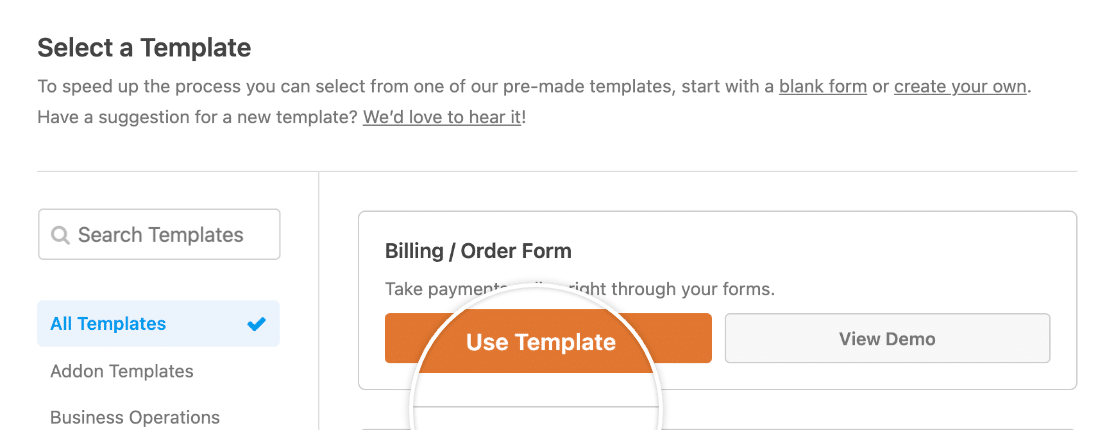
Your template will load in the form builder, and then you can customize it. Drag and drop fields to reorganize them, click on them to edit their labels, descriptions, and placeholders, and add and remove fields as you see fit.
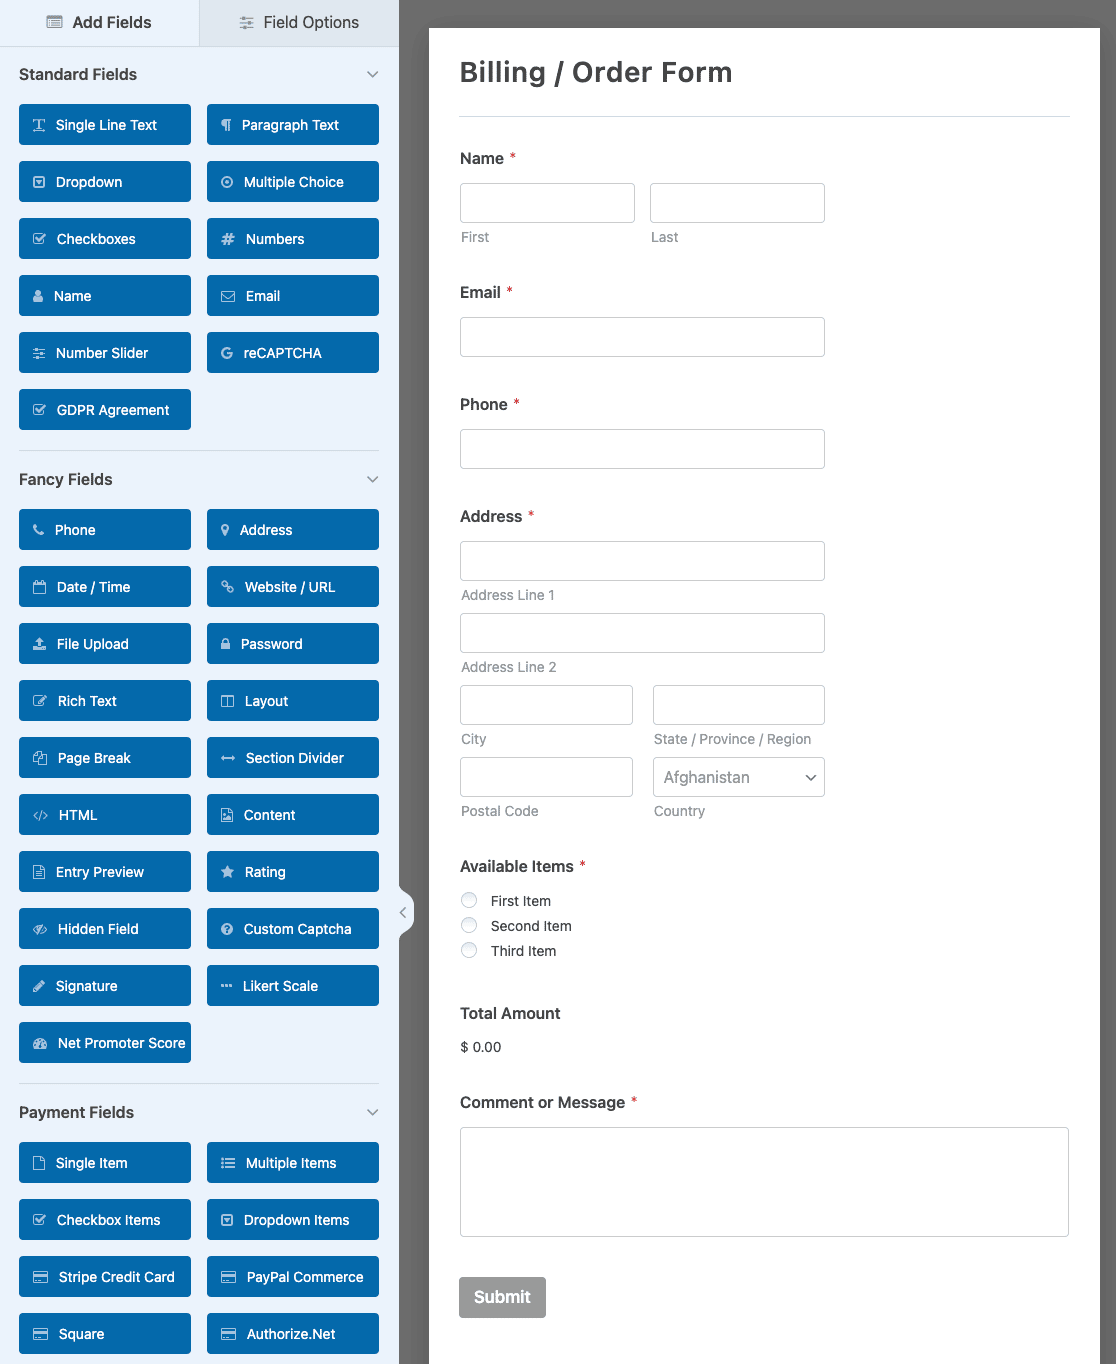
When you’re happy with your form, click Save at the top of the builder.

Step 3: Submit a Test Entry
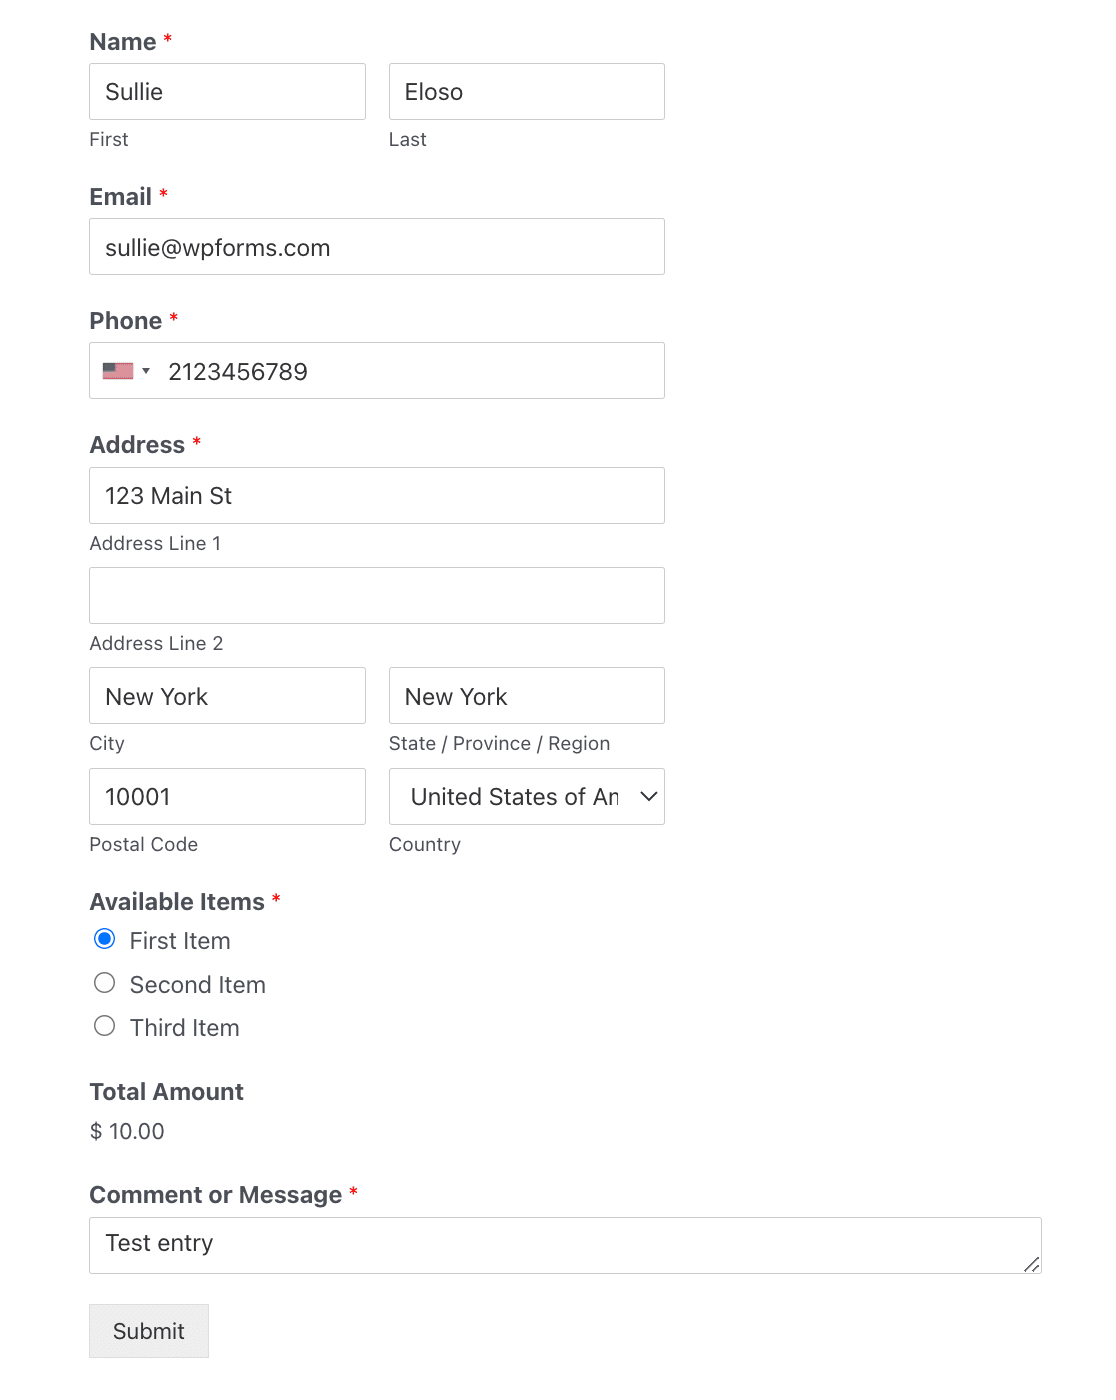
Once you’re done creating your form, you need to submit a test entry to it. This is required to complete the connection in Zapier, so don’t skip this step!
You can submit a test entry by clicking on the Preview button in the form builder.

Then fill out your form and submit it.
Step 4: Connect WPForms to Zapier
Now let’s take a look at how to connect WordPress forms to QuickBooks via Zapier.
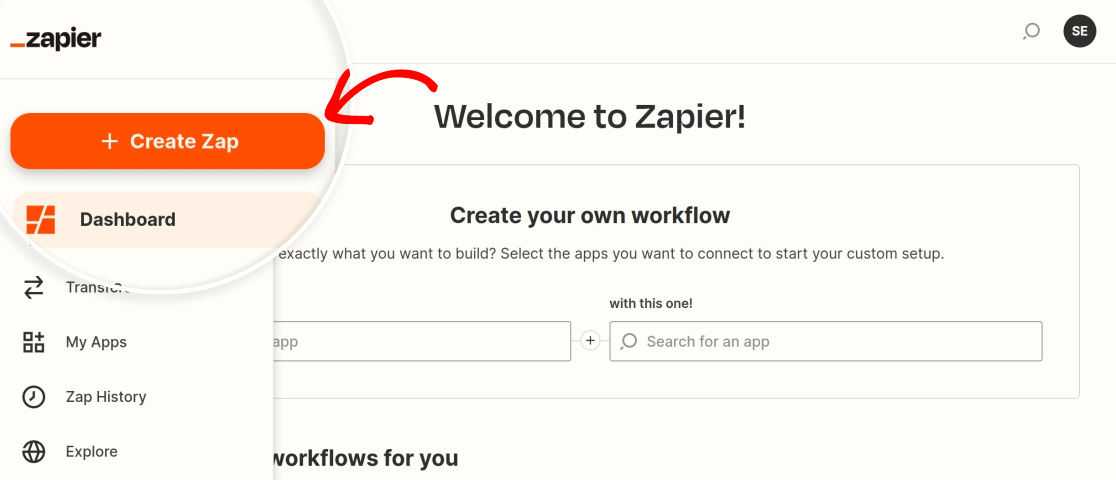
Log in to your Zapier account and click the Create Zap button.
First, choose WPForms as your trigger app.
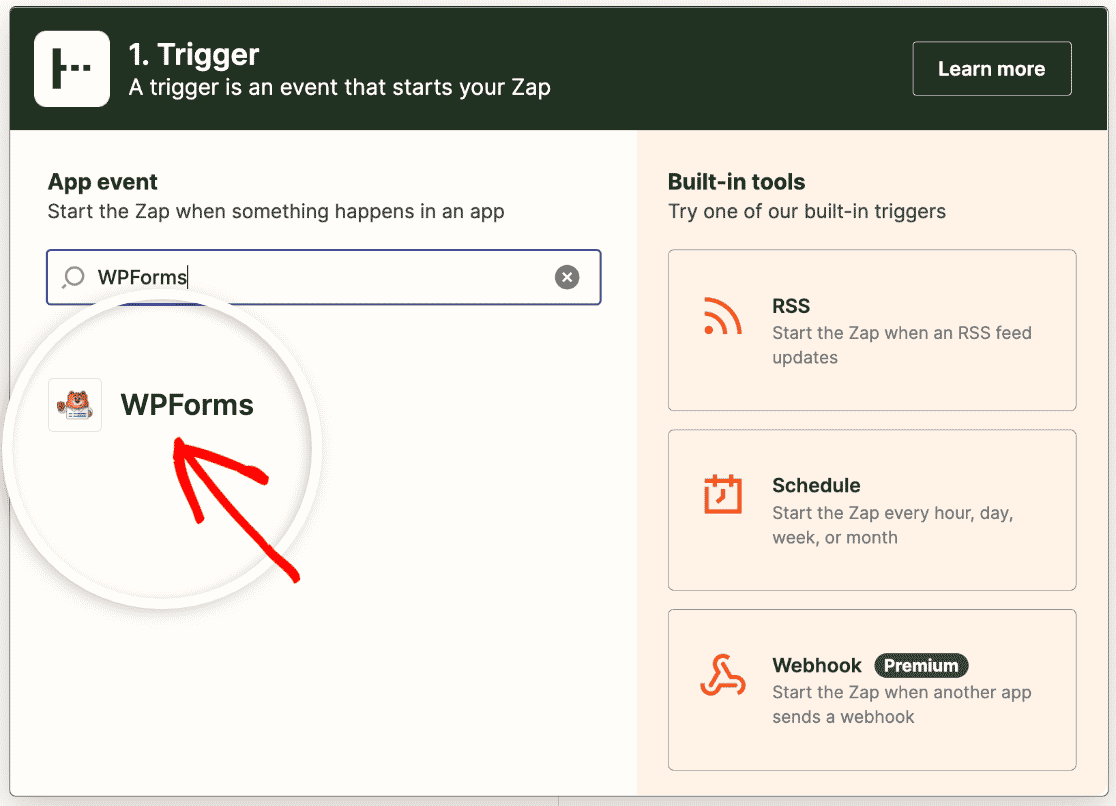
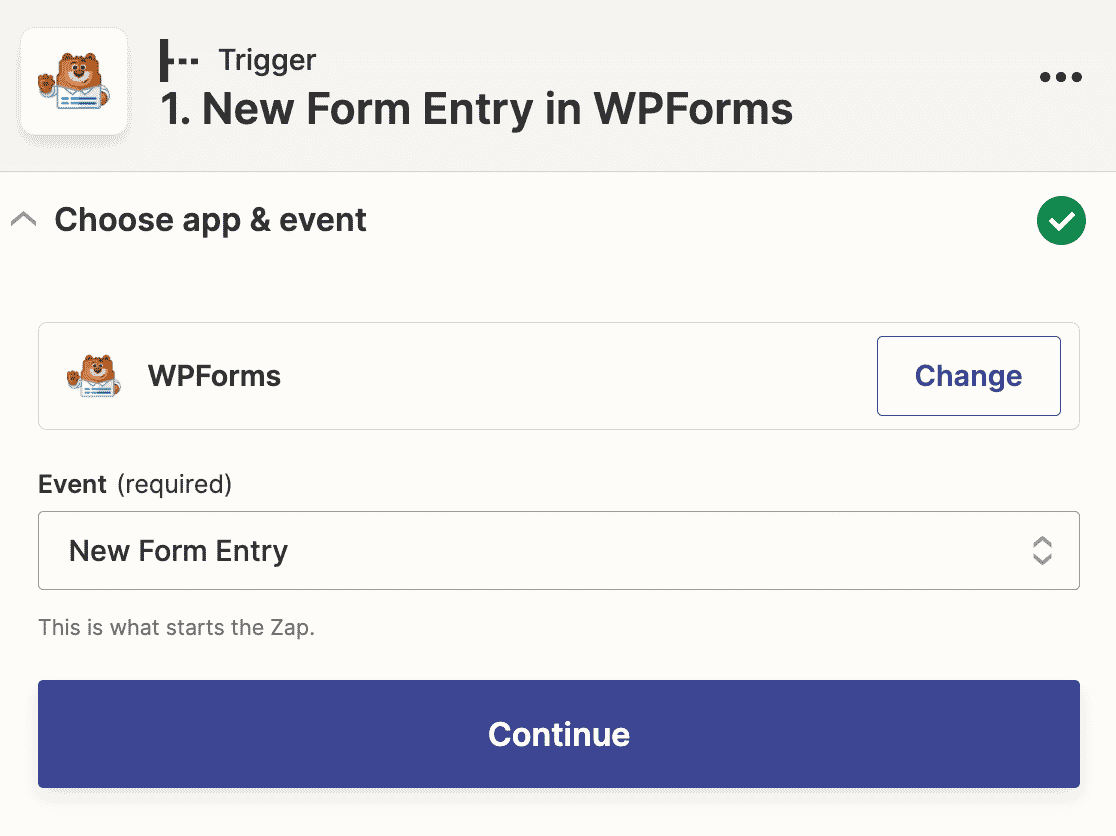
Next you’ll need to select the action that needs to take place to trigger your zap. The only option for WPForms is New Form Entry, so go ahead and select it from the dropdown.
Now Zapier will ask you to log in to you WPForms account. Click the Sign in button.
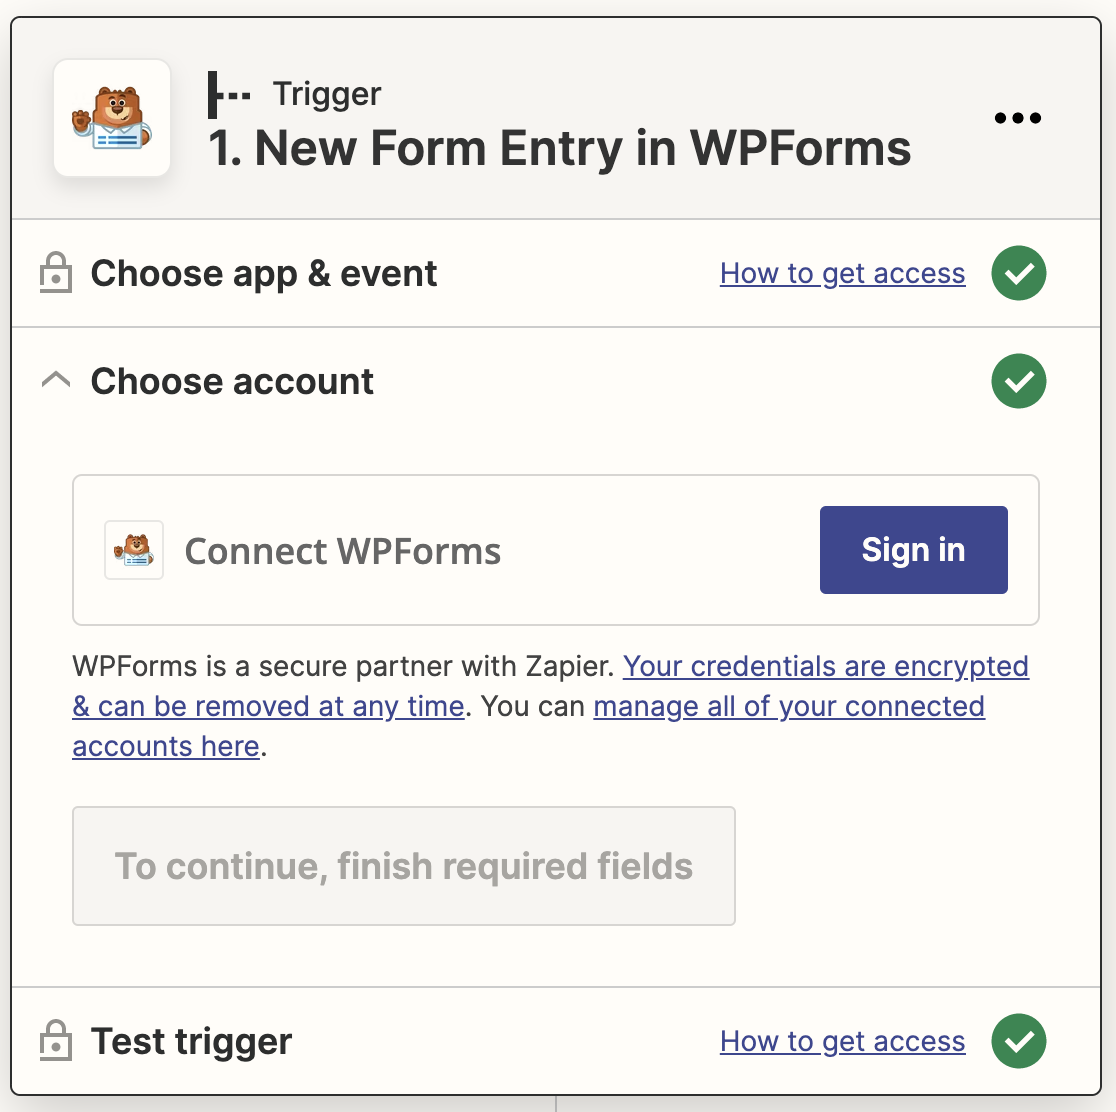
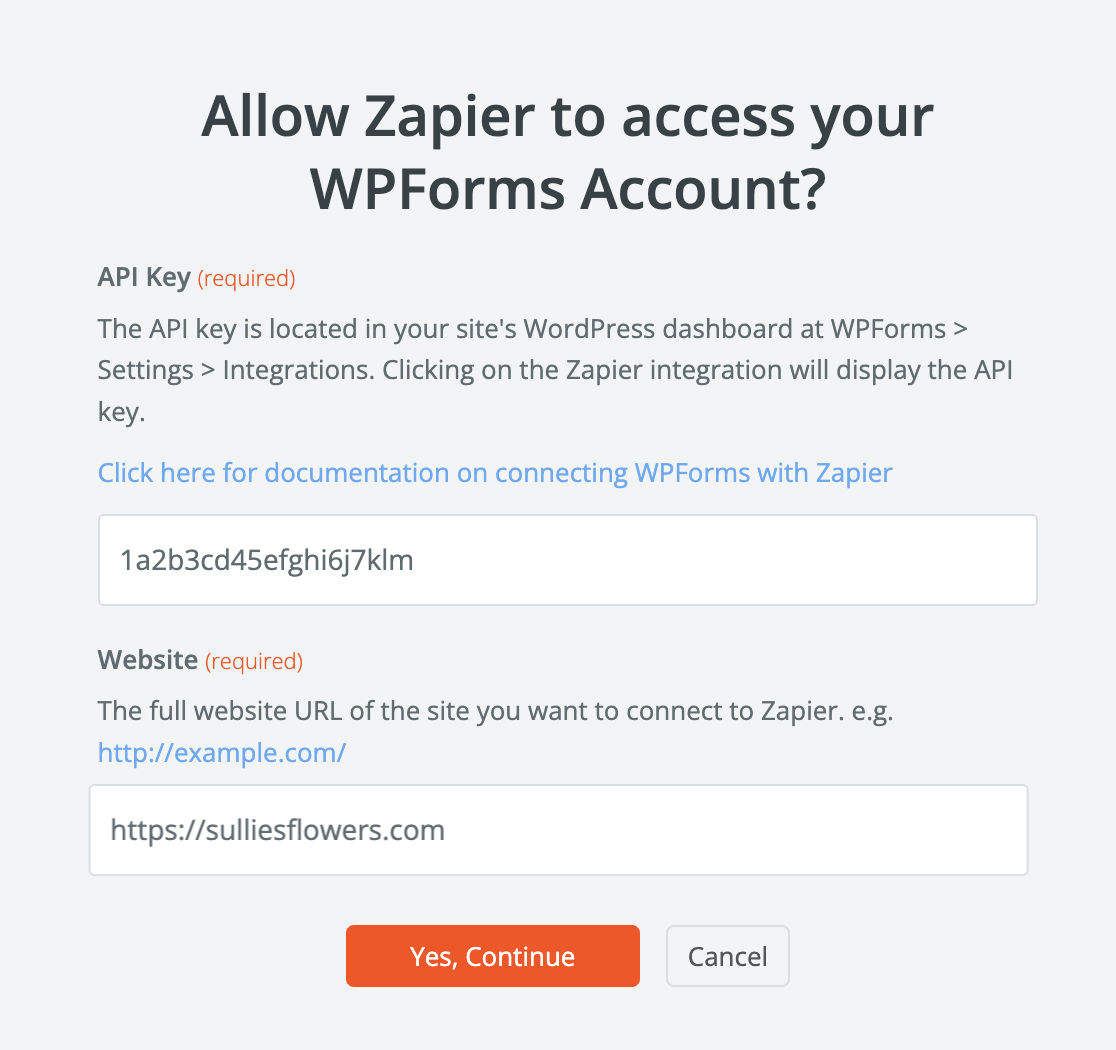
This will open a popup window where you need to enter you site’s URL and your Zapier API key.
You can find your Zapier API key in your WordPress dashboard. Go to WPForms » Settings » Integrations and find the Zapier section. Expand it to copy your key.
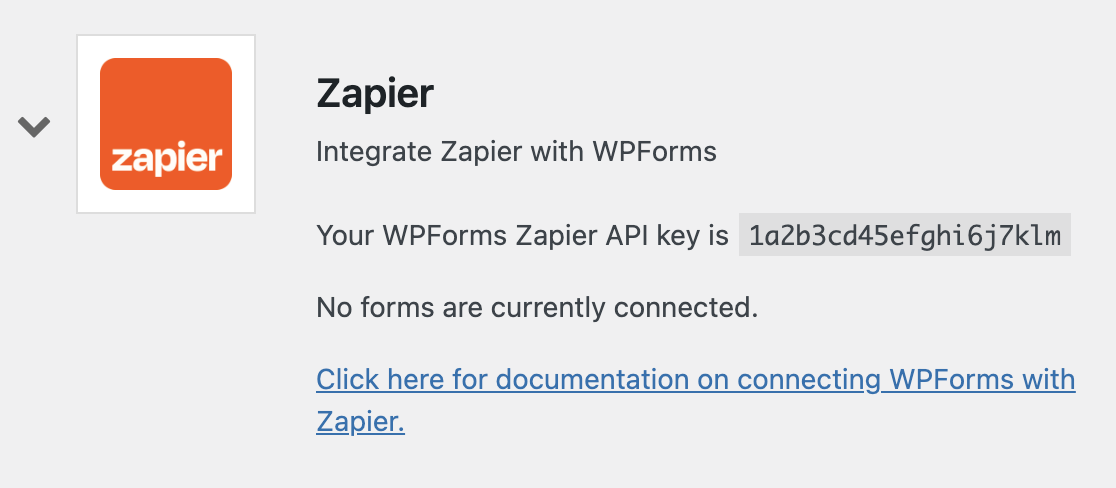
Then paste the key in the popup window and click Yes, Continue to close it and move to the next step.
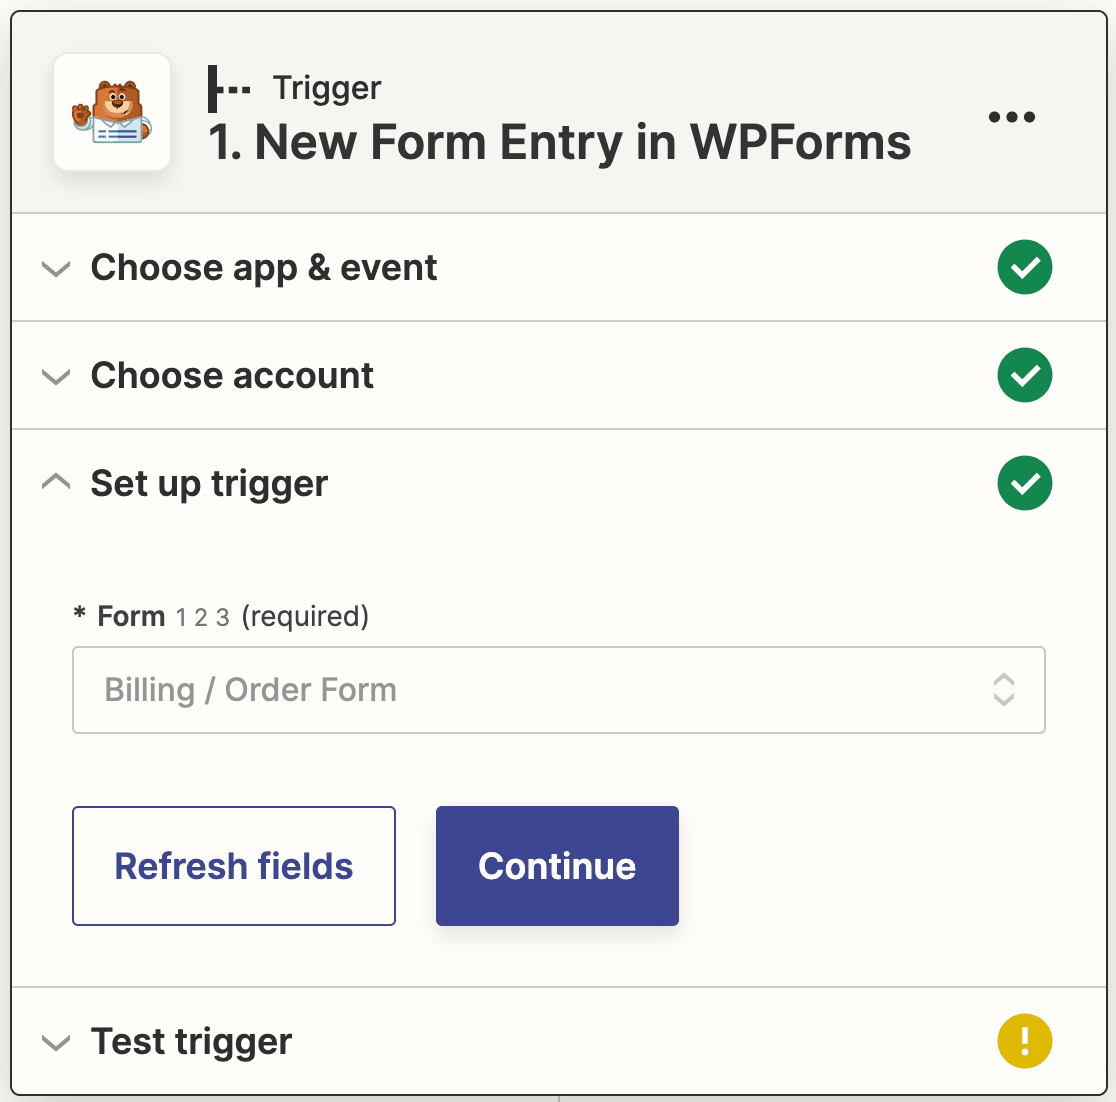
Next, you need to choose the form you created in Step 2 from the dropdown.
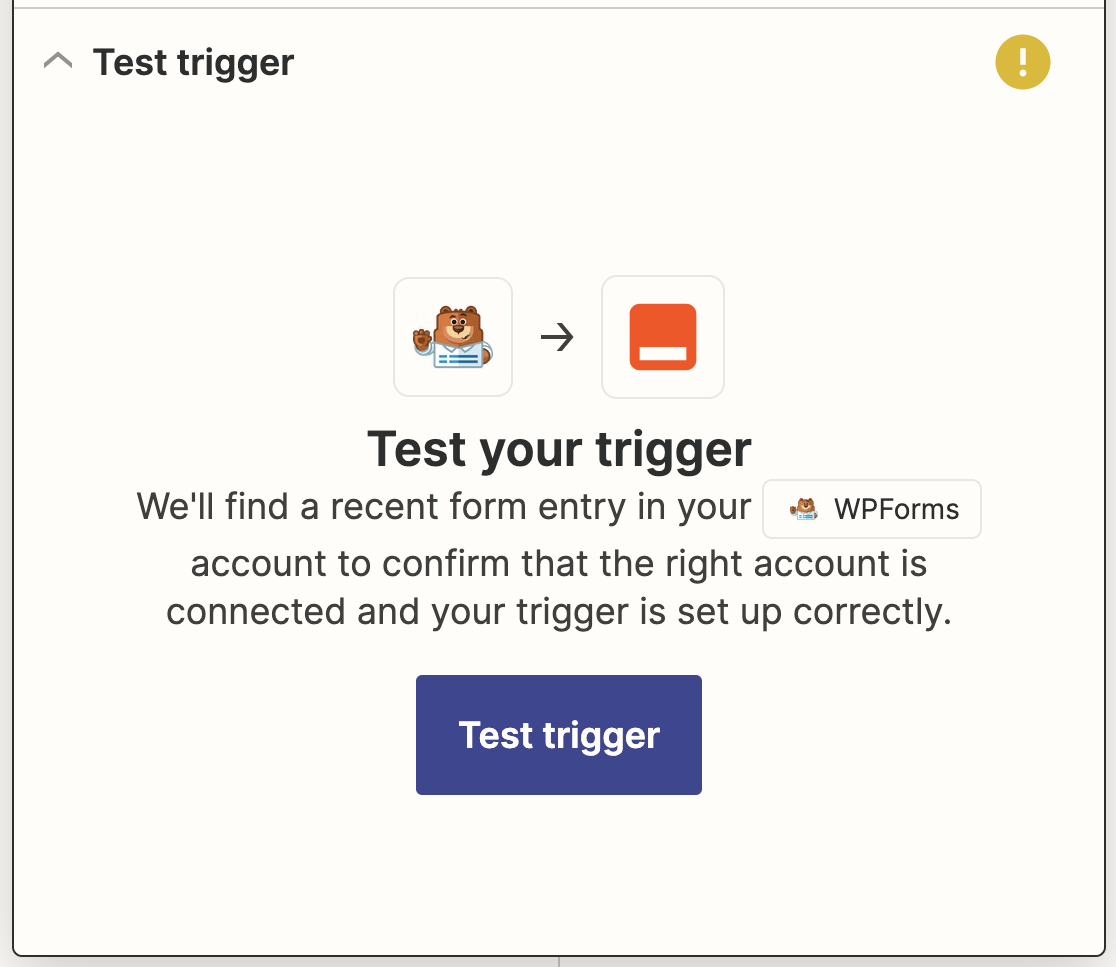
At this point, Zapier will test your connection to make sure it’s working properly. Click Test trigger to begin.
If you’ve done everything right so far, you’ll see the test entry you submitted earlier along with a success message.
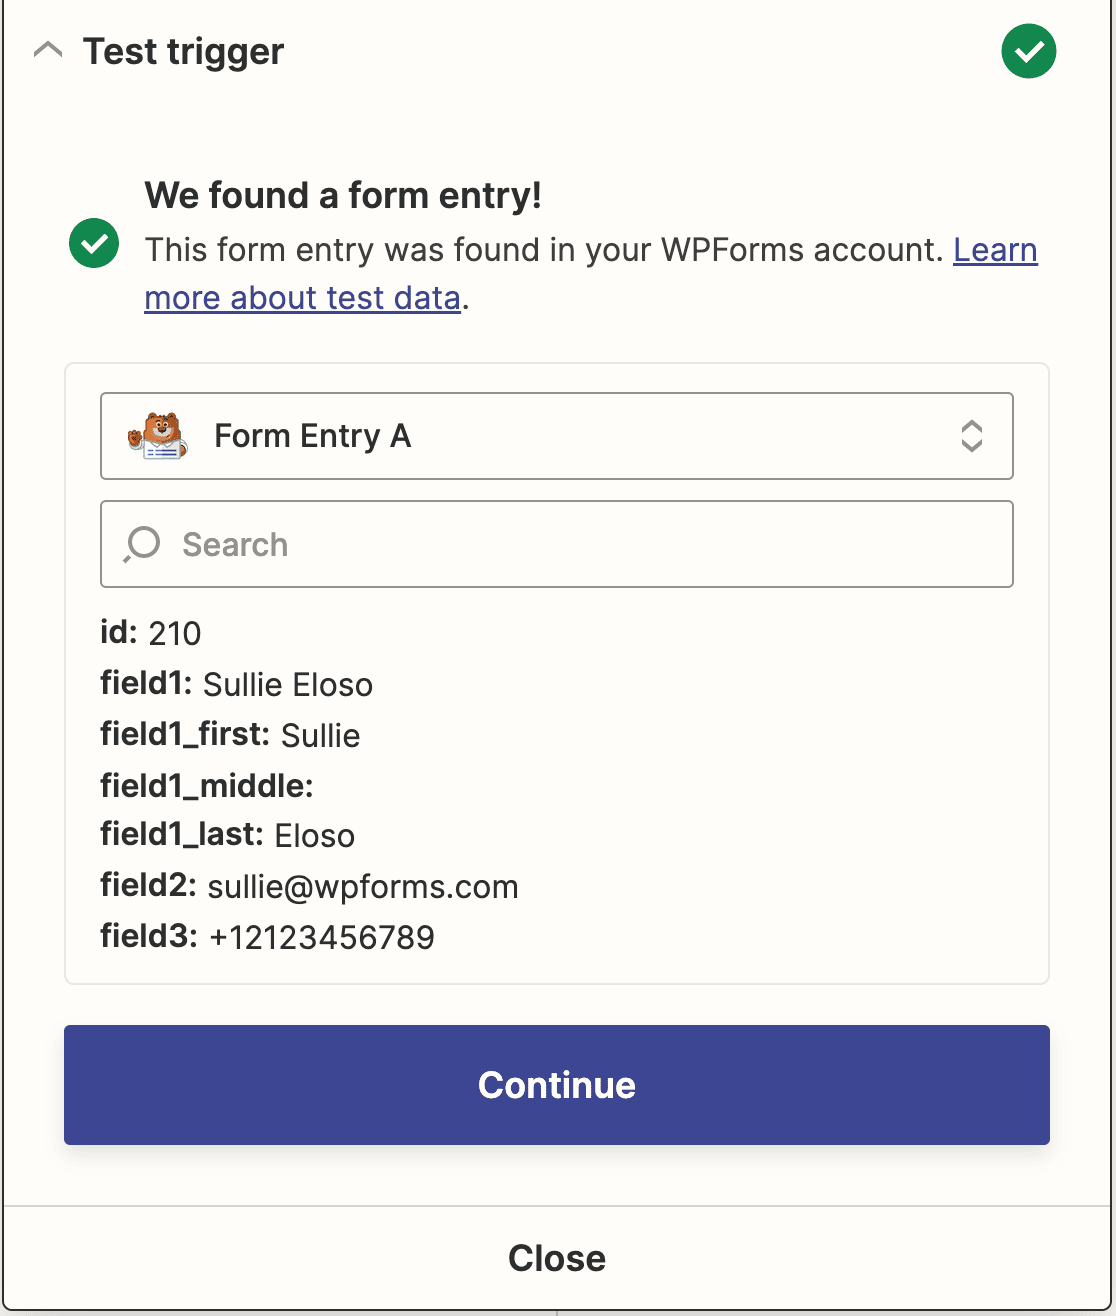
Click Continue to move on to connecting Zapier to Quickbooks.
Step 5: Connect Zapier to QuickBooks
Now that you’ve connected Zapier to the WPForms plugin, it’s time to connect WPForms to QuickBooks.
The first step in syncing to QuickBooks Online is to choose QuickBooks as the action app. Enter QuickBooks in your search bar, and then click on it when it shows up.
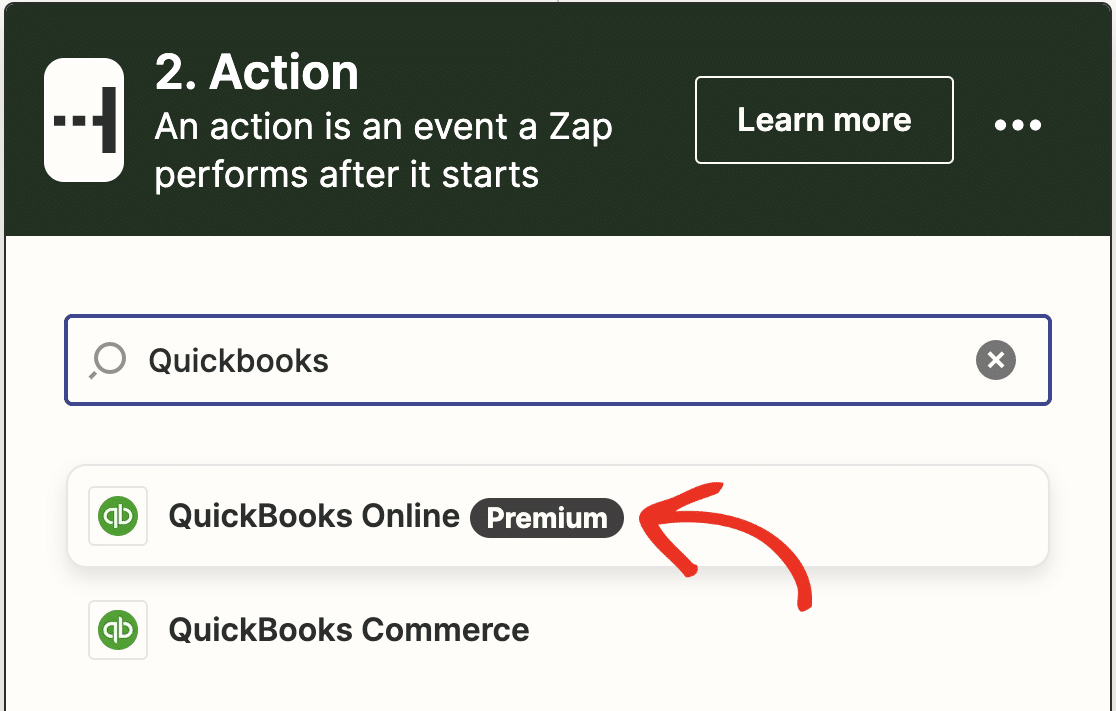
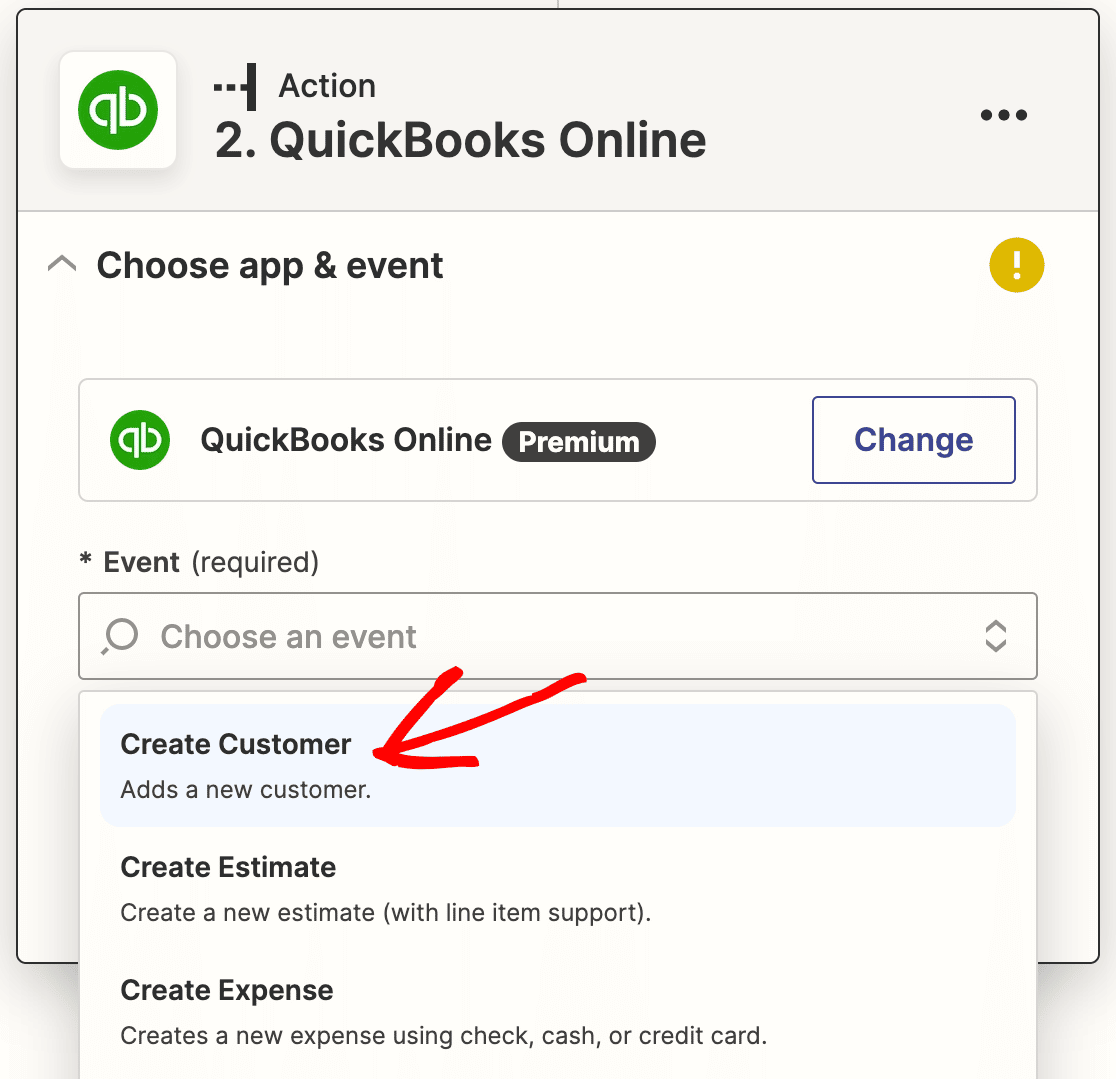
Then, you’ll be asked to select a QuickBooks action. As we are looking to create a new customer in QuickBooks from WordPress, choose Create Customer and click Continue.
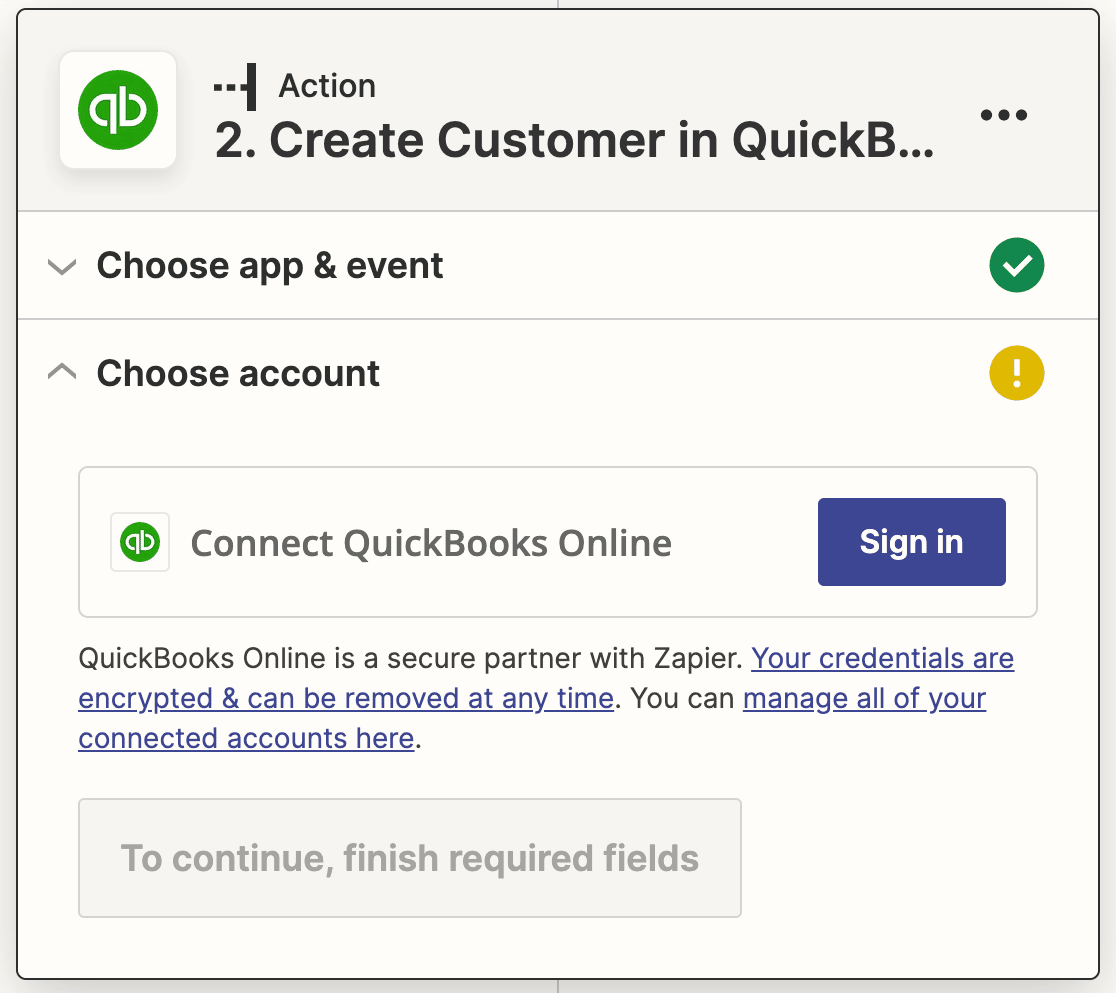
Now you need to connect your QuickBooks account to Zapier. Click the Sign in button again.
In the popup window, click Yes, Continue to allow Zapier to access your Quickbooks account.
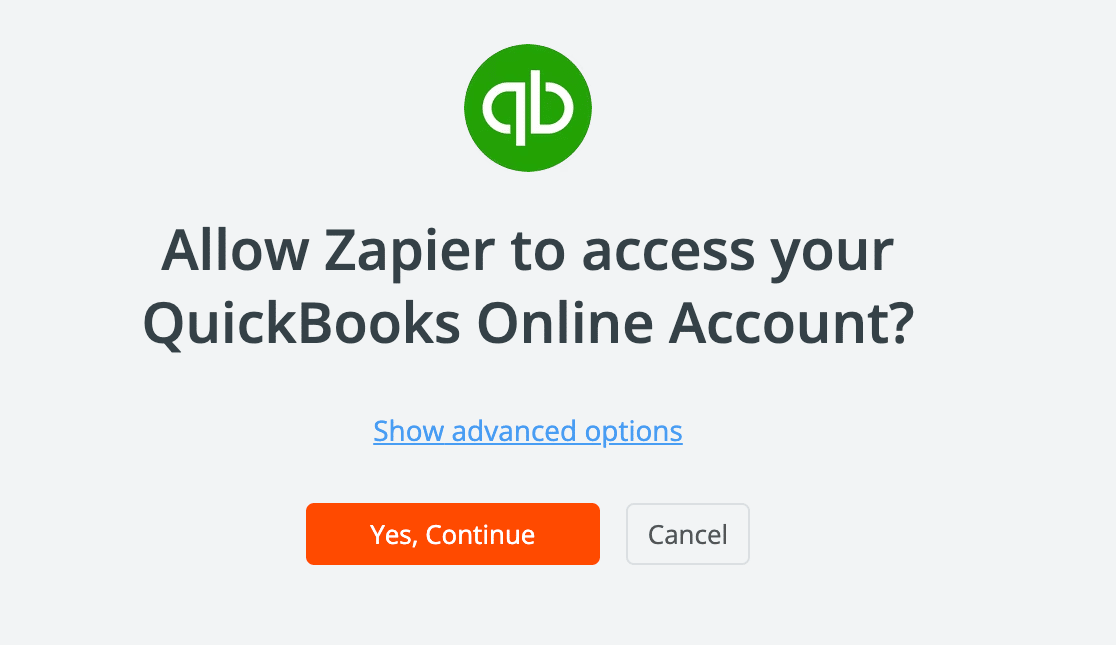
Then enter your login credentials to sign in to your Quickbooks account. After you’ve logged in, Zapier will again ask for permission to access Quickbooks. Click Connect to continue.
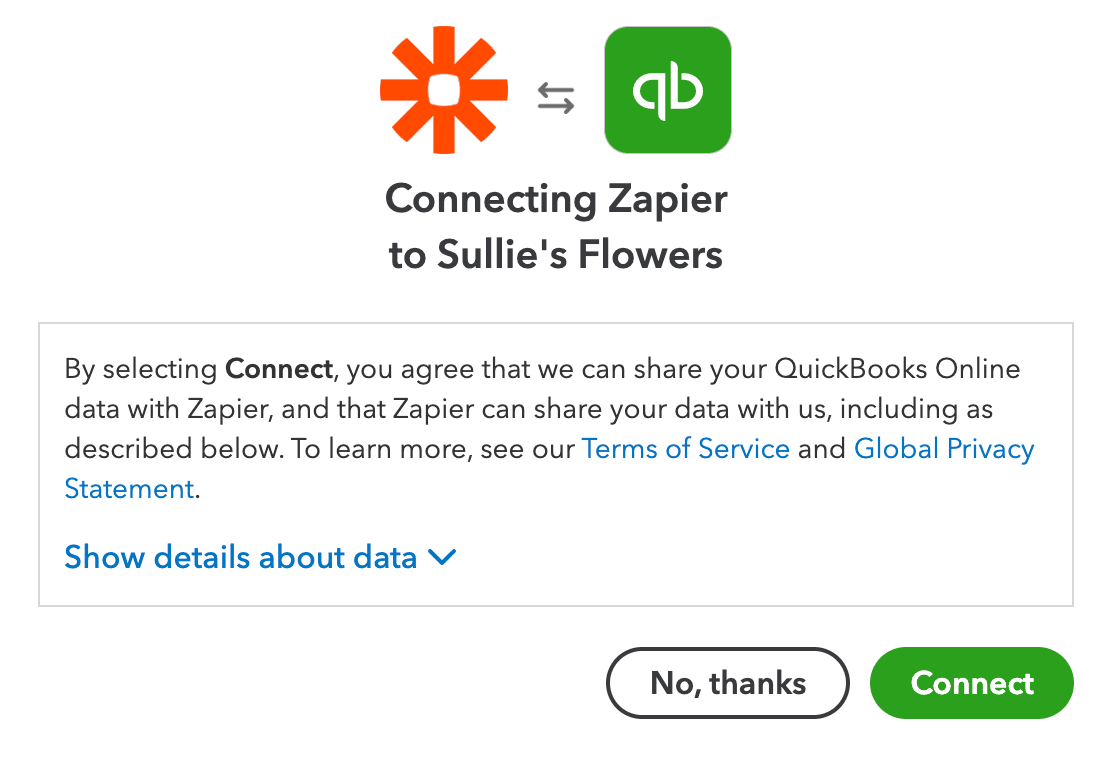
After the popup window closes, click Continue again.
Next, you need to create a template for the new customers that will be created in Quickbooks whenever someone submits your form. To do this, select the corresponding field for your form from each of the dropdowns.
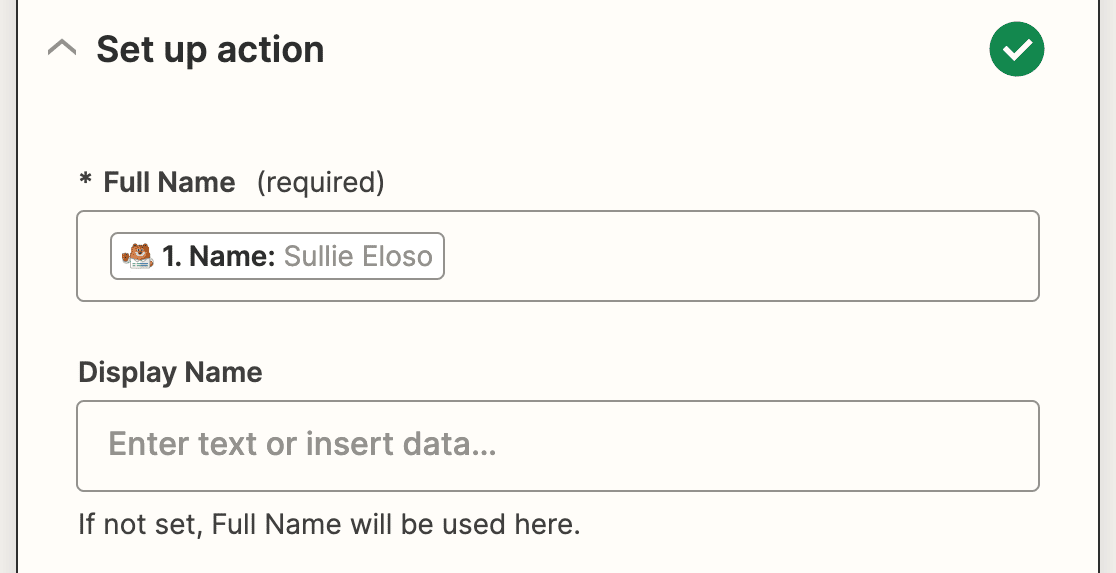
The only required field is Full Name, but you can add several more details from your form including contact and tax information.
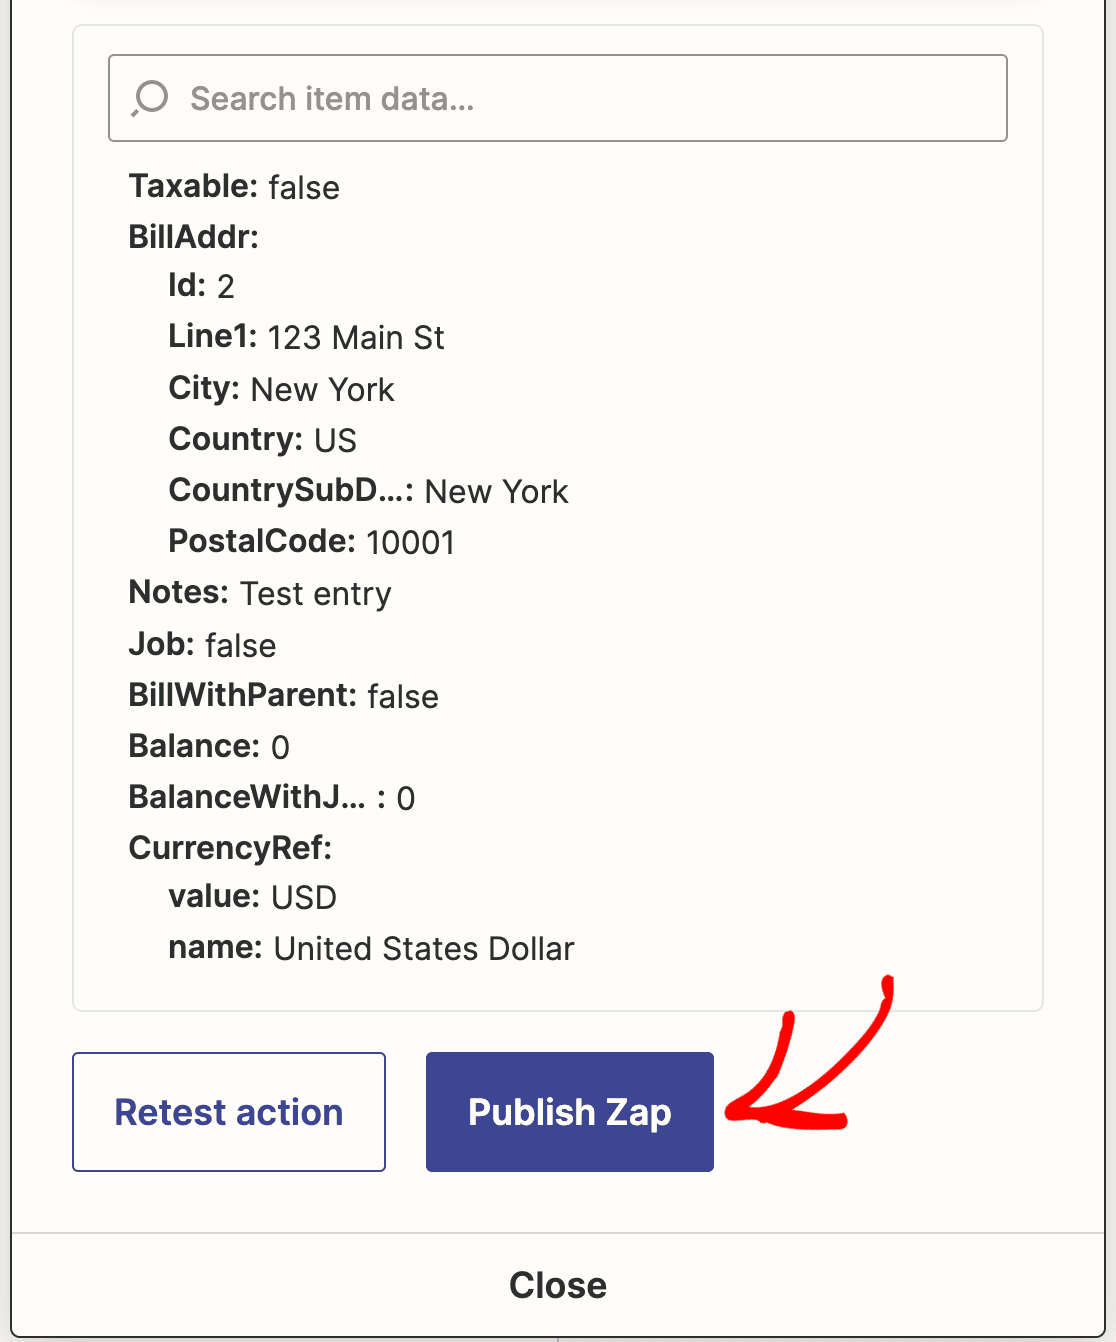
Once you’ve mapped all the fields from your form that you want to send to Quickbooks, click Continue one more time. Now Zapier will test your Quickbooks connection just like it did for WPForms. Click on Test action to begin.
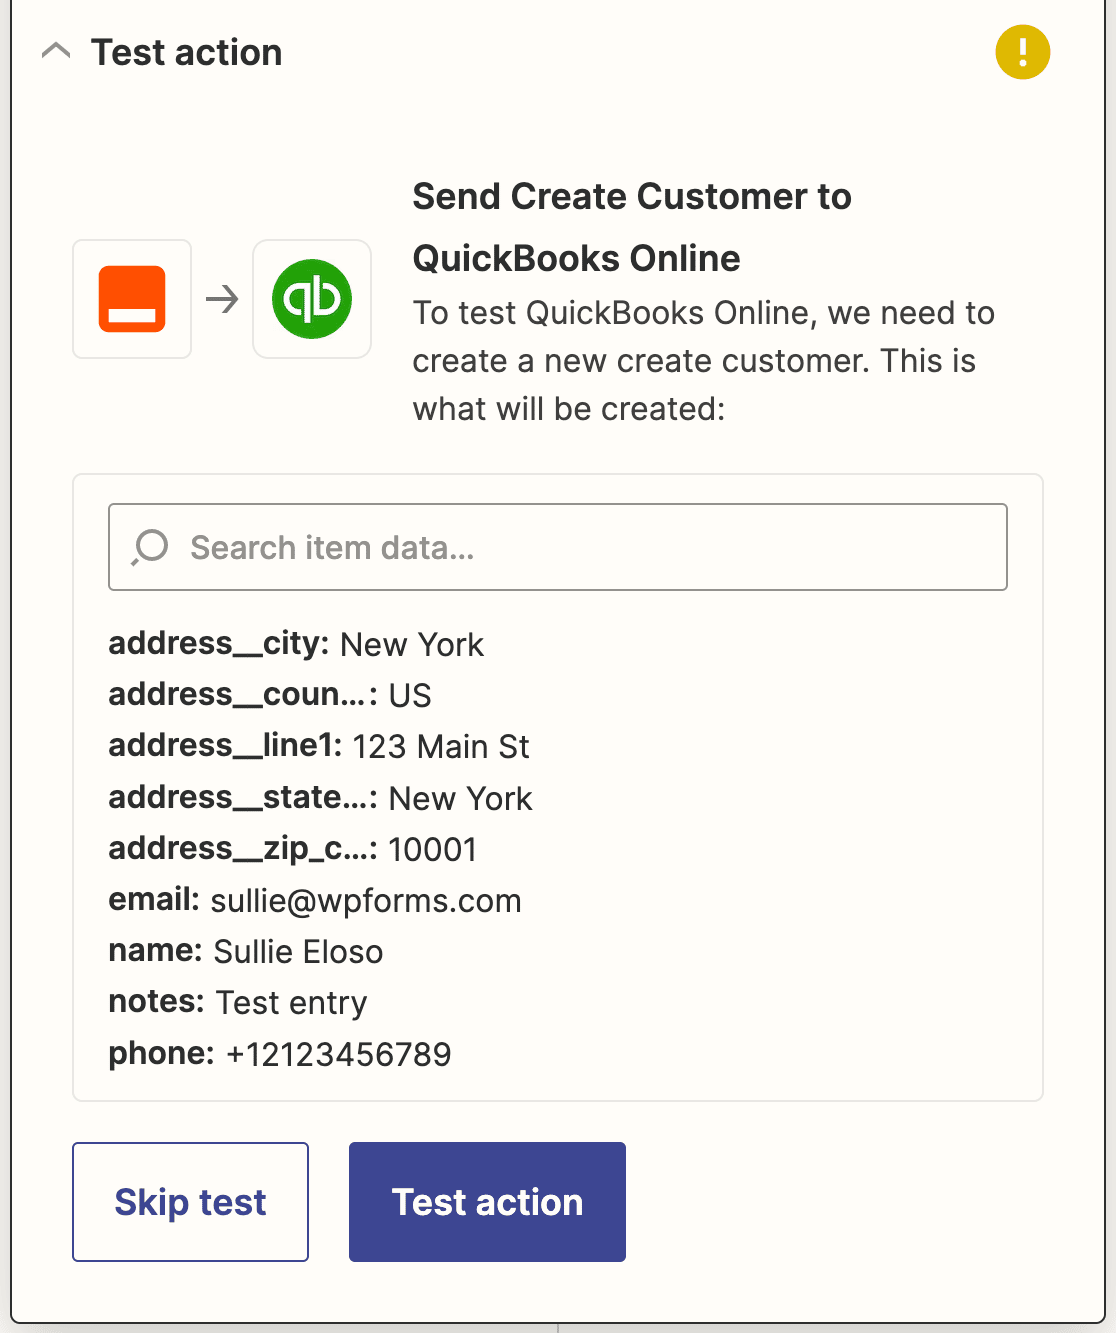
If you’ve done everything right, you’ll see a success message.
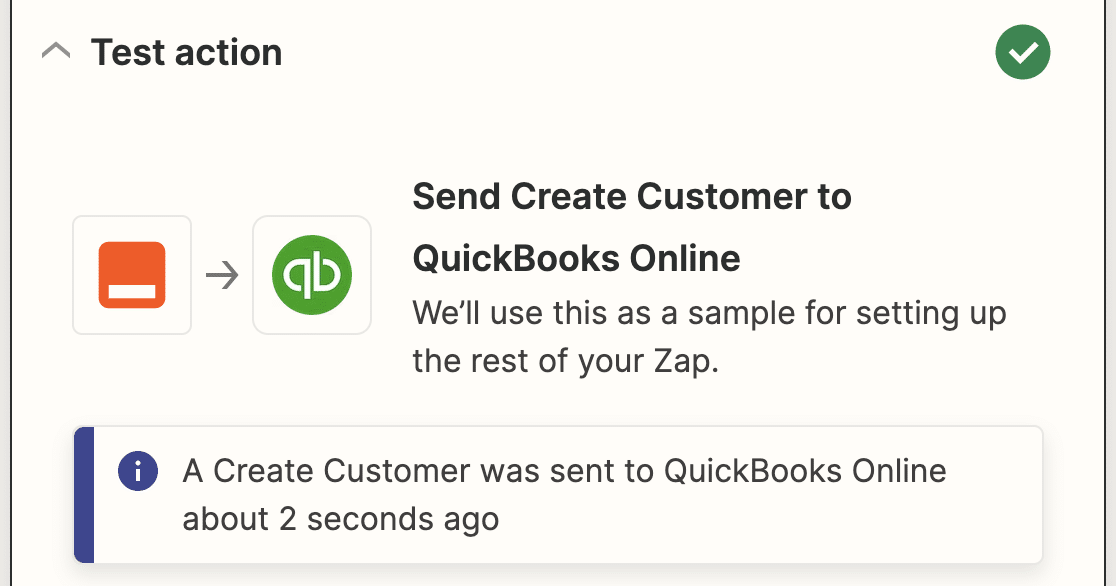
Before you close Zapier, make sure to publish your Zap as well.
Finally, don’t forget to go back to your WordPress site and embed your form in a blog post, page, or widget. That way customers will be able to easily find it and fill it out.
Next, Grow Your Business With Lead Forms
There you have it! You now know how to integrate your WordPress forms with QuickBooks Online. Now anytime someone completes your form, they will be added as a new customer in your QuickBooks Online database.
Want to grow your business by collecting leads with optimized forms? The WPForms Lead Forms addon helps you build custom lead forms to collect information from potential customers.
Create Your WordPress Form Now
What are you waiting for? Get started with the most powerful WordPress forms plugin today.
If you like this article, then please follow us on Facebook and Twitter for more free WordPress tutorials.


