AI Summary
Do you want to let people pick which Mailchimp Groups they get added to?
Creating a WordPress form for Mailchimp Groups will allow you to target your subscribers with precision.
In this article, we’ll show you how to make a custom Mailchimp signup form with Groups. That way, new subscribers can choose which emails they want to receive.
Create Your WordPress Mailchimp Form Now
How Do I Use Groups in Mailchimp?
Mailchimp Groups let you put subscribers into categories according to their interests. That means you can target people with specific information and promotions without sending them emails they don’t want.
Are you wondering about the difference between Groups and segments?
On a basic level, Groups are fixed ‘buckets’ of subscribers, and segments behave more like filters. So segments let you select people based on their activity or demographics, while Groups give the subscriber control over which ‘buckets’ they’re in.
By using Groups in Mailchimp, you can:
- Let people pick the emails they get, which can help to increase engagement and reduce unsubscribe rates
- Avoid having to manage separate lists with overlapping subscribers
- Send highly targeted emails to each subscriber for better open rates
- Get more conversions by making each email relevant to a specific Group.
You can unleash the full power of the Groups feature by adding a Groups selection to your subscription form. We’ll show you how to do that in WordPress.
How to Add Subscribers to Mailchimp Groups in WordPress
Now let’s take a look at how to allow users to select Mailchimp Groups in your WordPress Form.
In This Article
If you already know how to use Mailchimp with WPForms, you’ll find this tutorial super easy to complete. Let’s start by installing the plugin and the addon you’ll need.
1. Install the WPForms Plugin
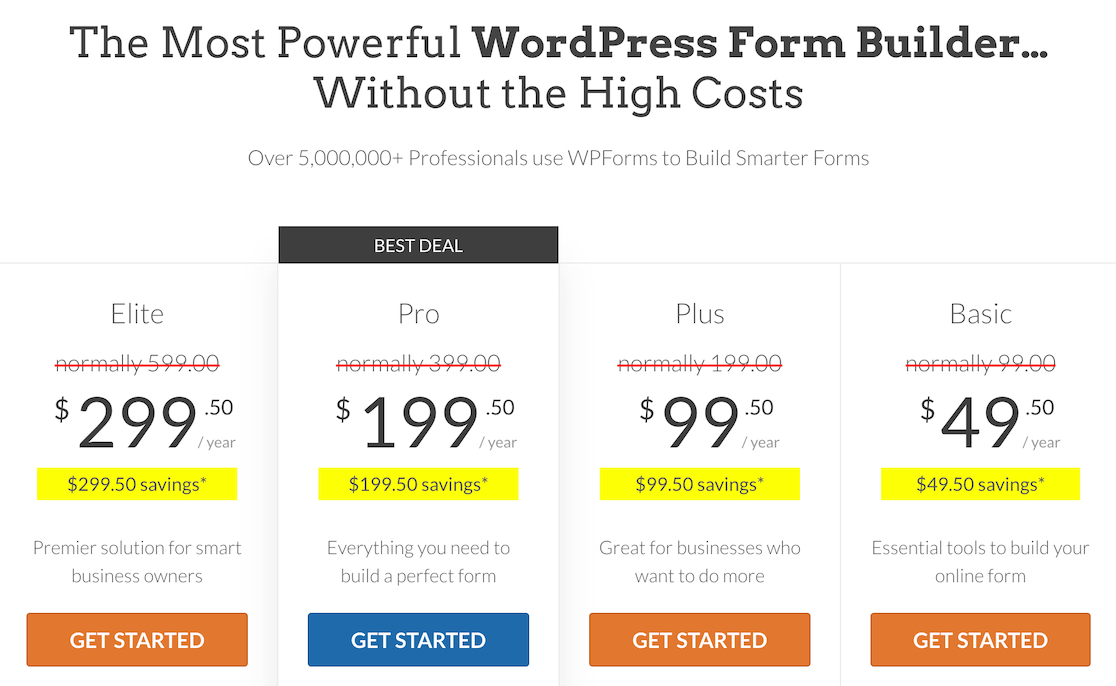
The first thing you need to do is install the WPForms plugin. To follow along, you’ll need the Pro license or higher.
If you need a little help getting started, read how to install a plugin in WordPress.
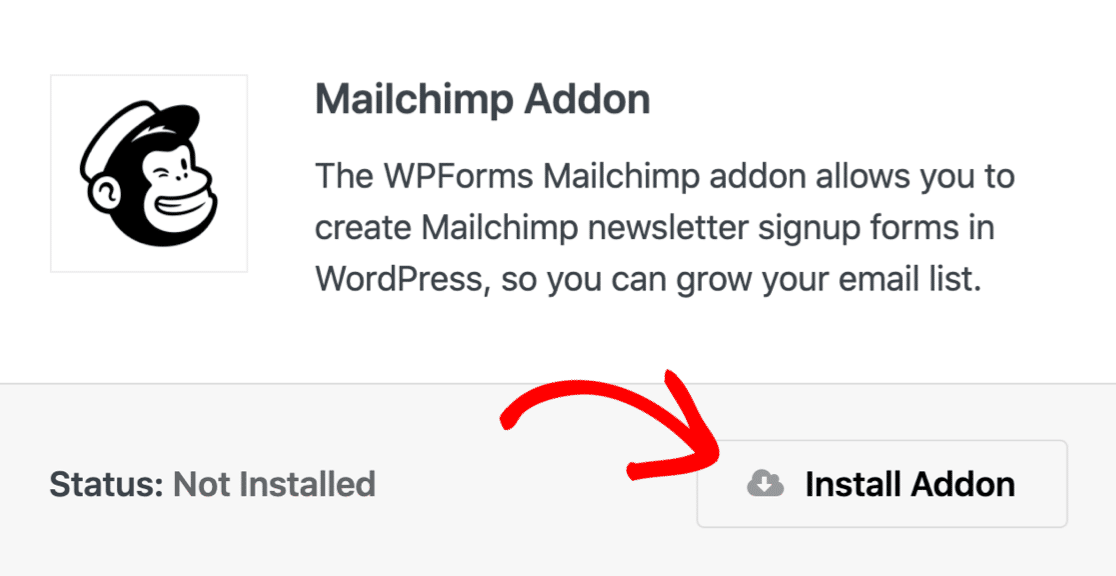
Next, you’ll need to install the Mailchimp addon. After activating WPForms, you’ll find the Mailchimp addon in the WPForms » Addons menu.
Before we go any further, let’s log into Mailchimp and check that your Groups are set up.
You’ll find them in Mailchimp under Audience » Manage Audience dropdown » Manage Contacts » Groups.
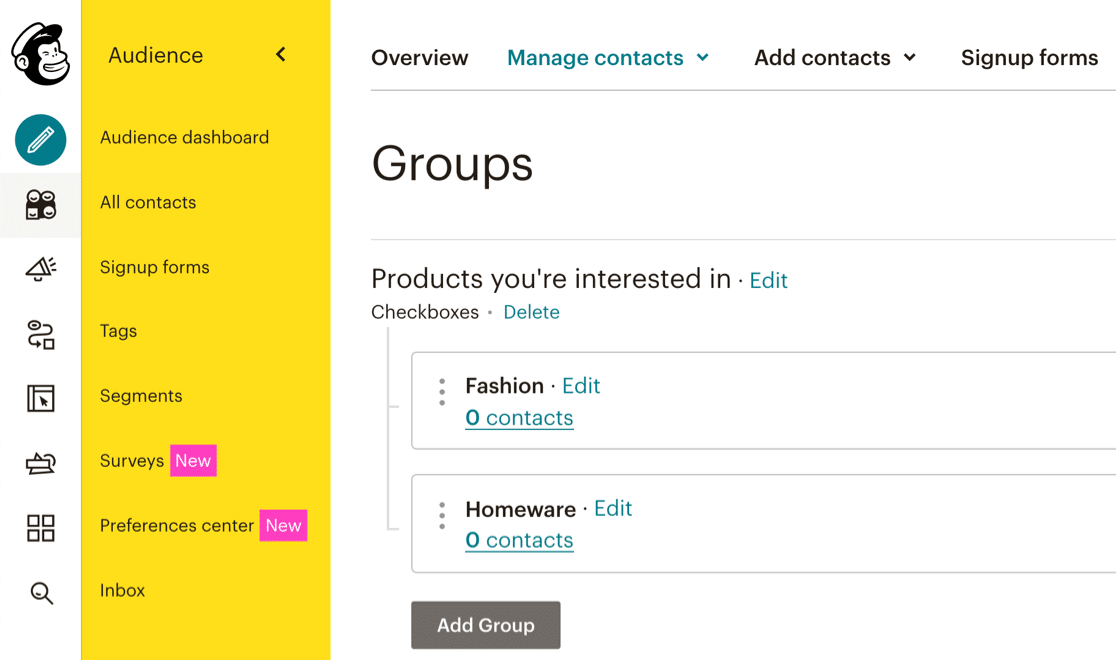
We have 2 Groups named Fashion and Homeware.
Next, we’re going to conditional logic for every checkbox combination on your form.
2. Create a Mailchimp Signup Form
WPForms Pro is the best contact form plugin for WordPress.
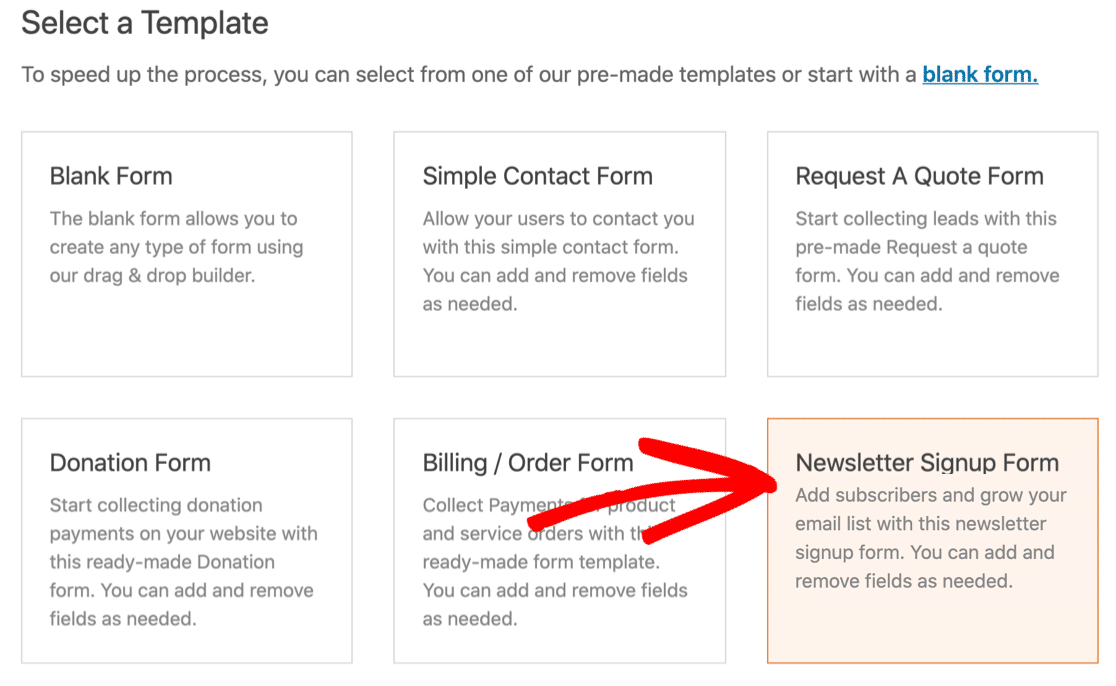
WPForms comes with 2,000+ WordPress form templates so you never have to start from scratch. To speed things up, let’s use the newsletter signup form template.
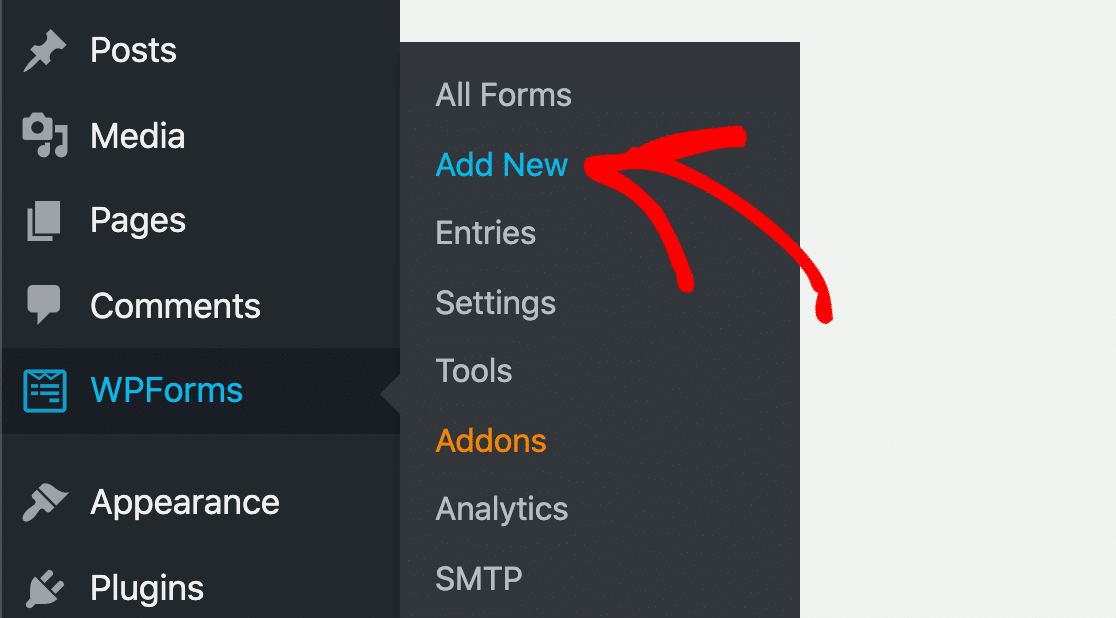
Head to WPForms » Add New to start.
Next, select the newsletter signup form template.
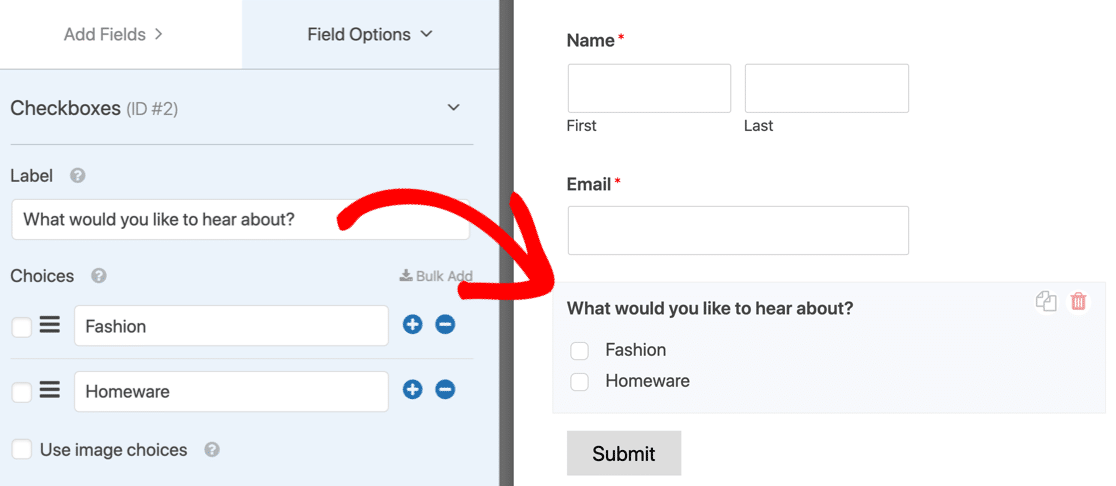
The form has 2 default fields for Name and Email.
In addition, we’re going to add a checkbox field that corresponds to your Mailchimp Groups.
A checkbox will allow your new subscriber to subscribe to one or more Groups. If you only want them to be able to select one Group, you could use a multiple choice or dropdown field instead of a checkbox.
So in this example, let’s add a checkbox field with 2 Choices: Fashion and Homeware.
Let’s move on and see how to create conditional logic on your form to add users to Mailchimp Groups.
3. Add Mailchimp Groups to Your Form
In this final step, we’re going to create 3 connections to Mailchimp.
This is how it works:
- If the first checkbox is selected, the first connection will run.
- If the second is selected, the second one will run.
- If both group checkboxes are selected, the third one will run.
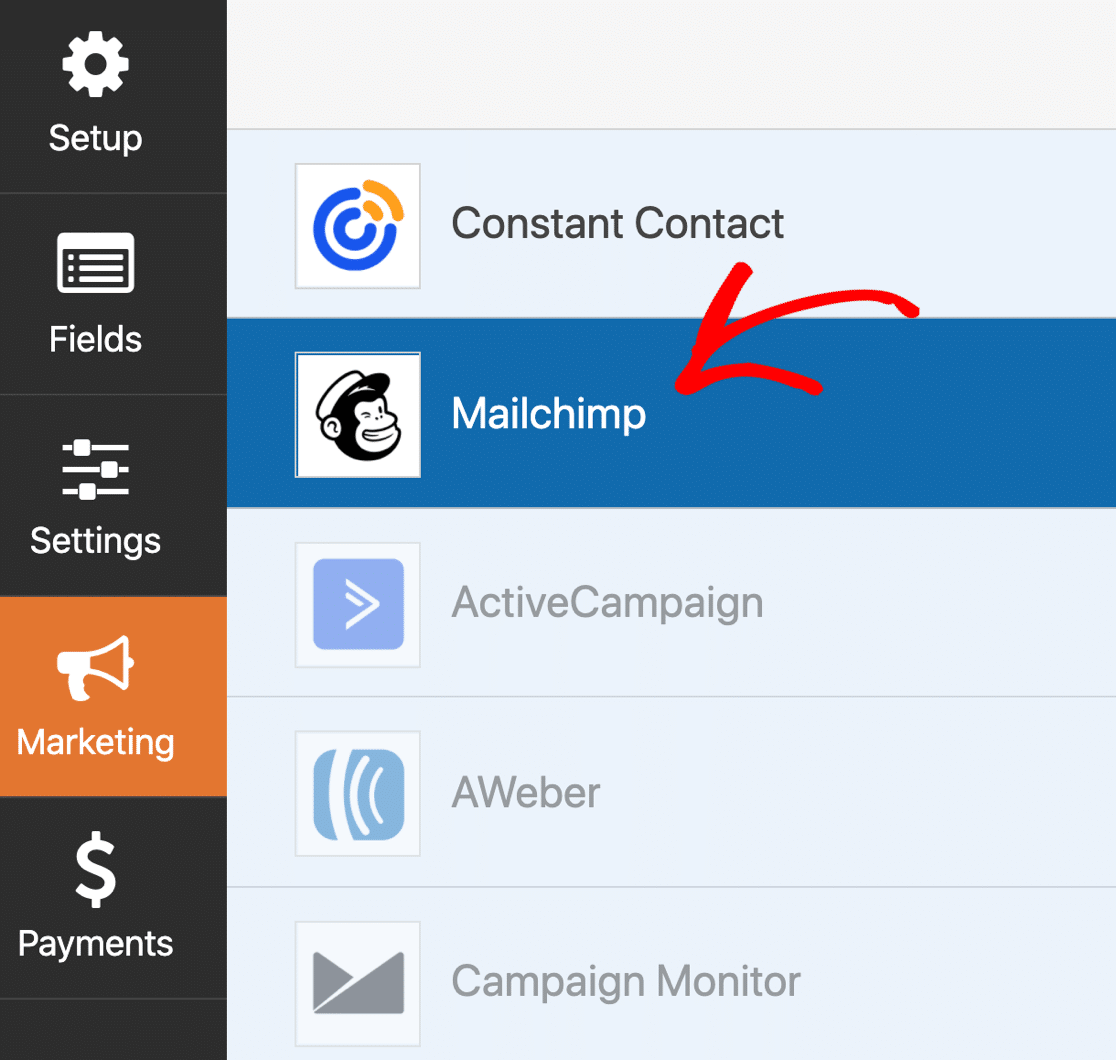
To start, we’re going to connect to your Mailchimp account. To do that, click the Marketing tab in the left taskbar, and click Mailchimp.
Now go ahead and add a new connection by clicking the blue button.

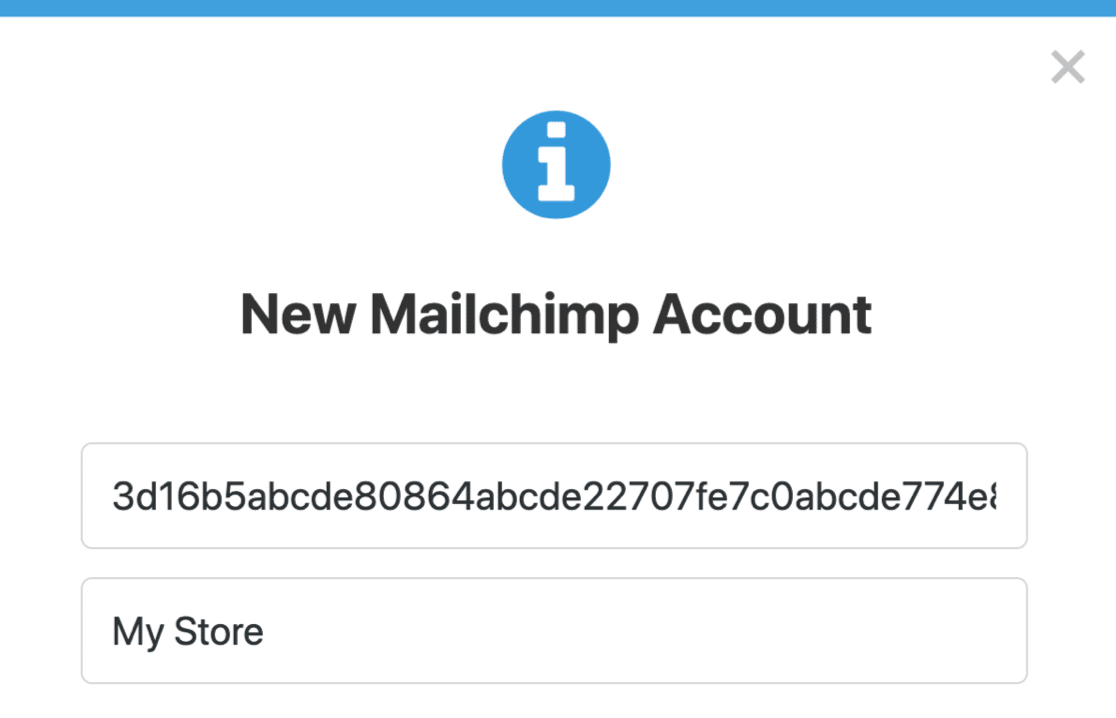
WPForms will prompt you for your API key. You’ll find them in Mailchimp under Profile icon » Account » Extras » API Keys.
You can use any name for the connection.
4. Adding Connections For Each Checkbox Combination
Next, let’s add a connection for the first Group named Fashion. When you’re prompted for a name, you could call this something like ‘Fashion Group Connection’.
Here’s how to set this up:
- Select Account: Pick the account we just connected from the dropdown
- Select Audience: Select the audience from the list
- Action to Perform: Subscribe
- Subscriber Email: Email
- Select Groups: The name of your 1st Group (in our case, Fashion)
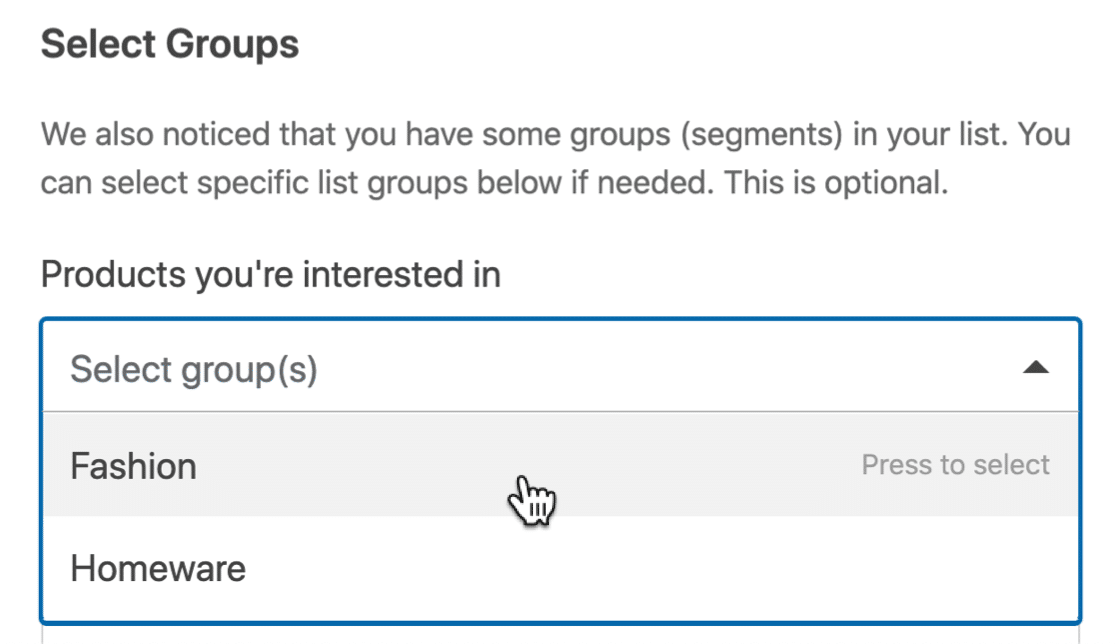
All other items, like tags, are optional.
Now scroll down until you find the Enable Conditional Logic checkbox and click on it. We only want to add the subscriber if they’ve selected the Fashion checkbox, so let’s set up the conditional logic for that.
The statement reads like this:
Process this connection if What would you like to hear about? is Fashion

Great!
Now let’s add the second connection for the second group.
Scroll up to the top and click the blue Add New Connection button again. Repeat the process, but this time, select your second Group in the set-up steps we just followed.
Enable conditional logic again. This connection will run if the second Group is selected. So in our example, it would read:
Process this connection if What would you like to hear about? is Homeware

All set? Now we need to add a 3rd connection. This time, the connection will fire if the subscriber selects both groups.
For this, we’ll add an AND condition. To do that, click the AND button to add another line.
Set it up like this:
Process this connection if What would you like to hear about? is Homeware AND

What would you like to hear about? is Fashion

If you have more than 2 groups, you’ll need to keep adding more connections. Be sure to have 1 connection for every possible combination of checkboxes.
Now you can embed your form on a page and test it out!
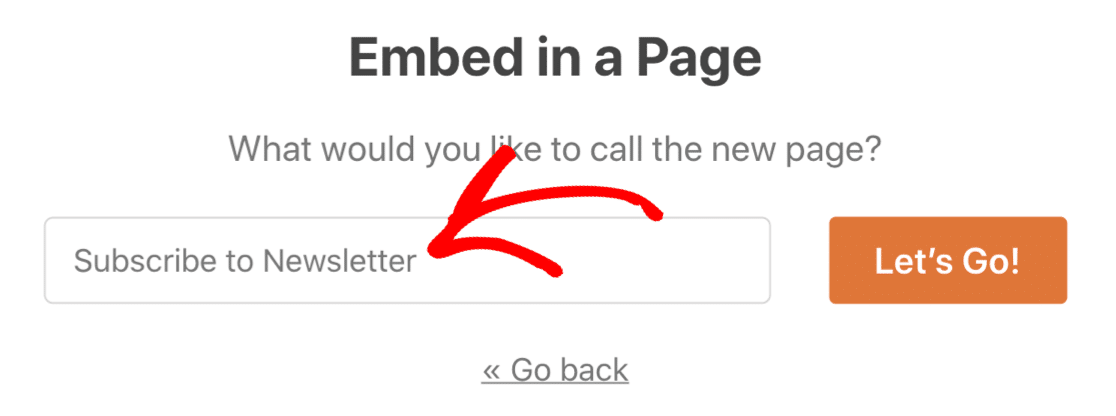
When someone checks the Fashion checkbox, WPForms will run the first connection and add them to the Fashion Group we added in Mailchimp. If they select Homeware, the second condition will run.
If they select both, the third AND condition will run.
And that’s it! Now you know how to add someone to a Mailchimp Group easily from a WordPress form.
Create Your WordPress Form Now
Next, Check Out More Mailchimp + WordPress Tutorials
Do you want to know more about using Mailchimp with WordPress? Check out these tutorials and guides:
- WPForms vs Mailchimp Form Builder: Which One Should You Use?
- 5 Mailchimp Alternatives That Are More Powerful (+Better Support)
- And finally, take a look at this list of essential Mailchimp integrations!
Ready to build your form? Get started today with the easiest WordPress form builder plugin. WPForms Pro includes lots of free templates and offers a 14-day money-back guarantee.
If this article helped you out, please follow us on Facebook and Twitter for more free WordPress tutorials and guides.

