


AI Summary
You’re running your email marketing through Klaviyo, and you need a signup form on your WordPress site that feeds it. Klaviyo’s own instructions mostly point you toward pasting embed code into your theme.
In this guide, I’ll walk you through a more flexible route, a native WordPress signup form that sends every new subscriber straight to your Klaviyo lists without you pasting a single line of code.
Create Your Klaviyo Signup Form Now! 🙂
How to Add a Klaviyo Signup Form to WordPress
The easiest way to add a Klaviyo signup form to WordPress is to build the form in WPForms and let its Klaviyo addon sync every submission to your lists automatically. If you’ve never connected a form to an email service before, expect the whole thing to take around ten minutes.
- Step 1: Install the WPForms Pro Plugin
- Step 2: Install the Klaviyo Addon
- Step 3: Connect WPForms to Your Klaviyo Account
- Step 4: Create Your Newsletter Signup Form
- Step 5: Set Up the Klaviyo Connection on Your Form
- Step 6: Add Your Klaviyo Signup Form to a WordPress Page
- Step 7: Test Your Klaviyo Signup Form
Step 1: Install the WPForms Pro Plugin
WPForms is the most beginner-friendly way to build a signup form in WordPress. It comes with 2,100+ templates, including a ready-made Newsletter Signup Form template that pairs really well with Klaviyo.
What I like most about WPForms for list building is that the marketing connections live right inside the form builder. You set up your fields and your Klaviyo sync in the same screen, without hopping between plugins or copying list IDs around.
For this tutorial, you’ll need a Plus license or higher, since that’s where the Klaviyo addon unlocks, but I recommend using WPForms Pro as it unlocks all field types, 40+ addons, including payments, surveys, and a lot more!
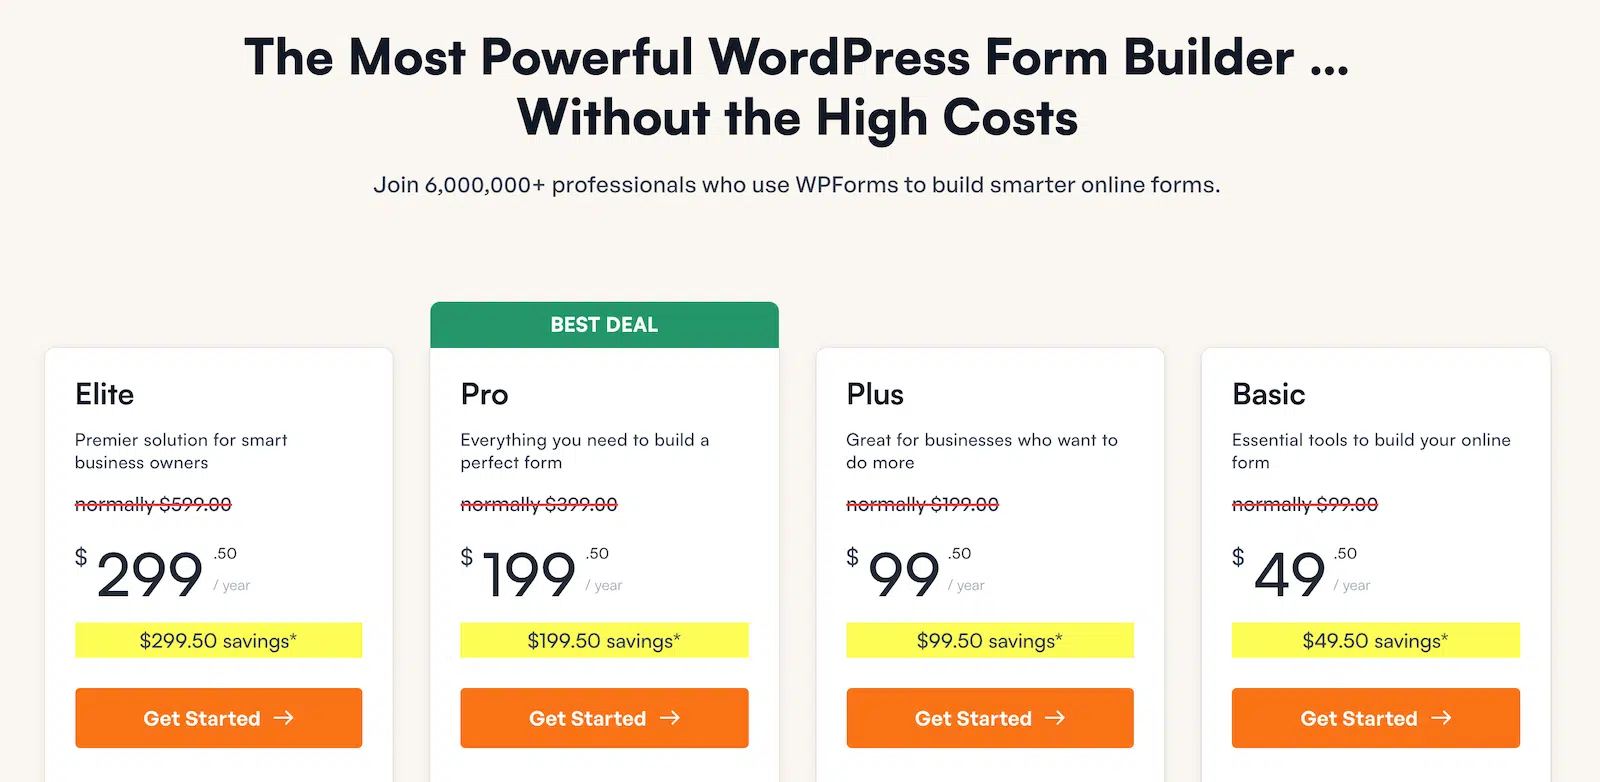
To get started, buy the Pro license. Then, install WPForms on your website. If you need help, follow these instructions on how to add a plugin to WordPress.
Step 2: Install the Klaviyo Addon
With WPForms active on your site, the Klaviyo addon takes about a minute to add.
From your WordPress dashboard, go to WPForms » Addons. The screen lists every addon available at your license level. Type Klaviyo into the Search Addons box to filter the list.

Click Install Addon on the Klaviyo card. WPForms downloads and activates it in place, and the card’s toggle flips to activated once it’s done.

There’s nothing to configure on this screen once the toggle shows active. The addon adds two things to your site, a Klaviyo panel in the form builder’s Marketing tab and a Klaviyo section in your WPForms integration settings.
That second one is where we’re headed next, because the WPForms Klaviyo addon still needs to know which account it should talk to.
Step 3: Connect WPForms to Your Klaviyo Account
Now you’ll link your Klaviyo account to your site, and this part of the Klaviyo WordPress integration only happens once, since every form you build afterward reuses the connection.
Head to WPForms » Settings and open the Integrations tab. You’ll find Klaviyo in the list of available services. Click Klaviyo to expand its settings, then click Add New Account.

Two fields appear, one for a Klaviyo API Key and one for a Klaviyo Account Nickname.
Grab that API key by opening your Klaviyo dashboard in a new tab. Click your account name in the bottom-left corner and select Settings. Then click API keys in the left sidebar.

On the API Keys page, click Create Private API Key. Give the key a name you’ll recognize later. Under Select Access Level, choose Full Access Key and click Create.

Copy the new key from the confirmation screen. Back in WPForms, paste it into the Klaviyo API Key field. Add a nickname so you can identify the account later, then click Connect to Klaviyo.

If the key checks out, your account shows up in the integrations list with a green Connected status.
Step 4: Create Your Newsletter Signup Form
With the connection in place, it’s time to build the form your visitors will actually see. Go ahead and head to WPForms » Add New to open the form builder.
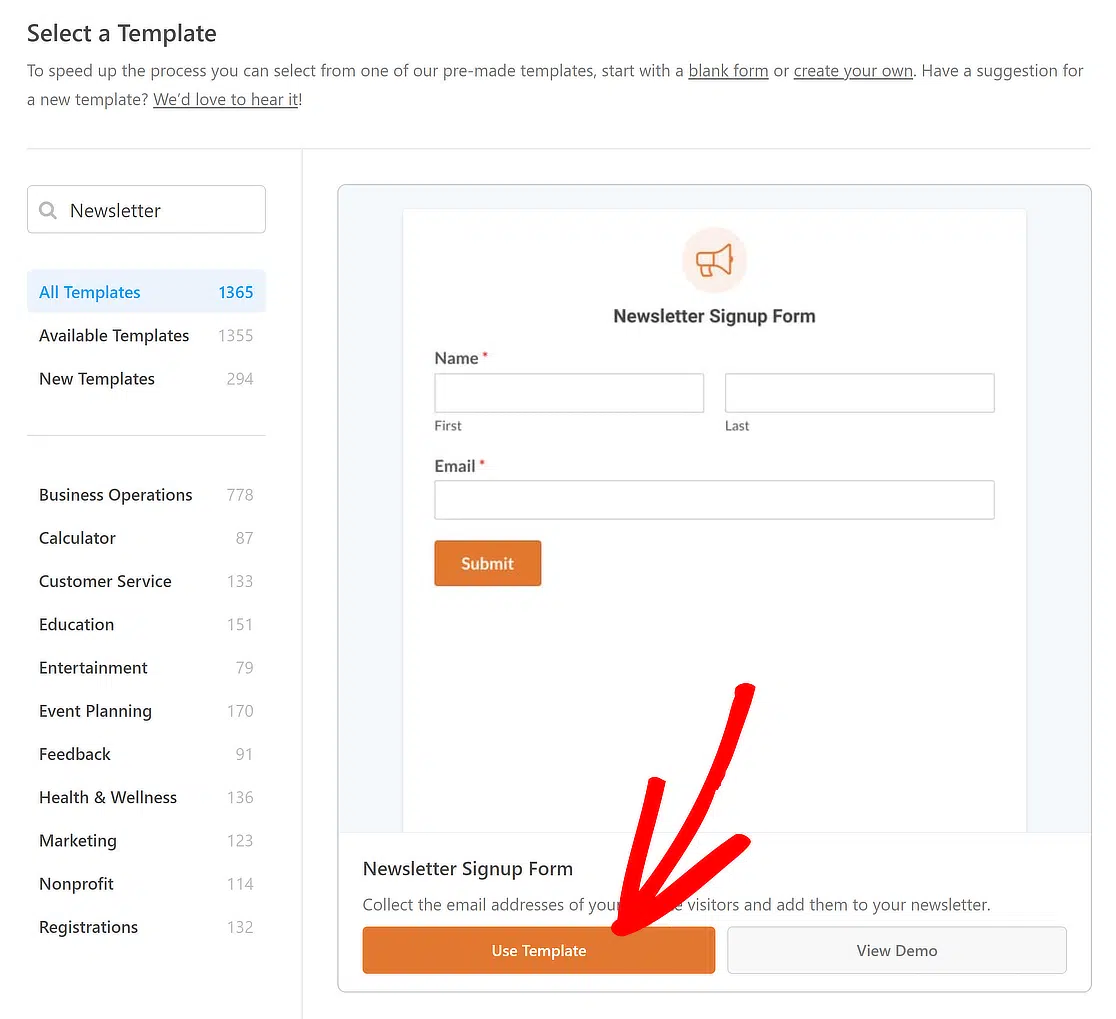
Name your form at the top of the setup screen. Then search the template gallery for newsletter to pull up the matching templates.
Click Use Template on the Newsletter Signup Form template. The builder opens with a Name field and an Email field already on the canvas, which is all a signup form really needs.
You can drag extra fields in from the left panel if you want to collect more, like a dropdown asking what content they’re interested in.
Just keep the Email field in place, because every Klaviyo action requires one. Shorter forms also convert better, so I’d resist the urge to add much here.

If this is your first time in the builder, the guide on creating your first form walks through every screen in more detail. For our purposes, the template output works as is.
Step 5: Set Up the Klaviyo Connection on Your Form
In this step, you’ll tell WPForms what should happen in Klaviyo every time someone subscribes to your form.
Inside the builder, click the Marketing tab in the left sidebar. Select Klaviyo from the list of providers. Then click Add New Connection in the top right.

A popup asks you to name the connection. The nickname is only for your reference, so type something recognizable and click OK.
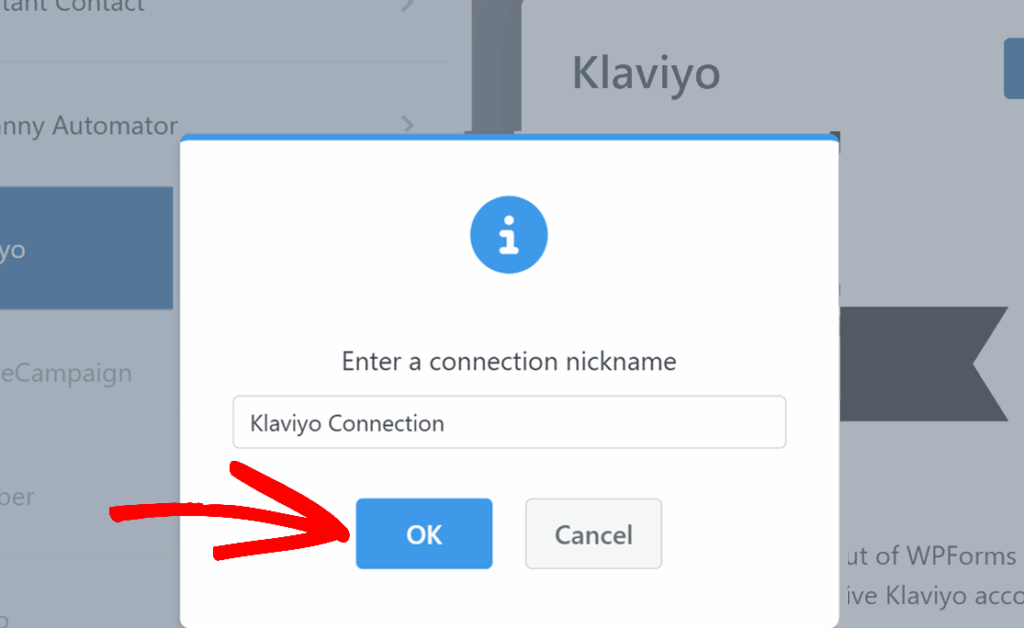
The connection settings open with a Select Account dropdown at the top. Pick the account you connected in Step 3. Next, open the Action To Perform dropdown and choose Create / Update Profile.

This action creates a Klaviyo profile from each submission, or updates the existing one when the email matches. Map the Email setting to your form’s Email field first, since Klaviyo requires it.
Then pick a list from the List dropdown, and the Subscribe to Email Marketing toggle flips on automatically to handle consent. Under Custom Fields, map First Name to your form’s Name field and click Save in the top right.

The List dropdown pulls every list straight from your connected account, and if you pick one set to double opt-in, a notice reminds you that subscribers confirm by email first.
The Subscribe to Email Marketing toggle controls the contact’s email consent in Klaviyo, so leave it on for a standard signup form.
You can add more field mappings with the blue + button, and typing a new property name creates it in Klaviyo automatically.
Empty fields never overwrite data Klaviyo already has, so partial submissions won’t wipe out existing profiles. The Klaviyo addon documentation also covers the Unsubscribe and Remove from List actions if you need them for other forms.
Step 6: Add Your Klaviyo Signup Form to a WordPress Page
To add your Klaviyo form to WordPress, you’ll embed it with the WPForms block, which works in any post, page, or widget area. To begin, click the Embed button at the top of the form builder.
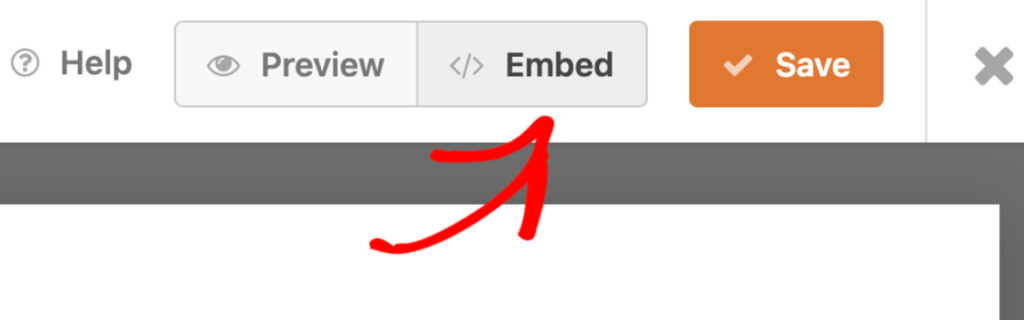
The Form Embed Wizard will open with six options for publishing your form. You can choose to publish the form on an existing page or create a new page, after which you’ll be redirected to the WordPress block editor.

Now, you can either publish this page directly to launch your form or try making some styling changes to give it extra oomph.
To make quick work of styling your form, you can select a ready-made theme under the Form Theme section. In this example, I’m using the Scrap theme (which is one of my favorites).

When you’re ready to go ahead, click on the Publish button, and your Klaviyo newsletter signup form will be live and ready to accept submissions!
Step 7: Test Your Klaviyo Signup Form
Before you call it done, run one real submission through the form. Testing takes two minutes and saves you from quietly losing subscribers to a misconfigured list.
Open your published page and submit the form with an email address you control. Then, back in your dashboard, go to WPForms » Entries and select your signup form.
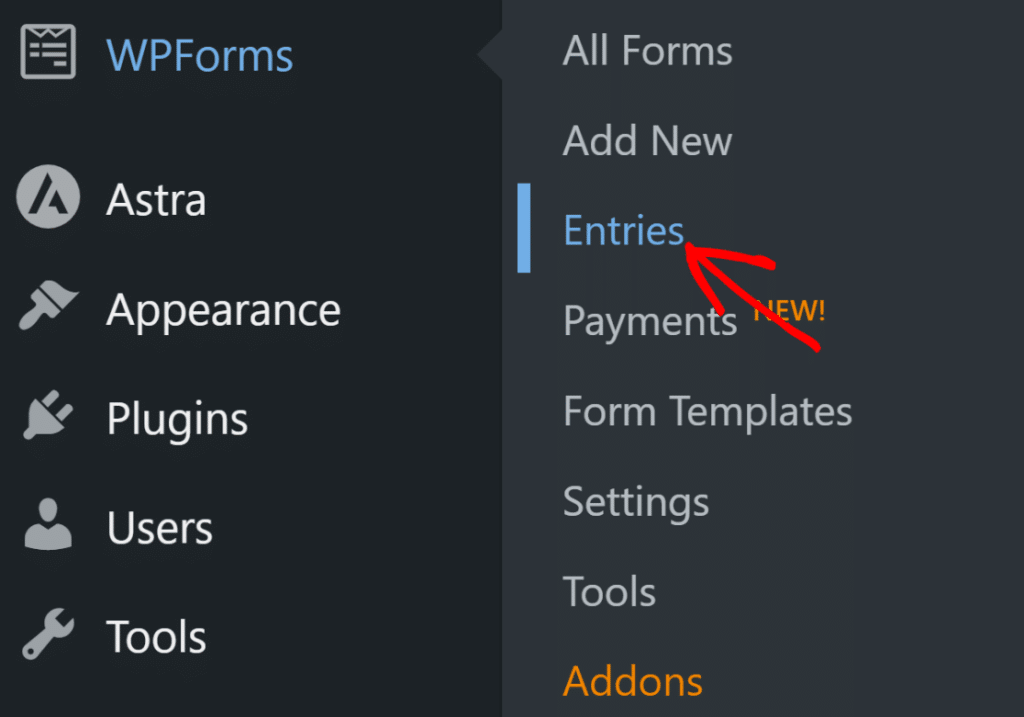
Every submission is stored here in WordPress alongside the Klaviyo sync. This built-in backup is something embed-code forms don’t give you, and it means a Klaviyo hiccup never costs you a lead.
Next, log in to Klaviyo and look up the profile for your test email address, either in the list you selected or under your profiles.

If your list uses double opt-in, the profile stays pending until you click the confirmation email, so check your inbox before assuming something broke.
You can also customize what subscribers see right after submitting with form confirmation messages and form notification emails.
And that’s it! Your Klaviyo signup form is live, and every new subscriber now flows into your list automatically.
FAQs About Adding a Klaviyo Signup Form to WordPress
Klaviyo WordPress integration questions fill the community forums, so here are answers to the ones that come up again and again.
Does Klaviyo integrate with WordPress?
Yes, Klaviyo offers an official WordPress plugin that installs its tracking snippet and supports its embedded signup forms.
For more control over the form itself, a form plugin with a native Klaviyo connection, like WPForms, builds the form inside WordPress and syncs submissions through Klaviyo’s API.
Does WPForms integrate with Klaviyo natively?
The Klaviyo addon ships with WPForms Plus and higher, and it talks to Klaviyo’s API directly. You don’t need Zapier or any custom code to sync subscribers.
Do I need Klaviyo.js for the WPForms method?
No, the WPForms Klaviyo addon syncs data server side through your API key, so your form works without Klaviyo’s script. You only need Klaviyo.js if you also want Klaviyo’s own popups, flyouts, or onsite tracking running on your site.
Why isn’t the Klaviyo double opt-in confirmation email sending?
Confirmation emails only go out when the Subscribe to Email Marketing toggle is on in your form’s Klaviyo connection. Adding someone to a list with the toggle off skips opt-in enforcement entirely, so switch it on and run your test again.
Why aren’t phone numbers syncing to Klaviyo?
Klaviyo only accepts phone numbers in international format with a country code. WPForms adds +1 to 10-digit US numbers automatically, but other numbers need the country code in the submission itself, and invalid ones are dropped silently. A Phone field set to the right format for your audience solves this.
Can one form send subscribers to different Klaviyo lists?
Yes, you can add multiple Klaviyo connections to a single form and give each one its own conditional logic rules. That lets you route subscribers to different lists based on how they answer your form.
Is the Klaviyo addon available in WPForms Lite?
No, the addon unlocks at the Plus license level or higher. If you’re on Lite, the only marketing integration included is Constant Contact, so you’d need to upgrade before connecting Klaviyo.
Next, Grow Your Email List Even Faster
Your signup form is only half of the email machine, because once subscribers start rolling in, you need something worth sending them.
Our guide on how to create an email newsletter helps you plan that content, and if you’re still comparing platforms, this roundup of the best email marketing services breaks down how Klaviyo stacks up.
The Form Abandonment addon also captures partial entries from visitors who start typing but never hit Submit. Those near-misses can feed your Klaviyo follow-up flows too.
Get Started with WPForms Today! 🙂
Ready to build your form? Get started today with the easiest WordPress form builder plugin. WPForms Pro includes lots of free templates and offers a 14-day money-back guarantee.
If this article helped you out, please follow us on Facebook and Twitter for more free WordPress tutorials and guides.


