
A data entry form is exactly what it sounds like. It’s a form that collects information to be stored in a database or spreadsheet.
This information could include customer details, appointment bookings, registration information, and other important data. Fortunately, building these types of forms is easier than you might think. And there’s no coding required!
So if you want to learn how, keep reading. I’ll show you how to create a custom data entry form that’s easily integrated with your data management system of choice. You can have it done in only 5 steps.
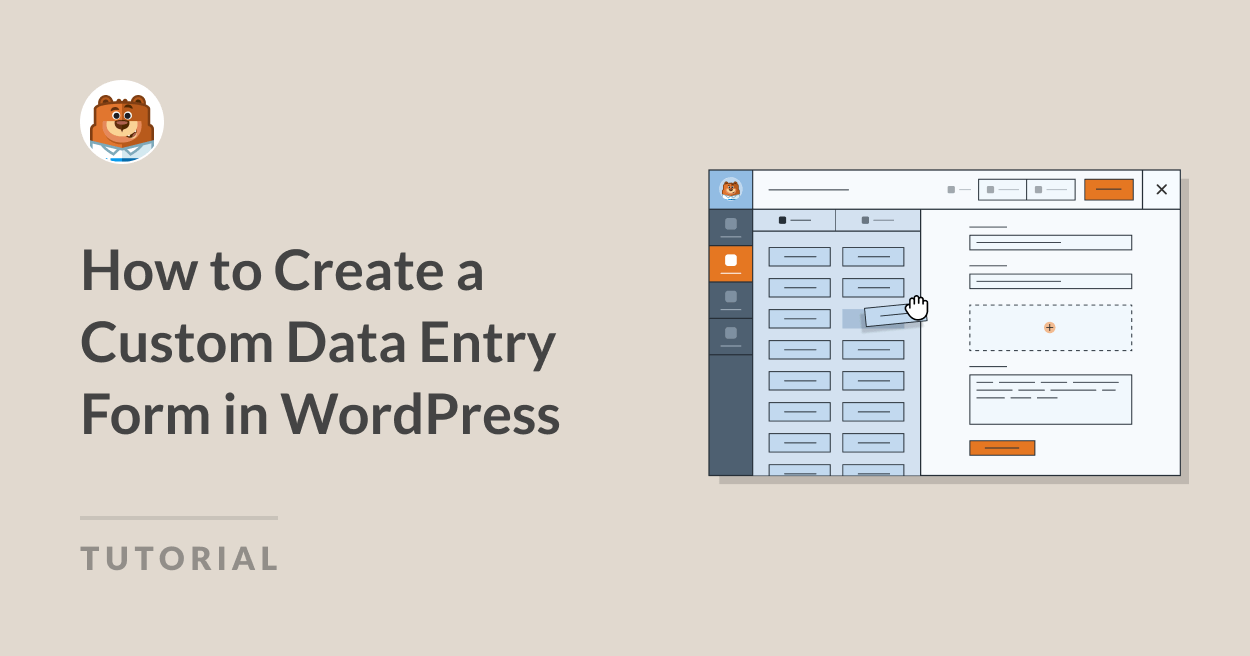
How to Create a Custom Data Entry Form in WordPress (No Coding Required)
Get WPForms
To create your own custom data entry form, you’ll need to install and activate WPForms Pro in your WordPress dashboard.
With Pro, you can access the necessary addons, additional fields, and extra customization options, which I’ll show you how to utilize in this blog post.

Once you have the plugin installed and activated, you’re good to go!
Create Your Data Entry Form Now
Integrate Your Tool of Choice
With the WPForms Pro license, you have access to all of the integrations we currently support. Which is a lot.

WPForms integrates with 200+ tools and systems, including Zapier — which connects to thousands of other platforms.
As for data entry tools, you might be keen on our integrations with:
- Google Sheets: With this integration, you can automatically send form submissions to a Google Sheets document for easy data management.
- Salesforce: Sync your WPForms entries with Salesforce to manage leads and customer information.
- Airtable: Through Zapier, you can integrate WPForms with Airtable to create an extensive database for your entries.
- CRM and Marketing Platforms: WPForms also integrates with email marketing tools like Mailchimp and others.
We’ll go ahead and cover the integration part before building the form, so you can choose which service to connect with your form when you build it. I’ll explain more when we get into the form builder.
First, head over to WPForms » Addons.

Now, on the WPForms Addons page, you can find the tool you want to integrate and connect with your form.
Google Sheets, for example — locate the Google Sheets Addon and Activate it.

You’ll then be directed through a few screens that basically confirm your Google sign-in.
Once that’s complete, you’ll be redirected to the Integrations page. You should now see that the Google Sheets integration says Connected.

This integration isn’t just handy for the form we’re about to create in this tutorial, though.
Once connected, you can use it with any form you’ve created to send the form data to Google Sheets automatically.
Build Your Form
With the integration setup out of the way, you’re ready to build your data entry form. Head over to the WPForms tab of your WordPress dashboard and click Add New.

By adding a new form, you’re then prompted to name the form and open up the form builder. You can use a blank form and build it up yourself from scratch, or you can start with a template.

I suggest taking advantage of the many form templates offered in the template gallery (we have thousands to choose from) to get going.
With a template, most if not all of the needed fields are included on each given data entry form. For example, our Student Registration Form template is ready-made with fields for student information, parent details, and emergency contact.

Either way — with a template or with a blank form — you have the ability to fully customize your form to your liking with the drag and drop form builder.
You can edit the styling and functionality of the fields on your form, add extra fields you want, remove the fields you don’t want, and more. We’ll get into all of that with the next step.
Customize Your Form
Once you’re in the form builder, you can add and customize a wide range of fields to your form, including text inputs, checkboxes, dropdown menus, and more.

Having lots of different ways to let users enter their data is always a huge plus, especially for this type of form.
Utilize AI choices
And when you add a field that users make a selection from, you have the option to let WPForms AI generate the selection of choices for you.

Just enter the type of list or choices you need generated, and watch the AI assistant quickly make it for you. Then, you can insert the generated choices onto your form with the click of a button.

AI choices take the time and guesswork out of adding these data points to your data entry form.
Plus, using them can help your form users capture the right data in their forms, and therefore increase the efficiency and accuracy of your data collection.
Use the Repeater Field
The Repeater Field allows users to dynamically add more input fields without overcrowding the form. This is useful for data entry tasks where the number of inputs varies — such as entering additional names, addresses, phone numbers, and so on.

Form users just click a button to add or remove certain fields, or whole block sections of your form. And as for customization, you have full control over the layout of these repeatable fields, the button styling, and other options.

For a full rundown on the Repeater field, how to best use it, and tips for styling, take a look at our extensive guide on this essential organizational tool.
Connect the Integration
When your form is customized to your liking, you can connect it to the data entry integration you set up earlier. You’ll find it in the Settings tab of the form builder sidebar. In this case, you can choose Google Sheets from the available options.

Then, click on Add New Connection to link your Google account to this form and start storing entries.

You’ll need to give this connection a nickname, next. But don’t worry, this nickname won’t be displayed on your site. It’s just to help you remember which form your Google Sheet is connected to. After typing in a nickname, click OK.

Then, for the spreadsheet this form will populate, you’ll see options to Select Existing or Create New. You can either connect this form with an existing spreadsheet you have with Google Sheets, or start a new spreadsheet from here.

Finally, scroll down further to see the Field Mapping settings. This is where you define which columns correspond to which field values from your form.

Since there are additional field mapping settings you may want to explore, I encourage you to check out the full tutorial on saving entries in Google Sheets.
And, while these steps were specific to Google Sheets as the data entry integration of choice, the general approach is similar across the board.
You’ll retrieve the integration’s corresponding addon, you’ll need to set up the integration by connecting it to an account you have with the platform, and you’ll find the integration within the Settings tab of the form builder.
Publish Your Form
Now that your form is ready, you need to add it to a page published on your site. Then, when someone submits the form, it will automatically send the entries to your Google Sheets spreadsheet.
Click the Embed button in the top right corner of the form builder to do it.

You can either embed your form on a page you already have on your site, or you can create a new page from here. If you create a new page, you’ll need to give it a name, like “Student Registration.”

Whichever route you choose, the WordPress editor will then open up with your form added. From there, simply Publish the page.

Your data entry form is now live on your site!
Bonus: Best Practices & Tips
With a template to get you started, AI choices to generate your options, and the Repeater field to keep it all organized, I imagine that your form is turning out great. That said, keep some of these tips and considerations in mind.
- Placeholder Text and Descriptions: While placeholder text can guide users, avoid cluttering your form with too much explanation. The same goes for descriptions. Keep field descriptions short and relevant to reduce form fatigue.
- Multi-Column vs. Single-Column Layout: Multi-column layouts can make your form appear shorter, but a single-column layout helps users focus on one input at a time, improving form completion rates.
- Form Length and Conditional Logic: Keep your forms concise. The shorter your form, the more likely it is that users will complete it. Use conditional logic to hide unnecessary fields and only show what’s relevant to the user.
- Branding: Consider applying your organization’s branding to the form through the use of header images, color choices, and other styling options. This is especially important for the more public-facing forms you utilize on your website.
That’s all there is to it! You have all the tools for creating your own data entry form right at your fingertips. What sort of data will you be collecting and entering? The options are virtually endless with WPForms.
Create Your Data Entry Form Now
Data Entry Form FAQs
As the #1 form-building plugin — data-entry forms or otherwise, we get a lot of questions about forms. Here are some of the most frequently asked questions on the topic:
Can I export form submissions to Excel?
Yes! With WPForms, you can easily export form data into CSV format, which can then be opened in Excel.
Is WPForms GDPR-compliant?
Yes, WPForms offers tools to help you comply with GDPR regulations, including the ability to add consent checkboxes and customize how data is stored.
Does WPForms work with third-party integrations?
Absolutely. WPForms works with Zapier, which allows you to connect your forms to over 7,000 apps, including Google Drive, Slack, and Trello.
Next, Add an Honorific to Your Form’s Name Field
It’s a professional courtesy to include a person’s honorific next to their name. So, why not include this option as part of the name fields you include on your form? To learn how to add a preferred honorific or title to a name field, take a look at our helpful guide on the subject.
Ready to build your form? Get started today with the easiest WordPress form builder plugin. WPForms Pro includes lots of free templates and offers a 14-day money-back guarantee.
If this article helped you out, please follow us on Facebook and Twitter for more free WordPress tutorials and guides.

