
AI Summary
There are many ways to capture leads on your website. But two tools in particular have always served marketers exceptionally well – lead forms and landing pages.
The question is, which is best for your business? The short answer is both.
Lead forms and landing pages can be effective for virtually any website. The key is to make sure you’re utilizing your landing page and/or lead forms for the purposes they serve best.
In the rest of this post, I’ll give you the long answer, highlighting different examples and use case scenarios to help you better understand lead forms vs landing pages.
In This Article
Lead Form vs Landing Page: Which Is Best?
Let’s take a closer look at lead forms and landing pages one by one. Remember, this isn’t a battle of the better option between the two, but rather a breakdown of what works best for your specific goals.
Lead Forms
First, I’ll discuss lead forms and show you how to create one for your website in the easiest way possible!
What Are Lead Forms?
Lead forms capture basic information from visitors to allow them to subscribe to your mailing list. These forms are typically short and concise, and appear as part of a webpage, popup, or embedded within content.

It’s common for lead forms to ask for essential details like name, email, and phone number. But you can also ask for additional details depending on your requirements (as long as you keep the form fairly short).
Advantages of Lead Forms
- Simplicity: Easy to create and use, ensuring a smooth user experience for visitors
- Versatile placement: Lead forms can be embedded anywhere, which is ideal for grabbing attention
- Conversion-driven: Ideal for offering instant rewards in exchange for the visitor’s email address.
When to Use Lead Forms
Lead forms are ideal when you want to embed the form strategically inside your popular posts, sidebar widgets, or even on your landing page. Marketers typically use lead forms in the following scenarios:
- Building an email list with concise and minimalist forms
- Lead magnets and gated content where the goal is to boost your lead collection by offering a valuable resource in exchange (eBooks, freebies etc.)
- Offering a quick promotion or discount
- On high-traffic posts and pages to boost form conversions by embedding the form within content or displaying it as a popup
How to Build and Embed Your Lead Form
You can build lead forms incredibly quickly in WordPress using the WPForms plugin.
Step 1: Install WPForms Pro and Activate Addons
WPForms Pro lets you build high-converting lead forms that are designed to provide a frictionless and distraction-free experience to your visitors.
If you don’t have a license yet, go ahead and get WPForms Pro. Our doc guide on WPForms installation details the installation steps.
After installing the plugin, I recommend activating the Lead Forms addon. This addon converts your form into a multi-page form automatically.
It’s quite effective when you want to embed a highly interactive form that takes only limited space on your site for maximum usability.
To activate the Lead Forms addon, open your WordPress dashboard and go to WPForms » Addons.
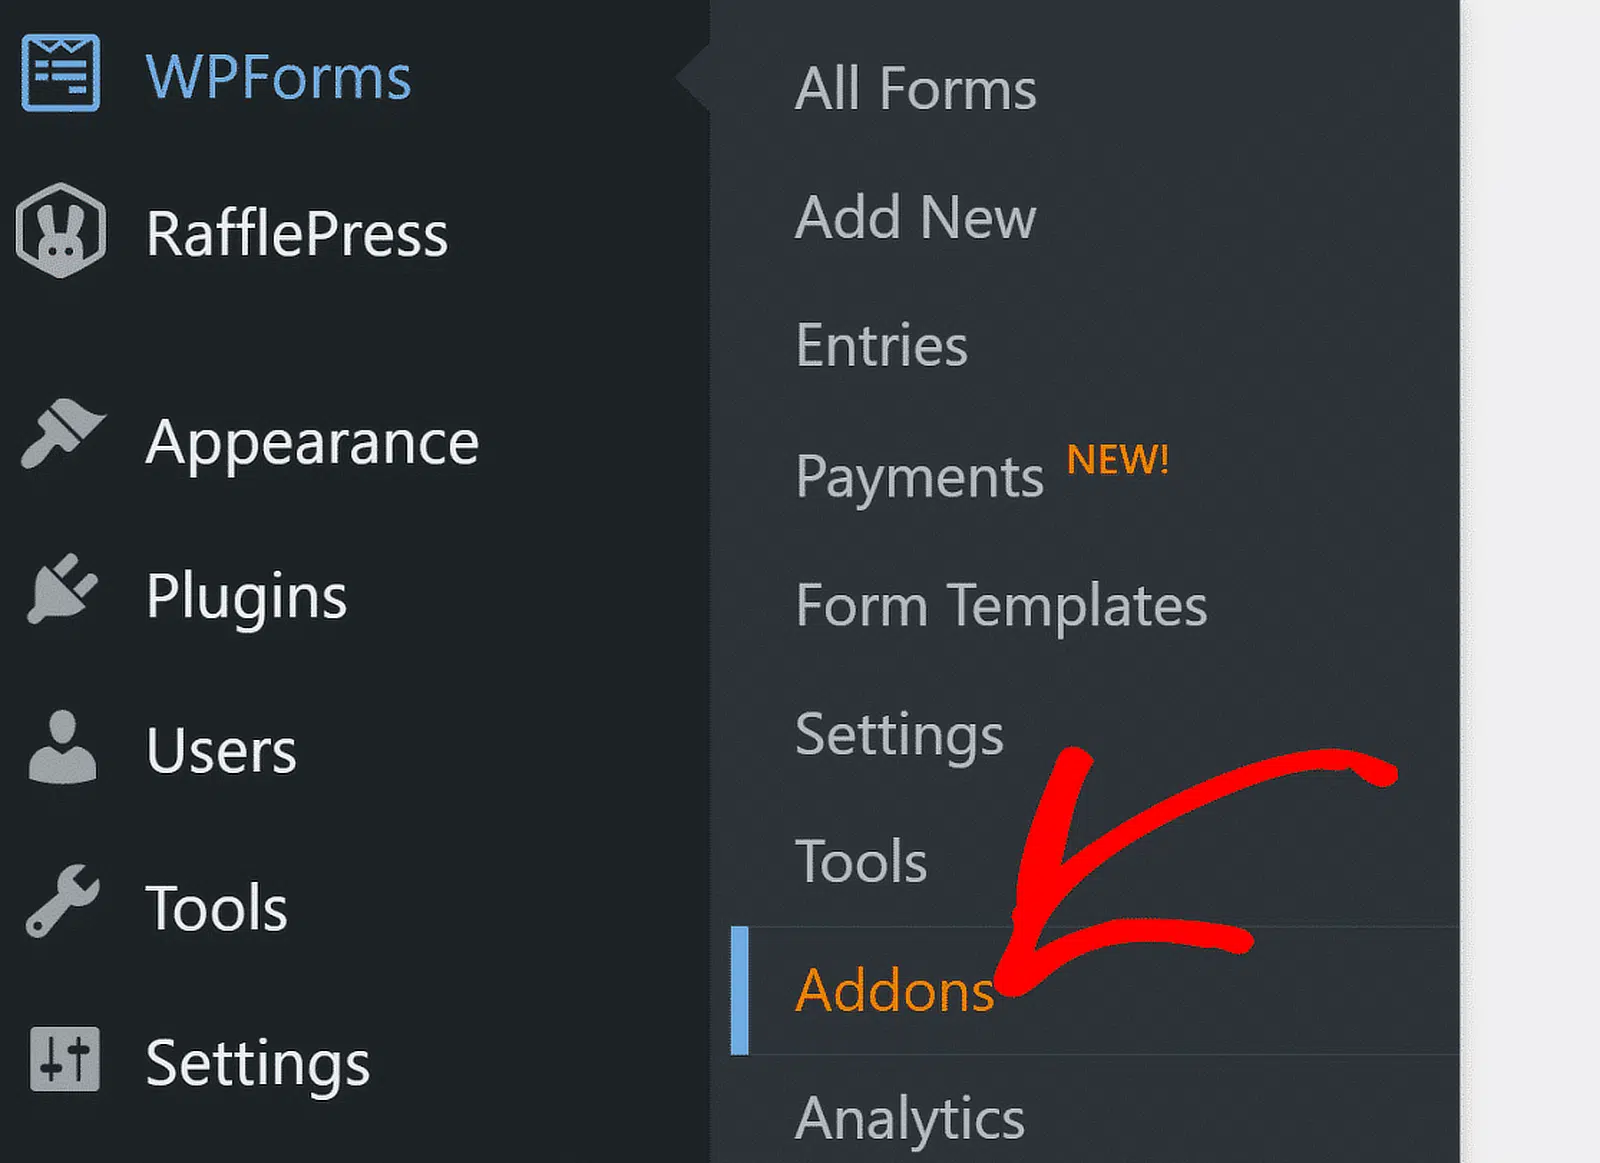
On the addons screen, type lead forms in the search box. Once you’ve done that, click on the Install Addon button under Lead Forms.

With that, the addon will install in just a few seconds.
Great! Now, it’s time to start building your own custom lead form.
Step 2: Create Your Lead Form
From your WordPress dashboard, navigate to WPForms » Add New.

On the next screen, you can give a name to your form and choose a template.
With a ready-made template, you can build your lead form in no time. For this example, I’m using the Personal Trainer Lead Capture Form template.

This is one of many form templates configured by default to use the Lead Form mode. When this mode is active, the form displays only one field at a time, adding Page Breaks between each field.

You’re free to add, remove, edit, or reorder fields in your form, so you don’t have to use the template as-is.
However, I’ll make use of the template without any further changes for simplicity’s sake. For a detailed guide, see our tutorial on creating multi-page lead forms.
You can access additional settings about your form by going to Settings » Lead Forms.

You can use the Enable Lead Form Mode toggle button to either turn this mode on or off. When enabled, you’ll have additional settings underneath.

You can choose an Accent Color by clicking on the color picker. Beyond that, you can go much further by selecting the Advanced Style Settings toggle button.
These expanded settings allow you deeper control over your form design elements.

Make any adjustments as necessary. Then, click on the Save button at the top.

Good job! All that remains now is to embed your form.
Step 3: Embed Your Lead Form
WPForms gives you several options for embedding your forms. If you want to embed your form on a new page or an existing one, you can press the Embed button at the top.

After that, you can follow through the intuitive on-screen instructions and prompts to embed your form.
Lead forms intended to collect email signups are rarely used as standalone forms appearing independently as the only element on a page. So, you’ll likely want to embed your lead form on a post or sidebar widget.
To embed your form on a post or article, simply create a new post or edit an existing one. Then, press the ‘+‘ icon at the top-left.
Then, type WPForms to instantly locate the WPForms block. Drag and drop this block inside your post to any spot that you find strategically appropriate (such as after the introduction or in the middle of the body).

Once you’ve inserted the WPForms block, use the dropdown menu to select the form you want to embed.

As soon as you’ve selected the form, it will appear on your screen.

Once you’ve developed the content for your post and are ready to publish it, go ahead and press the Publish button at the top.

Go ahead and check out your published post. This would be a good time to test your form out by sending the first submission yourself.

Looks pretty neat, right?
If you want to add the form to a widget, see these instructions for embedding forms in a widget for details.
Landing Pages
It’s time to explore landing pages in the following section.
What Are Landing Pages?
Landing pages are standalone web pages designed with a single focus or call-to-action (CTA). There are two types:
- Complex Landing Pages: Feature-rich pages with multiple CTAs, compelling copy, visuals, and often a form.
- Full-Length Forms: Pages that are dedicated entirely to a single page that occupies the full length of the page.
So, which type of landing page should you use for your website? The answer depends on your budget and goals.
If you’re building a page dedicated to a product or service you’re offering, you should create a detailed landing page with professional copywriting and CTAs.
On the other hand, if you’re running a survey or want to collect more detailed information from your customers than what you’d typically ask on a lead form, then a full-length form is more appropriate in this scenario.
| Landing Pages 🖥️ | Full-Length Forms 📝 | |
|---|---|---|
| Pros |
|
|
| Cons |
|
|
| Use Cases |
|
|
Now that you understand the differences, let’s go through the steps for creating a full-fledged landing page and dedicated form pages.
How to Create a Form Page
Creating a full-length page dedicated to a standalone form requires no specialized skills or knowledge with WPForms. Here’s what you need to do:
Step 1: Install WPForms Pro and the Form Page Addon
As before, you’ll need WPForms Pro installed on your site. Then, go to WPForms » Addon and install the Form Pages addon.

After that, click WPForms » Add New.
Enter a name for your form and select a template.
Step 2: Create a New Form
This time, I’m using a survey form template to demonstrate a common use case where full-length forms are typically used.
Note: The Anonymous Employee Satisfaction Form template requires that you activate the Surveys and Polls addon.

After selecting your template, the form will load up in just a few seconds.

Now, click on Settings » Form Pages on the sidebar. Then, use the toggle button next to Enable Form Page Mode.

Once you’ve done that, you’ll find additional settings appear right underneath. These will allow you to create a title for your form page, add a description, and create the permalink or slug for the page.

If you scroll down further, you can add a header logo, select a custom color scheme, along with other options.

When you’re satisfied, press the Save button. WPForms will create the form page for you immediately as you save the form, which is what makes this so easy!
To view your form page, simply click on the View button next to the permalink box.

And your full-length form page is now ready to accept detailed information from your visitors in a completely distraction-free environment!

Create a Custom Form Page Now 📜
But what if you need a more structured landing page with multiple sections and copywriting focused on lead capture?
Read on below to learn about creating a detailed landing page.
How to Create a Dedicated Landing Page
Building landing pages is easier when you have professional templates on which to base your design. Here’s how you can create a lead gen landing page on your site:
Step 1: Install SeedProd and Create a New Page
SeedProd is a landing page builder that’s also popular for its easy solution to building Coming Soon or Maintenance Mode pages on your site.

You can purchase SeedProd and install it by following the same procedure as WPForms. But if you need a guide, see this tutorial on installing WordPress plugins.
Once installed, hover your cursor over SeedProd on your admin sidebar, then select Landing Pages.

At this point, you’ll see options for creating different types of landing pages. Scroll down and click on Add New Landing Page.

You’ll now see a modal open asking you to enter a name for your page and choose a slug for the page. Enter the details as required to proceed.
Step 2: Select a Page Template and Publish Your Page
Now, it’s time to select a template for your page. There are tons of great examples here so feel free to explore and choose one that best suits your needs.

After selecting the template, the page builder will open where you can develop the page by editing its content and adding new blocks with easy drag-and-drop controls.

To save your changes, press the Save button at the top. And when you’re ready to publish, click the down arrow button next to save to expand the menu and click on Publish.

You can then view your page from the front end. In my example, I’m using a template with a lead form at the bottom.
It’s a simple lead form that’s only meant to collect email addresses, with all other elements contributing towards the same goal, i.e. persuading the visitor to share their email address.

Also read: how to create landing pages in WordPress.
Lead Form vs Landing Page: Which Should You Use?
I hope the difference between lead forms and the two main types of landing pages is clearer to you now. But to recap:
- Use a lead form when you need to capture leads with minimal commitment.
- Use a landing page when you want to drive conversions through copywriting with an emphasis on your features, benefits, or services.
- Use a full-length form page when you want to collect extensive zero-party data for a survey or purposes like event registration.
And there you have it! With these tips, you can make informed decisions about which strategy you should be using to grow your website.
Next, Get Inspired by Lead Form Examples
It’s always helpful to see real examples of lead forms and how other websites leverage this tool for their campaigns. Check out our overview of lead gen form examples to get inspired.
Ready to build your form? Get started today with the easiest WordPress form builder plugin. WPForms Pro includes lots of free templates and offers a 14-day money-back guarantee.
If this article helped you out, please follow us on Facebook and Twitter for more free WordPress tutorials and guides.

