AI Summary
You collect leads through your website forms, then spend hours copying and pasting contact details into Pipedrive. Meanwhile, hot prospects are waiting for follow-ups that never come!
Without automated lead capture, you’re probably missing follow-ups and letting hot prospects go cold while juggling between platforms. Every manual step is another chance for leads to slip through the cracks.
The good news? WPForms connects directly to Pipedrive, automatically sending every form submission straight to your CRM as organized leads ready for your sales team.
In this guide, I’ll walk you through setting up a Pipedrive WordPress form that works seamlessly with your CRM. You’ll have leads flowing automatically from your website to your sales pipeline in just a few minutes.
Create Your Pipedrive WordPress Form Now 🚀
Why Create a Pipedrive WordPress Form?
Though your Pipedrive CRM account helps you to stay in control of the sales process, you still need to add contacts or deals manually to your account.
The best solution is to create a custom Pipedrive form and add it to your WordPress site. Then you can connect the form to your Pipedrive account with WPForms.
So whenever someone submits the form, a new deal will be created in your Pipedrive account. This will make it easy for your prospective clients to contact you.
Also, it’ll help you save time and increase your productivity with lead capturing. So without further ado, let’s get started with the step by step process of setting up your WPForms Pipedrive integration.
How to Create a Custom Pipedrive WordPress Form
Follow these steps to start making your custom Pipedrive WordPress form easily.
Step 1: Install the WPForms Plugin
Before you can create a Pipedrive WordPress form, you’ll need to get WPForms up and running on your site. The Pipedrive integration is only available in the Elite version, so make sure you have an active license.
The Elite license gives you access to all of WPForms’ most powerful integrations, including Pipedrive, Salesforce, HubSpot, and Authorize.Net.
You’ll also get advanced features like the Webhooks addon for custom integrations, plus everything from the lower tiers like payment processing, email marketing connections, and conditional logic.

The setup process takes about 30 seconds, and once it’s active, you’ll see new Pipedrive options appear in your form builder. Check out this guide for step-by-step instructions on installing WPForms.
Upgrade to WPForms Elite Now! 🙂
Step 2: Create Your Pipedrive WordPress Form
Next, you’ll need a form to connect to Pipedrive. To create a new form, go to WPForms » Add New from the left sidebar of your admin panel.
Once the form builder opens, you can name your form and choose a template. WPForms comes with 2,000+ WordPress form templates that you can use as-is or customize to suit your needs.
I usually recommend starting with the Simple Contact Form template since it gives you a solid foundation with the basic fields you need. Click Use Template to load it into the form builder.
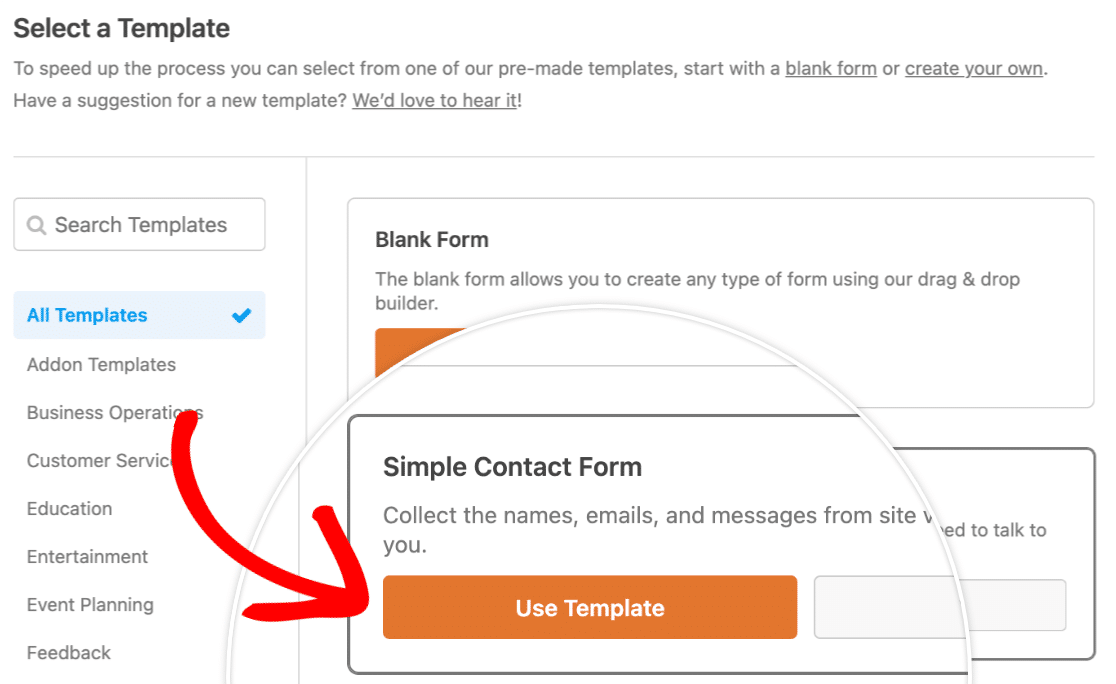
The template comes with Name, Email, and Message fields by default. That’s a good start, but for a Pipedrive WordPress form, you’ll want to add a few more fields that help qualify your leads properly.
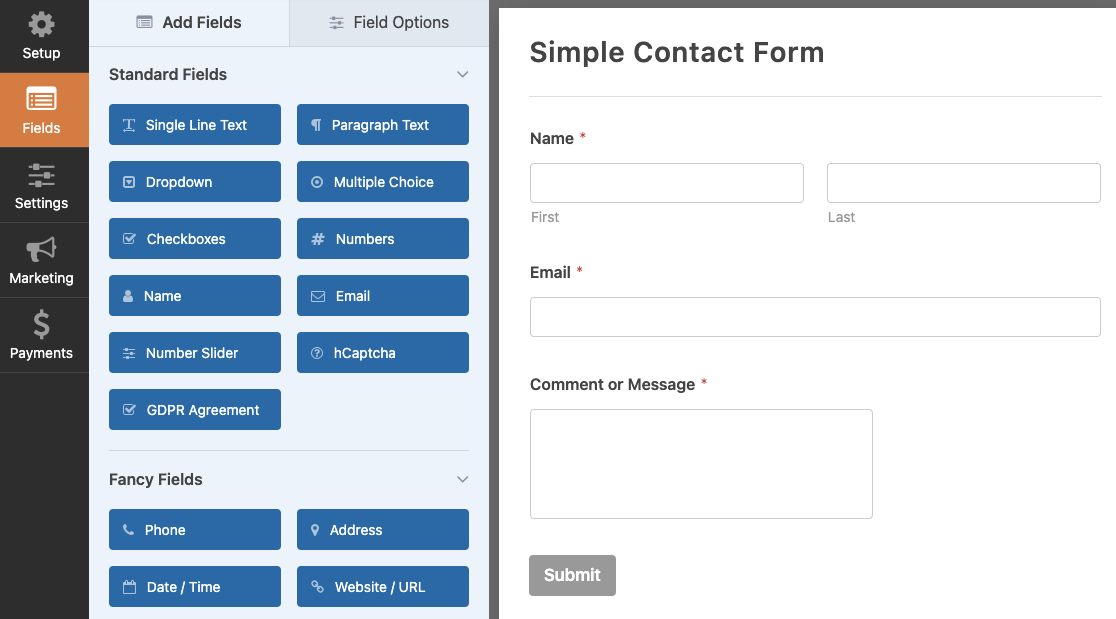
Want to customize the form fields? You can simply click on any field in the preview area to open its field options and make changes to it. Also, you can go to the form settings to change the notification and confirmation settings.
Step 3: Connect Your Form to Pipedrive
Now that your form fields are ready, it’s time to connect everything to Pipedrive. This is where the magic happens, and honestly, it’s one of my favorite parts of the whole process.
In the form builder, click on the Marketing tab on the left side. You’ll see a list of different marketing services and CRM integrations that WPForms can connect to.
Look for Pipedrive in the list and click on it. If you don’t see it right away, you might need to scroll down a bit since there are quite a few integrations available.

Then, click on ‘Add New Account‘ and follow the prompts to authorize WPForms to access your Pipedrive account.
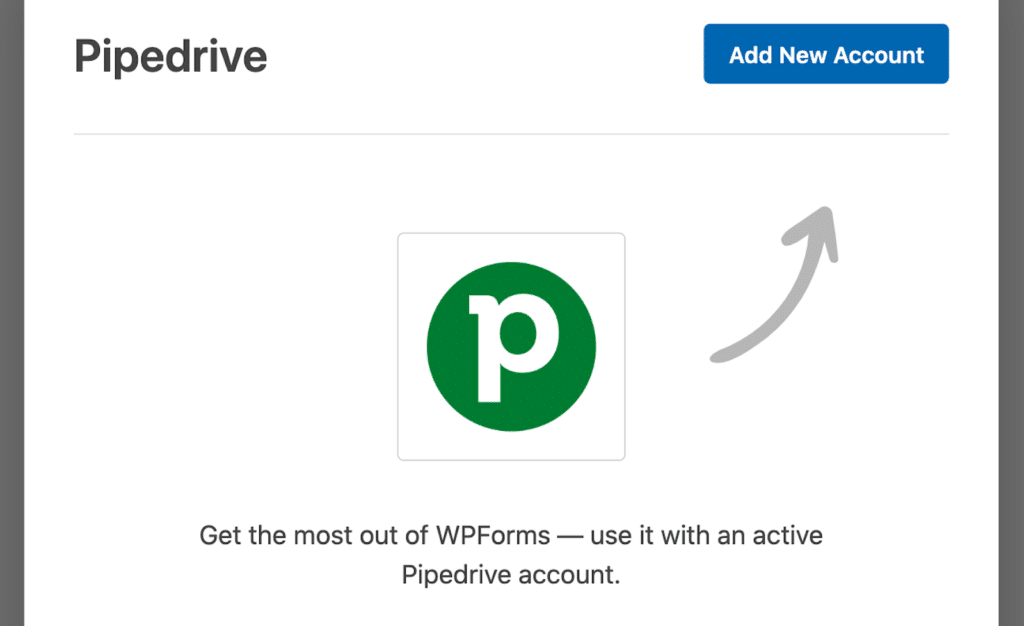
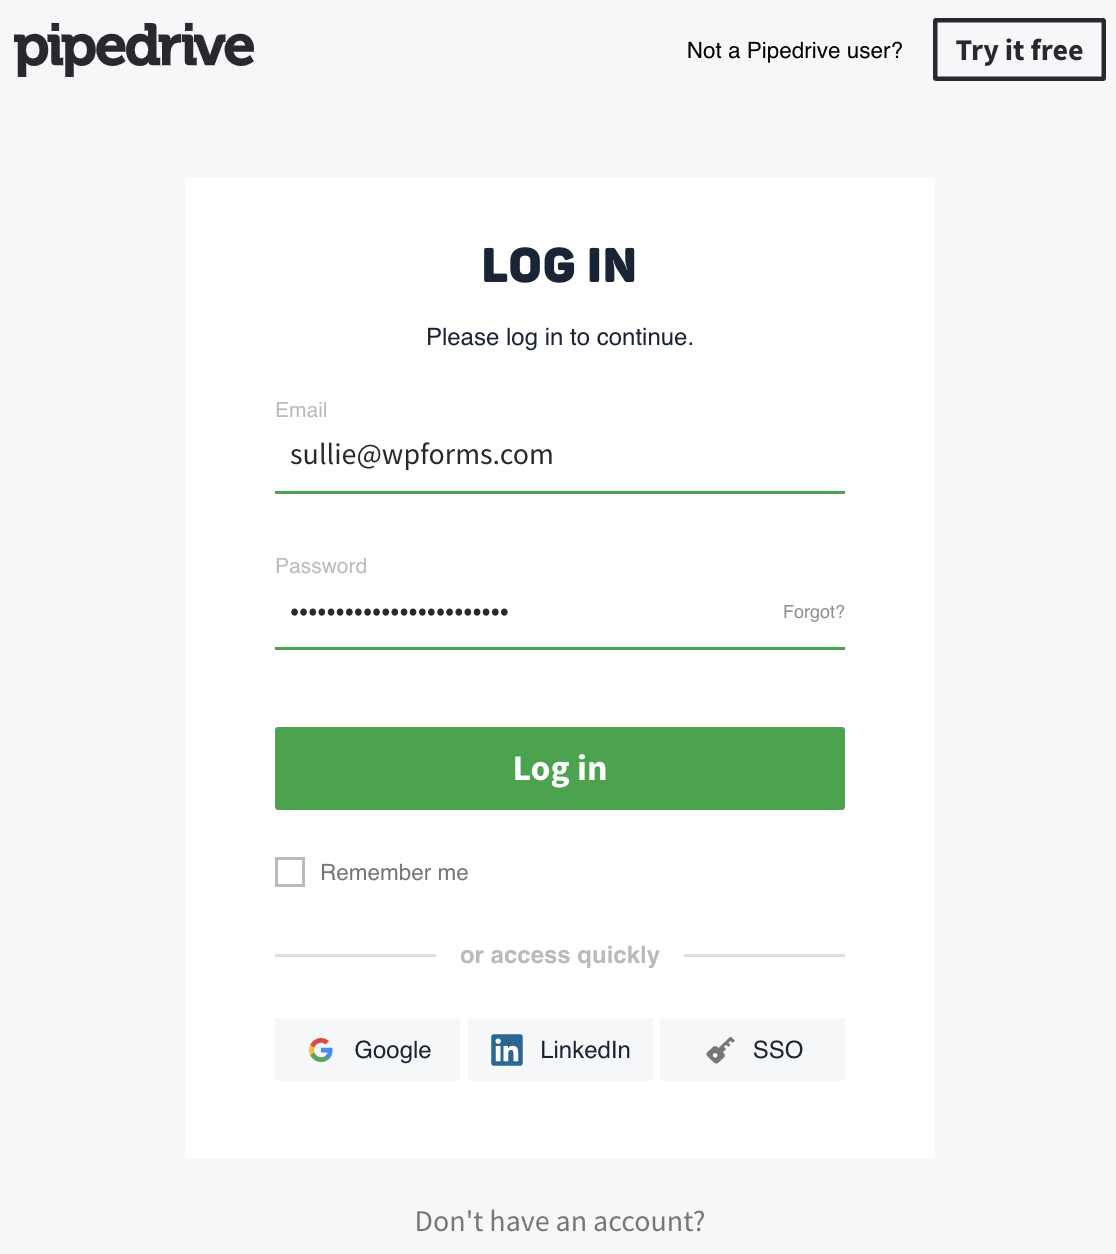
This will open another popup window for you to enter your Pipedrive account email and password. Go ahead and log in to configure your Pipedrive settings.
After authorization, you can configure how form entries are sent to Pipedrive, mapping form fields to the appropriate Pipedrive fields. Be sure to Save your form when you’re happy with it.
Step 4: Map Form Fields to Pipedrive
Now comes the important part: telling WPForms which form fields should connect to which Pipedrive fields. This mapping ensures your lead data flows into the right places in your CRM.
In the Pipedrive settings panel, you’ll see a Field Mapping section. This is where you’ll match up your WordPress form fields with the corresponding person fields in Pipedrive.
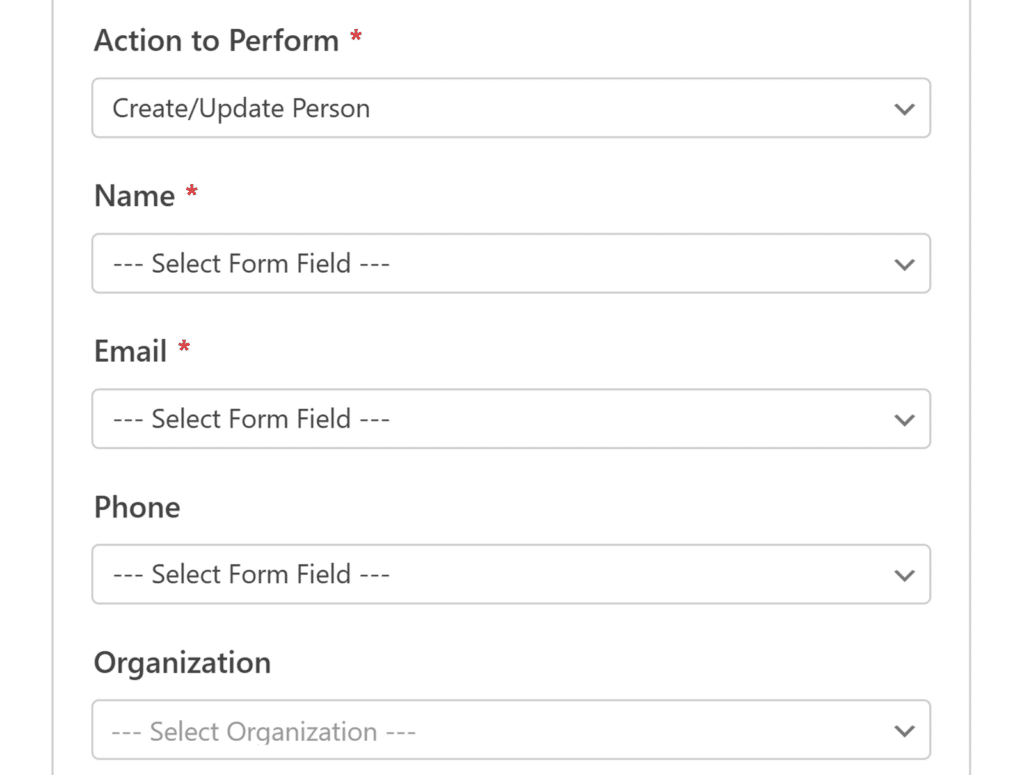
If you’re using custom fields in Pipedrive to track specific information about your leads, you can map those too. Maybe you have a custom field for “Budget Range” or “Company Size” in your CRM.
Look for these custom fields in the mapping dropdown. WPForms will pull in all your available Pipedrive fields automatically, so you should see both standard and custom options.
Step 5: Add a Test Entry to Your Form
Before making your form live, it’s a good idea to test it. Fill out the form on your site and submit it. Then, check your Pipedrive account to make sure the data has been received correctly.
To do that, start by embedding your form on a page or in a sidebar of your website. The easiest way to do this is to click on the Embed button at the top of the form builder.
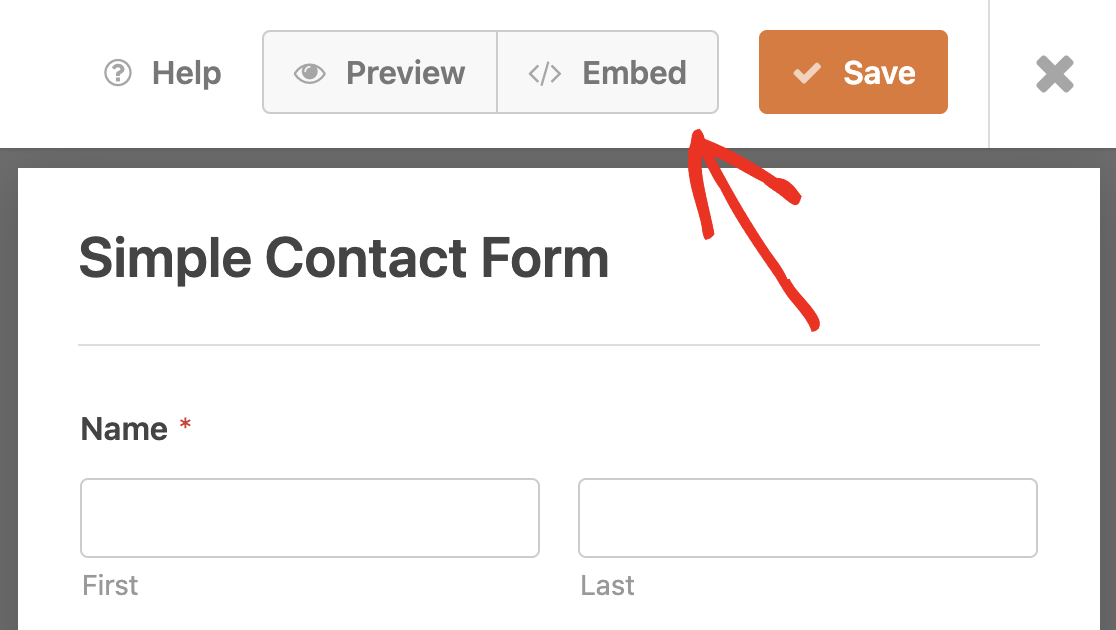
Then choose whether you want to add your form to an existing page or create a new page. For this example, we’ll add a new page. Enter the page name, then click Let’s Go!

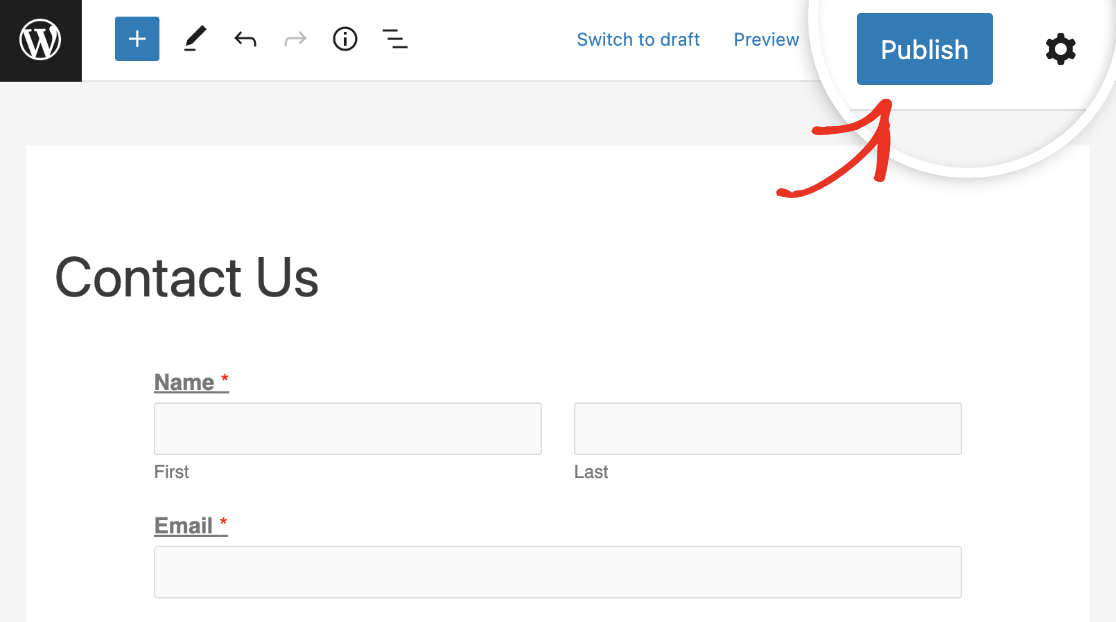
This will open your new page in the WordPress editor. Your Pipedrive form will already be embedded, so all you need to do is click Publish.
Now go to your new form page, fill in the form, and click on the Submit button to create a new entry for testing purposes.
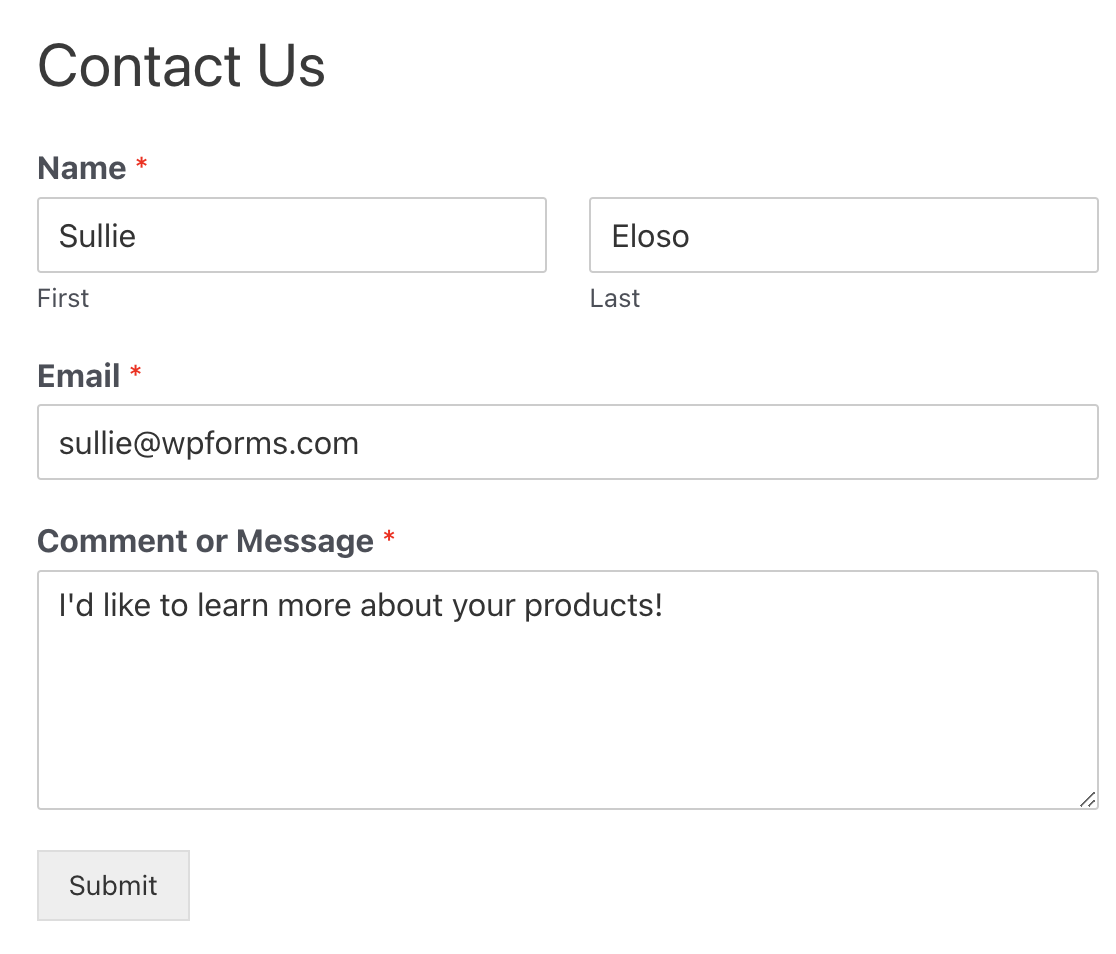
If everything worked properly, you’ll see a success message. You should also see a new deal from your test entry in Pipedrive.

That’s all! You’ve successfully connected your WordPress form to Pipedrive to create a new deal.
FAQs on How to Create a Custom Pipedrive Form in WordPress
Setting up a Pipedrive WordPress form brings up a lot of practical questions. I’ve gathered the most common ones I hear from users to help you get the most out of your integration.
How do I connect a WordPress form to Pipedrive?
With the WPForms Elite license, Pipedrive is available under marketing integrations. In your WordPress dashboard, go to WPForms » Settings » Integrations, click Pipedrive, and add your credentials. After connecting, select Pipedrive as the integration in your form settings.
Do I need Zapier to send WPForms entries to Pipedrive?
No. If you have the Elite license, you can connect WPForms to Pipedrive directly. Just log into your Pipedrive account upon initating the connection in the WPForms integration settings and choose what data to send.
How do I map WPForms fields to Pipedrive fields (person, deal, org)?
In the form builder, go to Marketing » Pipedrive and select what you want to create (Person, Deal, or Organization). Then pick each form field and match it with the correct Pipedrive field from the dropdown list.
Can I create a person and a deal in Pipedrive from one form submit?
Yes. You can add more than one Pipedrive connection to the same form. For example, one connection can create a Person, and another can create a Deal linked to that Person.
How do I send submissions to a specific pipeline and stage in Pipedrive?
When setting up the Deal action, you can select the pipeline and stage from your Pipedrive account. These values are pulled into WPForms when you connect the integration.
How can I update an existing contact in Pipedrive instead of creating a duplicate?
WPForms sends data to Pipedrive using the fields you map. If the email address matches an existing contact, Pipedrive automatically links the entry to that contact instead of creating a duplicate.
Can I assign the deal owner in Pipedrive based on a form answer?
Yes. When creating a Deal, you can select the Owner field and map it to a form field (for example, choosing an owner from a dropdown).
How do I add tags or labels to Pipedrive people or deals from a form?
If your Pipedrive account uses labels or tags, you can map them in WPForms during setup. Simply match your form field to the label field in Pipedrive.
Can I attach uploaded files from WordPress forms to the Pipedrive deal or person?
Yes. File upload fields in WPForms can be mapped to file fields in Pipedrive so that uploaded files are sent along with the form entry.
How do I pass UTM parameters and source/medium into Pipedrive fields?
Use hidden fields in WPForms to capture UTM data, then map those fields to custom fields in Pipedrive when setting up the integration.
Can I route form entries to different pipelines based on conditional logic?
Yes. WPForms supports conditional logic for Pipedrive. You can create different connections (e.g., for different pipelines) and set conditions so only one runs based on form answers.
Next, Take Control with More Integrations
We hope this article helped you better understand how to create a custom Pipedrive form in WordPress. With a direct integration, you can do it all through WPForms. Be sure to take a look at all of our integrations to find even more tools to leverage on your site.
Ready to build your form? Get started today with the easiest WordPress form builder plugin. WPForms Pro includes lots of free templates and offers a 14-day money-back guarantee.
If this article helped you out, please follow us on Facebook and Twitter for more free WordPress tutorials and guides.


very nice
Hello!
You can use a ready-made solution – WPForms – Pipedrive CRM – Integration – https://codecanyon.net/item/wpforms-pipedrive-crm-integration/26615796
With it, Zpier is not needed, that is, there is no monthly fee.