AI Summary
Are you wondering how to automatically send a contact to your Google account from your WordPress form? Sending all the contact details to your Google account allows you to easily access them on different Google properties like Gmail, Android, etc.
The good news is, there’s no need to use a separate WordPress Google Contacts plugin to do it – you can just use WPForms, the most beginner-friendly contact form plugin for WordPress.
Create Your WordPress Form Now
In this article, we’ll show you how to add a Google contact from your WordPress forms.
In This Article
How to Automatically Add a Google Contact From Your WordPress Forms
Google allows you to have up to 25,000 contacts. For most small businesses, that’s a lot of space.
When someone submits your WordPress form, you can automatically send the contact details to your Google account. All you need to do is use the WPForms Zapier addon. The Zapier addon lets you connect your WordPress forms to over 7,000+ web apps, including things like Drip, Jira, and the Google Contacts app.
Adding a contact to your Google account automatically from your forms has a lot of benefits.
- It saves you time because you no longer need to add contacts manually to your Google account.
- You can easily pick the contact details when you send an email or make a call. No need to look at the form entries for contact details each time you try to reach out your customers.
- You can add the contact details to a specific contact group. This way you can organize your business contacts apart from your personal contacts.
Create Your WordPress Form
The first thing you need to do is to install and activate the WPForms plugin. Here’s a step-by-step guide on how to install a WordPress plugin.
After the installation, you’ll need to create a form. You can see our tutorial on creating a simple contact form in WPForms. Let’s rename the form as Add a Google Contact just for the sake of this example.

In order to import contacts into Google Contacts from your form, you’ll need to install and activate Zapier addon on your site.
For more help with this step, you can check out our tutorial on how to install and use the Zapier addon.
Make a Zap in Zapier
Log into your Zapier account and click the Make a Zap button in the top navigation.
Then, follow Zapier’s step by step guide to create a Zap. To see screenshots of every step, you can refer to our tutorial on using Zapier with WPForms.
Make sure to choose the Add a Google Contact form you just created, when you’re asked to setup Edit Options. You must have at least one test entry on your form before fetching existing entries.
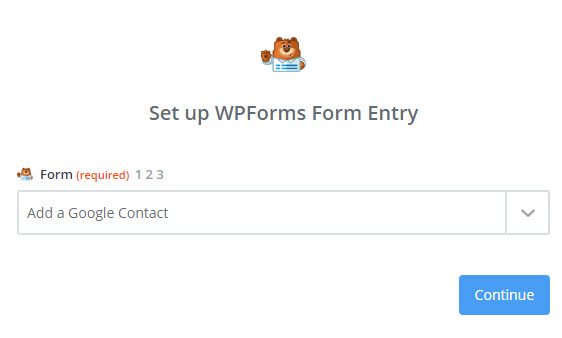
You should then see a successful confirmation message.
Connect WordPress Forms to Google Contacts
Now that you’ve connected Zapier to the WPForms plugin, it’s the time to connect WPForms to Google Contacts.
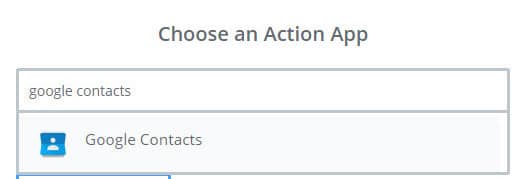
The first step is to choose Google Contacts as the action app.
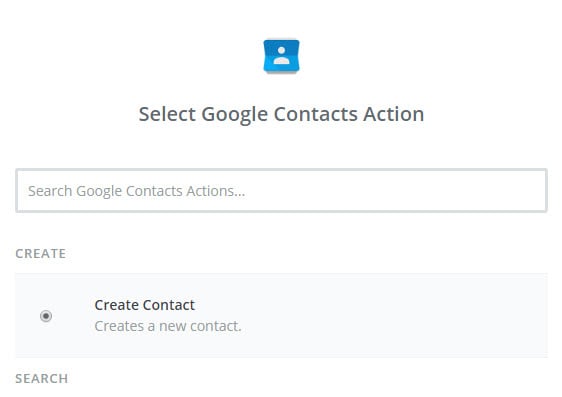
Then, you’ll be asked to select Google Contacts action. As we are looking to create a new contact in Google Contacts from WordPress, let’s choose Create Contact and click Continue.
Now you need to connect your Google account to Zapier. Click Connect an Account.
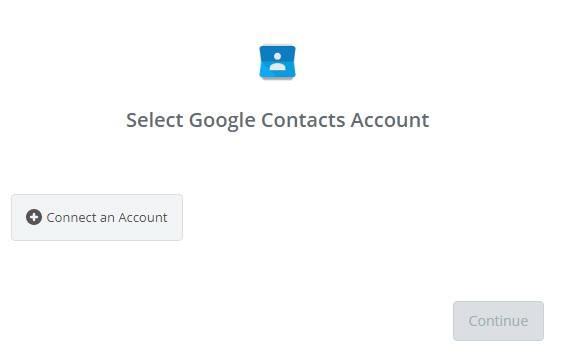
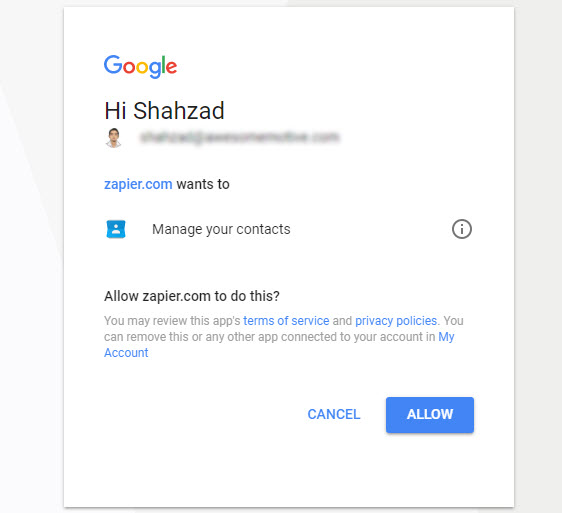
Then you’ll need to authorize Zapier to access your Google Contacts data. After authorizing it, click Continue.
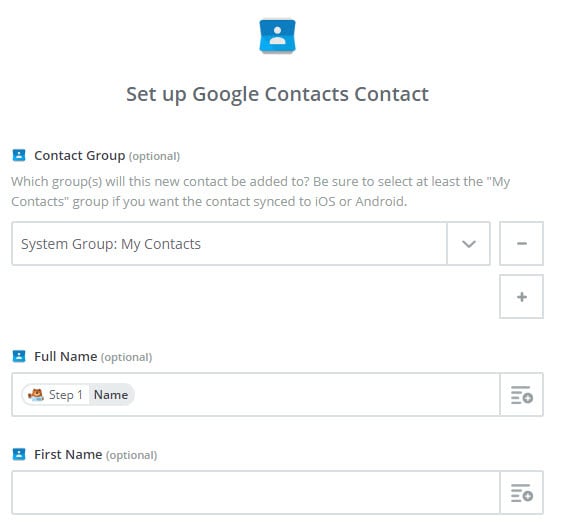
Next, you’ll be asked to set up Google Contacts Contact. In this step, you’ll need to connect each form field to the appropriate Google Contacts field. After configuring the fields, you can click Continue.
If you want to test what data is being updated in Google Contacts, click on Test. You’ll now see the data just like the screenshot below. Click Create & Continue.
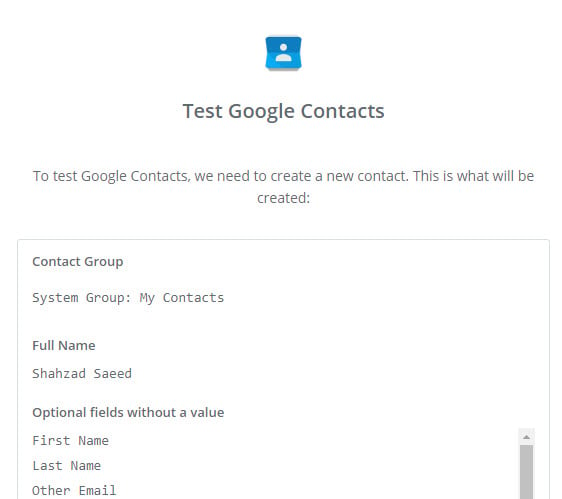
You’ve just tested Google Contacts app on Zapier successfully.
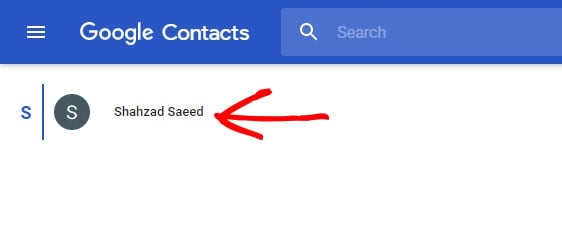
And you may log into your Google account and visit the Google Contacts page to verify the updated data.
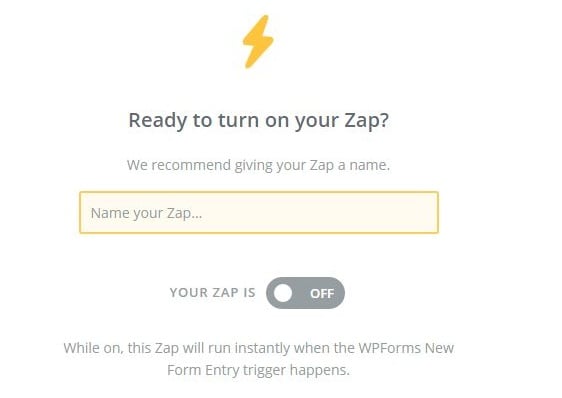
In the final step, make sure to turn on your Zap. You can also give your Zap an appropriate name. By turning on Zap, you can automatically send contacts to your Google account whenever your visitors submit the form on your site.
Great job, you’ve completed the tutorial.
In Conclusion
And there here you have it – you now know exactly how to connect your WordPress forms to Google Contacts.
Now, all the future contact details of your prospects will be automatically added to your Google account – right when they submit your form.
And to encourage your prospects to submit your form, you may also want to redesign your contact page. You can look at our impressive contact page examples for inspiration.
So what are you waiting for? Get started with the most powerful WordPress forms plugin today.
If you like this article, then please follow us on Facebook and Twitter for more free WordPress tutorials.


