
AI Summary
Multi select dropdowns make big lists in forms easier to work with. It’s not the only way to add a long list with multiple selectable options in a form, but it’s the most concise approach.
And when it comes to designing forms that people want actually want to complete, you need something that doesn’t stretch your form any longer than absolutely necessery.
Yet, I see websites using big checklists in situations where they could’ve created a cleaner design if they opted for a multi select dropdown.
Based on what I’ve seen, this is either due to the form builder not supporting multi select dropdowns, or the creator not paying attention.
So I thought I should put together a quick guide to show how easy it is to actually add dropdowns to your forms in WordPress with multi select options.
The Best WordPress Drag-and-Drop Form Builder Plugin
Easy, Fast, and Secure. Join over 6 million website owners who trust WPForms.
Create Your Form NowHow to Set Up a Multi Select Dropdown Field in WordPress
Let’s get started by installing the plugin we’re going to use.
Step 1: Install the WPForms Plugin
First off, you need a form builder that supports multi select dropdowns. I recommend WPForms because I genuinely think no other WordPress form plugin offers the flexibility and time-saving features of the same level.
For instance, with WPForms dropdowns, you can:
- Add multi selection options in dropdowns in both free and paid versions
- Generate and add long lists of options automatically with AI

While you can use either WPForms Lite or WPForms Pro to create dropdowns with multi-select, I’ll be using WPForms Pro in this guide (see WPForms Lite vs Pro to learn more about key differences in the two versions).
First time installing a plugin? It’s incredibly easy. You can follow the installation steps outlined in our doc guide.
Once installed, you can start building your forms immediately.
Step 2: Create a New Form
Open your WordPress admin menu. Hover your cursor over WPForms on the sidebar and then click Add New.

This action will load the form setup screen. In this example, I want to create a book request form. So I’ll give an appropriate name to the form for my internal reference, and pick a template.
For simplicity’s sake, I’ll go ahead with the Simple Contact Form and then customize it a bit by adding a dropdown later.
Remember, there are over 2,100+ form templates to choose from. You can even generate the entire form with AI.

But in order to demonstrate functionality and customizations better, I’m using the manual route for this one.
After selecting your template, the form builder will load in just a few seconds.

Every template in WPForms is 100% customizable. So you can easily insert new fields, remove any existing fields, or change other settings.
In the next step, I’ll add a dropdown field with a fairly large list of selectable choices.
Step 3: Add a Dropdown Field
First, let’s drag a dropdown onto the form.

Then, click on the field so that the settings open on the left.

On the left hand pane, you’ll see various options. Such as a changing the label of the field and entering the choices for your Dropdown.
Let’s give a more relevant and descriptive name to the field first by changing the label. Since I want to add a list of books that people can request in this field, I’m labeling this field “Books to Request”.

Now, it’s time to add the choices for your Dropdown. It’s easy enough to add choices manually when you just have a few of these.
But if you’ve got a long list, you can save a lot of time by letting AI generate and add the choices for you instead.
To use AI for choices, click on the purple Generate Choices button.

Now, describe the choices in simple terms and WPForms AI will generate your list for you almost instantly. I want to add a list of popular books (which are likely going to be available in any decent library), and that’s what I’m going to ask in the prompt.

Within a few seconds, I had a fantastic list that I could work with. But if you want to change the list massively, you can try modifying your prompt and ask WPForms AI again to update the list.
Once you’re happy with the suggestions, go ahead and click on Insert Choices.

The generated choices will appear in the list of choices on the left-hand pane. You can also manually edit these choices.

By default, a visitor can only select one choice at a time from the dropdown. But it’s easy to change these settings as I’ll show in the next step.
Step 4: Edit Dropdown Field Settings to Enable Multi Select
By default, a visitor can only select one choice at a time from the Dropdown. To change this, first go the Advanced tab of the Dropdown field.

After that, click on the Multiple Options Selection to toggle it on.

Great! We’re almost done here. But I’m personally not a fan of the Classic Dropdown style (which is the default mide).
This makes the dropdown appear as a rectangular box with vertical scroll, and you need to press Ctrl (Command on Mac) to select multiple options.
You can make the dropdown field more intuitive by changing the Style from Classic to Modern.

There are 3 reasons that the Modern style works better for a multi select dropdown:
- The Modern style field displays one row with an arrow to expand the list. It’s more compact than the Classic style, which always displays 4 rows and takes up more screen space.
- The Modern style field lets you click multiple entries without holding down any keys on the keyboard. With the Classic field, your visitor will need to hold the Control or Command key on their keyboard to select more than 1 entry at a time.
- The Modern syle multi select dropdown has a search box, which makes it easy to find the item you want quickly.

Let’s save our progress so far by clicking the Save button at the top of the form builder.
Now we can publish the form. This is the final step, and it only takes a few minutes.
Step 5: Publish Your Form
Now we’ve completed the form, it’s time to publish it on your WordPress site.
WPForms lets you publish your forms anywhere you want. You can add them to:
- Posts
- Pages
- Sidebars
- The WordPress footer.
In this example, let’s create a new page for the form.
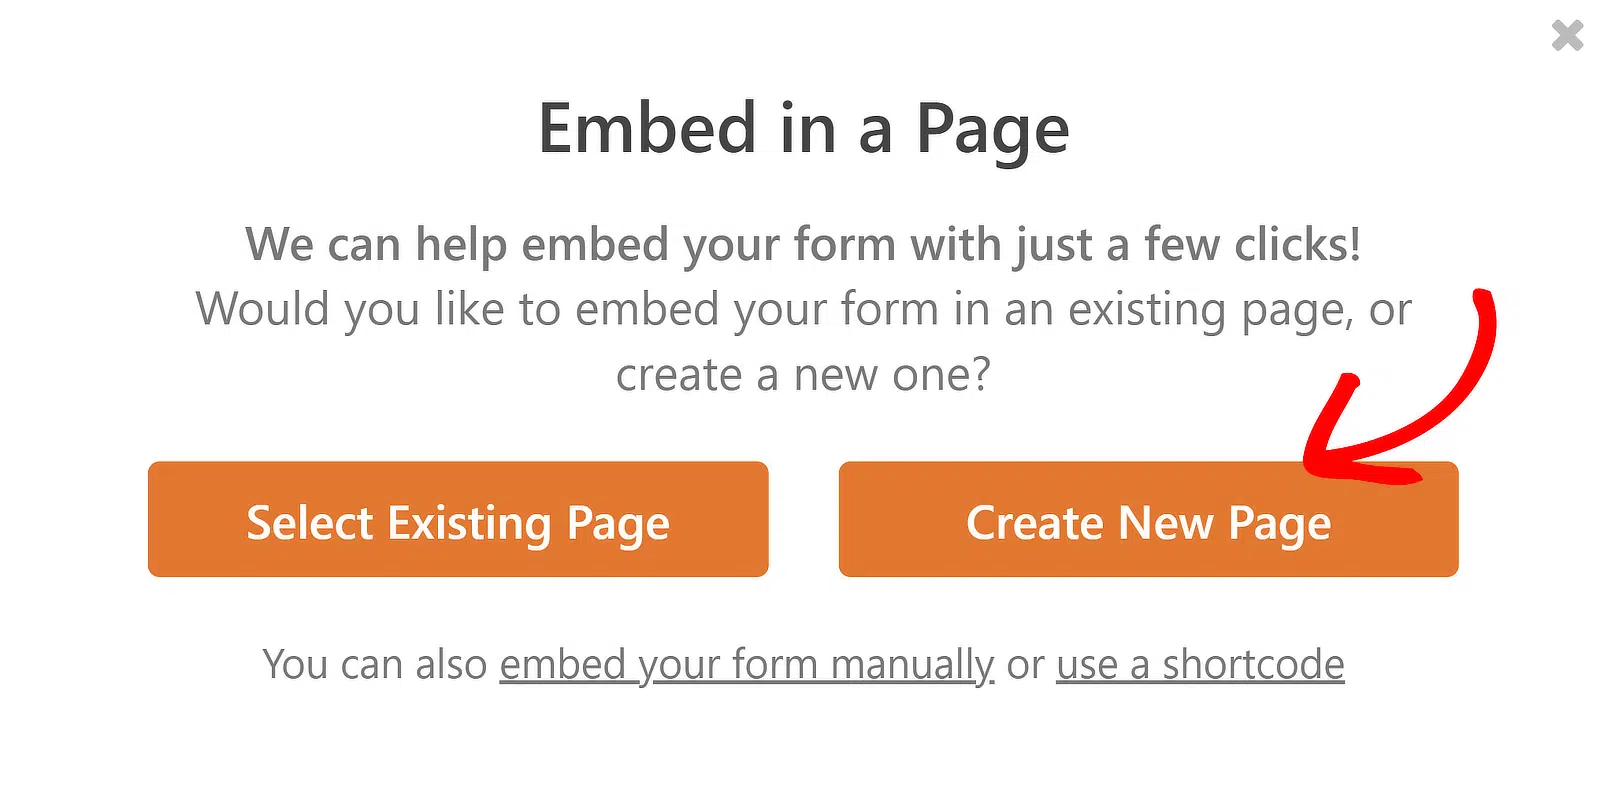
To start, click Embed at the top of the form builder.

Now let’s go ahead and click Create New Page.
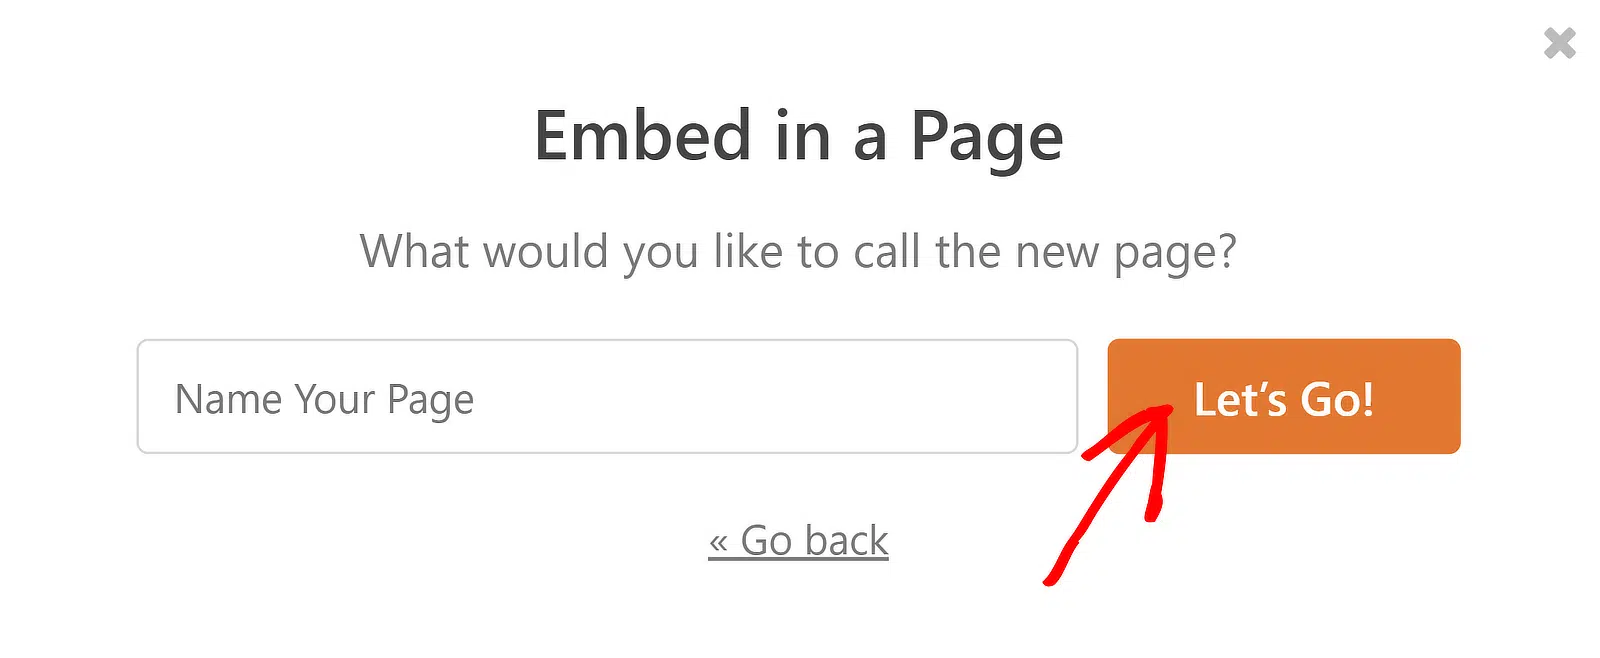
Type a name for your page, then click Let’s Go.
WordPress will open the new page and show a preview of your form. Click the blue Publish button at the top right.

Now your form with the multi select dropdown is live and ready to use.

And that’s it! You learned how to make a multi select dropdown easily in WordPress.
Next Step: Split Your Form Into Pages
If you’re looking for ways to make your form more compact, think about splitting it into multiple pages. This can make long forms a lot easier to work through.
- To find out how to add page breaks to a form, read our guide to making a multi-step form.
- To make a multi-step form designed to boost conversions and leads, check out how to create a Lead Form.
Ready to build your form? Get started today with the easiest WordPress form builder plugin. WPForms Pro includes lots of free templates and offers a 14-day money-back guarantee.
If this article helped you out, please follow us on Facebook and Twitter for more free WordPress tutorials and guides.


I am searching for a drop down list of all the countries on a page to link the user from the drop-down list of countries to a post for that country.
Can I use WPForms for this?
Hi Stephanie,
You can Bulk Add Countries to the Dropdown Field and then after form submission you can redirect each users to respective Post URL or Page URL. Please set the Confirmation Type as “Go to URL (Redirect)” and add the respective URL.
If you have a WPForms license, you have access to our email support, so please submit a support ticket. Otherwise, we provide limited complimentary support in the WPForms Lite WordPress.org support forum.
Thanks 🙂
Switching to Modern Style isn’t providing the same results for me. I still have to hold CTRL to select multiple options when testing my forms, and the style of the field is slightly different, I can see about 1.5 choices before clicking the dropdown to reveal all of the choices.
Hi Cecelia- In order to make sure we answer your question as thoroughly as possible, could you please contact our team with some additional details about what you’re looking to do?
Thanks! 🙂
Hi I am facing issue in wp form dropdown section. When i select multiple selection and style to modern. My dropdown list become disable. Provide me a better solution.
I am using elementor popup
Hey Zayghum – We’d be happy to help! When you get a chance, please drop us a line in support so we can assist.
If you have a WPForms license, you have access to our email support, so please submit a support ticket.
Otherwise, we provide limited complimentary support in the WPForms Lite WordPress.org support forum.
Thanks 🙂