Do you want to quickly add a long list of items as options in your form? By using the AI Choices or Bulk Add option in the Dropdown, Multiple Choice, and Checkboxes fields, it’s easy to add a bunch of choices to your form all at the same time, instead of creating each choice individually.
This tutorial will show you how to use the Bulk Add tool for your own custom options, as well as how to include our pre-made lists for common options.
Creating a Form
Before getting started, you’ll first need to make sure WPForms is installed and activated on your WordPress site and that you’ve verified your license. Then, you can create a new form or edit an existing one to access the form builder.
Once the form builder is open, you’ll be able to bulk add selection options to any of the following field types:
For this example, we’ll add a Dropdown field.
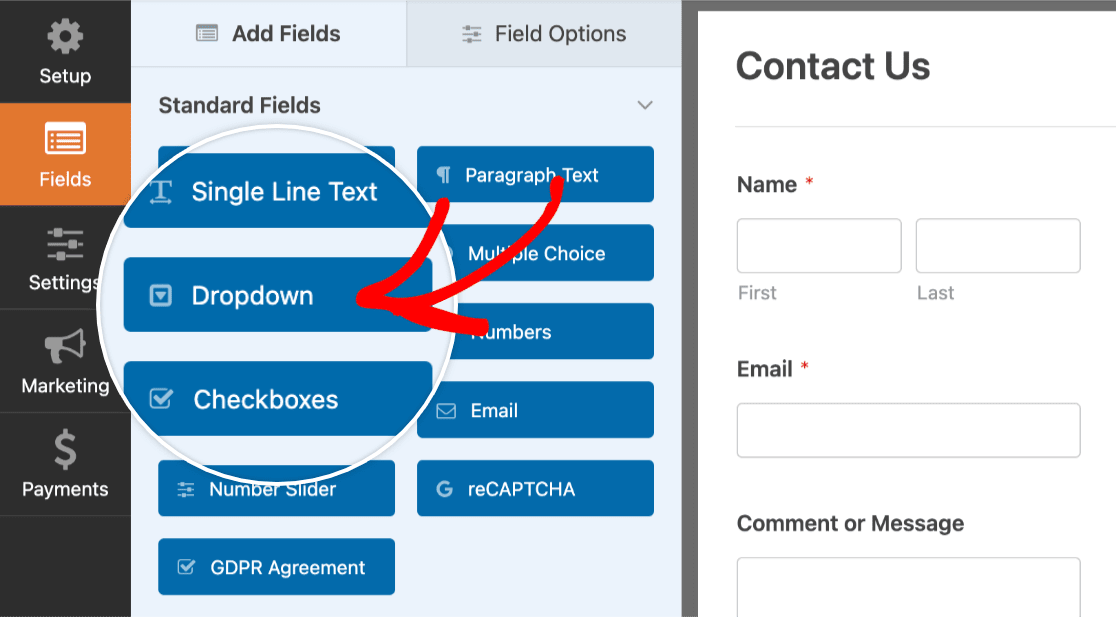
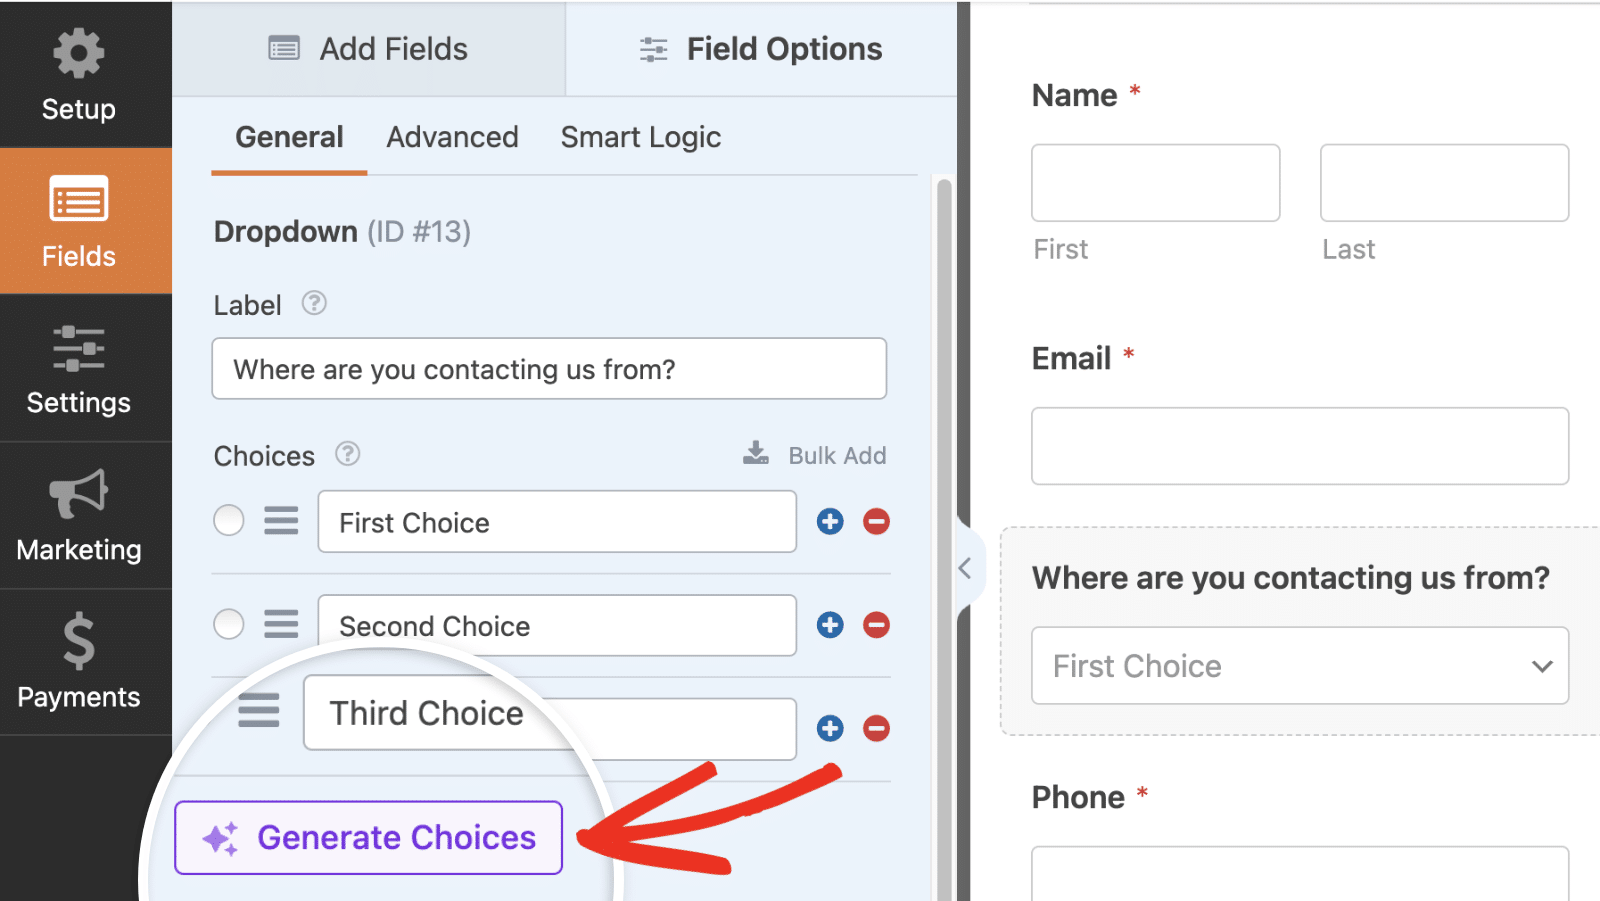
If you click on the Dropdown field you’ve just added, you’ll be able to see its Field Options. By default, there will be three placeholder options auto-generated for you. We’ll show you 2 ways to bulk add choices in WPForms.
Using WPForms AI
WPForms comes with a built-in AI feature that lets you generate choices on the Multiple Choice, Checkboxes and Dropdown fields. To use this feature, click the Generate Choices button.
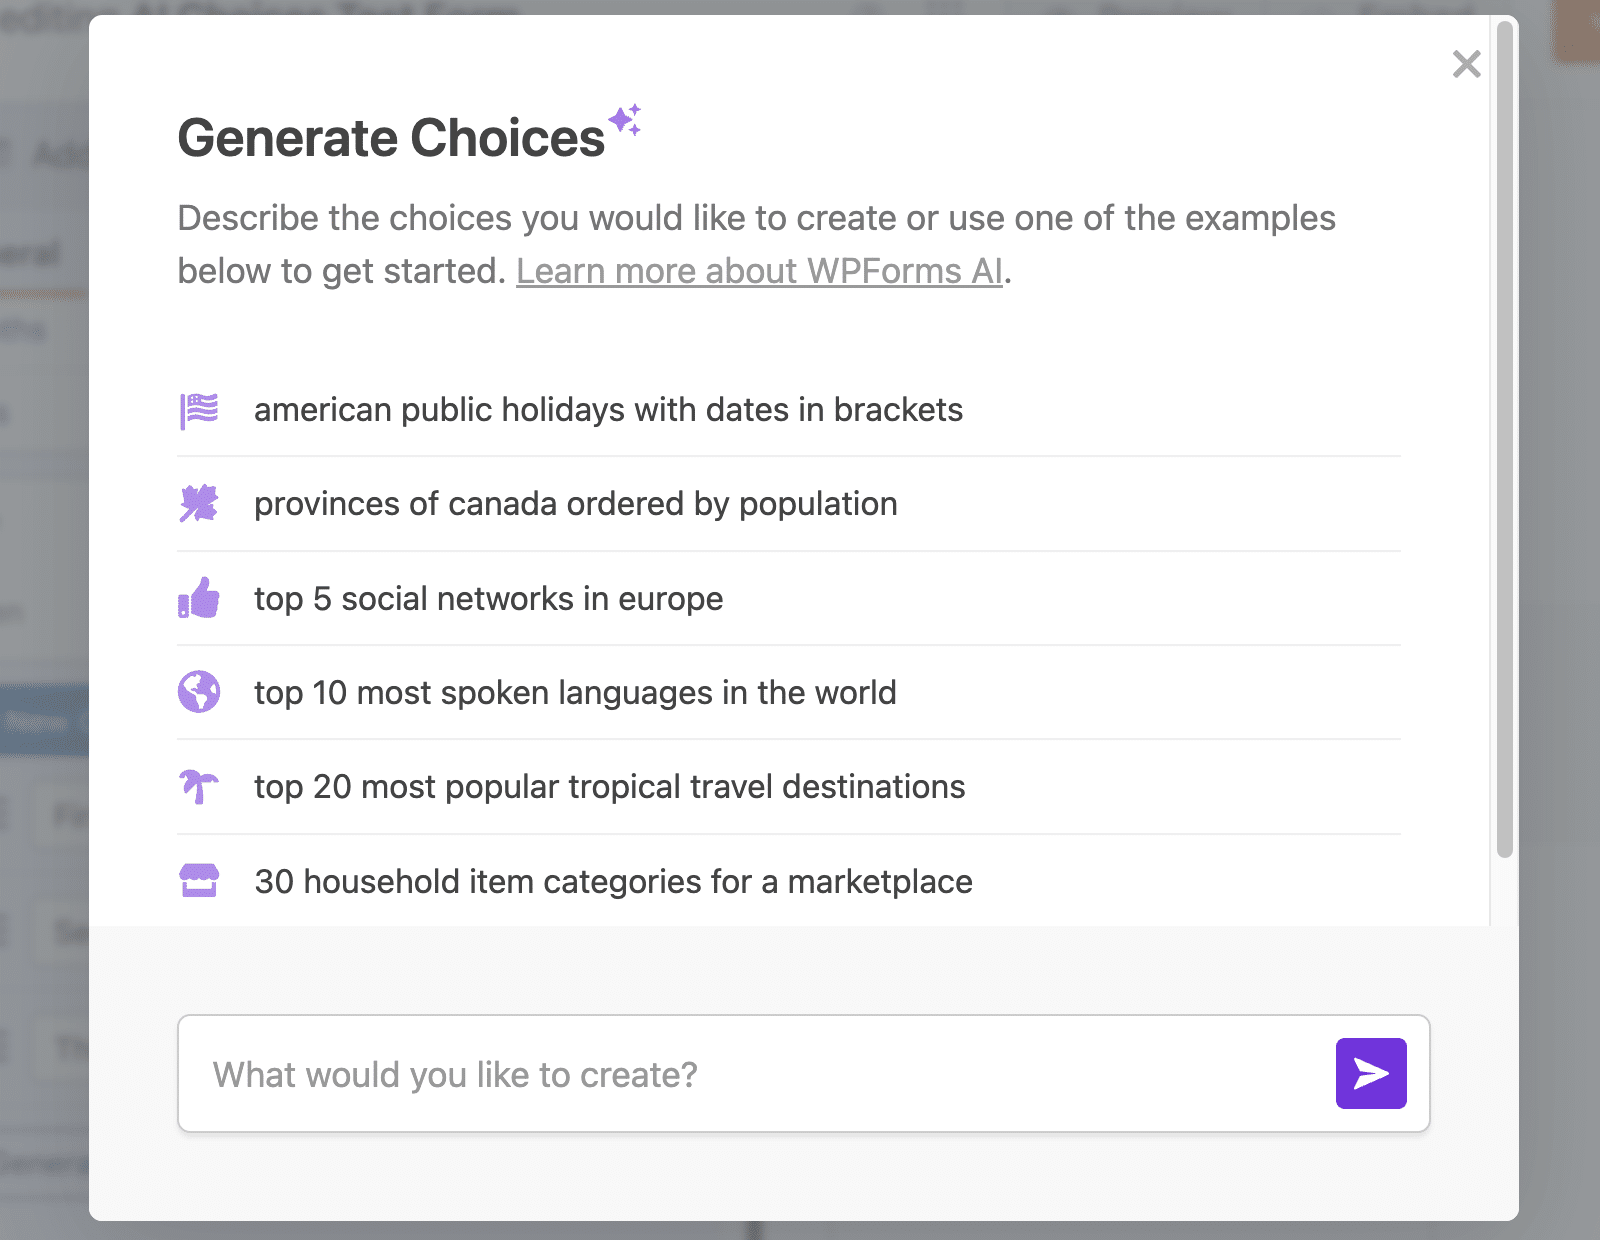
In the overlay that appears, you’ll see some example prompts you can use to generate choices on your form.
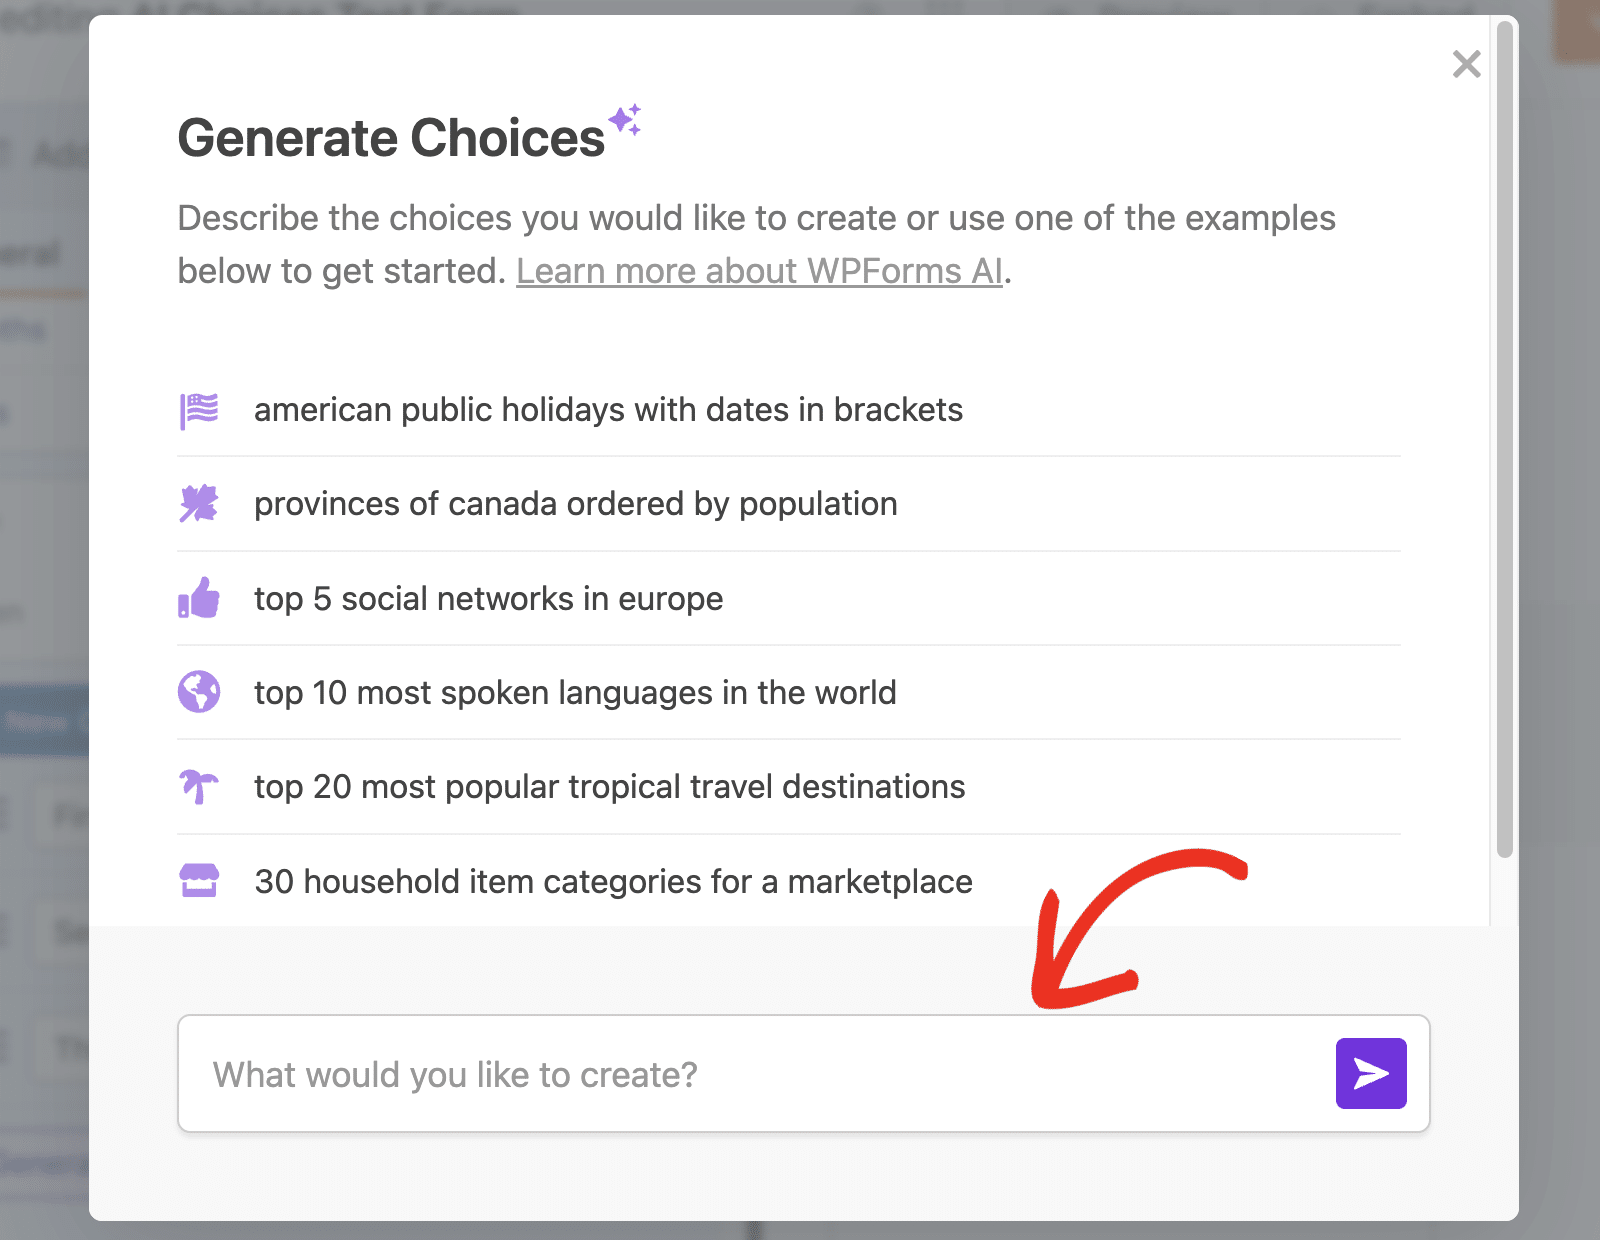
In the text field, you’ll be able to enter a prompt with details about the type of choices you’d like to generate.
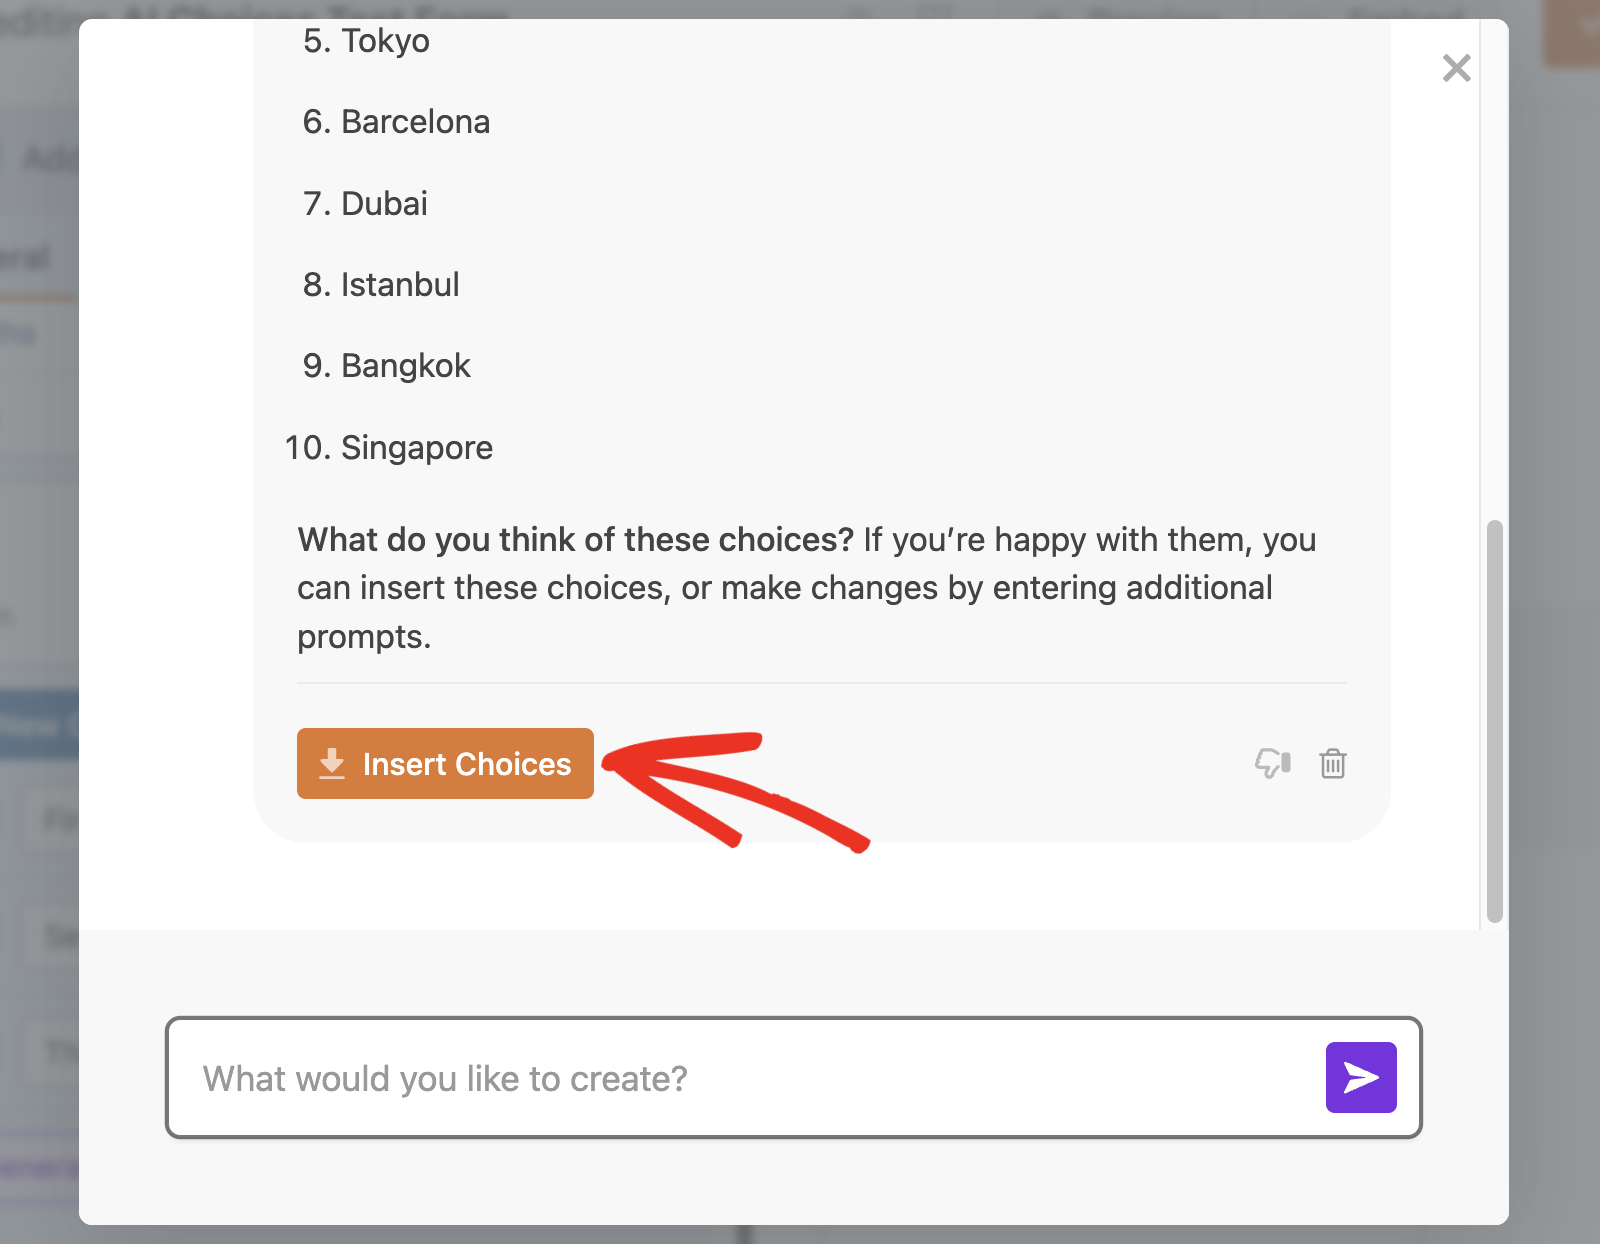
After entering your prompt, WPForms AI will generate choices based on the prompt. If you’d like to modify the generated choices, simply reply to the dialog with the changes you want to implement. When you’re happy with the list, click the Insert Choices button to add them to your form.
Using the Bulk Add Feature
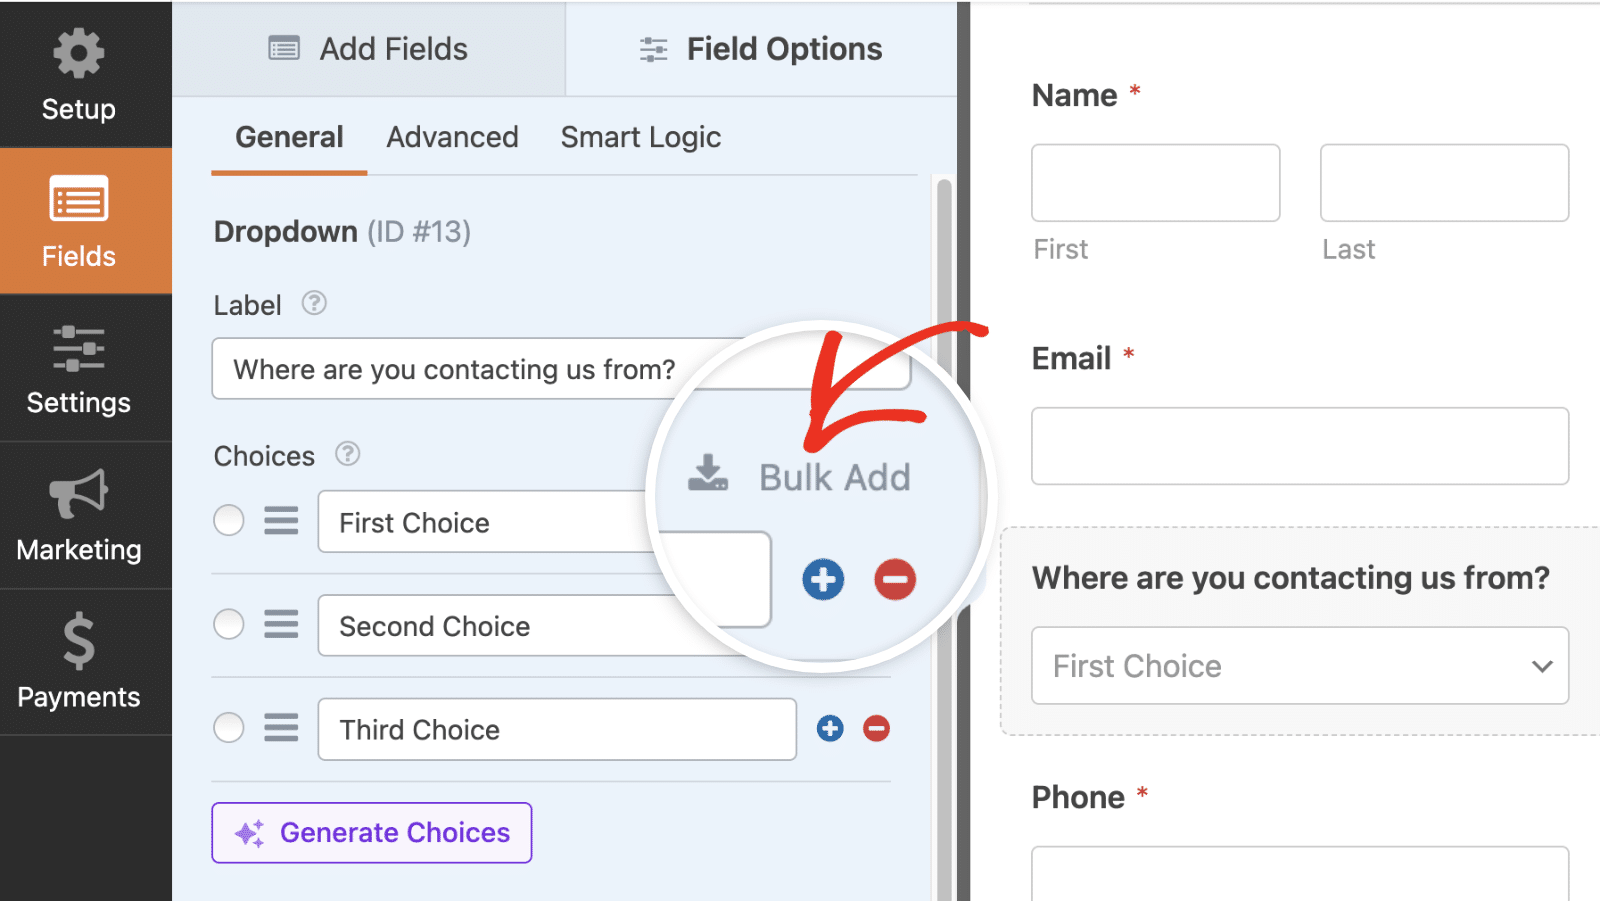
To bulk add more options, click the Bulk Add button.
From here, an input field will drop down where you can choose between creating your own choices or adding preset choices.
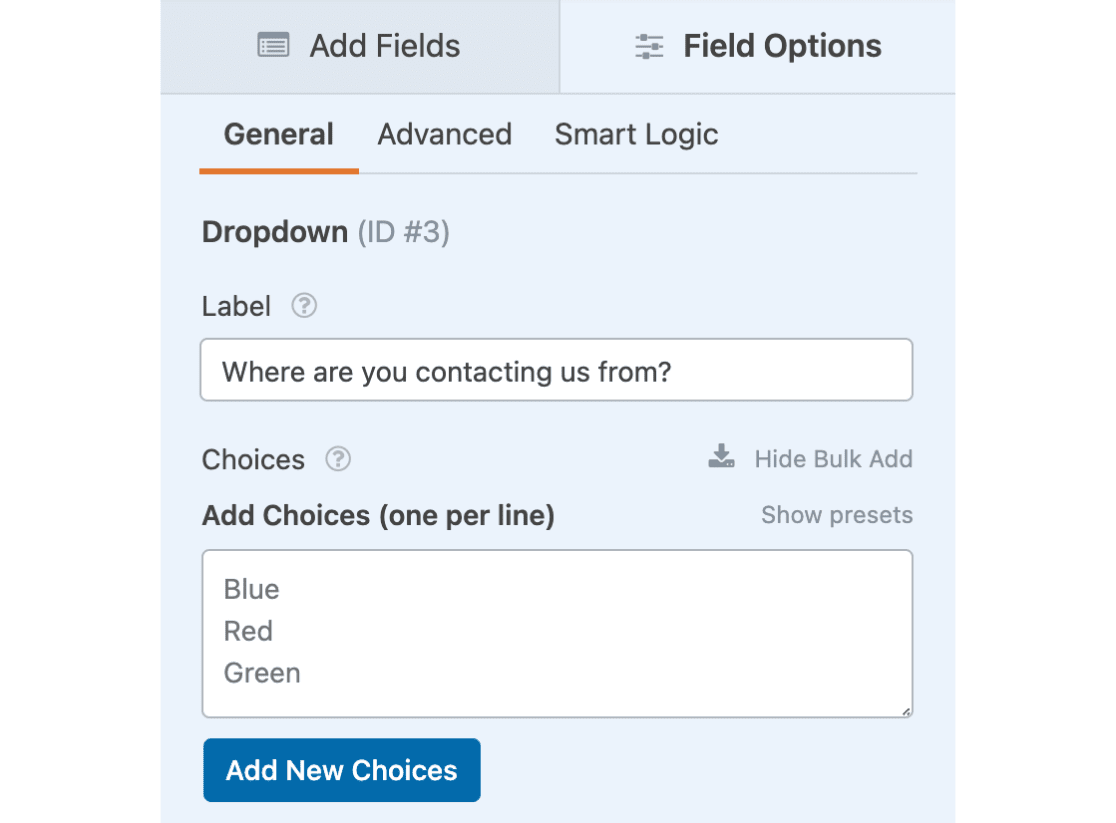
We’ll go over how to add custom and preset choices in the next steps.
Adding Custom Choices
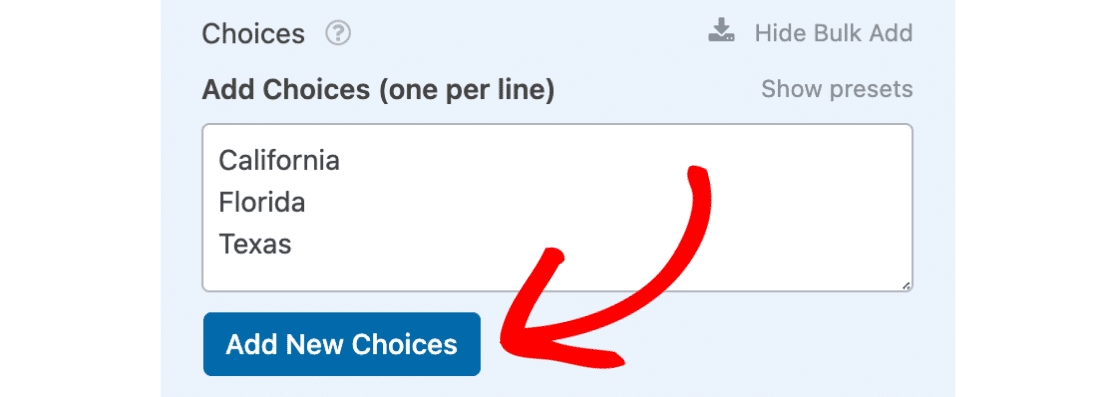
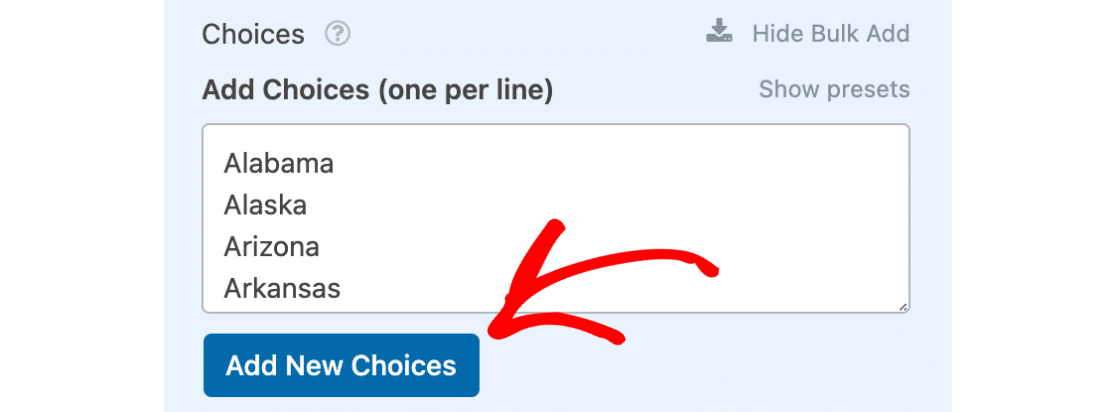
If you’d like to bulk add a list of custom choices, you can type them right into the Add Choices (one per line) box. Just be sure to only put one option on each line.
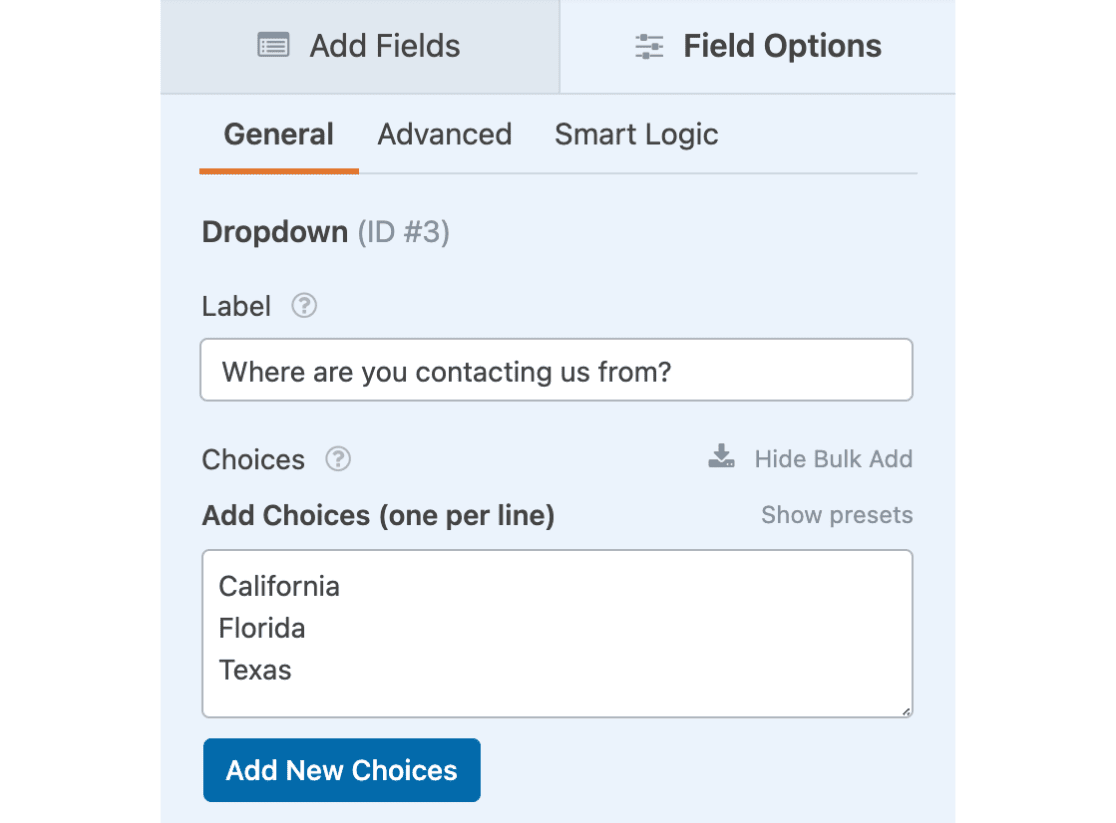
If you have an existing list, you can even copy and paste that right into this box. Just remember to double-check that the options are formatted the way you want.
Once you’ve added all of the choices you want, you can just click the Add New Choices button. All choices will automatically be added to the list, below any existing choices.
Adding Preset Choices
If you’d like to add a pre-made list of choices, you can select the Show presets option.
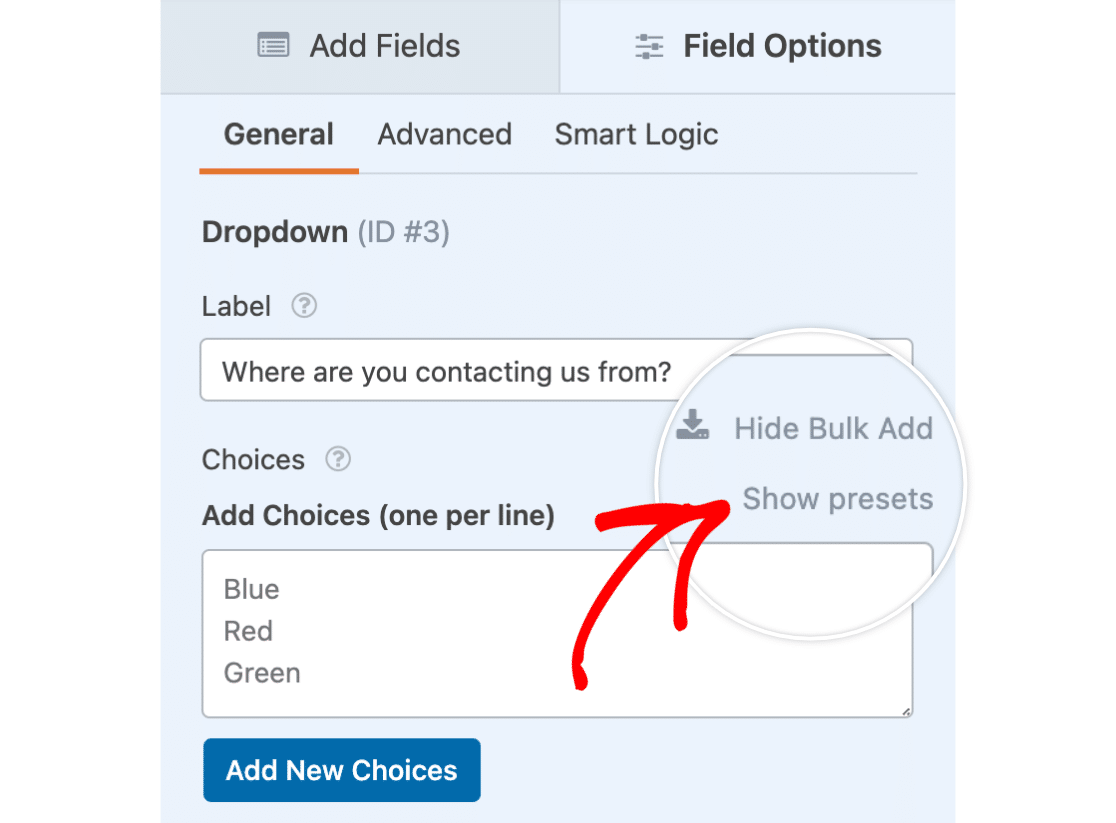
Once you’ve clicked this, a list of preset options will appear.
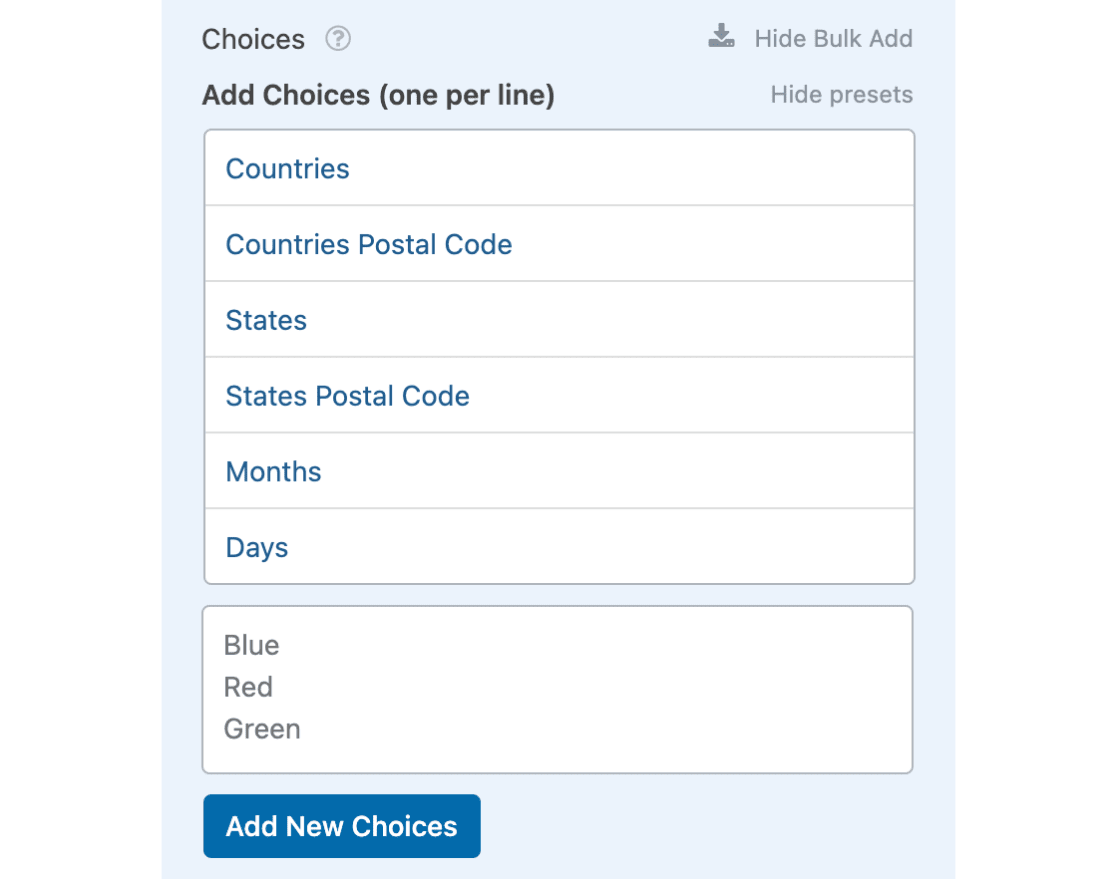
Here is a list of the available preset options:
- Countries: The full names of all countries
- Countries Postal Code: The 2-letter code for all countries
- States: The full names of all US states
- States Postal Code: The 2-letter code for all US states
- Months: The full name of all months of the year
- Days: The full name of all days of the week
By clicking any of these preset options, the corresponding list will automatically be populated for you. Now, you have the chance to make any changes to the list before the choices are actually added.
For our example, we’ll use the preset option to bulk add the full list of states to our dropdown.
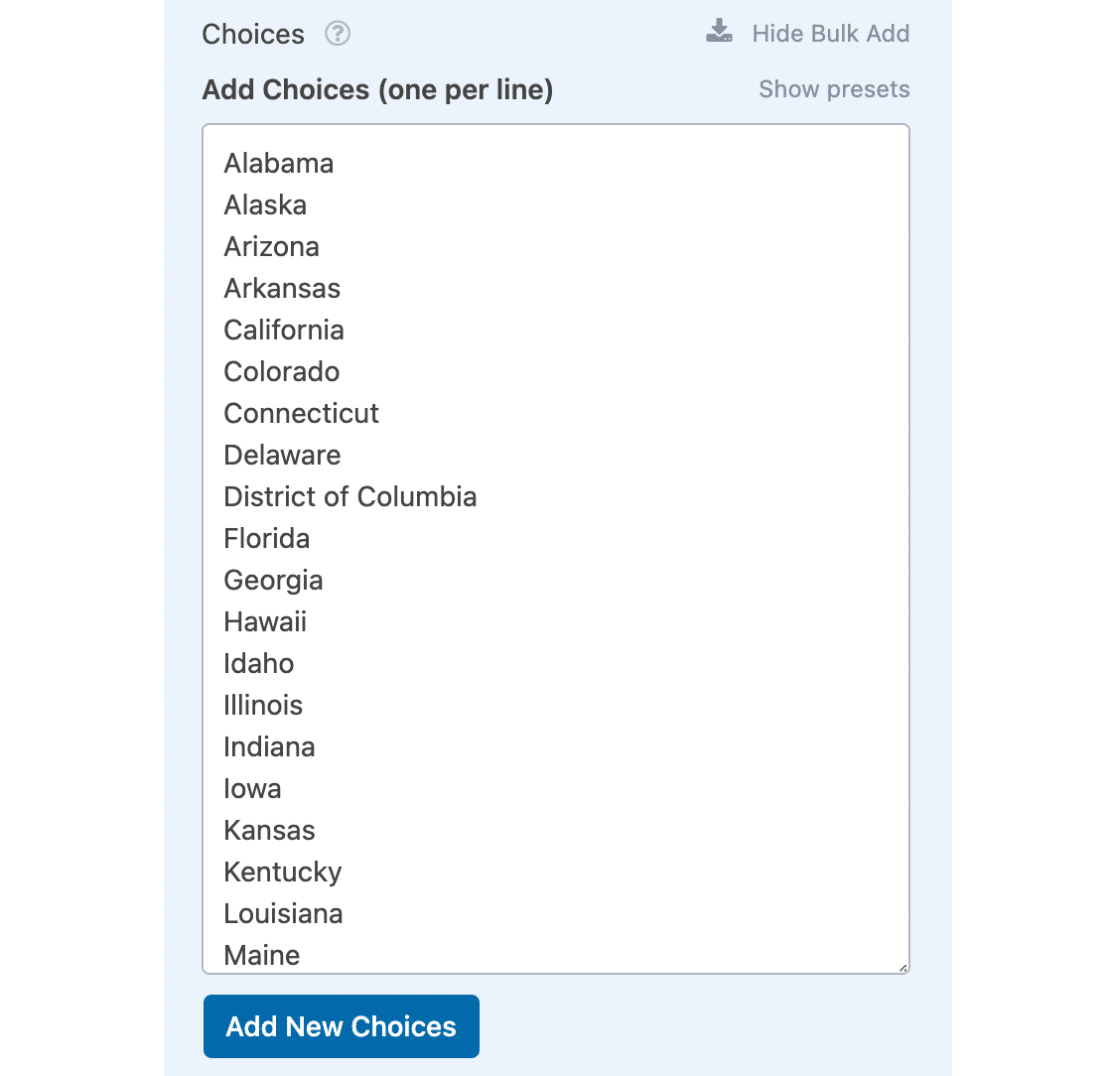
This list already looks just how we want, so we’re going to click the Add New Choices button.
Any choices that already existed will still be in place, and the new options will be added below those.
Removing Unwanted Choices
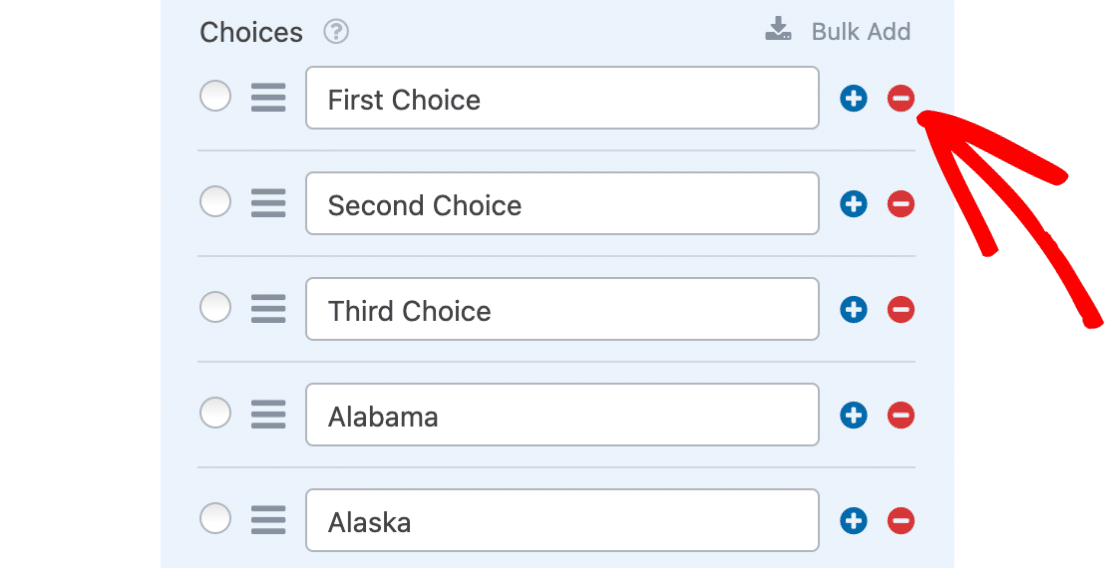
The last step is to remove any choices that you don’t want available. In our example, we want to remove the default choices.
To delete any choices you don’t want to keep, simply click the minus (–) button.
Frequently Asked Questions
These are answers to some of the top questions we see about adding choices in bulk.
Can I allow users to search through options in a Dropdown?
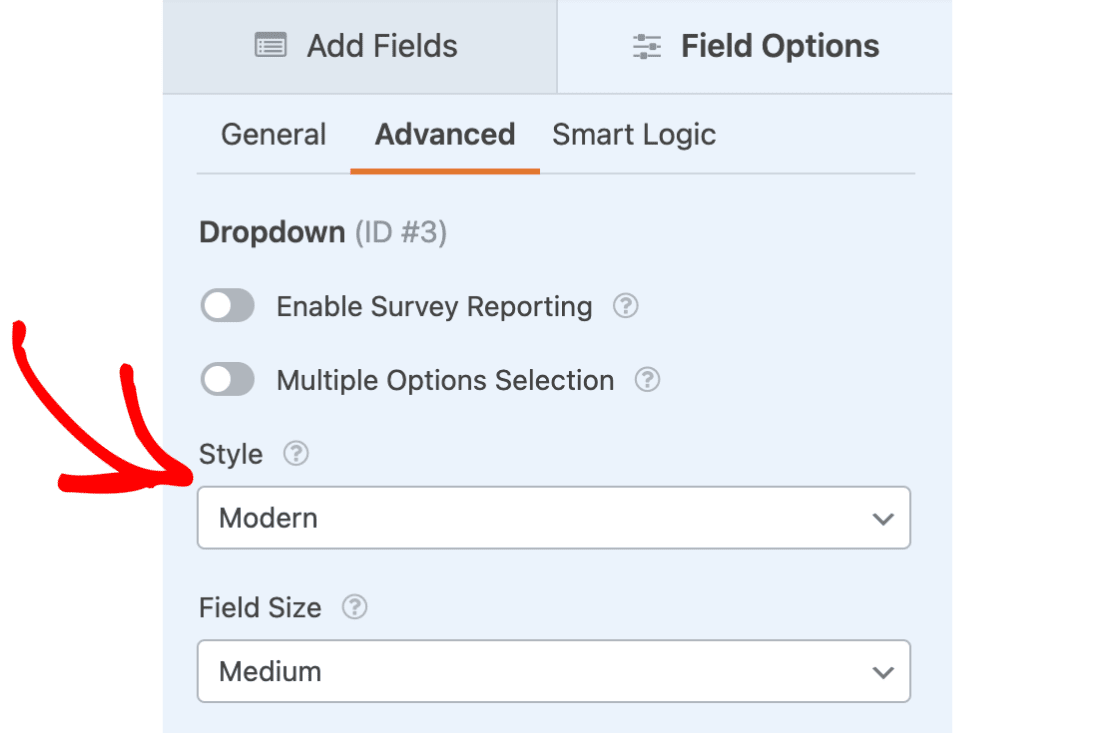
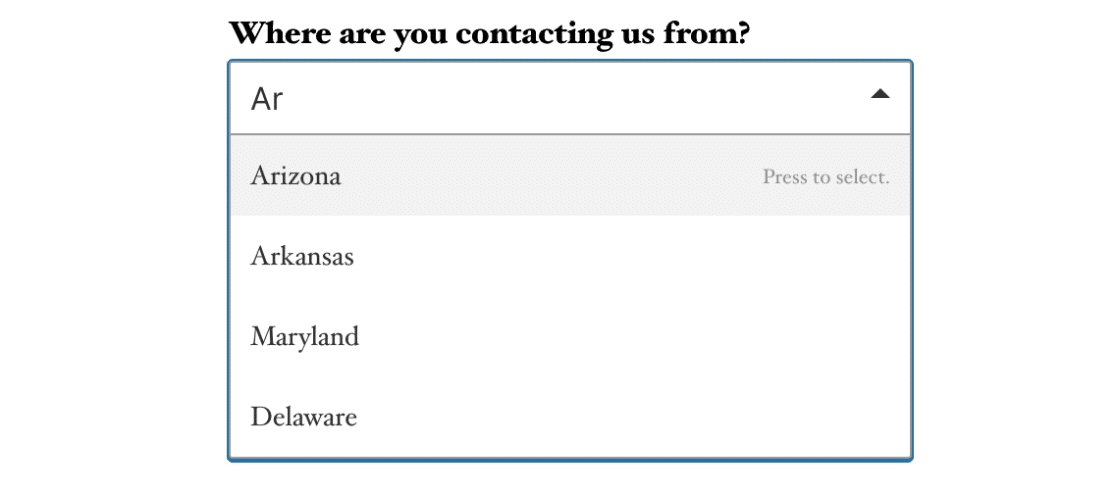
Absolutely! You can add search functionality by navigating to the Advanced tab and enabling the Modern style.
Here’s an example of how things might look on the frontend of your site:
Note: If you’d like more information on how you can change the Dropdown field’s look or functionality, be sure to check out our tutorial on Dropdown field customization options.
That’s it! You can now bulk add choices to any Dropdown, Multiple Choice, and Checkboxes field.
Now that you probably have a long list of options, would you like to be able to display your Multiple Choice and Checkboxes fields in a more user-friendly layout? Check out our tutorial on creating multi-column layouts.
