AI Summary
Do you want to change the appearance of your form’s Checkboxes field? WPForms offers many options for customizing how this field looks and works in your published forms.
This article will share all the ways you can customize your WPForms Checkboxes fields.
- Editing the Field Label and Description
- Editing, Adding, and Removing Choices
- Generating Choices with WPForms AI
- Requiring the Field
- Randomizing Choices
- Displaying Checkboxes in a Multi-Column Layout
- Limiting Choice Selections for Checkboxes
- Using Checkboxes Dynamic Choices
- Hiding the Field Label
- Enabling the Disclaimer or Terms of Service Display
- Frequently Asked Questions
Note: The Checkboxes field allows users to select multiple options at a time. If you need users to select only one option, where selecting one option should automatically deselect the other, we recommend using the Multiple Choice field instead.
Before you check out the options below, make sure WPForms is installed and activated on your WordPress site. Then create a new form or edit an existing one to open the form builder.
Here, look for Checkboxes under the Standard Fields section.
To add a Checkboxes field to your form, click on it or drag and drop it into the preview area of the form builder. Then click on it to open its field options.
Note: Want to learn about all the field customizations that are possible in WPForms? See our complete guide to field options for more tips.
Editing the Field Label and Description
The first field options to consider are the Label and Description.
Changing the Field Label
By default, the field’s label will be “Checkboxes.” However, you can easily change this text to whatever you want by entering your own custom label in the Field Options panel.

Adding a Description
Field descriptions are useful for providing information to your users, such as instructions for making their selections in your Checkboxes field.
To add a description, just type it into the relevant field in the Field Options panel.

Note: Want to learn about other ways to incorporate text in your forms? Check out our tutorial on adding extra text in WPForms.
Editing, Adding, and Removing Choices
One of the key features of the Checkboxes field is that it lets users select multiple choices. Here’s how to customize the options you present in your forms.
Editing Checkboxes Choices
To edit the label for a checkbox, just type your desired text into the field provided.

You can preselect any choice by clicking on the checkbox to the left of its label.

Note: For more details on preselecting checkboxes, please see our tutorial on setting default values for fields in WPForms.
If you would like to reorder your Checkboxes choices, just drag and drop the items into the order in which you want them to appear.
Adding and Removing Checkboxes Choices
To add more choices to your Checkboxes field, click on the blue plus (+) button next to any existing option.

The new choice will be added immediately below the one whose plus (+) button you clicked.
Note: Want to learn how to set up an “Other” checkbox that displays a text field when selected? Check out our tutorial on how to accomplish this with conditional logic.
You can add several choices all at once by clicking on Bulk Add.

Enter each new option you would like to include on its own line, then click on Add New Choices.

Your new choices will be added to the end of the existing list of items.
Note: Need more help adding choices to your Checkboxes field? See our tutorial on bulk-adding options to selection fields.
If you would like to remove a choice from your Checkboxes field, click on the red minus (-) button next to it in the Field Options panel.

Note: Would you like your Checkboxes field to have a button-like appearance? Our developer documentation provides a guide on transforming this field with CSS.
Using Image Choices
If you want to, you can add images to each of your Checkboxes field’s choices. To do so, toggle on the Use image choices option.

This will display an Upload Image button for each choice in your Checkboxes field. Click on the button to select an image for that option from your site’s Media Library or from your computer.

Note: Image choices are not cropped or resized when added to your form. For the best look, use images that are 250px square or smaller, and make sure all of your images are the same size.
Once you’ve chosen an image file, a preview of it will appear in the Field Options panel.

Note: Want more details on how to use image choices in WPForms? See our complete guide to this feature to learn more.
Using Icon Choices
The Checkboxes field also allows you to add icons to your choices. To enable this feature, toggle on the Use icon choices option.
Once you’ve enabled icon choices, you’ll see default icons added to each choice in your Checkboxes field. When you’re ready, go ahead and click on one of the default icons to replace it with your preferred icon.
Next, the Icon Picker will appear where you can browse and search over 2,000 icons. Once you find an icon that you like, click on it to add it to your form.
After selecting an icon from the Icon Picker, it will appear in the form builder.
Note: Want to learn more about icon choices? Be sure to check out our step-by-step guide to using icon choices for more details.
Generating Choices with WPForms AI
You can also add choices to your Checkboxes field using WPForms AI. This feature allows you to quickly generate relevant choices based on your prompt. To use WPForms AI, simply click the Generate Choices button below the Choices section.

Note: To learn more about generating choices with WPForms AI, be sure to check our tutorial on using AI Choices.
Requiring the Field
If you want to make sure users fill out your Checkboxes field before submitting your form, you’ll need to mark it as required.
Just toggle on the Required setting at the bottom of the general field options.

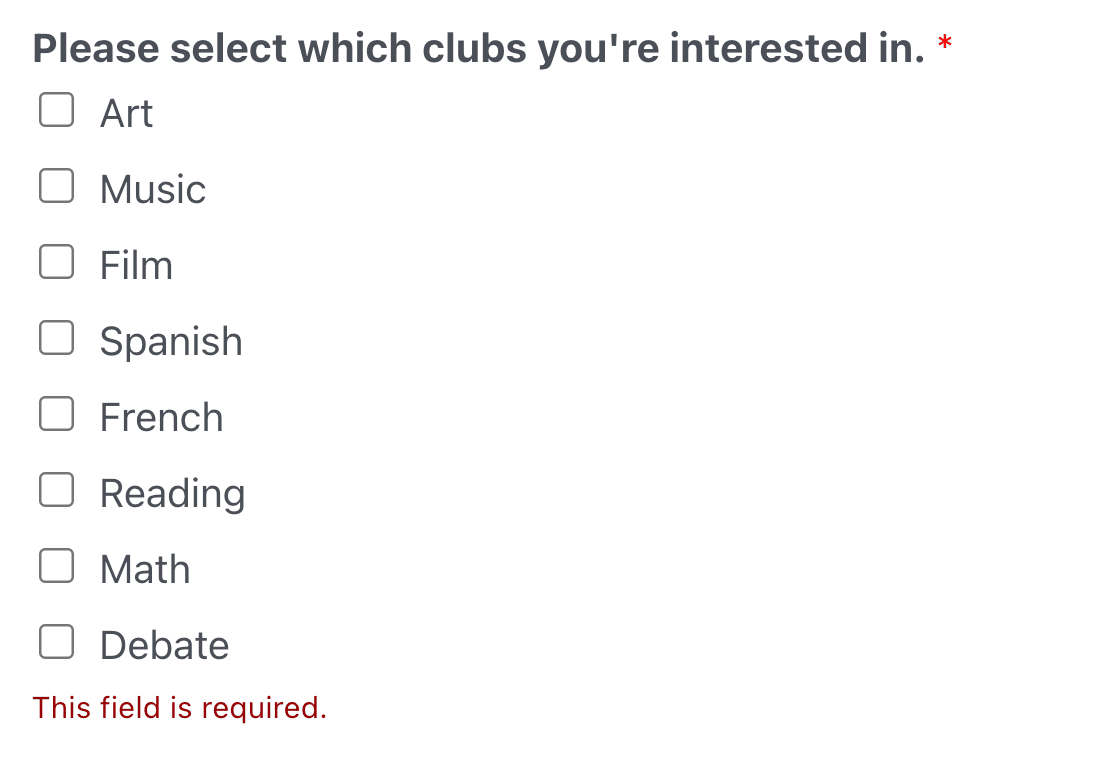
On the frontend, users will see a message that reads, “This field is required” if they try to submit your form without making a selection from your Checkboxes field.
Note: Want to customize the text users will see if they skip over a required field in your forms? Check out our tutorial on changing validation messages.
Randomizing Choices
Making your Checkboxes choices appear in a random order each time your form loads can prevent order bias in your entries.
To randomize your Checkboxes choices, click on the Advanced tab in the Field Options panel.

Then toggle on the Randomize Choices setting.

Note: For more details, see our full tutorial on how to randomize choices for Checkboxes and Multiple Choice fields.
Displaying Checkboxes in a Multi-Column Layout
If your Checkboxes field includes a lot of choices, it can be useful to organize them in a multi-column layout so that they take up less space.
Using the Choice Layout dropdown, you can arrange your checkboxes in 1, 2, or 3 columns.

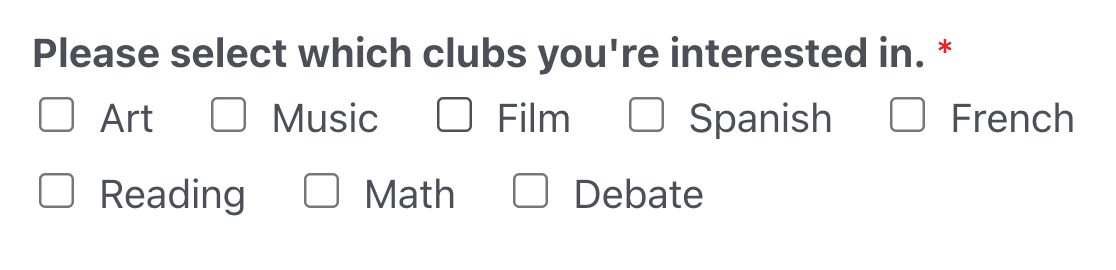
Or you can choose the Inline option to display all the choices in one row. If you have more choices than can fit in a single row, they will wrap around to a new row, like so.
Note: Please see our tutorial on creating multi-column layouts for Checkboxes fields for more details.
Limiting Choice Selections for Checkboxes
By default, the Checkboxes field allows users to select as many choices as they like. If you would like to limit the number of options your users can select, you can enter a number in the Choice Limit field in the advanced field options.

Note: Check out our tutorial on limiting Checkboxes selections for more information on this field option.
Using Checkboxes Dynamic Choices
Checkboxes fields can use data from your site such as taxonomies or post titles to dynamically populate your choices.
To enable this option, select either Post Type or Taxonomy from the Dynamic Choices dropdown.

Note: Looking for more guidance on how to set up your dynamic choices? See our step-by-step tutorial on how to use dynamic values in WPForms for all the details.
Hiding the Field Label
Finally, if you would like to hide your Checkboxes field label on the frontend, toggle on the Hide Label setting in the Advanced tab of the Field Options panel.

Note: Even if you hide a field’s label on the frontend, we recommend that you still include a label for it in its general field options. This will help you identify the field in your form’s entries.
Enabling the Disclaimer or Terms of Service Display
Since many forms ask users to verify that they’ve read the Terms of Service or that they acknowledge a disclaimer, WPForms enables you to easily add a checkbox for users to click to do so.
To turn this feature on, toggle the Enable Disclaimer / Terms of Service Display option into the “on” position.

Use the Description field in the general field options to list your terms or share your disclaimer. Then add a single choice labeled something like “I agree to the terms and conditions” or “I acknowledge the disclaimer below.”
On the frontend, the text from the field description will appear in a white box below the single checkbox.

Note: For more details on how to set up a Terms of Service or Disclaimer checkbox, see our full tutorial on this feature.
Frequently Asked Questions
These are answers to some top questions we receive regarding the Checkboxes field.
How can I display dynamic data in the labels of my Checkboxes?
You can include dynamic data within checkbox labels by using Smart Tags. This requires a PHP snippet to enable the processing of Smart Tags directly in checkbox labels. For step-by-step instructions on how to implement this, please refer to our developer documentation.
How can I set a minimum number of choices for a Checkboxes field in WPForms?
To enforce a minimum number of selections in a checkbox field, you can utilize a JavaScript snippet. This allows you to specify a minimum number of choices that users must select before submitting the form, which is particularly useful for surveys or forms where a minimum level of engagement is required.
For step-by-step instructions on implementing this feature, refer to our developer documentation.
That’s it! Now you know all the options that are available for the Checkboxes field in WPForms.
Next, would you like to show or hide other fields in your form based on users’ selections from your Checkboxes field? Be sure to read up on using smart conditional logic in WPForms.