Would you like to change the validation messages that appear in your forms? Customizing your validation messages is especially useful if you want to translate your forms into a different language, or if you’d simply like to modify their wording.
This tutorial will show you some examples of validation messages and how to change them.
In This Article
What Are Validation Messages?
Some fields in your forms have certain rules. For example, users can’t submit a form if a required field is empty. They also can’t submit an Email field with text that isn’t a proper email address, or a URL field that doesn’t contain a web address.
WPForms uses a process called validation to check that each entry follows the rules for your forms. If the user hasn’t filled out a field properly, a message will appear to tell them how to fix the problem before completing their submission.
For example, the validation message that appears if a required field is empty reads, “This field is required.”

Customizing Validation Messages
WPForms manages validation messages for your entire site in the plugin settings.
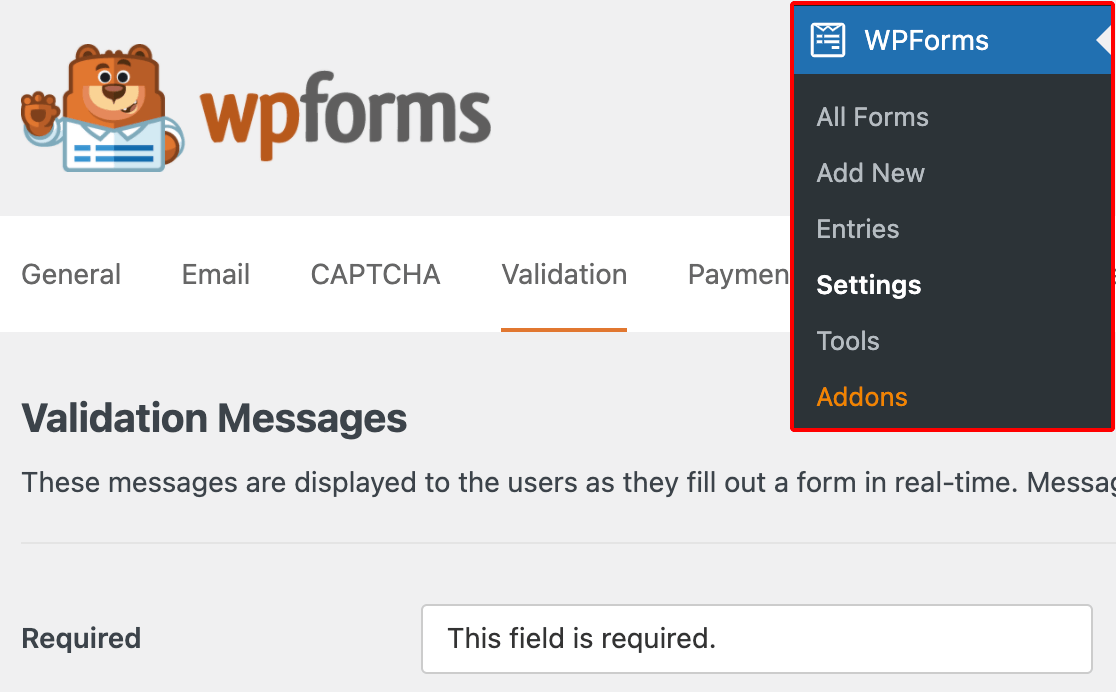
To view the existing list of validation messages for your forms, go to WPForms » Settings and open the Validation tab.

The specific messages available here depend on your license level and which addons you have installed. To customize these messages, simply replace the default text with the message you want your users to see.
Below, we’ve listed all of the validation messages currently available for customization along with their default values:
- Required: This field is required.
- Website URL: Please enter a valid URL.
- Email: Please enter a valid email address.
- Email Suggestion: Did you mean {suggestion}?
- Email Restricted: This email address is not allowed.
- Number: Please enter a valid number.
- Number Positive: Please enter a valid positive number.
- Confirm Value: Field values do not match.
- Input Mask Incomplete: Please fill out the field in required format.
- Checkbox Selection Limit: You have exceeded the number of allowed selections: {#}.
- Character Limit: Limit is {limit} characters. Characters remaining: {remaining}.
- Word Limit: Limit is {limit} words. Words remaining: {remaining}.
- Phone: Please enter a valid phone number.
- File Extension: File type is not allowed.
- File Size: File exceeds max size allowed. File was not uploaded.
- Time (12 hour): Please enter time in 12-hour AM/PM format (eg 8:45 AM).
- Time (24 hour): Please enter time in 24-hour format (eg 22:45).
- Payment Required: Payment is required.
- Credit Card: Please enter a valid credit card number.
- Field Upload Total Size: The total size of the selected files {totalSize} Mb exceeds the allowed limit {maxSize} Mb.
- Password Strength: A stronger password is required. Consider using upper and lower case letters, numbers, and symbols.
- Unique Answer: The value must be unique.
- Coupon Error: This is not a valid coupon.
Notice that some of the default messages include placeholders in curly braces. These will pull values from other areas of your site and display them in your validation messages.
Note: When translating validation messages, be sure to leave placeholders in English. See the FAQ section below for details.
The available placeholders include:
- {suggestion}: Inserts a suggested correction if a user enters a common email address (e.g., @gmail.com, @yahoo.com) with a typo.
- {#}: Shows the maximum number of selections allowed by a Checkboxes field, as determined in its field options.
- {limit}: Shows the word or character limit for a Single Line Text or Paragraph Text field, as set in its field options.
- {remaining}: Displays the remaining available words or characters until the user reaches the limit for a Single Line Text or Paragraph field, as set in its field options.
- {totalSize}: Inserts the size of a file a user has attempted to upload using the File Upload field.
- {maxSize}: Displays the maximum file size allowed by the File Upload field.
Once you’ve made your changes, be sure to click Save Settings at the bottom of the screen. All WPForms on your site will use these validation messages.
Note: If you’re looking to disable the text and icons for validation error messages while maintaining the visual cues, be sure to check out our developer documentation for more information.
Frequently Asked Questions
These are some of the most common questions we receive about customizing validation messages in WPForms.
I translated my validation messages and now my placeholders aren’t working. What should I do?
When translating your validation messages, you should leave your placeholders in English.
For example, if you were to translate the default email suggestion validation message, you would enter “Did you mean” in your target language, but leave “{suggestion}” in English, like so:

How can I change the error text for failed form submissions in WPForms?
You can modify the error text displayed for failed submissions in WPForms by using a PHP snippet. This allows you to customize the message to better suit your website’s needs or to provide more specific instructions to your users.
For detailed instructions on how to implement this snippet, refer to our developer documentation on changing the error text for failed submissions.
That’s it! You can now customize validation messages in your forms.
Next, would you also like to customize the appearance of your validation messages or style other parts of your forms? To get started, check out our beginner’s guide to CSS.
