AI Summary
Would you like to add image options to your forms? WPForms makes it easy to add images to your Multiple Choice, Checkboxes, Multiple Items, and Checkbox Items fields so that your users can see the option or item you’ve listed.
This tutorial will show you how to add image choices to existing or new fields in WPForms.
Setting Up Image Choices
Before getting started, you’ll first need to make sure WPForms is installed and activated on your WordPress site and that you’ve verified your license. Then you can create a new form or edit an existing one to access the form builder.
Once the form builder is open, you’ll be able to add image choices to any of the following field types:
- Multiple Choice
- Checkboxes
- Multiple Items
- Checkbox Items
Additionally, you can add images to both new and existing fields of these field types.
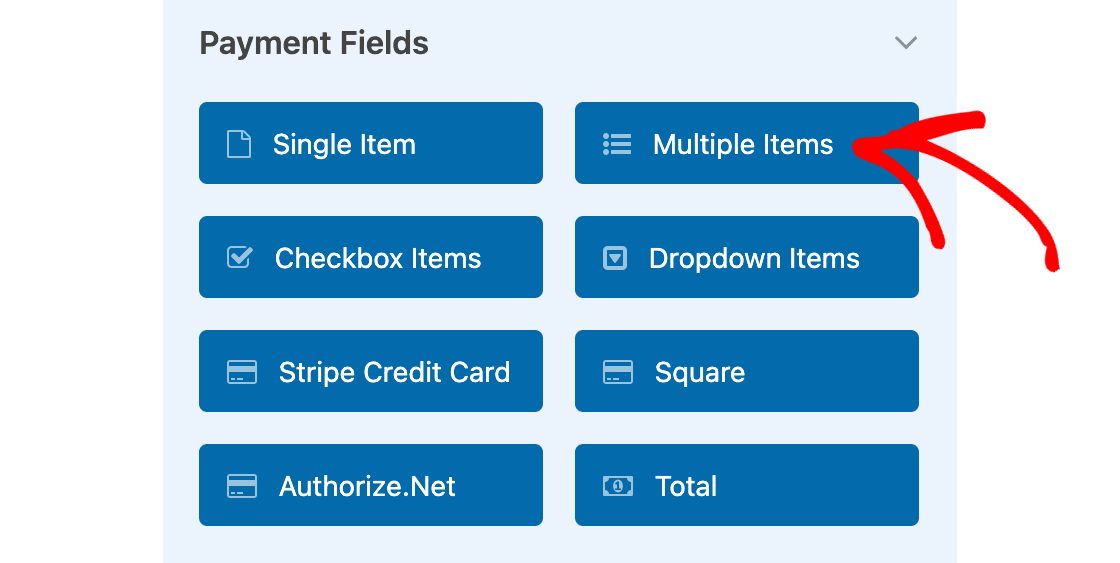
For our example, we want to show images for item options in an order form. To do this, we’ll first add a Multiple Items field to our form.
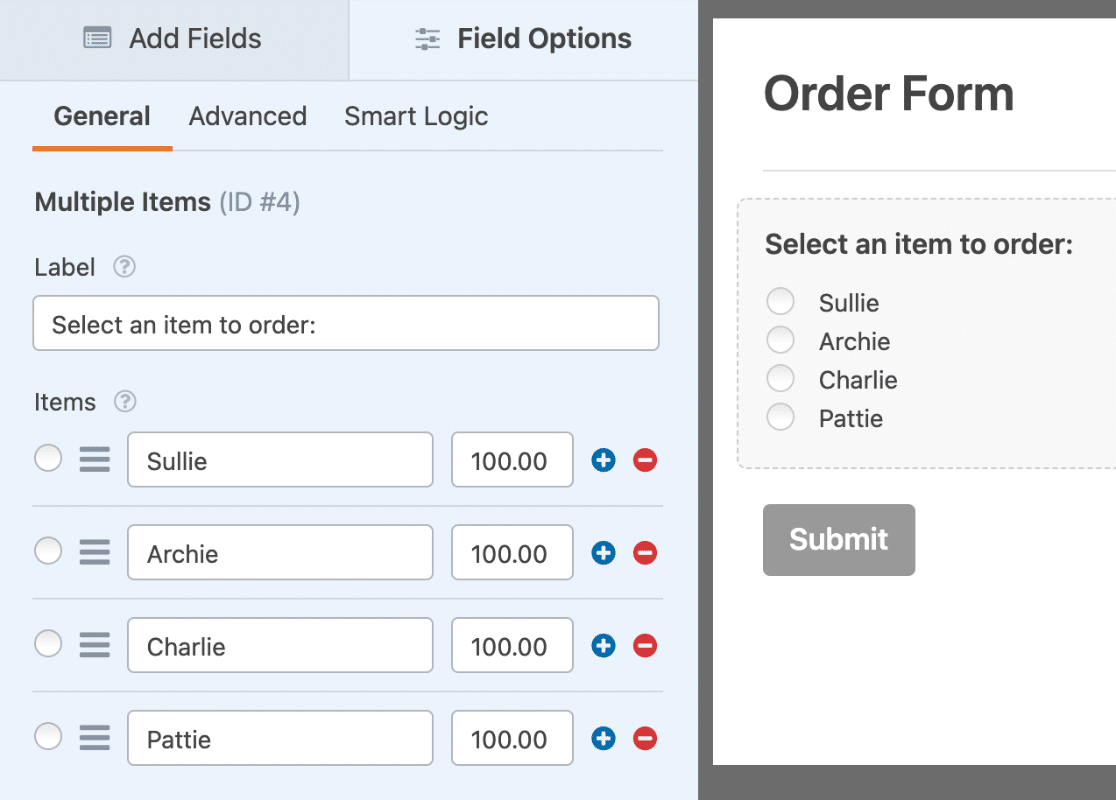
Now that we’ve added our field, the next step is to change the field label and add text for available options. Since we’re using a Multiple Items field, we also need to add prices for each item.
Once this basic setup is ready to go, we’ll select the Use image choices option.
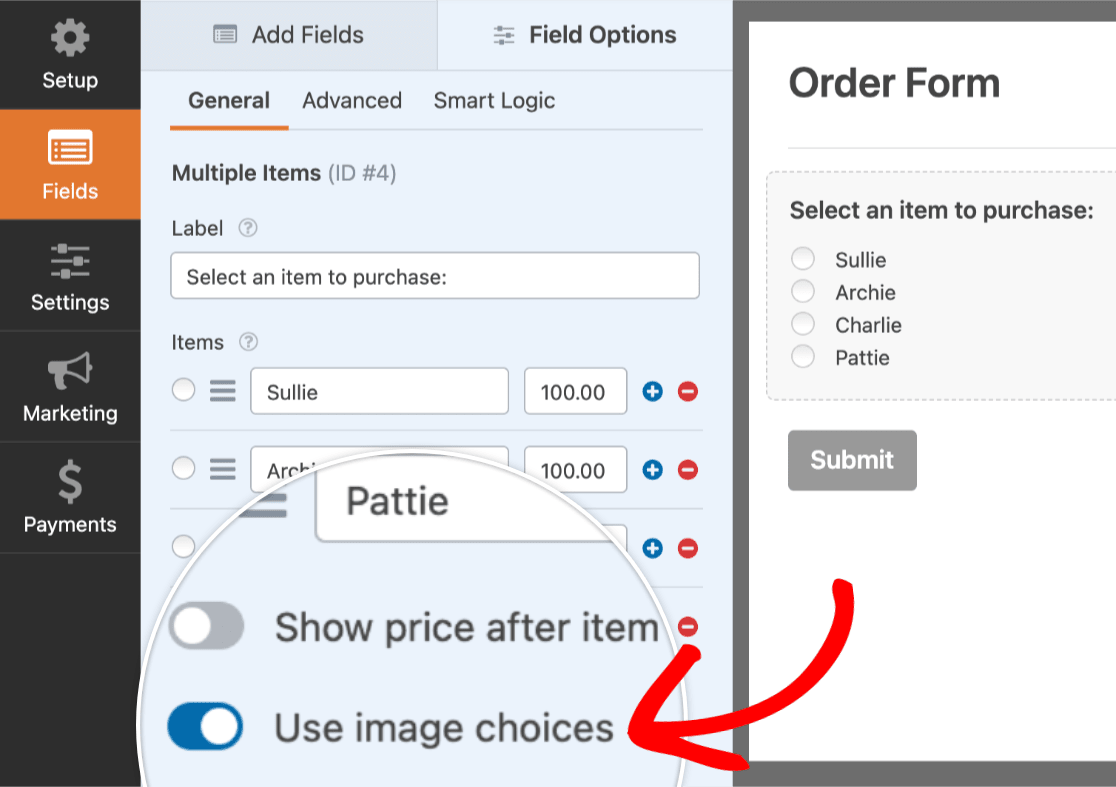
As soon as this option is enabled, an Upload Image button will be added to each option. Also, a placeholder image will be displayed for each option in the preview area.
Adding Images
To add an image to an option, go ahead and click the Upload Image button.
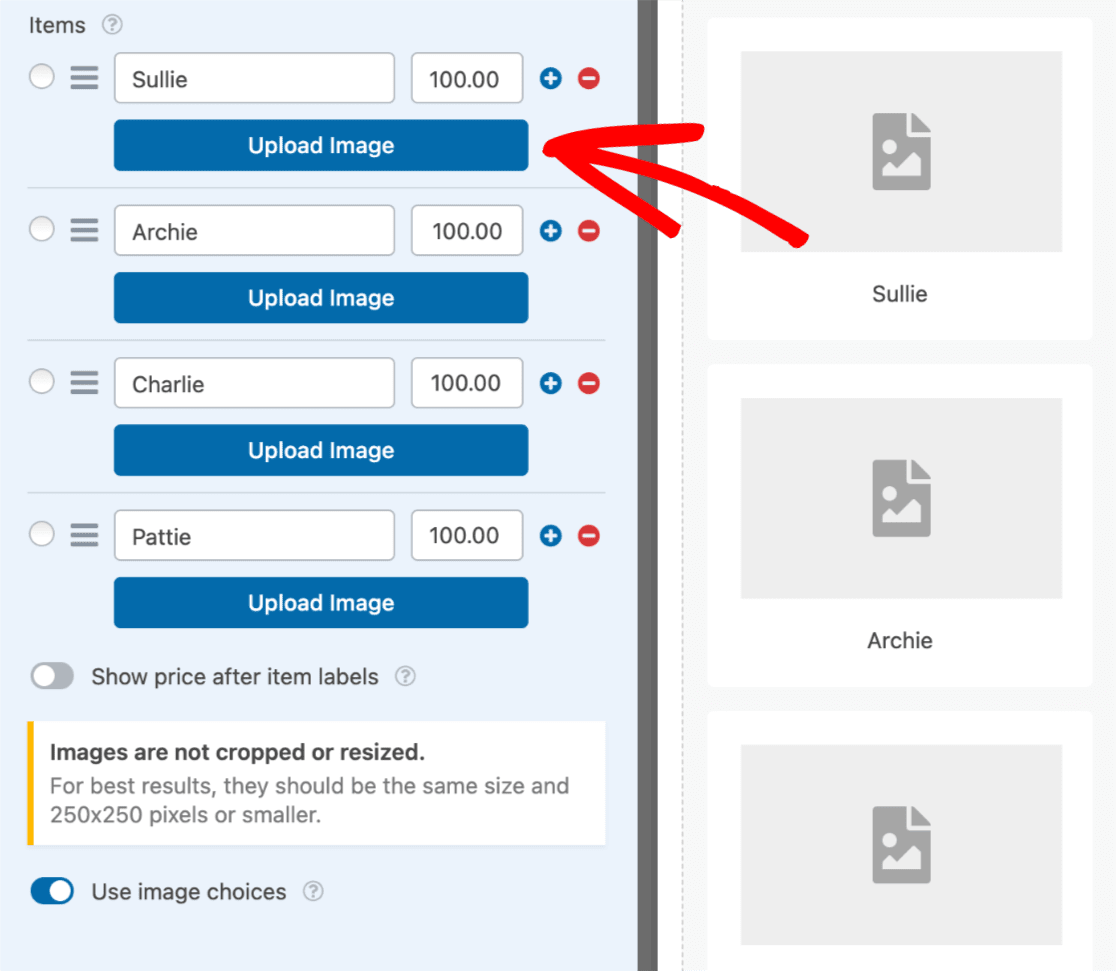
This will open the WordPress Media Library. From here, you can select a file that has already been added to your site or upload a new image. Once you’ve chosen the image you’d like to use, click the Use Image button.
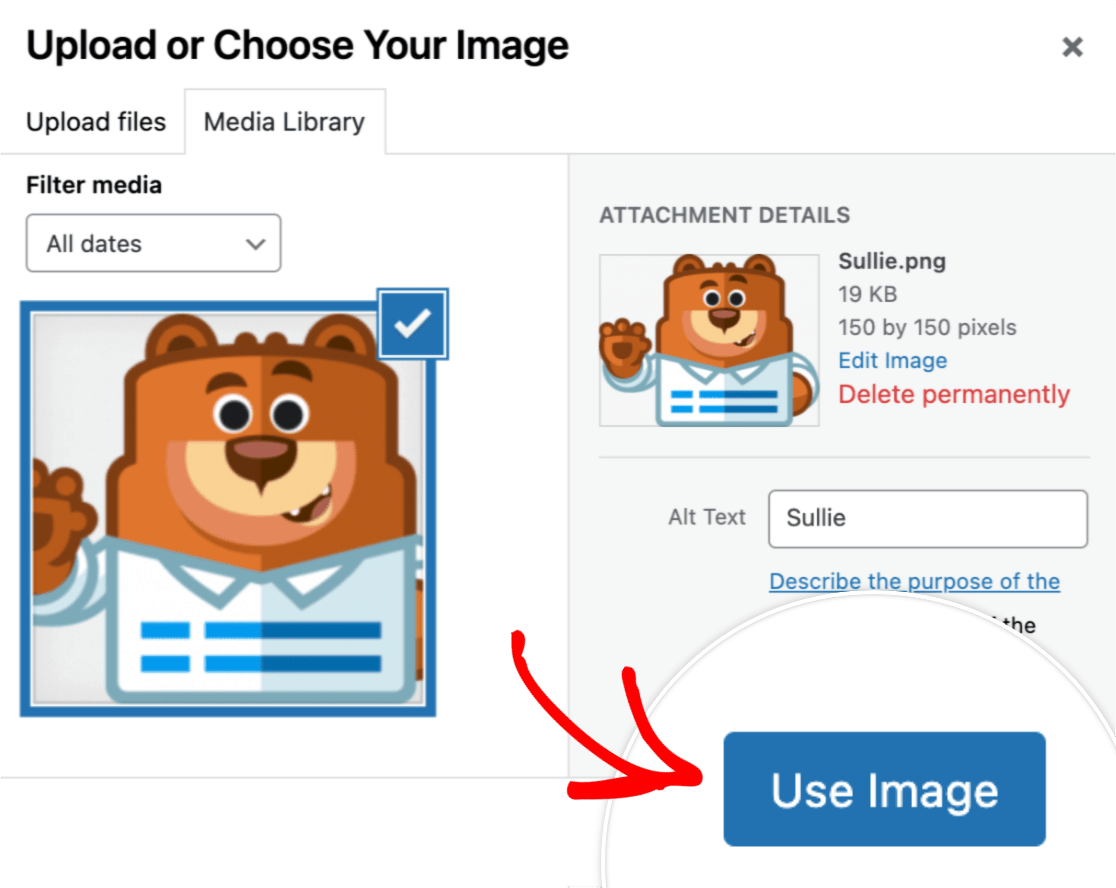
For this example, we’ve already edited all images to be 150 by 150 pixels in size. This will help our image options to look more uniform and professional.
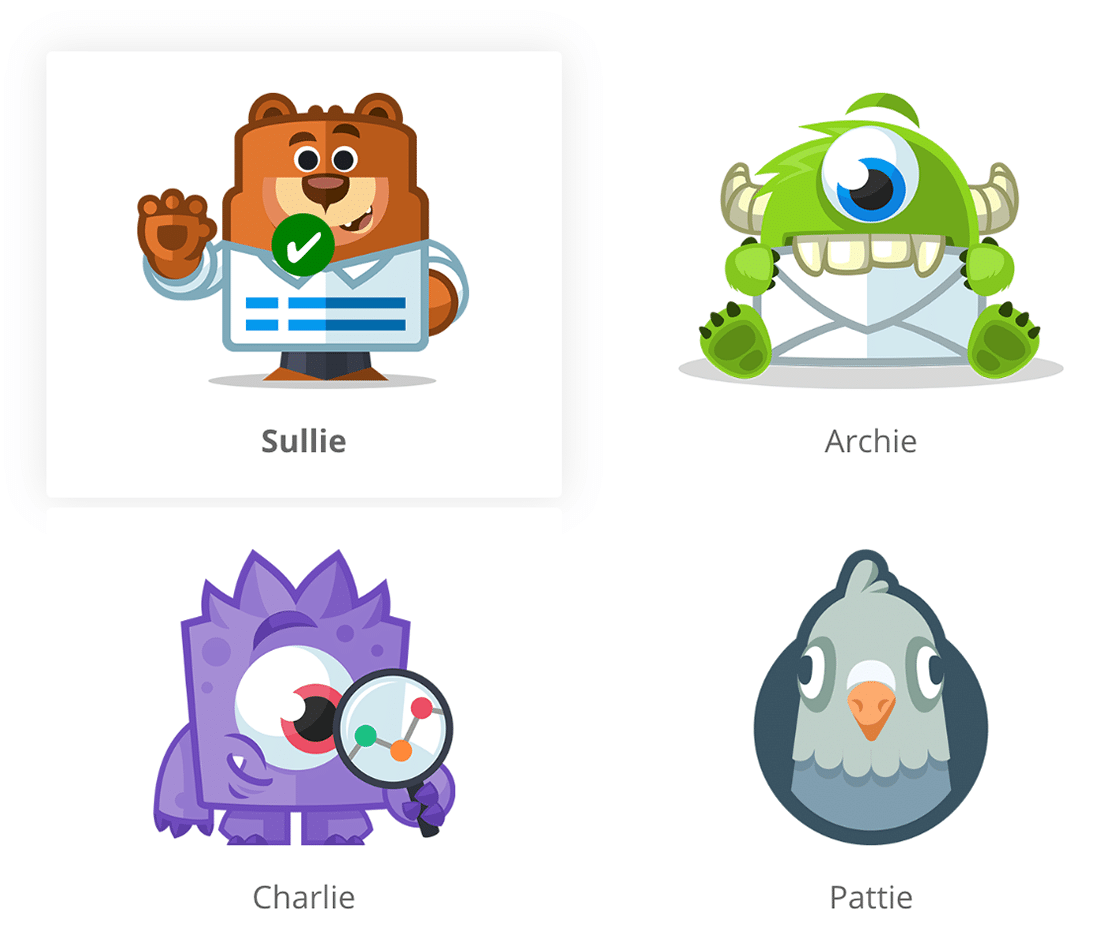
Here’s how our image choices will appear to our users:
Customizing Image Options
WPForms also includes several built-in options for customizing your image choices. To view these options, open the Advanced tab within the Field Options.
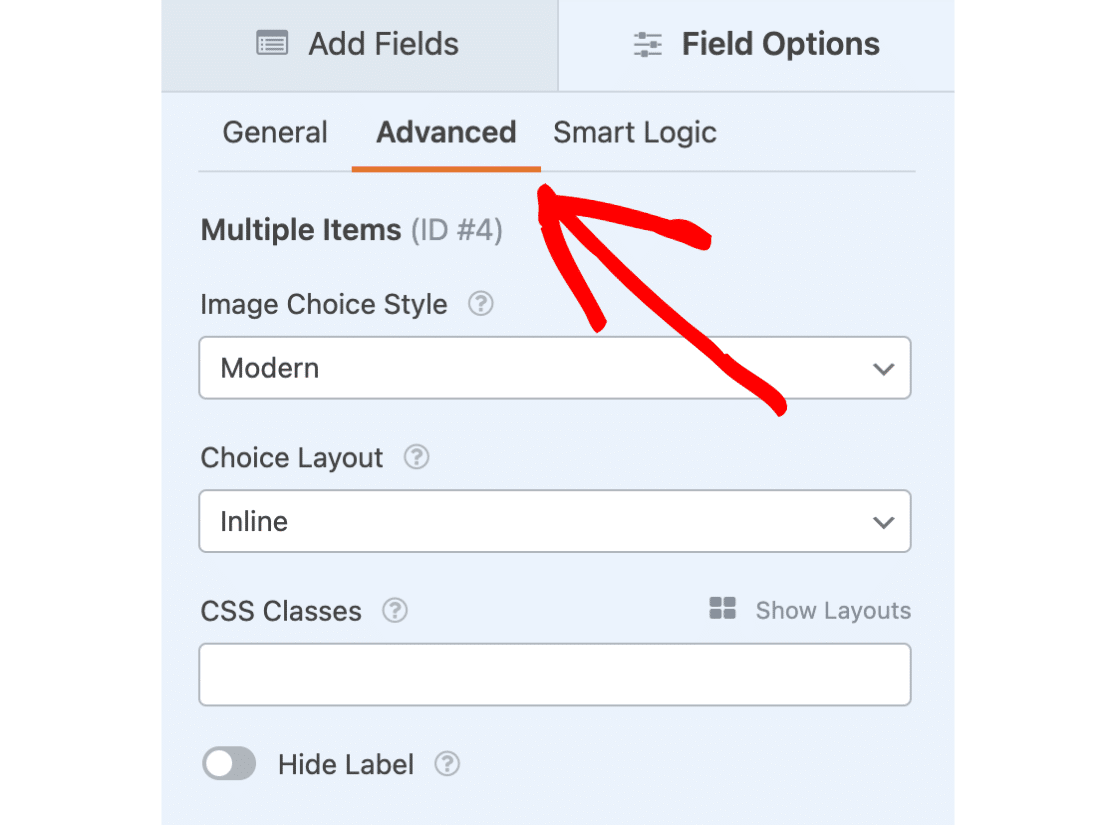
In addition to any other customization options available for the field you’re using, two options are added when the Use image choices option is selected: Image Choice Style and Choice Layout.
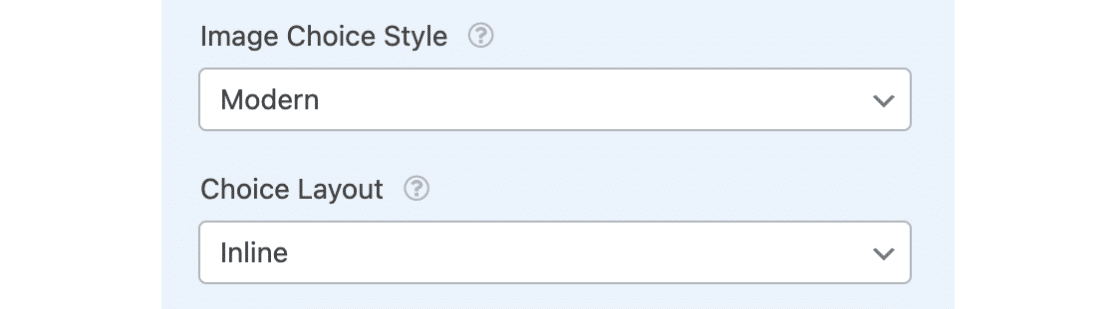
Image Choice Style
There are three options available for image choice styling: Modern, Classic, and None.
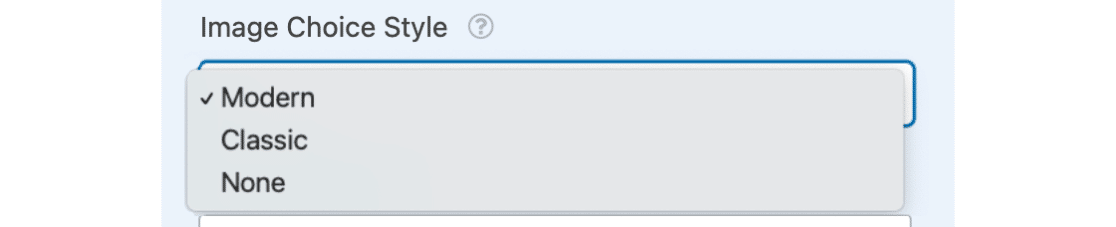
We’ll go over each of these options below:
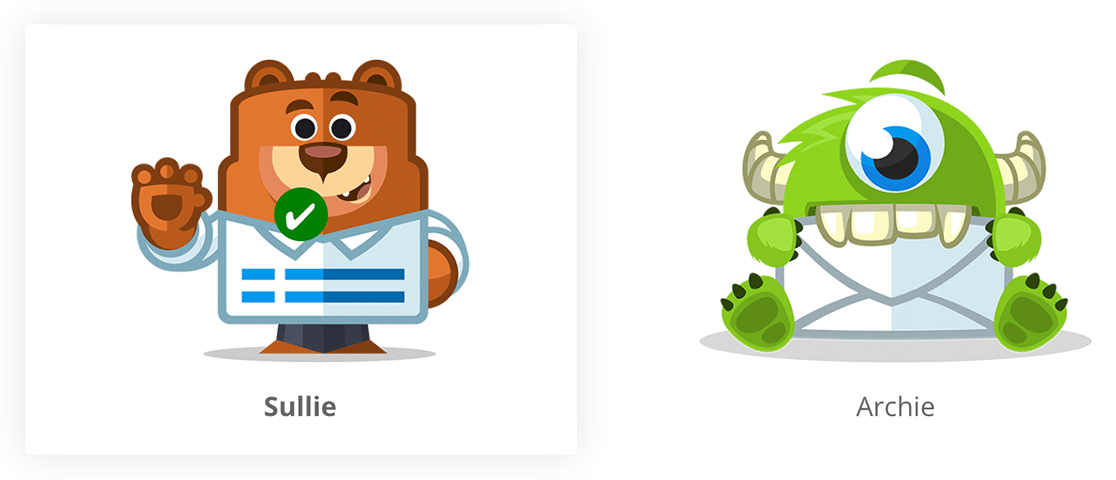
Modern Style
The Modern option will display any selected options within a shadowed box, and also add a green and white checkmark to the center of the selected option.
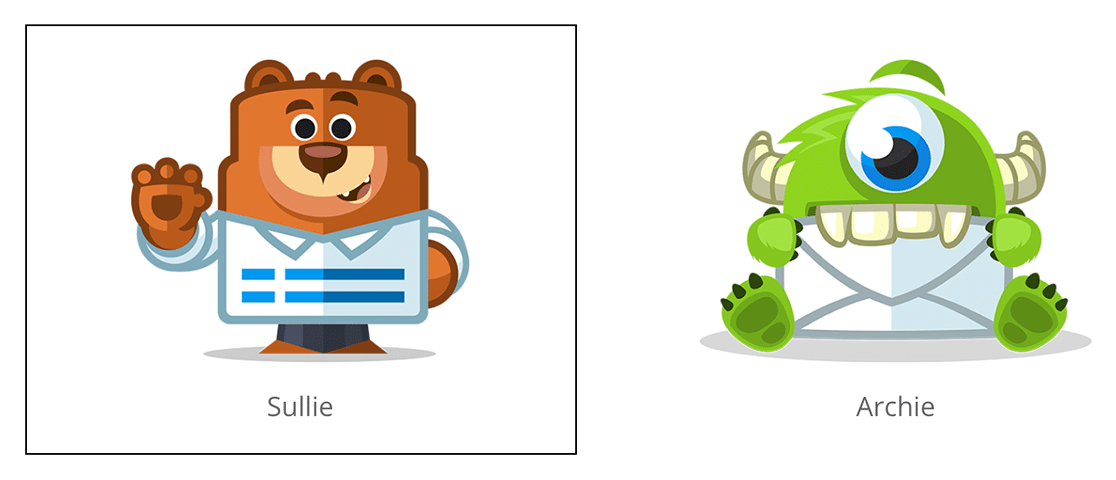
Classic Style
The Classic option will simply add a thick, dark grey border around any selected options.
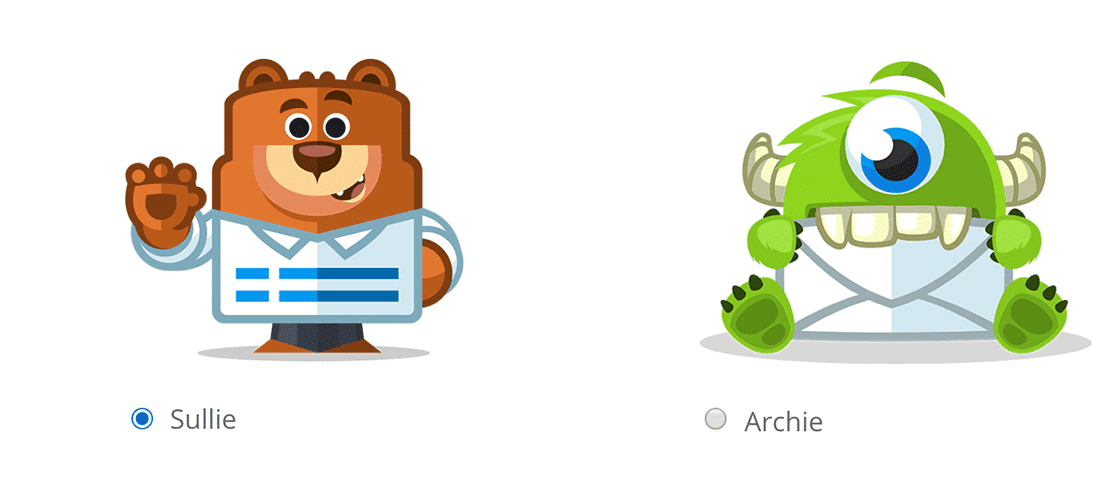
None
If you’d prefer to not add any special styling, select the None option. This option will display regular checkboxes or radio buttons next to the text for each option.
Choice Layout
For any field where image choices are allowed, you’ll have several layout options. This will determine how many columns are used to display the choices within this field.
The Choice Layout options include One Column, Two Columns, Three Columns, and Inline.

By default, the Inline option will be selected when the Add image choices option is enabled. This will automatically place as many choices as possible within each row.
That’s it! You can now add images to any Multiple Choice, Checkboxes, Multiple Items, and Checkbox Items fields in your forms. If you used a Multiple Items field and plan to accept payments, don’t forget to set up an integration with Stripe, PayPal, Authorize.Net, or Square.
Next, would you like to test out your forms before adding them to your site? Be sure to check out our pre-launch checklist for all of our tips and recommendations before launching a form.