AI Summary
Do you want to allow additional file types to be uploaded to your forms? Allowing more file formats to be uploaded to your site can provide more convenience for you and your users.
This tutorial will show you how to add different file extensions, without compromising the security of your site.
Note: Are you looking for instructions on creating a file upload form? Then be sure to check out our guide to the File Upload field for all the details.
File Types Allowed By Default
For security reasons, WordPress only allows certain types of files. The default file formats include:
- Images like .png, .gif, .jpg
- Documents such as .doc, .xls, .ppt, .pdf
- Audio like .wav, .mp3, .mp4
- Video like .mpg, .mov, .wmv
Please note that some of the file types below do have the potential to be misused. That’s why WordPress doesn’t enable them by default.
- Images such as .svg, .bmp
- Documents like .psd, .ai, .pages
- Code files such as .css, .js, .json
- Video like .flv, .f4l, .qt
Adding Additional File Upload Types
To configure your site to accept additional file formats, you’ll need to install File Upload Types, a free WordPress plugin by WPForms.
Note: For details on how to add a plugin to your site, be sure to check out WPBeginner’s guide on installing plugins.
Using Preset File Types
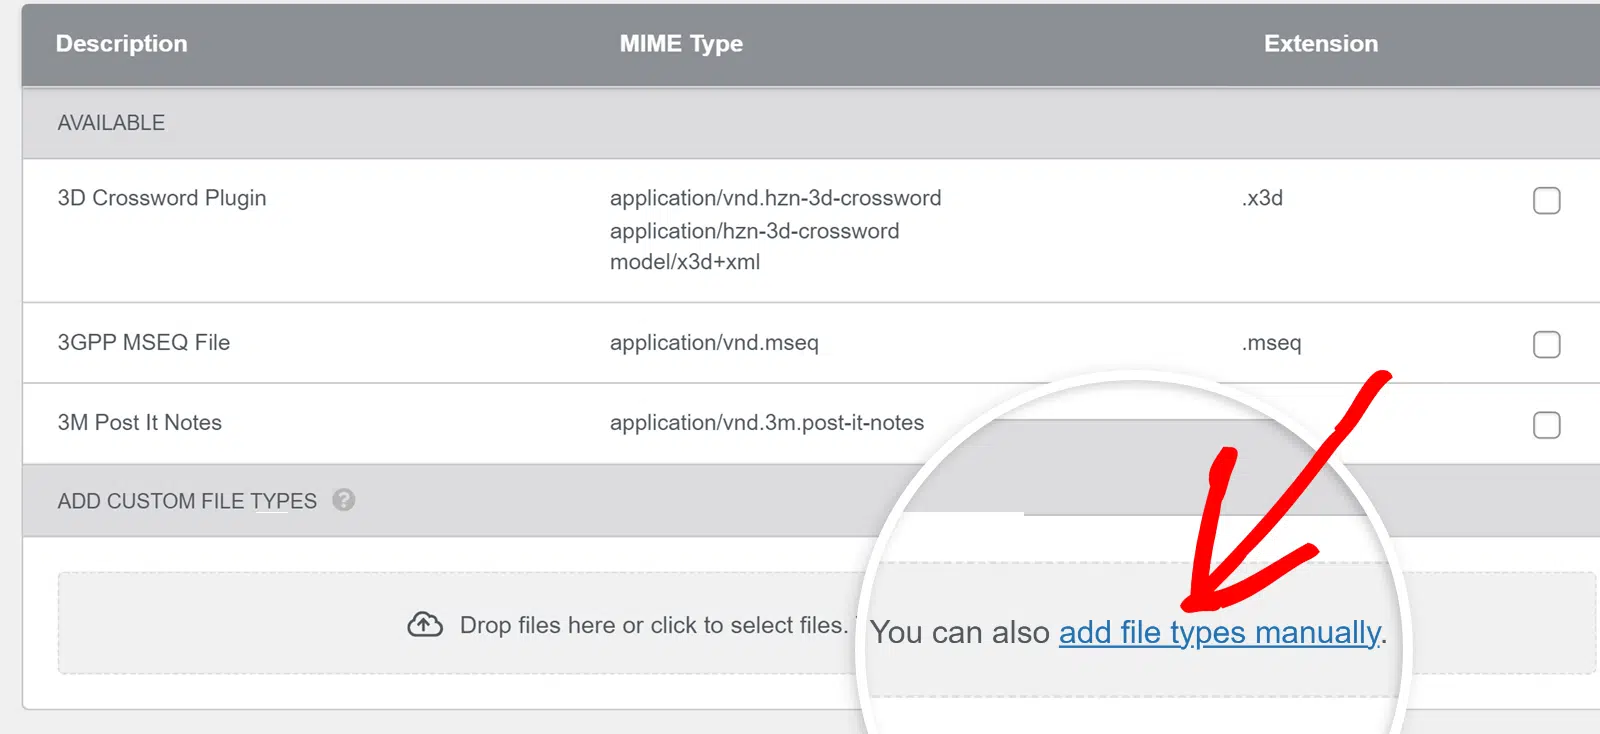
Once you’ve installed the File Upload Types plugin, in your WordPress admin area go to Settings » File Upload Types.
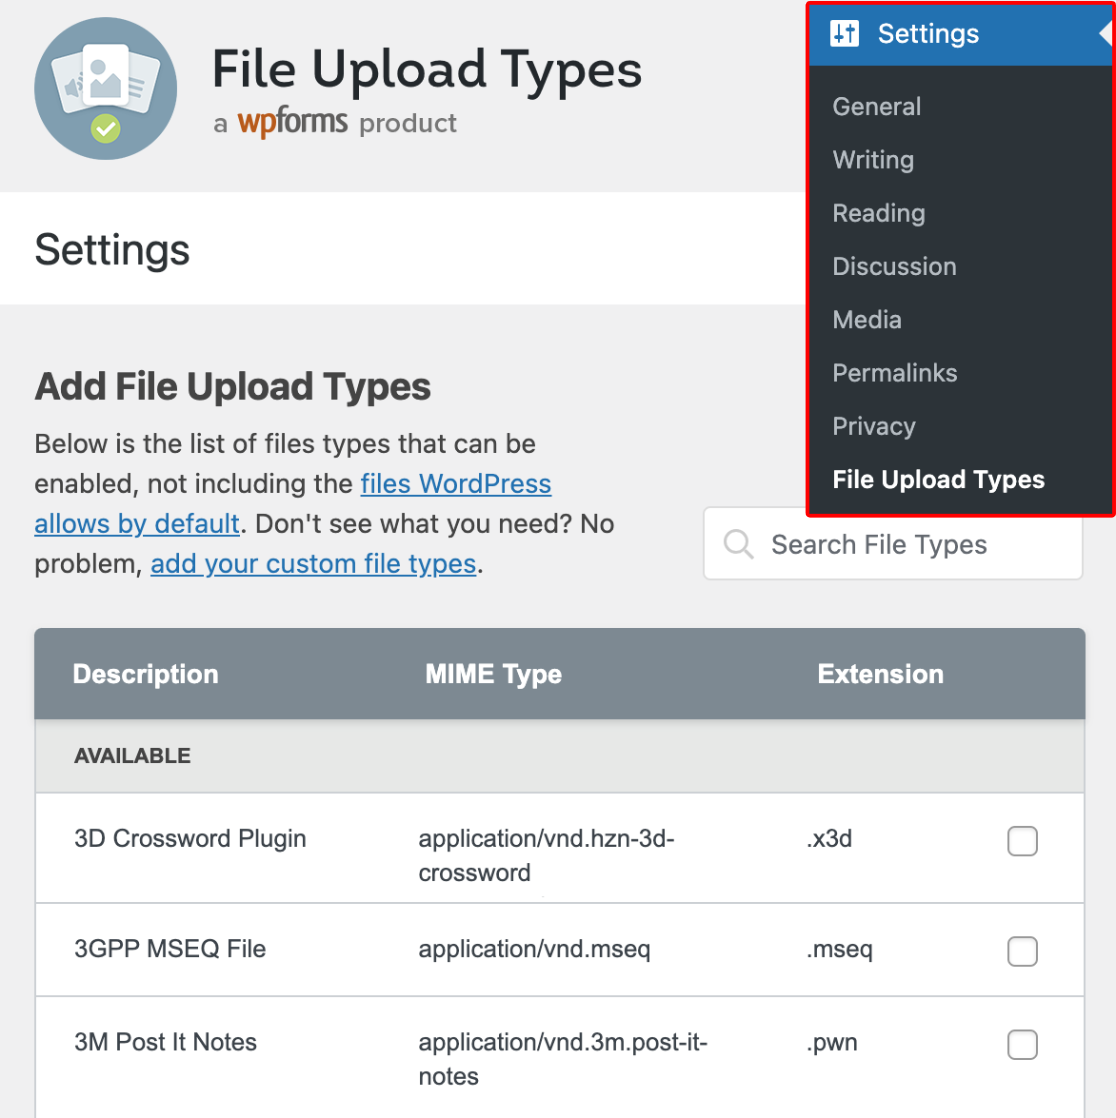
On this page, you can add preset file types by checking the box next to the file type.
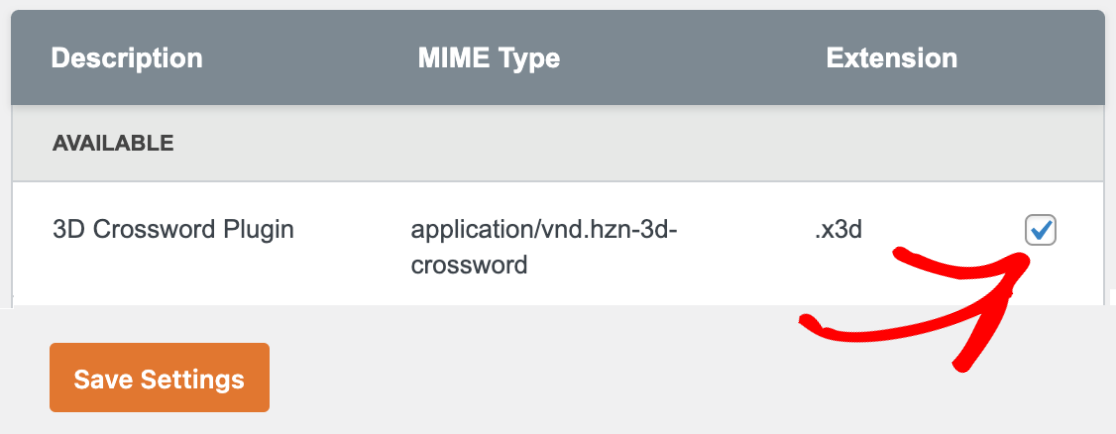
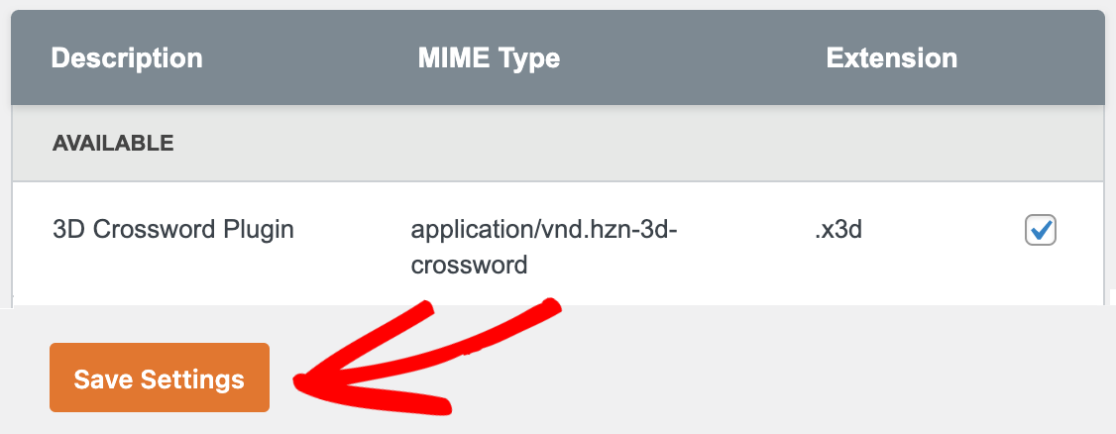
Once you’ve selected the file types you’d like to add, click the Save Settings button to save your changes.
Adding Custom File Types
If you’d like to include a file format that is not found in the preset list, you can add your own.
To do this, scroll down to the ADD CUSTOM FILE TYPES section. Then, you can either drag and drop file types directly into the designated area, upload file type from your computer, or manually add the file type.
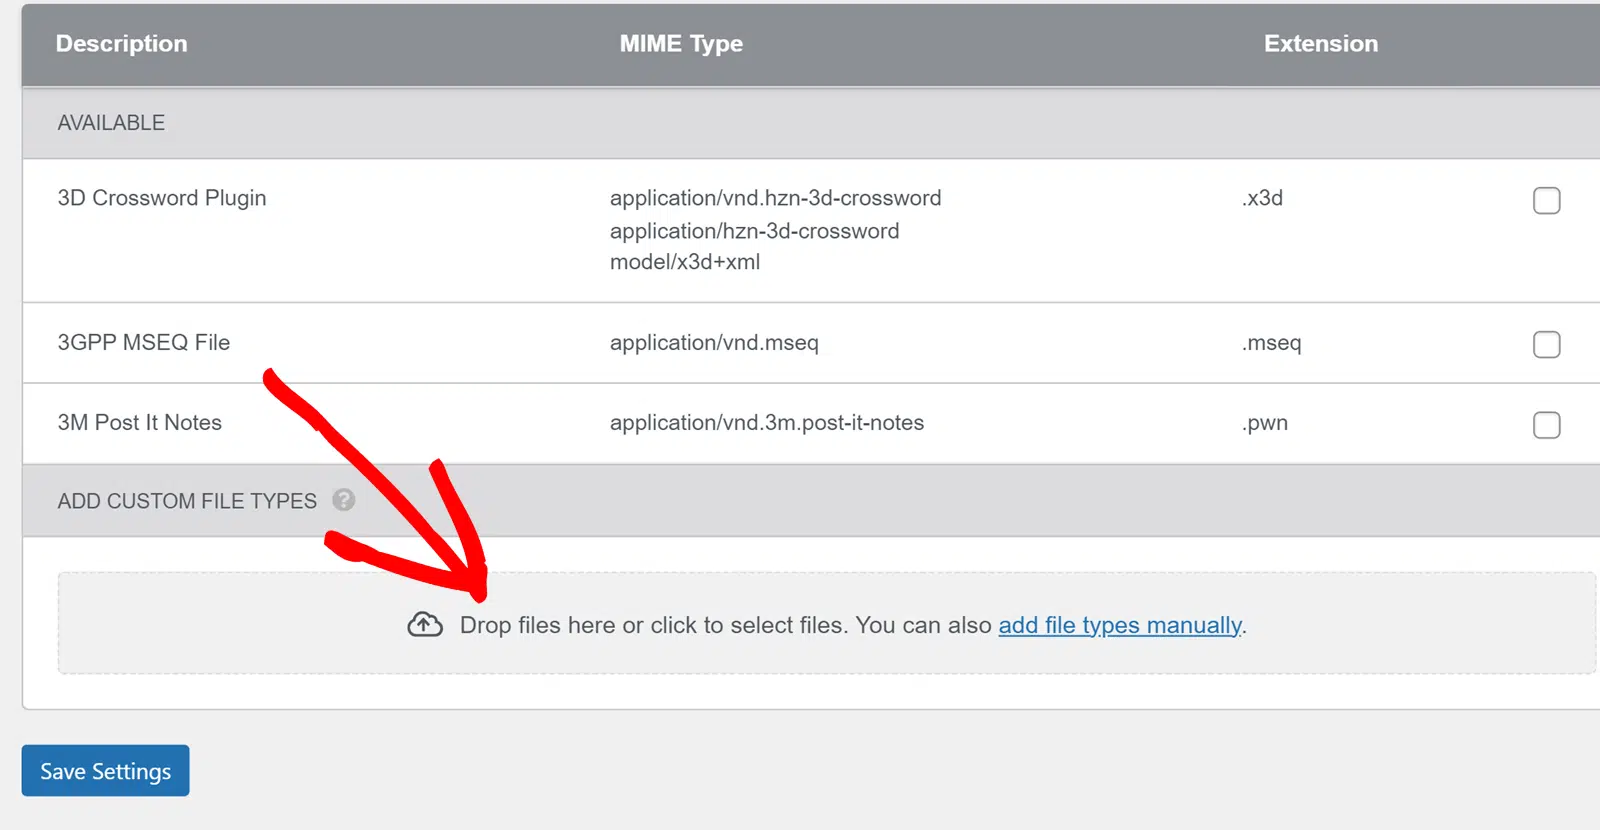
If you choose to manually add file types, click the add file types manually text to do so.
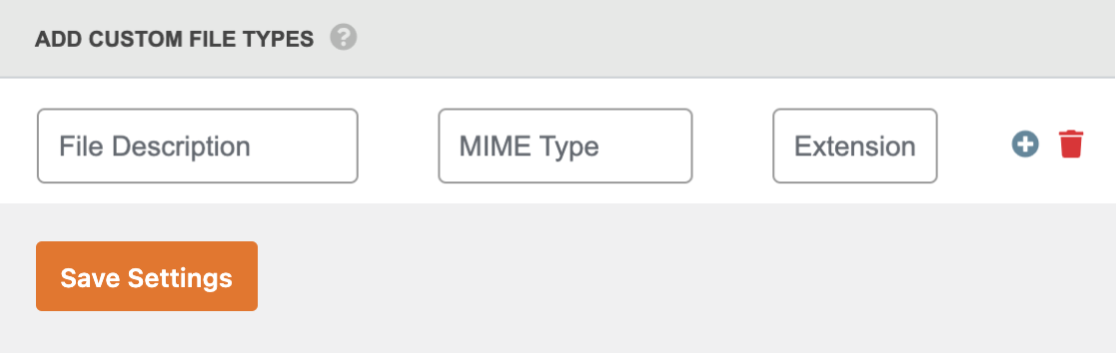
Then, you’ll need to specify the file format you want to upload. This is done through 3 fields:
- File Description: The name of the file type. This will only be visible in your File Upload Types settings, so you can add any details that make sense to you.
- MIME Type: The category and data type represented by the new file type.
- Extension: The extension type that will be associated with this file (e.g., .jpg, .docx, etc.).
Note: MIME is a form of file identification on the web. For more details on MIME, you can check out Mozilla’s documentation for a complete list of common MIME types. To determine what MIME type a file is, you can use an online file checker.
As an example, here are the fields with the information for a YAML file type:
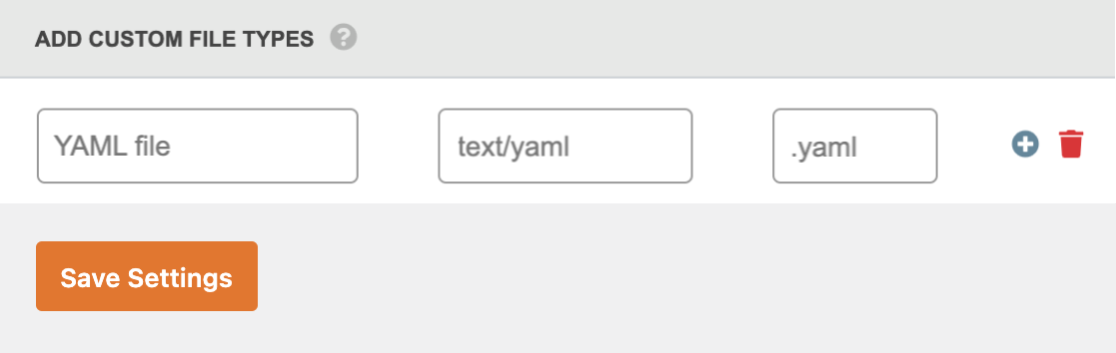
You can also add multiple custom file types by clicking on the plus (+) icon. If you’d like to remove a file type, click the trash can icon.
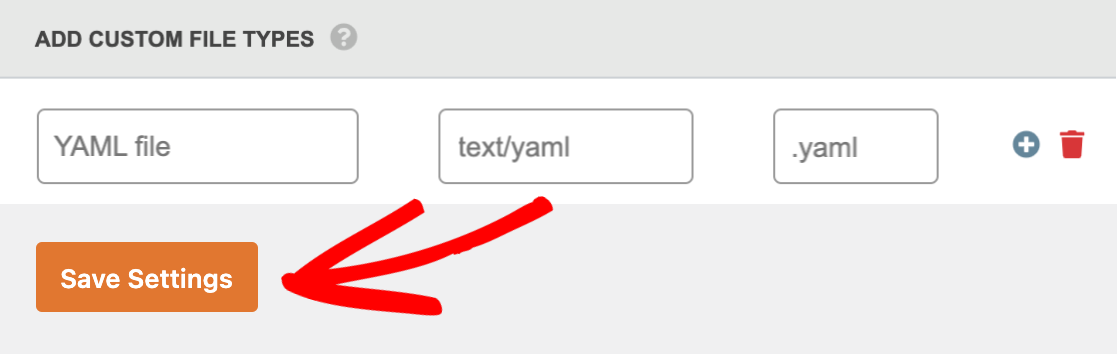
Once you’ve filled in all these details, click on the Save Settings button to apply the settings to your site.
Allowing Multiple MIME Types
If you’re adding a file type that has several aliases or possible MIME types, you can also add these into the MIME Types field. This is especially helpful to ensure the proper uploading of files that may have the same extension, but different MIME types.
Note: If you’re not sure if your file type has aliases, you can check out this reference guide for a partial list.
In order to use this feature, you’ll need to click the Enable multiple MIME type support option within the plugin.
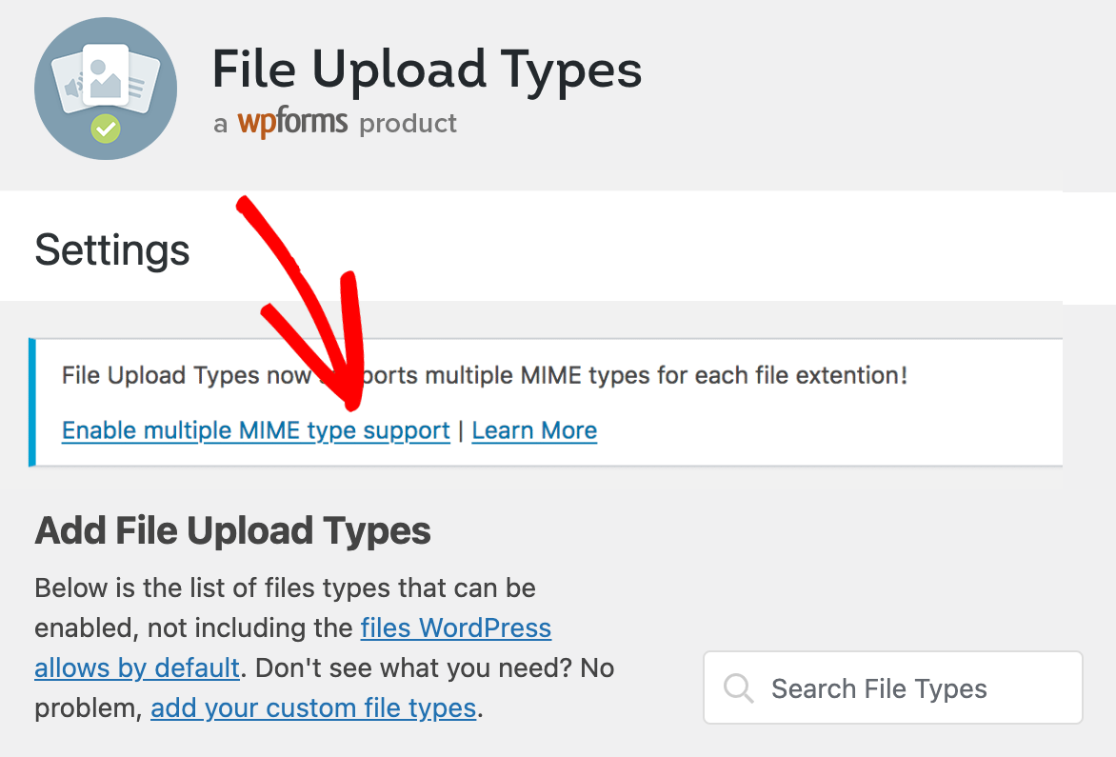
Note: If you don’t see this banner in your plugin, this means this option is already enabled on your site.
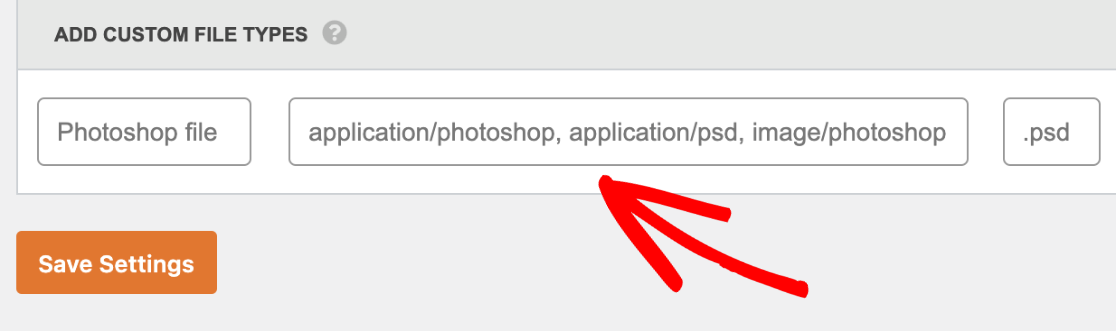
Once you’ve enabled this feature, you can then add aliases to the MIME Type field, separating each type by a comma.
For example, we’ll add the application/photoshop, application/psd, and image/photoshop aliases for a Photoshop file:
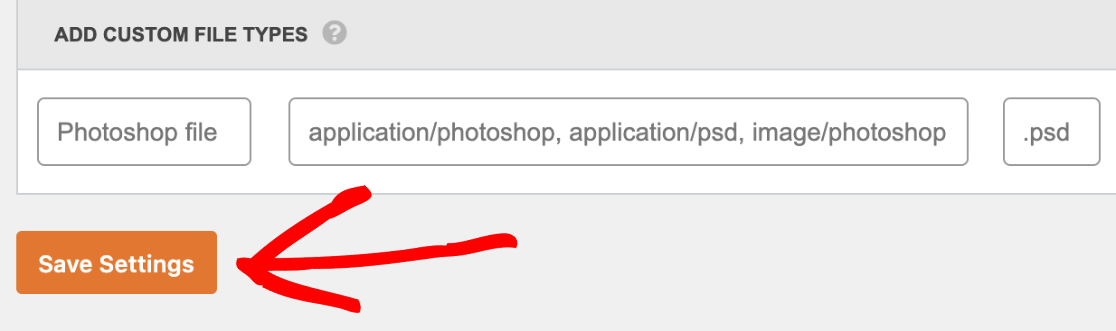
Once those settings are added, make sure to click the Save Settings button to apply the settings to your site.
Tips for Securing WordPress File Uploads
It may be convenient to allow users to upload all sorts of file formats, however, this can lead to security issues. You can keep your site more secure while allowing for specific upload types by following these tips:
- Requiring users to be registered and logged in to submit your form.
- Limiting file upload types to only those that you really need.
- Limiting the file upload size.
Frequently Asked Questions
I added my additional file type, but I’m still seeing the following error:
File type not allowed
In this case, you’ll want to be sure that the file you’re trying to upload has a MIME type that matches the one you’ve added to your site. You can quickly and easily check your file’s MIME type to be sure its type matches.
If your MIME type matches and still won’t upload, it’s important to know that WPForms does blacklist certain file types. Some file types will be blocked from being uploaded, even if they’ve been added using the File Upload Types plugin. The complete list of file types are:
| ade | adp | app | asp |
| bas | bat | cer | cgi |
| chm | com | cpl | crt |
| csh | csr | dll | drv |
| exe | fxp | flv | hlp |
| hta | htaccess | htm | html |
| htpasswd | inf | ins | isp |
| jar | js | jse | jsp |
| ksh | lnk | mdb | mde |
| mdt | mdw | msc | msi |
| msp | mst | ops | pcd |
| php | pif | pl | prg |
| ps1 | ps2 | py | rb |
| scr | sct | sh | shb |
| shs | swf | tmp | torrent |
| url | vb | vbe | vbs |
| vbscript | wsc | wsf | wsh |
| dfxp | onetmp | json | otf |
| ttf |
Note: If you’re looking to allow HTML, HTM, and JS file uploads for logged-in administrators in the File Upload field, be sure to check out our developer documentation for information on implementing this with a custom filter.
That’s it! You can now allow users to upload additional file types using your file upload form.
Do you want more tips for securing your site? Then be sure to check out our complete guide to WPForms security for all the details.