AI Summary
Are you seeing the “could not connect to SMTP Host” error in WordPress?
This is an issue that frequently pops up for WP Mail SMTP users. However, the error isn’t caused by the plugin. The problem is usually on the hosting or server side.
Whatever the case, the good thing is that you can usually solve this issue by following a few steps.
In this post, we’ll walk you through different methods for fixing the “could not connect to SMTP host” error in WP Mail SMTP.
In This Article
What Does the Error Could Not Connect to SMTP Host Mean?
If you encounter the “could not connect to SMTP host” error, it can usually mean one of the following things:
- Your host is blocking the outbound SMTP connection
- You’ve misconfigured your SMTP settings
- A server-side issue with your mailer
Our users usually report this error when using the Other SMTP mailer setting, which is why switching your mailer entirely is often the best way to fix this issue.
However, we’ll start by trying some quicker fixes and work our way through a process of elimination.
If you want to learn more about this SMTP host error, SendLayer has a useful resource on this issue and other common SMTP errors.
How to Fix Could Not Connect to SMTP Host in WP Mail SMTP
SMTP host errors can be caused by several possible issues. We recommend trying all of these one by one until you find the method that works.
Method #1: Contact Your Web Host
Often, web host services block the outbound SMTP connection in an attempt to force their users to use only the internal mailing servers. For security purposes, some hosts may also use a firewall to block your SMTP connection.
If you’re seeing the SMTP host connectivity error, it’s advisable to contact your web host and tell them your problem. If they’re indeed blocking your connection with a firewall or blocking certain ports, you can ask them to avoid blocking.
To help your web host’s technical support diagnose your problem accurately, it’s a good idea to send them the error report associated with your problem.
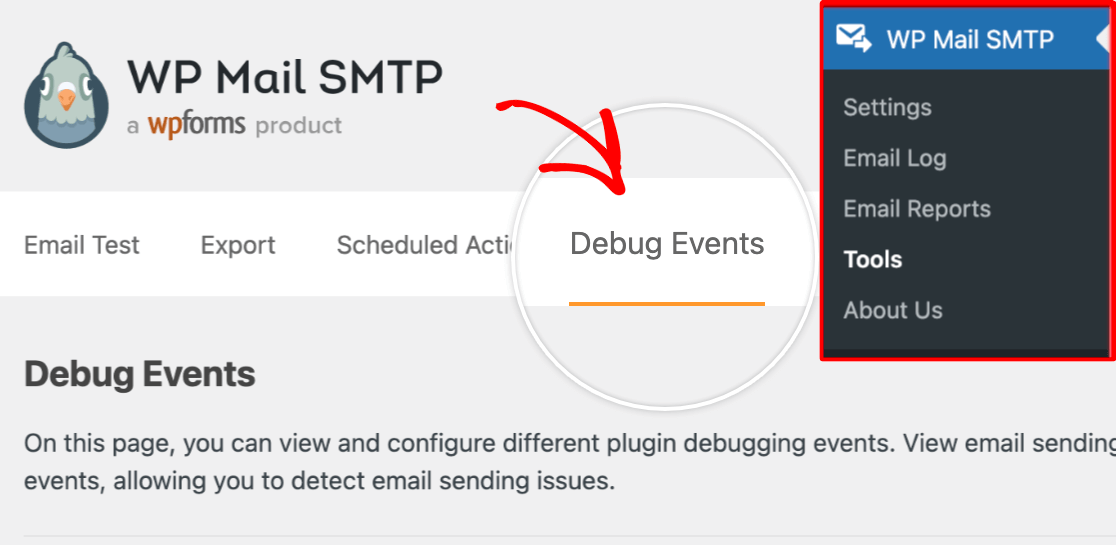
WP Mail SMTP automatically logs email sending errors in WordPress. You can access the error log by going to WP Mail SMTP » Tools. Then, click on the Debug Events tab.
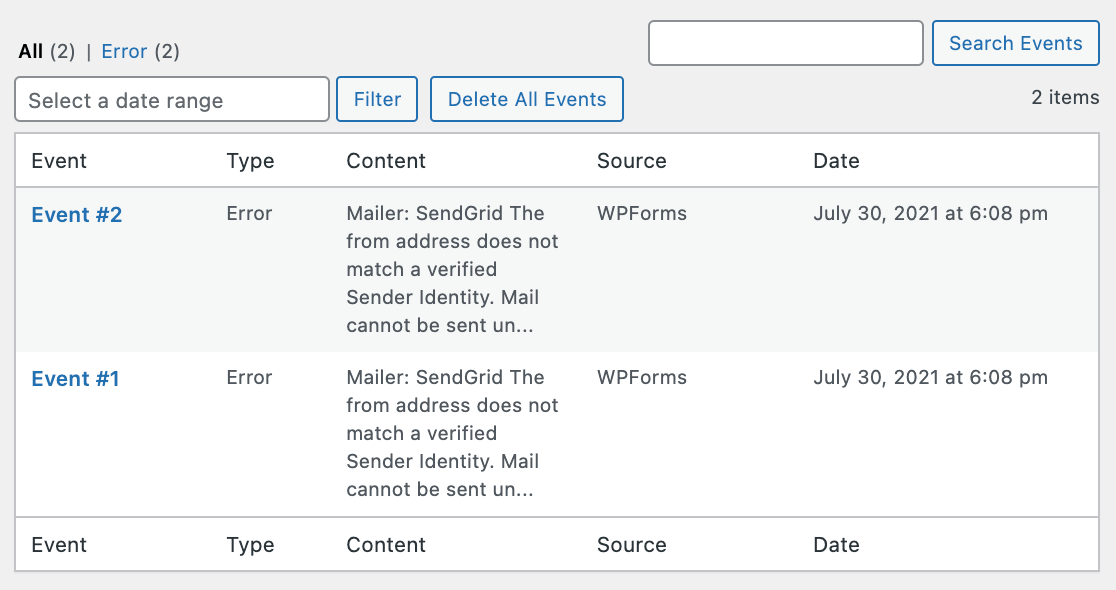
After that, scroll down and locate the error you’re getting.
Click on the Event # to expand the details about the error.
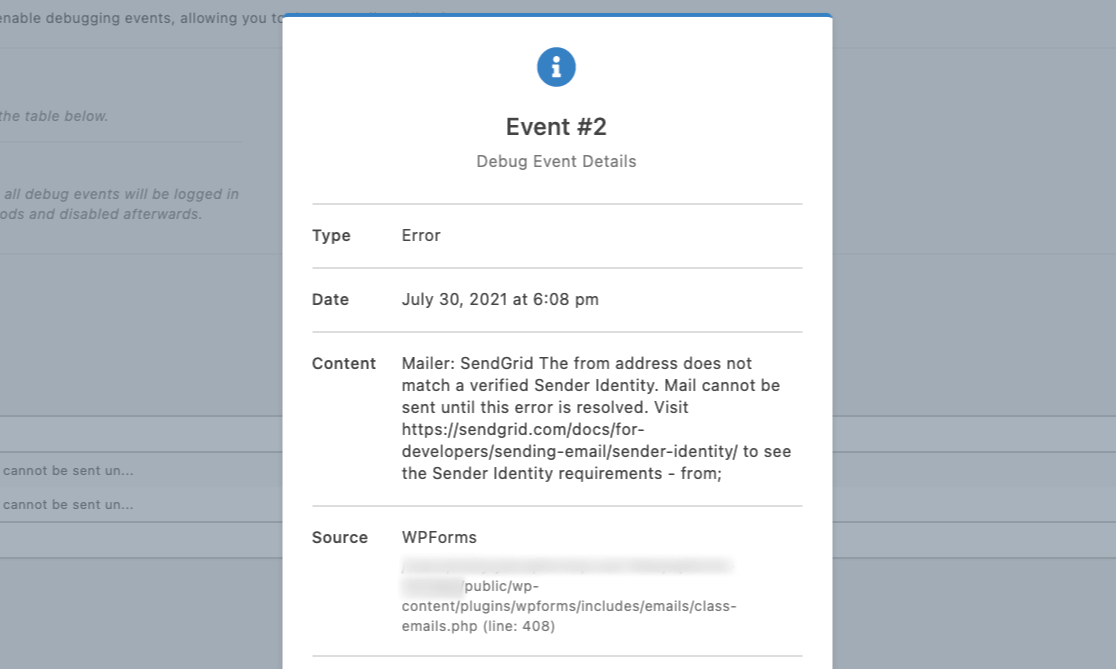
Then, you can just copy and paste that error when contacting your web hosting service’s technical support team.
If they’re unable to resolve your problem, don’t worry! There are still ways to fix this error.
Method #2: Check Your SMTP Settings
Another reason that you’re getting an error is improper configuration of your SMTP settings.
If you’re using the Other SMTP option in WP Mail SMTP, double-check that you’ve entered the correct values in the SMTP Host, Username, and Password fields.
Using the wrong port or encryption standard can also lead to email sending failures. Typically, we recommend using TLS for encryption and SMTP Port 587 (unless your mailer suggests otherwise).
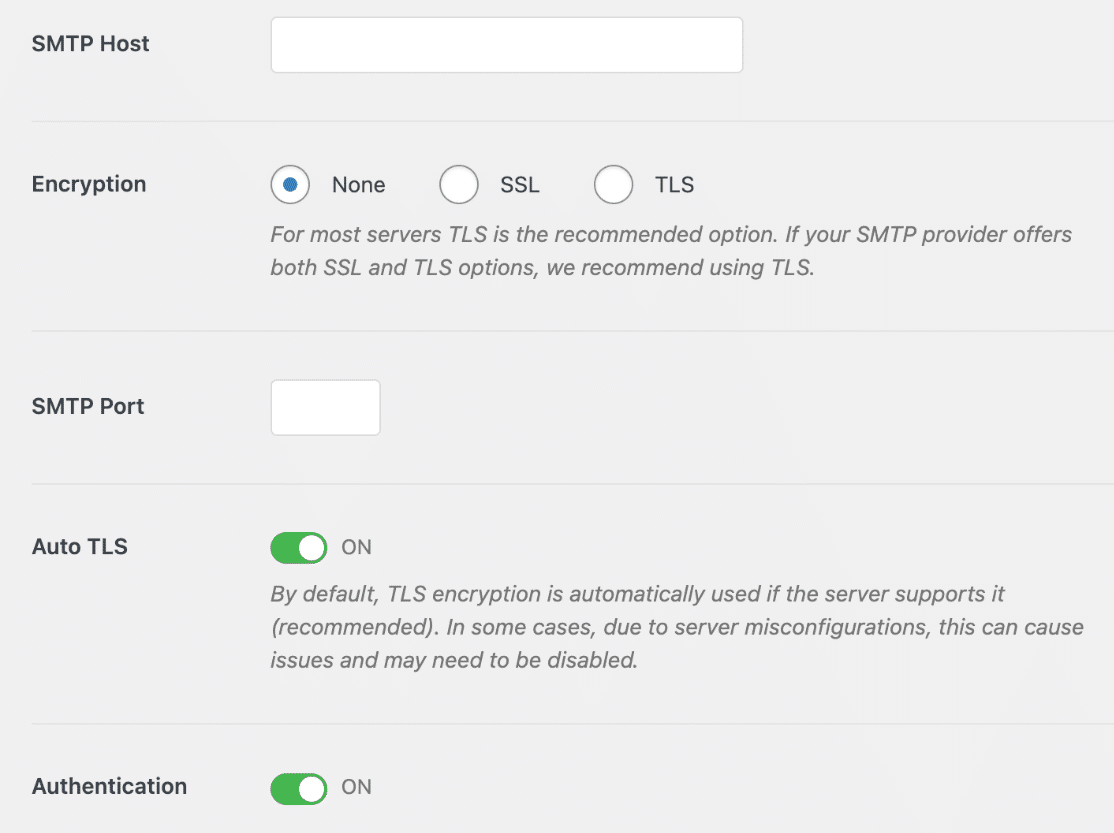
If you’re using some other mailer option with a direct integration, try to confirm that you’ve entered the correct API, username, password, and any other setting that WP Mail SMTP requires to establish a connection.
Method #3: Change Your SMTP Mailer
If the other methods don’t work, we recommend changing your SMTP mailer.
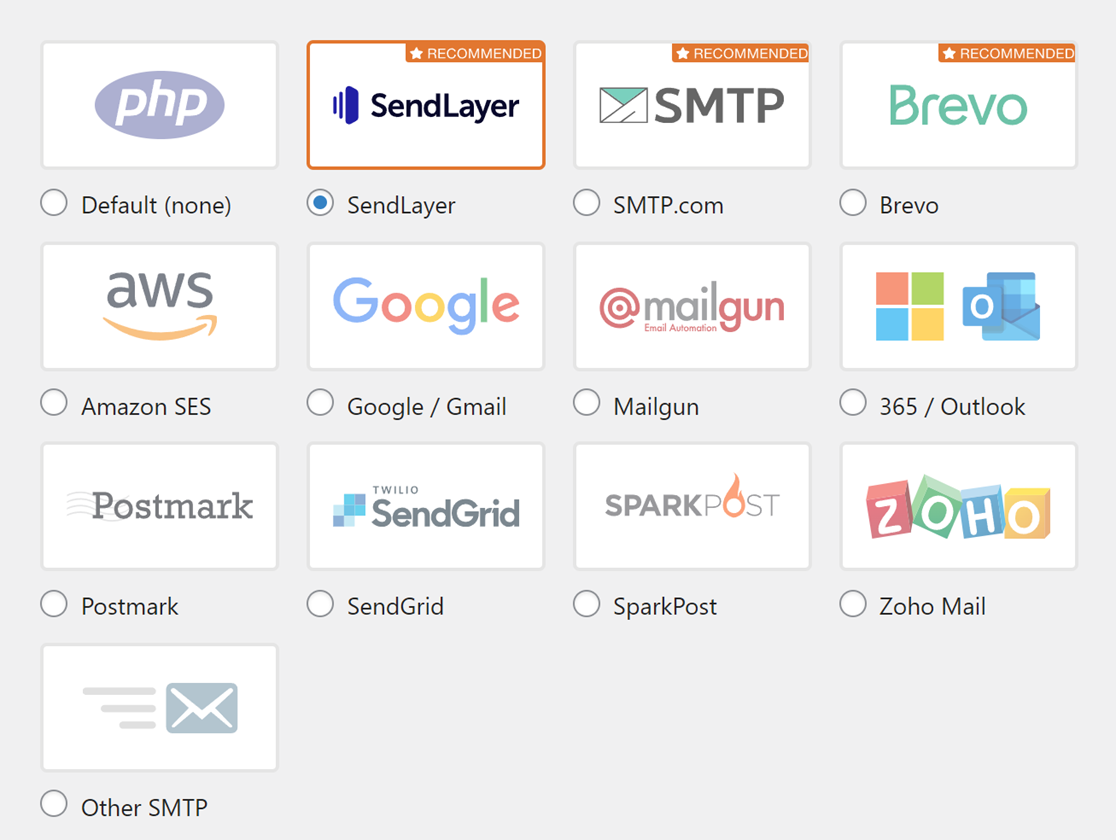
WP Mail SMTP supports various popular mailer services, including Gmail, SendLayer, Brevo (Sendinblue), and more.
The easiest mailer that you can set up on your WordPress site at the most affordable price is SendLayer.
You’ll first have to create an account with a transactional mailer like SendLayer and authenticate your domain. Once you’ve done that, then you can go ahead and integrate that mailer with WP Mail SMTP
The integration process is the easiest part. Simply go to WP Mail SMTP » Settings.
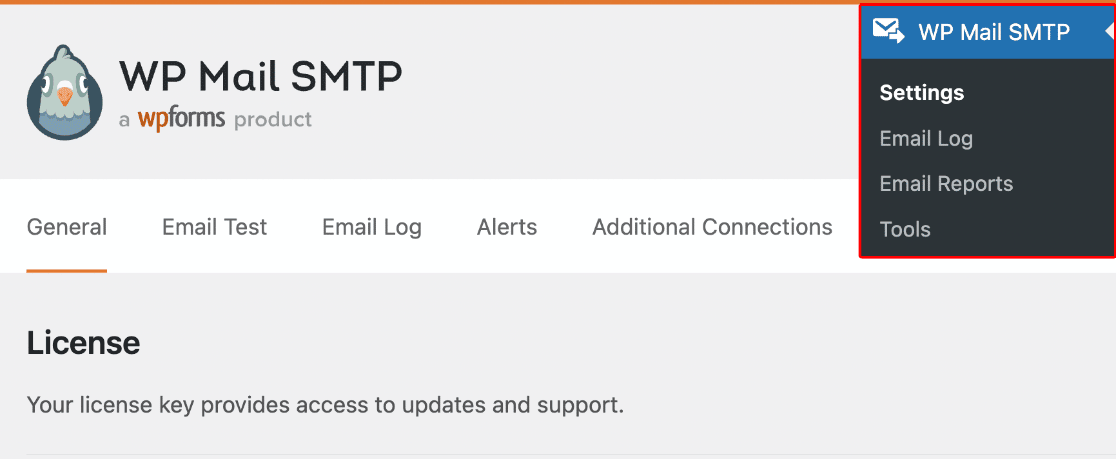
Then, scroll down and select your preferred mailer service.
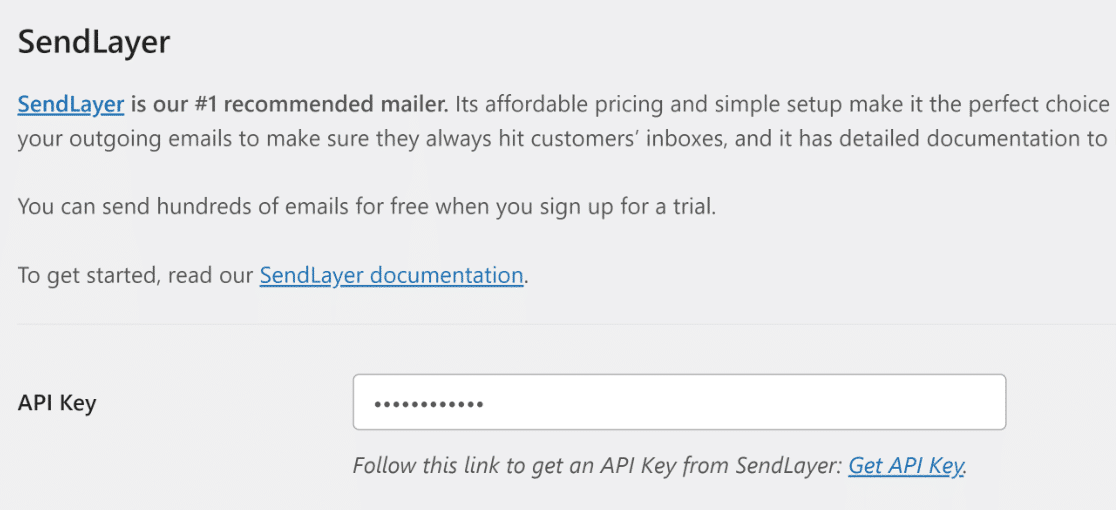
Depending on the mailer you’ve chosen, you’ll be required to enter a few details to complete your integration. With SendLayer, the process is stupid simple because you just need your SendLayer account’s API key.
For a detailed tutorial explaining how to set up a mailer of your choice in WP Mail SMTP, click on the appropriate guide from the table below:
| Mailers available in all versions | Mailers in WP Mail SMTP Pro |
|---|---|
| SendLayer | Amazon SES |
| SMTP.com | Microsoft 365 / Outlook.com |
| Brevo | Zoho Mail |
| Google Workspace / Gmail | |
| Mailgun | |
| Postmark | |
| SendGrid | |
| SparkPost | |
| Other SMTP |
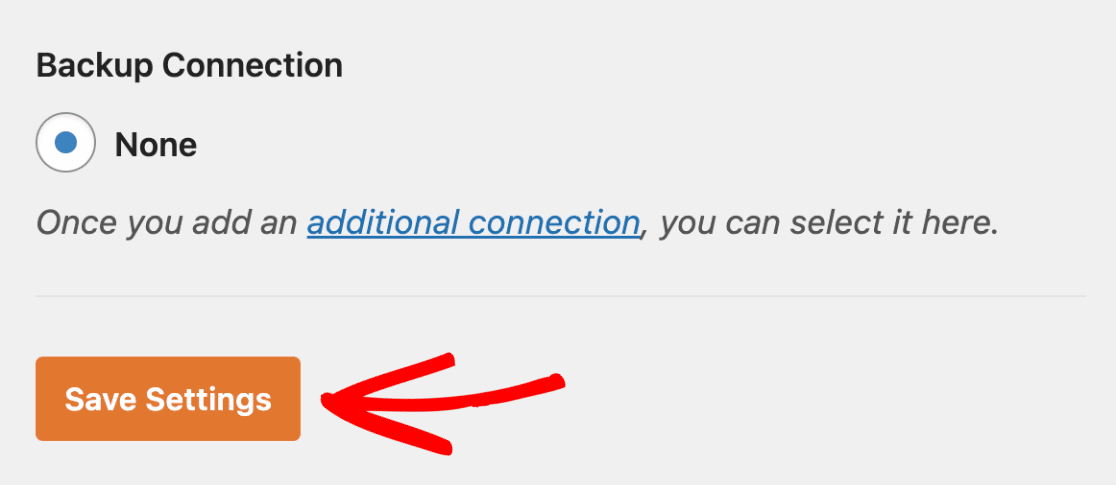
When you’re finished configuring the mailer settings in WP Mail SMTP, click on the Save Settings button at the bottom.
It’s a good idea to test your emails after changing the mailer. You can access WP Mail SMTP’s email test tool by clicking on the Email Test tab from the Settings screen.
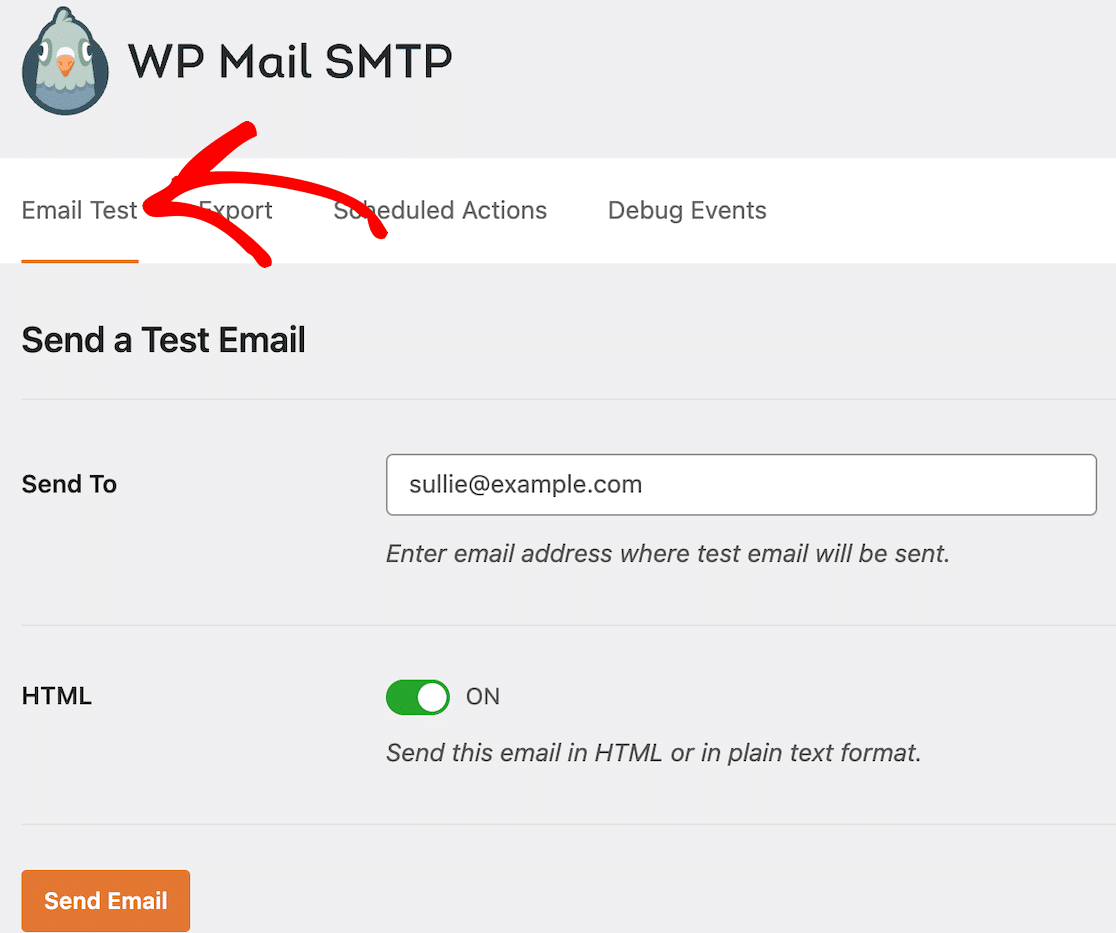
After you’ve done that, enter an email address you want to send the test email to. Make sure it’s an address that you own so you can check the test email in your inbox.
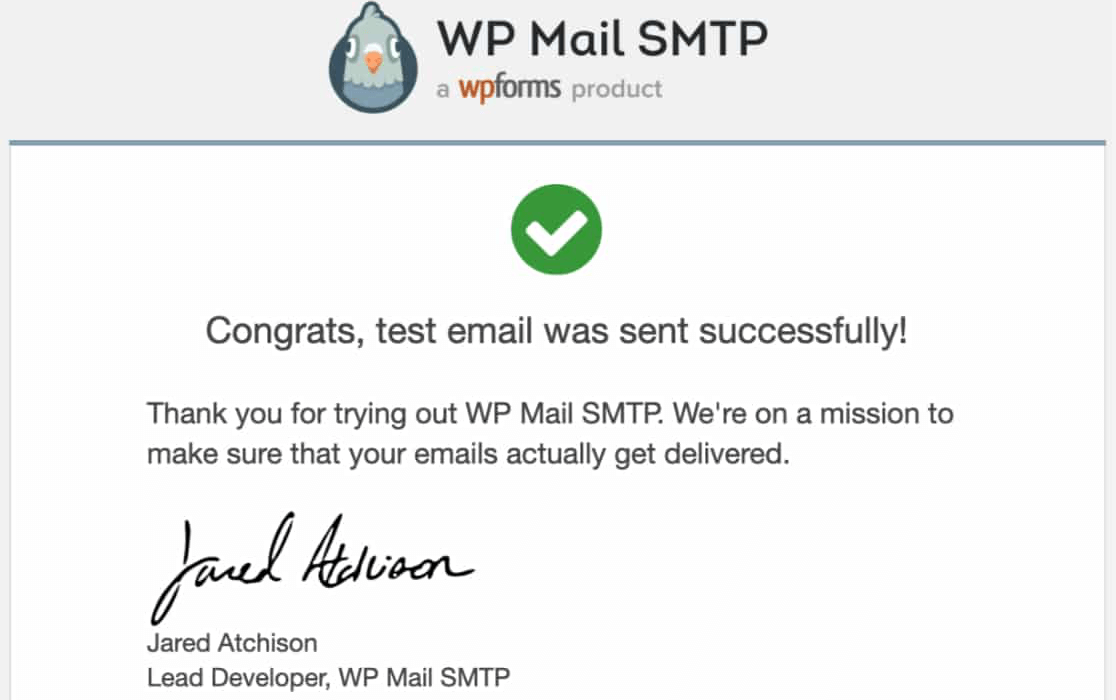
Press the Send Email button to send the test email. If everything was set up correctly, you’ll immediately see a success message appear on your screen.

It’s also a good idea to log into your mailbox and look for the incoming test email, which will look like this:
And that’s it!
You now know how to fix the “could not connect to SMTP host” in WP Mail SMTP.
Next, Customize Your Form Notifications
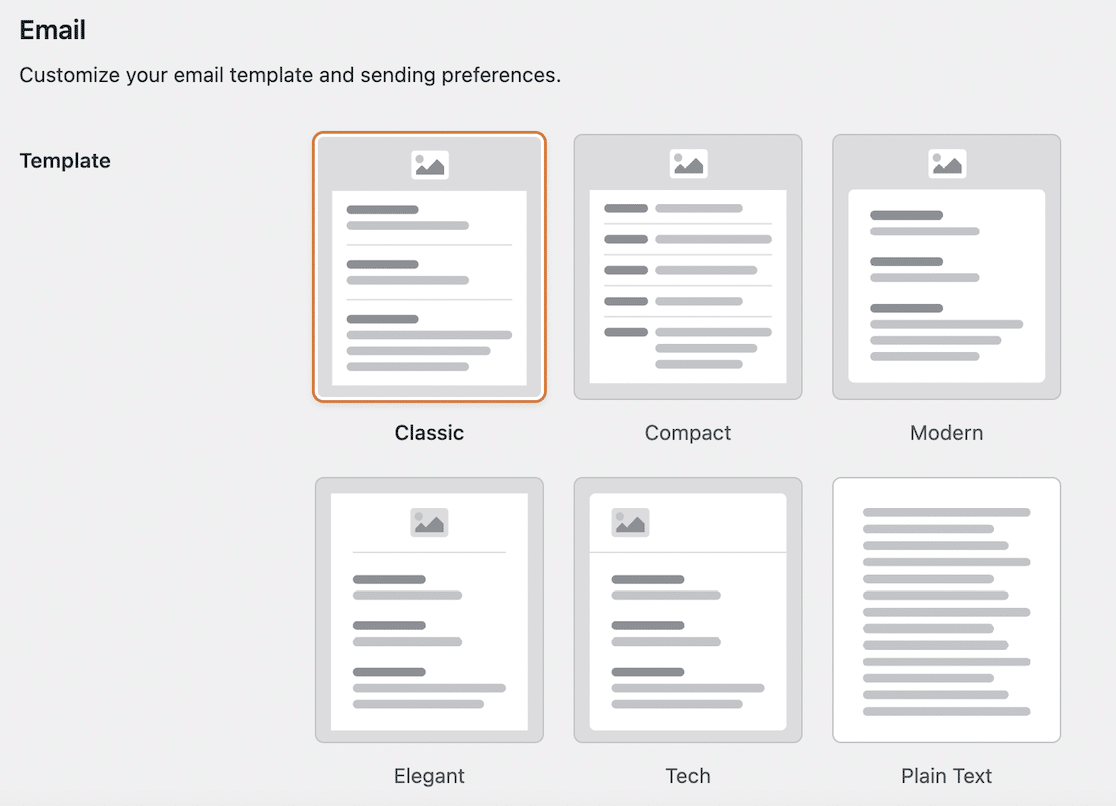
Now your emails are sending, it’s time to review your notifications to see if you can improve on the default layout. WPForms has tons of pre-set email templates. Check them out!
Ready to build your form? Get started today with the easiest WordPress form builder plugin. WPForms Pro includes 2,000+ form templates templates and offers a 14-day money-back guarantee.
If this article helped you out, please follow us on Facebook and Twitter for more free WordPress tutorials and guides.

