
AI Summary
Creating forms that seamlessly integrate with Notion can be a challenge, especially if you’re looking for something more powerful than just a basic data entry tool.
If you’re like many others, you might wonder if there’s a way to create a Notion form in WordPress that allows you to push data directly into your Notion databases.
Good news: WPForms offers a direct integration with Notion, so it’s easier than ever to connect your WordPress forms to Notion databases.
In this guide, I’ll walk you through the entire process, ensuring you have all the tools and steps needed to create a fully functional Notion form in WordPress. Let’s dive into connecting WPForms and Notion directly! 🙂
Integrate WPForms with Notion directly! 🙂
How to Connect Your WordPress Forms to a Notion Database
You can easily create a WordPress form that connects with Notion using WPForms and the Notion addon.Follow the steps below to get started:
Step 1: Create a New Form in WordPress
To get started, you’ll first need to ensure that WPForms is installed and activated on your WordPress site. If you haven’t done this yet, make sure you’re using a Plus license or higher.
This license level will give you access to the Notion addon, which is necessary for creating a direct connection that allows your form to send entries to your Notion database.

Once WPForms is up and running, head over to WPForms » Add New and create a new form. This is where you’ll start building the form that will send entries directly into your Notion database.
Next, name your form and use the search box to find a suitable template. If you want to build from scratch, simply hit the Create Blank Form button to be redirected to the form builder screen.

One of the best things about WPForms is the ability to go beyond basic fields, which can correspond to the columns in your Notion setup.

For instance, the integration I’m creating is for managing different tasks in Notion, so I’ll create the following fields (which will also be present in Notion):
- Status
- Task Name
- Assignee Name
- Assignee Email
- Due Date
- Comments
The goal is to create something far more advanced than a simple form, so you can see the power at your disposal to tailor it to your specific needs.

Once the form is set up to your liking, don’t forget to configure the form settings, like notifications and confirmations, and publish the form to your WordPress site.
Integrate WPForms with Notion directly! 🙂
Step 2: Install and Activate the Notion Addon
Let’s get the Notion addon set up next. To do this, go to WPForms in your WordPress dashboard and click on Addons.
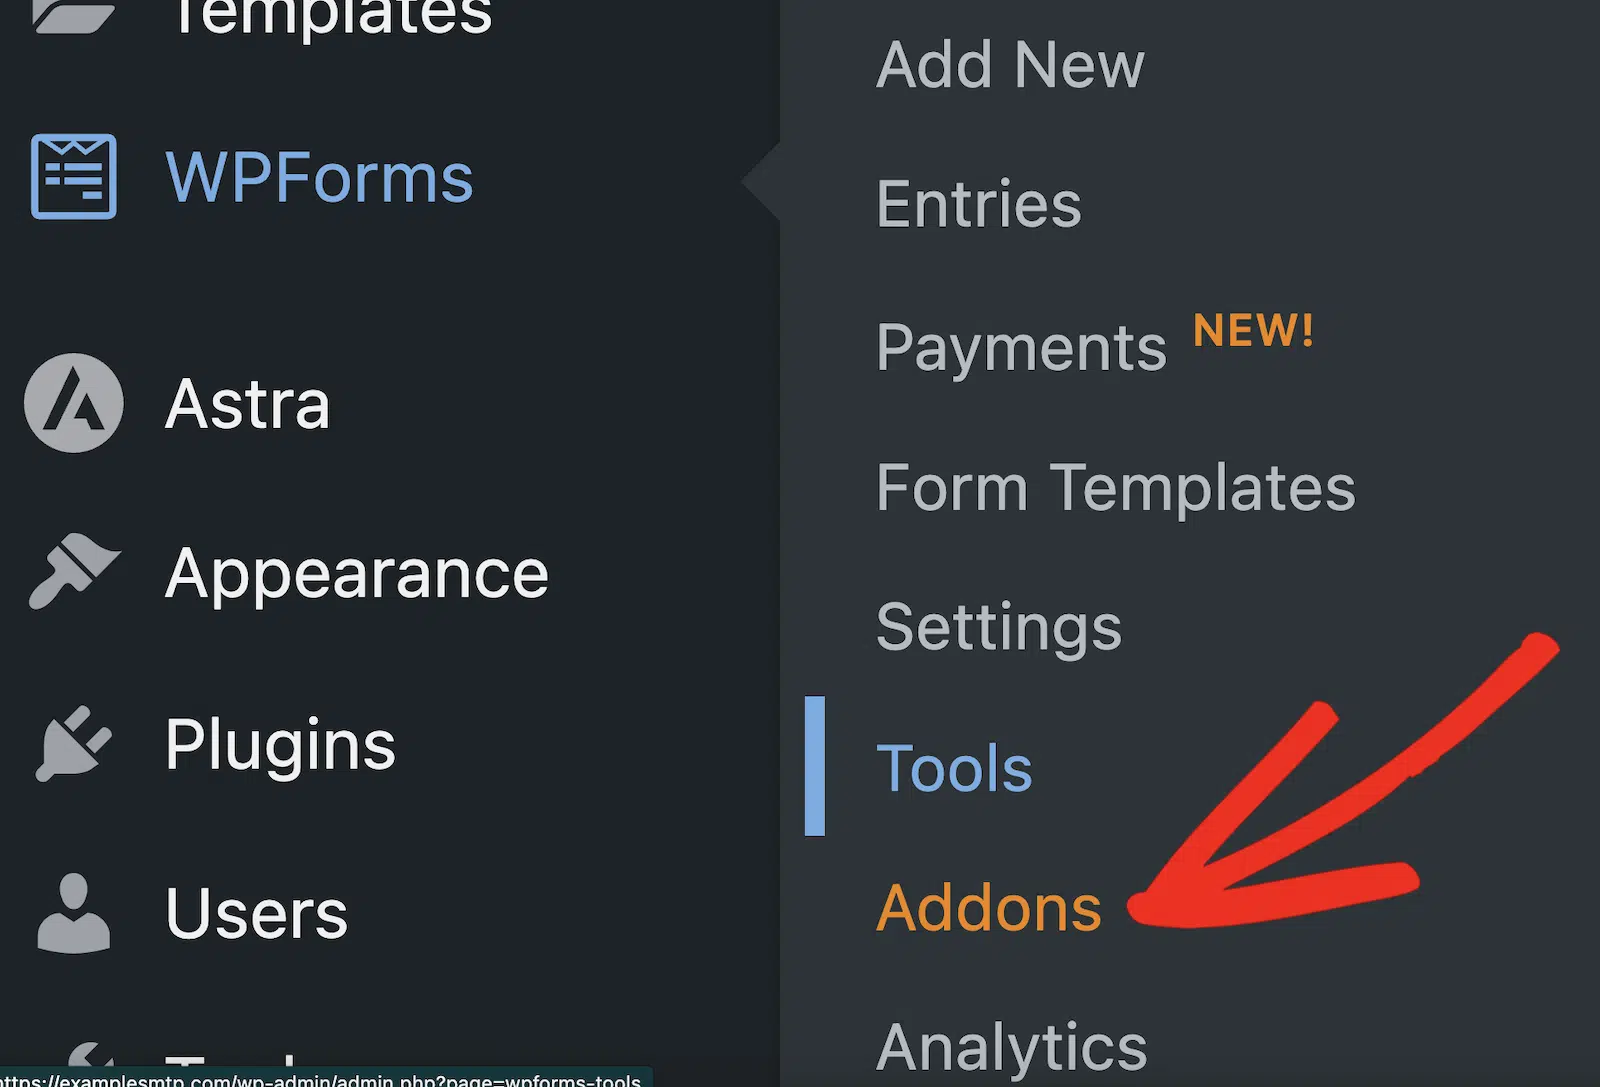
In the Addons screen, just type “Notion” in the Search Addons field. When it pops up, click on Install Addon.
If you notice the addon is still inactive after installation, hit the Activate button to enable it.
Great job so far! Now we just need to set up your Notion account and database, so that we can establish the direct connection.
Step 3: Set Up Your Notion Database
Now that your WPForms setup is ready, let’s move on to setting up your Notion database, where all your form submissions will be stored.
First things first, if you haven’t already, go ahead and sign up for a Notion account. It’s quick, and you’ll need it to manage your form data.

Once you’re in Notion, click on the + Add a page option. This is where your form entries from WPForms will be stored, so make sure it’s a dedicated space for this purpose.

On this new page, you’ll want to add a database. Notion gives you several options here—whether it’s a table, board, or list, choose the format that best suits your needs.
To start, name your database, and then click on the ellipsis (…) in the bottom right corner. I’ll select the Table option here for all the information collected through my form.

Now, it’s time to structure your database. Think about the fields you set up earlier in your form and create corresponding columns in your Notion database for:
- Status
- Task Name
- Assignee Name
- Assignee Email
- Due Date
- Comments

Make sure each property in your Notion database has the appropriate field type (text, email, date, etc.) to match the data you’ll be collecting.
Your Notion database is now ready to receive form submissions. Keep this page open — you’ll need to grant WPForms access to it in the next step.
Step 4: Connect WPForms to Your Notion Account
Now it’s time to establish the connection between WPForms and your Notion workspace.
In your WordPress dashboard, navigate to WPForms » Settings and click on the Integrations tab.

Scroll down until you find Notion in the list of available integrations, then click on it to expand the settings.
Click the Add New Account button. This will open a new browser window prompting you to sign in to Notion.

Sign in with the Notion account you want to connect to WPForms. After signing in, you’ll see a screen titled “Connect with WPForms” that explains the permissions WPForms will need, such as:
- View pages you select
- Edit pages you select
- Create new content within pages you select
- View workspace users and their emails
Click the Select pages button to choose which Notion pages or databases WPForms is allowed to access.

On the next screen, you’ll see a dropdown and a list of pages in your Notion workspace. Check the box next to the database you created in Step 3 (and any other pages you want WPForms to access).

When you’re done selecting pages, click Allow access.
You’ll be redirected back to the WPForms Integrations page, where you should now see a green “Connected” status next to Notion.

Perfect! Your WPForms installation is now connected to your Notion account.
Step 5: Add a Notion Connection to Your Form
Now that your Notion account is connected at the global level, you need to link it to the specific form you created in Step 1.
Go to WPForms » All Forms and click on your form to open the form builder.
Inside the form builder, navigate to Settings » Notion from the left-hand menu. Click the Add New Connection button.

A popup will appear asking you to enter a connection nickname. This label is for your internal reference only and won’t be visible to users. Enter a descriptive name like “Task Submissions” and click OK.

You’ll now see the Notion connection settings for your form. Here’s what you need to configure:
- Account: Use this dropdown to select the Notion account you connected in Step 4. If you’ve connected multiple Notion accounts, they’ll all appear here.
- Database: Once you select an account, this dropdown will populate with the Notion databases you granted access to. Choose the database where you want form entries to be stored (the one you created in Step 3).
- Data Source: This dropdown lets you choose the specific source inside that database. In most cases, you’ll only see one option with the same name as your database. Simply select it to continue.

After selecting your Database and Data Source, the Custom Fields section will appear, allowing you to map your form fields to Notion properties.
Step 6: Map Your Form Fields to Notion Properties
Field mapping is where the magic happens — this is how WPForms knows which form data goes into which Notion property.

In the Custom Fields section of your Notion connection settings:
1. Use the Custom Field Name dropdown to select a property from your Notion database (such as “Task Name,” “Assignee Email,” or “Due Date”).
2. Use the Form Field Value dropdown to choose the corresponding field from your WPForms form that contains the data for that property.
3. Click the blue plus (+) button to add more field mappings.
4. Repeat this process until all the Notion properties you want to populate are connected to your WPForms fields.
For example:
- Map “Task Name” in Notion to “Task Name” in WPForms
- Map “Assignee Email” in Notion to “Assignee Email” in WPForms
- Map “Due Date” in Notion to “Due Date” in WPForms
Each time someone submits your form, WPForms will automatically create a new item in your Notion database with all the mapped fields populated.
Optional: Enable Conditional Logic
If you want to control when entries are sent to Notion based on user responses, you can set up conditional logic.
Scroll to the bottom of your Notion connection settings and toggle on Enable Conditional Logic.
Use the dropdowns to build a rule, such as: “Process this connection if Inquiry Type is Support.”

When the condition is met, WPForms will send the entry to Notion. If not, the connection will be skipped for that submission.
Once you’ve completed your field mappings (and set up conditional logic if desired), click Save to preserve your settings.

And that’s it! Your WordPress form is connected, mapped, and sending to Notion. Now, everything that comes through your form will end up in your Notion database. Great job!
Integrate WPForms with Notion directly! 🙂
FAQs: How to Create a Notion Form in WordPress
Creating a direct connection between WPForms and Notion is a popular topic among readers. Here are answers to some common queries about it.
Does Notion integrate with WordPress?
Yes! With the WPForms Notion addon, you can create a direct integration between your WordPress forms and Notion databases. This native connection eliminates the need for third-party automation tools.
How do I integrate Notion with my website?
To integrate Notion with your WordPress website, install and activate WPForms with a Plus license or higher, then install the Notion addon. Connect your Notion account through WPForms » Settings » Integrations, select which Notion pages to grant access to, and then map your form fields to Notion properties in your form’s settings.
What license do I need to use the Notion addon?
You’ll need a WPForms Plus license or higher to access the Notion addon. The addon is not available on lower-tier plans.
Why are some file uploads not appearing in Notion?
Notion applies file size limits on uploaded files. On the free Notion plan, files larger than 20 MB are not accepted, and workspaces have a 5 GB total storage limit. If a user uploads a file larger than 20 MB, it will be stored in your WPForms entry but won’t be added to Notion. You can set a maximum file size in your File Upload field settings to prevent this issue.
Do I need to create a database in Notion before setting up the integration?
Yes. You should create your Notion database and add all the properties you want to populate before setting up the integration in WPForms. After granting WPForms access to your database, it will appear in the Database dropdown when you configure your form.
Next, How to Get Microsoft Teams Alerts From Your WordPress Forms
Have you ever thought about how to receive Microsoft Teams alerts when people submit a form on your WordPress website? Check out this guide to enable Microsoft Teams alerts for forms by using WPForms and connecting it to Microsoft Teams via Zapier.
Ready to build your form? Get started today with the easiest WordPress form builder plugin. WPForms Pro includes lots of free templates and offers a 14-day money-back guarantee.
If this article helped you out, please follow us on Facebook and Twitter for more free WordPress tutorials and guides.

