AI Summary
Would you like to learn more about all of the settings available in WPForms? In addition to tons of customization options within the form builder, WPForms has an extensive list of plugin-wide options available. This includes choosing your currency, adding GDPR enhancements, setting up integrations, and more.
This tutorial will cover all of the settings available in the WPForms plugin.
Accessing WPForms Settings
To access plugin-wide settings in WPForms, you’ll need to go to WPForms » Settings in the left WordPress menu.

This will automatically open to the General settings tab. However, you can click on any tab along the top of the page to access additional settings.
General Settings
Settings in the General tab are potentially relevant to all users, no matter which features or addons you use.
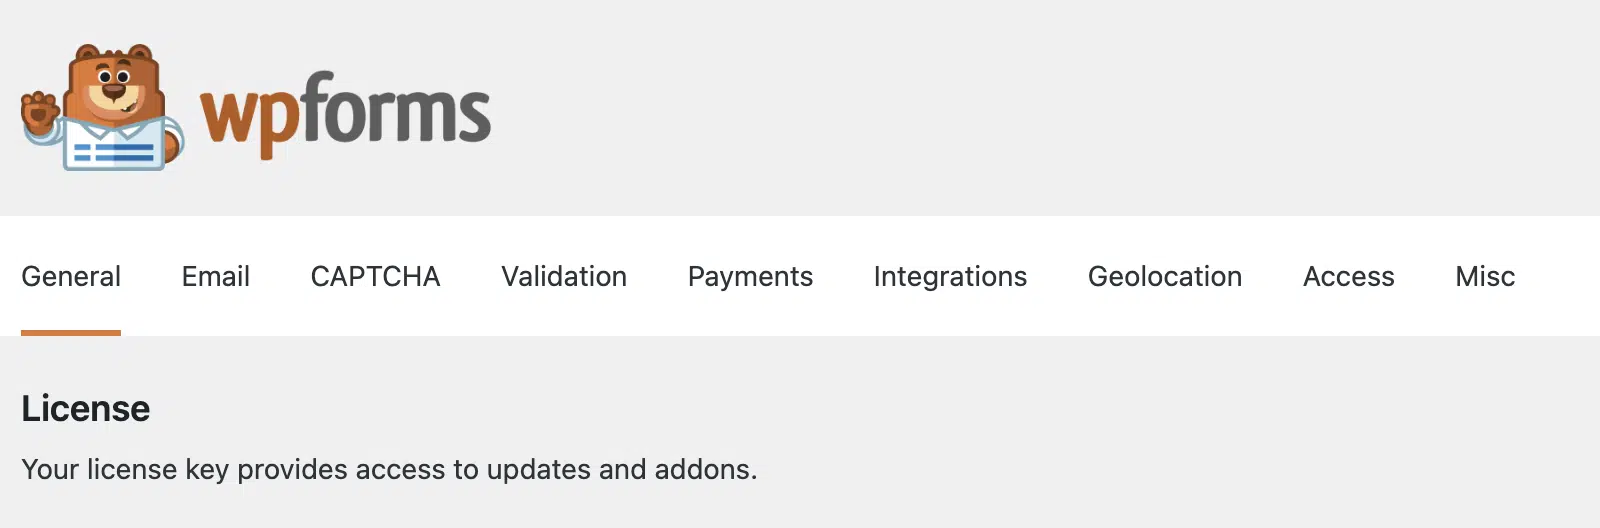
License Key

Your license key will provide your site with access to updates, as well as any addons available with your license level.
Please check out our license verification tutorial for details on how to locate and add your license key.
Include Form Styling

WPForms will, by default, add styles to ensure your form looks great no matter which theme you choose to use on your WordPress site. If you’re a developer looking to customize your forms, though, this dropdown will allow you to reduce the amount of styling that WPForms applies.
Our tutorial on the Include Form Styling setting covers all of the details, including what to watch for if you choose to alter this option from the default choice.
Use Modern Markup

WPForms includes a modern markup that comes with increased accessibility and modern styles for fields and buttons. When enabled, you’ll be able to style your forms in the block editor without writing any CSS.
For details on how to style your forms in the block editor, be sure to check out our complete form styling tutorial.
Load Assets Globally

WPForms is smart about how it uses your site’s resources, so it will only load assets (code for styling and JavaScript, etc.) when a form is detected on the page. In rare cases, however, something on a site may prevent this detection from working properly — and that may prevent assets from loading at all.
By choosing to Load Assets Globally, it’s often possible to resolve issues where form assets aren’t loading. If you’re considering enabling this option, it’s generally best to get in touch with our trusted advisors and find out if loading assets globally could be a good solution for the specific issue you’re seeing.
GDPR Enhancements

GDPR, or General Data Protection Regulations, is a set of policies by the European Union meant to help protect the privacy of EU citizens on the internet. WPForms offers a few ways to help you work towards compliance such as a GDPR Agreement field and an option to disable user cookies.
For all of the details on available GDPR options, please be sure to check out our tutorial on GDPR compliance in WPForms.
Email Settings
Settings under the Email tab will apply to notification emails for all forms on your site.
Template

In the Template section, you’ll find all the available templates WPForms supports. Each of the email templates has its unique style and features. Below, we’ve outlined the available templates.
- Classic
- Compact
- Modern
- Elegant
- Tech
- Plain Text
To see examples of each type of email, please see our customizing form notifications tutorial.
Header Image

In this setting, you can upload an image that will display at the top of all form notification emails. For full details, including image size recommendations, please check out our tutorial on adding an email header image.
Color Scheme

This option allows you to customize the colors of elements on the notification email. To update any of the colors, you can either enter the HEX value into the color field or click on it to open the color picker.
Typography

The Typography option controls which font family will be used for notification emails from your site. WPForms currently supports Sans Serif and Serif fonts.
Optimize Email Sending

The Optimize Email Sending option allows you to send notification emails asynchronously. This means that with this setting enabled, your forms will process notification emails separately from form confirmations. If you’ve had reports of your forms taking a long time to submit, or if your forms send out a lot of notifications, turning on this option may help cut down your form’s submission time.
Carbon Copy

WPForms is designed with email privacy in mind, and so the Send To Email Address field (where you’d generally add all email recipients for a form’s notification email) acts like a BCC, or Blind Carbon Copy, field. This means that a separate email is sent to each email address, and the recipients can’t see one another.
If you’d like recipients to see one another’s email addresses, and be able to Reply-All on the email, a Carbon Copy (CC) field will be a better fit.
By enabling the Carbon Copy option, you’ll have the option to use a CC field in all of your existing and new forms.
For all of the details, as well as important usage notes, please see our tutorial on setting up notification emails.
CAPTCHA Settings
WPForms includes built-in integration with Google’s reCAPTCHA, hCaptcha, and Cloudflare Turnstile to combat spam on your WordPress forms.
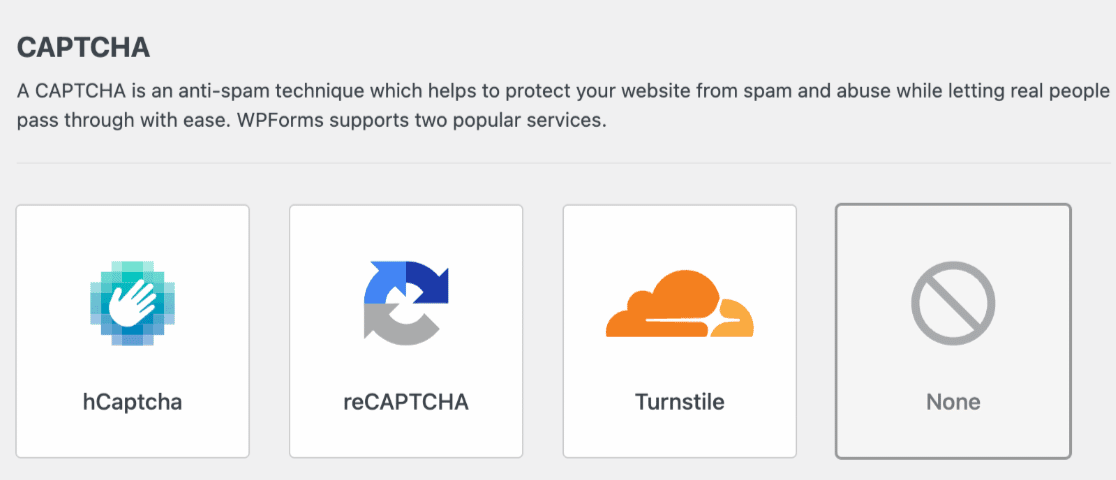
After choosing a CAPTCHA option, additional settings will appear for the specific CAPTCHA. You’ll need to generate a unique set of API keys to connect the CAPTCHA service with WPForms.
hCaptcha
hCaptcha is a free CAPTCHA solution that focuses on user privacy. It only ever collects necessary user data, and clearly lays out which information it collects and how it uses those details.
To learn more, check out our guide on how to set up and use hCaptcha with WPForms.
reCAPTCHA
reCAPTCHA is a free spam prevention service provided by Google. There are three types of reCAPTCHA available for your forms: v2 Checkbox reCAPTCHA, v2 Invisible reCAPTCHA, and v3 reCAPTCHA.
For full details, please check out our complete guide to setting up Google reCAPTCHA in WPForms.
Turnstile
Cloudflare Turnstile is a smart CAPTCHA-like alternative that offers a user-friendly experience. It works without showing users a CAPTCHA challenge.
For a complete walkthrough, please check out our guide on how to set up and use Cloudflare Turnstile with WPForms.
Validation Settings
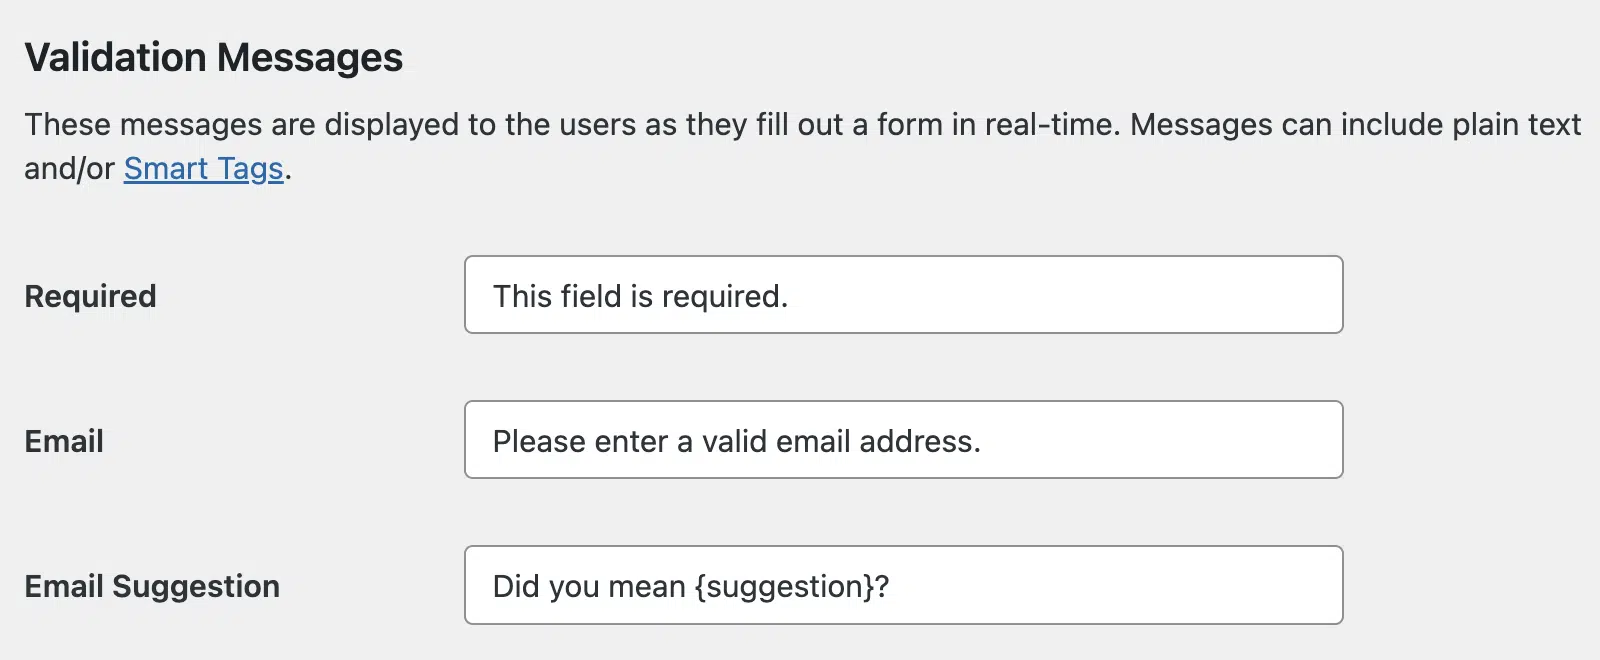
Validation messages are shown to the user when they fill out parts of your forms incorrectly. For example, if the user skips a required field they’ll see a validation message that states “This field is required.”

Under the Validation tab, you can easily customize these validation messages. This is useful if you need to translate messages into a different language , or even if you simply want these messages to reflect a unique voice for your brand.
For full details, please see our tutorial on customizing form validation messages.
Payments Settings
Payment settings will be important if you plan to collect any payment through your forms.
Currency

By default, WPForms will use USD (United States Dollars) for all payment fields used in your forms. If you need to use a different currency, go ahead and choose an option from this list.
Stripe

If you’ve installed the Stripe Pro addon, you’ll need to click on the blue Connect with Stripe button to begin accepting payments.
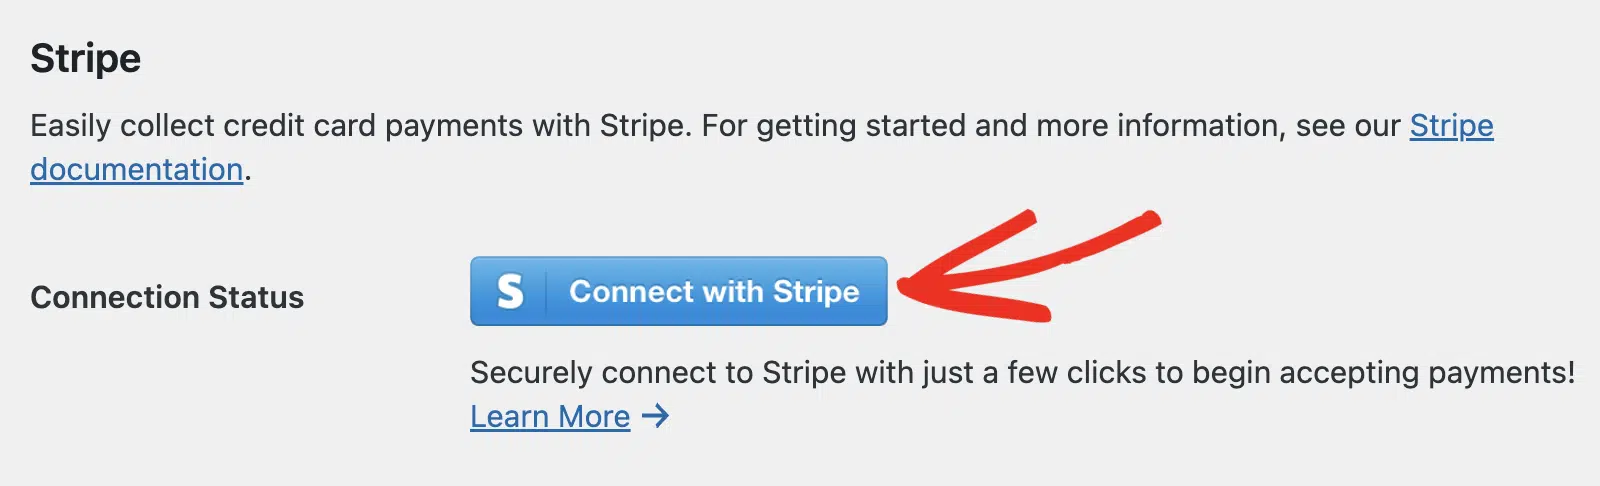
For all of the details on setting up Stripe in WPForms, be sure to check out our Stripe Pro addon tutorial.
Authorize.net
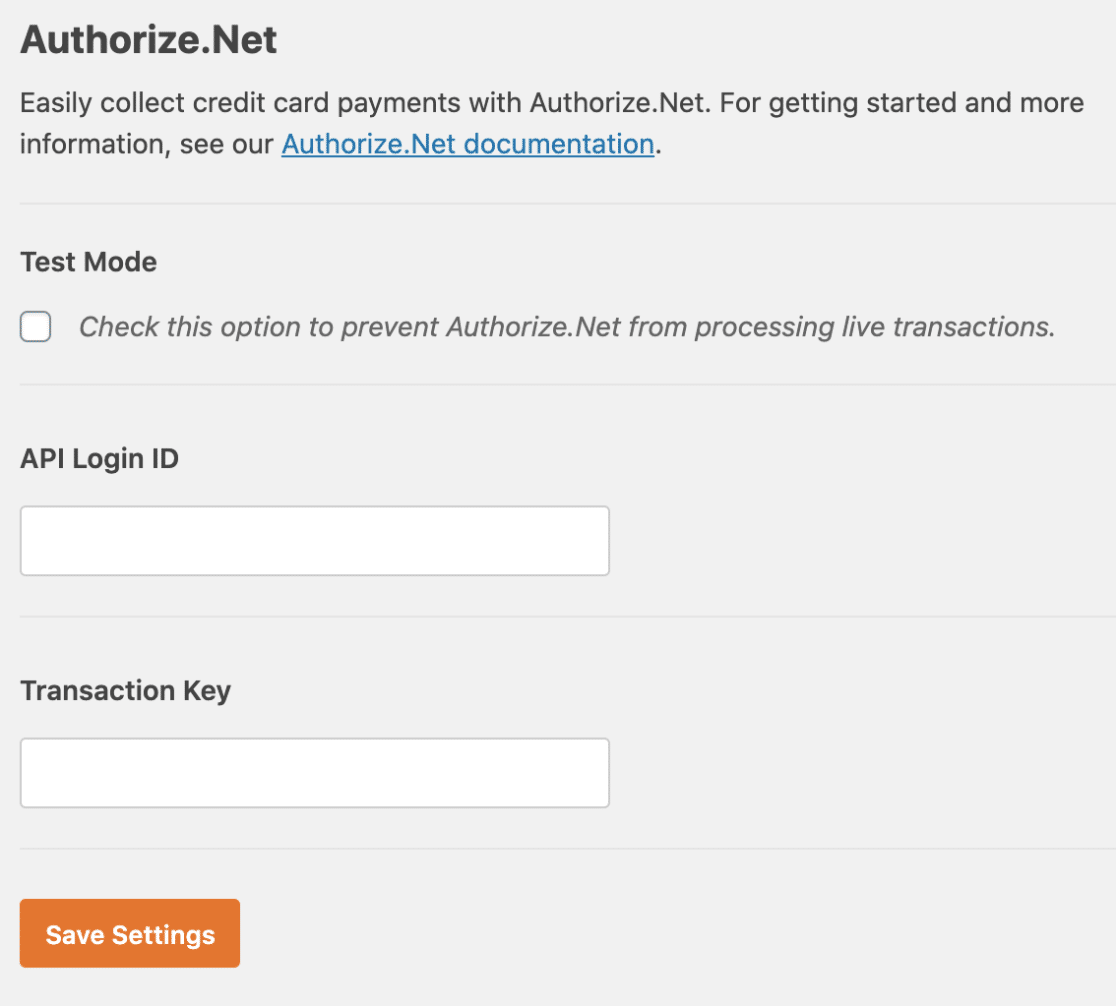
Once you’ve installed the Authorize.Net addon, you’ll need to configure your API Keys to begin accepting payments with Authorize.Net.
For all of the details on setting up Authorize.Net in WPForms, be sure to check out our Authorize.Net tutorial.
Integrations Settings

If you’d like to integrate your forms with a third party service, such as an email marketing tool or Zapier, the Integrations tab will include the settings you need to connect to these services.
Below, you can find all of the potential integrations for this tab as well as links to installation and setup tutorials.
- AWeber
- ActiveCampaign
- Brevo
- Campaign Monitor
- Constant Contact
- Kit
- Drip
- GetResponse
- Google Sheets
- HubSpot
- Mailchimp
- MailerLite
- Salesforce
- Zapier
Geolocation Settings

With the Geolocation addon, you can add autocomplete functionality to your form’s Address fields, as well as record your user’s location data with each form submission.
For more information on how to set up the Geolocation addon, be sure to check out our guide on how to install and use the Geolocation addon for more details.
Access Settings
Access settings allow you to choose who has access to your forms with our Access Controls.
With Access Controls, you are in control of which user roles are allowed to interact with your forms. You can decide what actions a user can take (such as creating or viewing a form), in addition to which forms a user can act on.

Below is a list of all the actions you can set up Access Controls for:
- Create Forms
- View Forms
- Edit Forms
- Delete Forms
- View Entries
- Edit Entries
- Delete Entries
For more details on defining user permissions, be sure to check out our tutorial on setting up access controls in WPForms.
Misc Settings
Settings shown under the Misc tab don’t fit into another category, and are unlikely to be needed by most users.
Delete Spam Entries

WPForms automatically deletes spam entries after some time. You can specify the number of days spam entries are stored before they’re deleted from your site.
Hide Announcements

You may occasionally see notices from the WPForms team in your WordPress dashboard, ranging from important announcements to a friendly request to consider creating a plugin review.
If you’d prefer not to see any announcements from WPForms, simply enable this Hide Announcements option.
Hide Admin Bar Menu

This option removes the WPForms menu item from the WordPress admin bar at the top. If you rarely need direct access to WPForms from the admin bar or prefer a tidier interface, toggle the Hide Admin Bar Menu option to the on position.
Hide AI Features

WPForms comes with AI features that let you automatically generate choices on Multiple Choice, Checkboxes, and the Dropdown field. If you’d like to hide this and other WPForms AI features, toggle the Hide AI Features option to the ON position.
Disable Email Summaries

Each week, WPForms will send you an email showing the number of entries that each of your forms have received. You can disable this feature at any time by toggling the Disable Email Summaries option to the off position (and then saving your settings).
Uninstall WPForms

WPForms is designed to avoid losing your form and entry data, and so a standard deletion of the WPForms plugin (using the Delete option on your WordPress Plugins page) will not fully remove the forms, settings, or entries from your site.
This is to ensure that even if you need to remove plugins while troubleshooting, or if your plugin is accidentally deleted, etc, you will not lose everything you’ve created in WPForms.
If you’d like to fully uninstall WPForms, and so delete all forms, settings, entries, and any files uploaded to your forms (remove everything associated with WPForms from your site), you’ll first need to enable this option. Then, deactivate and delete WPForms from your site’s Plugins page to trigger this complete uninstall process.
That’s it! We hope this helped to familiarize you with all of the plugin-wide settings available in WPForms.
Next, would you like to find out what you should test before launching your forms? Be sure to check out our pre-launch checklist to ensure your forms work exactly how you’d like before accepting submissions.